在介绍了如何安装 Ubuntu 24.04 LTS, Webmin, Nginx, MariaDB, PHP8.1-FPM,Perl-Fastcgi 到 DigitalOcean 的 VPS上后,有些补充内容。
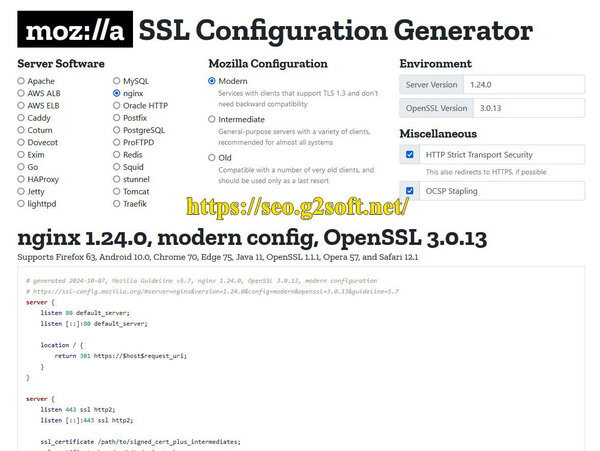
比如 acme.sh 现在安装的 SSL 证书,默认已经是 ecc 证书了,就是 ecc-256 (prime256v1, "ECDSA P-256")。
然而还有一些需要说明的情况就放在了下面。
外传
网络防火墙
实际使用上,现在我已经很少再用 TCP Wrap 来作安全防护,而是使用了 nftables 防火墙,配合 fail2ban 来组合配合。
Ubuntu 24.04.1 已经默认安装了 nftables 了,如果没有的话,就是用下面的来安装。
sudo apt install nftables
而 Ubuntu 24.04 默认是安装使用了 UFW,作为 nftables 的前端。这里我不打算使用。就需要卸掉。
sudo systemctl disable --now ufw sudo apt remove ufw
当然还需要启用 nftables。
sudo systemctl enable --now nftables
sudo apt install fail2ban
有几个常见命令
sudo systemctl enable fail2ban sudo systemctl start fail2ban sudo fail2ban-client version
返回 1.0.2,这是版本号。还有两个命令可以看 fail2ban 的状态,Ban了那些服务,哪些 IP 地址。
davidyin@walnut:~$ sudo fail2ban-client status Status |- Number of jail: 1 `- Jail list: sshd davidyin@walnut:~$ sudo fail2ban-client status sshd Status for the jail: sshd |- Filter | |- Currently failed: 1 | |- Total failed: 10 | `- File list: /var/log/auth.log `- Actions |- Currently banned: 1 |- Total banned: 1 `- Banned IP list: 183.81.169.238
fail2ban 的配置文件,最好是修改 /etc/fail2ban/jail.local 这个是本机文件,以后升级系统,升级 fail2ban 也不会改变该文件。
有些参数需要设置在 jail.local 里面。比如下面,在 ignoreip 这里填入自己的 ip 地址,这样就不会不小心把自己给关在外面了。
另外还有 收件地址等等。
[sshd]
enabled = true
filter = sshd
backend = polling
action = %(action_mwl)s
ignoreip = 127.0.0.1 127.0.0.0/8 10.0.0.0/8 172.16.0.0/12 192.168.0.0/16
bantime = 24h
findtime = 10m
maxretry = 5
mta = sendmail
destemail = email@address
sendername = Fail2Ban