Deploy from a template
To start your project quickly and reliably, deploy from a pre-made Netlify template project, which is preconfigured for Netlify and optimized for different use cases. Next, you can customize your project, then publish your project to the web with a custom domain.
Prerequisites
Section titled “Prerequisites”- A Netlify account
- A Git hosting provider account, we recommend GitHub since our templates are stored there but you can technically use many other Git hosting providers
- Recommended: A code editor or another way to edit changes in your project’s files
Step 1: Deploy a preview of your template project
Section titled “Step 1: Deploy a preview of your template project”-
If you haven’t already, sign up for a Netlify account.
-
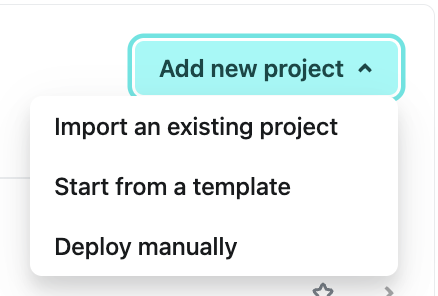
Go to your Netlify team account dashboard and select Add new project, then choose Start from a template.
-
Select a template to use for your project.
-
Choose a Git provider where you want to clone your project. You will need an account with the Git provider you select.
-
Give your project a name. This name will appear on your Netlify dashboard and will be in the default Netlify URL for your project at
https://YOURPROJECTNAME.netlify.app. -
Select Deploy project.
Step 2: Customize your project
Section titled “Step 2: Customize your project”To customize your project, you can edit your project files directly in a text editor or code editor, such as Windsurf, Cursor, or VSCode.
To clone your project repository to your local computer, you have two options:
Option 1: Use netlify clone (recommended)
Section titled “Option 1: Use netlify clone (recommended)”The fastest way to get started with local development is using the Netlify CLI’s clone command. This automatically clones your repository and links it to your Netlify site in one step.
- If you haven’t already, install the Netlify CLI with
npm install -g netlify-cliorbrew install netlify-cli. - Copy your repository URL or name from GitHub, then run one of the following commands:
- If you have just the owner and repository name from GitHub, run
netlify clone owner/repository-name. - If you have the full GitHub URL, run
netlify clone https://github.com/owner/repository-name.git.
The Netlify CLI will:
- Clone your repository to your local computer
- Automatically link it to your Netlify site
- Set up everything you need for local development
Option 2: Manual clone with Git
Section titled “Option 2: Manual clone with Git”If you prefer to clone manually or don’t have the Netlify CLI installed yet:
-
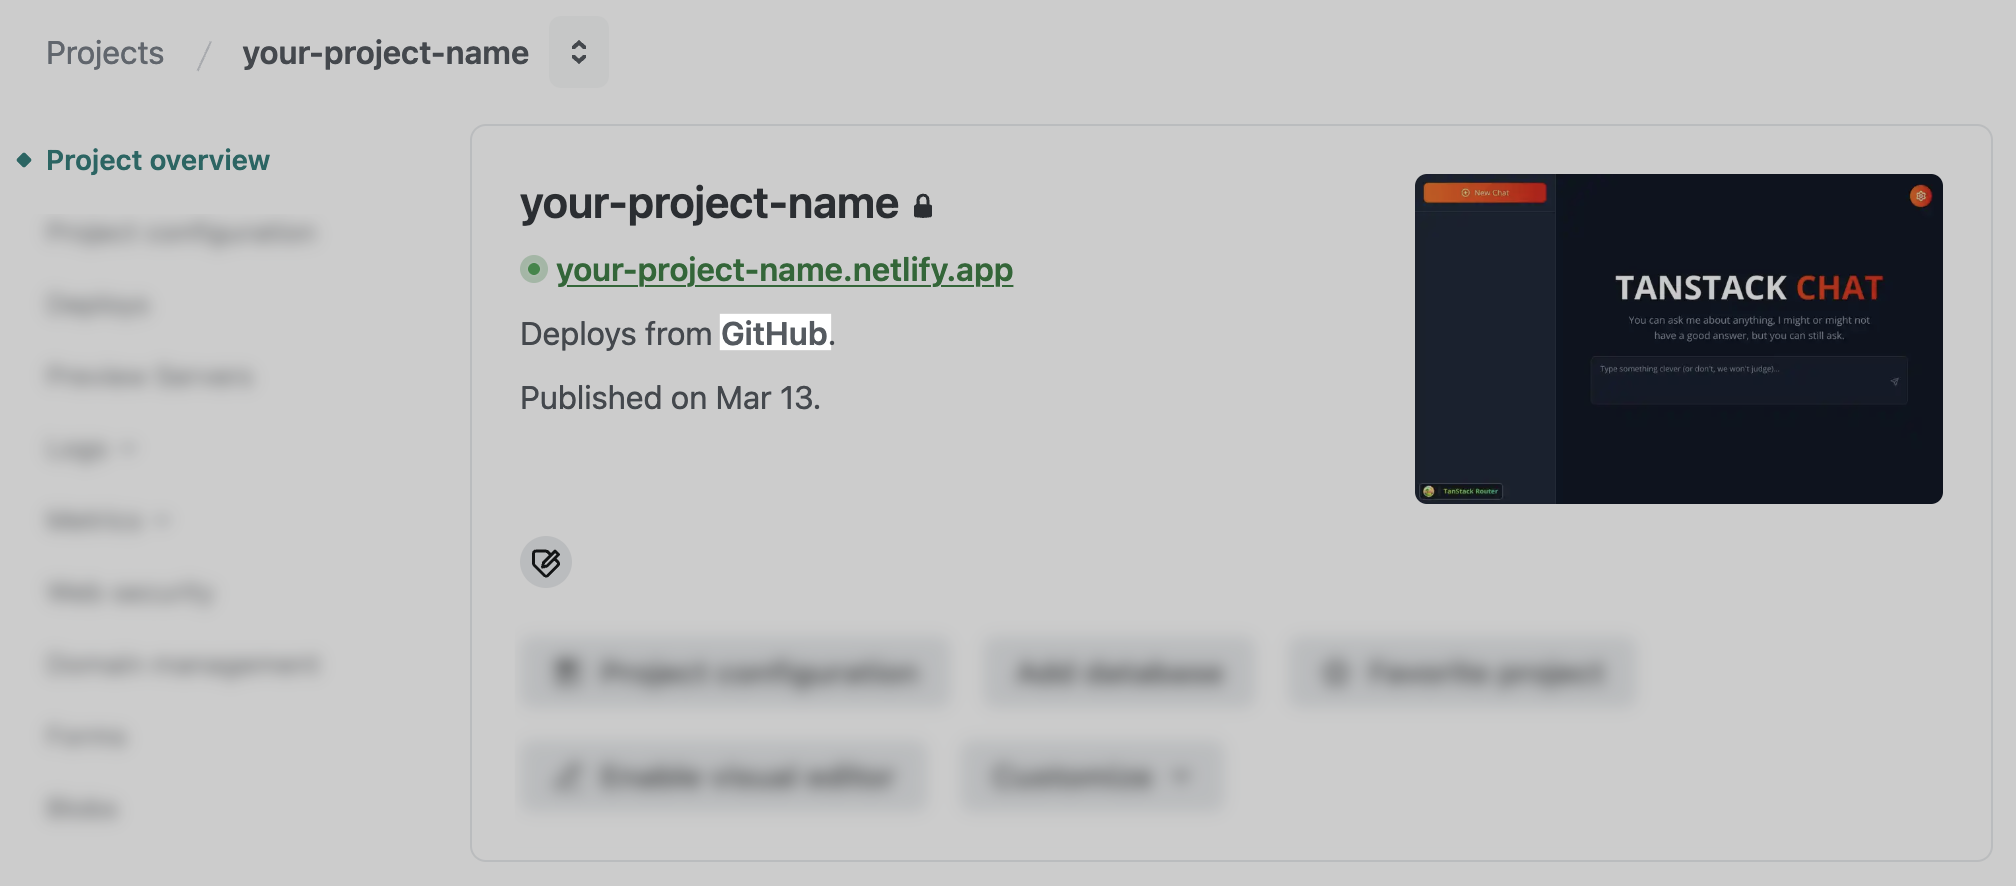
From your Netlify dashboard, go to your project overview dashboard and under your project name URL, select Deploys from GitHub. You’ll be directed to your template repository on GitHub.
-
In the top right of your project repository on GitHub, select Code, then choose a way to clone your project repository to your local computer and copy the related URL. If you choose HTTPS, you can use the following command with the URL you copied.
Terminal window git clone https://github.com/YOUR-USERNAME/YOUR-REPOSITORYFor help using Git clone, check out GitHub’s docs for new Git users or for cloning a repository.
-
After cloning, link your local repository to your Netlify site:
Terminal window cd YOUR-REPOSITORYnetlify link
Step 3: Add a custom domain
Section titled “Step 3: Add a custom domain”By default, your project is available on the web at the default Netlify URL https://YOURPROJECTNAME.netlify.app.
To make your project available on the web at a custom domain, you need to add a custom domain to your project.
You can add a custom domain you already own or buy a new custom domain directly through Netlify.
To add a new custom domain to your project:
-
In the left sidebar, go to Domain management Production domains.
-
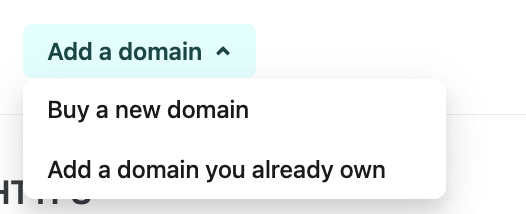
Next, choose Add a domain, then select Buy a new domain and follow the setup prompts. If you already bought and registered a custom domain you want to add to your project, then choose Add a domain you already own and check out our docs on Bring a domain to Netlify.
- Follow the setup prompts.
Did you find this doc useful?
Your feedback helps us improve our docs.