By the end of this guide, you’ll be able to serve dynamic websites from FastAPI endpoints using Jinja2 templates powered by CSS and JavaScript. By leveraging FastAPI’s HTMLResponse, StaticFiles, and Jinja2Templates classes, you’ll use FastAPI like a traditional Python web framework.
You’ll start by returning basic HTML from your endpoints, then add Jinja2 templating for dynamic content, and finally create a complete website with external CSS and JavaScript files to copy hex color codes:
To follow along, you should be comfortable with Python functions and have a basic understanding of HTML and CSS. Experience with FastAPI is helpful but not required.
Get Your Code: Click here to download the free sample code that shows you how to serve a website with FastAPI using HTML and Jinja2.
Take the Quiz: Test your knowledge with our interactive “How to Serve a Website With FastAPI Using HTML and Jinja2” quiz. You’ll receive a score upon completion to help you track your learning progress:
Interactive Quiz
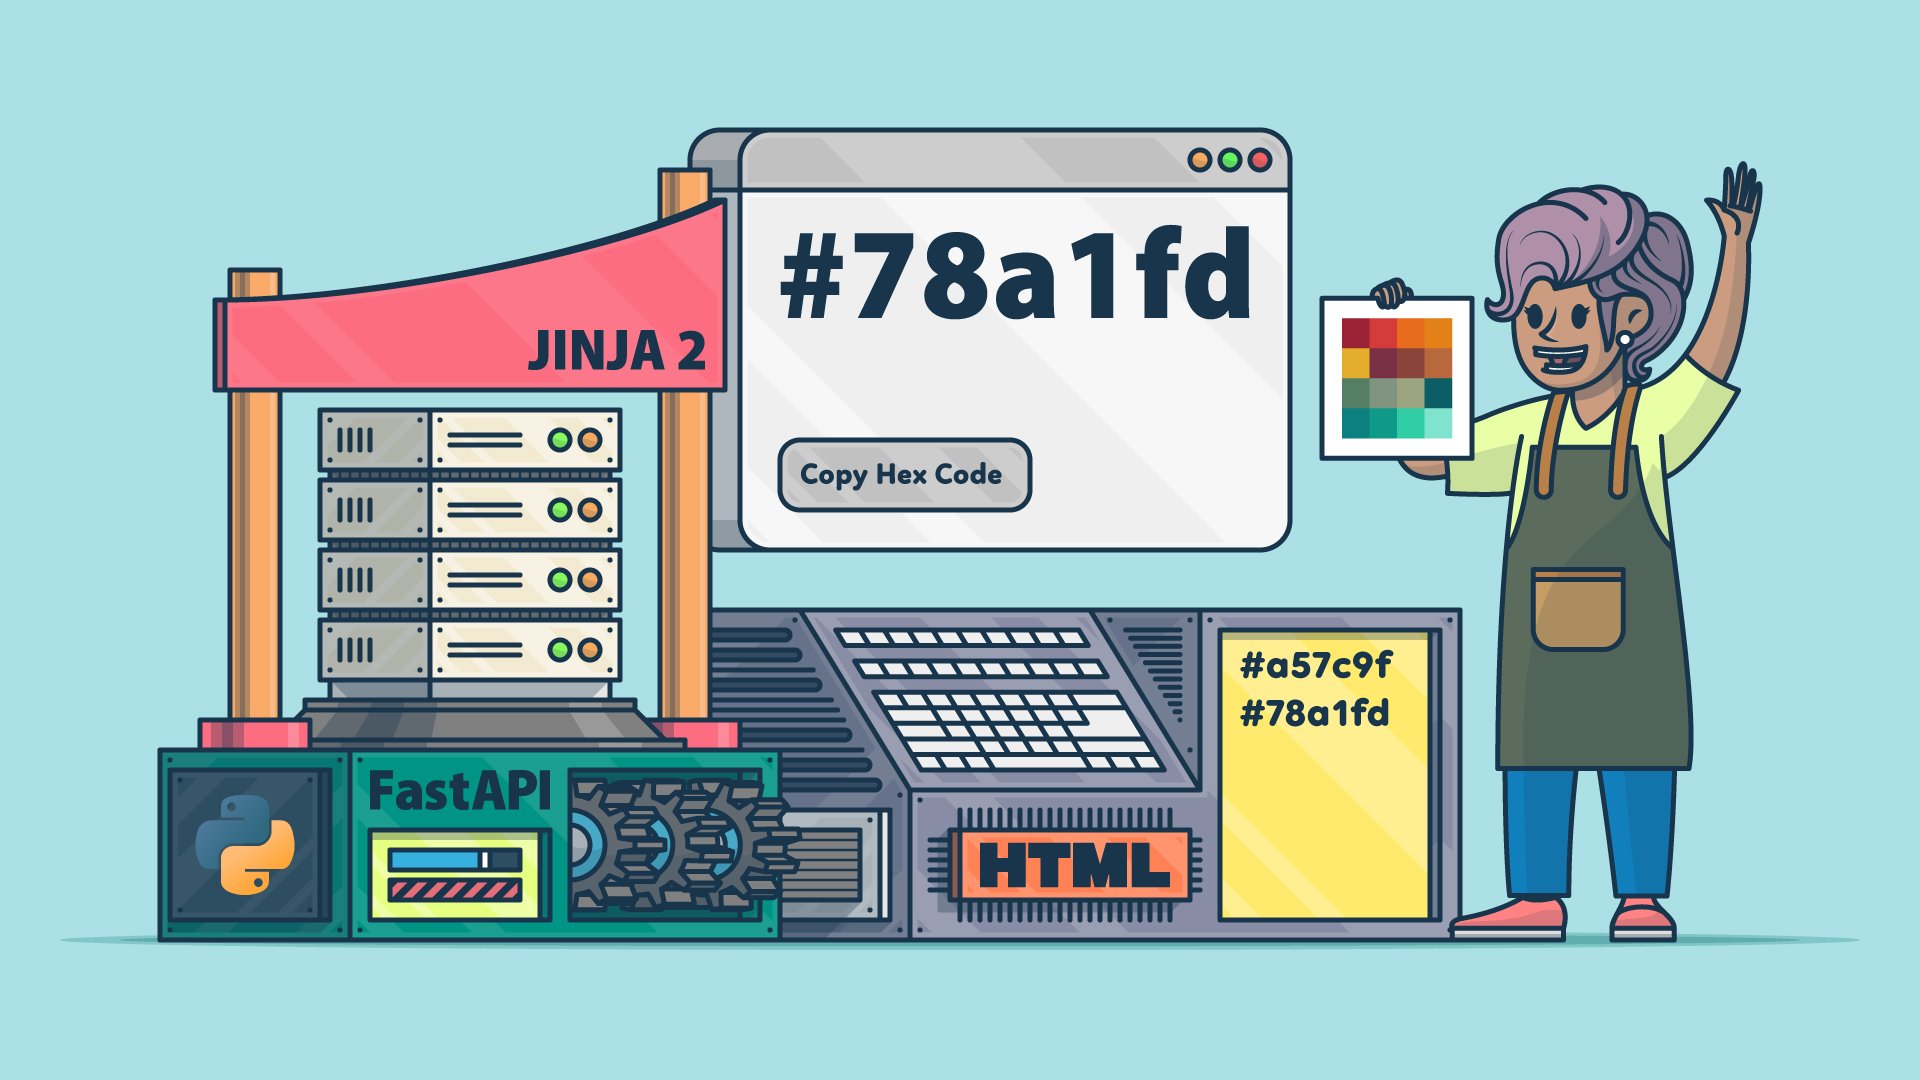
How to Serve a Website With FastAPI Using HTML and Jinja2Review how to build dynamic websites with FastAPI and Jinja2, and serve HTML, CSS, and JS with HTMLResponse and StaticFiles.
Prerequisites
Before you start building your HTML-serving FastAPI application, you’ll need to set up your development environment with the required packages. You’ll install FastAPI along with its standard dependencies, including the ASGI server you need to run your application.
Select your operating system below and install FastAPI with all the standard dependencies inside a virtual environment:
These commands create and activate a virtual environment, then install FastAPI along with Uvicorn as the ASGI server, and additional dependencies that enhance FastAPI’s functionality. The standard option ensures you have everything you need for this tutorial, including Jinja2 for templating.
Step 1: Return Basic HTML Over an API Endpoint
When you take a close look at a FastAPI example application, you commonly encounter functions returning dictionaries, which the framework transparently serializes into JSON responses.
However, FastAPI’s flexibility allows you to serve various custom responses besides that—for example, HTMLResponse to return content as a text/html type, which your browser interprets as a web page.
To explore returning HTML with FastAPI, create a new file called main.py and build your first HTML-returning endpoint:
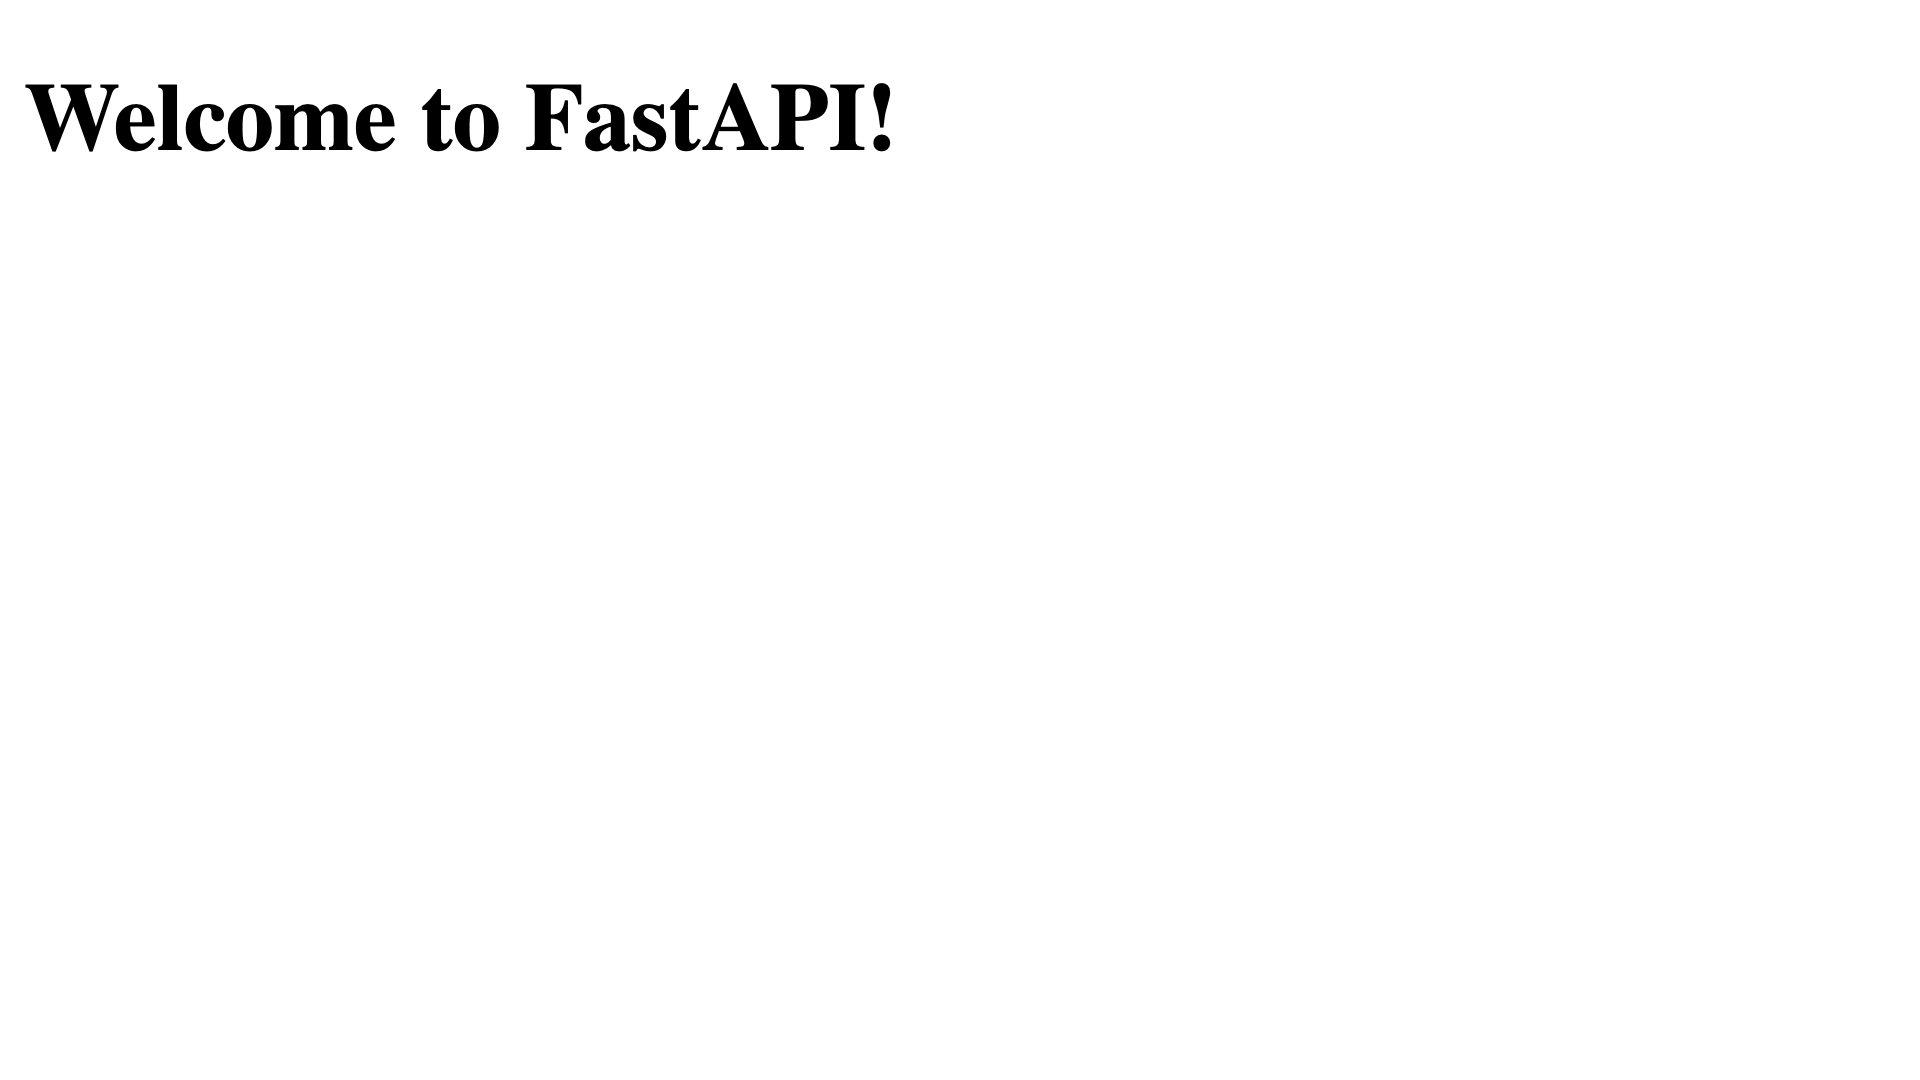
main.py from fastapi import FastAPI from fastapi.responses import HTMLResponse app = FastAPI() @app.get("/", response_class=HTMLResponse) def home(): html_content = """ <!DOCTYPE html> <html lang="en"> <head> <meta charset="UTF-8"> <title>Home</title> </head> <body> <h1>Welcome to FastAPI!</h1> </body> </html> """ return html_content The HTMLResponse class tells FastAPI to return your content with the text/html content type instead of the default application/json response. This ensures that browsers interpret your response as HTML rather than plain text.
Before you can visit your home page, you need to start your FastAPI development server to see the HTML response in action:
(venv) $ fastapi dev main.py Visit http://127.0.0.1:8000/ in your browser, and you’ll see your heading rendered as HTML. The browser displays “Welcome to FastAPI!” as a proper heading element, not as raw text with HTML tags:
While returning HTML strings directly from your endpoints is straightforward, it has limitations. Reusing HTML components, managing complex layouts, and keeping Python logic separate from HTML markup all become difficult. These challenges are exactly what templates are designed to address.
Step 2: Level Up Your FastAPI App With Jinja2 Templates
The combination of FastAPI and Jinja2 gives you a powerful way to generate templates. Jinja2 lets you separate your HTML structure from your Python logic while providing features like variable interpolation and template inheritance.
To create a random color generator that demonstrates how Jinja2 templates work with FastAPI, update the home() function in your main.py file:
main.py import random from string import hexdigits from fastapi import FastAPI from fastapi.responses import HTMLResponse from jinja2 import Template app = FastAPI() @app.get("/", response_class=HTMLResponse) def home(): hex_chars = "".join(random.choices(hexdigits.lower(), k=6)) hex_color = f"#{hex_chars}" html_template = """ <!DOCTYPE html> <html lang="en"> <head> <meta charset="UTF-8"> <title>Random Color Generator</title> <style> body { height: 100vh; display: flex; justify-content: center; align-items: center; background-color: {{ color }}; color: white; font-size: 120px; font-family: monospace; } </style> </head> <body> <div id="color-code">{{ color }}</div> </body> </html> """ html_content = Template(html_template) website = html_content.render(color=hex_color) return website Since you’ve installed FastAPI with the standard option, you already have the jinja2 package in your project. To create dynamic templates in FastAPI, you just need to import Jinja’s Template class. To return an HTML response, you import HTMLResponse.
In the home() function, you first create a hexadecimal color using six random digits. Next, you inject it into html_content through the {{ color }} placeholder before returning the rendered web page.
Hop over to your browser, visit http://127.0.0.1:8000/, and reload the page several times to see the different random colors:
While embedding HTML templates as strings in your Python code works for small examples, it quickly becomes impractical for real applications. In the next step, you’ll organize your templates and build a more complete website structure.
Step 3: Serve Your Website With FastAPI
Building a complete website with FastAPI requires a proper project structure that separates your Jinja templates, static files like CSS and JavaScript files, and your Python code.
In this step, you’ll create a more sophisticated random color generator that uses external template files, CSS stylesheets, and JavaScript for enhanced functionality. This approach mirrors how you’d structure a production FastAPI web application.
First, create the templates/ and static/ folders inside your project next to the existing main.py file:
(venv) $ mkdir templates static Now, create a new HTML file called base.html in the templates/ folder. This will be your main Jinja template that other templates can extend:
templates/base.html 1<!DOCTYPE html> 2<html lang="en"> 3<head> 4 <meta charset="UTF-8"> 5 <title>Random Color Generator</title> 6 <link href="/static/style.css" rel="stylesheet"> 7</head> 8<body> 9 {% block content %}{% endblock content %} 10 <script src="/static/script.js"></script> 11</body> 12</html> Just like the HTML template you served directly before, the base.html file contains the main structure of your website. Instead of adding the CSS styling to the template, you link an external CSS file in line 6. Also, you connect an external JavaScript file to your website in line 10. You’ll create both files in a moment.
Note that you use the {% block %} tag in line 9 instead of adding the #color-code element directly. This defines a dynamic block in your base template, which the color.html child template later replaces with its own content block.
In your templates/ folder, next to base.html, create a new template named color.html:
templates/color.html {% extends "base.html" %} {% block content %} <style> body { background-color: {{ color }}; } </style> <div id="color-code">{{ color }}</div> <button id="copy-button">Copy Hex Code</button> {% endblock %} To connect the color.html file with its parent base.html template, you must add an {% extends %} tag at the top of the file. Then, go on to add these three elements in the content block:
- A
styleblock that sets the providedcolorvariable as the website’s background color - The
divelement containing the color value - A button that copies the hex value to your clipboard
The button alone doesn’t do much. To copy the hex color to the clipboard when it’s clicked, you’ll need a bit of JavaScript. Go ahead and add a JavaScript file named script.js in the static/ folder with the following content:
static/script.js document.querySelector('#copy-button').addEventListener('click', () => { const colorCode = document.querySelector('#color-code').textContent; navigator.clipboard.writeText(colorCode); }); With these few lines of JavaScript, you add an event listener to the copy-button on your website. Every time you click the button, JavaScript copies the current color code and saves it to your clipboard.
With the HTML code and JavaScript functionality in place, it’s time to add the styling to your website. Create static/style.css and add the content you had in the style tag to the file, making one small adjustment:
static/style.css body { height: 100vh; display: flex; justify-content: center; align-items: center; /* Remove: background-color: ; */ color: white; font-size: 120px; font-family: monospace; } Just like before, the CSS styling ensures that the hex color code is displayed in the middle of the page in a large, white monospace font. Since you set the background color dynamically in the color.html template, you must remove the background-color declaration here.
You’ve already linked to style.css and script.js in your base.html file. So, the only adjustment left is adapting your FastAPI app to connect all the pieces. Update your main.py to use the template files and serve static content:
main.py import random from string import hexdigits from fastapi import FastAPI, Request from fastapi.responses import HTMLResponse from fastapi.staticfiles import StaticFiles from fastapi.templating import Jinja2Templates app = FastAPI() app.mount("/static", StaticFiles(directory="static"), name="static") templates = Jinja2Templates(directory="templates") @app.get("/", response_class=HTMLResponse) def home(request: Request): hex_chars = "".join(random.choices(hexdigits.lower(), k=6)) hex_color = f"#{hex_chars}" context = { "color": hex_color, } return templates.TemplateResponse( request=request, name="color.html", context=context ) Since you’re not rendering the template in the home() function, you can remove the former Template import from jinja2. Instead, you’ll rely entirely on the classes that FastAPI provides.
The Jinja2Templates class loads templates from your templates/ directory, while StaticFiles serves your CSS and JavaScript files. The templates.TemplateResponse() method combines your template with the context data to generate the final HTML. Notice how you pass the request object to every template response, which FastAPI requires for proper request handling.
Run your application and visit http://127.0.0.1:8000/ to see your FastAPI-served website in action:
(venv) $ fastapi dev main.py Just like before, you can reload the page to see a different random color. Now, you also have a button to copy the color code if you find a color that you like:
The dynamic website you’ve built contains the base structure that you can conveniently extend. You can add more templates and create reusable template components. If you want to serve another site, then you can define additional endpoints, making use of the options and parameters that FastAPI provides.
Next Steps
You’ve successfully built a dynamic website with FastAPI and Jinja2 templates. Your application demonstrates the key concepts of serving HTML content, from basic responses to a fully-featured website with template inheritance and static assets.
To extend your FastAPI web application further, consider exploring these topics:
- RESTful API: Create API endpoints to let users create their own color pool.
- Database Integration: Add persistent storage to save favorite colors using SQLAlchemy with FastAPI.
- Async Requests: Handle multiple requests concurrently without blocking, making it more efficient under load by leveraging Python’s
asyncandawaitkeywords.
For deeper learning, explore the Primer on Jinja Templating to master advanced template features, or dive into HTML and CSS for Python Developers to enhance your front-end skills.
If you want to build a more API-driven project with FastAPI, check out Build a URL Shortener With FastAPI and Python.
Get Your Code: Click here to download the free sample code that shows you how to serve a website with FastAPI using HTML and Jinja2.
Frequently Asked Questions
Now that you have some experience serving HTML with FastAPI and Jinja2 in Python, you can use the questions and answers below to check your understanding and recap what you’ve learned.
These FAQs are related to the most important concepts you’ve covered in this tutorial. Click the Show/Hide toggle beside each question to reveal the answer.
Not only is FastAPI a backend framework, but it can also serve complete web pages. You can serve full pages with HTMLResponse, render Jinja2 templates with Jinja2Templates, and mount static assets with StaticFiles.
To return HTML from a FastAPI endpoint, set response_class=HTMLResponse on your route and return an HTML string. Your browser then renders the HTML instead of showing JSON.
You switch from inline HTML to Jinja2 templates when you want reusable layouts, cleaner separation of Python and HTML, and easier maintenance using template inheritance.
Yes! You set response_class=HTMLResponse on your route and use a Template object from jinja2 to return the final HTML. Or, you can use FastAPI’s templates.TemplateResponse, which must contain a request object and a Jinja2 template as arguments.
To serve CSS and JavaScript files with FastAPI, you mount a static directory using app.mount("/static", StaticFiles(directory="static"), name="static") and reference those files from your templates.
Take the Quiz: Test your knowledge with our interactive “How to Serve a Website With FastAPI Using HTML and Jinja2” quiz. You’ll receive a score upon completion to help you track your learning progress:
Interactive Quiz
How to Serve a Website With FastAPI Using HTML and Jinja2Review how to build dynamic websites with FastAPI and Jinja2, and serve HTML, CSS, and JS with HTMLResponse and StaticFiles.


