Use the Subscribe block to add a subscription box to your site so visitors can be notified when you publish new posts. In this guide, you’ll learn how to add and customize the Subscribe block.
To add a subscription box to your site, follow these steps:
- Go to your site’s dashboard.
- Edit the page, post, or template where you want to display the subscription box.
- Click the + block inserter and search for “subscribe”. Click the Subscribe block to add it.
- Choose your subscription type:
- Skip this step to create a free subscriber option.
- Click the “Set up a paid plan” option in the block toolbar to create a paid newsletter.
- Click the Save or Publish button to save your changes.
You can also automatically display a Subscribe block at the bottom of every blog post via the newsletter settings.

Note: When you view the subscription form on your site while logged in, the email field shows your WordPress.com email address. This is only visible to you. Your visitors see their own email (if logged in) or the placeholder text (if not logged in).
💡
If you’re missing the Subscribe block, you may be running a WordPress.org website. Install the Jetpack plugin to add the Subscribe block to your self-hosted site.
The Subscribe block shows default text for the button (“Subscribe”) and email field (“Type your email…”). To change this text, follow these steps:
- Click the Subscribe block.
- To change the button text, click on the button and type your new text.
- To change the email placeholder text, open the block settings, scroll to the Settings section, and enter your text in the “Input Placeholder Text” field.

To customize how the subscription box looks, follow these steps:
- Click the Subscribe block.
- Open the block settings.
- Adjust the following settings as needed:
- Color: Change the button color, button text color, and email box border color.
- Typography: Adjust the font size using preset options (S, M, L, XL, XXL) or enter a custom size.
- Border: Modify the shape and thickness of borders around the boxes.
- Spacing: Adjust the space inside the subscription box, between the email box and button, and the button width.
- Settings: Toggle “Place button on new line” to move the button below the email box.

- Open the Styles tab to access additional options:
- Styles: Choose from preset layouts, including a compact style or a button-only option.
- Dimensions: Adjust padding and margin.

To display the number of subscribers on your site, follow these steps:
- Click the Subscribe block.
- Open the block settings in the sidebar.
- Scroll to the Settings section.
- Toggle on “Show subscriber count”.
- Optionally, toggle on “Include social followers in count” to include followers from your connected social media accounts.

Note: When you include social followers, the count displays total followers from WordPress.com, Facebook, and LinkedIn. These totals may take time to update.
Learn how to view and manage your subscribers.
This section of the guide applies to sites with the WordPress.com Business and Commerce plan, and the legacy Pro plan. If you have a Business plan, make sure to activate it. For sites on the Free, Personal, and Premium plans, upgrade your plan to access this feature.
On plugin-enabled sites, you can customize the message new subscribers see after subscribing. To change this message, follow these steps:
- Click the Subscribe block.
- Open the block settings in the sidebar.
- Scroll to the Settings section.
- Enter your custom message in the “Success Message” field.

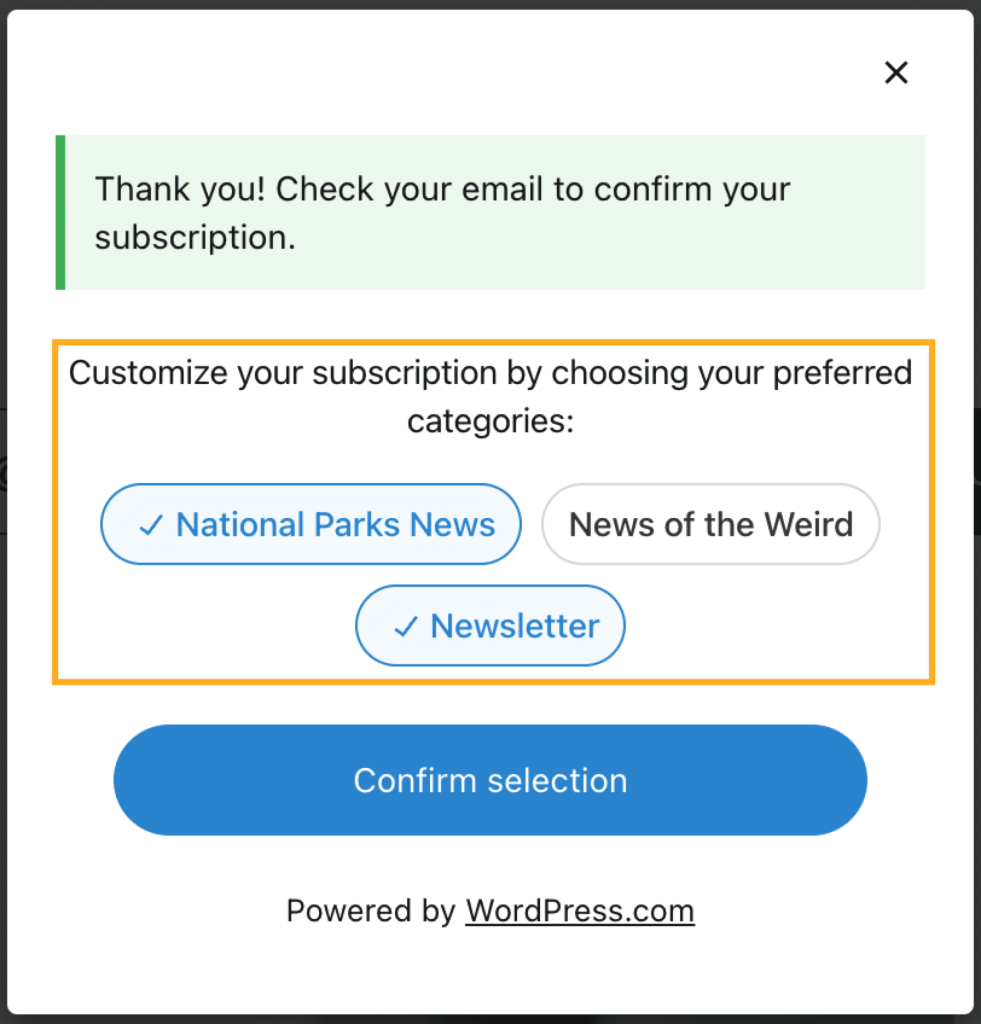
To let visitors subscribe to specific newsletter categories, follow these steps:
- Click the Subscribe block.
- Open the block settings.
- Scroll to the Settings section.
- Select which newsletter categories you want visitors to be automatically subscribed to.

When visitors subscribe, they can choose which categories they want to receive email updates for.
To view and manage your subscribers, follow these steps:
- Go to your site’s dashboard.
- Navigate to Jetpack → Subscribers.
From this page, you can view your subscriber list, export subscriber data, and manage individual subscriptions. Learn more about managing your subscribers.