Overview #
This guide covers how to separate the form your visitors will use to generate a marker, from the map where the marker will be placed
Prerequisites #
The Following Plugins need to be installed and active
- WP Go Maps
- WP Go Maps Pro Add-on
- Visitor Generated Markers
Step 1: Add the map Short code #
Paste the following shortcode on the page where you would like the Visitor Generated Markers (VGM) form to appear:
[wpgmza_vgm_form link_to_map=”Map ID” redirect_to=”Page Link”]
Step 2: Link form to map that the marker will be created on #
Add your map ID (on which the marker must be placed) to the ‘wpgmza_vgm_form link_to_map’ attribute (1 in the example below).

Link form to map
Step 3: Configure redirection after form submission #
Insert the url of page where the visitor will be redirected after adding the marker to the ‘redirect_to’ attribute (https://www.wpgmaps.com/demo/visitor-generated-markers/ in the example below).

Insert redirect link
Update the Page
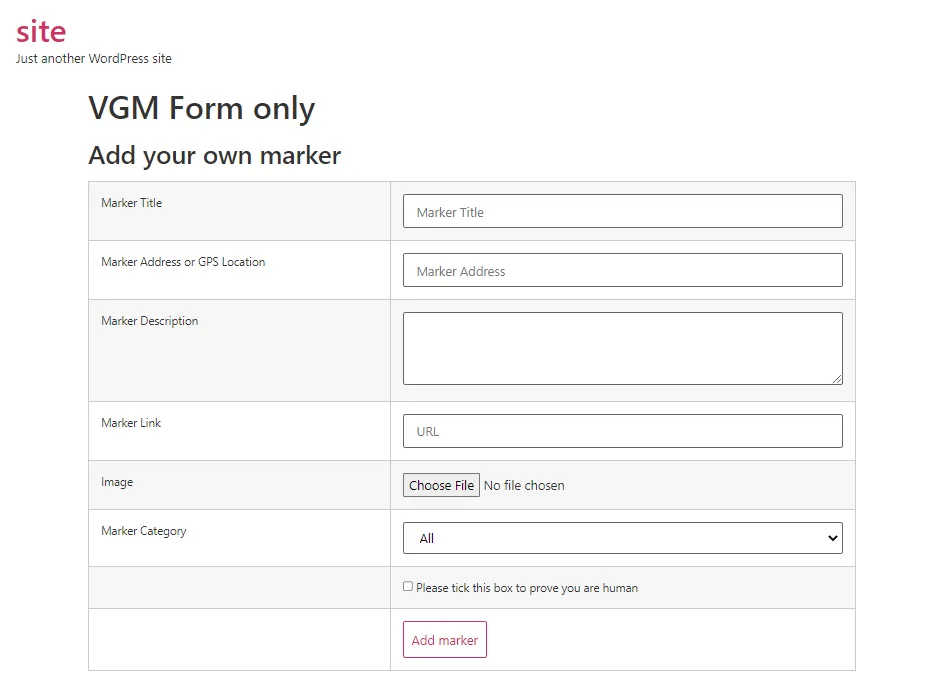
A VGM form will now display on that page, without the associated map

VGM Form on page
Step 4 (optional) Remove the VGM form from the map page #
If the ‘redirect_to’ attribute will redirected to the map where the marker was added, remove the vgm form on that page by adding the following attribute to the map shortcode disable_vgm_form=”1″ e.g.
[wpgmza id=”1″ disable_vgm_form=”1″]
Update your page.
Your page should now display the Map and markers only.


