Since you said you activated the "Face Orientation", i believe my suggestion was most likely not explanatory enough, sorry.
Here what i found:

So regarding the "Face Orientation", switched on here:
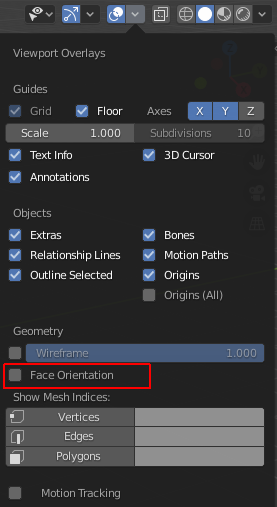
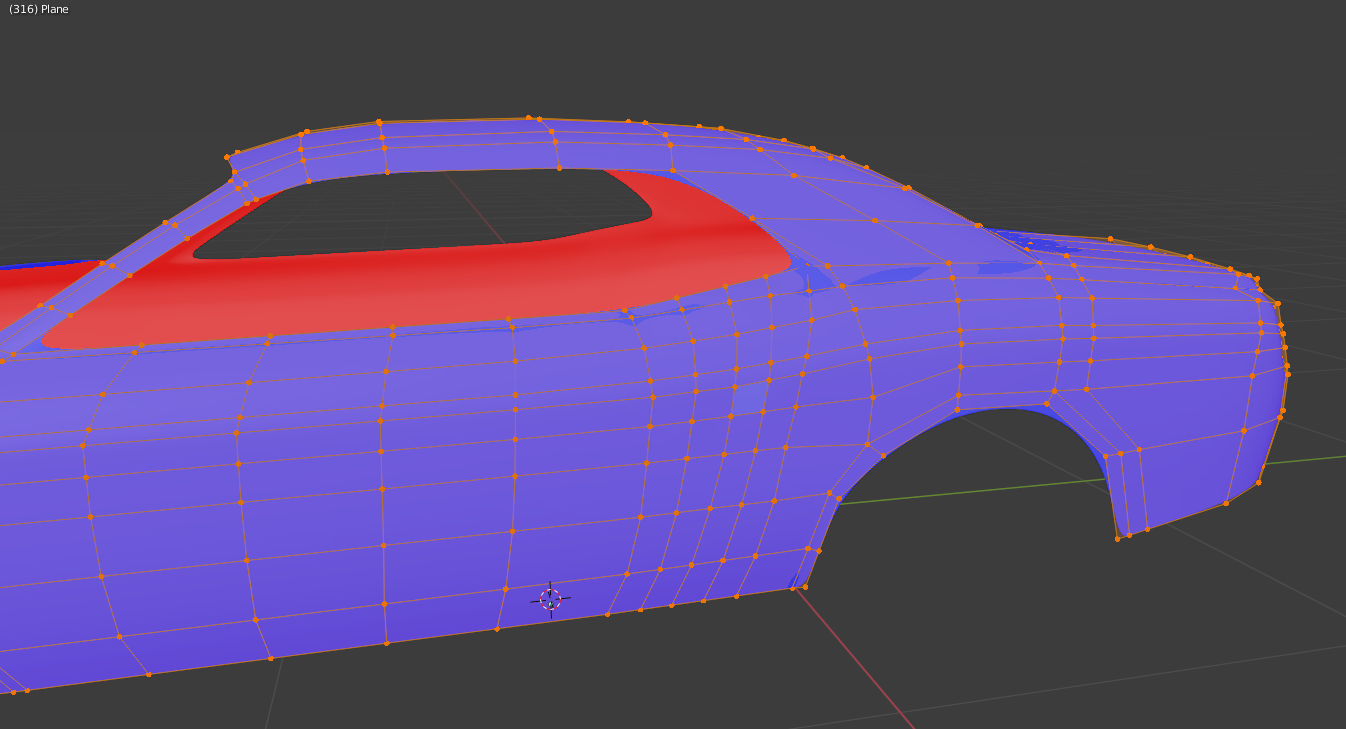
blueBlue is the outside side of a face, while red is the inside side of the face. That said, when we look at objects with the "Face Orientation" option on, normally all faces should be blue, except those parts where there is a hole and you can look into the object, where it should be all red.
Now your problem most likely came to be when you worked on the model and pressed some key-combinations while trying to use others. Blender has many key-mappings that are similar and it can therefor accidentally happen, while not in this mode you would not see a change instantly either.
So now to the solution:
- Select the object, then go in edit mode pressing Tab
- Press A to select all elements, it does not matter which mode you are in, be it vertices, edges or faces
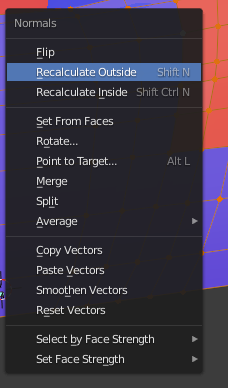
- Either press Alt+N to open the "Normals" menu and select "Recalculate Outside" or use the direct shortcut Shift+N
The result should look like this now:
Now we can deactivate the "Face Orientation" mode to see this:
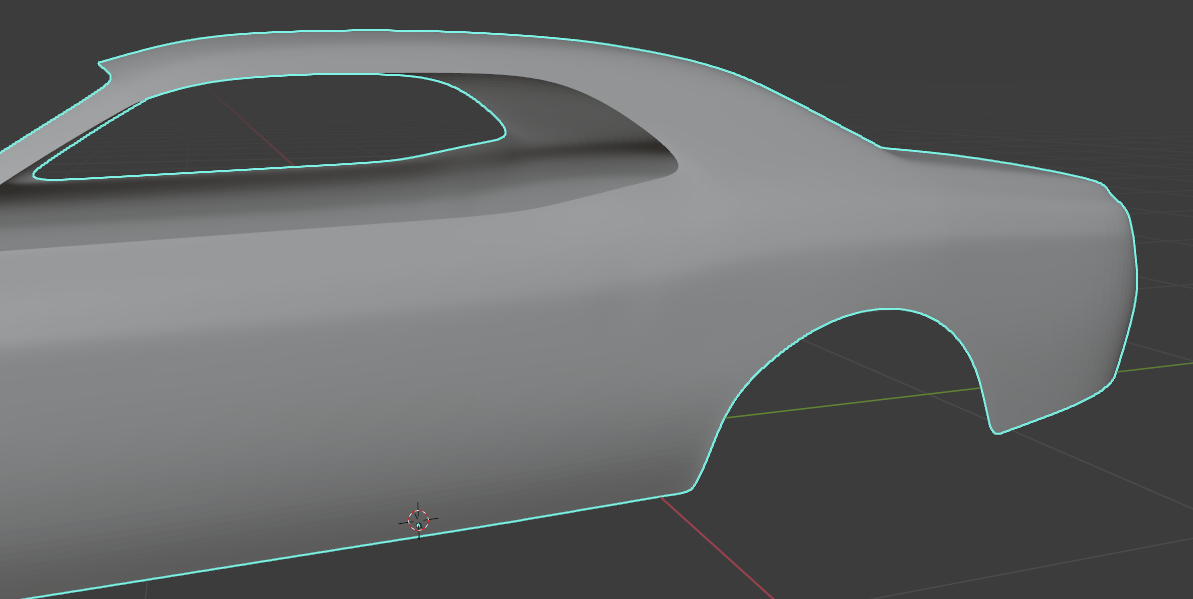
You may need to iron out those vertices if you moved them to find the problem.
Should you have some faces that just don't want to turn the right way with this method, you can always select the corresponding face(s) and then press Alt+N to select "Flip".
From here on out i wish you a good time Blending.