Automate your web tasks while you stay in control


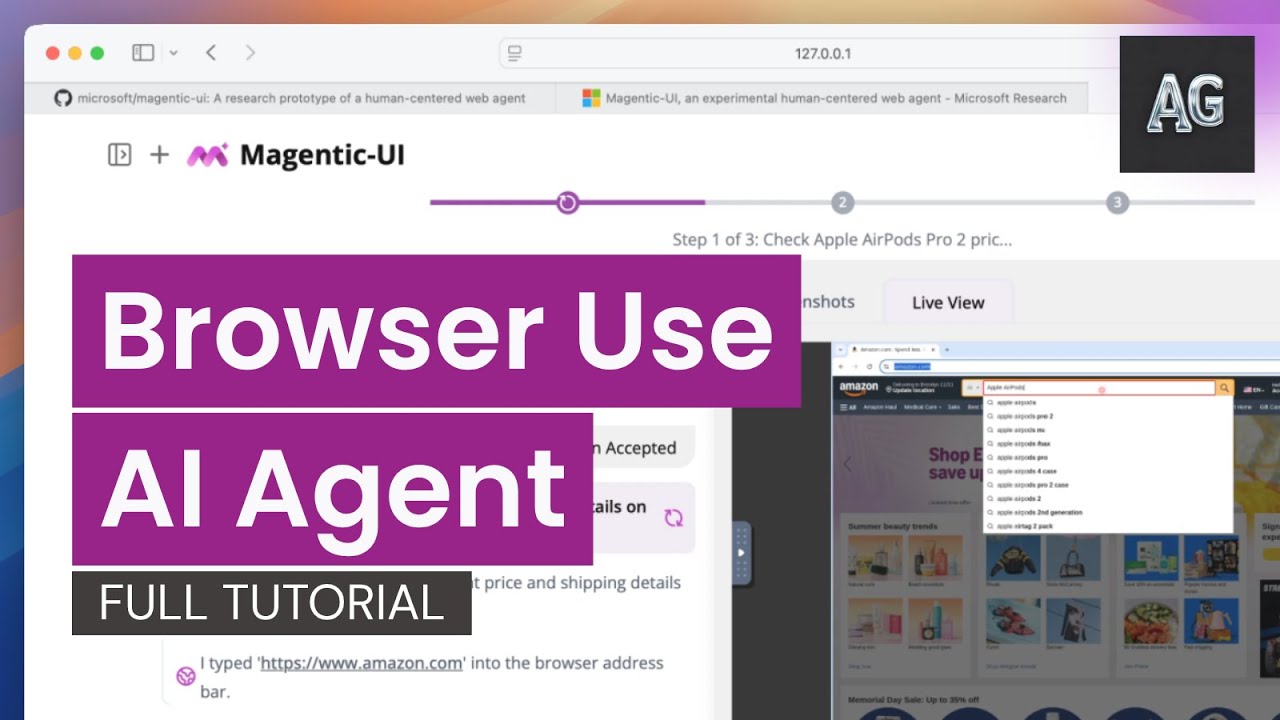
![]()
Magentic-UI is a research prototype human-centered AI agent that solves complex web and coding tasks that may require monitoring. Unlike other black-box agents, the system reveals its plan before executions, lets you guide its actions, and requests approval for sensitive operations while browsing websites, executing code, and analyzing files. Check out the demo section for inspiration on what tasks you can accomplish.
Microsoft latest agentic model Fara-7B is now integrated in Magentic-UI, read how to launch in Fara-7B guide
- "Tell me When": Automate monitoring tasks and repeatable workflows that require web or API access that span minutes to days. Learn more here.
- File Upload Support: Upload any file through the UI for analysis or modification
- MCP Agents: Extend capabilities with your favorite MCP servers
- Easier Installation: We have uploaded our docker containers to GHCR so you no longer need to build any containers! Installation time now is much quicker.
Here's how you can get started with Magentic-UI:
# 1. Setup environment python3 -m venv .venv source .venv/bin/activate pip install magentic-ui --upgrade # 2. Set your API key export OPENAI_API_KEY="your-api-key-here" # 3. Launch Magentic-UI magentic-ui --port 8081Then open http://localhost:8081 in your browser to interact with Magentic-UI!
Prerequisites: Requires Docker and Python 3.10+. Windows users should use WSL2. See detailed installation for more info.
Without Docker (limited functionality: no code execution):
magentic-ui --run-without-docker --port 8081Command Line Interface:
magentic-cli --work-dir PATH/TO/STORE/DATACustom LLM Clients:
# Azure pip install magentic-ui[azure] # Ollama (local models) pip install magentic-ui[ollama]You can then pass a config file to the magentic-ui command ( client config) or change the model client inside the UI settings.
For further details on installation please read the 🛠️ Installation section. For common installation issues and their solutions, please refer to the troubleshooting document. See advanced usage instructions with the command magentic-ui --help.
🎬 Demos | 🟪 How it Works | 🛠️ Installation |
| 🍕 Pizza Ordering Ordering.task.1.mp4 | 🏠 Airbnb Price Analysis Copy.of.MCP.mp4 | ⭐ Star Monitoring Repo.Milestone.Trigger.-.Final.demo.mp4 |

Magentic-UI is especially useful for web tasks that require actions on the web (e.g., filling a form, customizing a food order), deep navigation through websites not indexed by search engines (e.g., filtering flights, finding a link from a personal site) or tasks that need web navigation and code execution (e.g., generate a chart from online data).
What differentiates Magentic-UI from other browser use offerings is its transparent and controllable interface that allows for efficient human-in-the-loop involvement. Magentic-UI is built using AutoGen and provides a platform to study human-agent interaction and experiment with web agents. Key features include:
- 🧑🤝🧑 Co-Planning: Collaboratively create and approve step-by-step plans using chat and the plan editor.
- 🤝 Co-Tasking: Interrupt and guide the task execution using the web browser directly or through chat. Magentic-UI can also ask for clarifications and help when needed.
- 🛡️ Action Guards: Sensitive actions are only executed with explicit user approvals.
- 🧠 Plan Learning and Retrieval: Learn from previous runs to improve future task automation and save them in a plan gallery. Automatically or manually retrieve saved plans in future tasks.
- 🔀 Parallel Task Execution: You can run multiple tasks in parallel and session status indicators will let you know when Magentic-UI needs your input or has completed the task.
To evaluate its autonomous capabilities, Magentic-UI has been tested against several benchmarks when running with o4-mini: GAIA test set (42.52%), which assesses general AI assistants across reasoning, tool use, and web interaction tasks ; AssistantBench test set (27.60%), focusing on realistic, time-consuming web tasks; WebVoyager (82.2%), measuring end-to-end web navigation in real-world scenarios; and WebGames (45.5%), evaluating general-purpose web-browsing agents through interactive challenges. To reproduce these experimental results, please see the following instructions.
If you're interested in reading more checkout our technical report and blog post.
Note: If you're using Windows, we highly recommend using WSL2 (Windows Subsystem for Linux).
- If running on Windows or Mac you should use Docker Desktop or if inside WSL2 you can install Docker directly inside WSL docker in WSL2 guide. If running on Linux, you should use Docker Engine.
If using Docker Desktop, make sure it is set up to use WSL2: - Go to Settings > Resources > WSL Integration - Enable integration with your development distro You can find more detailed instructions about this step here.
-
During the Installation step, you will need to set up your
OPENAI_API_KEY. To use other models, review the Model Client Configuration section below. -
You need at least Python 3.10 installed.
If you are on Windows, we recommend to run Magentic-UI inside WSL2 (Windows Subsystem for Linux) for correct Docker and file path compatibility.
Magentic-UI is available on PyPI. We recommend using a virtual environment to avoid conflicts with other packages.
python3 -m venv .venv source .venv/bin/activate pip install magentic-uiAlternatively, if you use uv for dependency management, you can install Magentic-UI with:
uv venv --python=3.12 .venv . .venv/bin/activate uv pip install magentic-uiTo run Magentic-UI, make sure that Docker is running, then run the following command:
magentic-ui --port 8081Note: Running this command for the first time will pull two docker images required for the Magentic-UI agents. If you encounter problems, you can build them directly with the following command:
cd docker sh build-all.shIf you face issues with Docker, please refer to the TROUBLESHOOTING.md document.
Once the server is running, you can access the UI at http://localhost:8081.
- First install magentic-ui with the fara extras:
python3 -m venv .venv source .venv/bin/activate pip install magentic-ui[fara]- In a seperate process, serve the Fara-7B model using vLLM:
vllm serve "microsoft/Fara-7B" --port 5000 --dtype auto - First create a
fara_config.yamlfile with the following content:
model_config_local_surfer: &client_surfer provider: OpenAIChatCompletionClient config: model: "microsoft/Fara-7B" base_url: http://localhost:5000/v1 api_key: not-needed model_info: vision: true function_calling: true json_output: false family: "unknown" structured_output: false multiple_system_messages: false orchestrator_client: *client_surfer coder_client: *client_surfer web_surfer_client: *client_surfer file_surfer_client: *client_surfer action_guard_client: *client_surfer model_client: *client_surferNote: if you are hosting vLLM on a different port or host, change the base_url accordingly.
Then launch Magentic-UI with the fara agent:
magentic-ui --fara --port 8081 --config fara_config.yaml Finally, navigate to http://localhost:8081 to access the interface!
If you want to use a different OpenAI key, or if you want to configure use with Azure OpenAI or Ollama, you can do so inside the UI by navigating to settings (top right icon) and changing model configuration. Another option is to pass a yaml config file when you start Magentic-UI which will override any settings in the UI:
magentic-ui --port 8081 --config config.yamlWhere the config.yaml should look as follows with an AutoGen model client configuration:
gpt4o_client: &gpt4o_client provider: OpenAIChatCompletionClient config: model: gpt-4o-2024-08-06 api_key: null base_url: null max_retries: 5 orchestrator_client: *gpt4o_client coder_client: *gpt4o_client web_surfer_client: *gpt4o_client file_surfer_client: *gpt4o_client action_guard_client: *gpt4o_client plan_learning_client: *gpt4o_clientYou can change the client for each of the agents using the config file and use AzureOpenAI (AzureOpenAIChatCompletionClient), Ollama and other clients.
You can also extend Magentic-UI's capabilities by adding custom "McpAgents" to the multi-agent team. Each McpAgent can have access to one or more MCP Servers. You can specify these agents via the mcp_agent_configs parameter in your config.yaml.
For example, here's an agent called "airbnb_surfer" that has access to the OpenBnb MCP Server running locally via Stdio.
mcp_agent_configs: - name: airbnb_surfer description: "The airbnb_surfer has direct access to AirBnB." model_client: provider: OpenAIChatCompletionClient config: model: gpt-4.1-2025-04-14 max_retries: 10 system_message: |- You are AirBnb Surfer, a helpful digital assistant that can help users acces AirBnB. You have access to a suite of tools provided by the AirBnB API. Use those tools to satisfy the users requests. reflect_on_tool_use: false mcp_servers: - server_name: AirBnB server_params: type: StdioServerParams command: npx args: - -y - "@openbnb/mcp-server-airbnb" - --ignore-robots-txtUnder the hood, each McpAgent is just a autogen_agentchat.agents.AssistantAgent with the set of MCP Servers exposed as an AggregateMcpWorkbench which is simply a named collection of autogen_ext.tools.mcp.McpWorkbench objects (one per MCP Server).
Currently the supported MCP Server types are autogen_ext.tools.mcp.StdioServerParams and autogen_ext.tools.mcp.SseServerParams.
This step is primarily for users seeking to make modifications to the code, are having trouble with the pypi installation or want the latest code before a pypi version release.
git clone https://github.com/microsoft/magentic-ui.git cd magentic-ui# install uv through https://docs.astral.sh/uv/getting-started/installation/ uv venv --python=3.12 .venv uv sync --all-extras source .venv/bin/activateFirst make sure to install node:
# install nvm to install node curl -o- https://raw.githubusercontent.com/nvm-sh/nvm/v0.40.1/install.sh | bash nvm install nodeThen install the frontend:
cd frontend npm install -g gatsby-cli npm install --global yarn yarn install yarn buildmagentic-ui --port 8081If you are making changes to the source code of the UI, you can run the frontend in development mode so that it will automatically update when you make changes for faster development.
- Open a separate terminal and change directory to the frontend
cd frontend- Create a
.env.developmentfile.
cp .env.default .env.development- Launch frontend server
npm run start- Then run the UI:
magentic-ui --port 8081The frontend from source will be available at http://localhost:8000, and the compiled frontend will be available at http://localhost:8081.
If you were unable to get Magentic-UI running, do not worry! The first step is to make sure you have followed the steps outlined above, particularly with the pre-requisites.
For common issues and their solutions, please refer to the TROUBLESHOOTING.md file in this repository. If you do not see your problem there, please open a GitHub Issue.
This project welcomes contributions and suggestions. For information about contributing to Magentic-UI, please see our CONTRIBUTING.md guide, which includes current issues to be resolved and other forms of contributing.
This project has adopted the Microsoft Open Source Code of Conduct. For more information, see the Code of Conduct FAQ or contact opencode@microsoft.com with any additional questions or comments.
Please cite our paper if you use our work in your research:
@article{mozannar2025magentic, title={Magentic-UI: Towards Human-in-the-loop Agentic Systems}, author={Mozannar, Hussein and Bansal, Gagan and Tan, Cheng and Fourney, Adam and Dibia, Victor and Chen, Jingya and Gerrits, Jack and Payne, Tyler and Maldaner, Matheus Kunzler and Grunde-McLaughlin, Madeleine and others}, journal={arXiv preprint arXiv:2507.22358}, year={2025} } Microsoft, and any contributors, grant you a license to any code in the repository under the MIT License. See the LICENSE file.
Microsoft, Windows, Microsoft Azure, and/or other Microsoft products and services referenced in the documentation may be either trademarks or registered trademarks of Microsoft in the United States and/or other countries. The licenses for this project do not grant you rights to use any Microsoft names, logos, or trademarks. Microsoft's general trademark guidelines can be found at http://go.microsoft.com/fwlink/?LinkID=254653.
Any use of third-party trademarks or logos are subject to those third-party's policies.
Privacy information can be found at https://go.microsoft.com/fwlink/?LinkId=521839
Microsoft and any contributors reserve all other rights, whether under their respective copyrights, patents, or trademarks, whether by implication, estoppel, or otherwise.