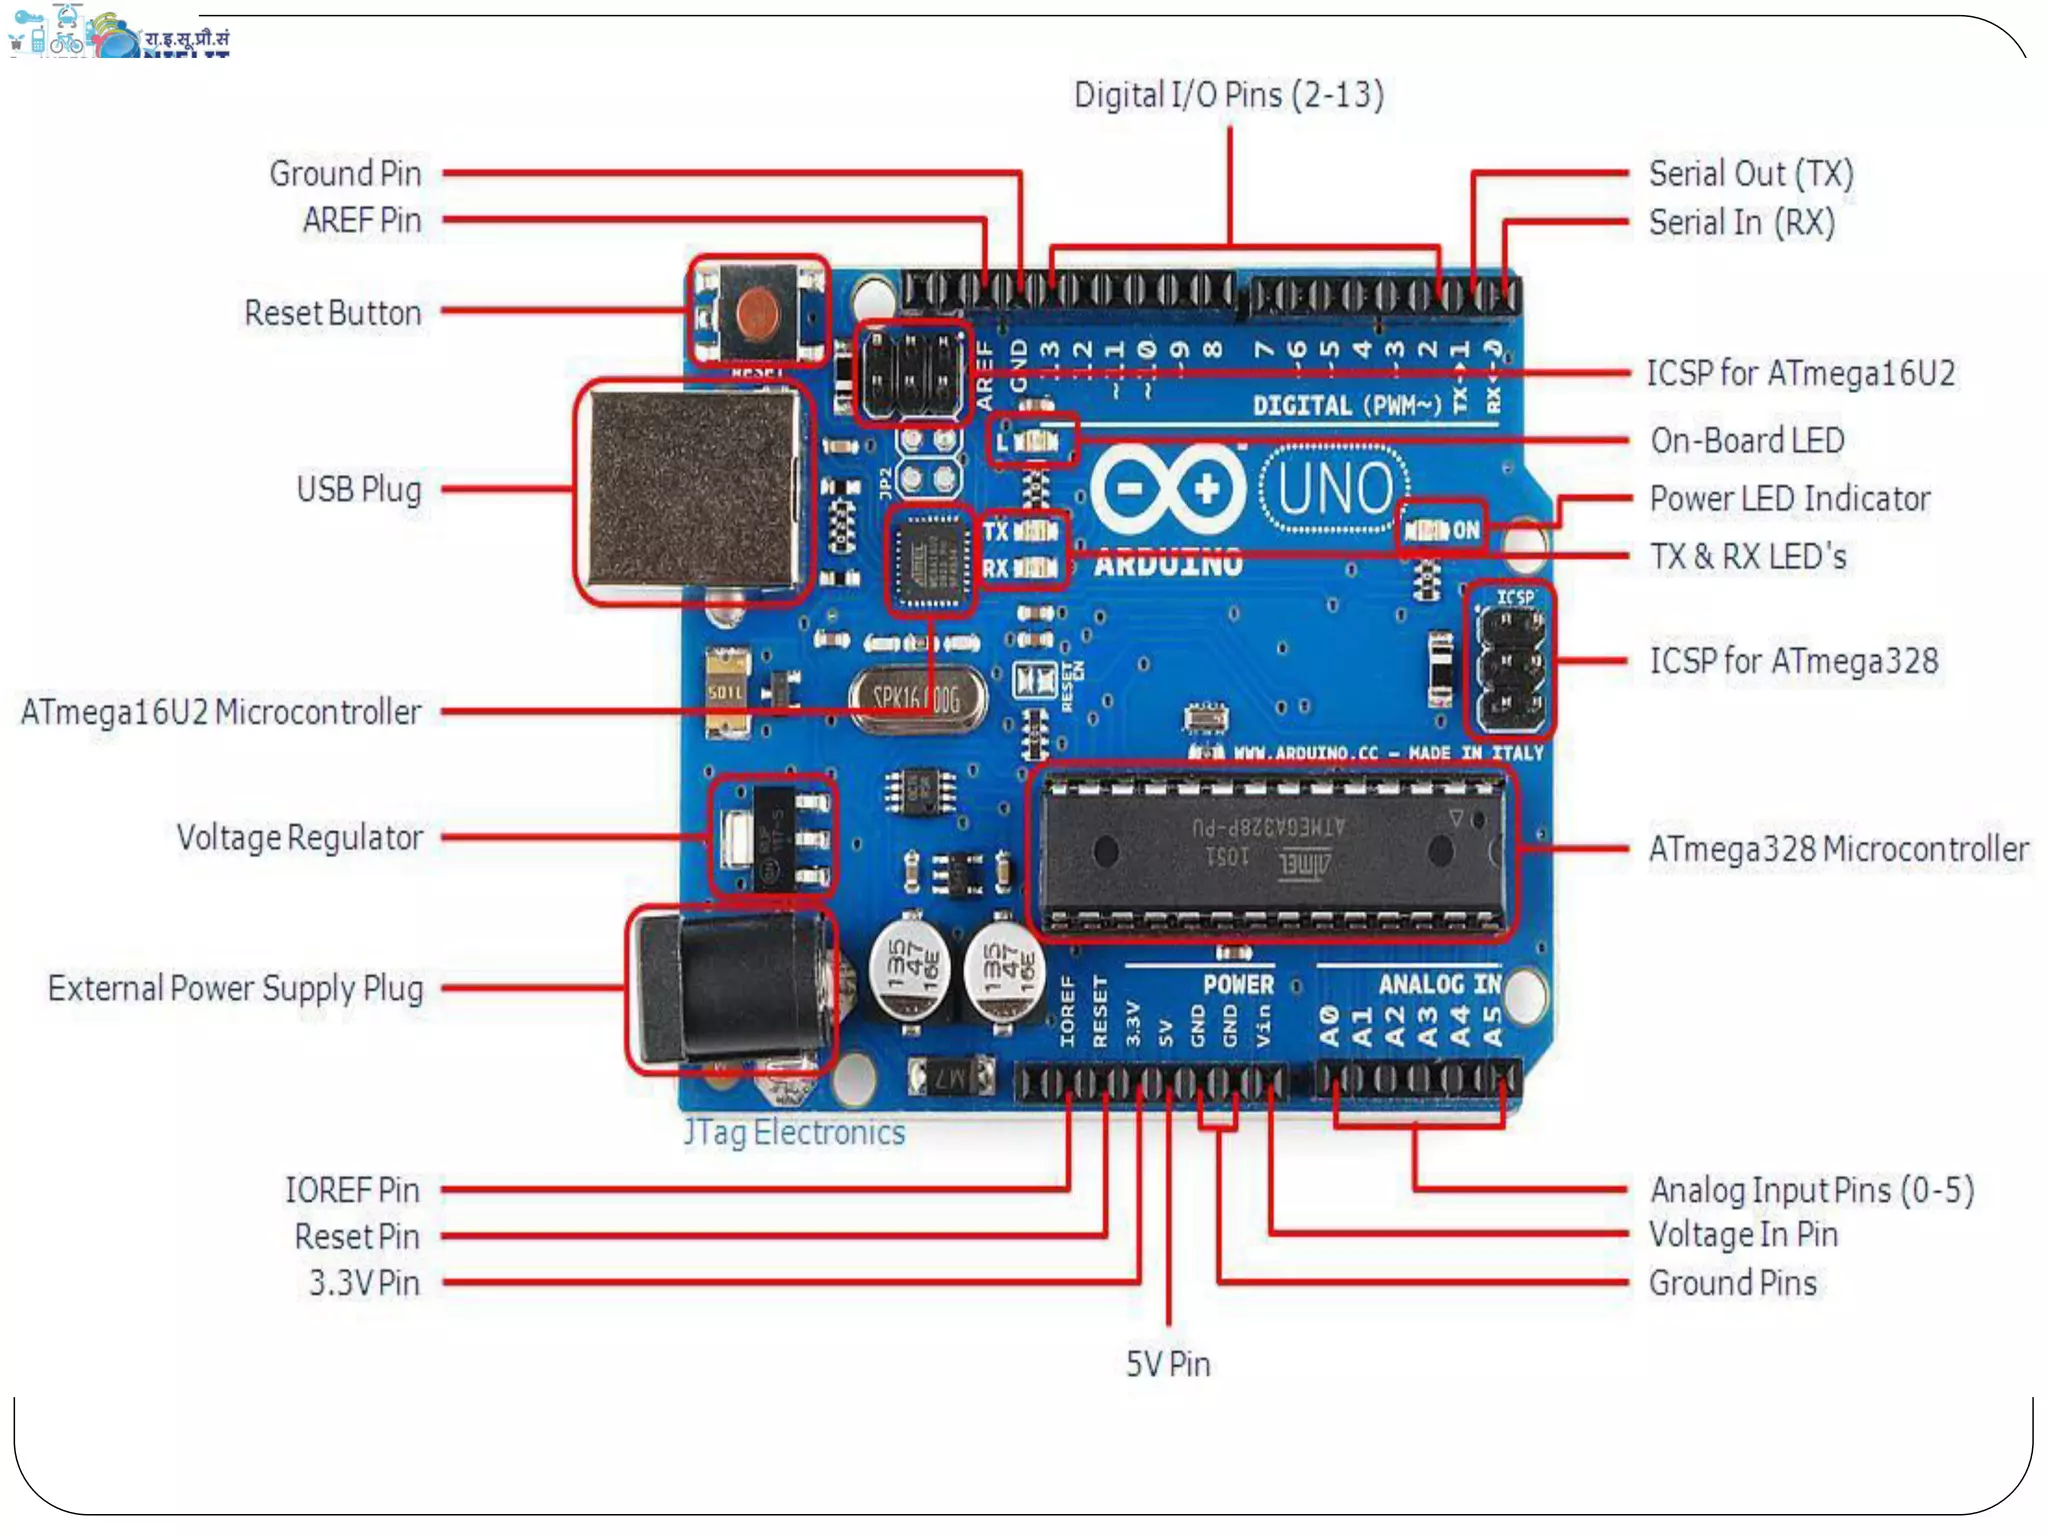
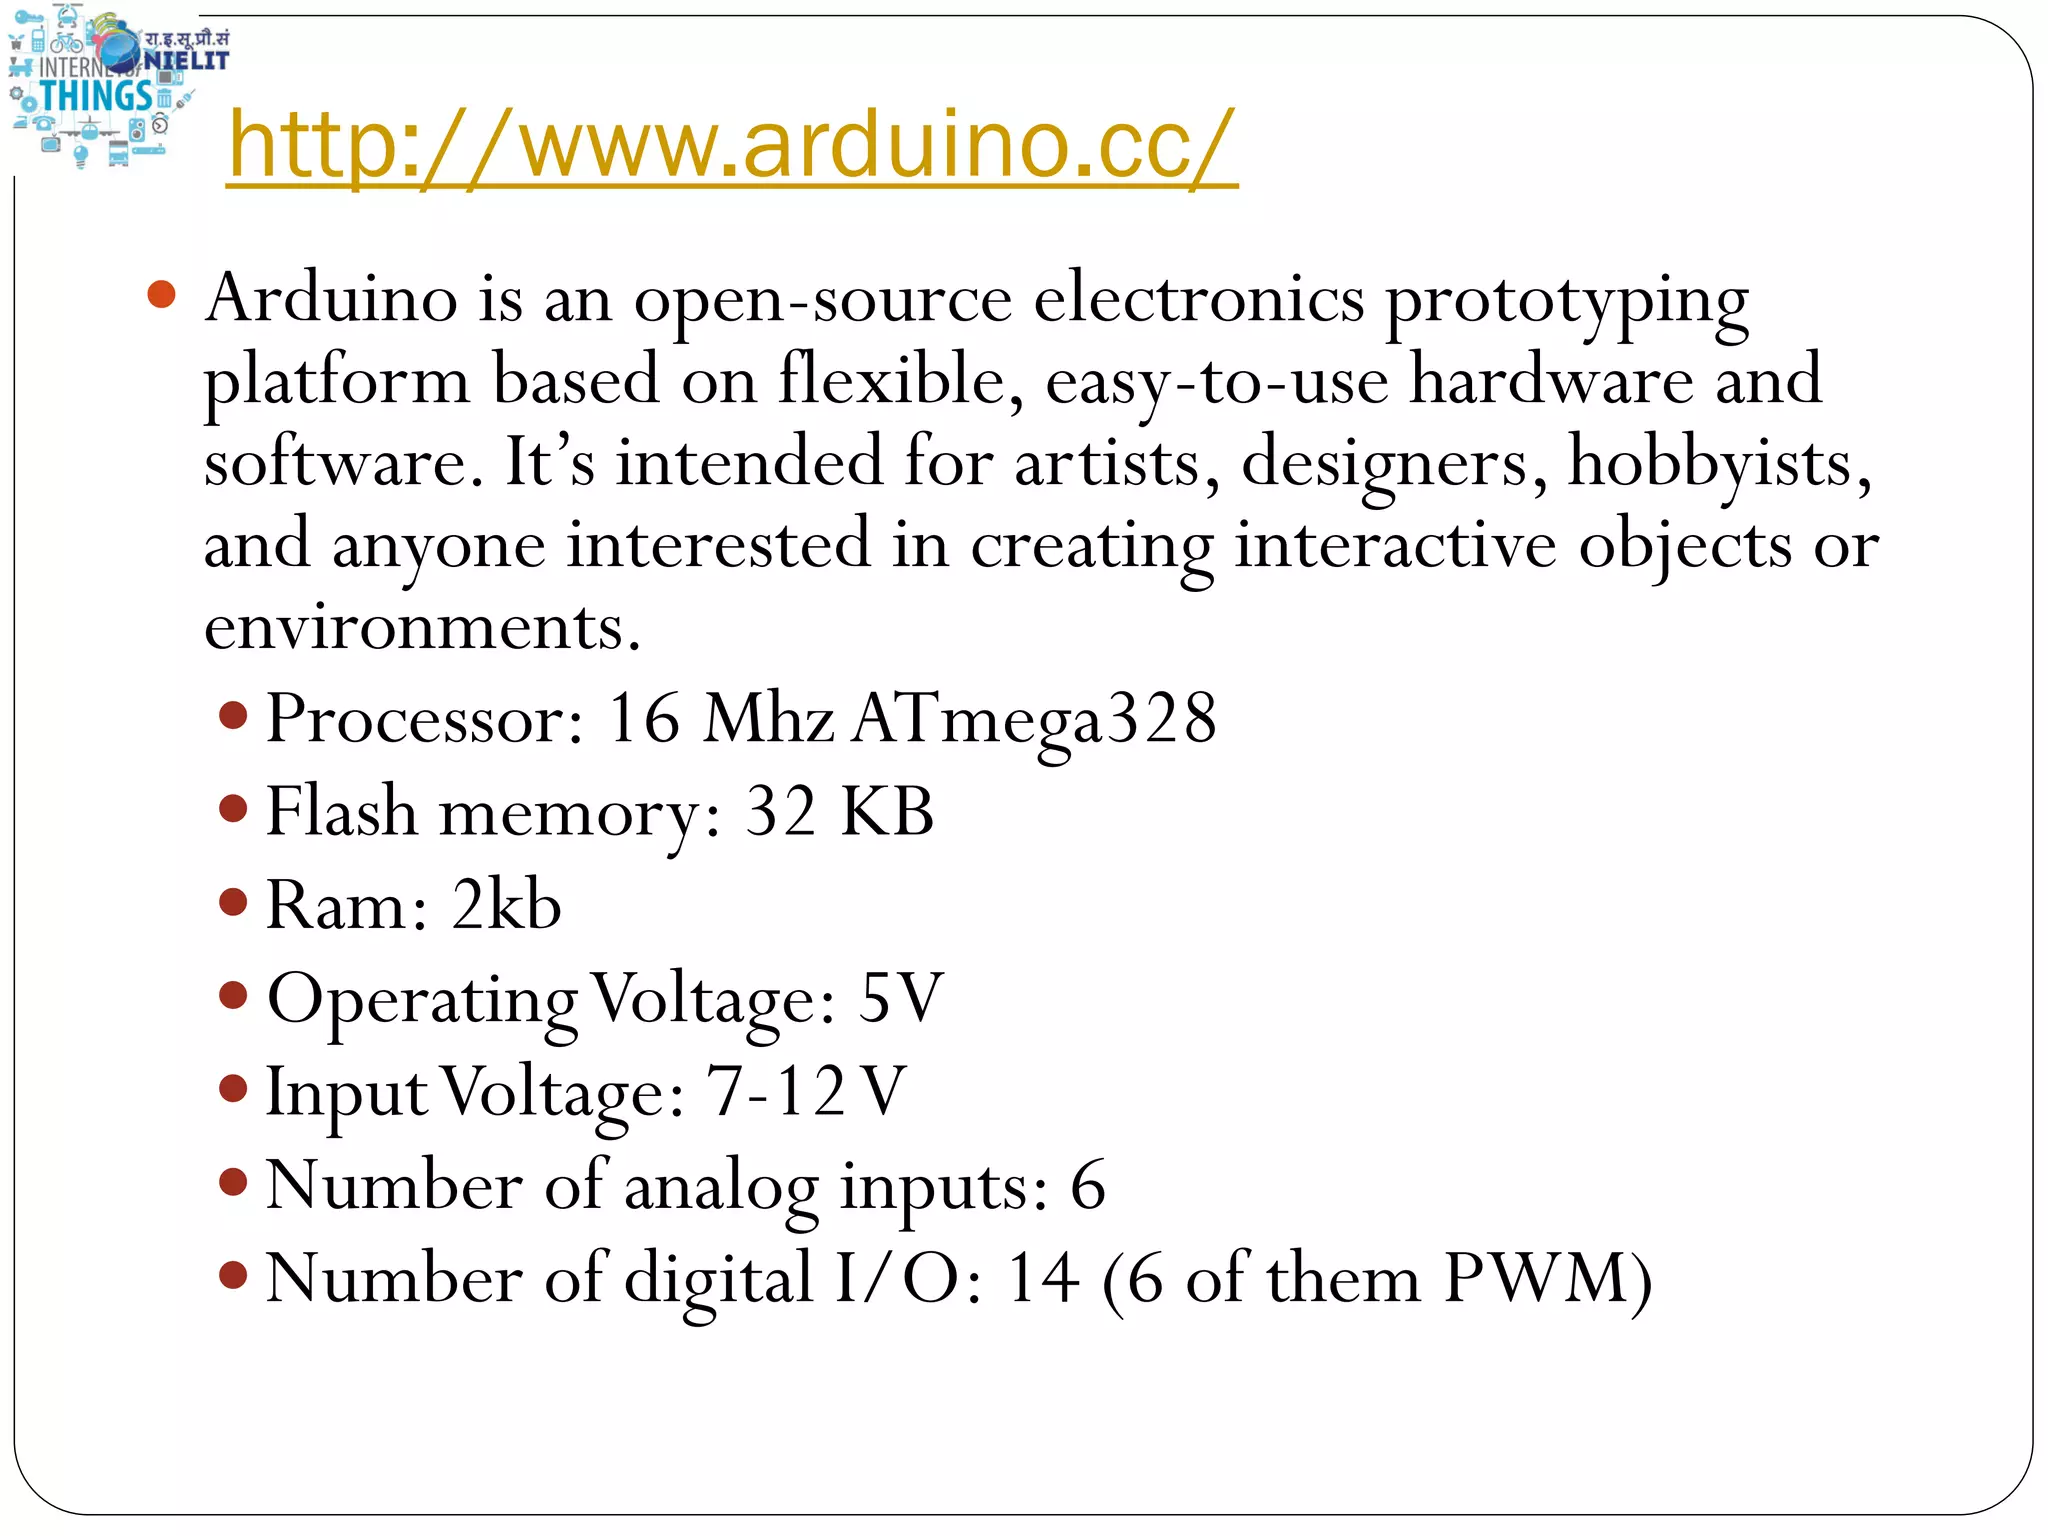
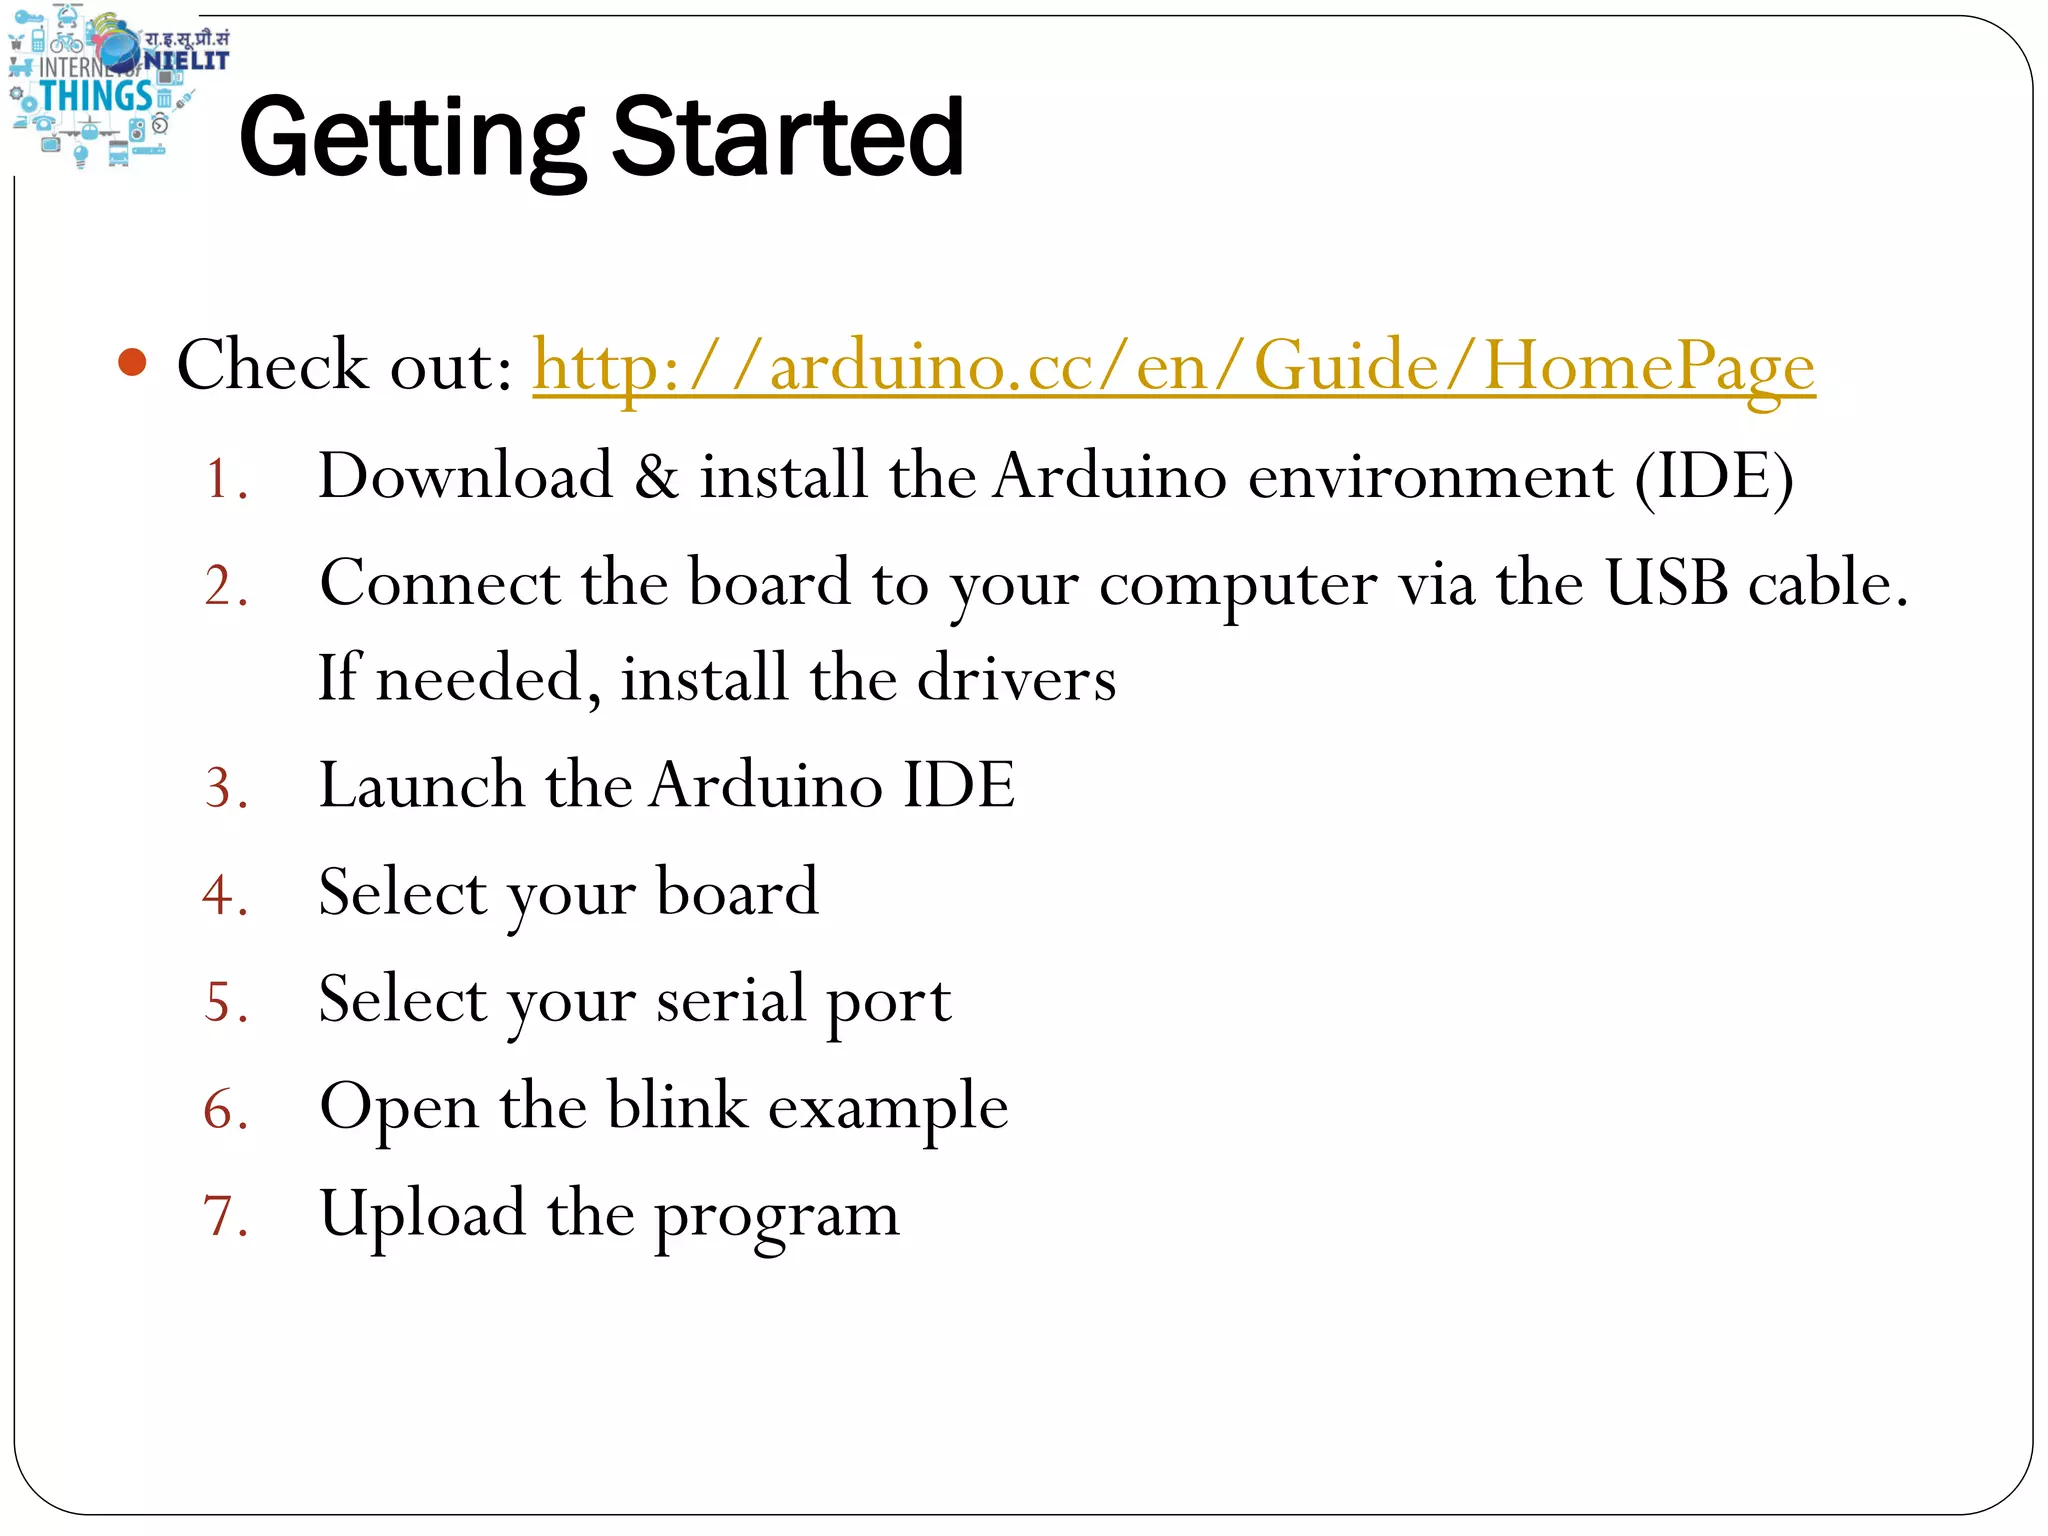
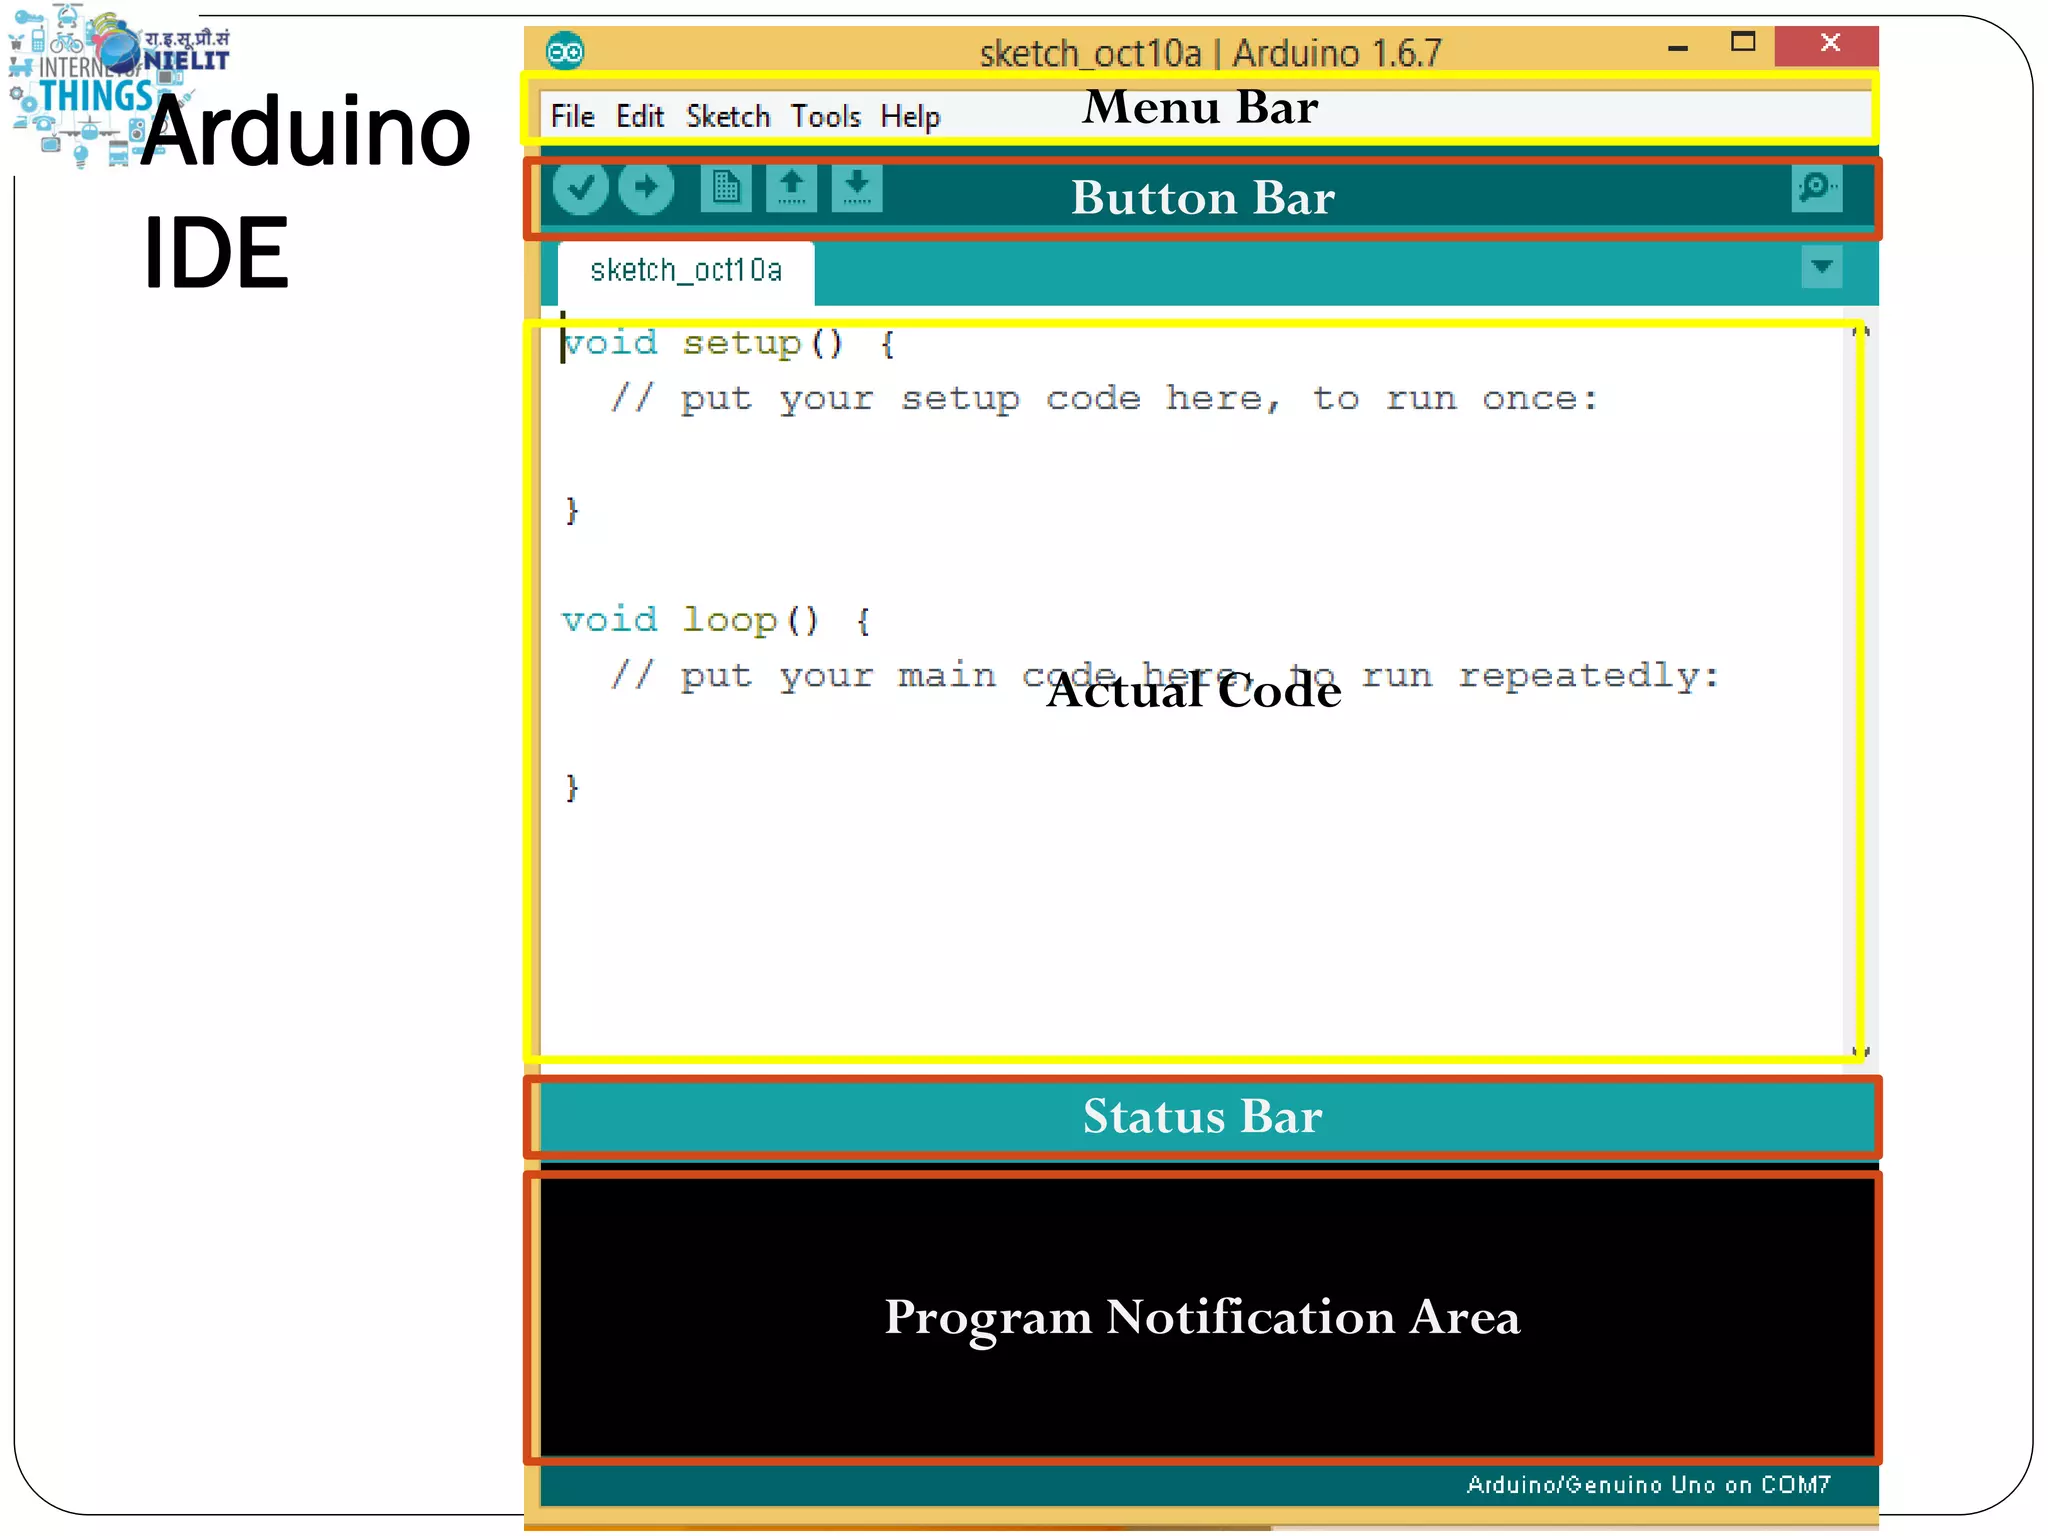
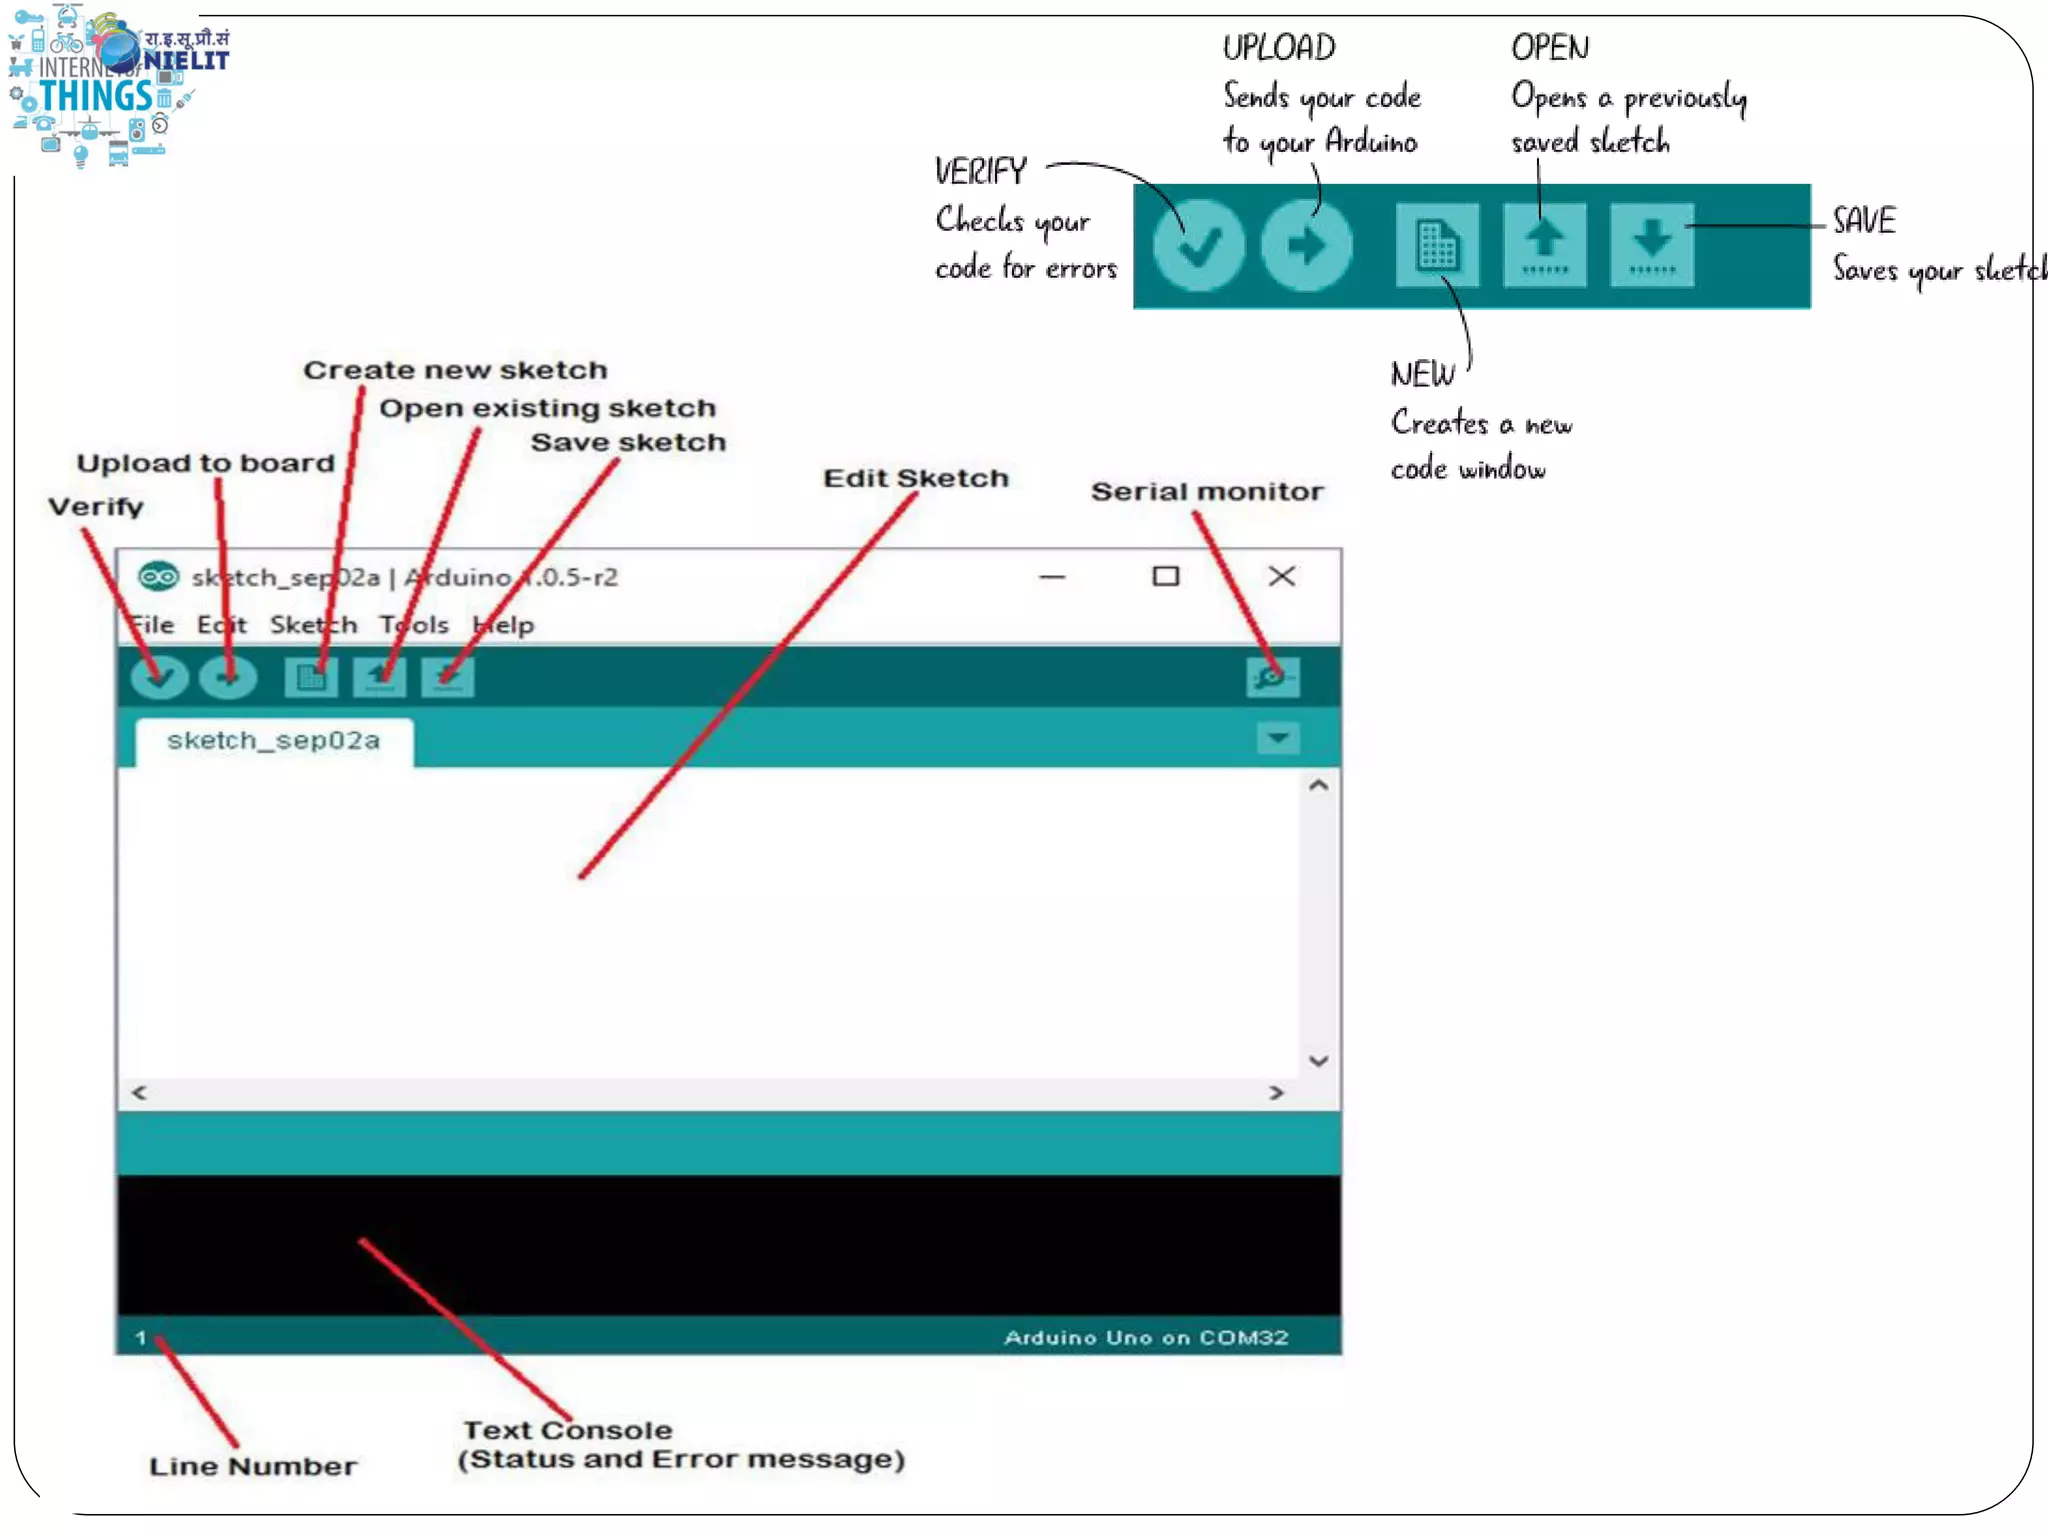
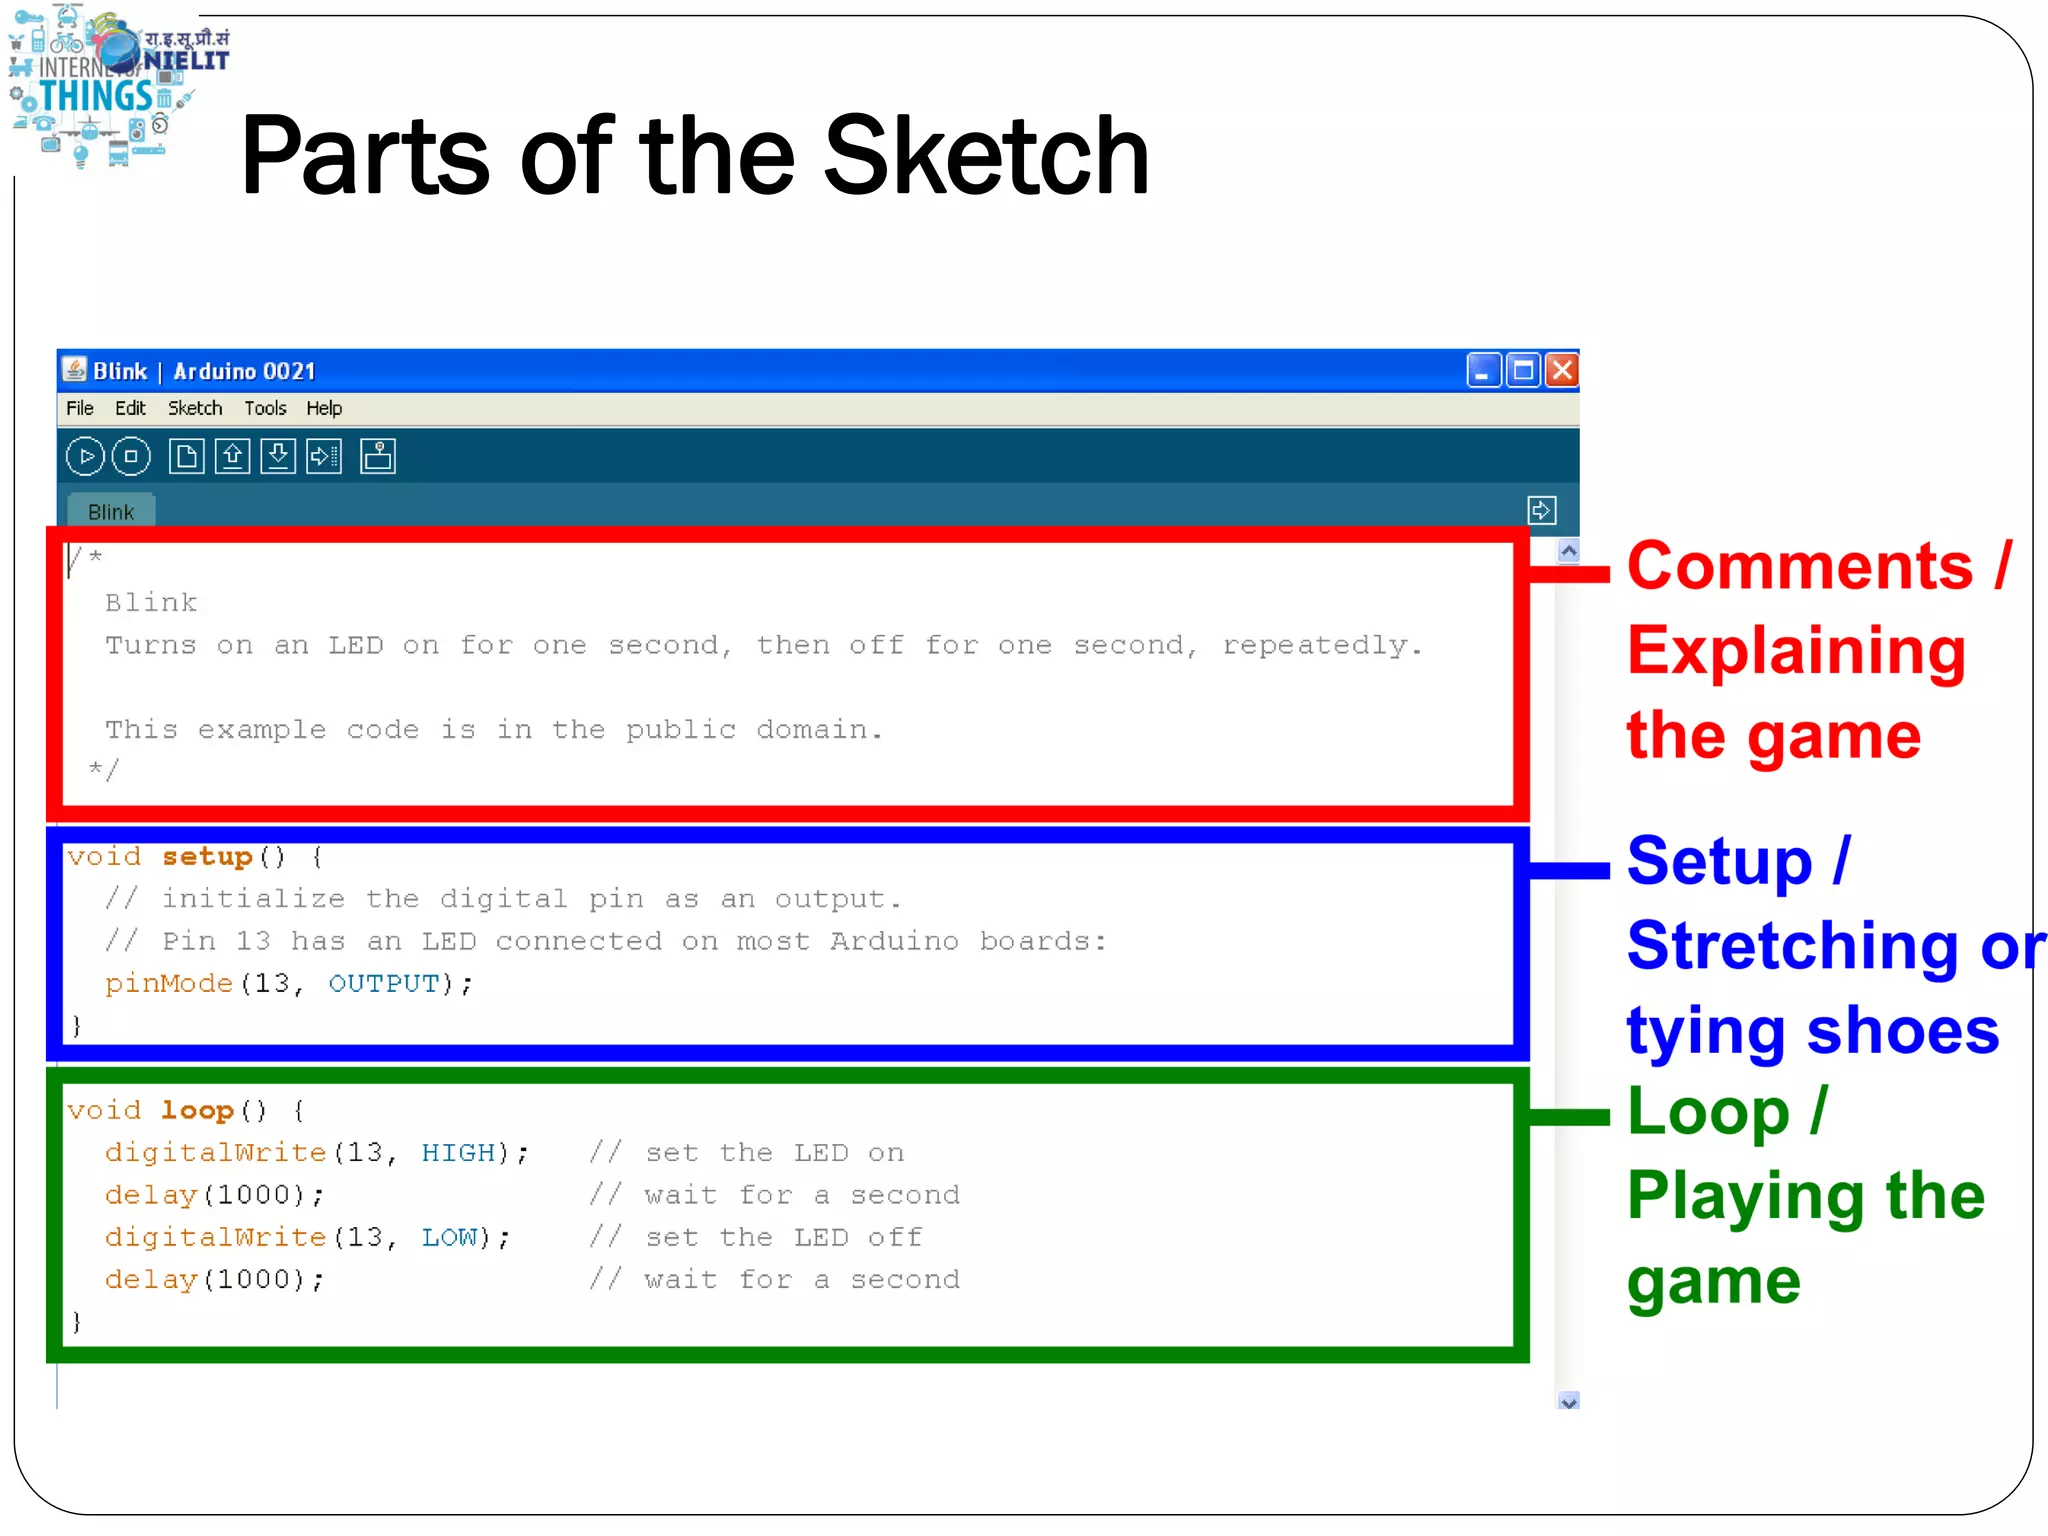
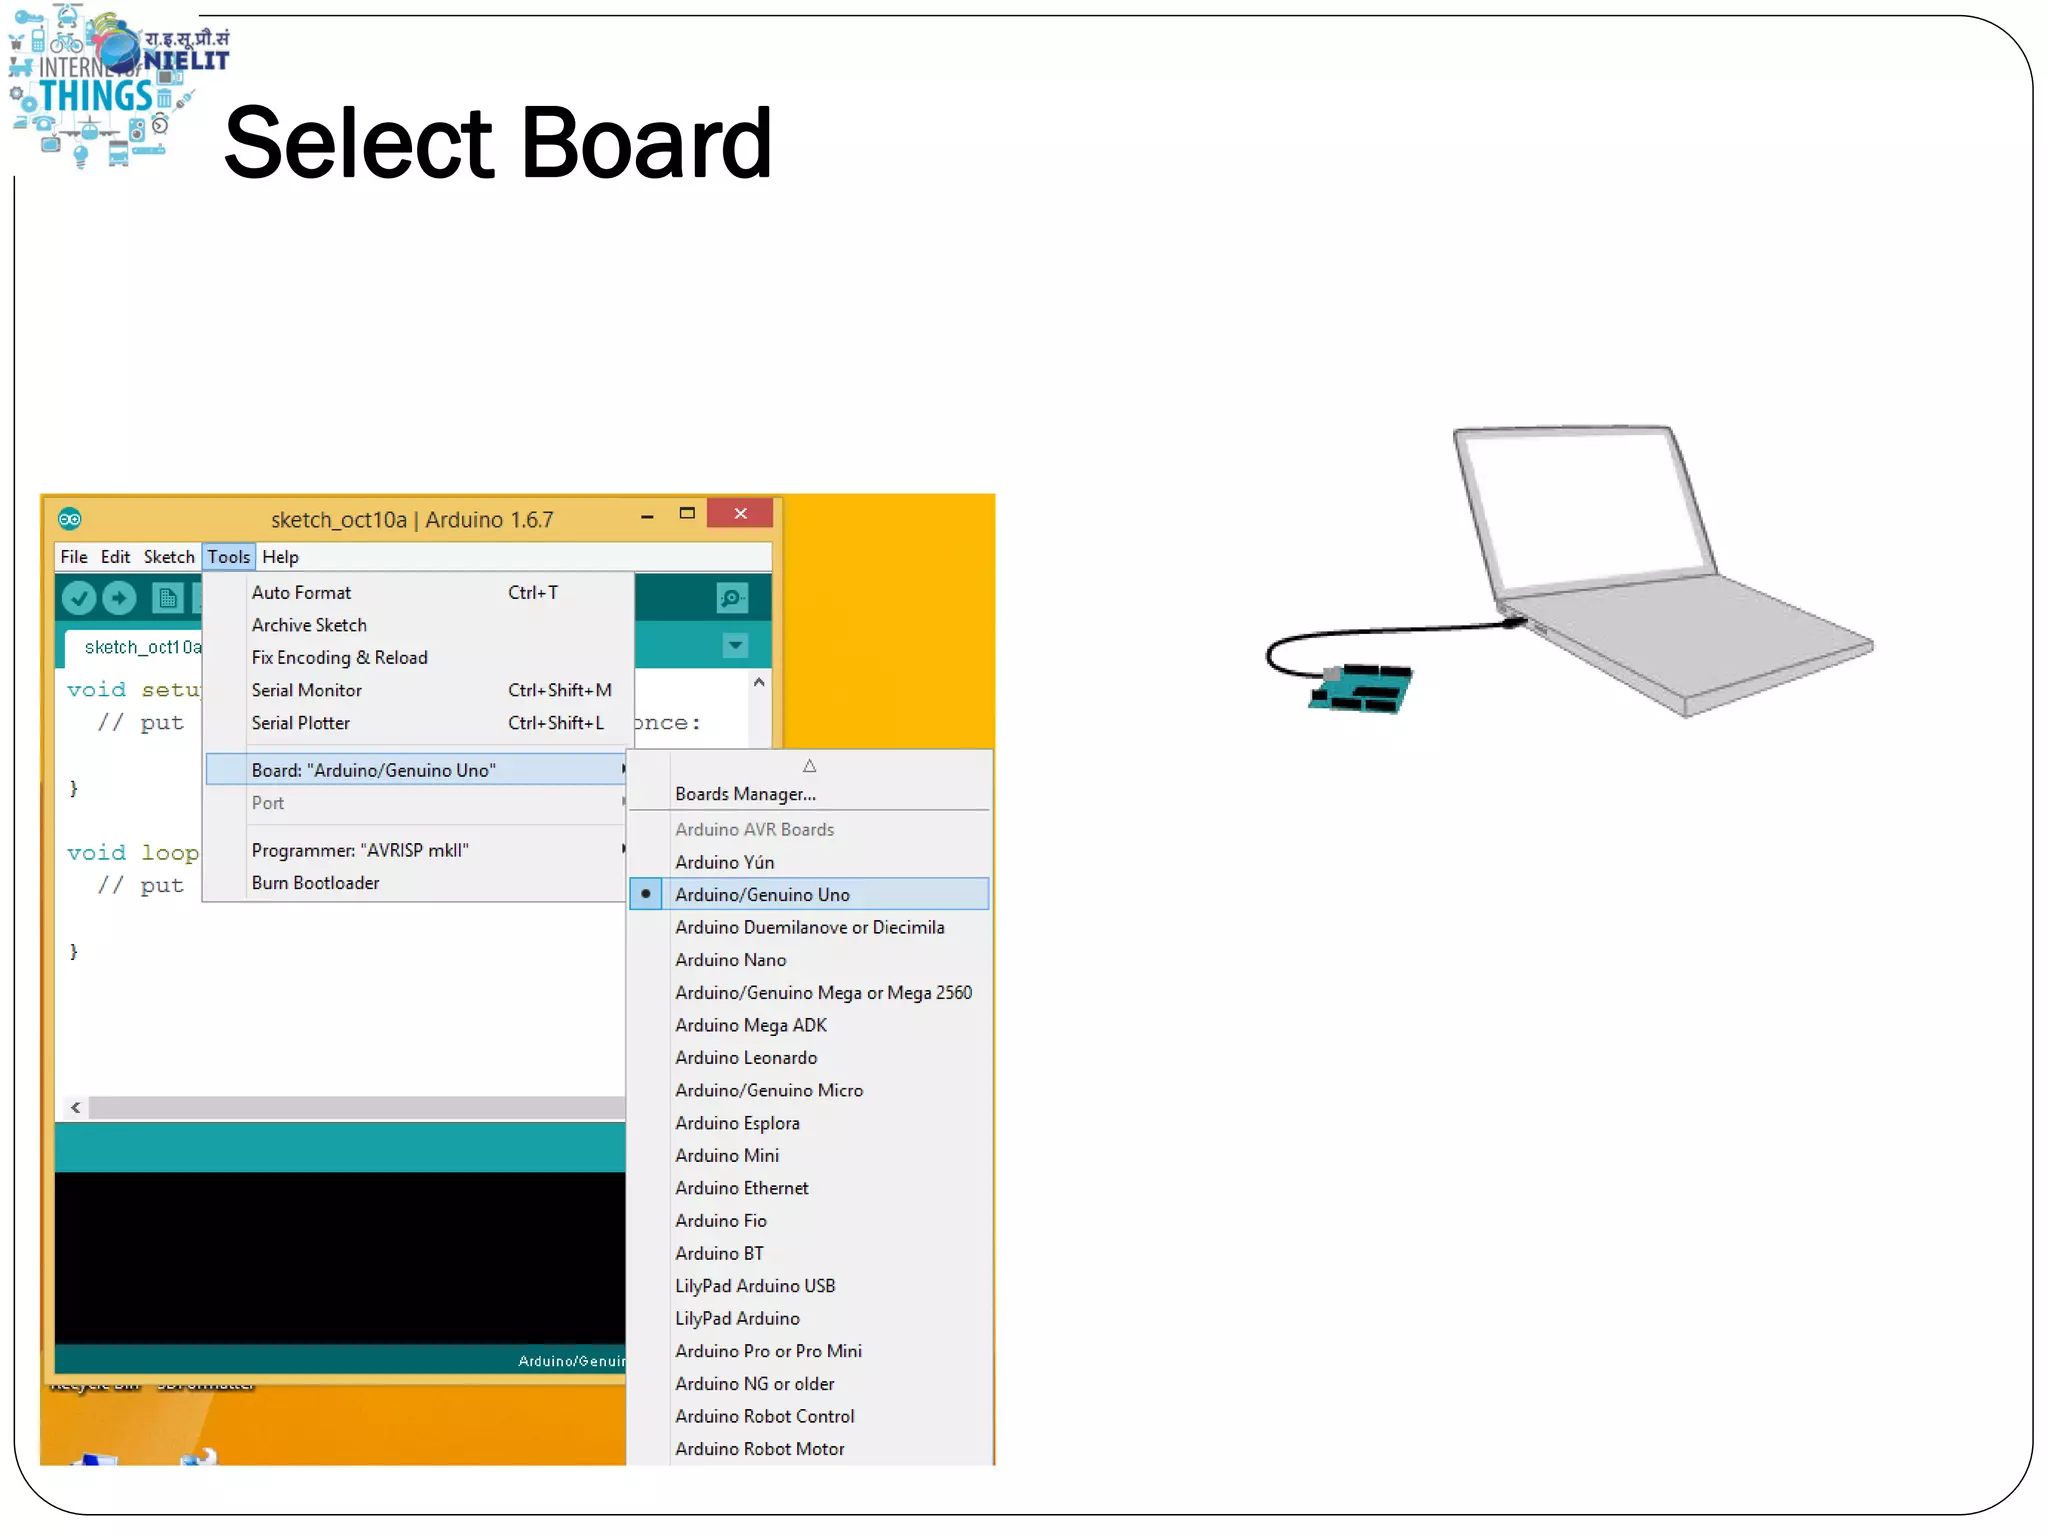
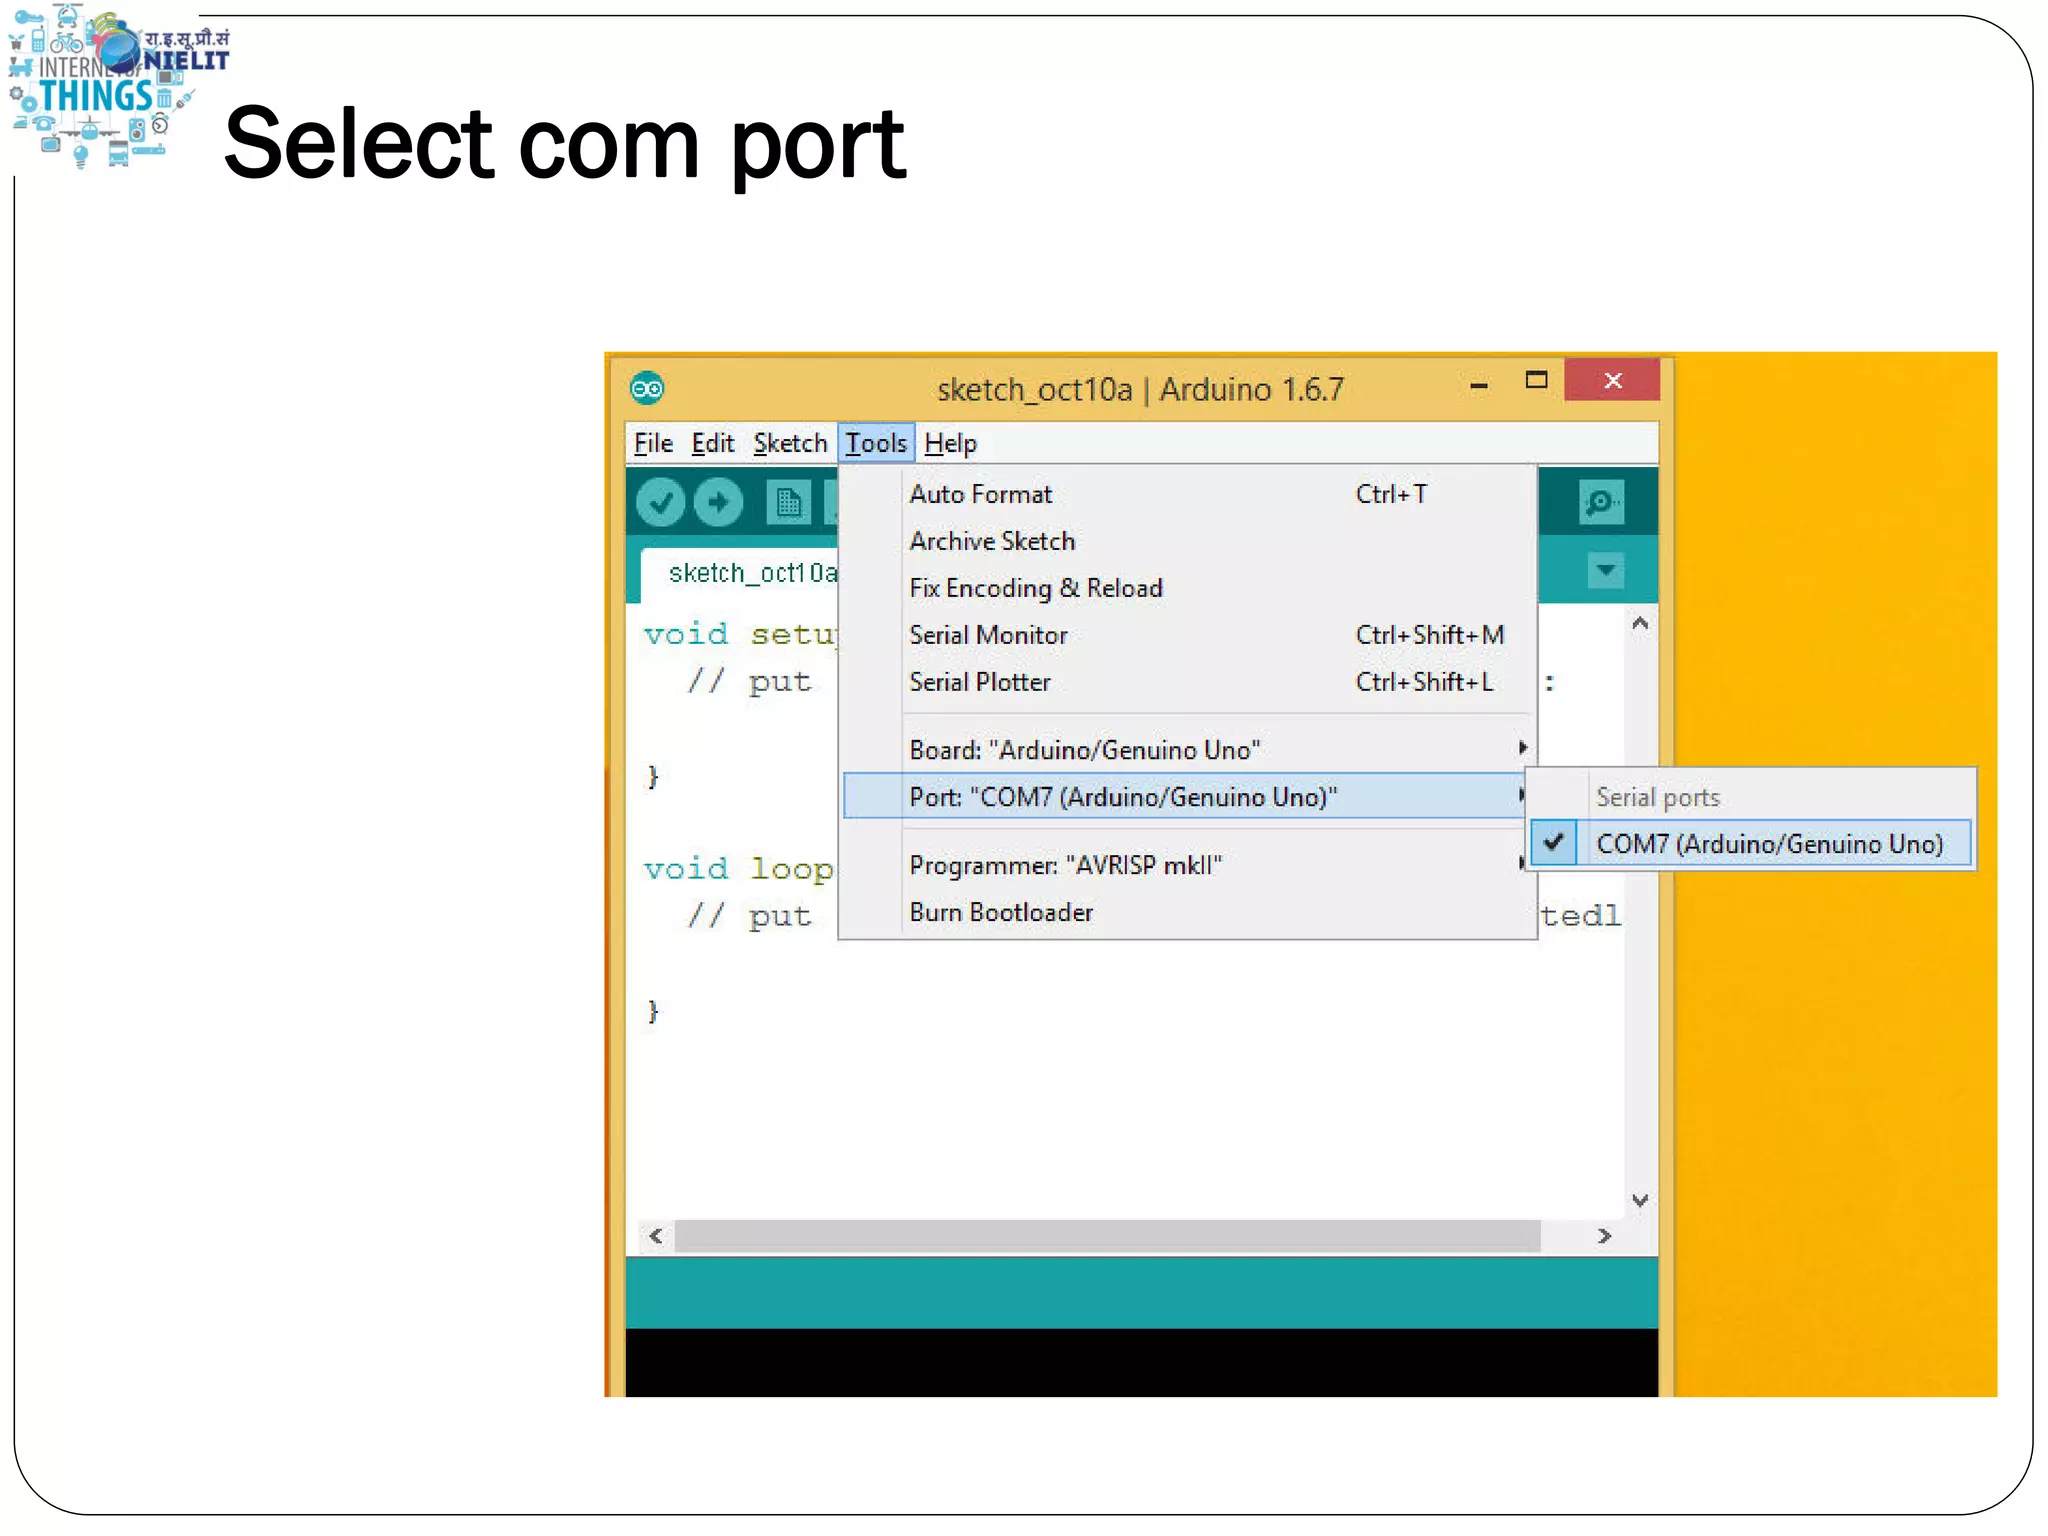
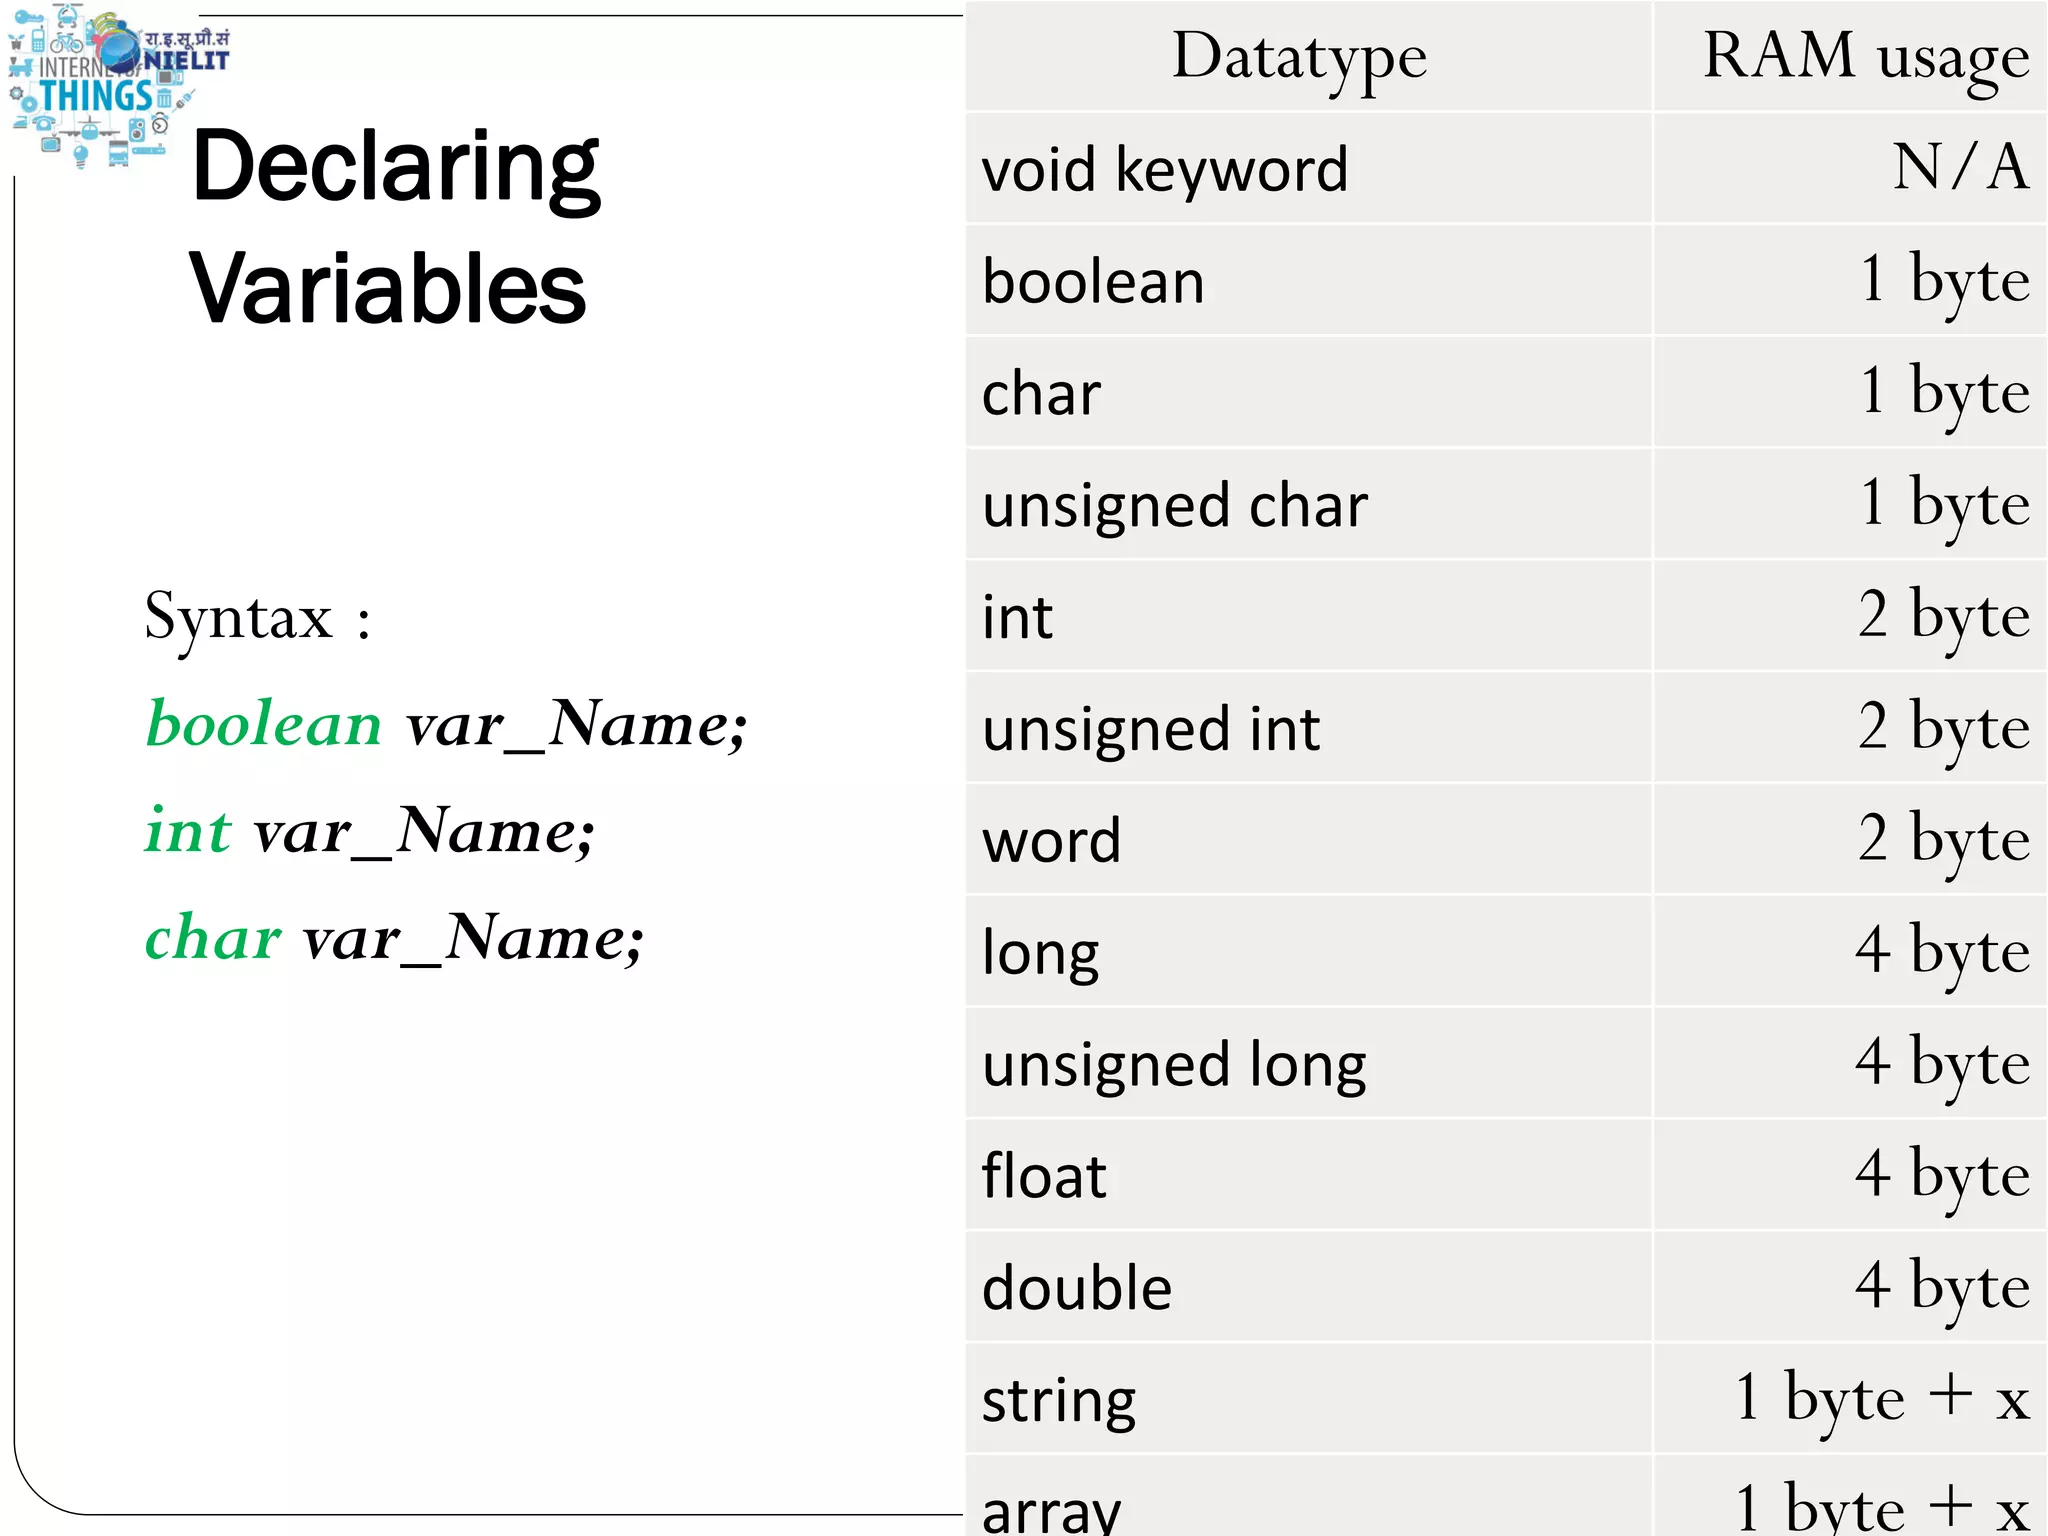
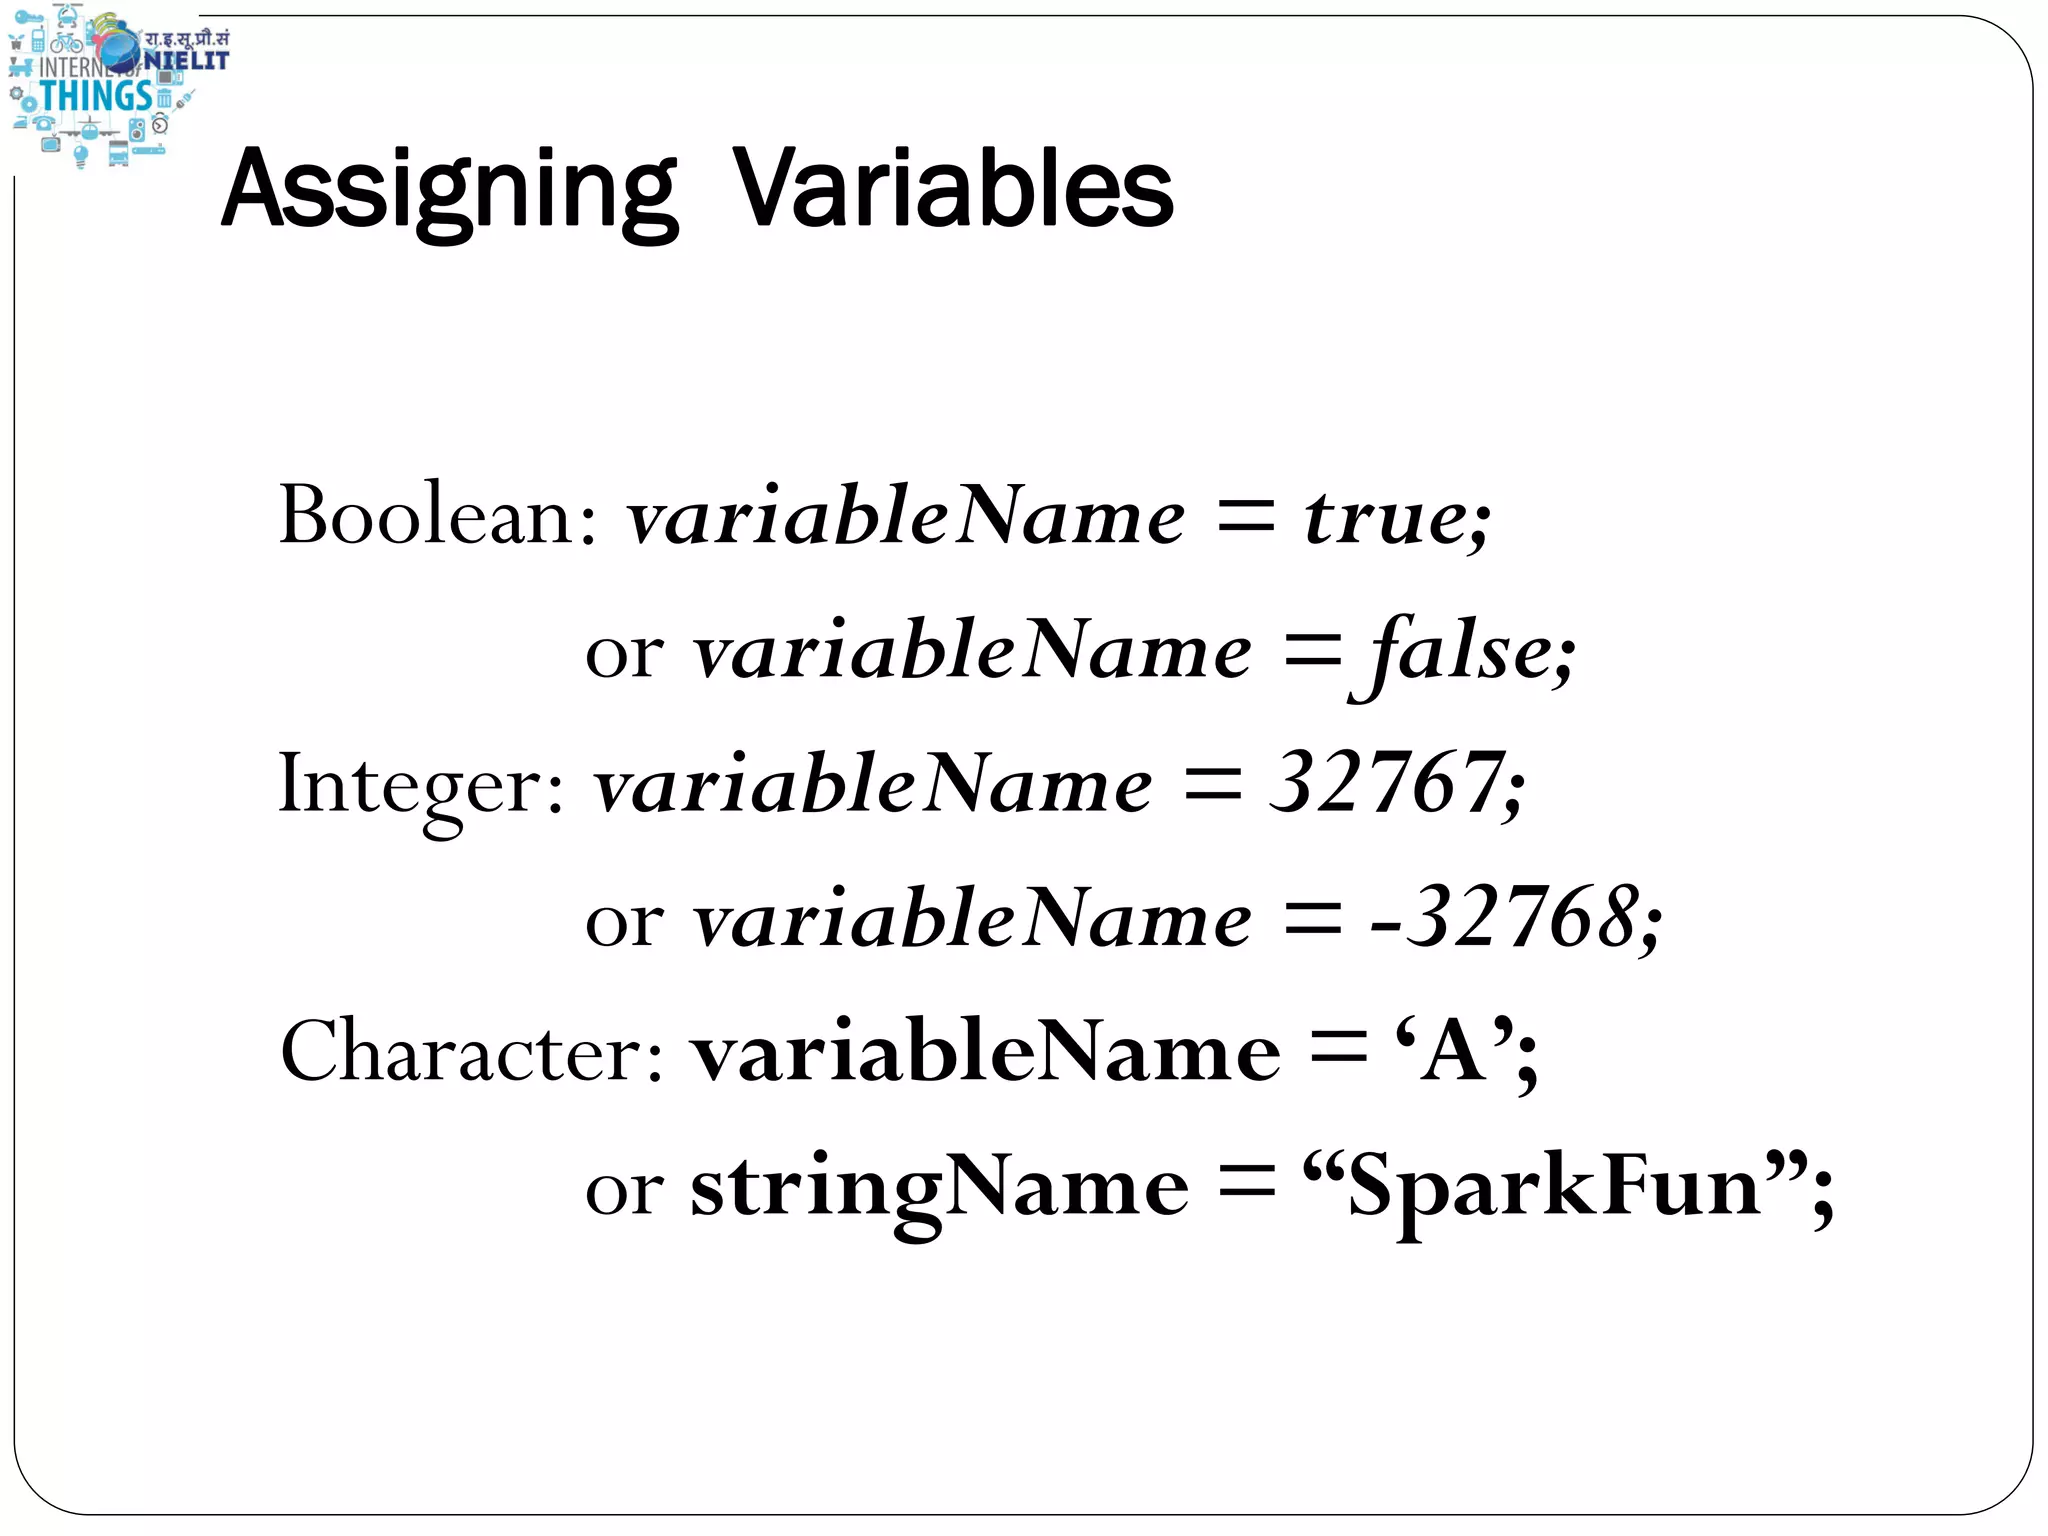
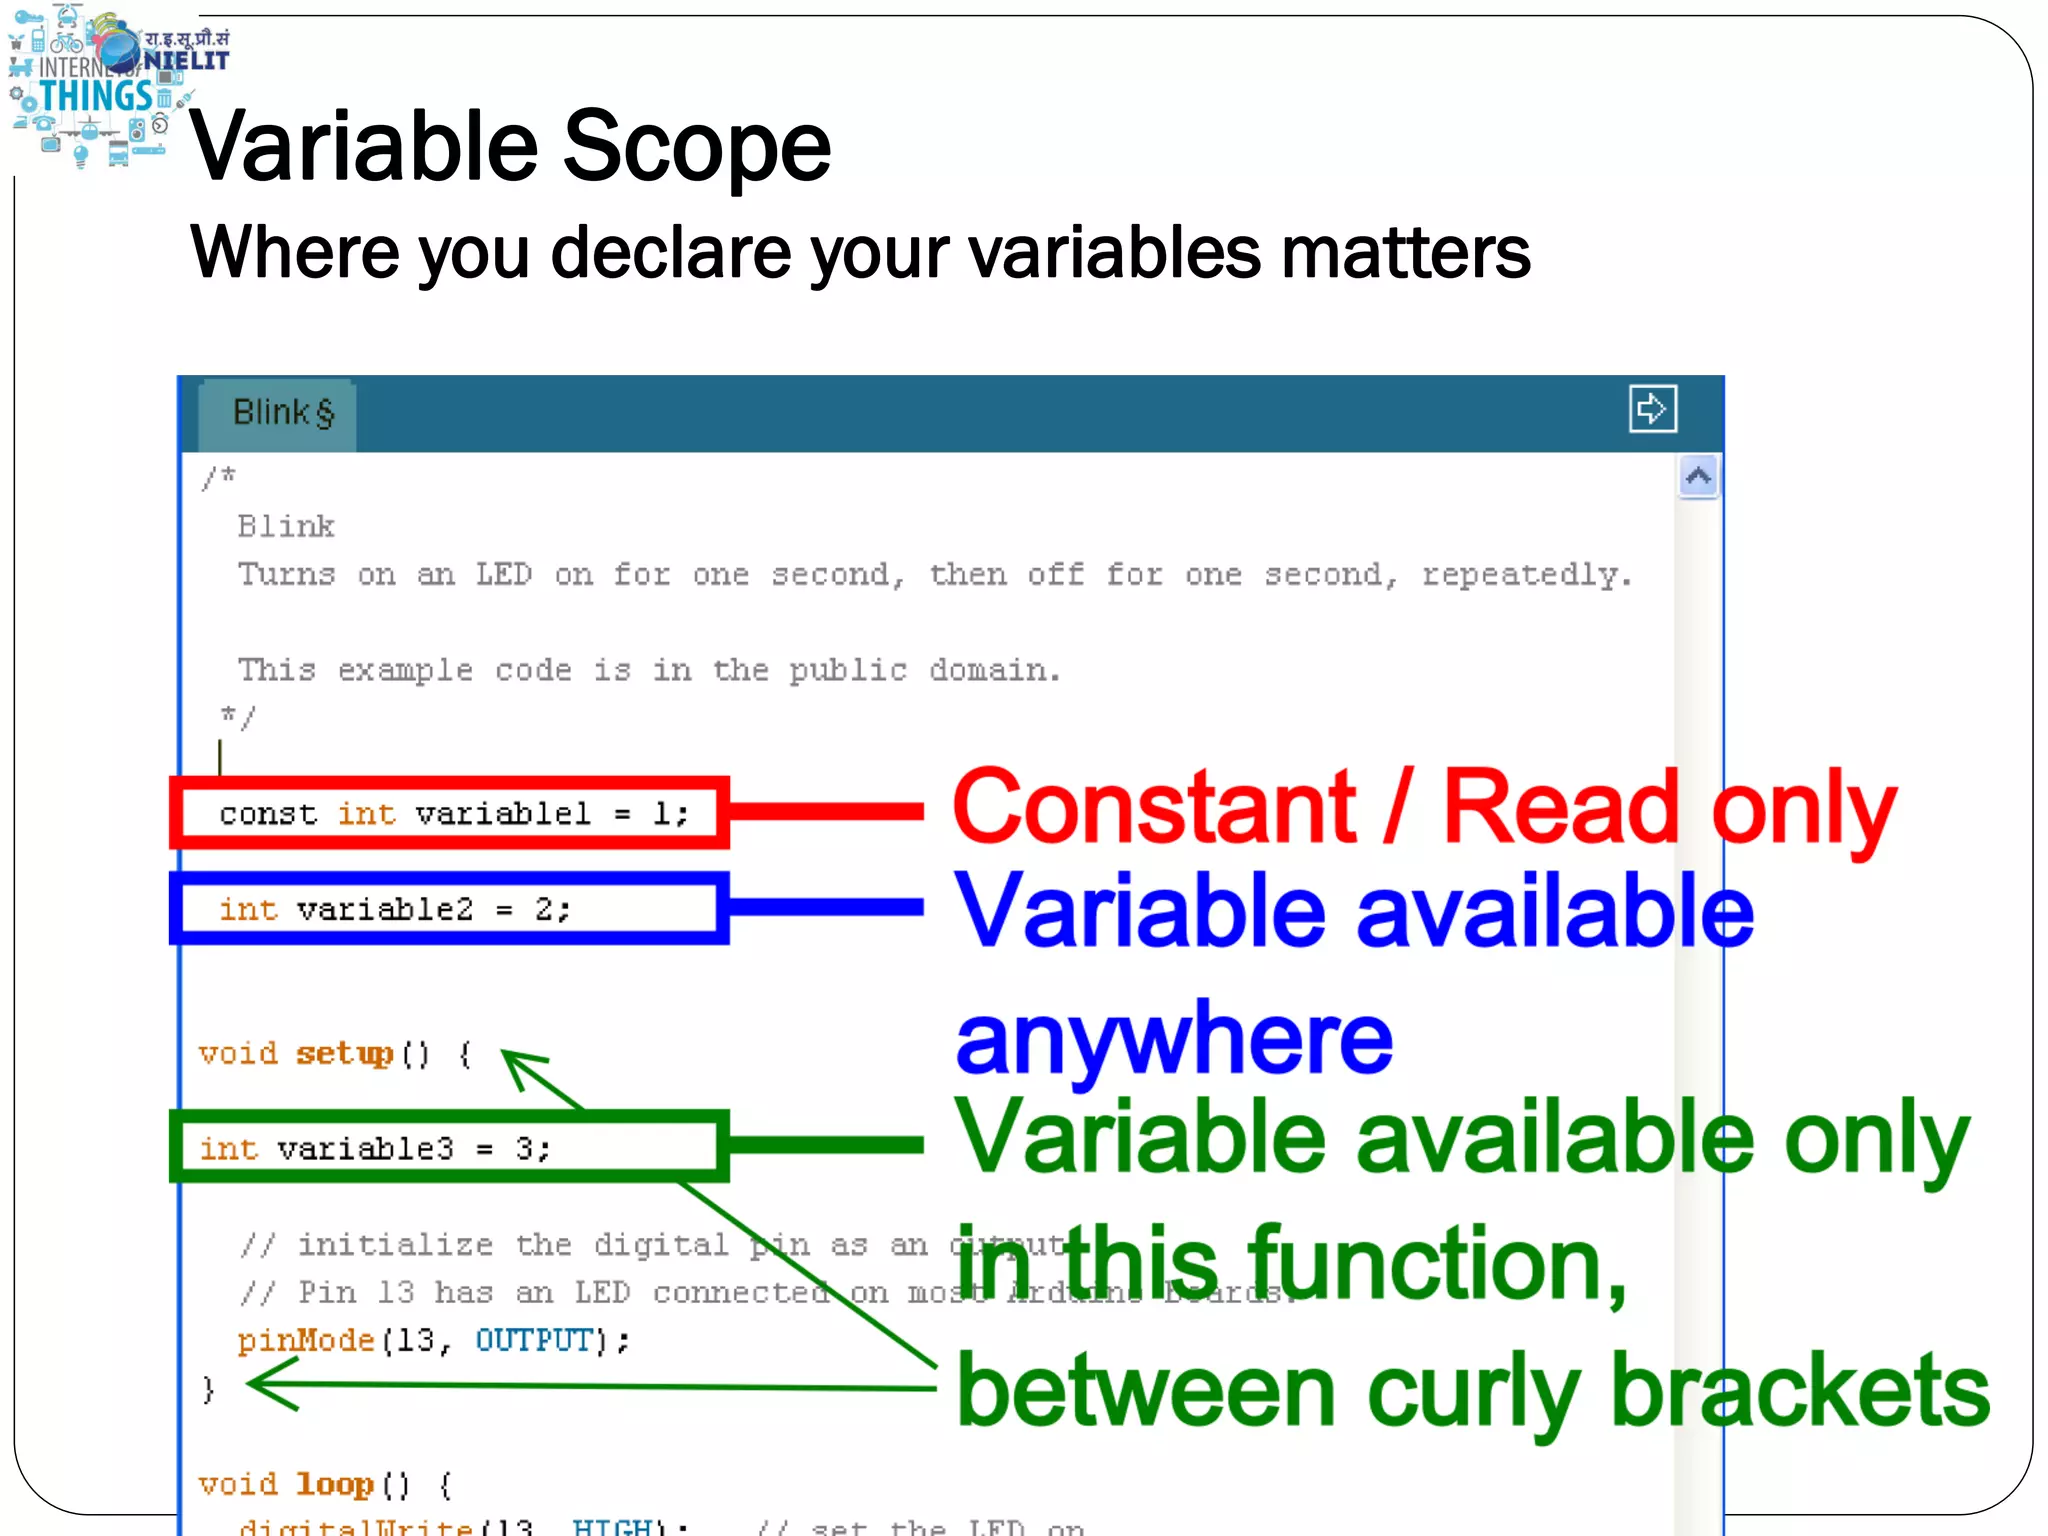
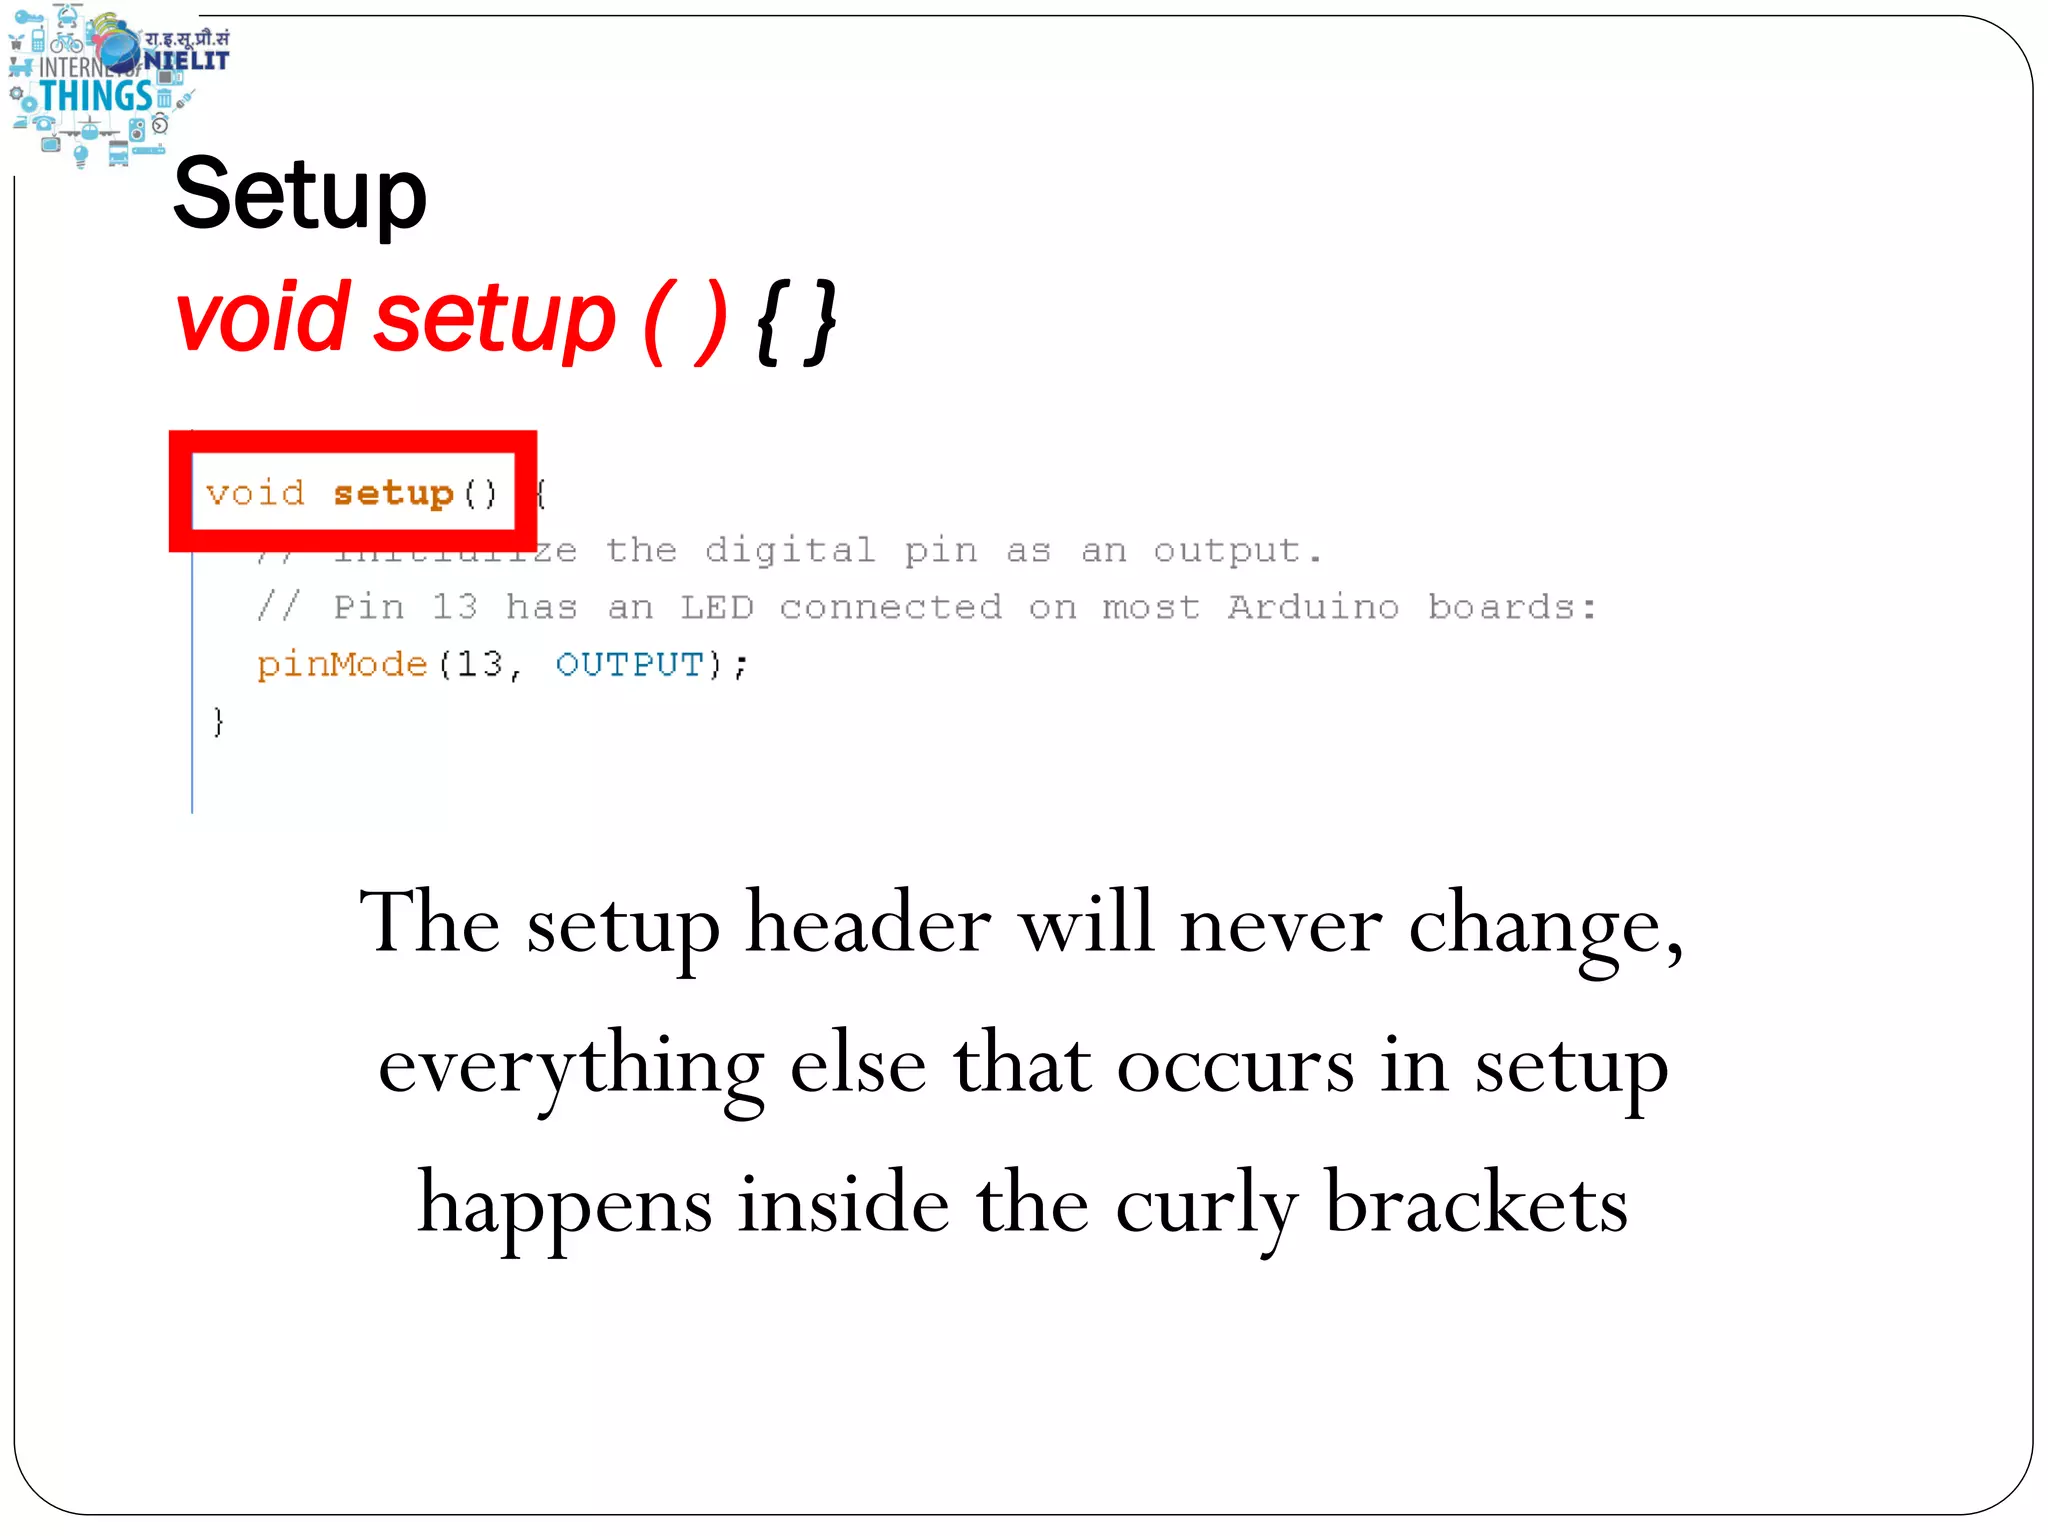
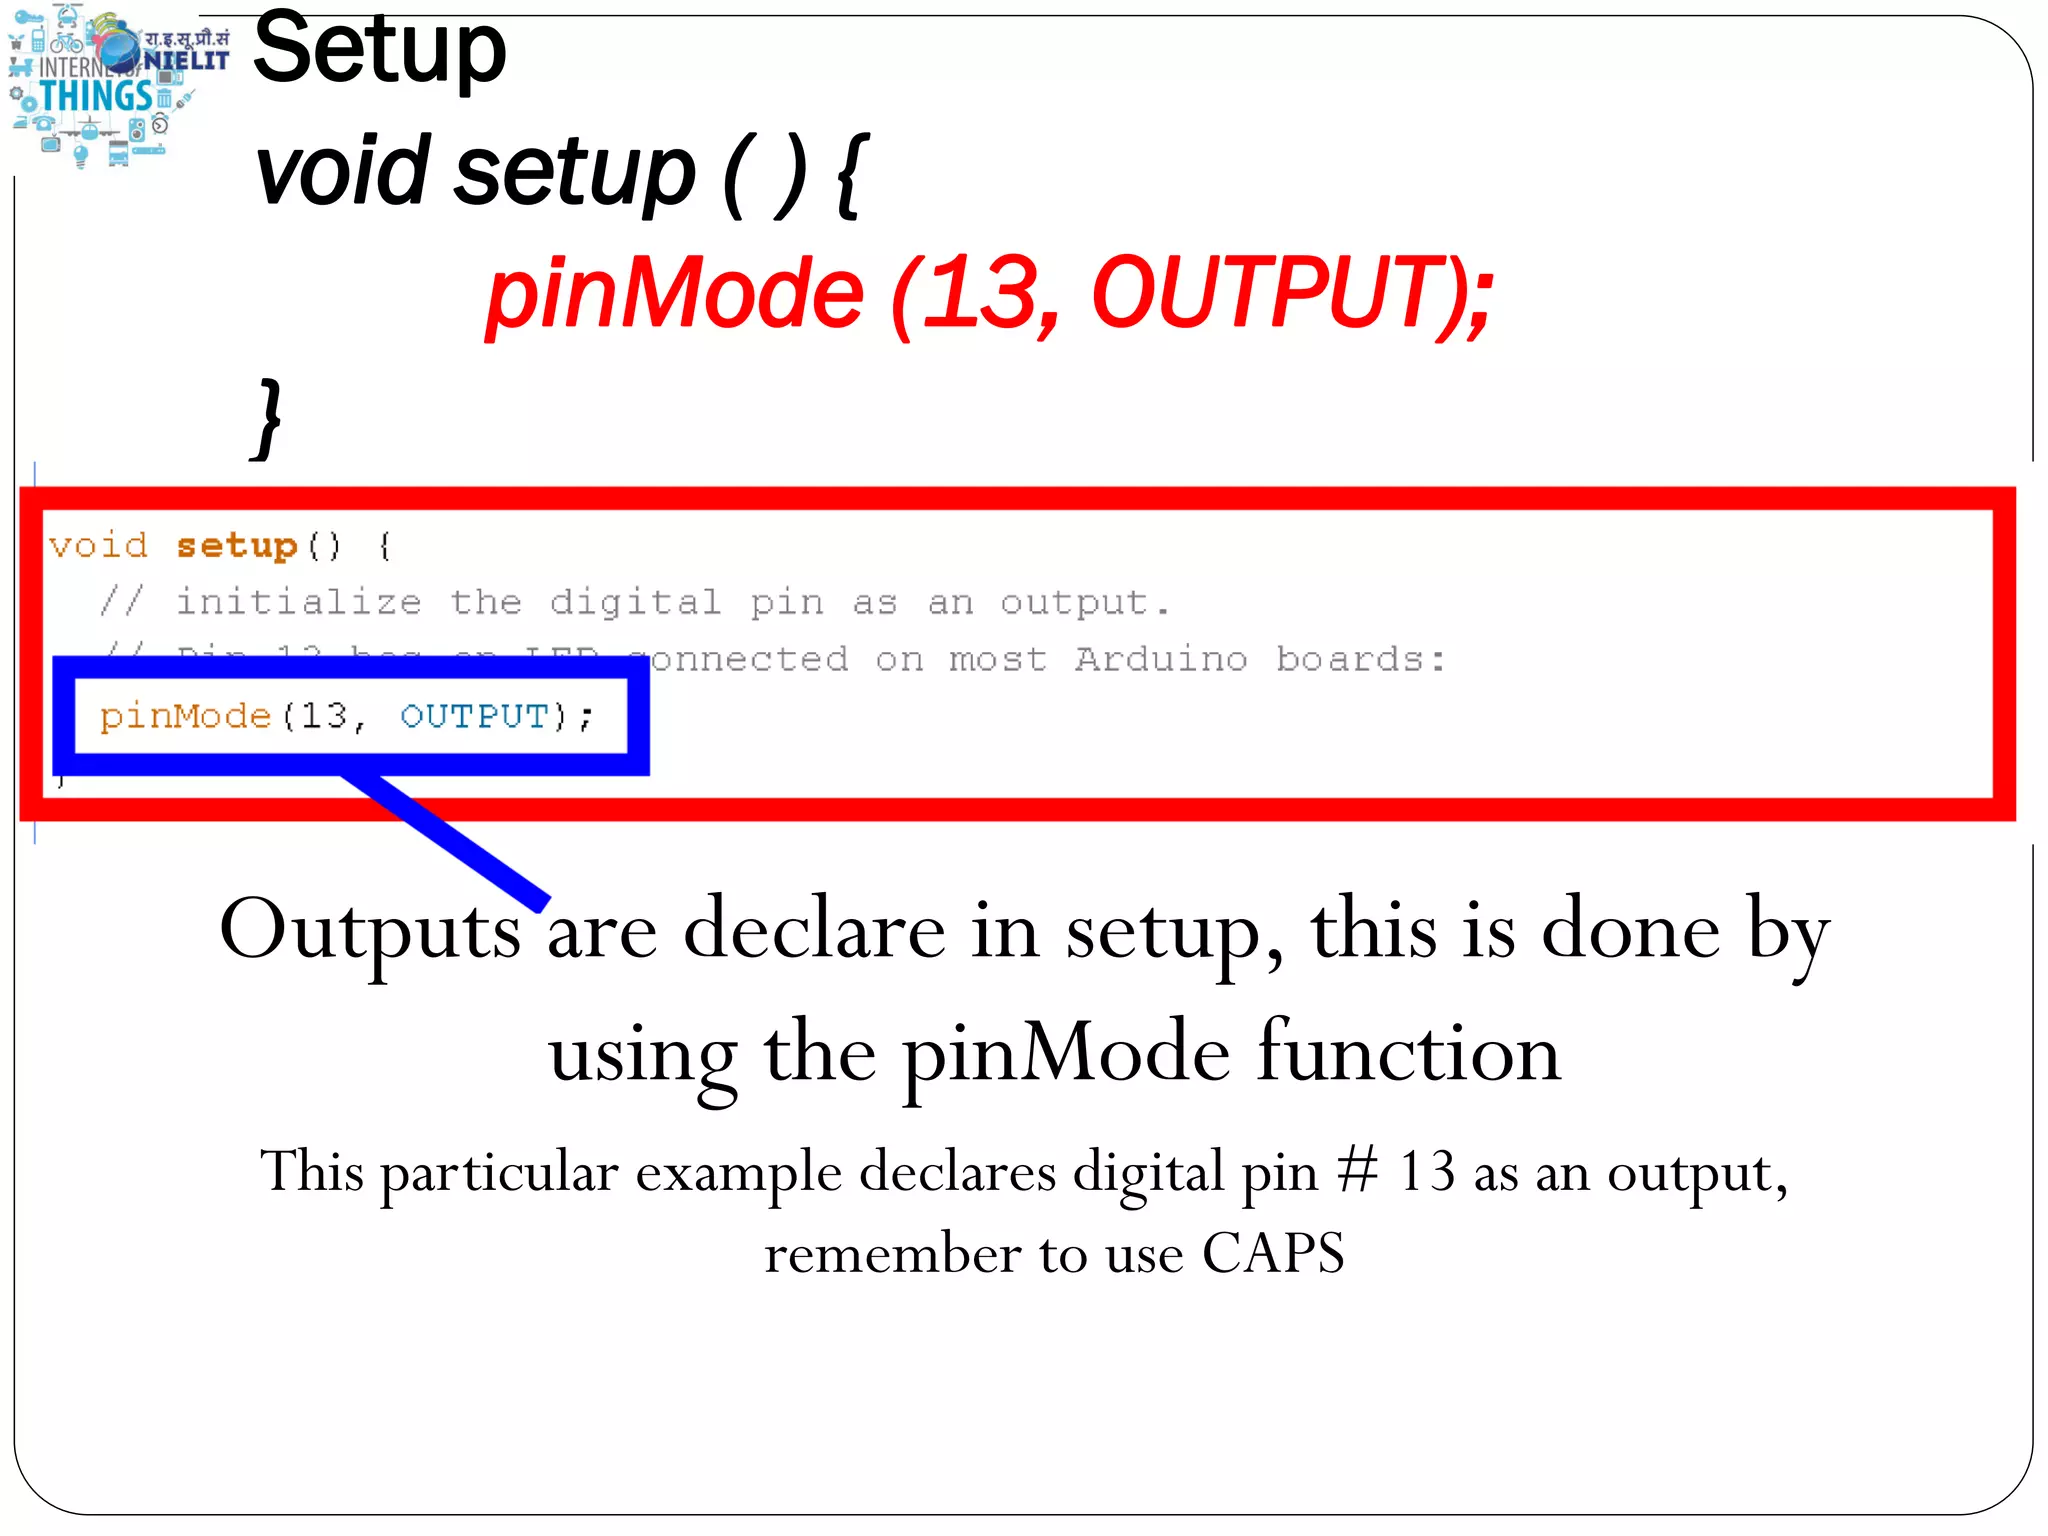
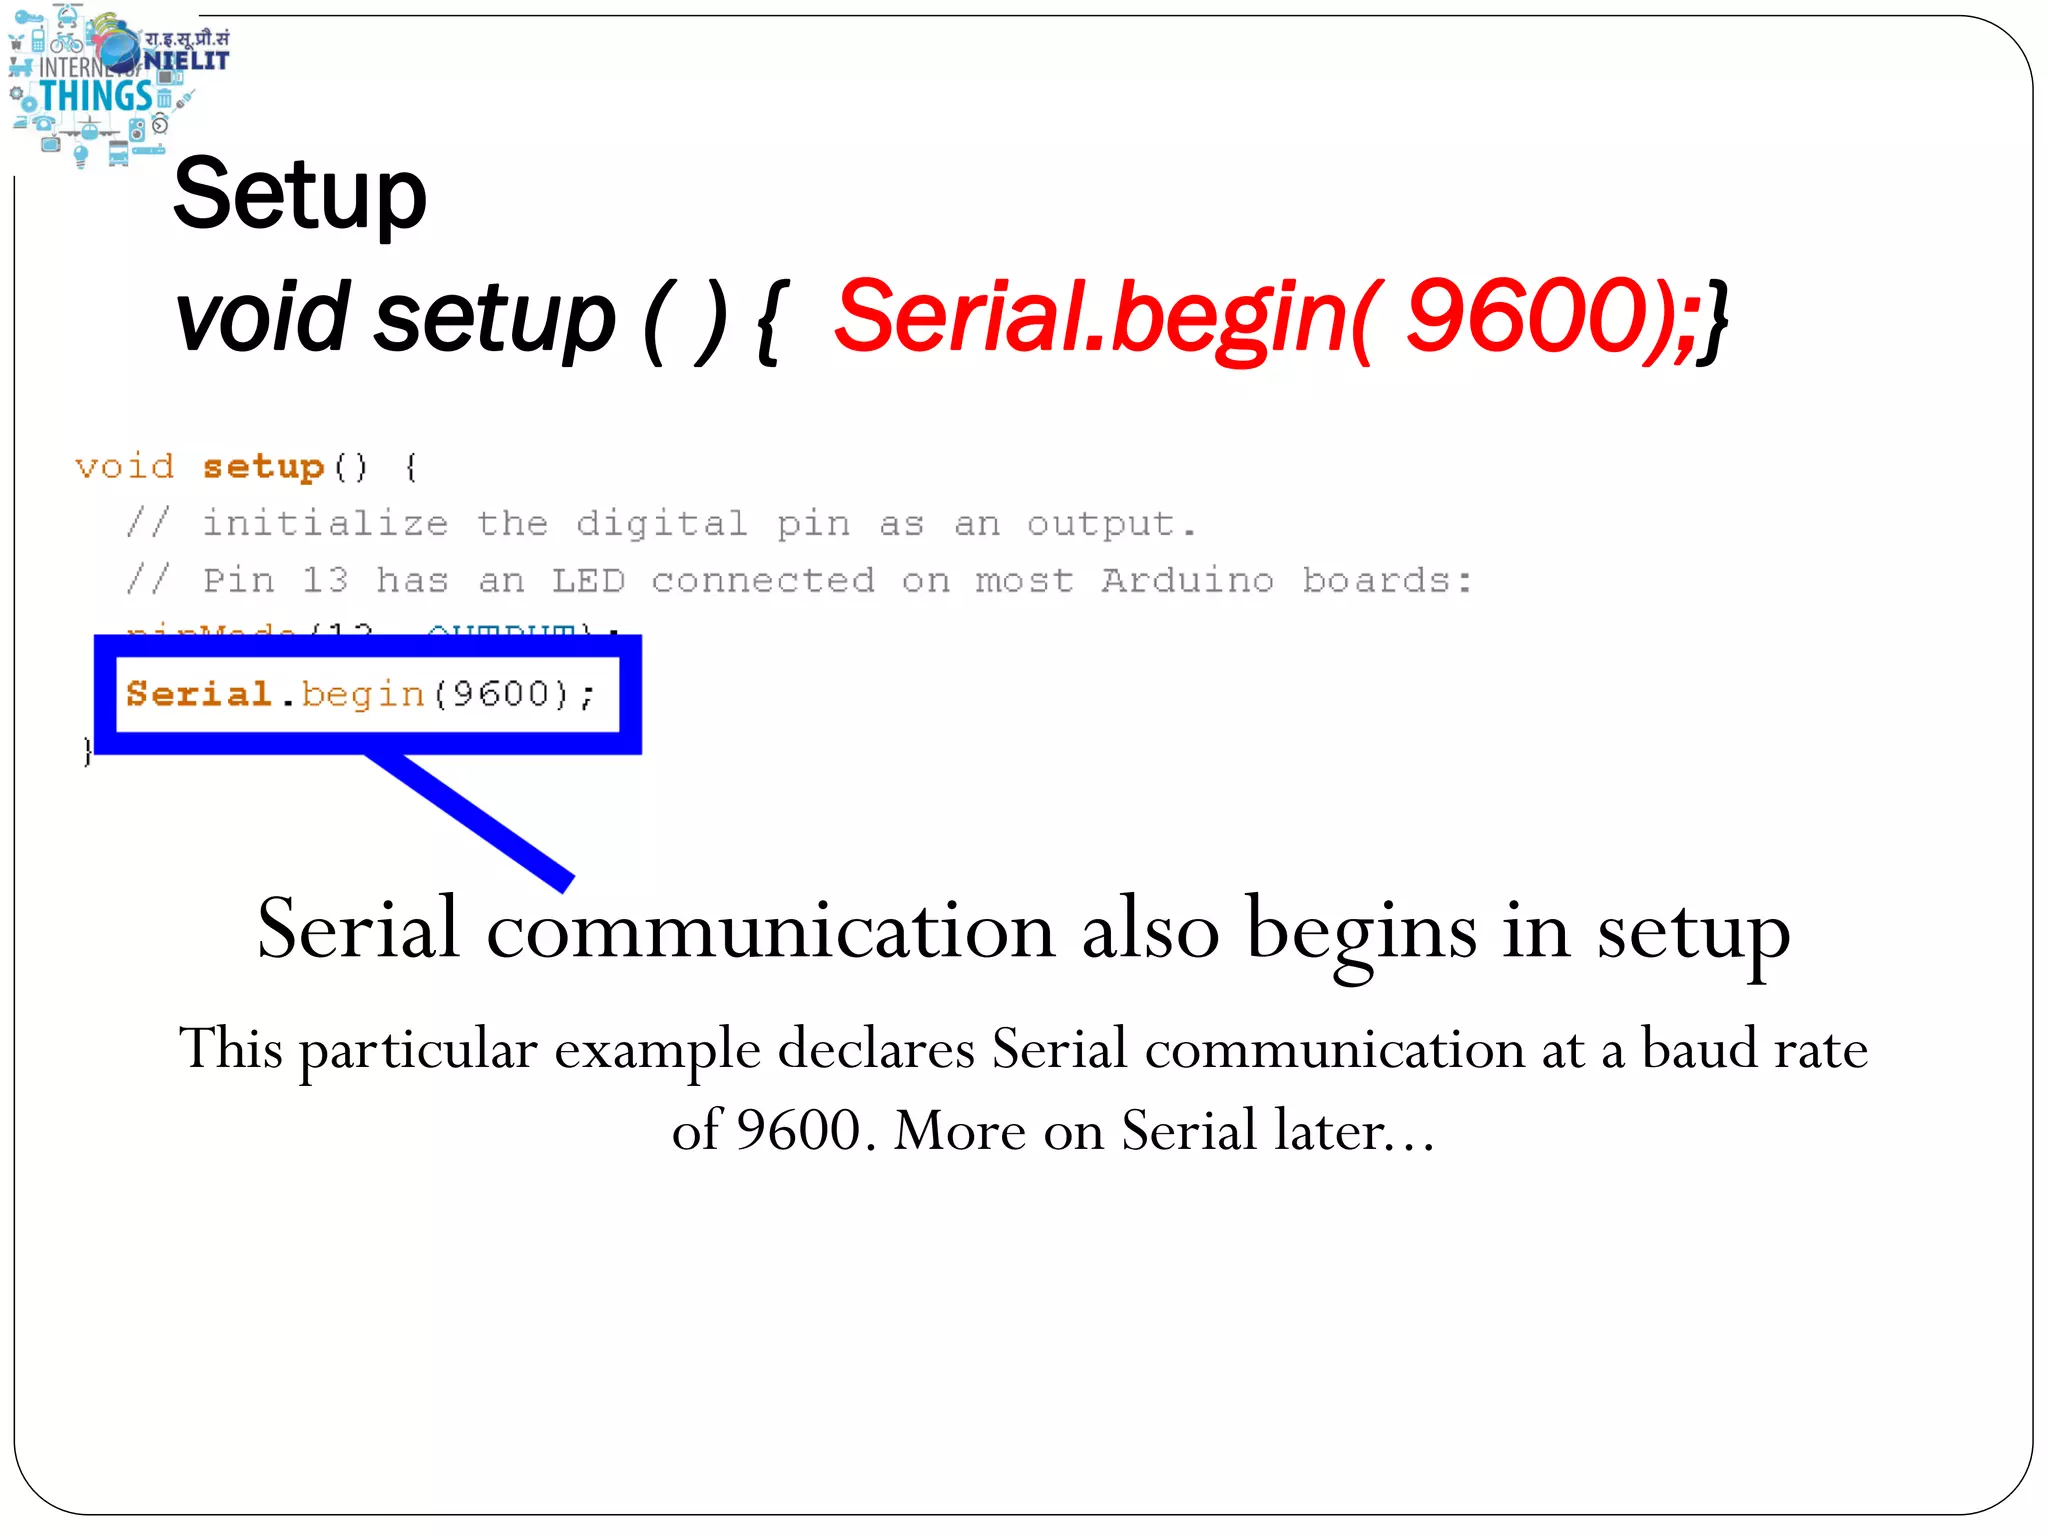
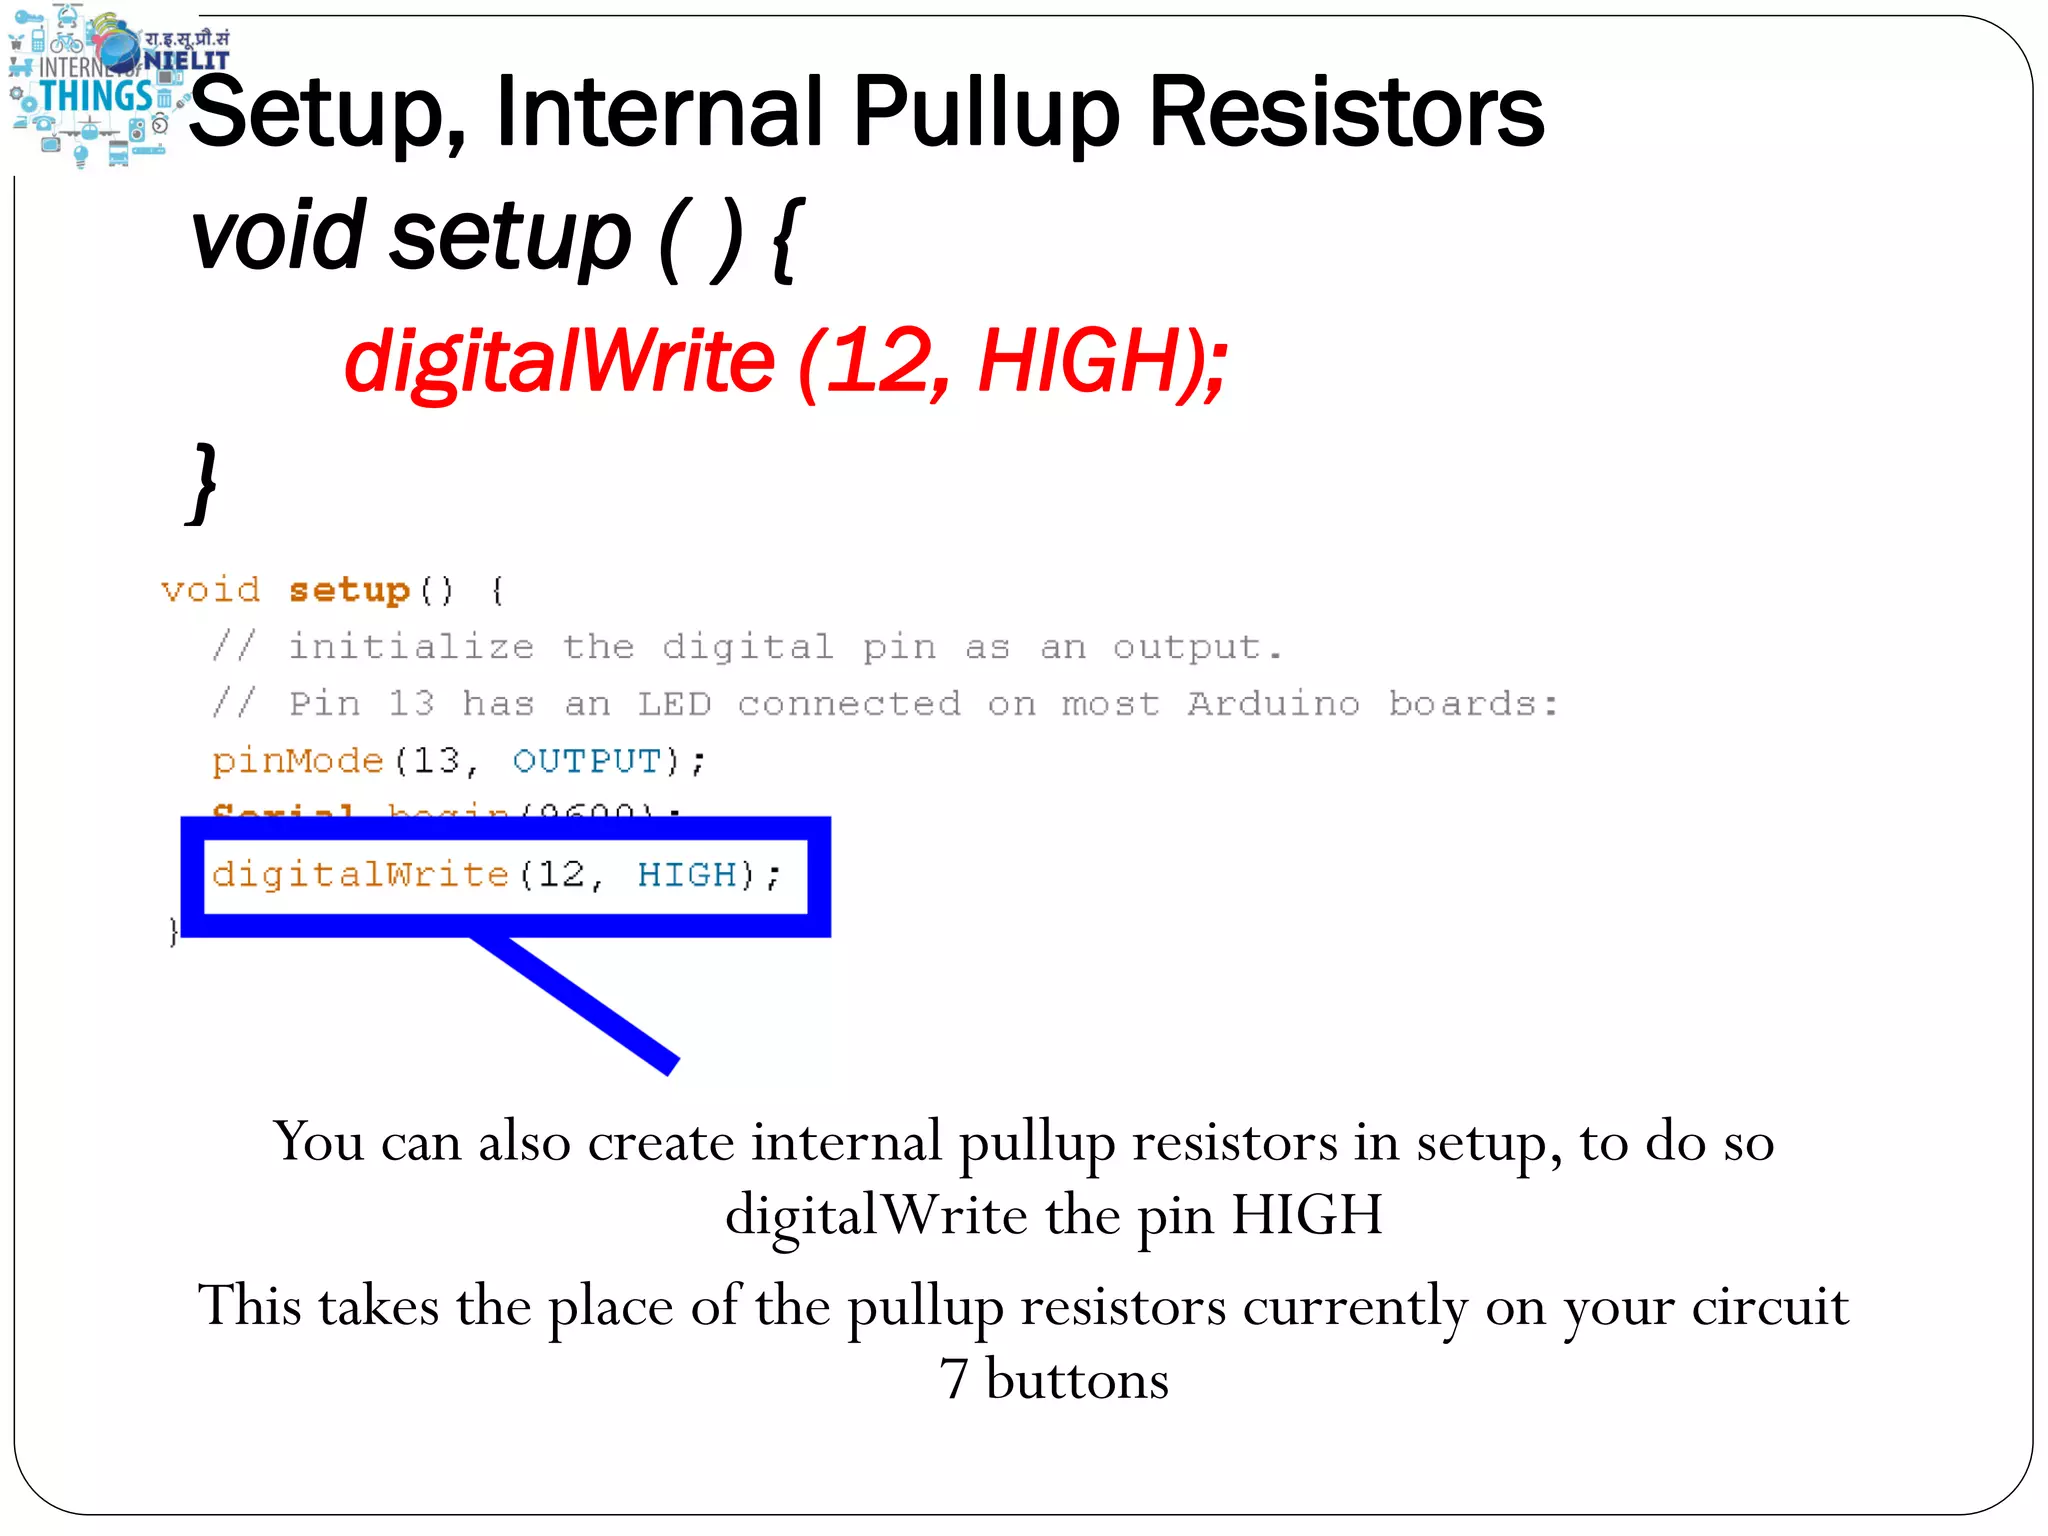
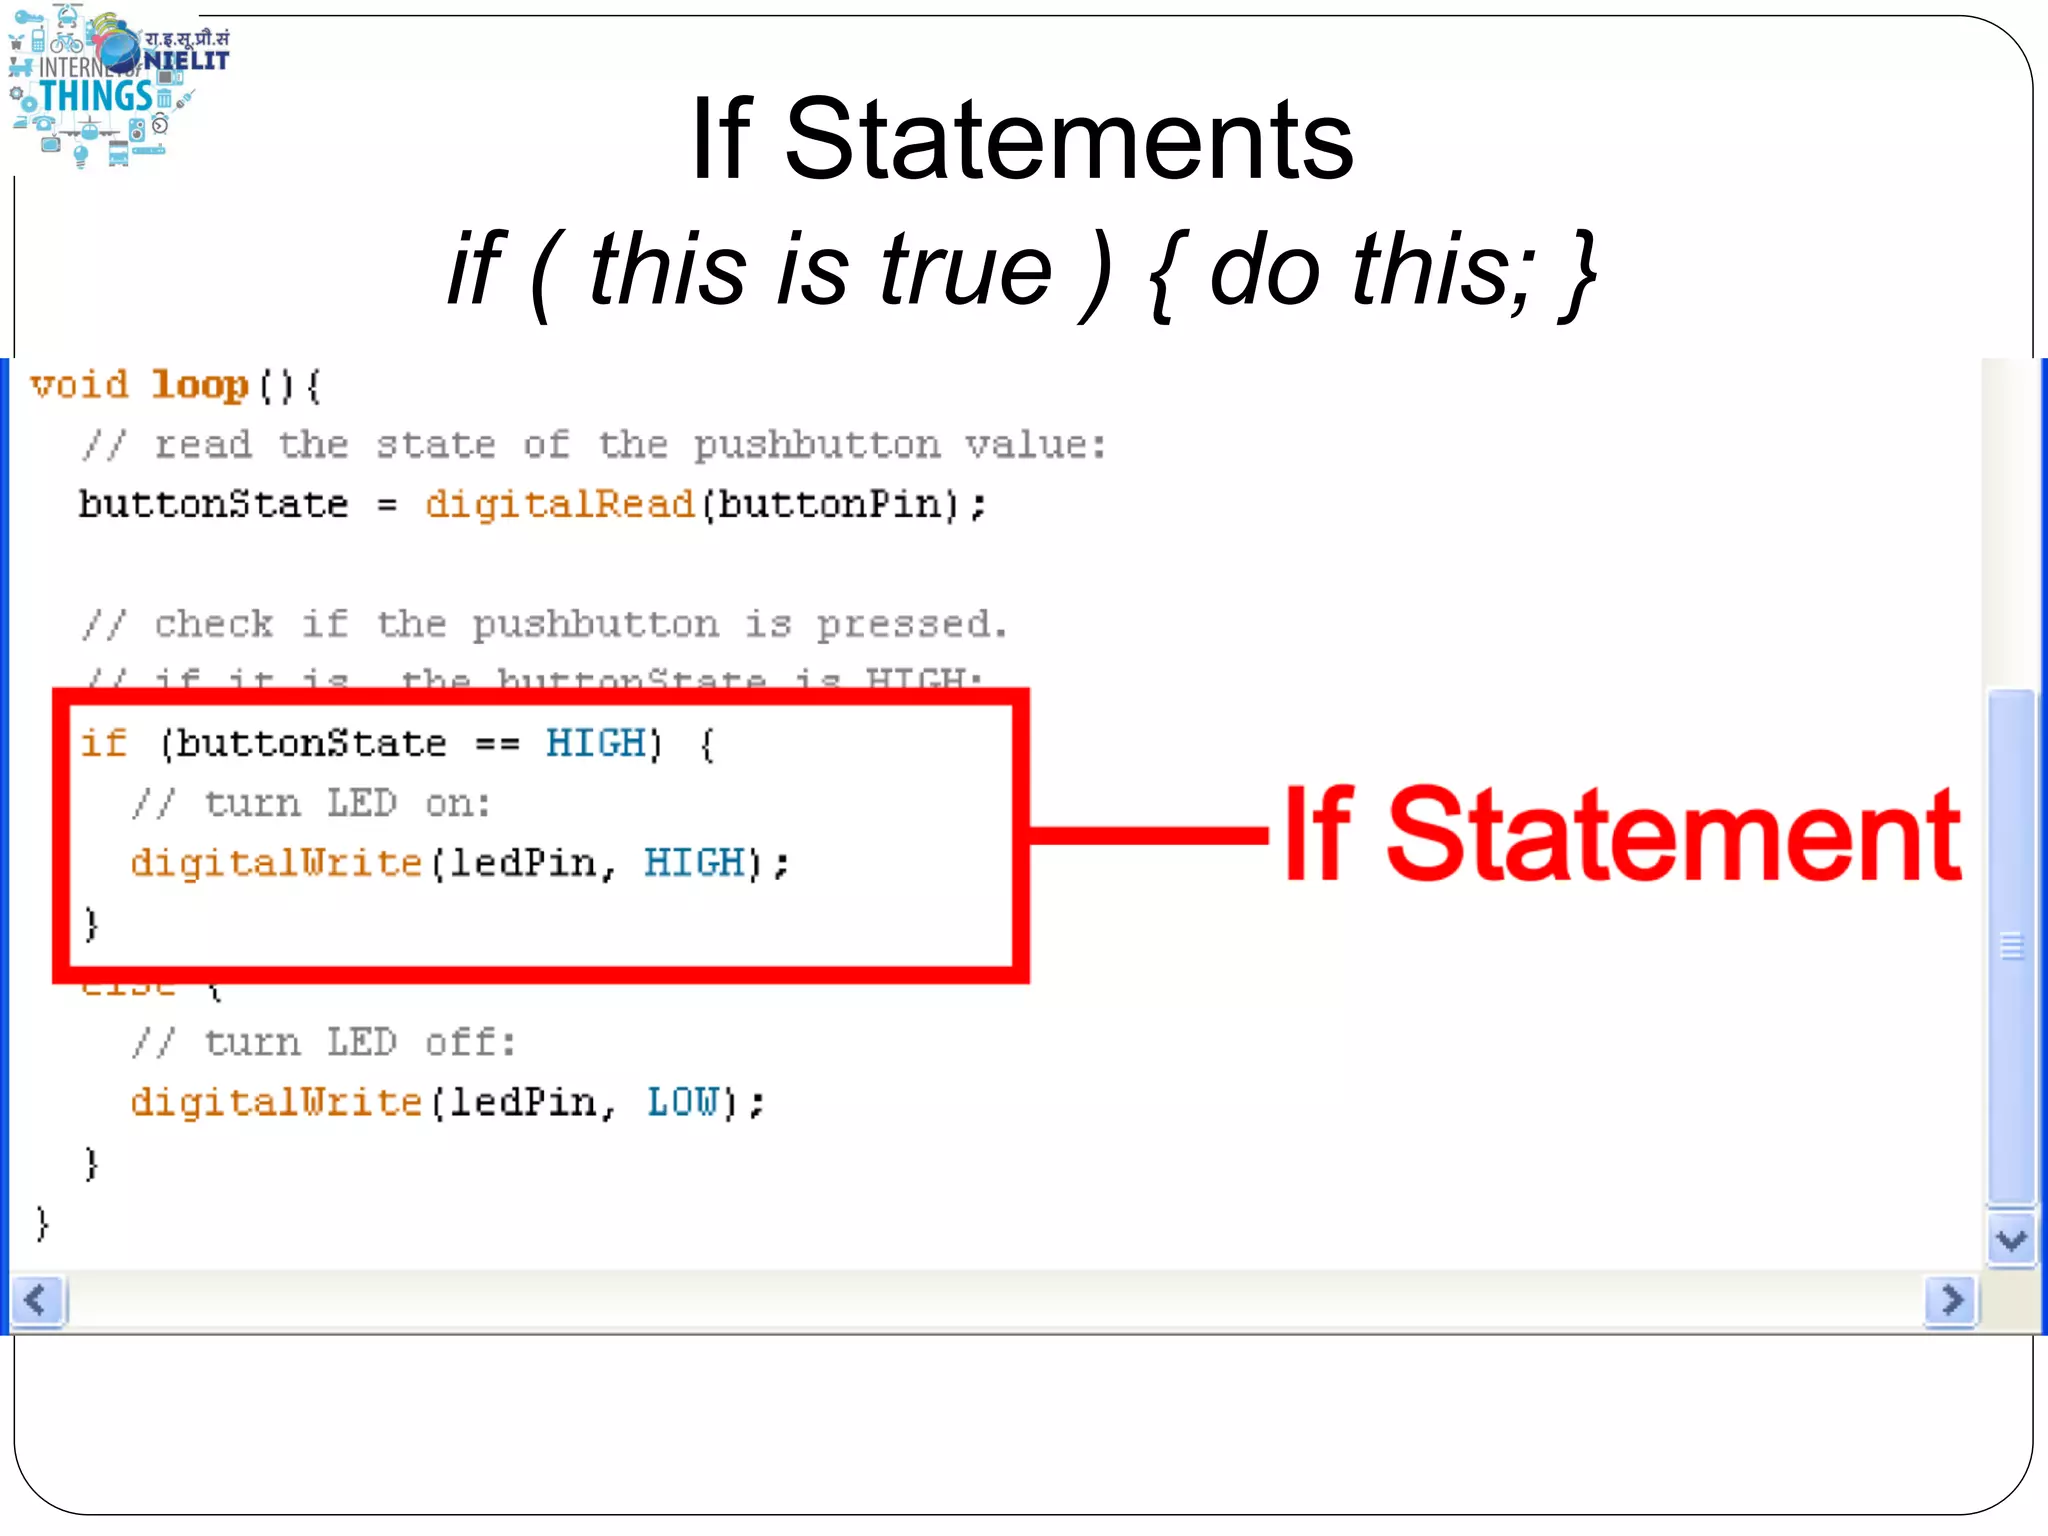
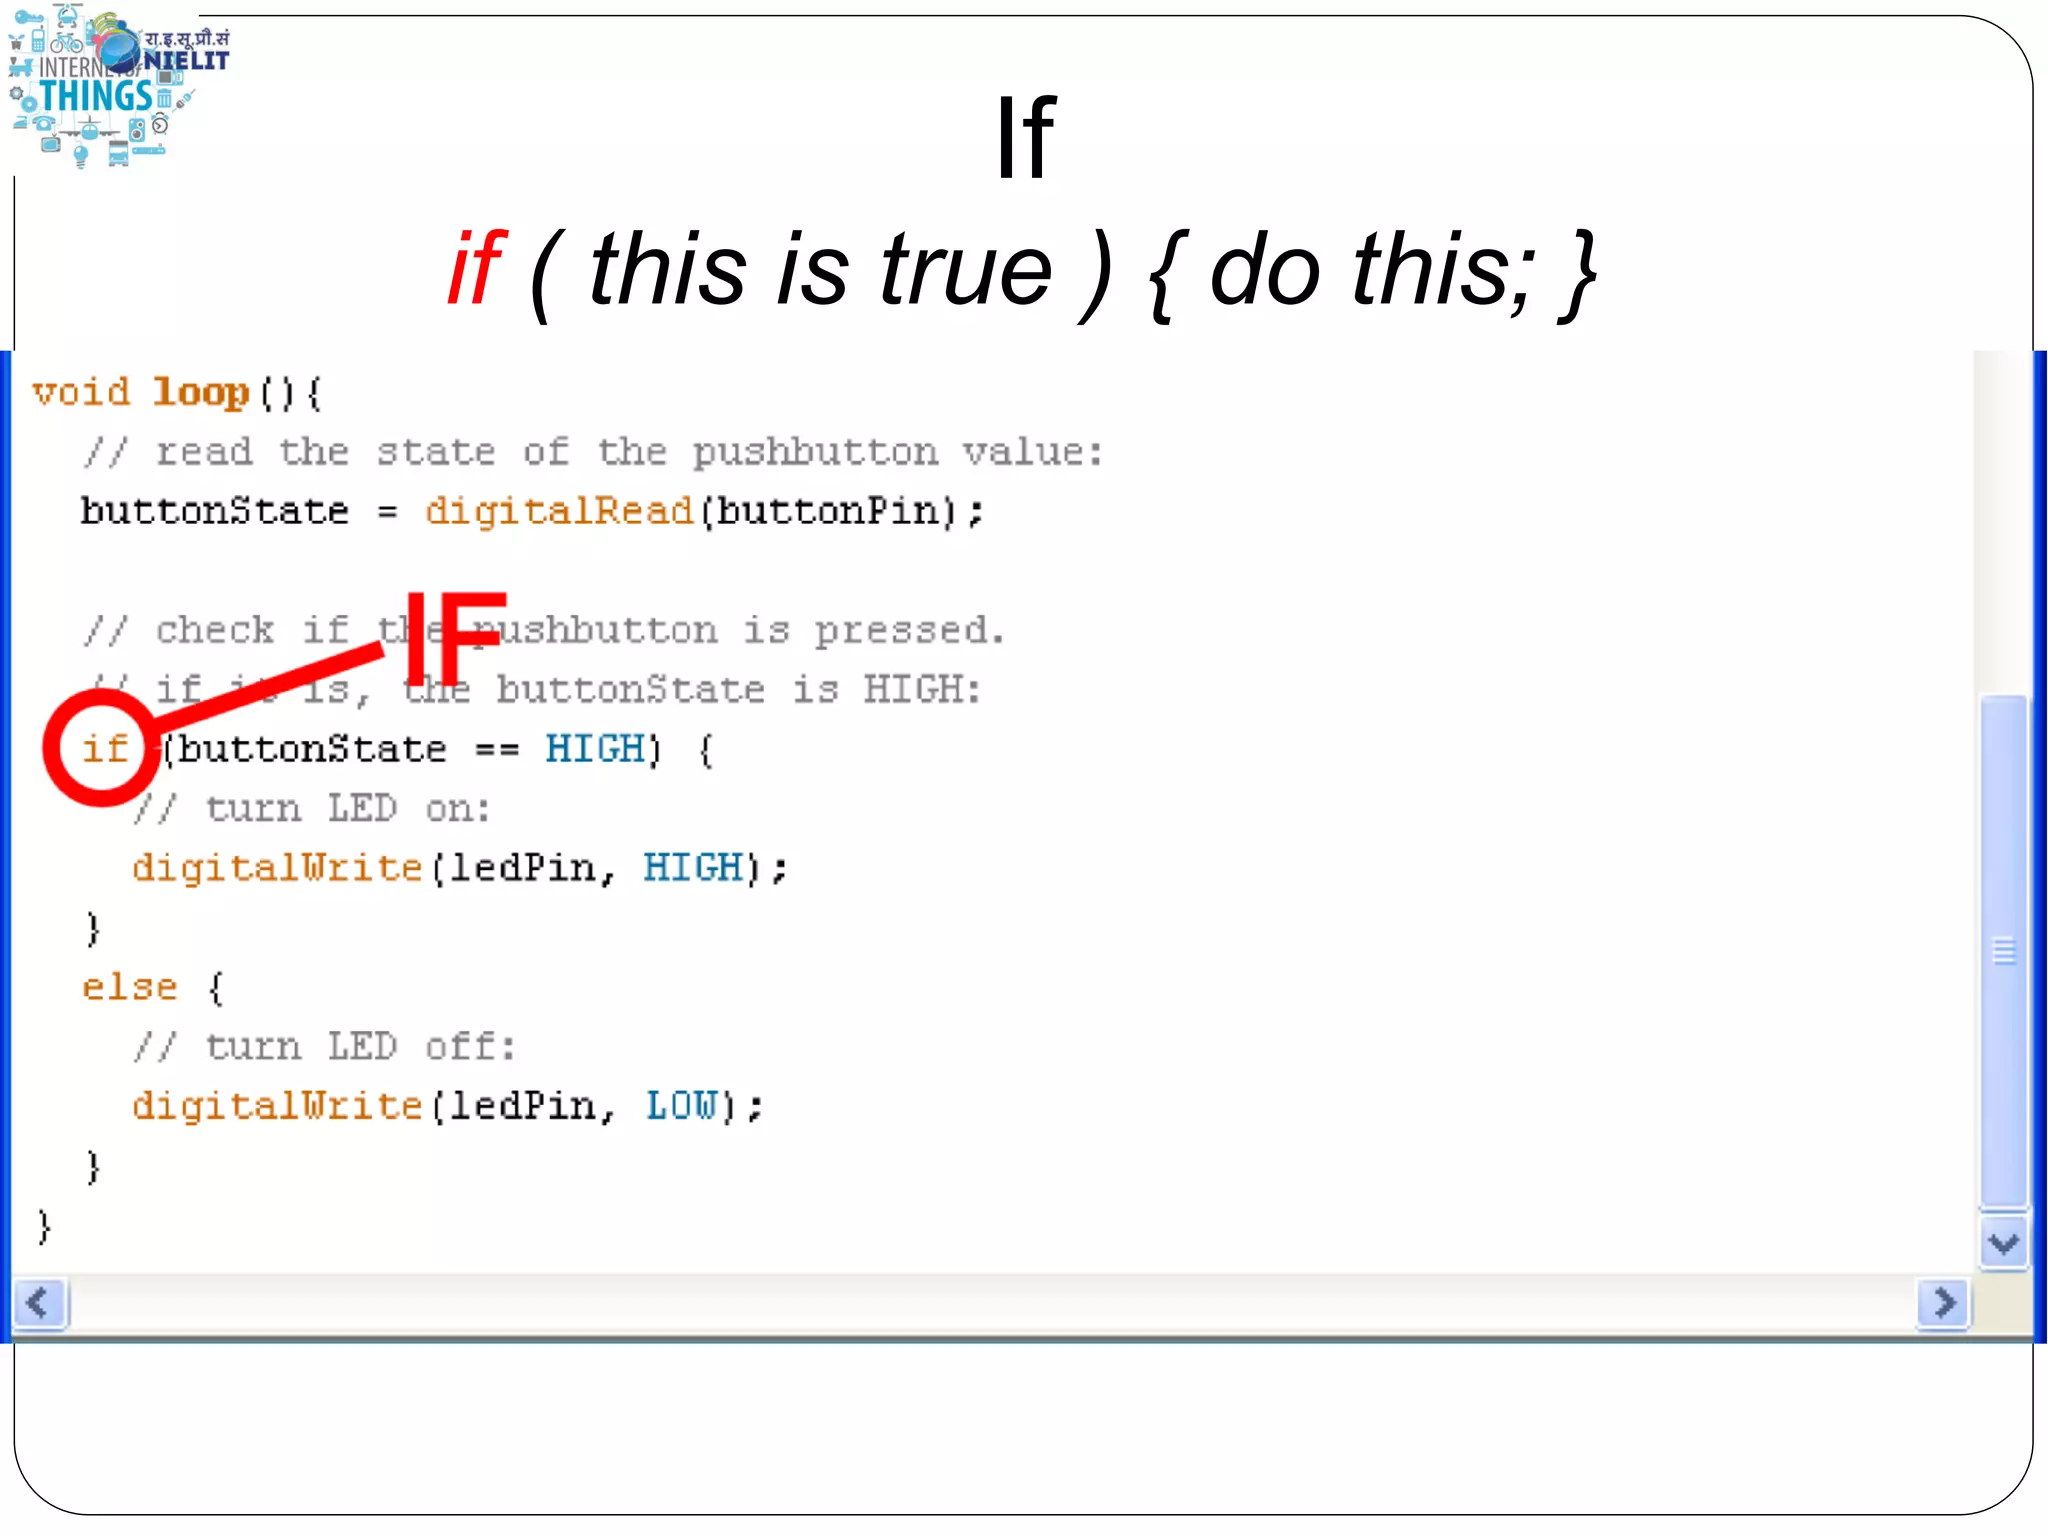
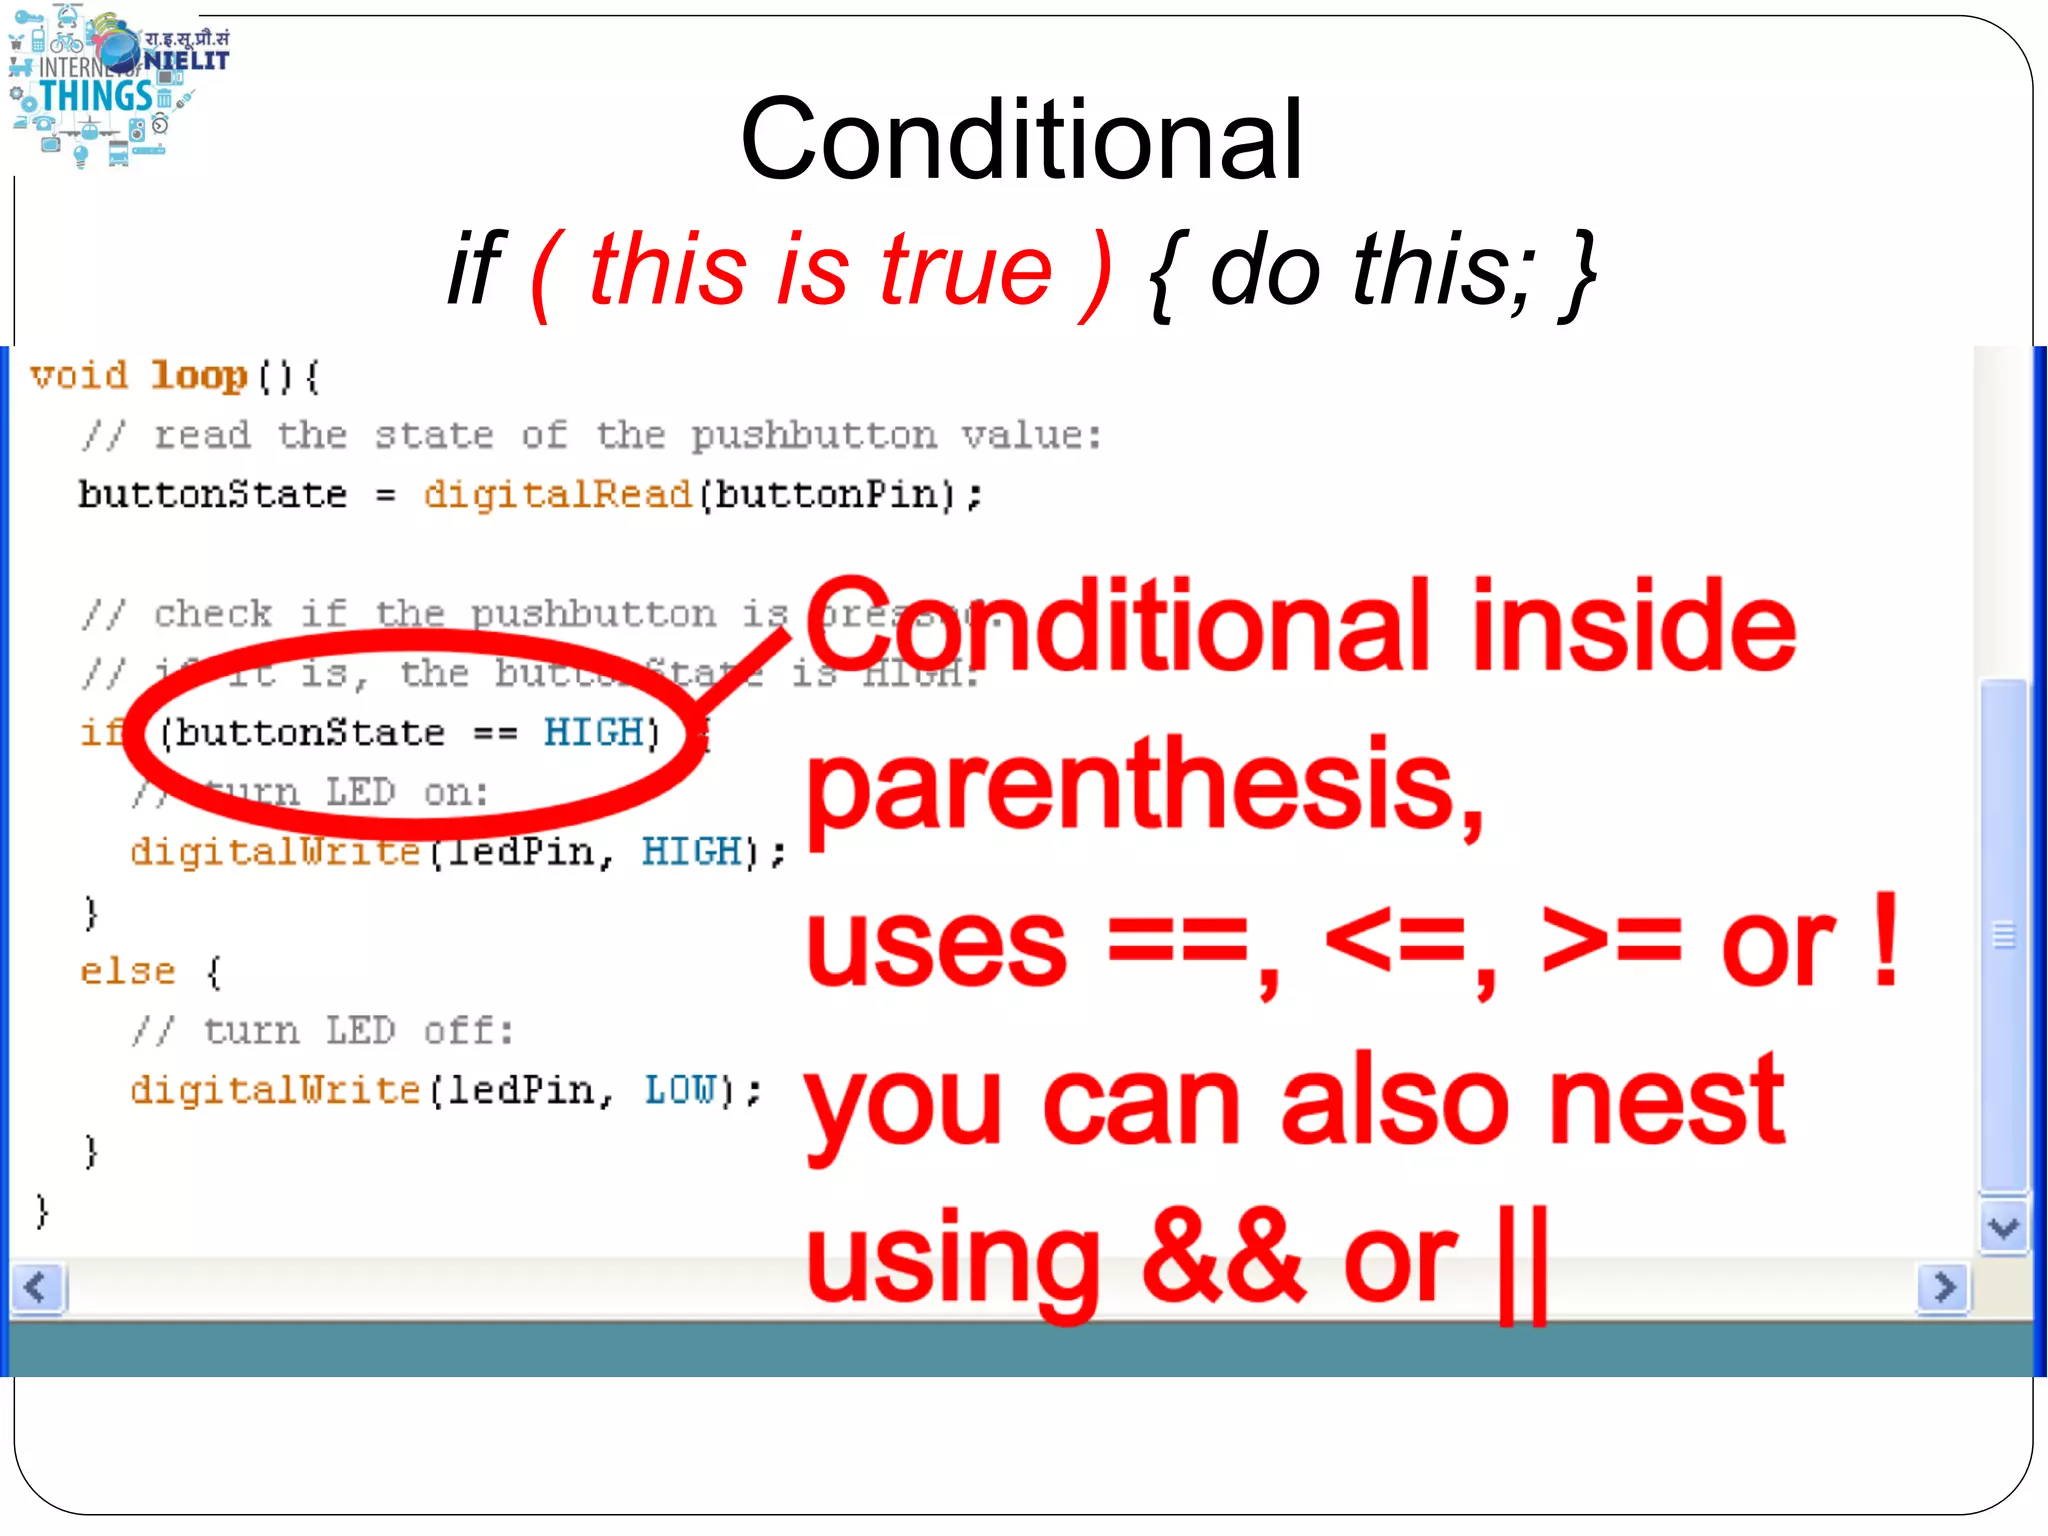
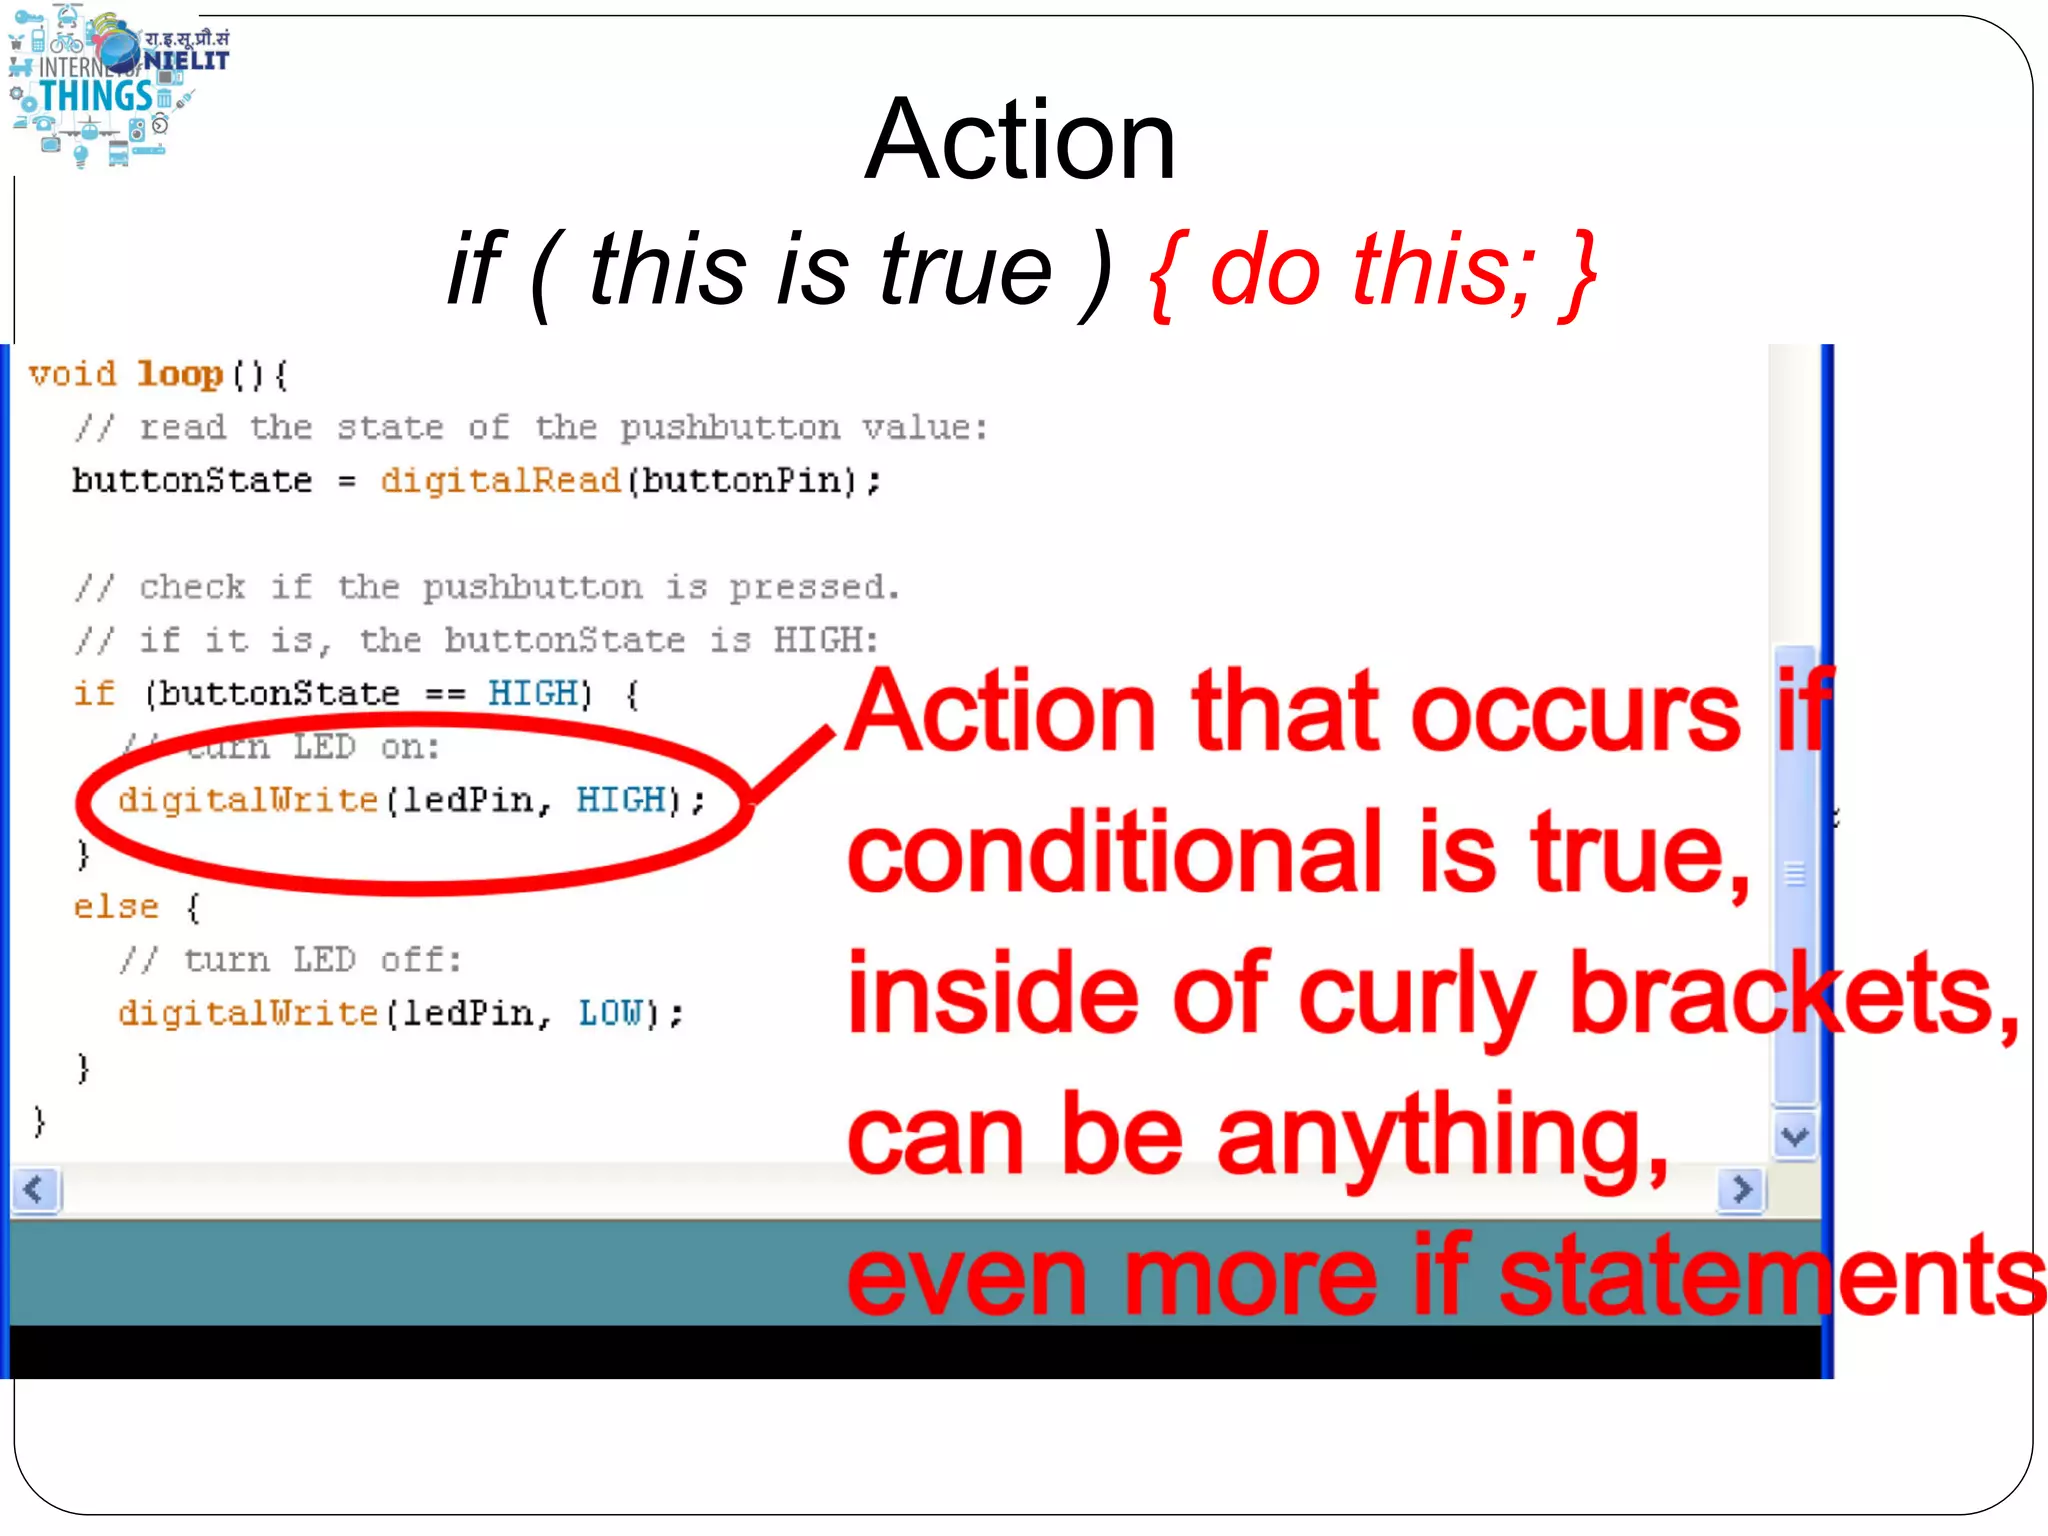
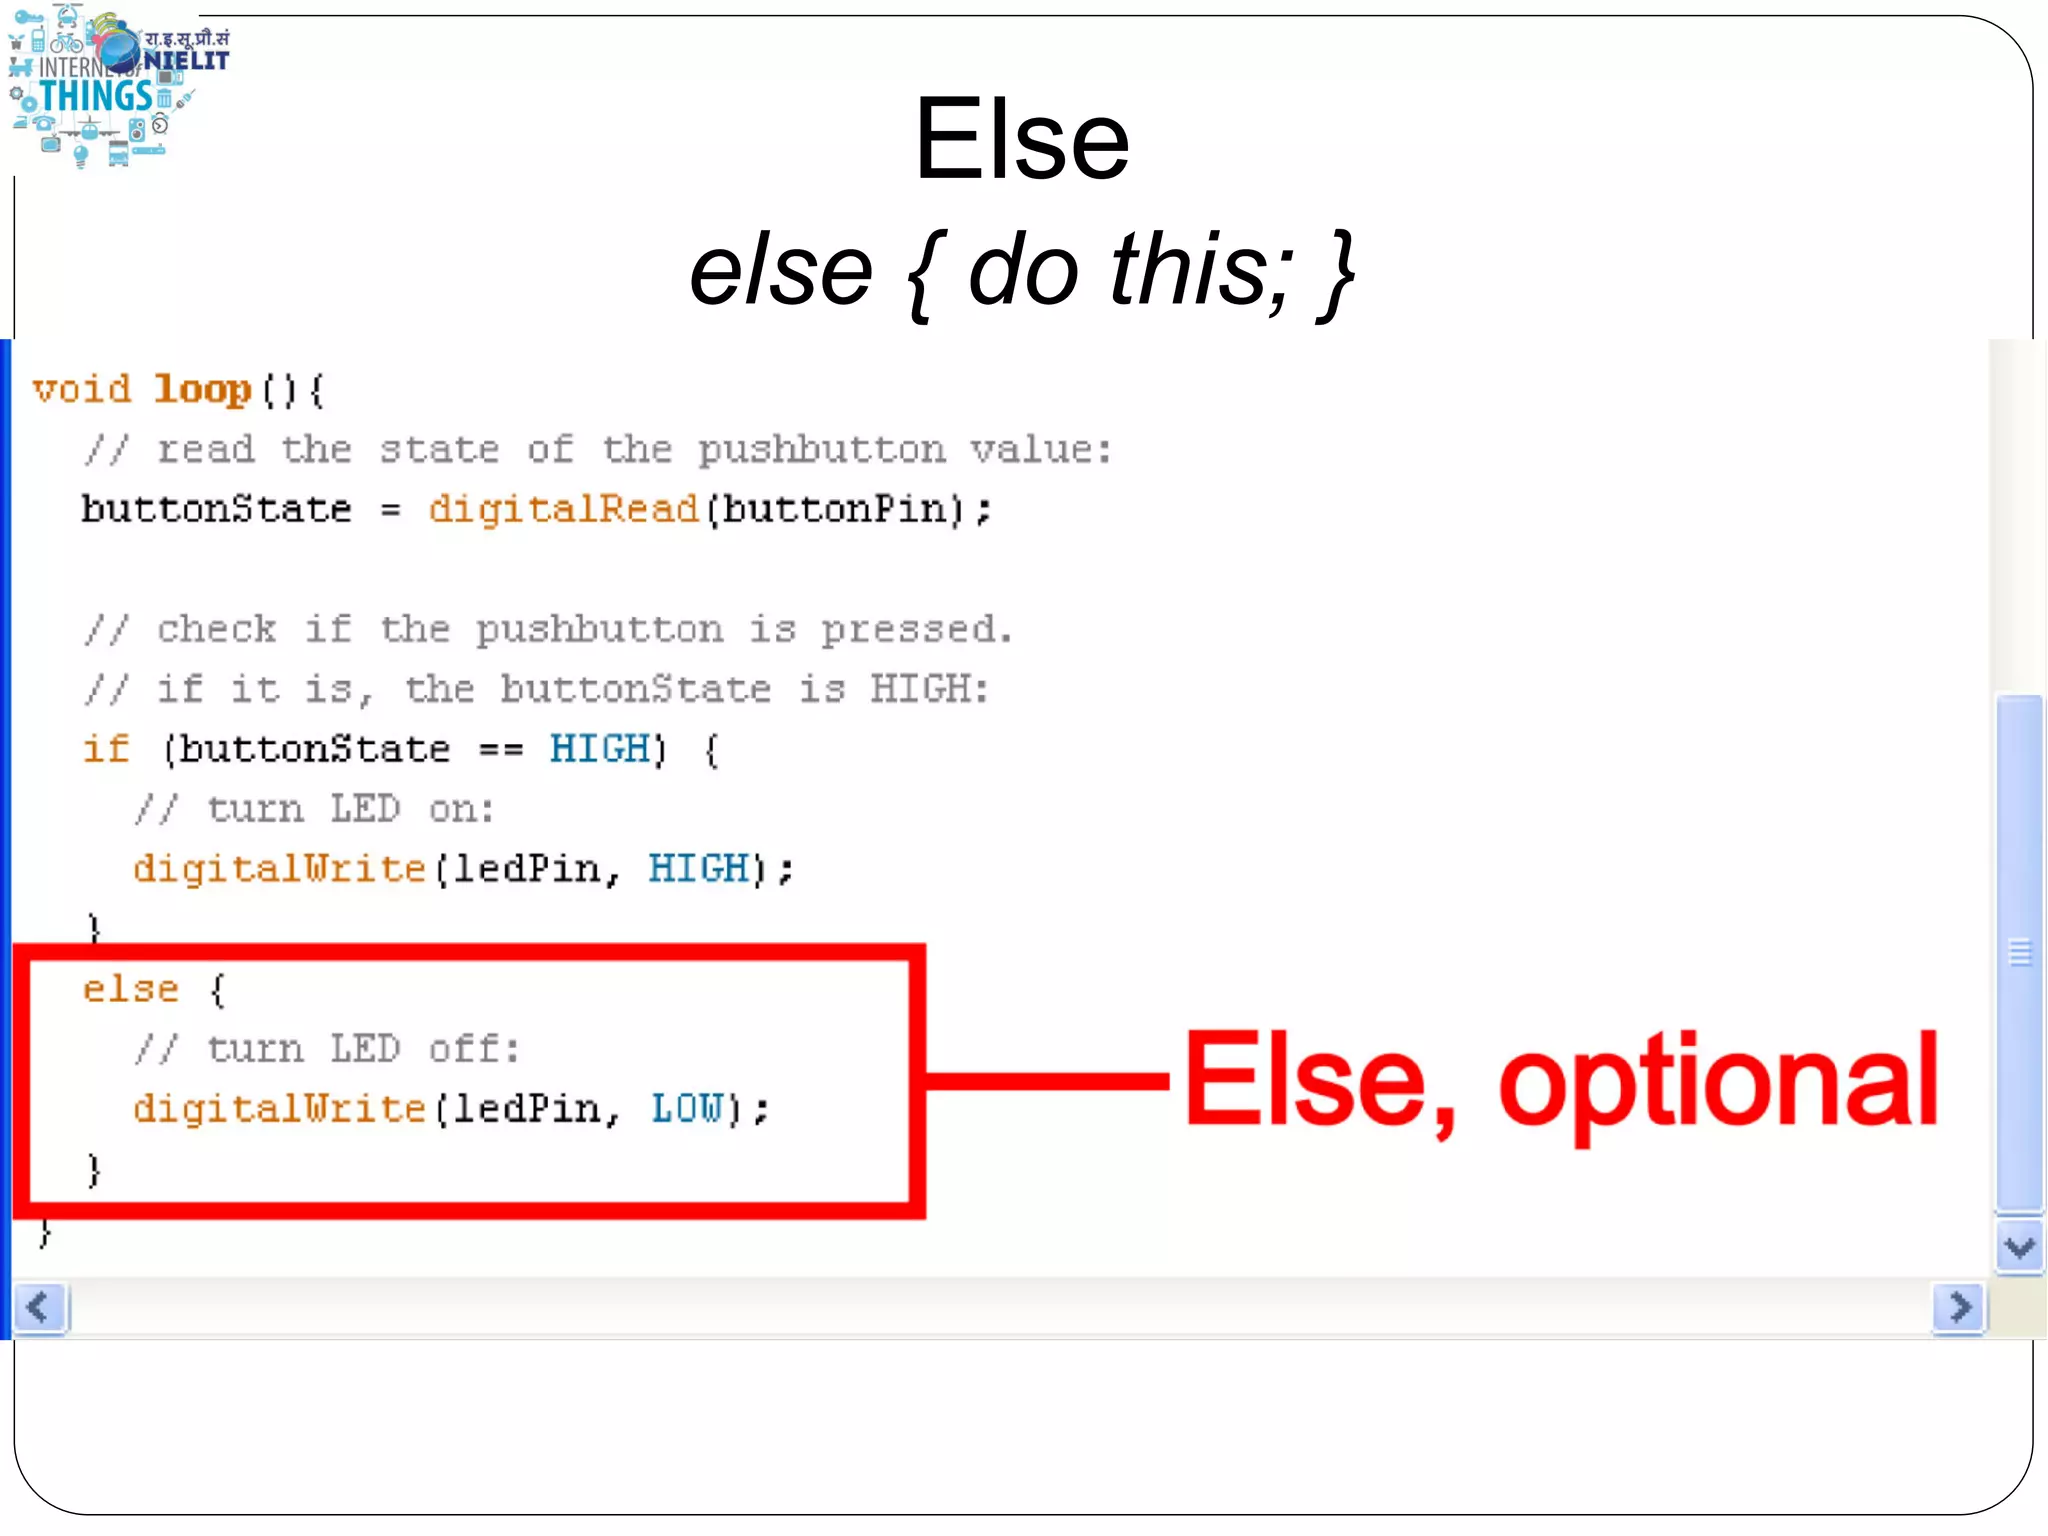
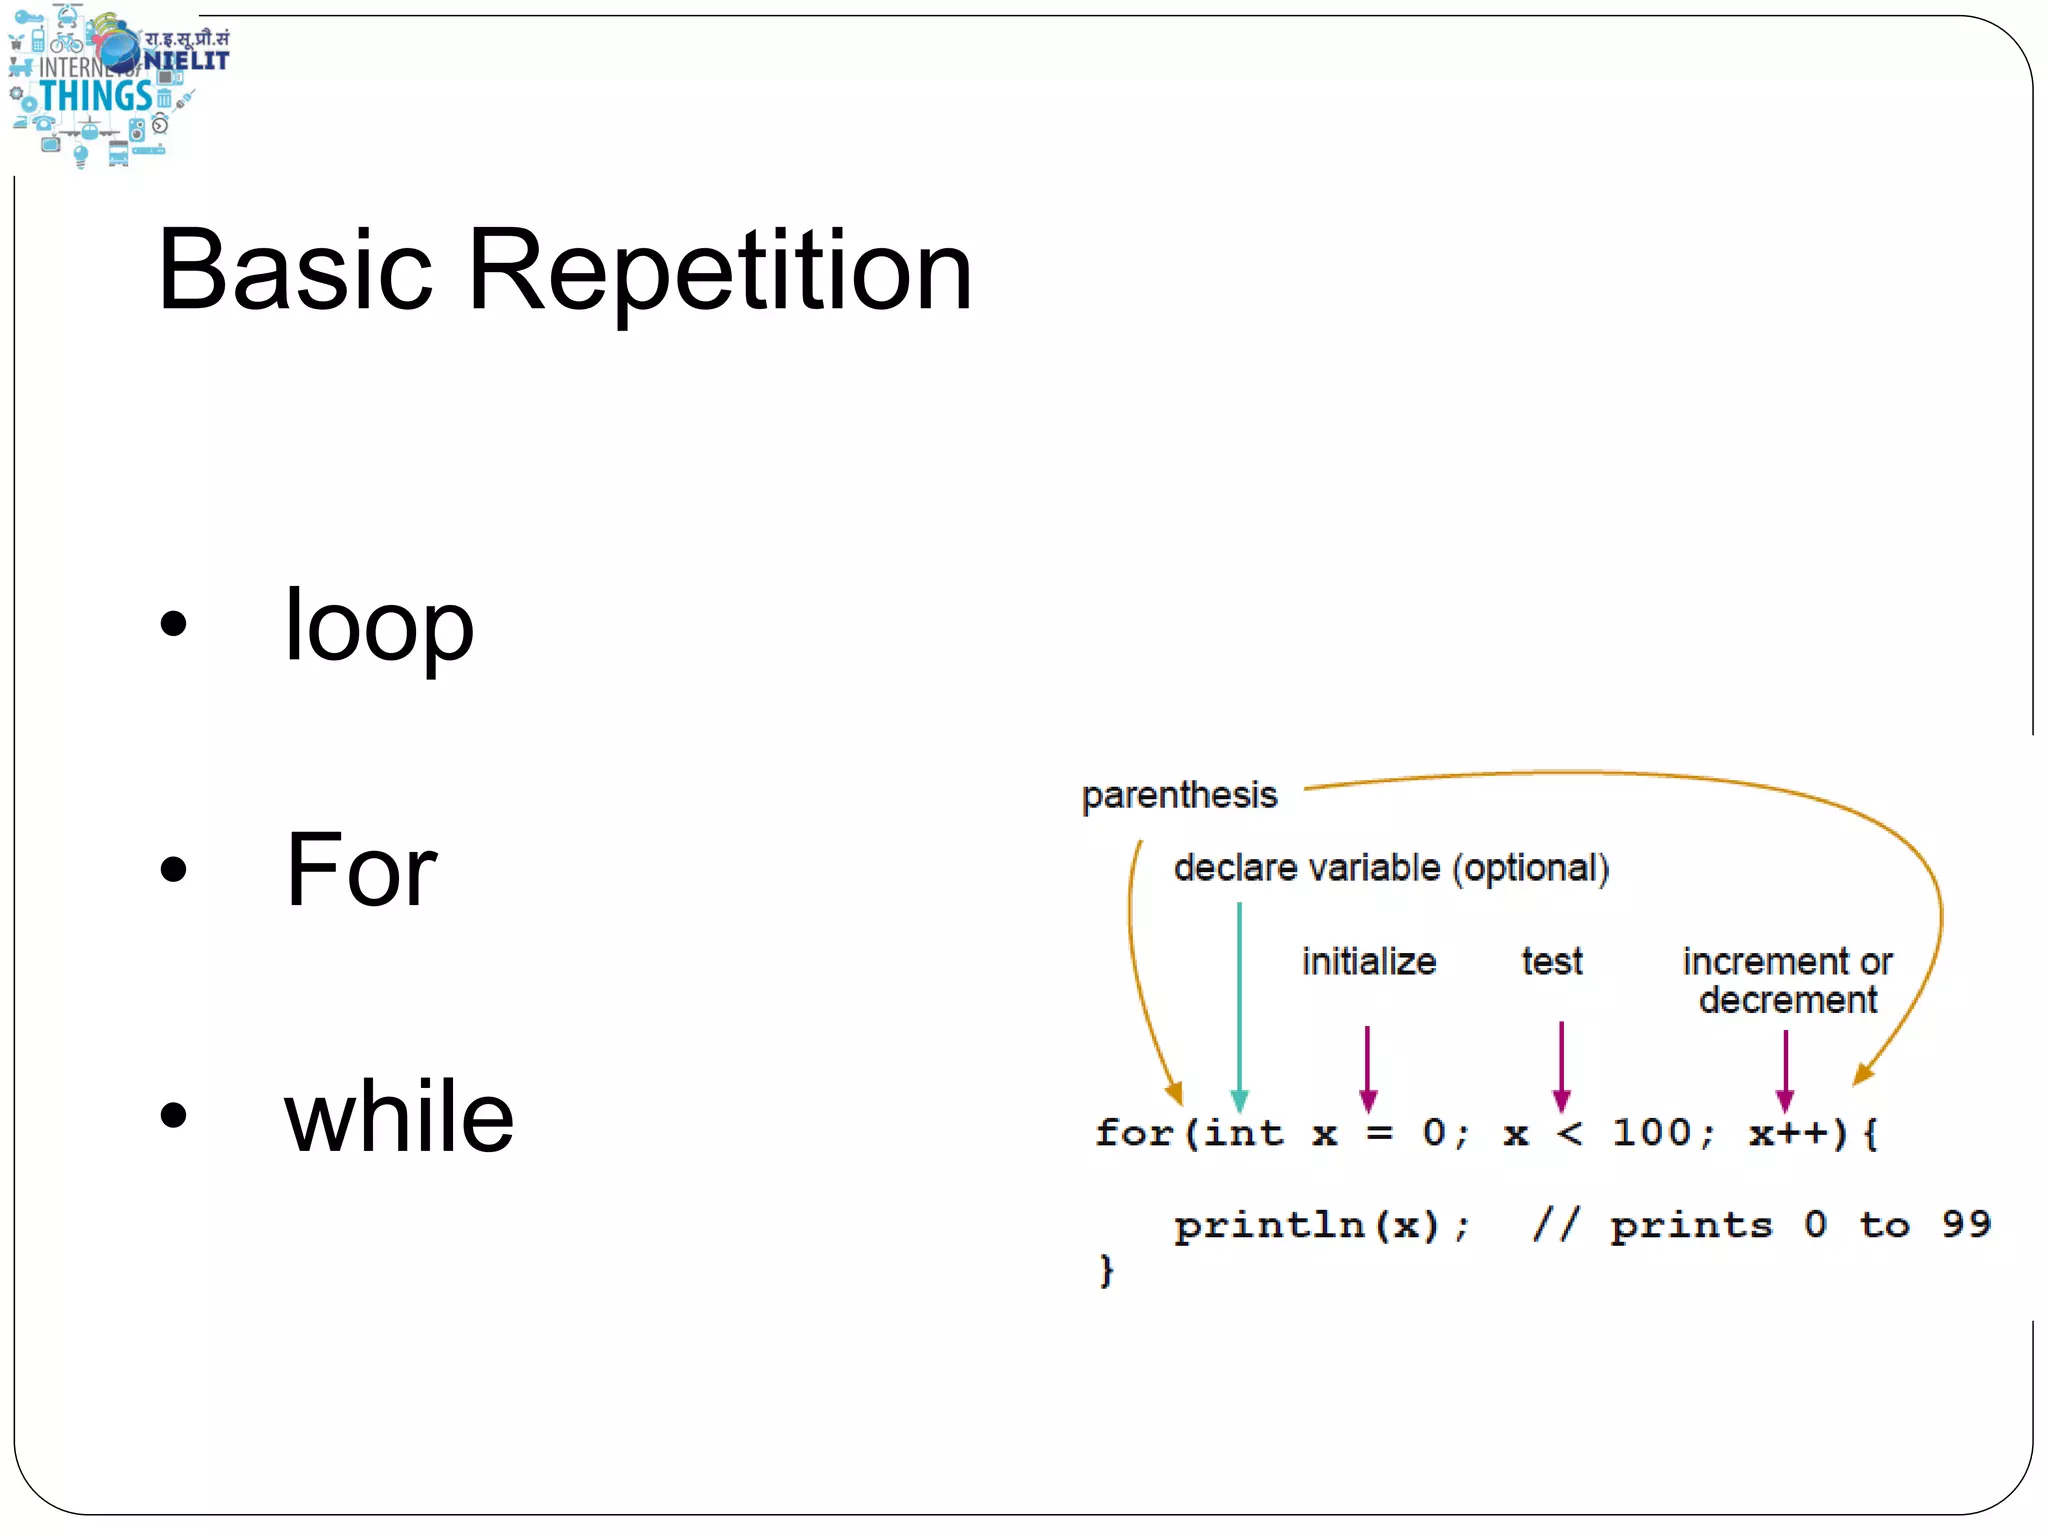
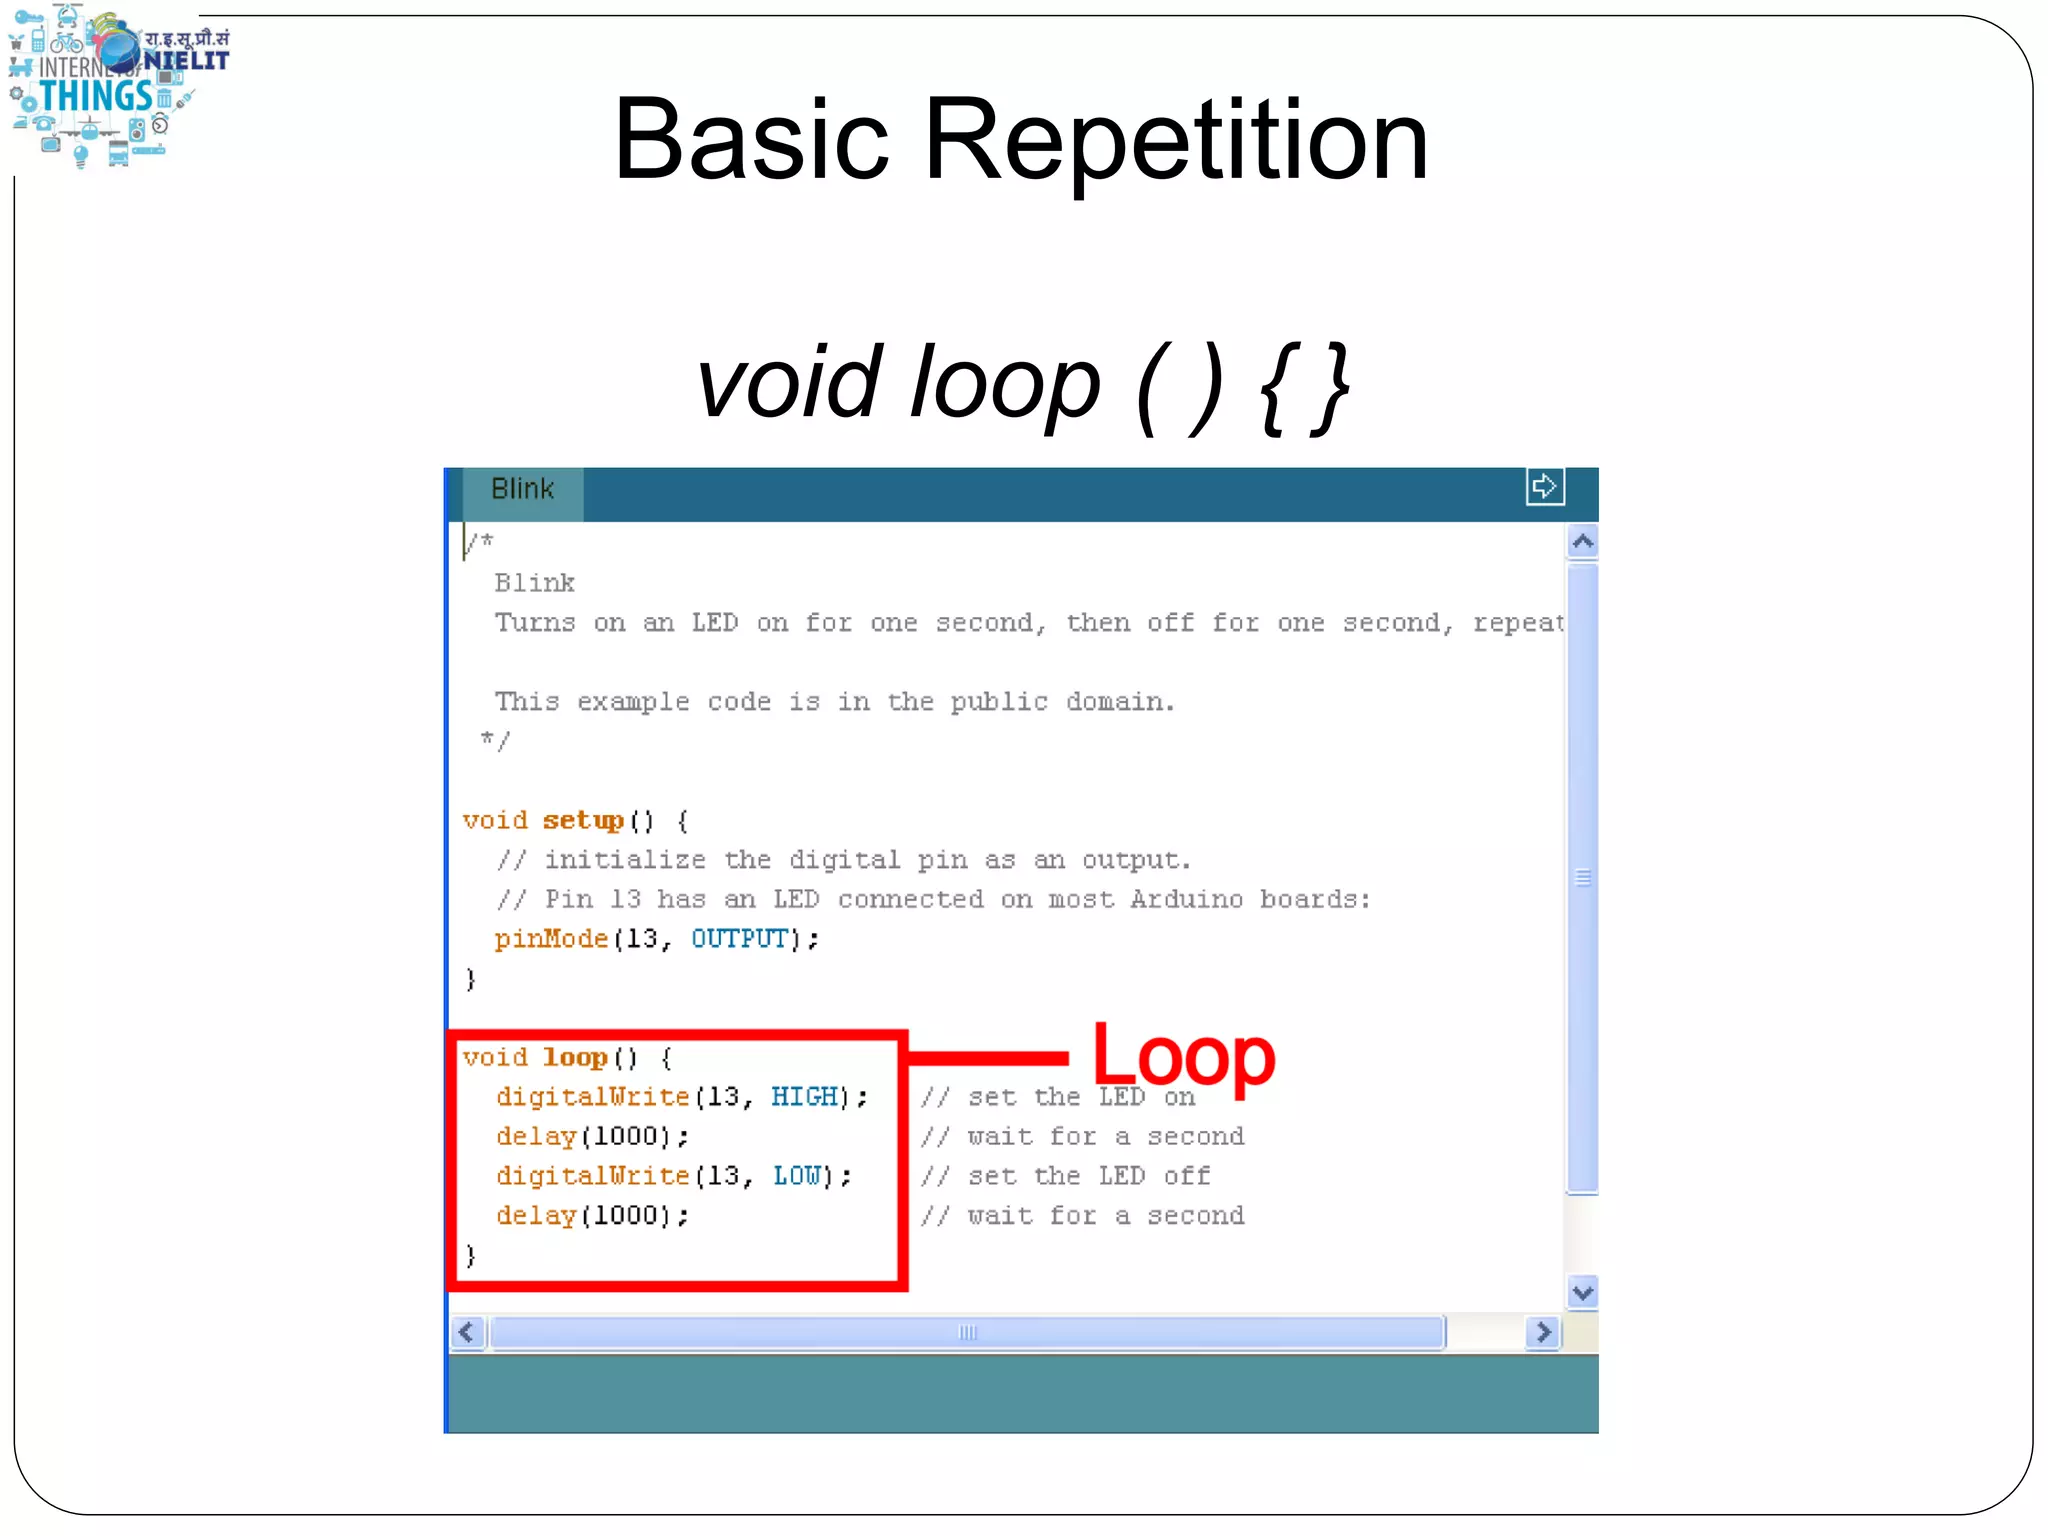
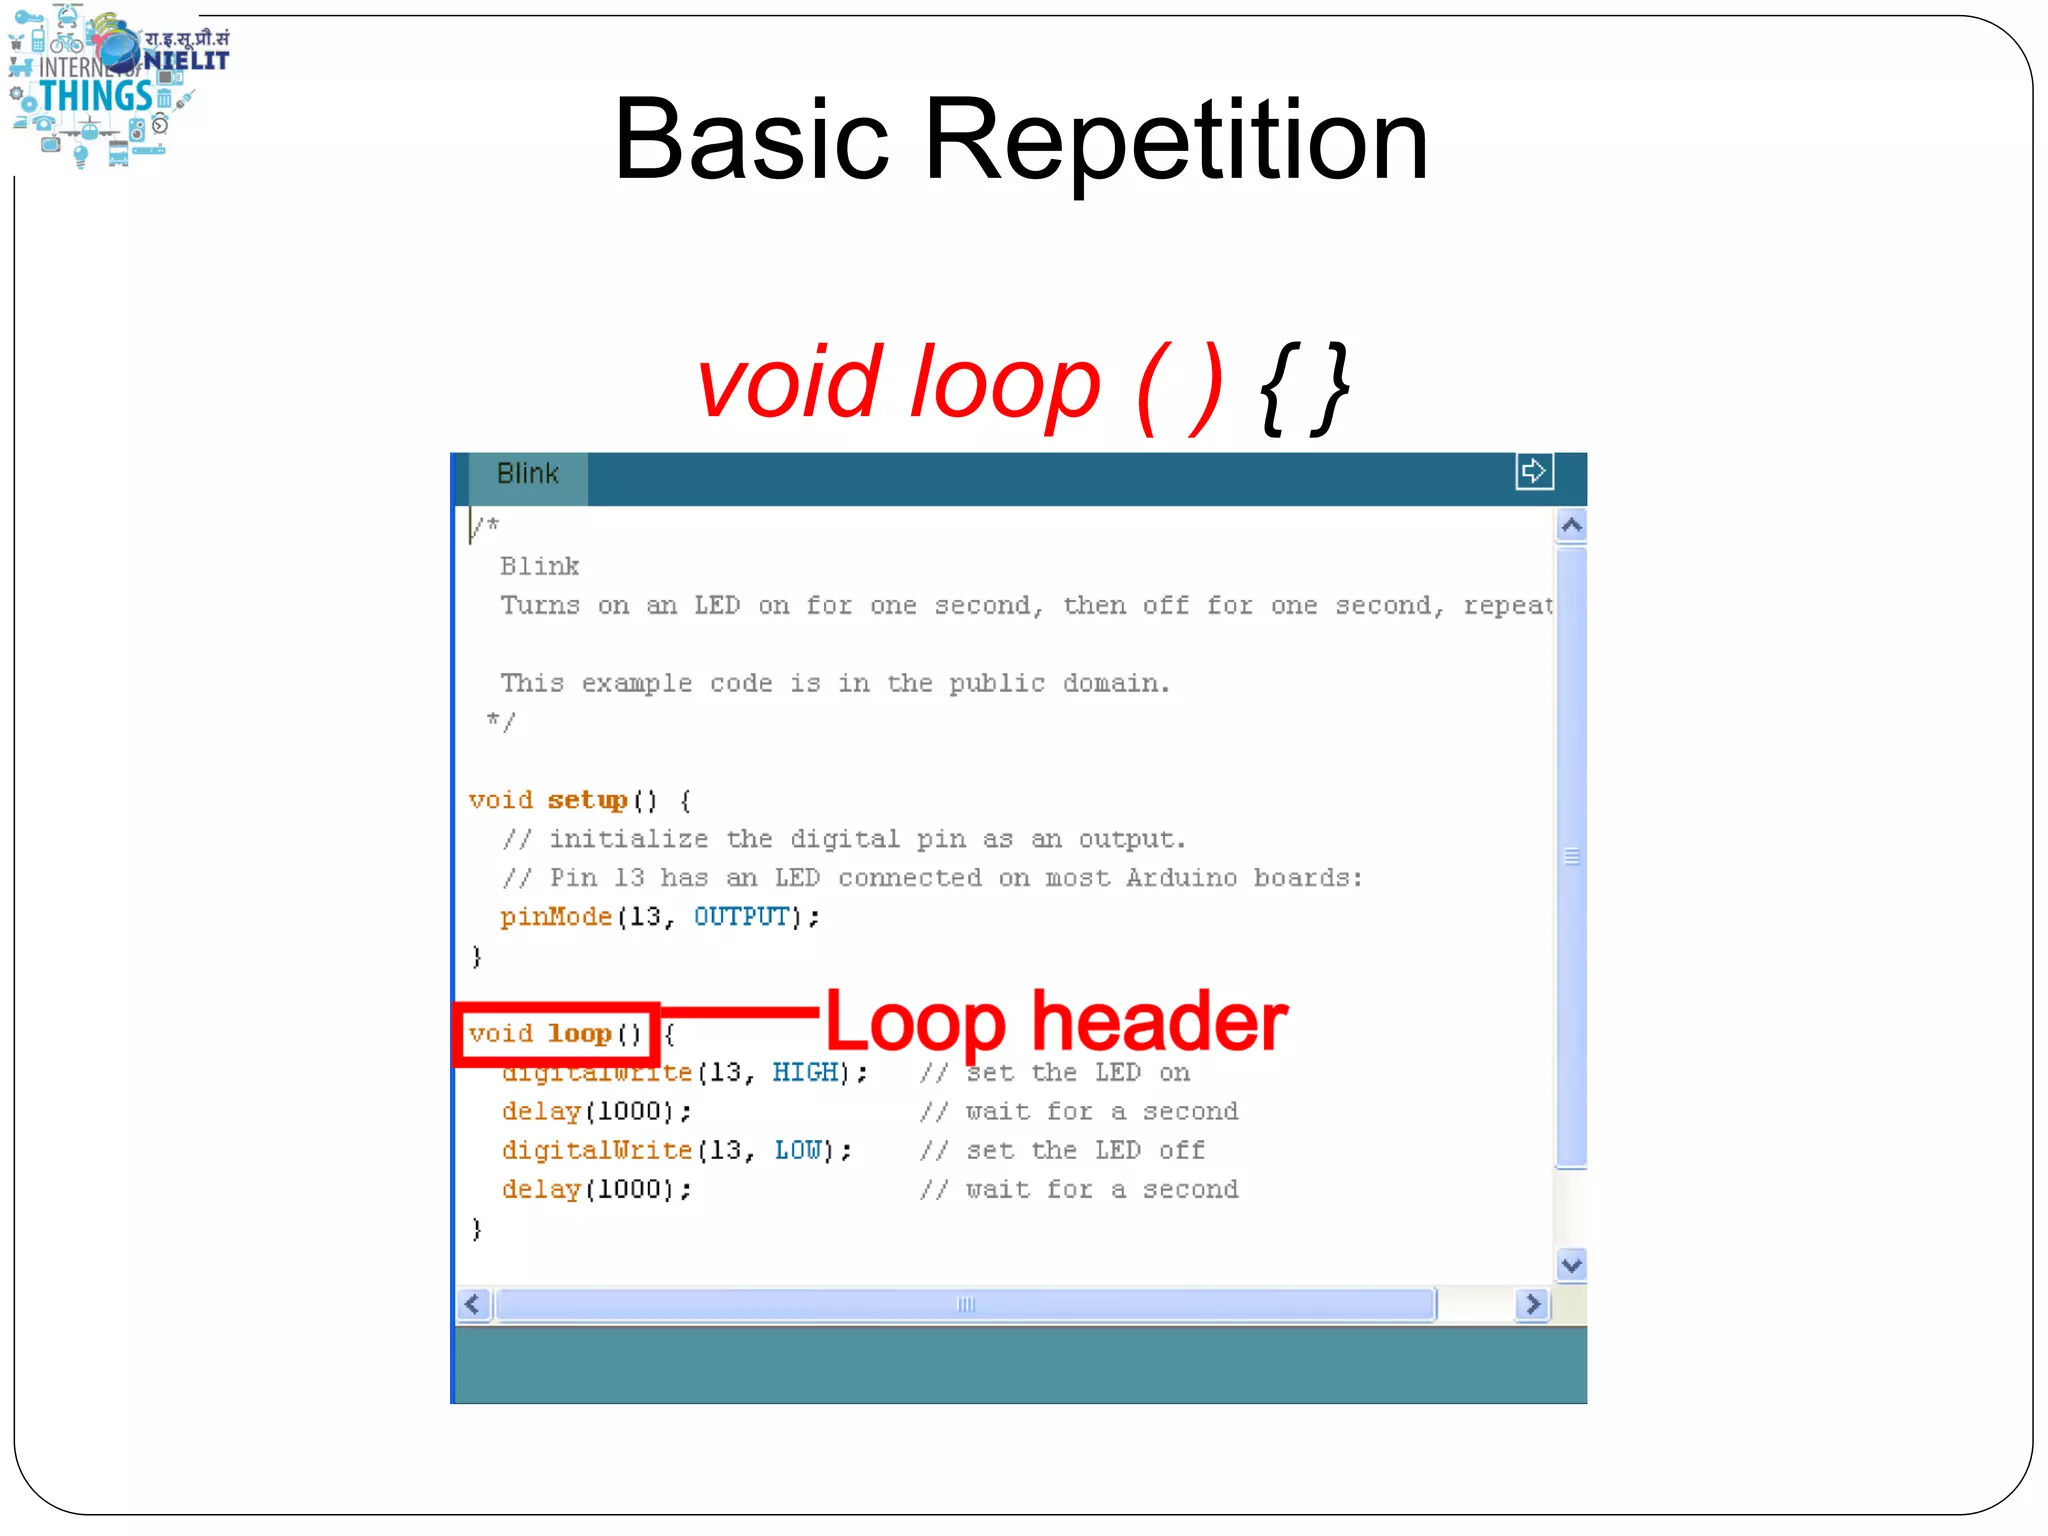
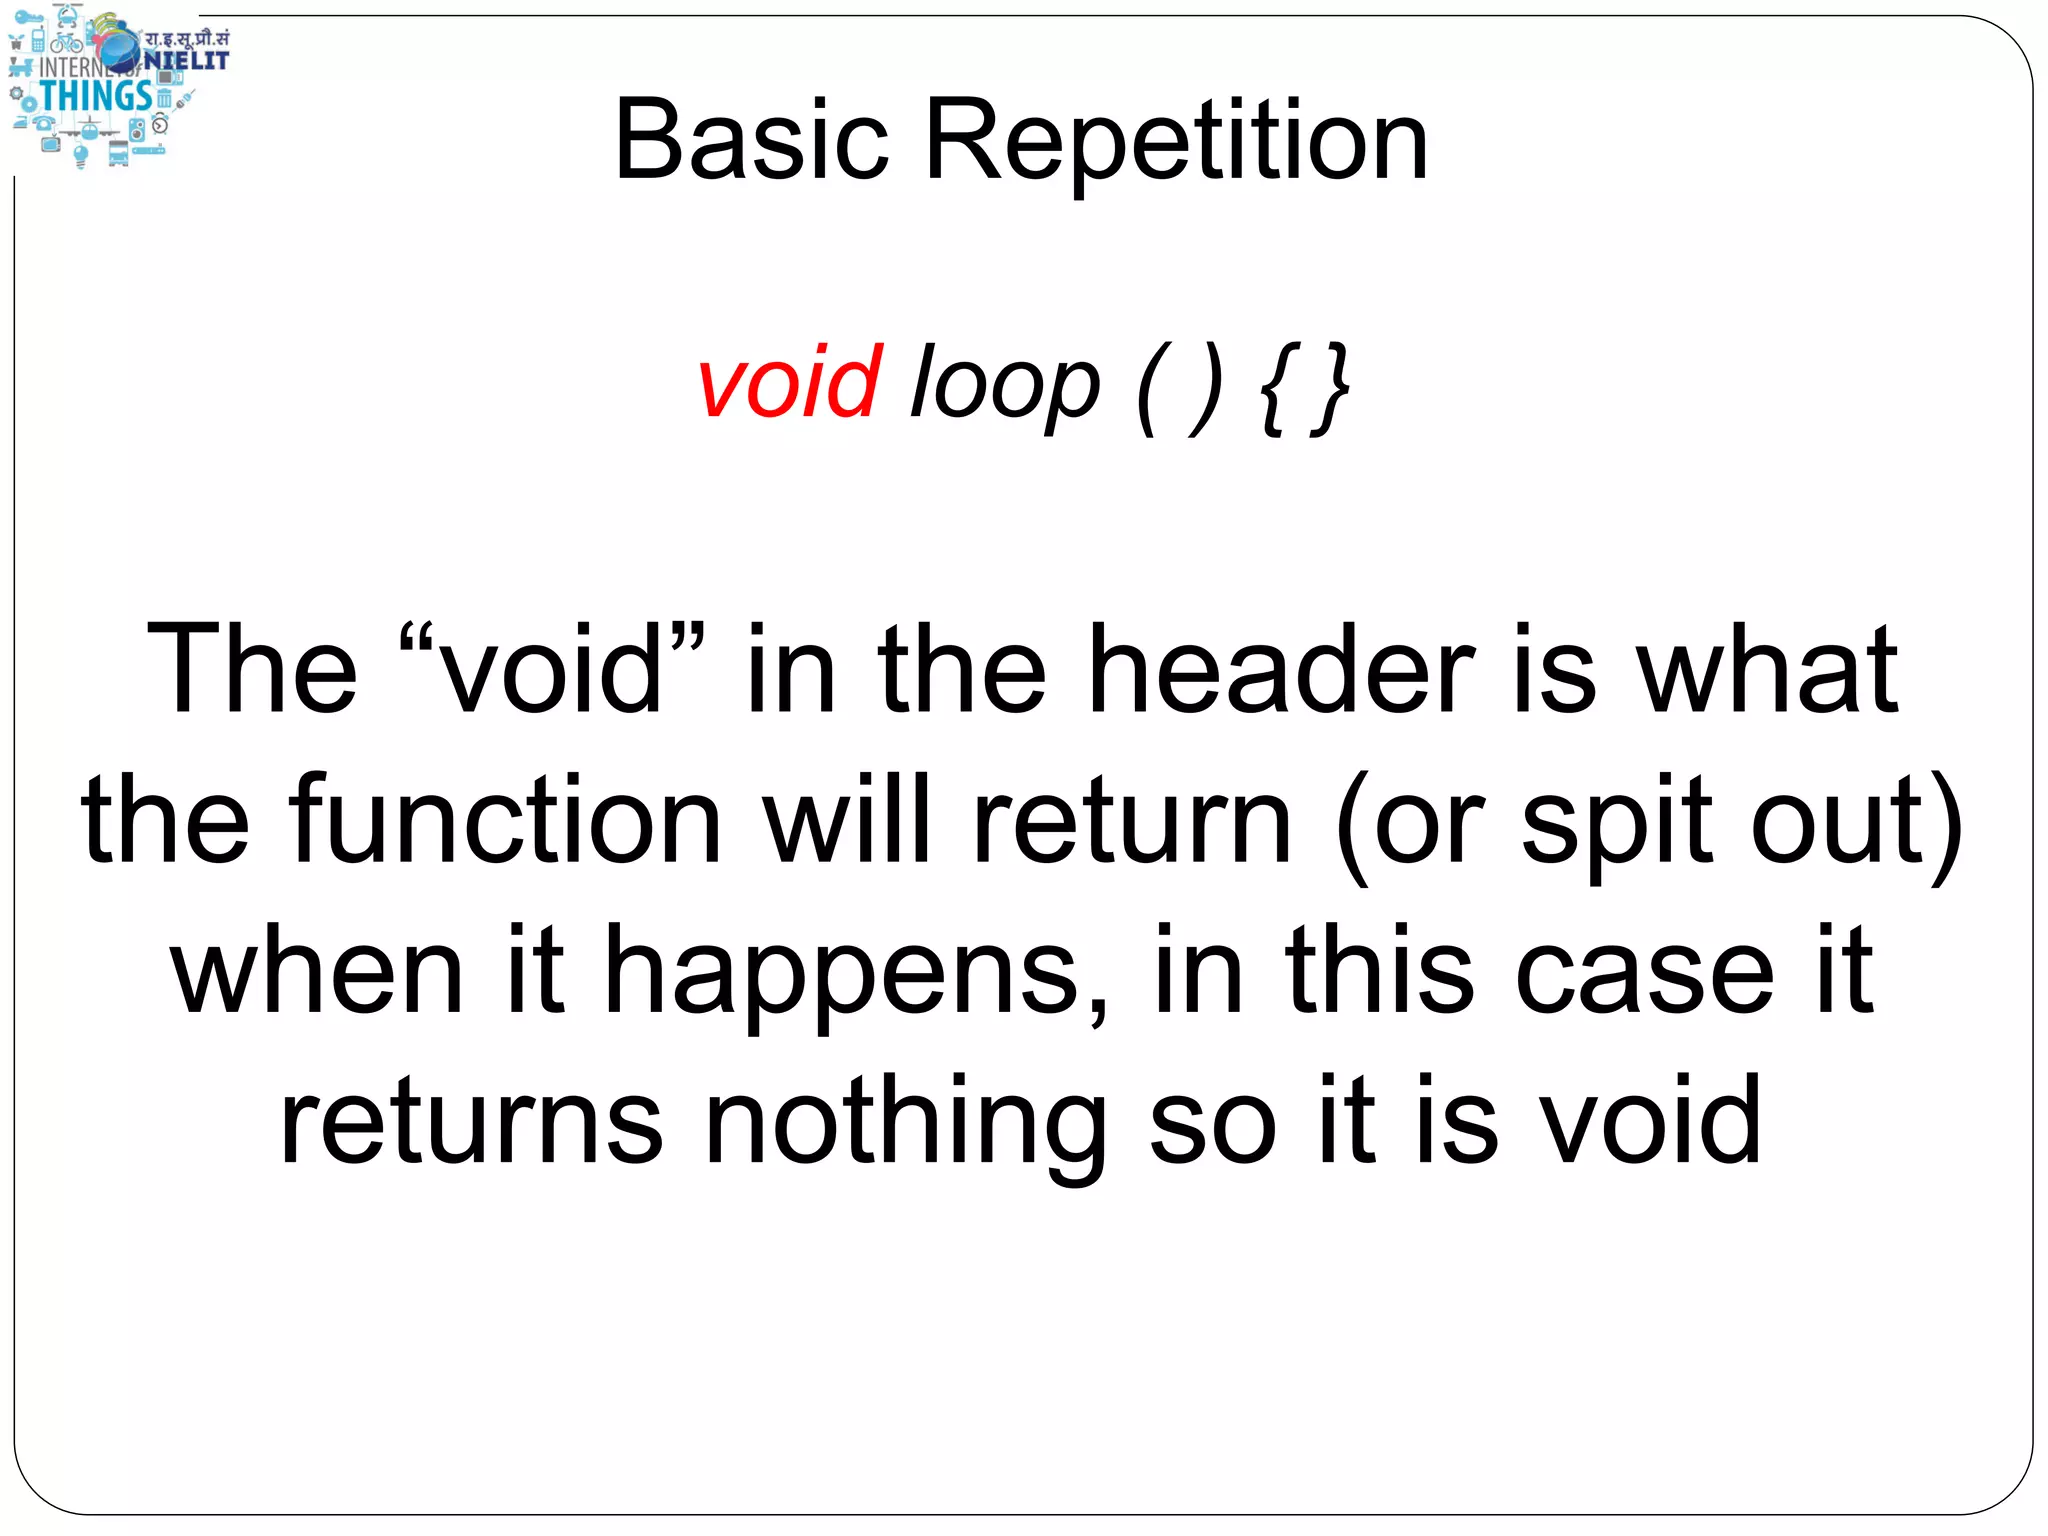
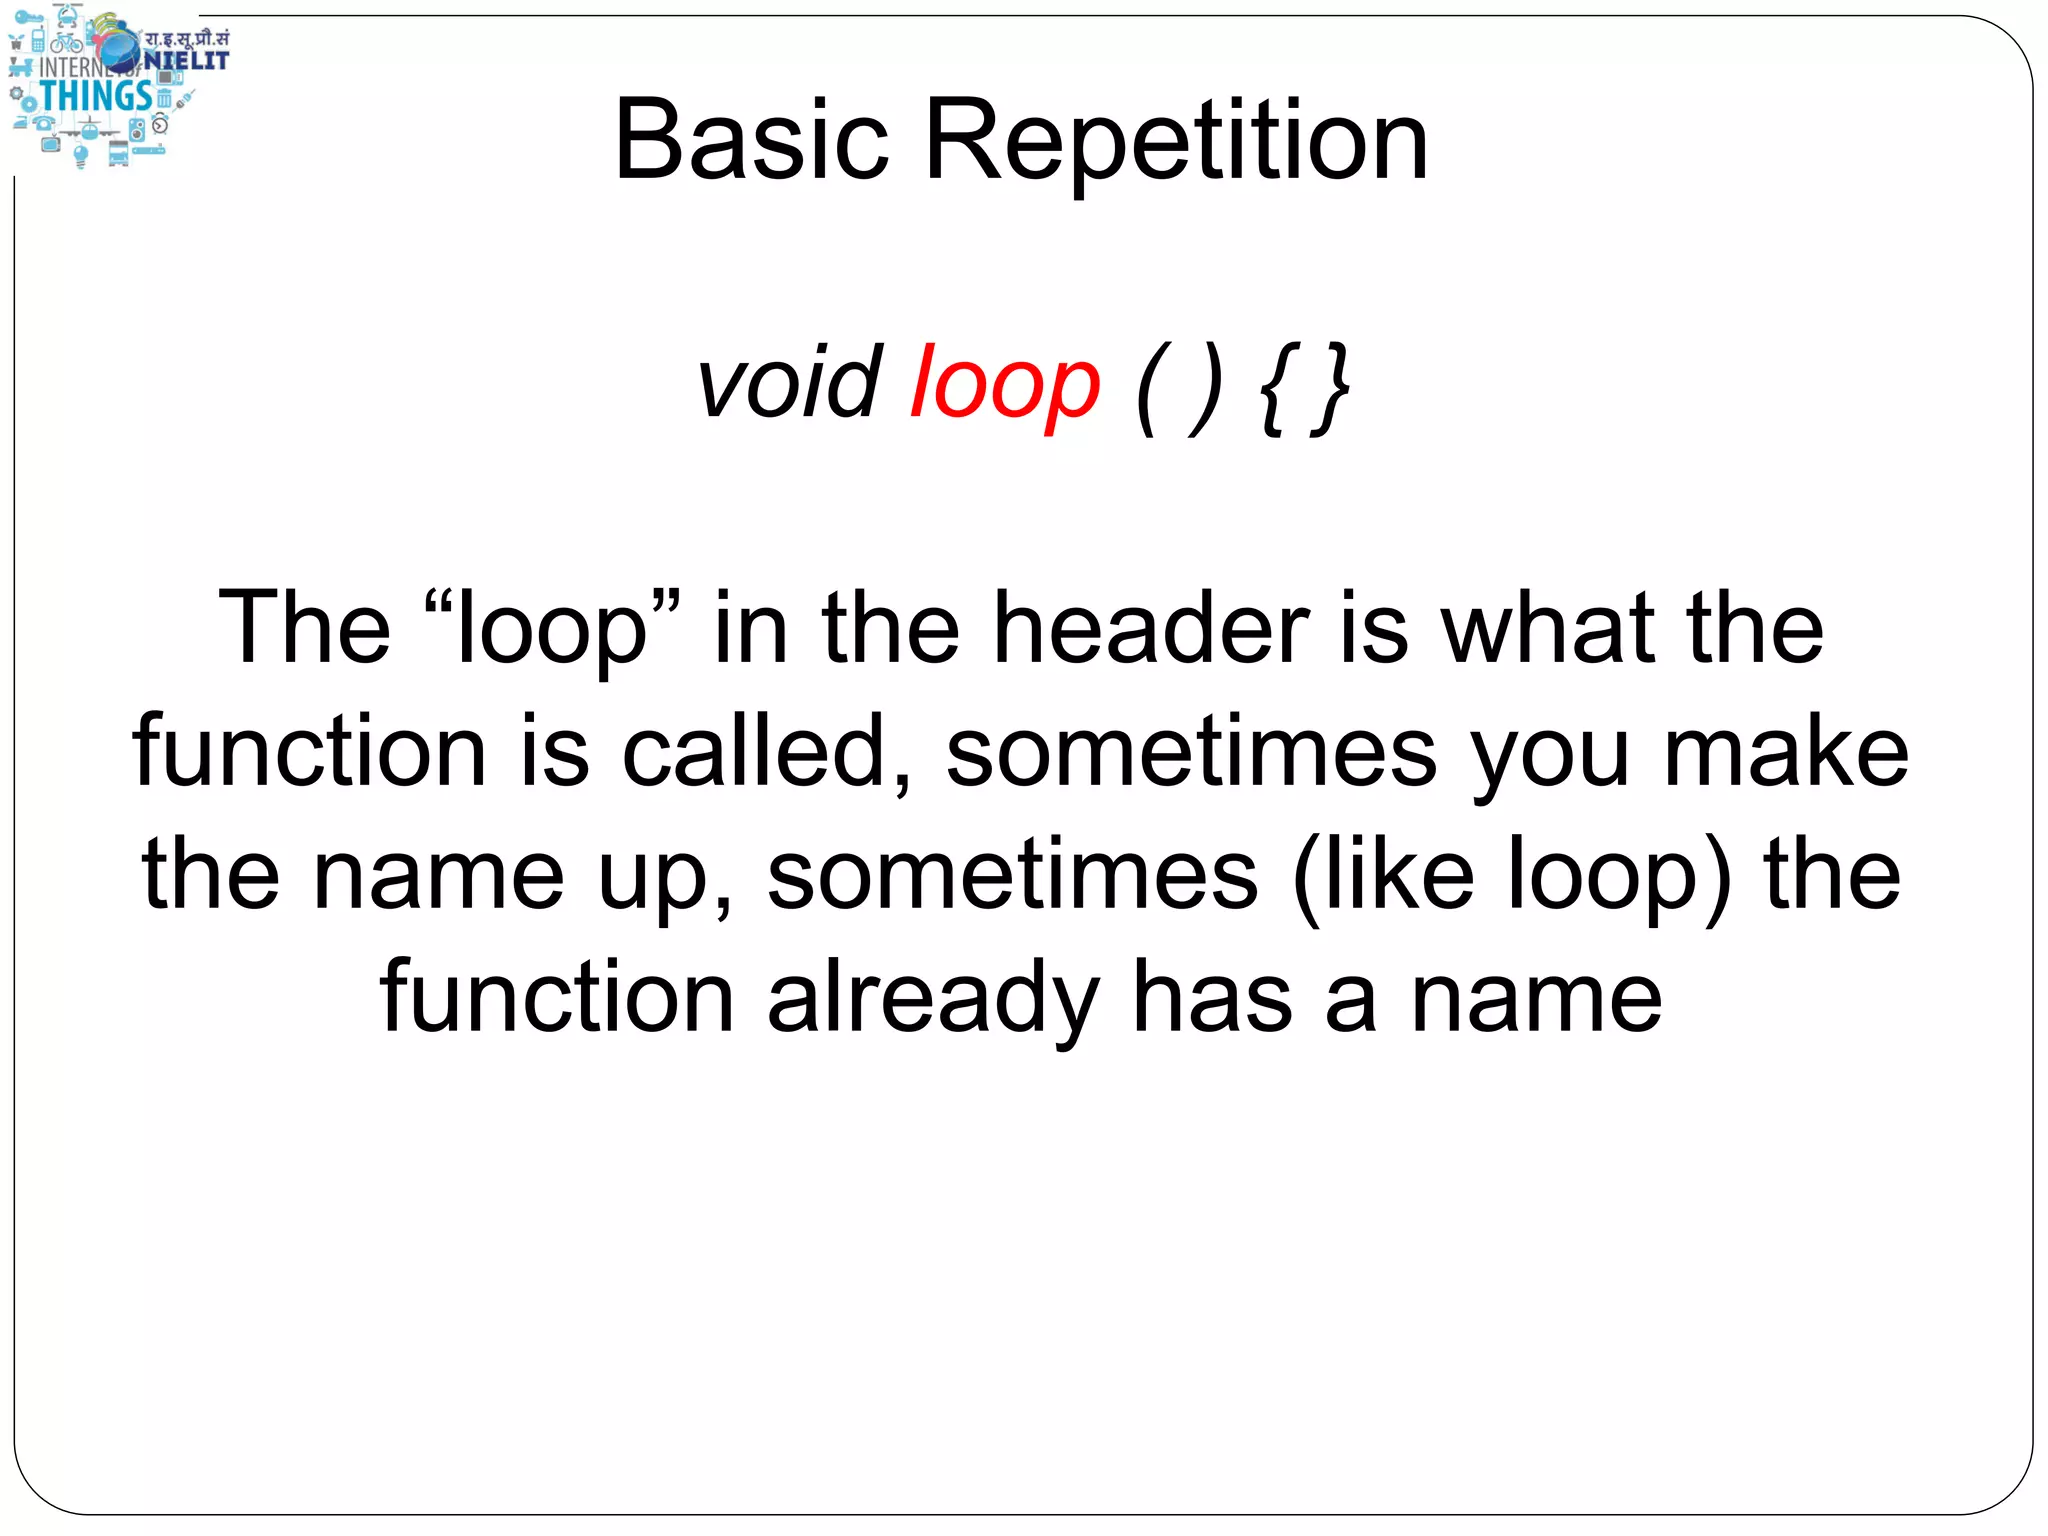
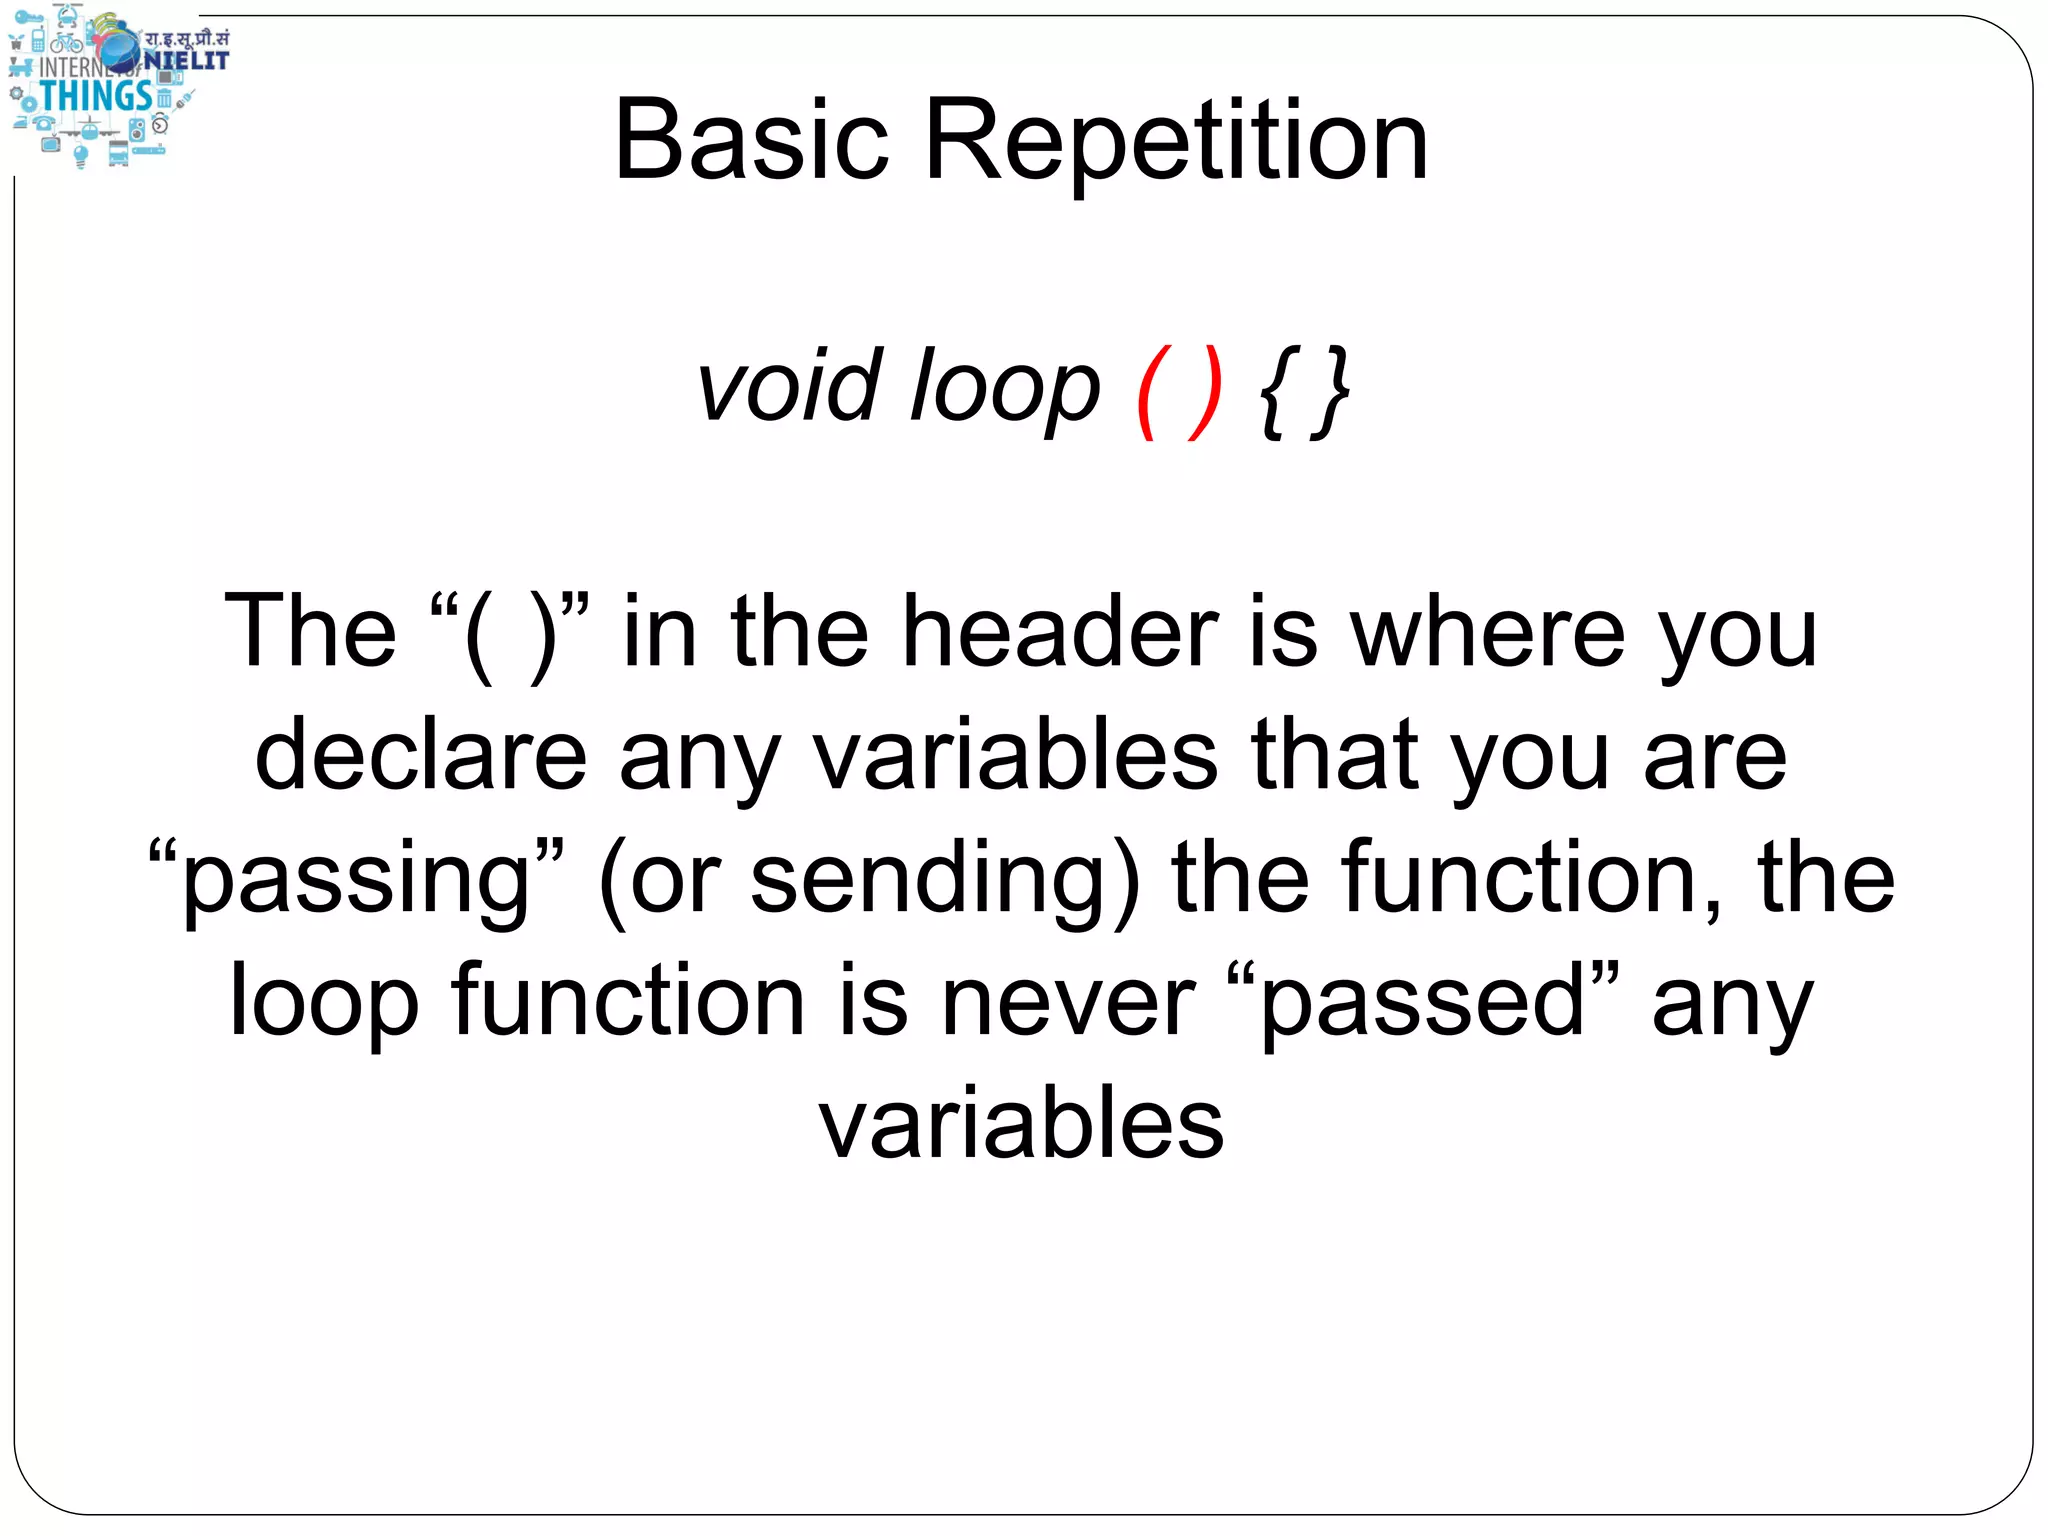
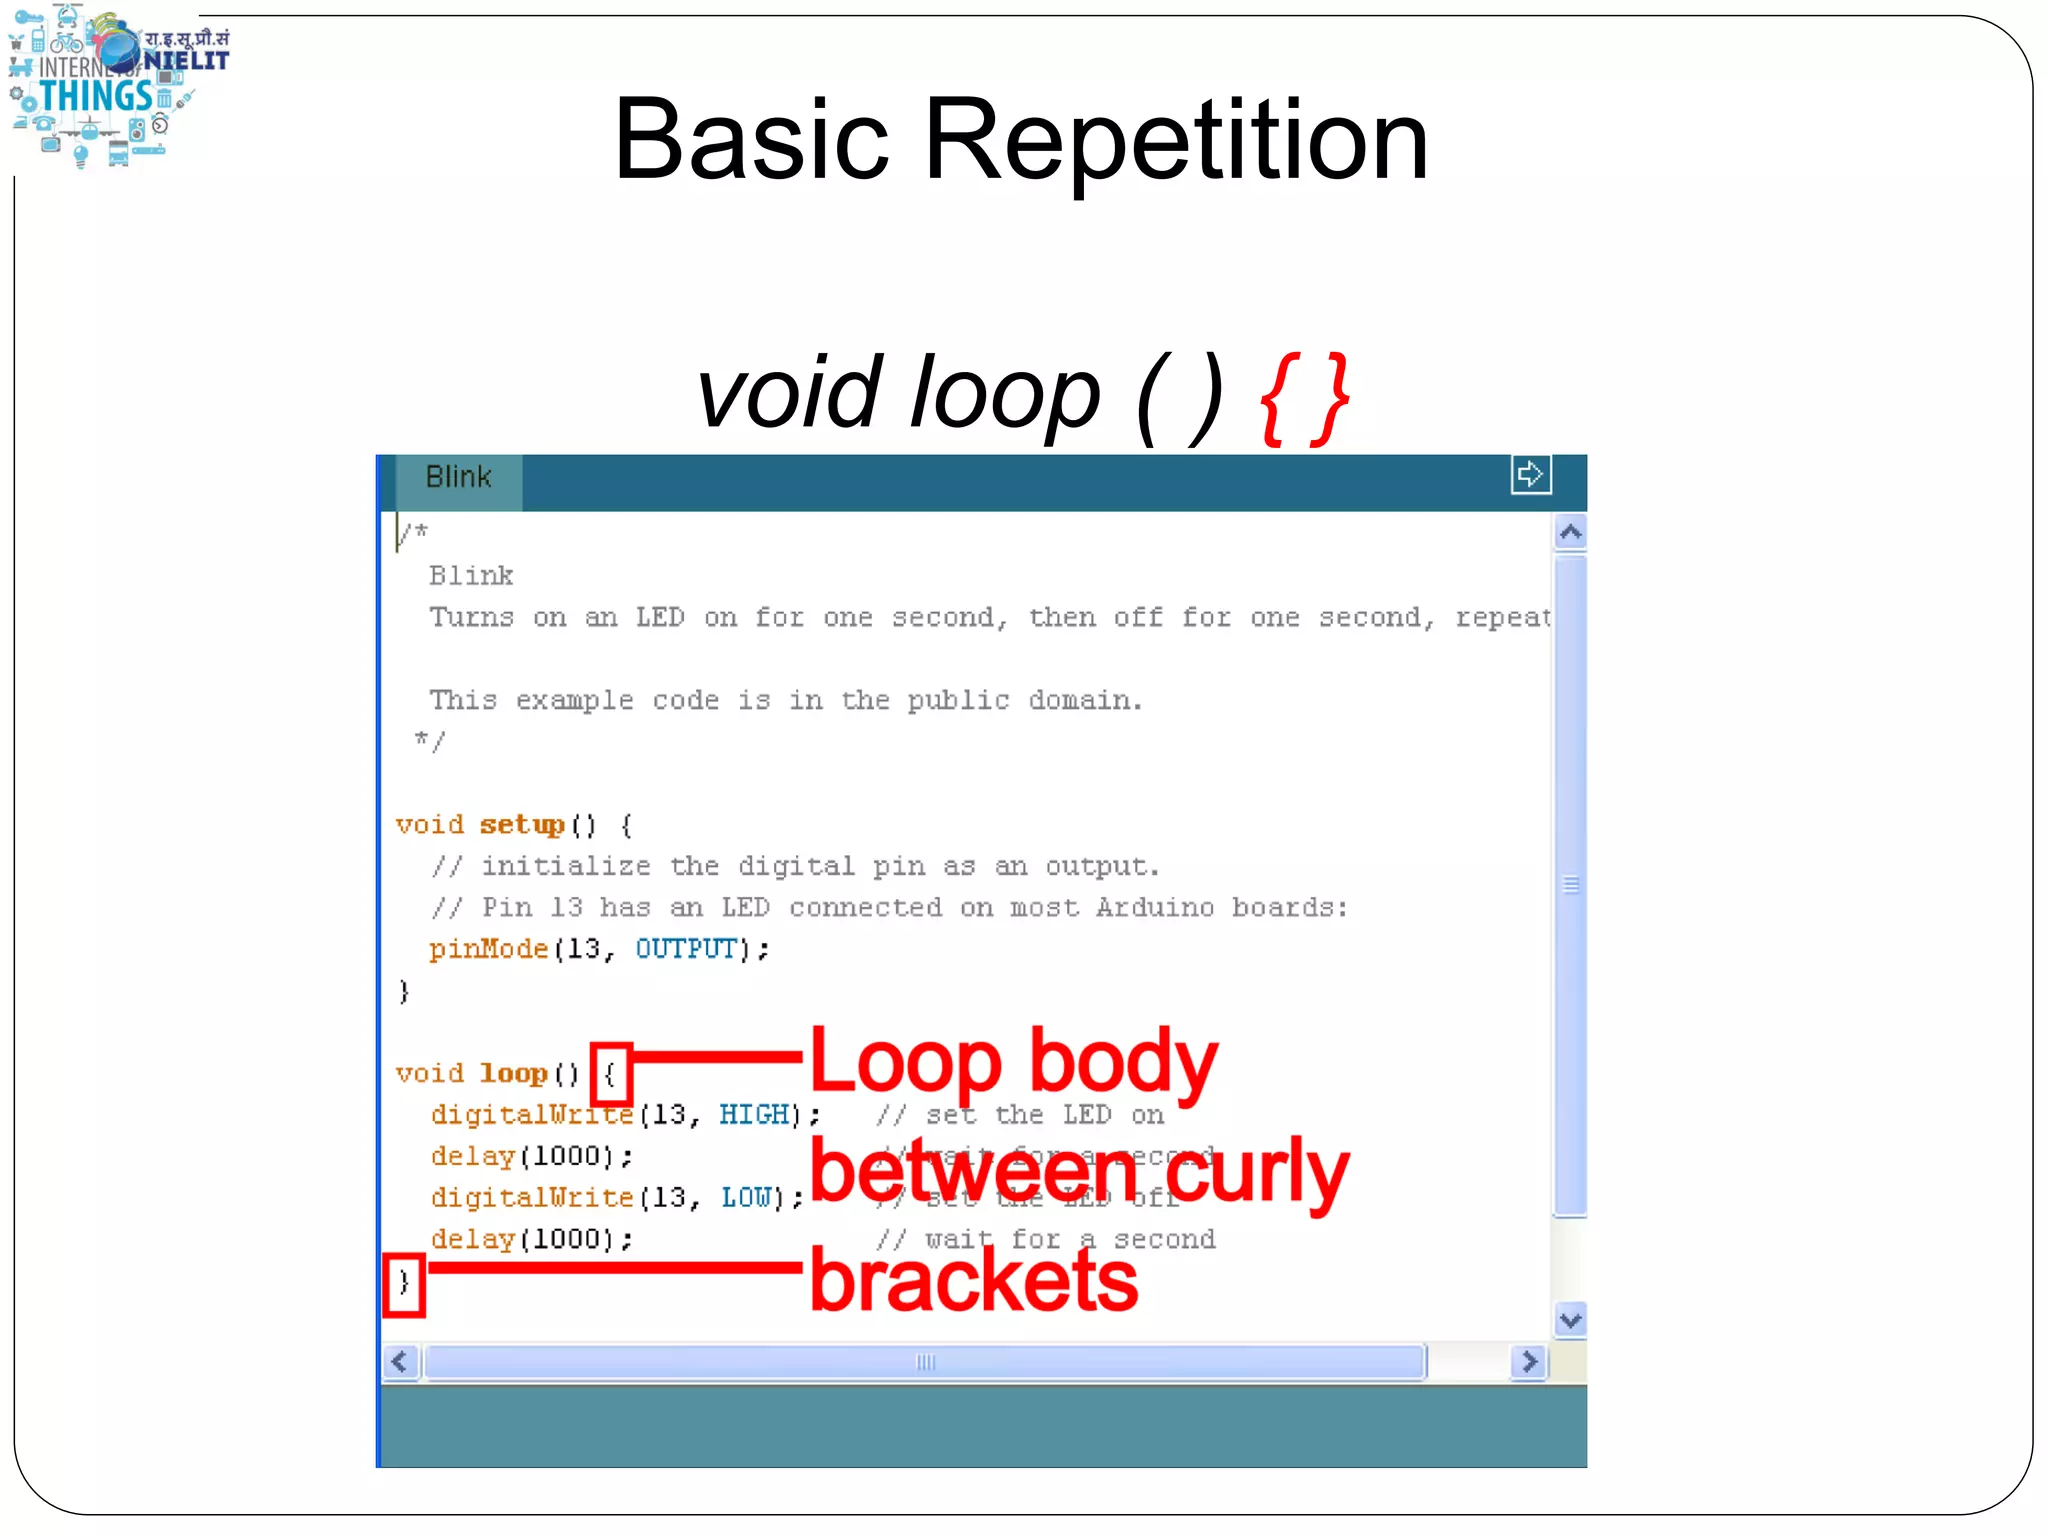
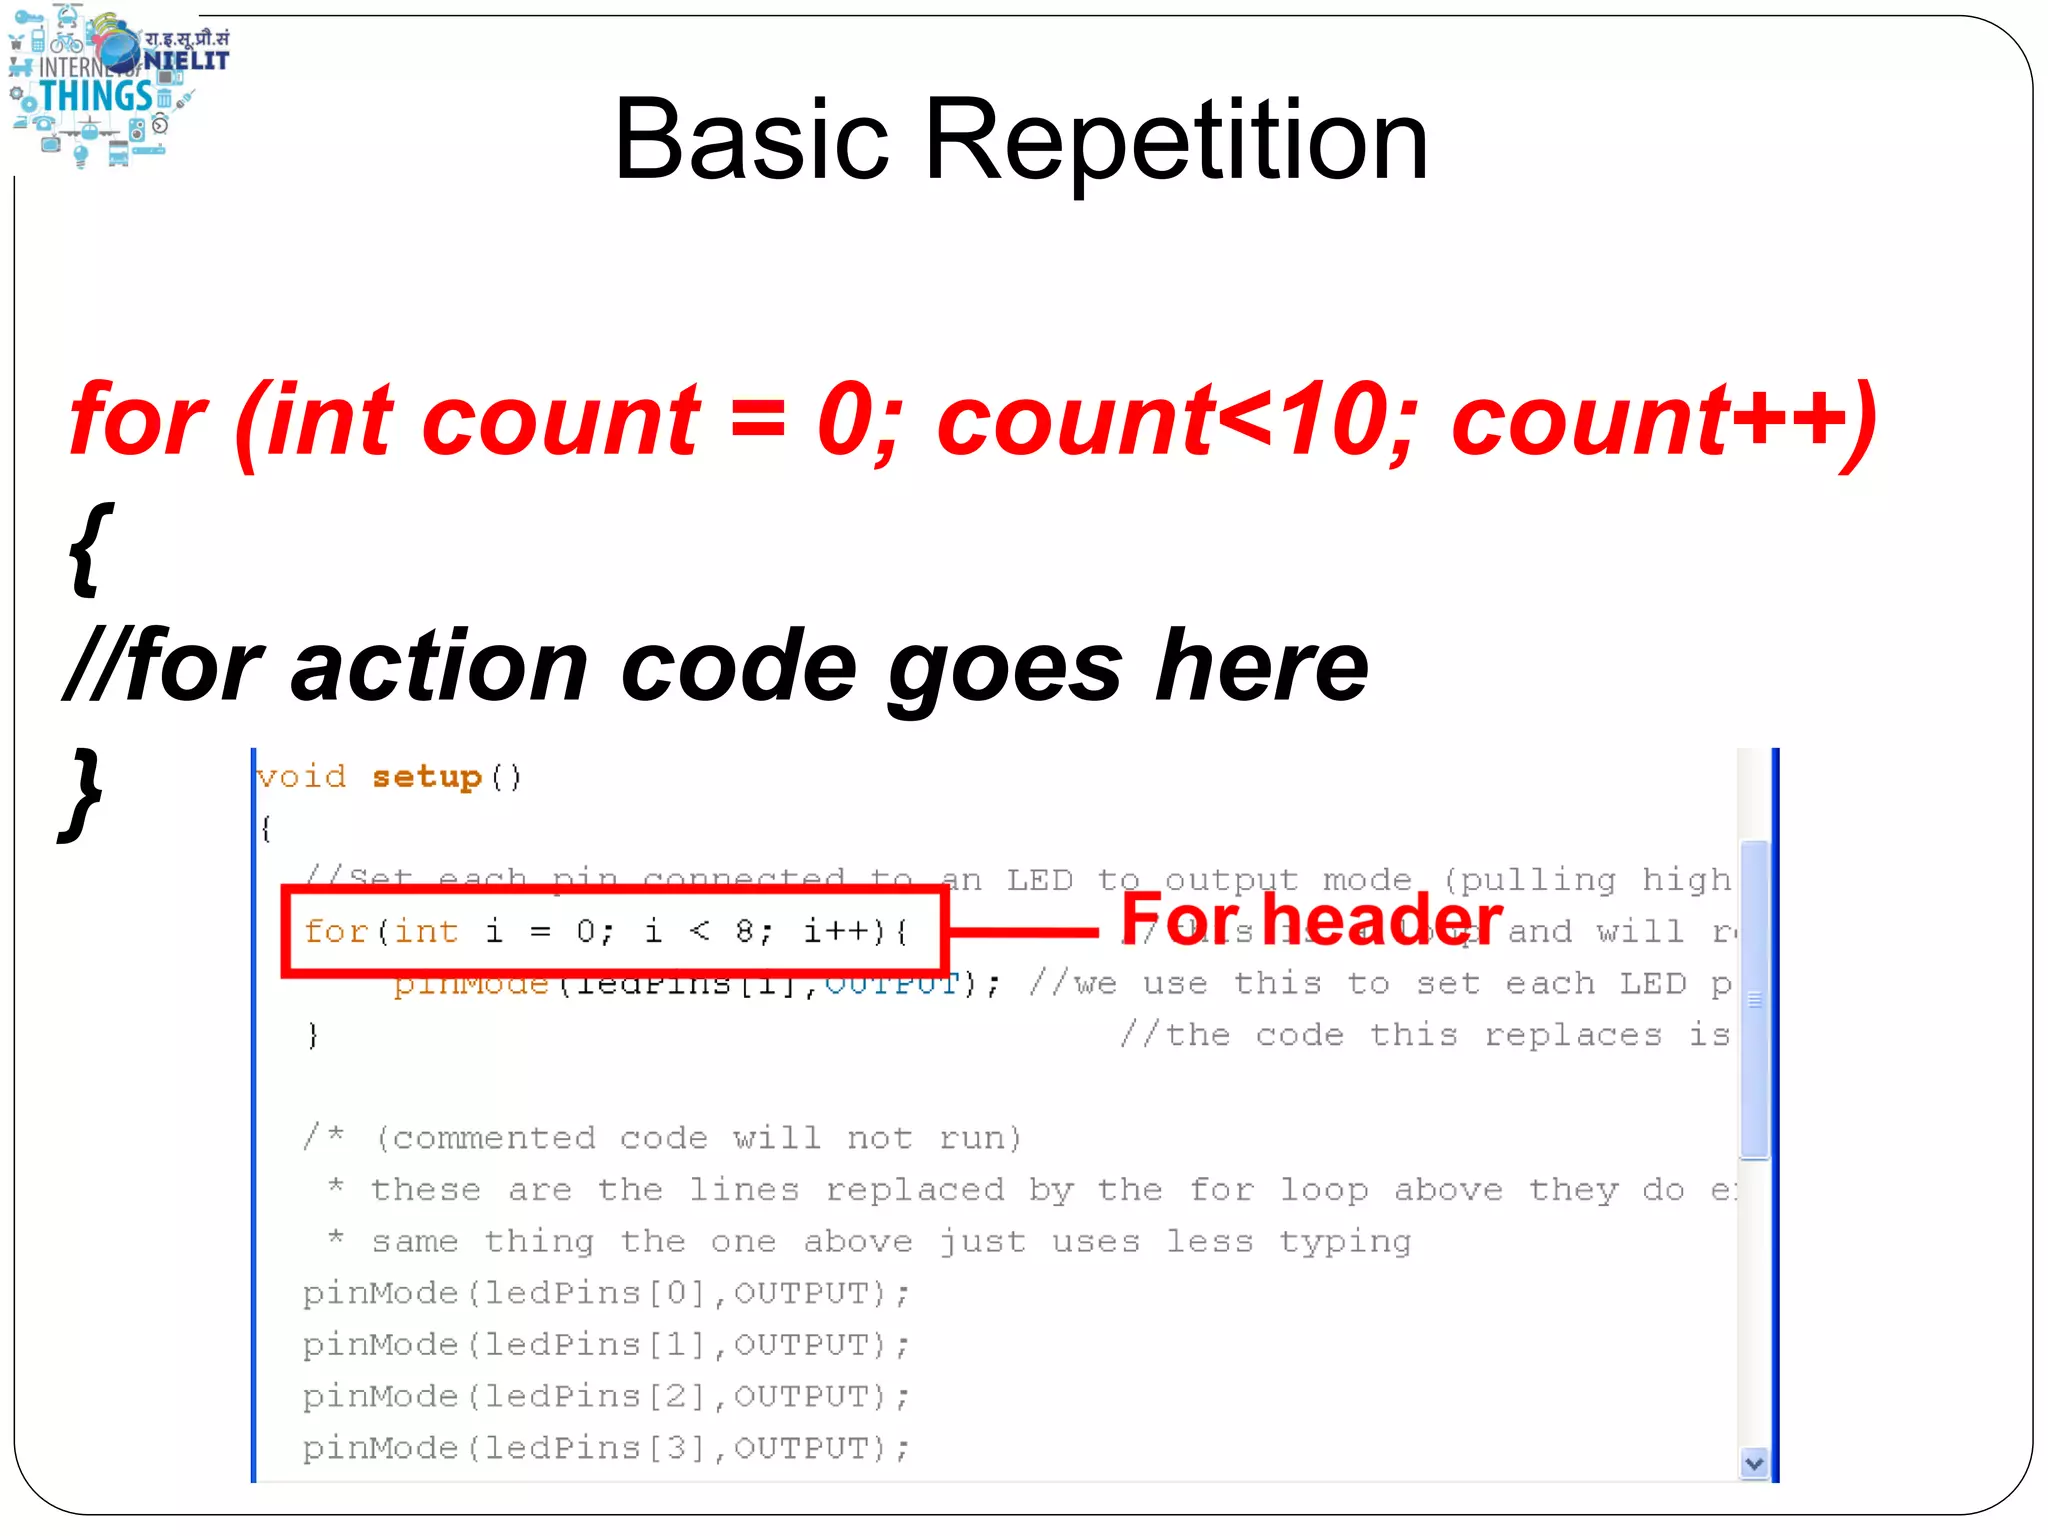
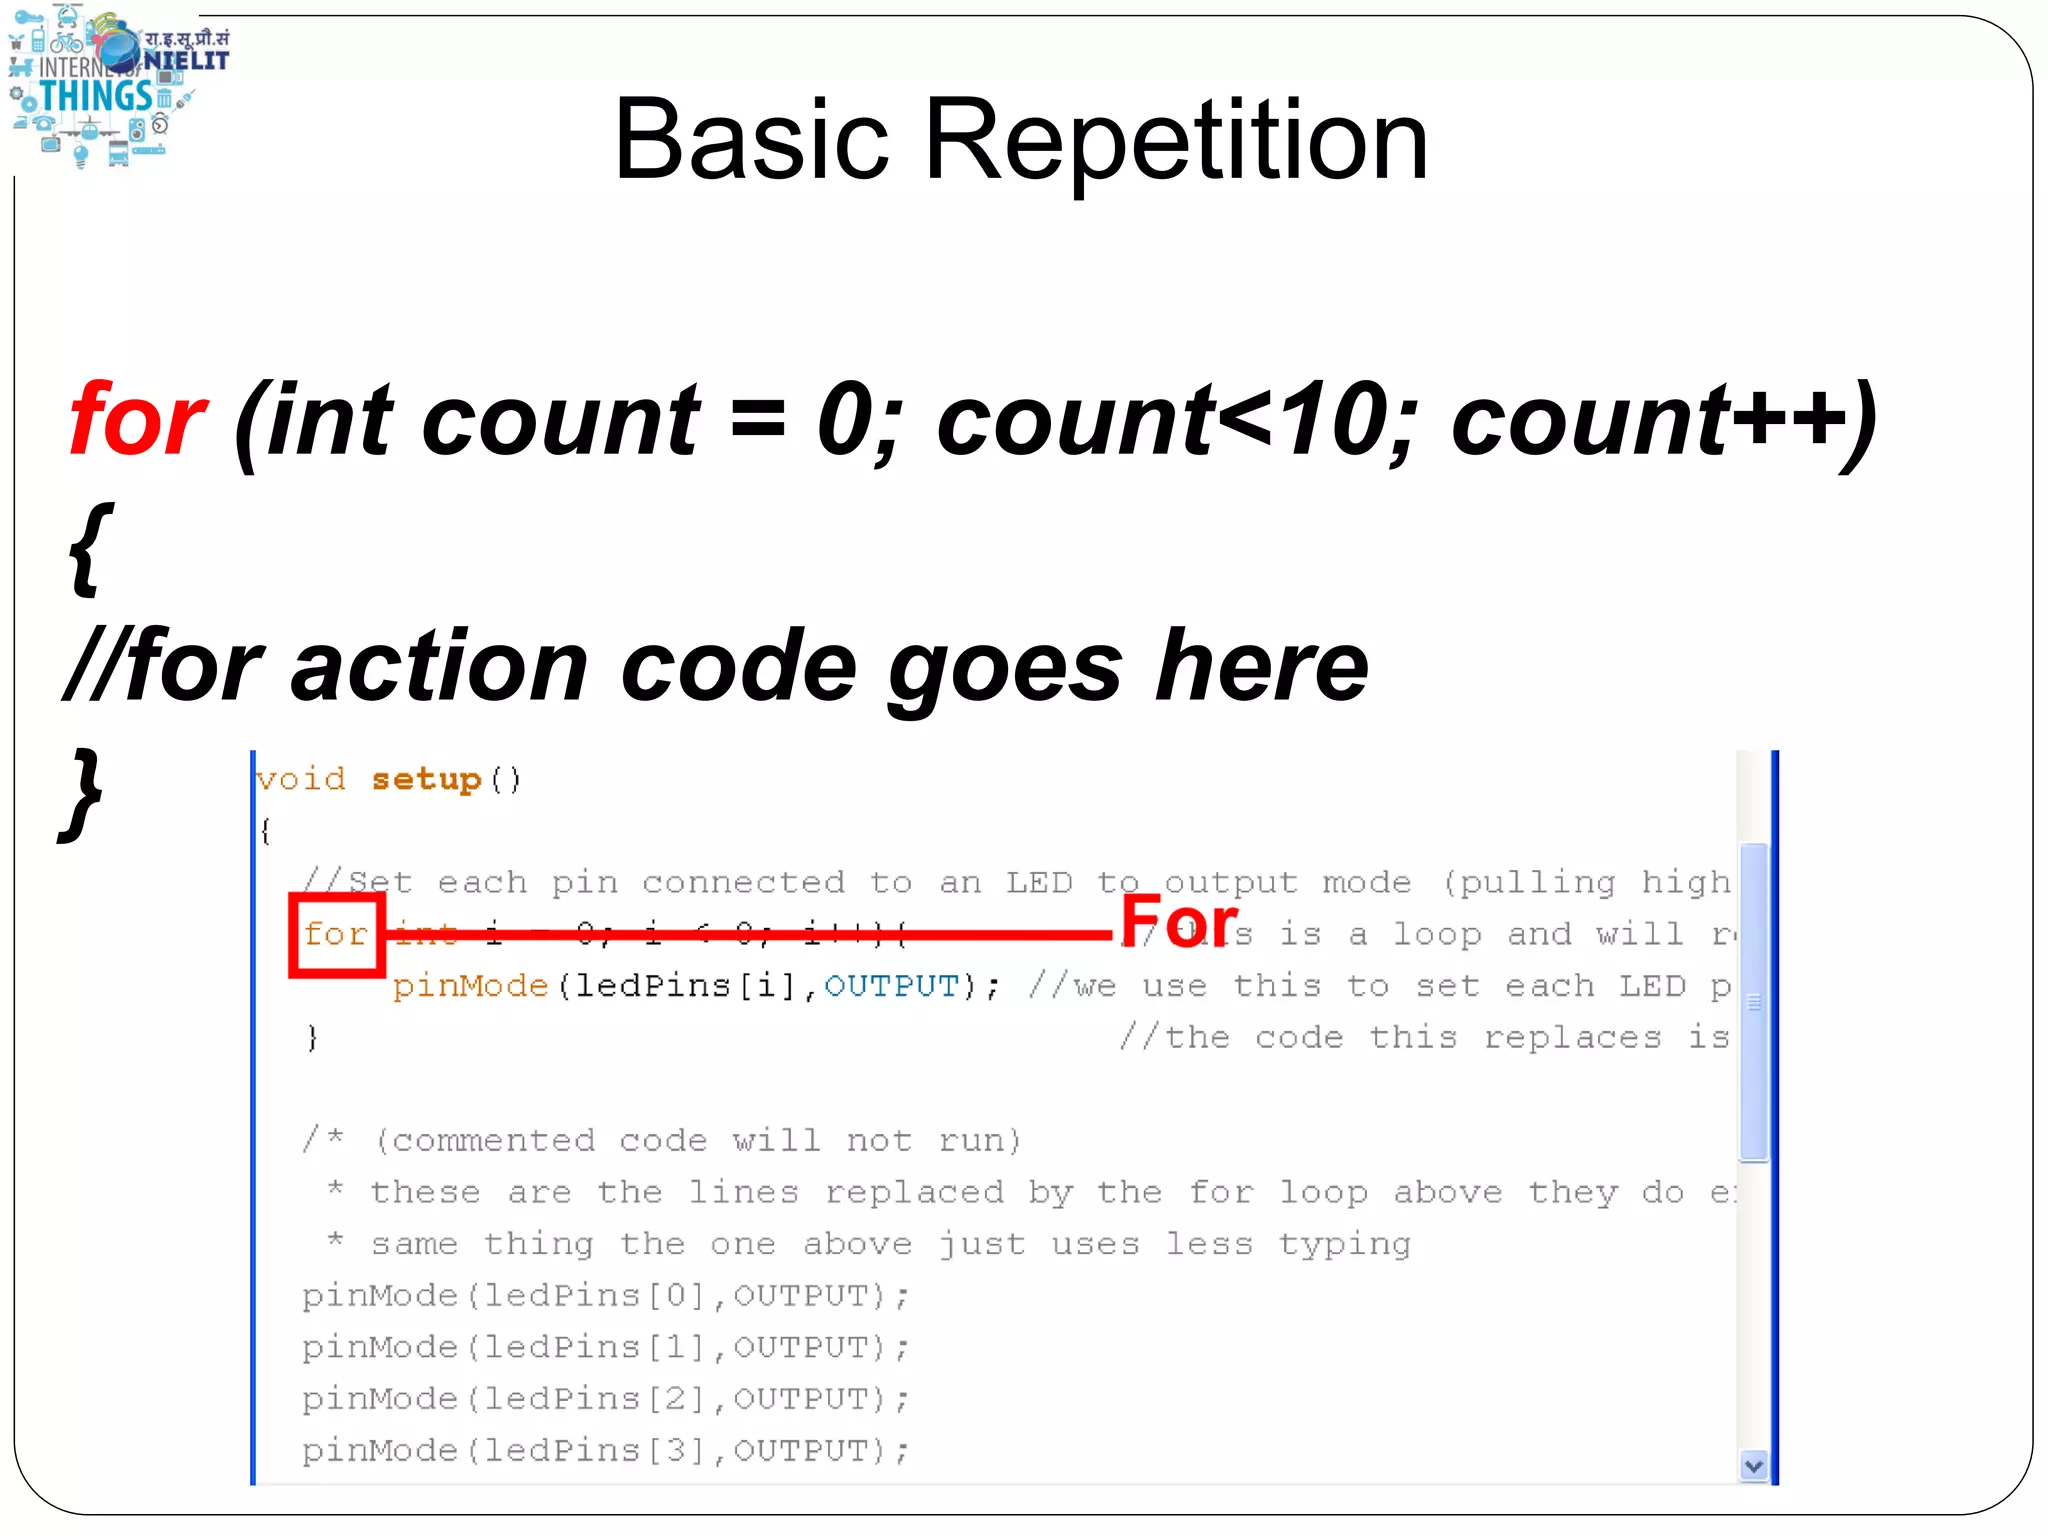
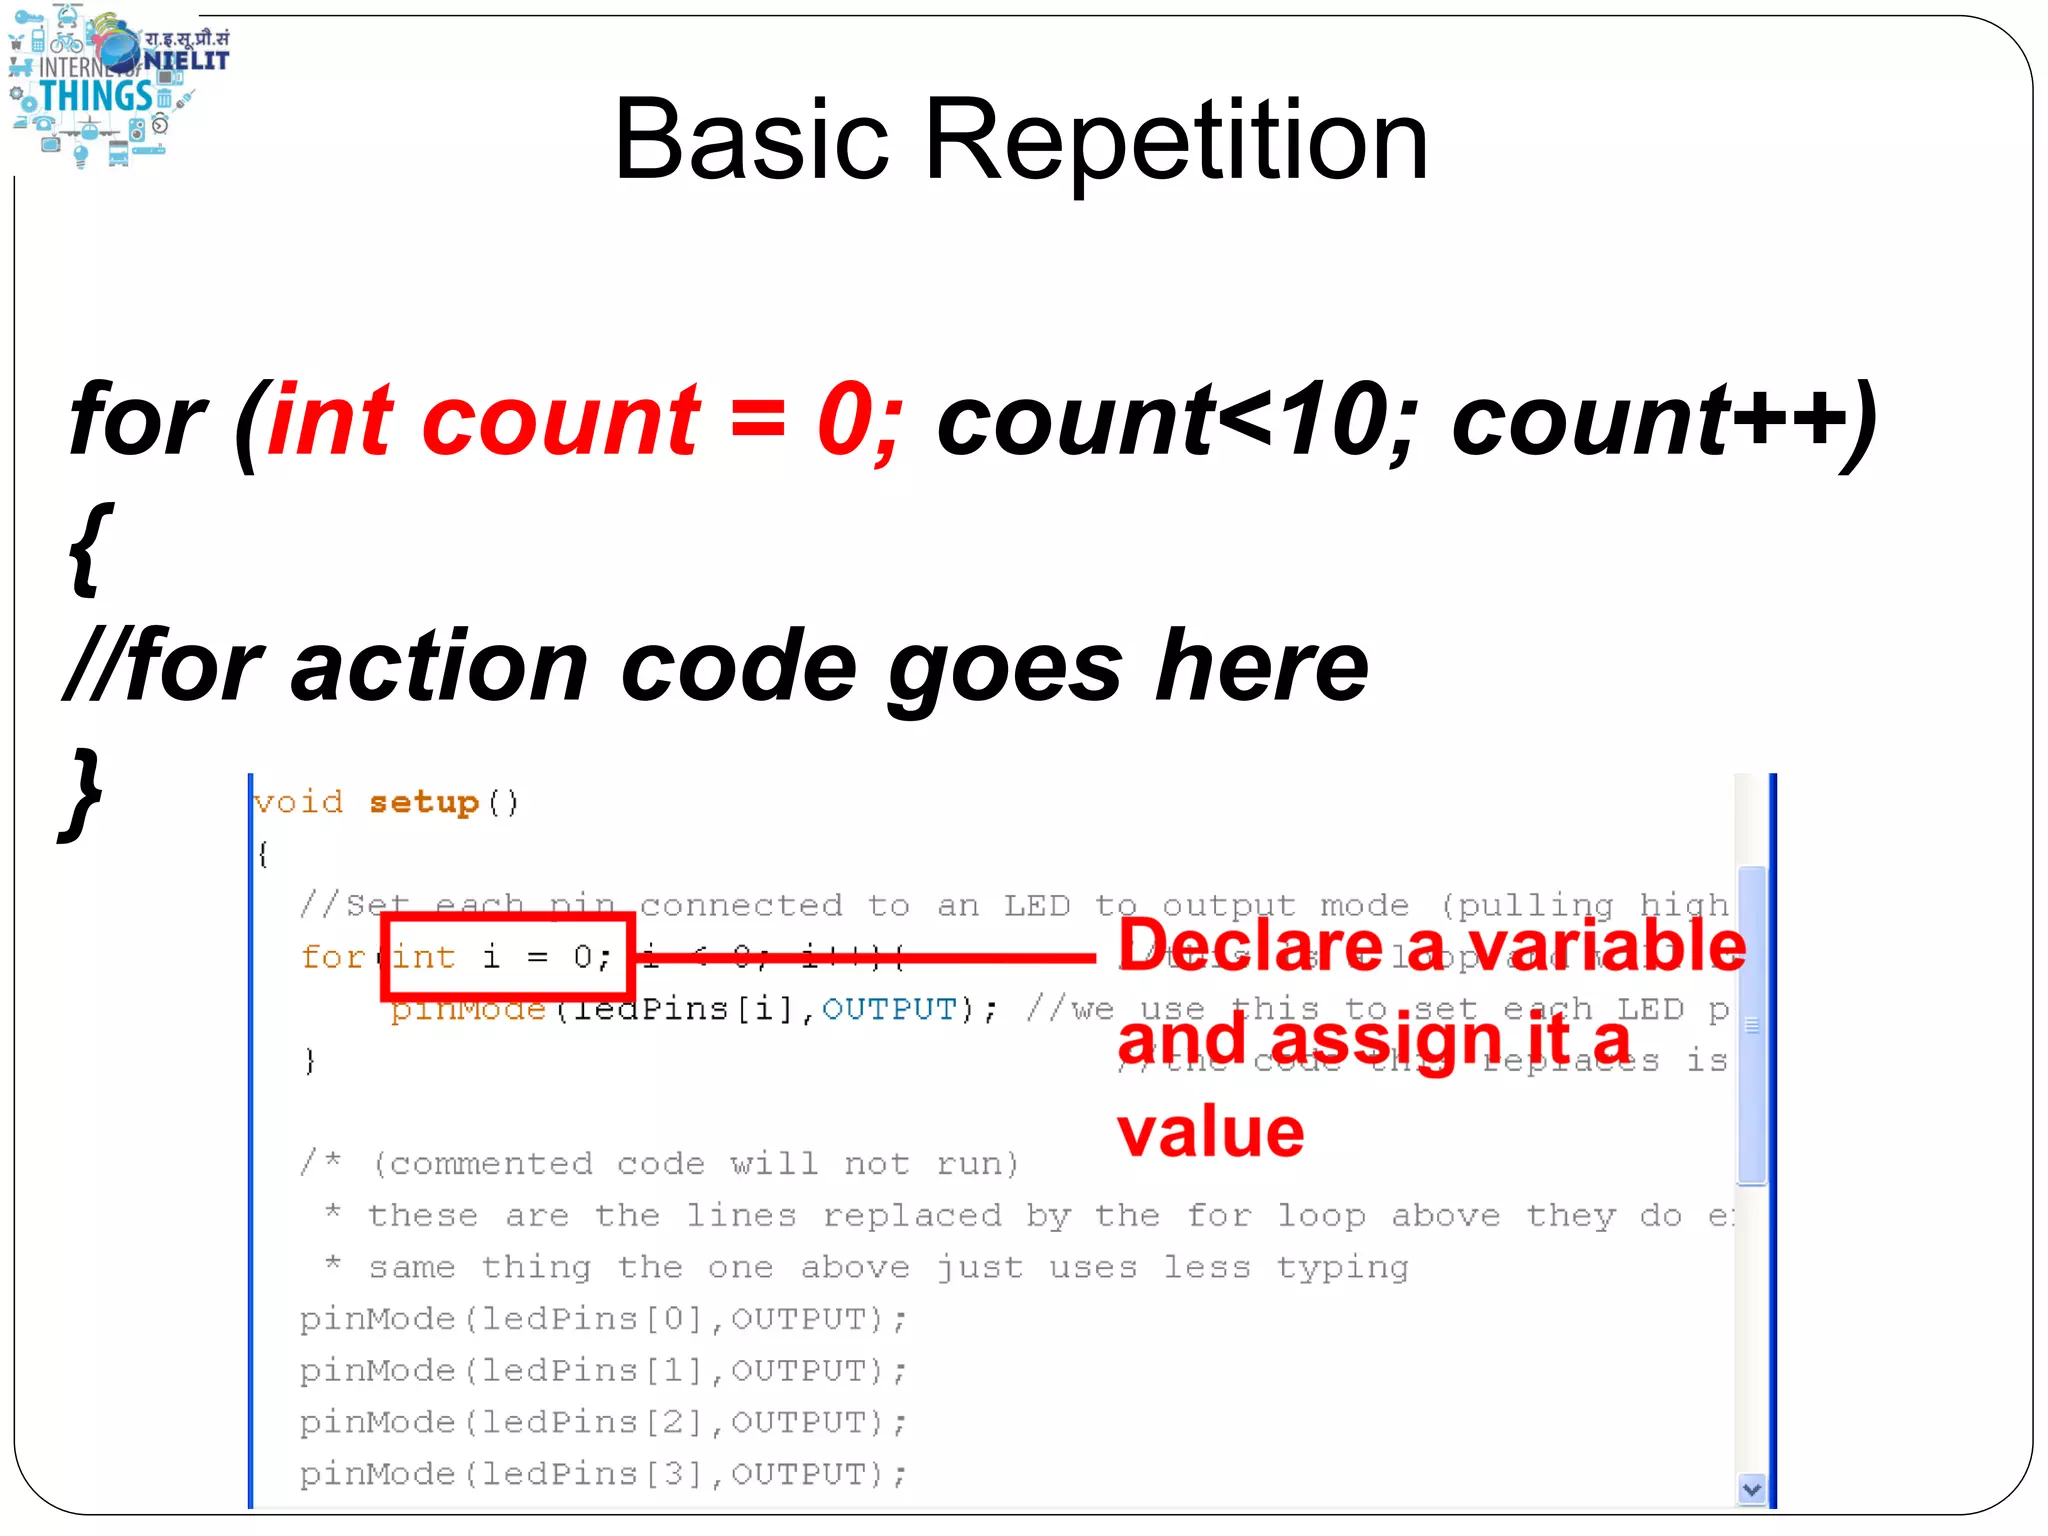
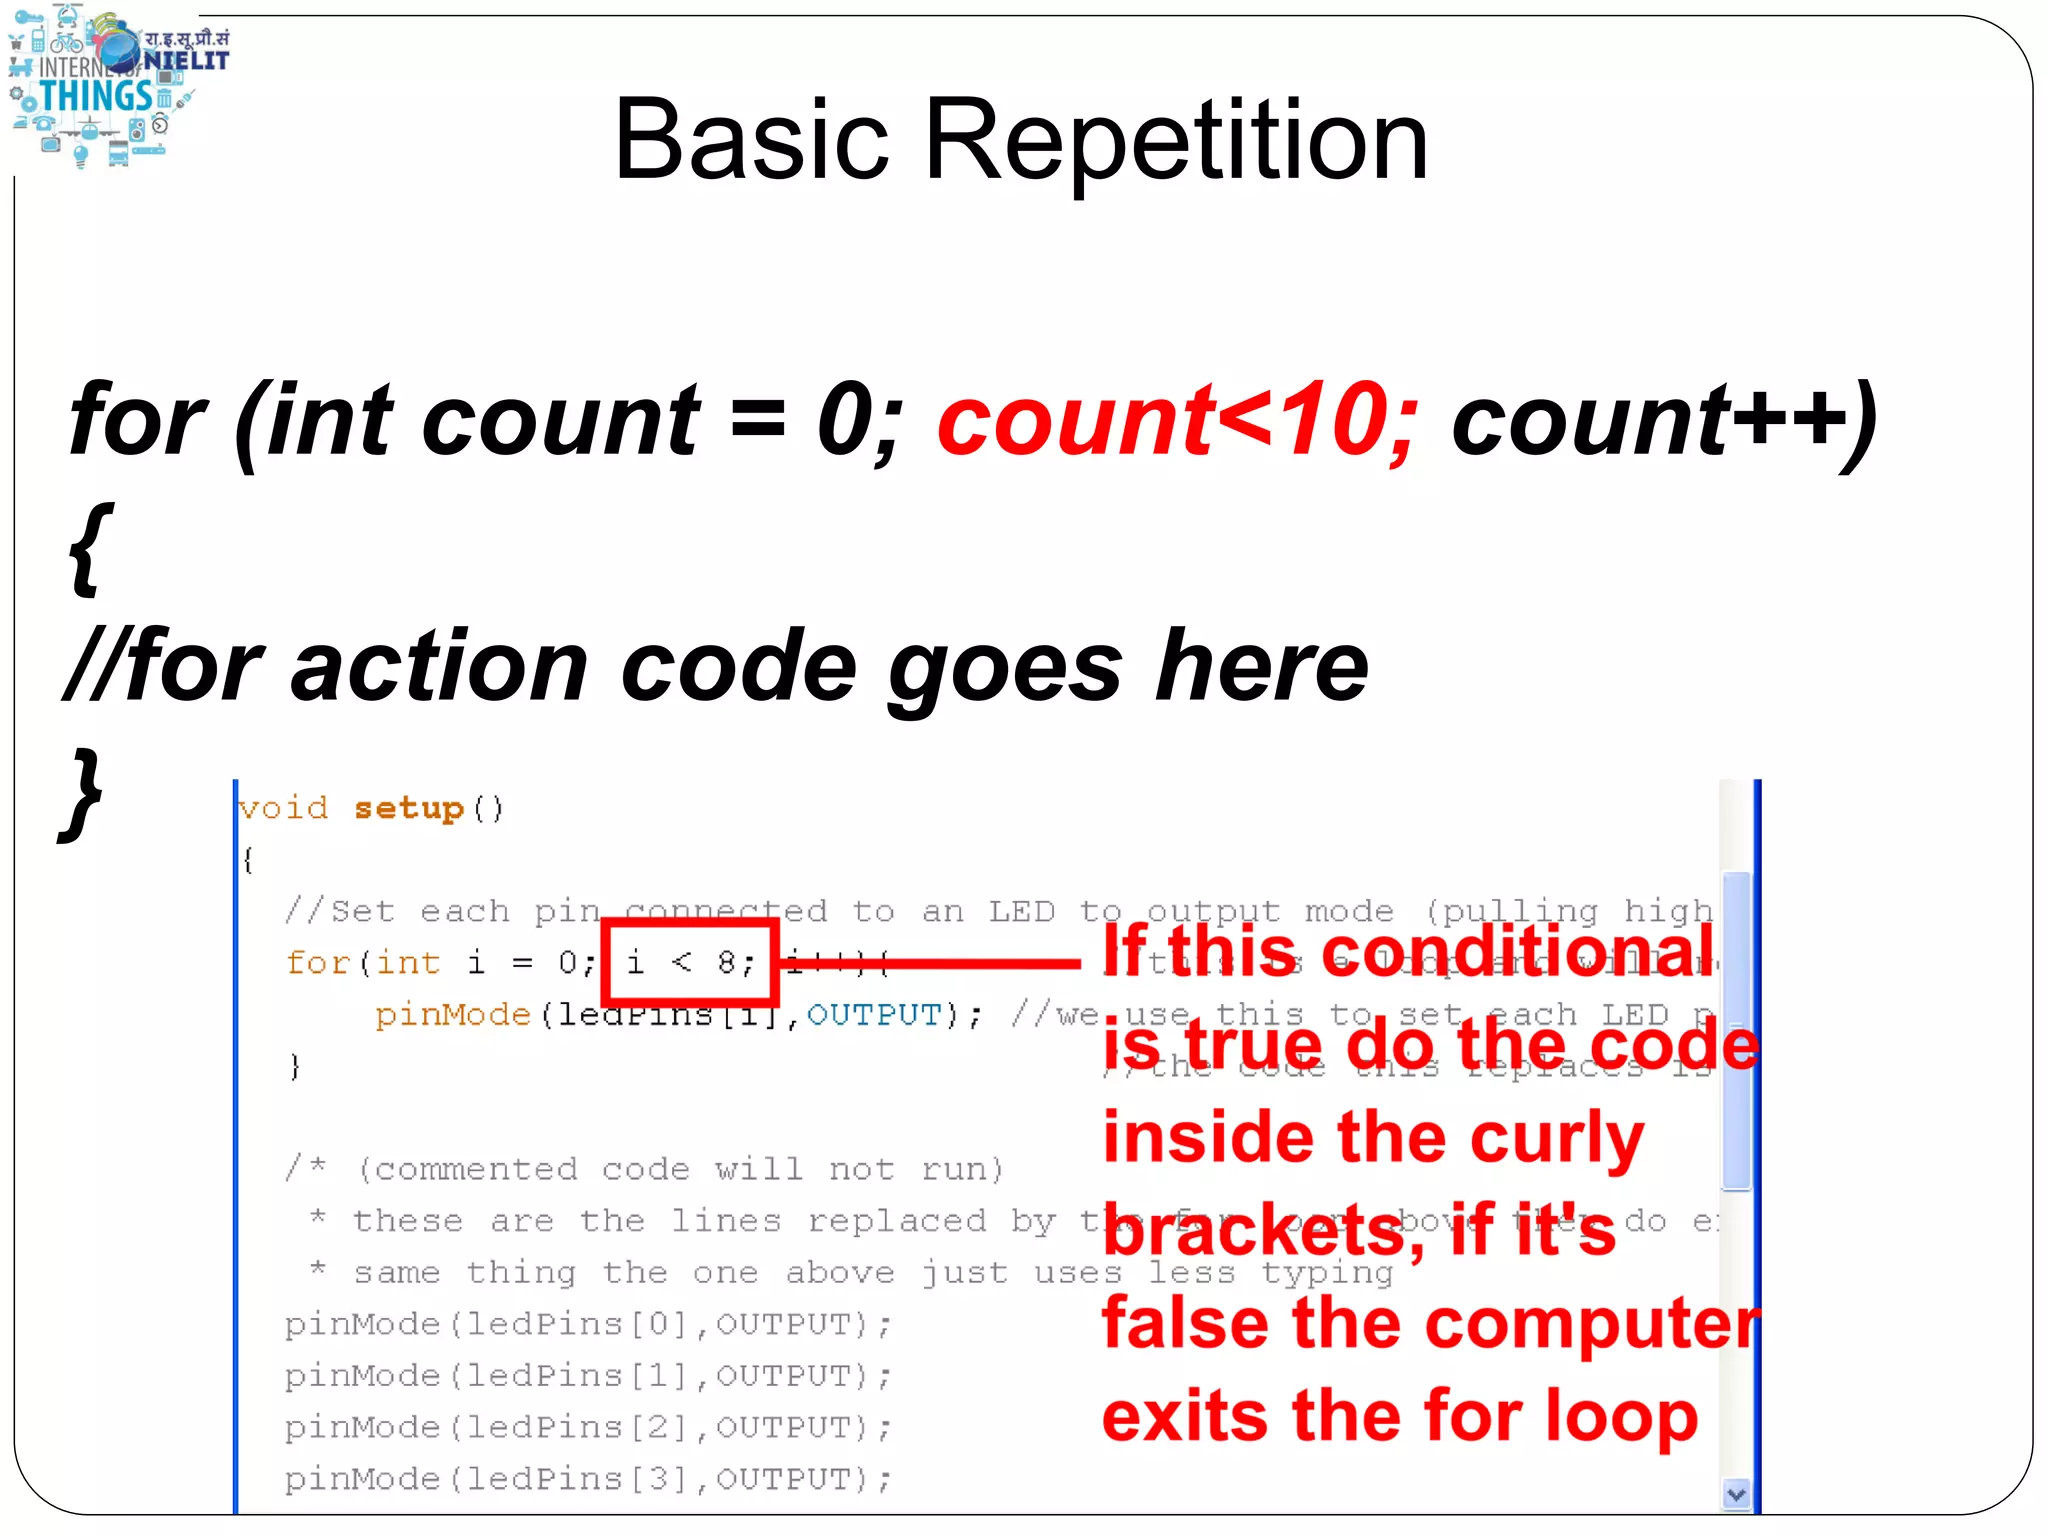
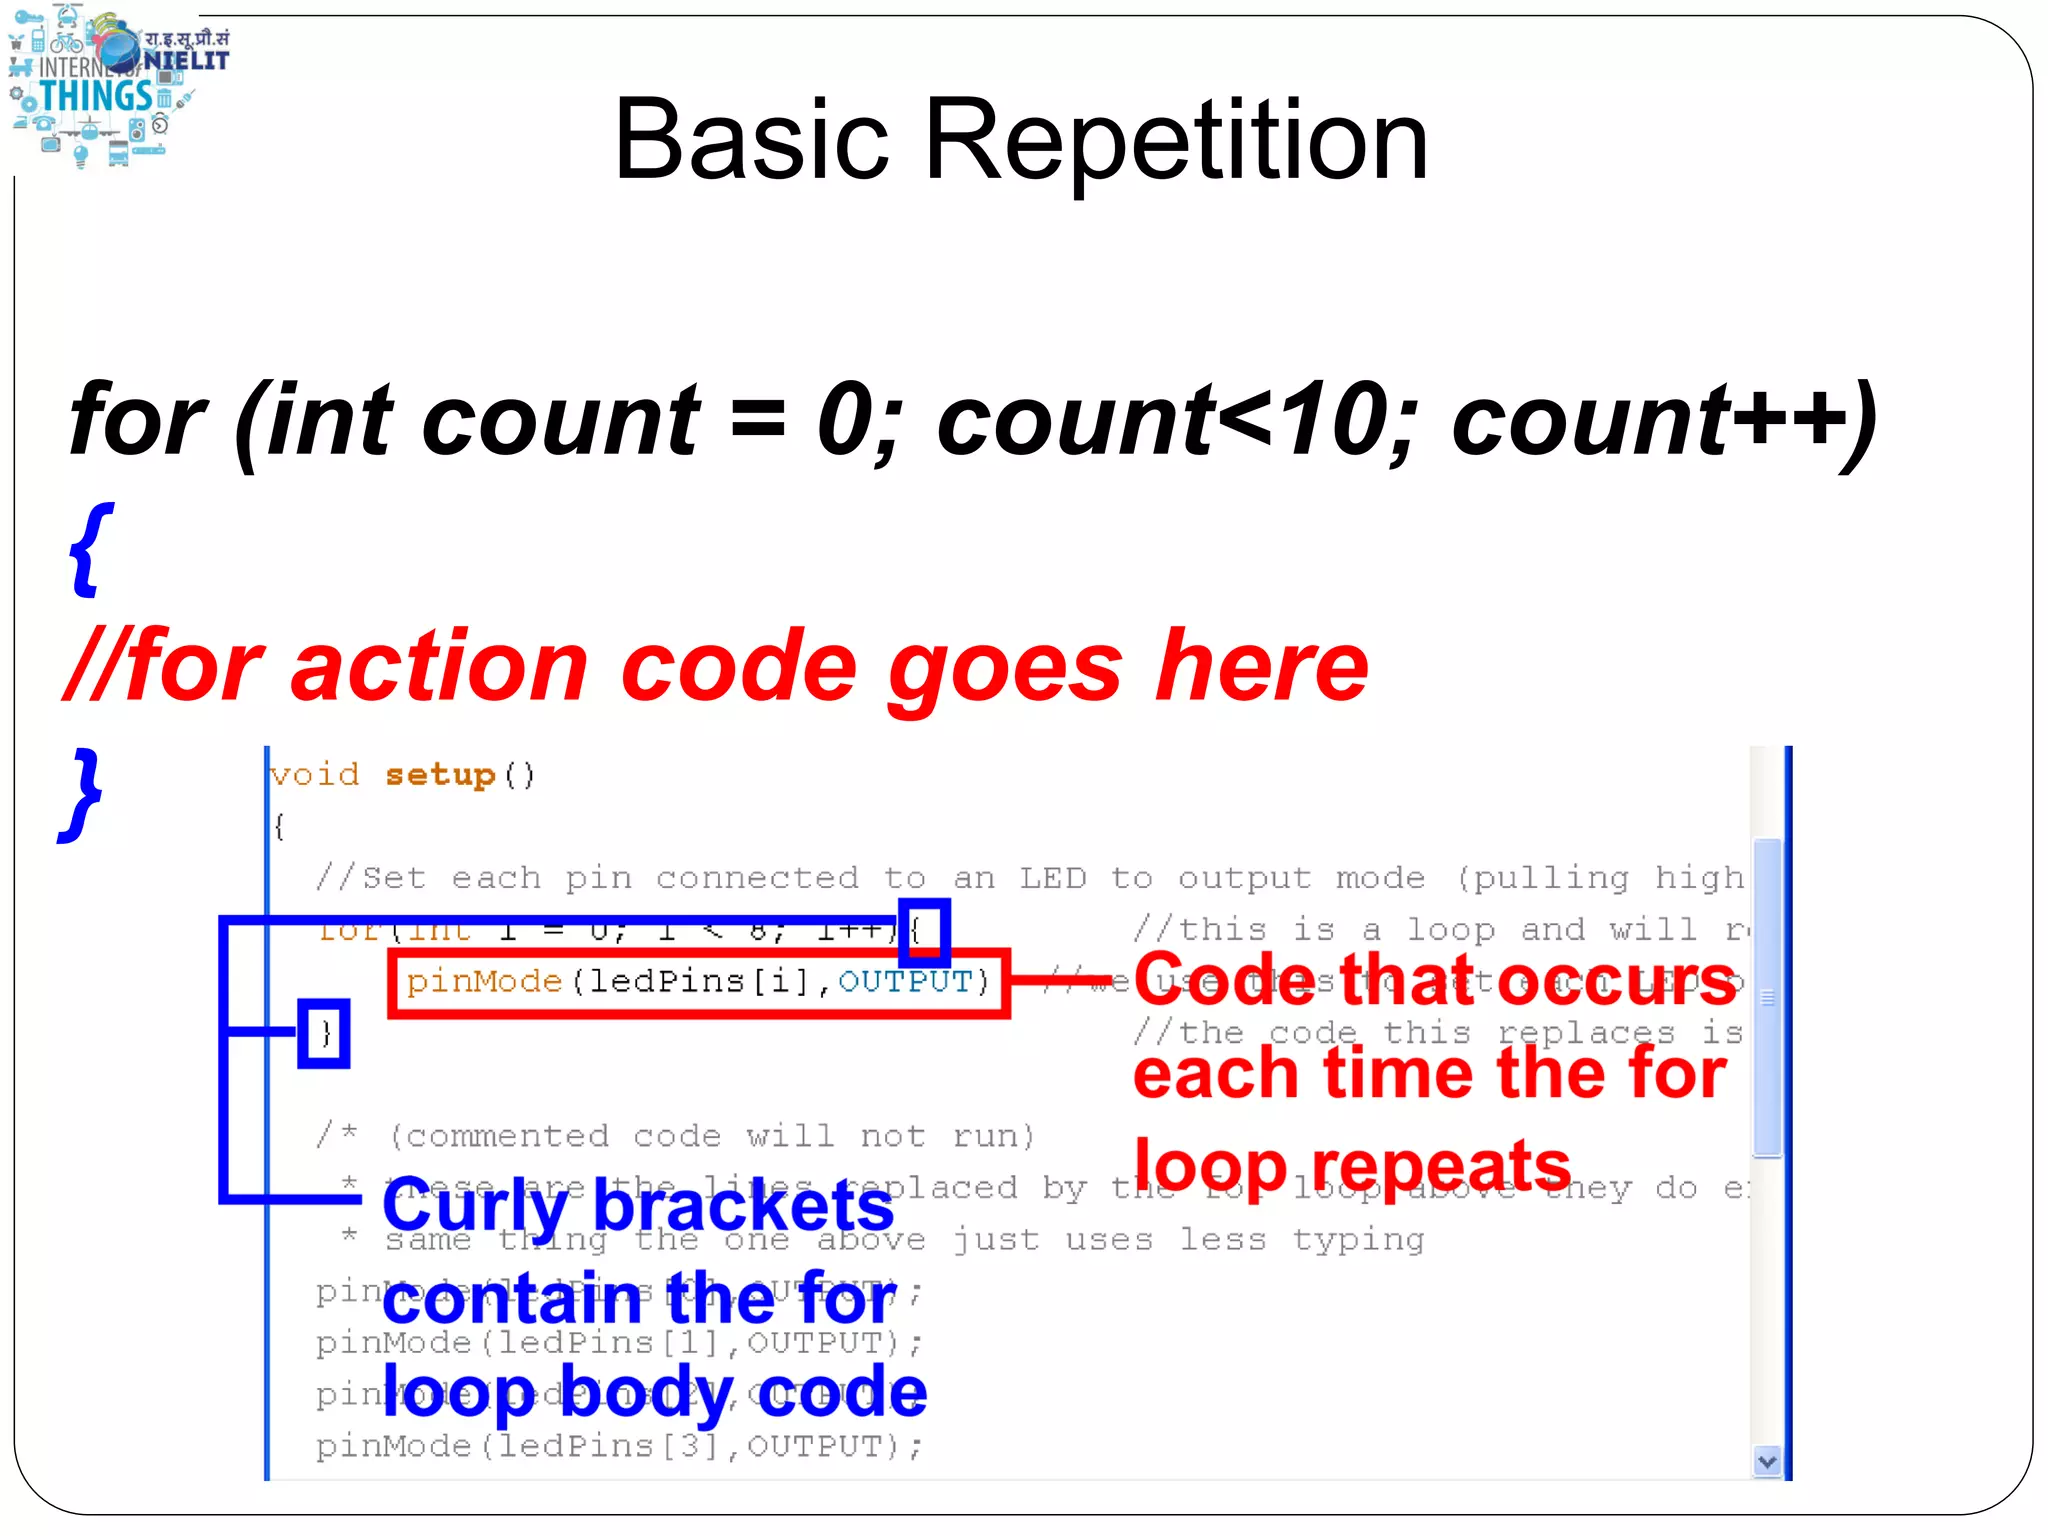
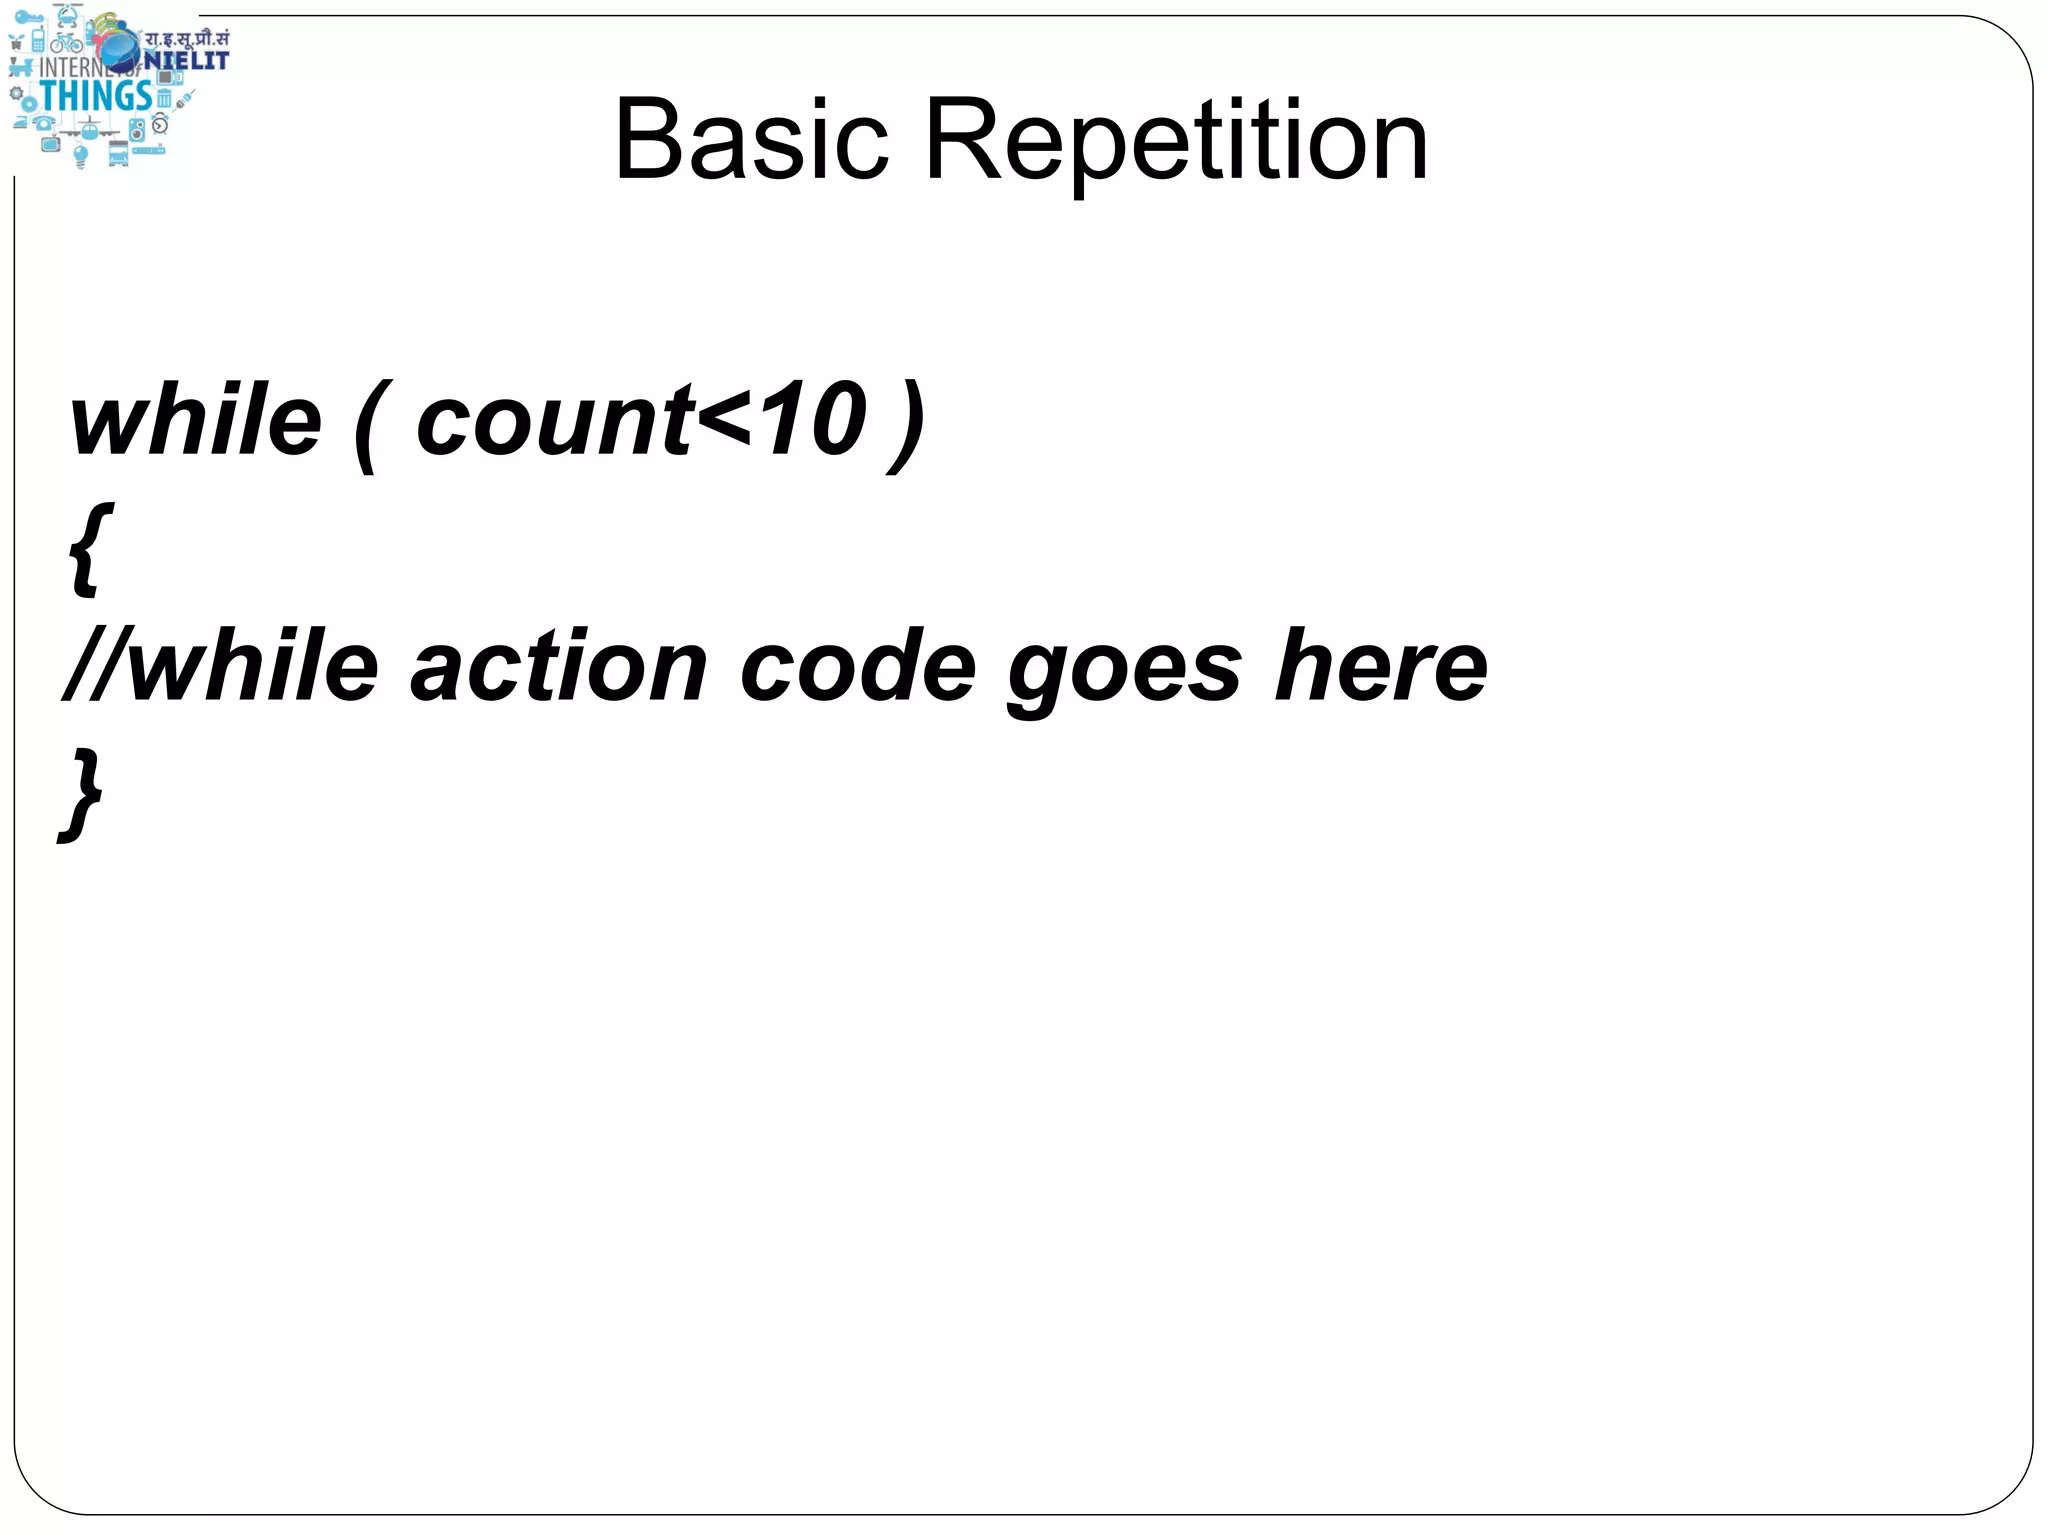
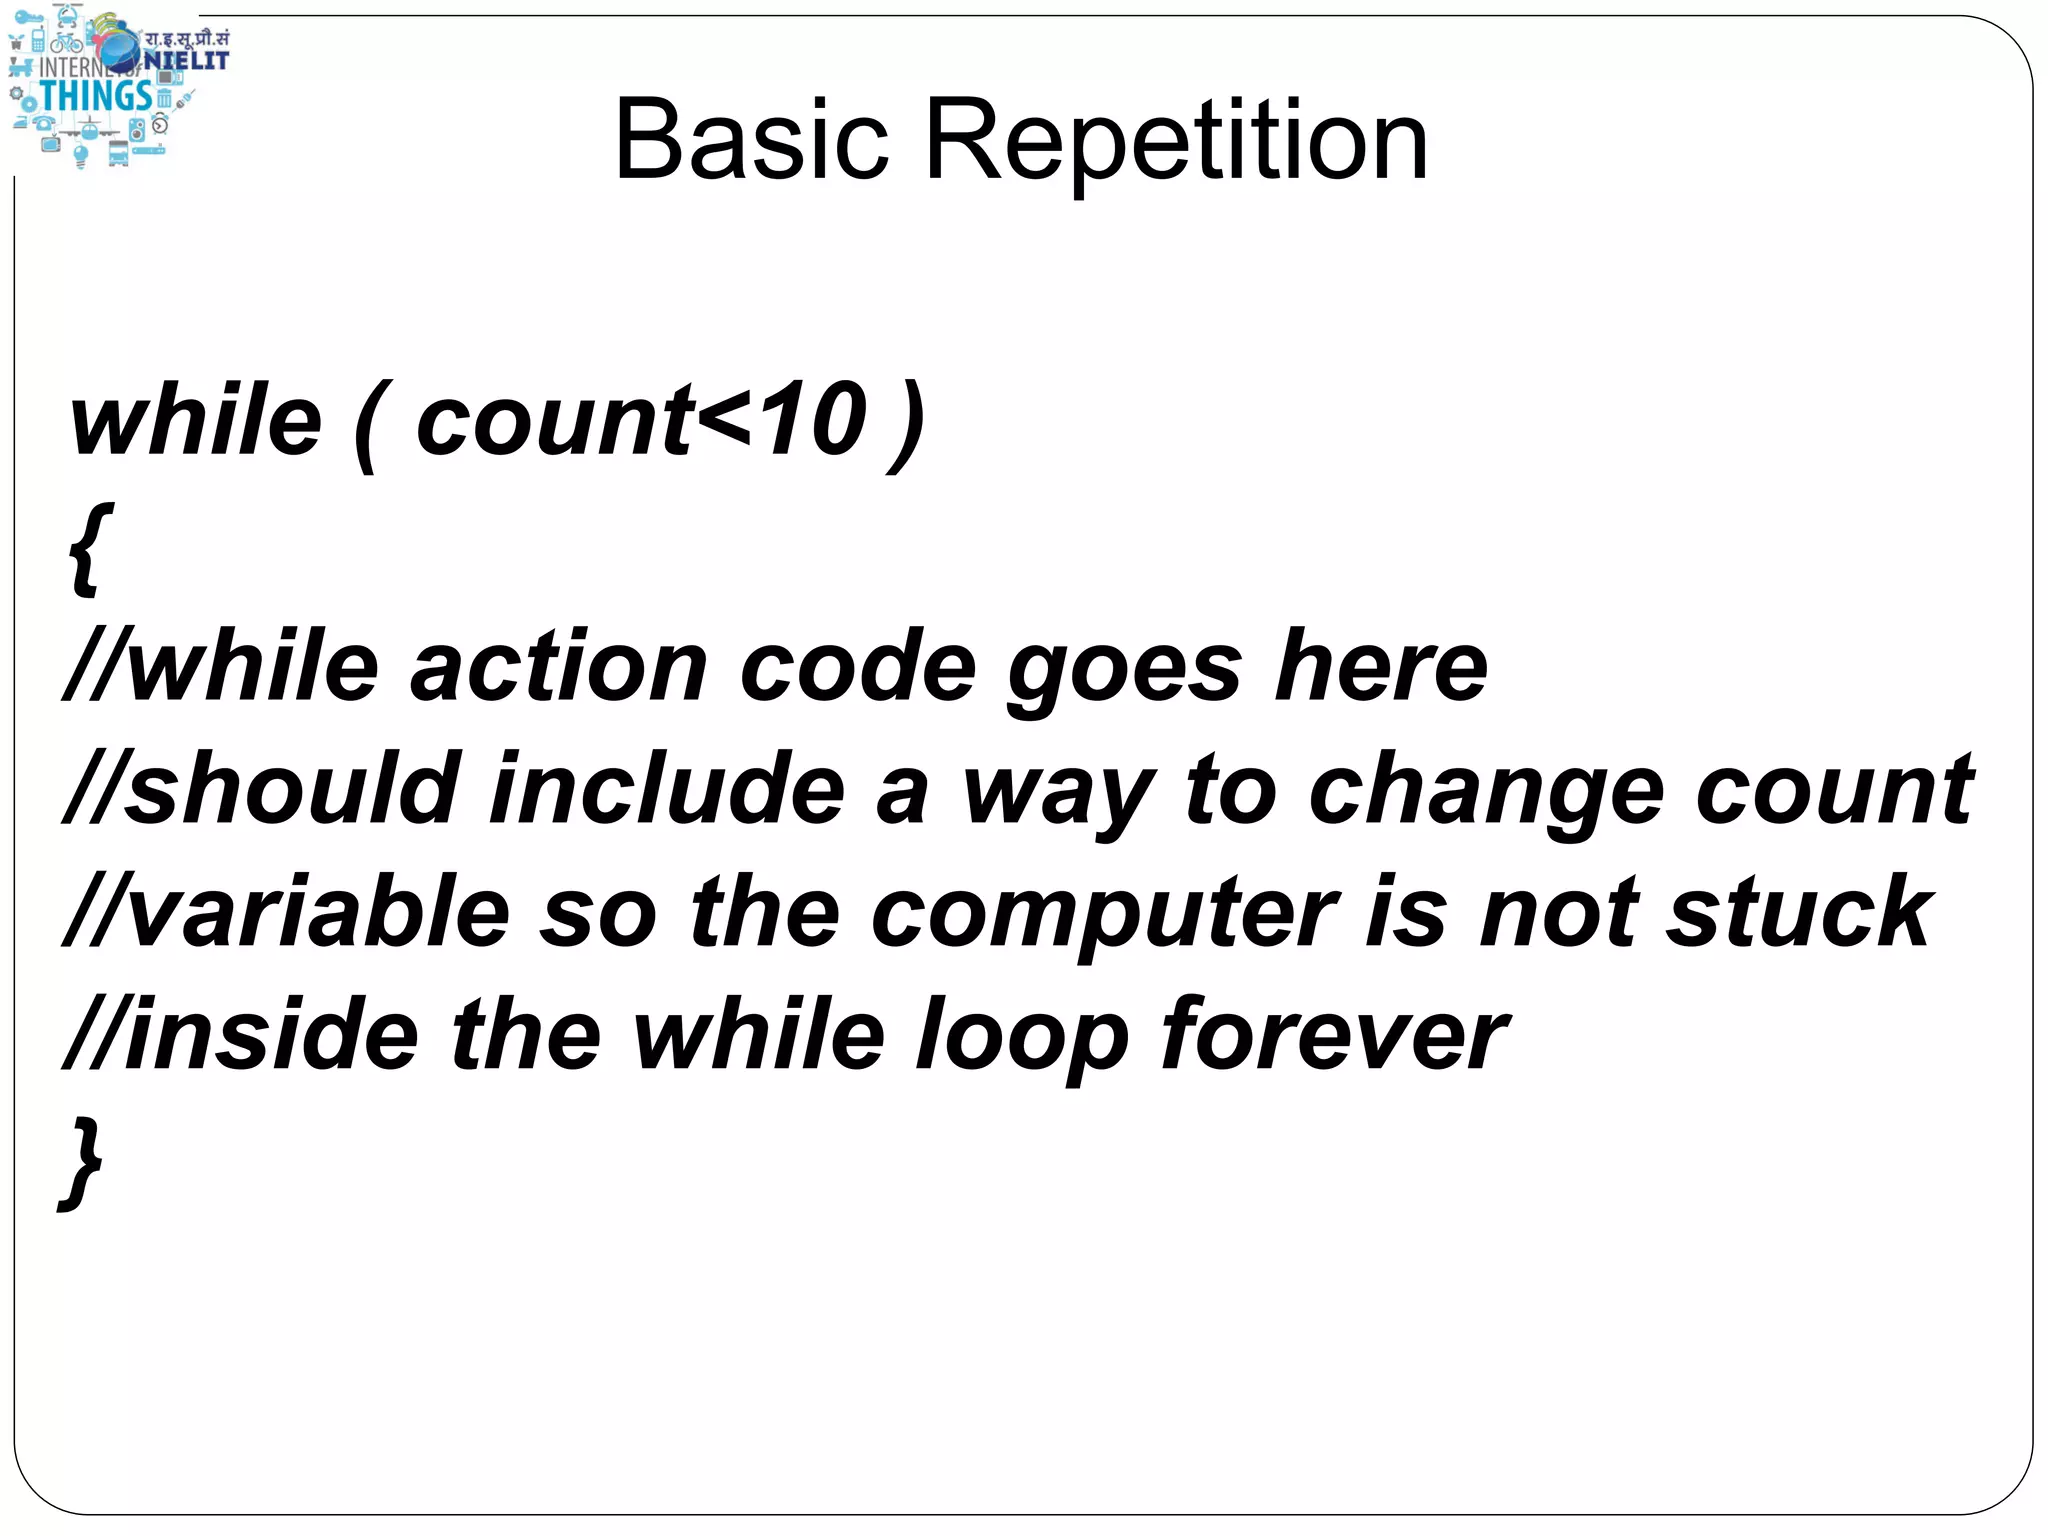
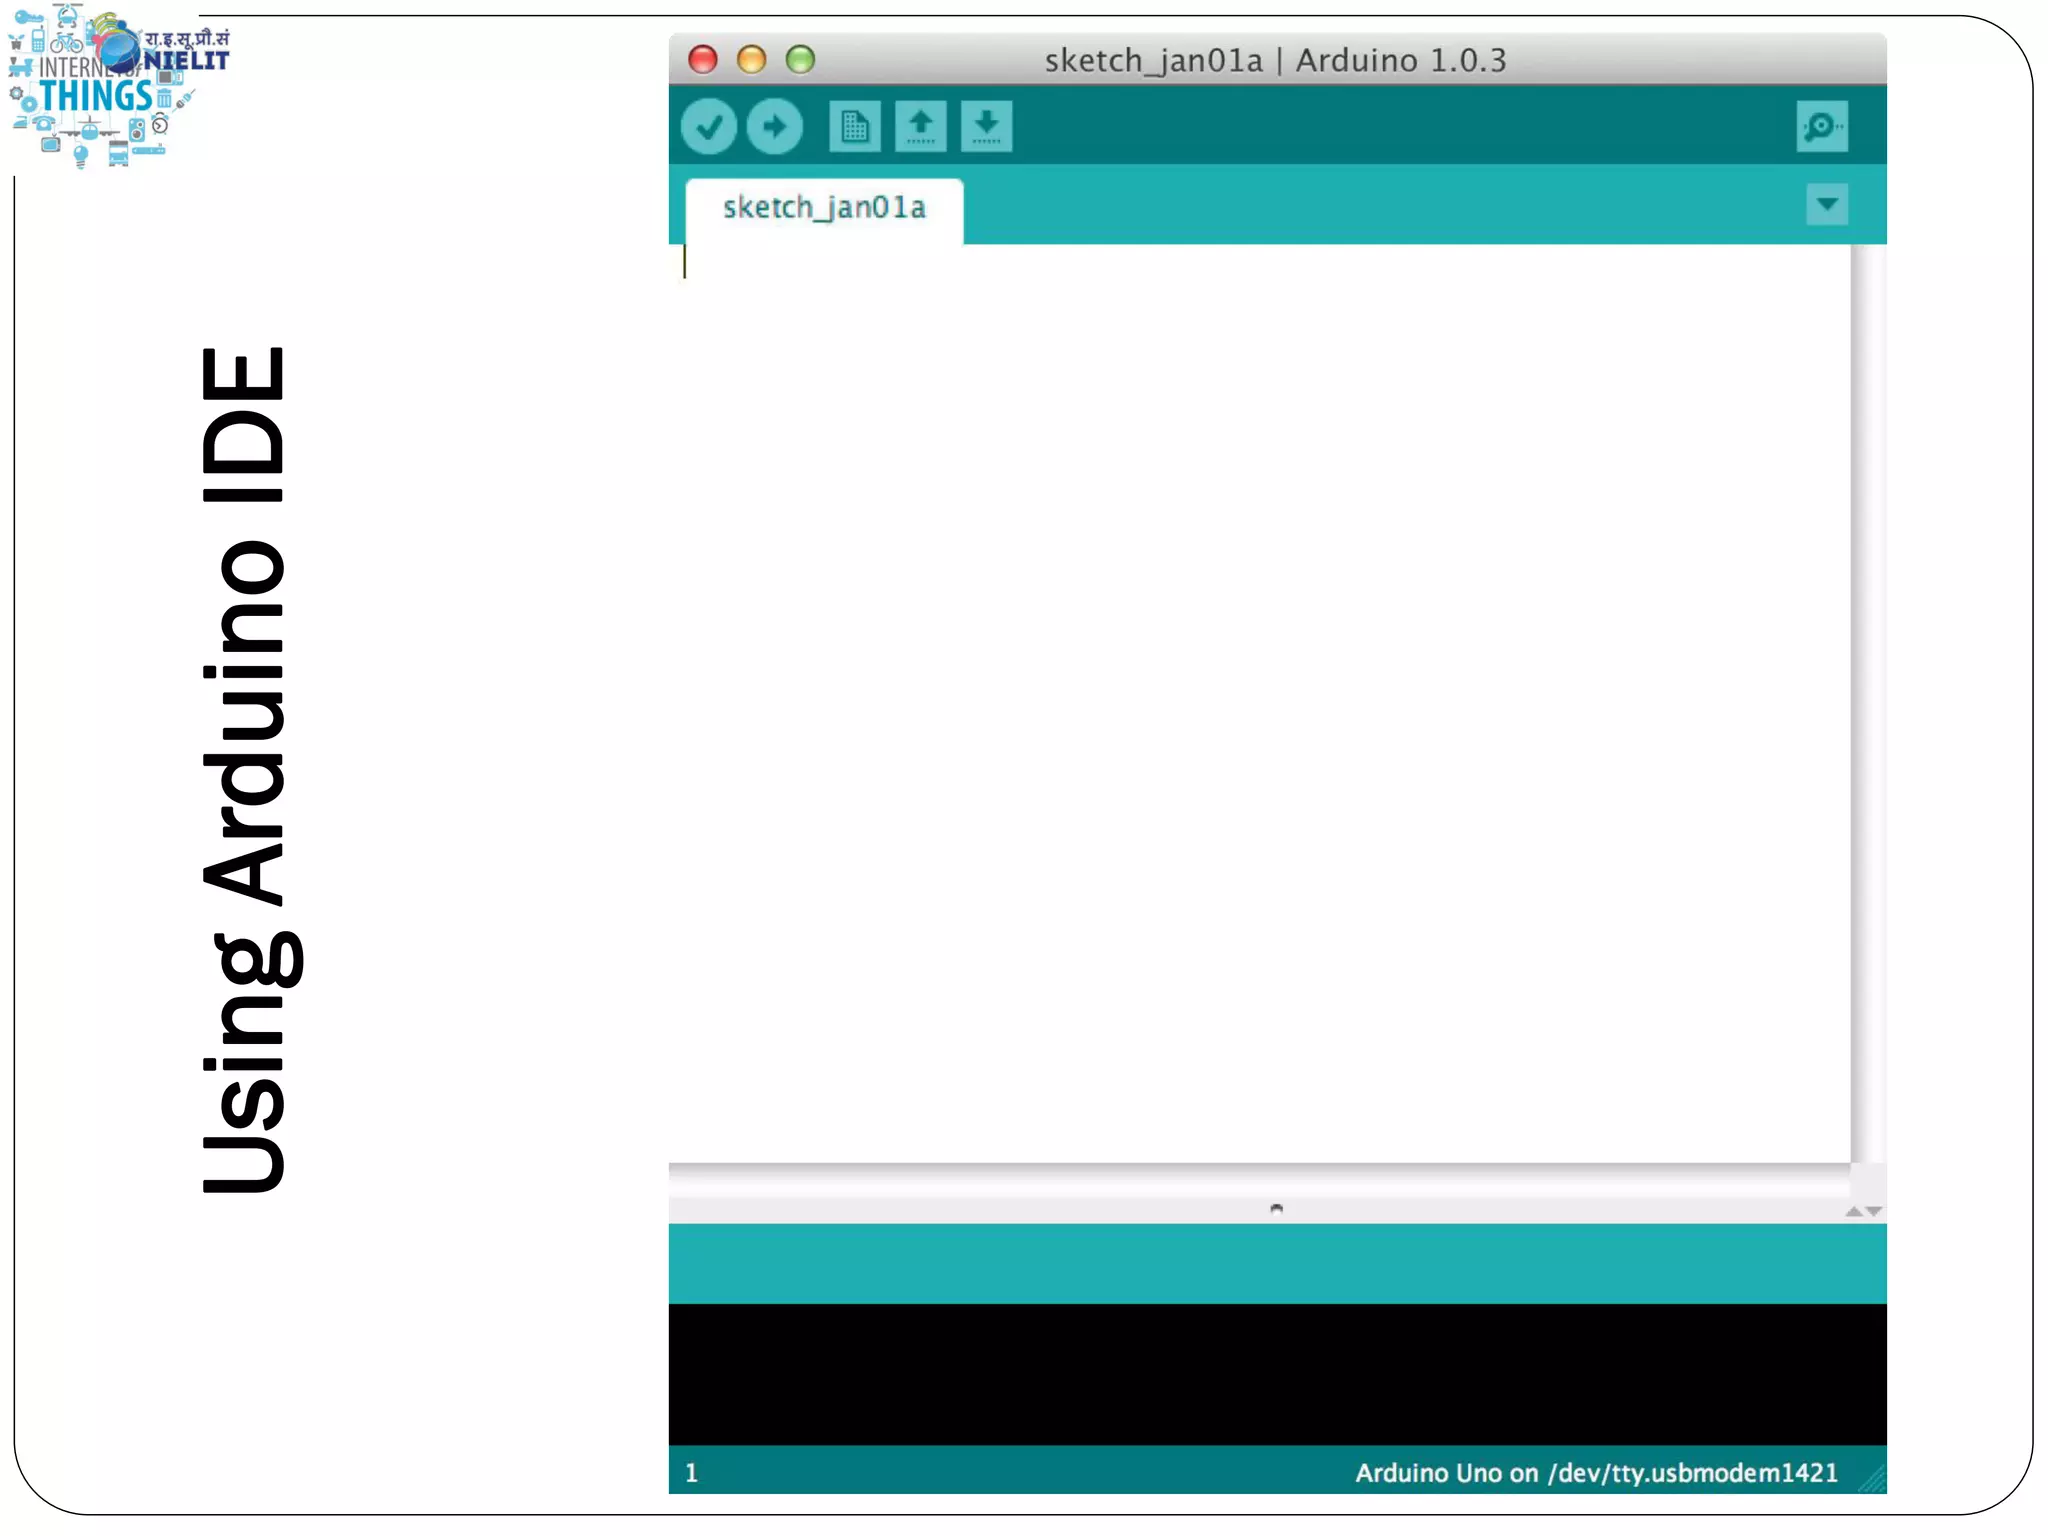
Dr. Sarwan Singh Deputy Director NIELIT Chandigarh IoT Arduino
 Open Source electronic prototyping platform based on flexible easy to use hardware and software. What is an Arduino ?
ArduinoUNOR3
Meet Arduino Uno
http://www.arduino.cc/  Arduino is an open-source electronics prototyping platform based on flexible, easy-to-use hardware and software. It’s intended for artists, designers, hobbyists, and anyone interested in creating interactive objects or environments.  Processor: 16 MhzATmega328  Flash memory: 32 KB  Ram: 2kb  OperatingVoltage: 5V  InputVoltage: 7-12V  Number of analog inputs: 6  Number of digital I/O: 14 (6 of them PWM)
Getting Started  Check out: http://arduino.cc/en/Guide/HomePage 1. Download & install theArduino environment (IDE) 2. Connect the board to your computer via the USB cable. If needed, install the drivers 3. Launch theArduino IDE 4. Select your board 5. Select your serial port 6. Open the blink example 7. Upload the program
Button Bar Menu Bar Actual Code Program Notification Area Status Bar Arduino IDE
Parts of the Sketch
Select Board
Select com port
Comments • Comments can be anywhere • Comments created with // or /* and */ • Comments do not affect code • You may not need comments, but think about the community!
Operators The equals sign = is used to assign a value == is used to compare values
Operators And & Or  &&  “and”  ||  “or”
Variables Basic variable types:  Boolean  Integer  Character
Declaring Variables Syntax : boolean var_Name; int var_Name; char var_Name; Datatype RAM usage void keyword N/A boolean 1 byte char 1 byte unsigned char 1 byte int 2 byte unsigned int 2 byte word 2 byte long 4 byte unsigned long 4 byte float 4 byte double 4 byte string 1 byte + x array 1 byte + x
Assigning Variables Boolean: variableName = true; or variableName = false; Integer: variableName = 32767; or variableName = -32768; Character: variableName = ‘A’; or stringName = “SparkFun”;
Variable Scope Where you declare your variables matters
Setup void setup ( ) { } The setup function comes before the loop function and is necessary for all Arduino sketches
Setup void setup ( ) { } The setup header will never change, everything else that occurs in setup happens inside the curly brackets
Setup void setup ( ) { pinMode (13, OUTPUT); } Outputs are declare in setup, this is done by using the pinMode function This particular example declares digital pin # 13 as an output, remember to use CAPS
Setup void setup ( ) { Serial.begin( 9600);} Serial communication also begins in setup This particular example declares Serial communication at a baud rate of 9600. More on Serial later...
Setup, Internal Pullup Resistors void setup ( ) { digitalWrite (12, HIGH); } You can also create internal pullup resistors in setup, to do so digitalWrite the pin HIGH This takes the place of the pullup resistors currently on your circuit 7 buttons
If Statements if ( this is true ) { do this; }
If if ( this is true ) { do this; }
Conditional if ( this is true ) { do this; }
Action if ( this is true ) { do this; }
Else else { do this; }
Basic Repetition • loop • For • while
Basic Repetition void loop ( ) { }
Basic Repetition void loop ( ) { } The “void” in the header is what the function will return (or spit out) when it happens, in this case it returns nothing so it is void
Basic Repetition void loop ( ) { } The “loop” in the header is what the function is called, sometimes you make the name up, sometimes (like loop) the function already has a name
Basic Repetition void loop ( ) { } The “( )” in the header is where you declare any variables that you are “passing” (or sending) the function, the loop function is never “passed” any variables
Basic Repetition void loop ( ) { }
Basic Repetition for (int count = 0; count<10; count++) { //for action code goes here //this could be anything }
Basic Repetition for (int count = 0; count<10; count++) { //for action code goes here }
Basic Repetition while ( count<10 ) { //while action code goes here }
Basic Repetition while ( count<10 ) { //while action code goes here //should include a way to change count //variable so the computer is not stuck //inside the while loop forever }
Basic Repetition while ( count<10 ) { //looks basically like a “for” loop //except the variable is declared before //and incremented inside the while //loop }
Basic Repetition Or maybe: while ( digitalRead(buttonPin)==1 ) { //instead of changing a variable //you just read a pin so the computer //exits when you press a button //or a sensor is tripped }
UsingArduinoIDE
First program int ledPin = 13; void setup() { pinMode(ledPin, OUTPUT); } void loop() { digitalWrite(ledPin, HIGH); delay(2000); digitalWrite(ledPin, LOW); delay(2000); }
Happy Coding Journey begins from here……

Arduino for Beginners