Downloaded 73 times


This document provides an introduction and overview of CSS (Cascading Style Sheets). It discusses what CSS is, its advantages, basic structure and syntax, applying styles using internal, external and inline styles, style precedence, and how to use IDs, classes, divs, spans and other selectors to control layout and formatting of text, links, backgrounds, fonts, lists and tables. The document covers many fundamental CSS concepts in a tutorial-like format.
Introduces CSS, explaining it as Cascading Style Sheets for web styling. Highlights its advantages such as time-saving, easy changes, consistency, control over layout.
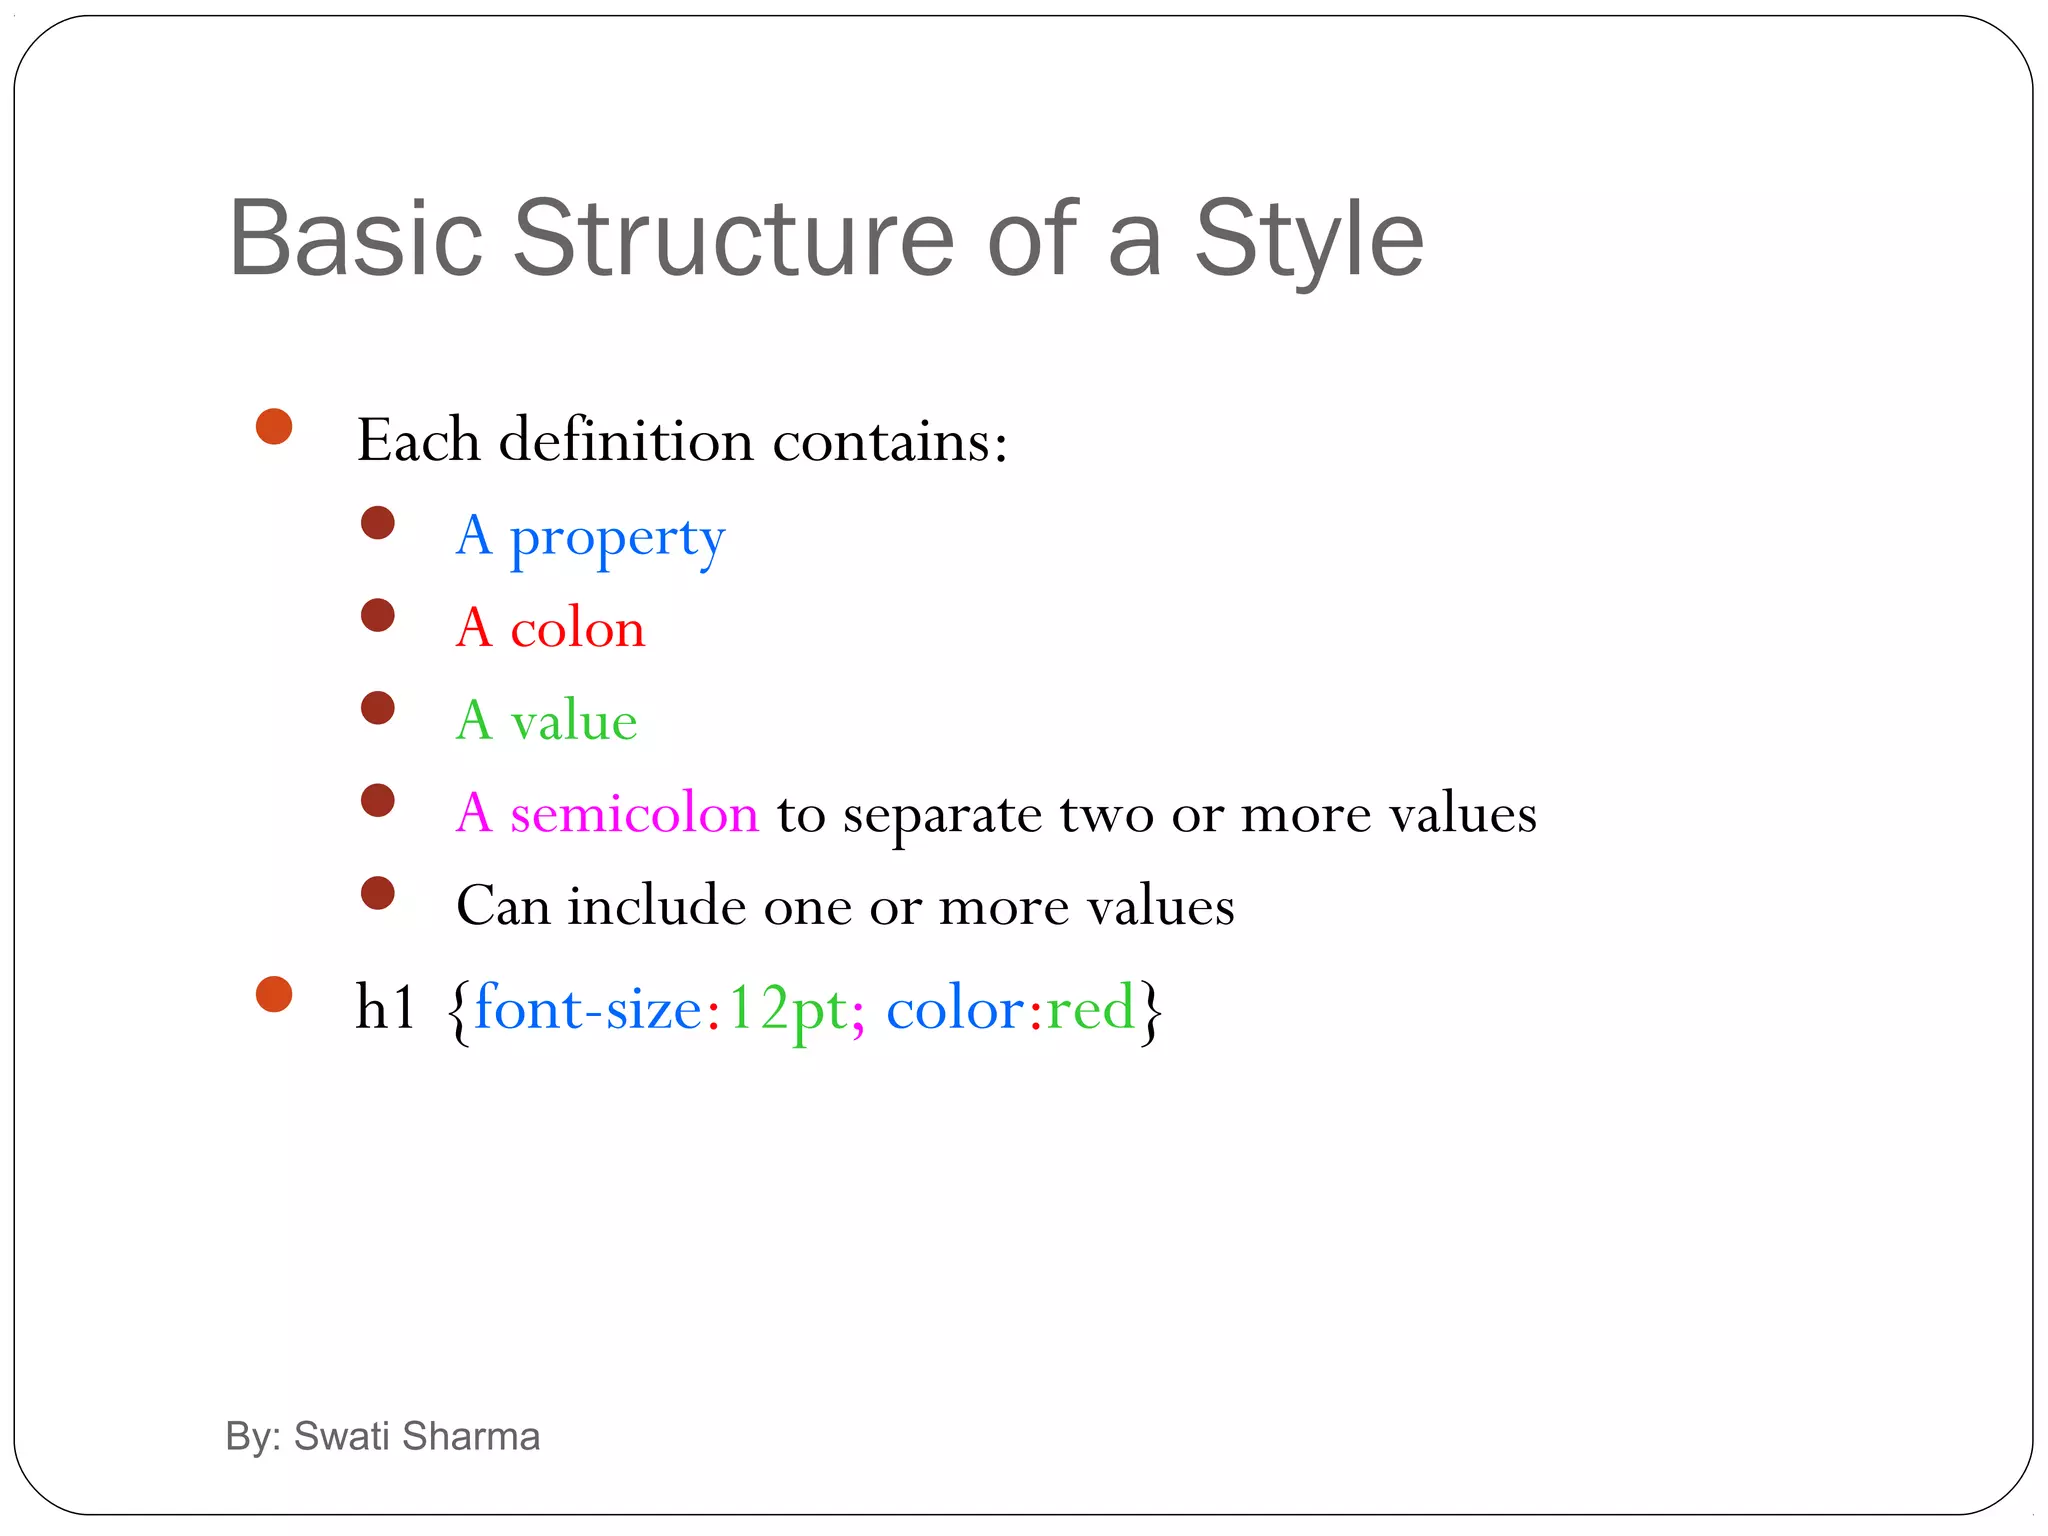
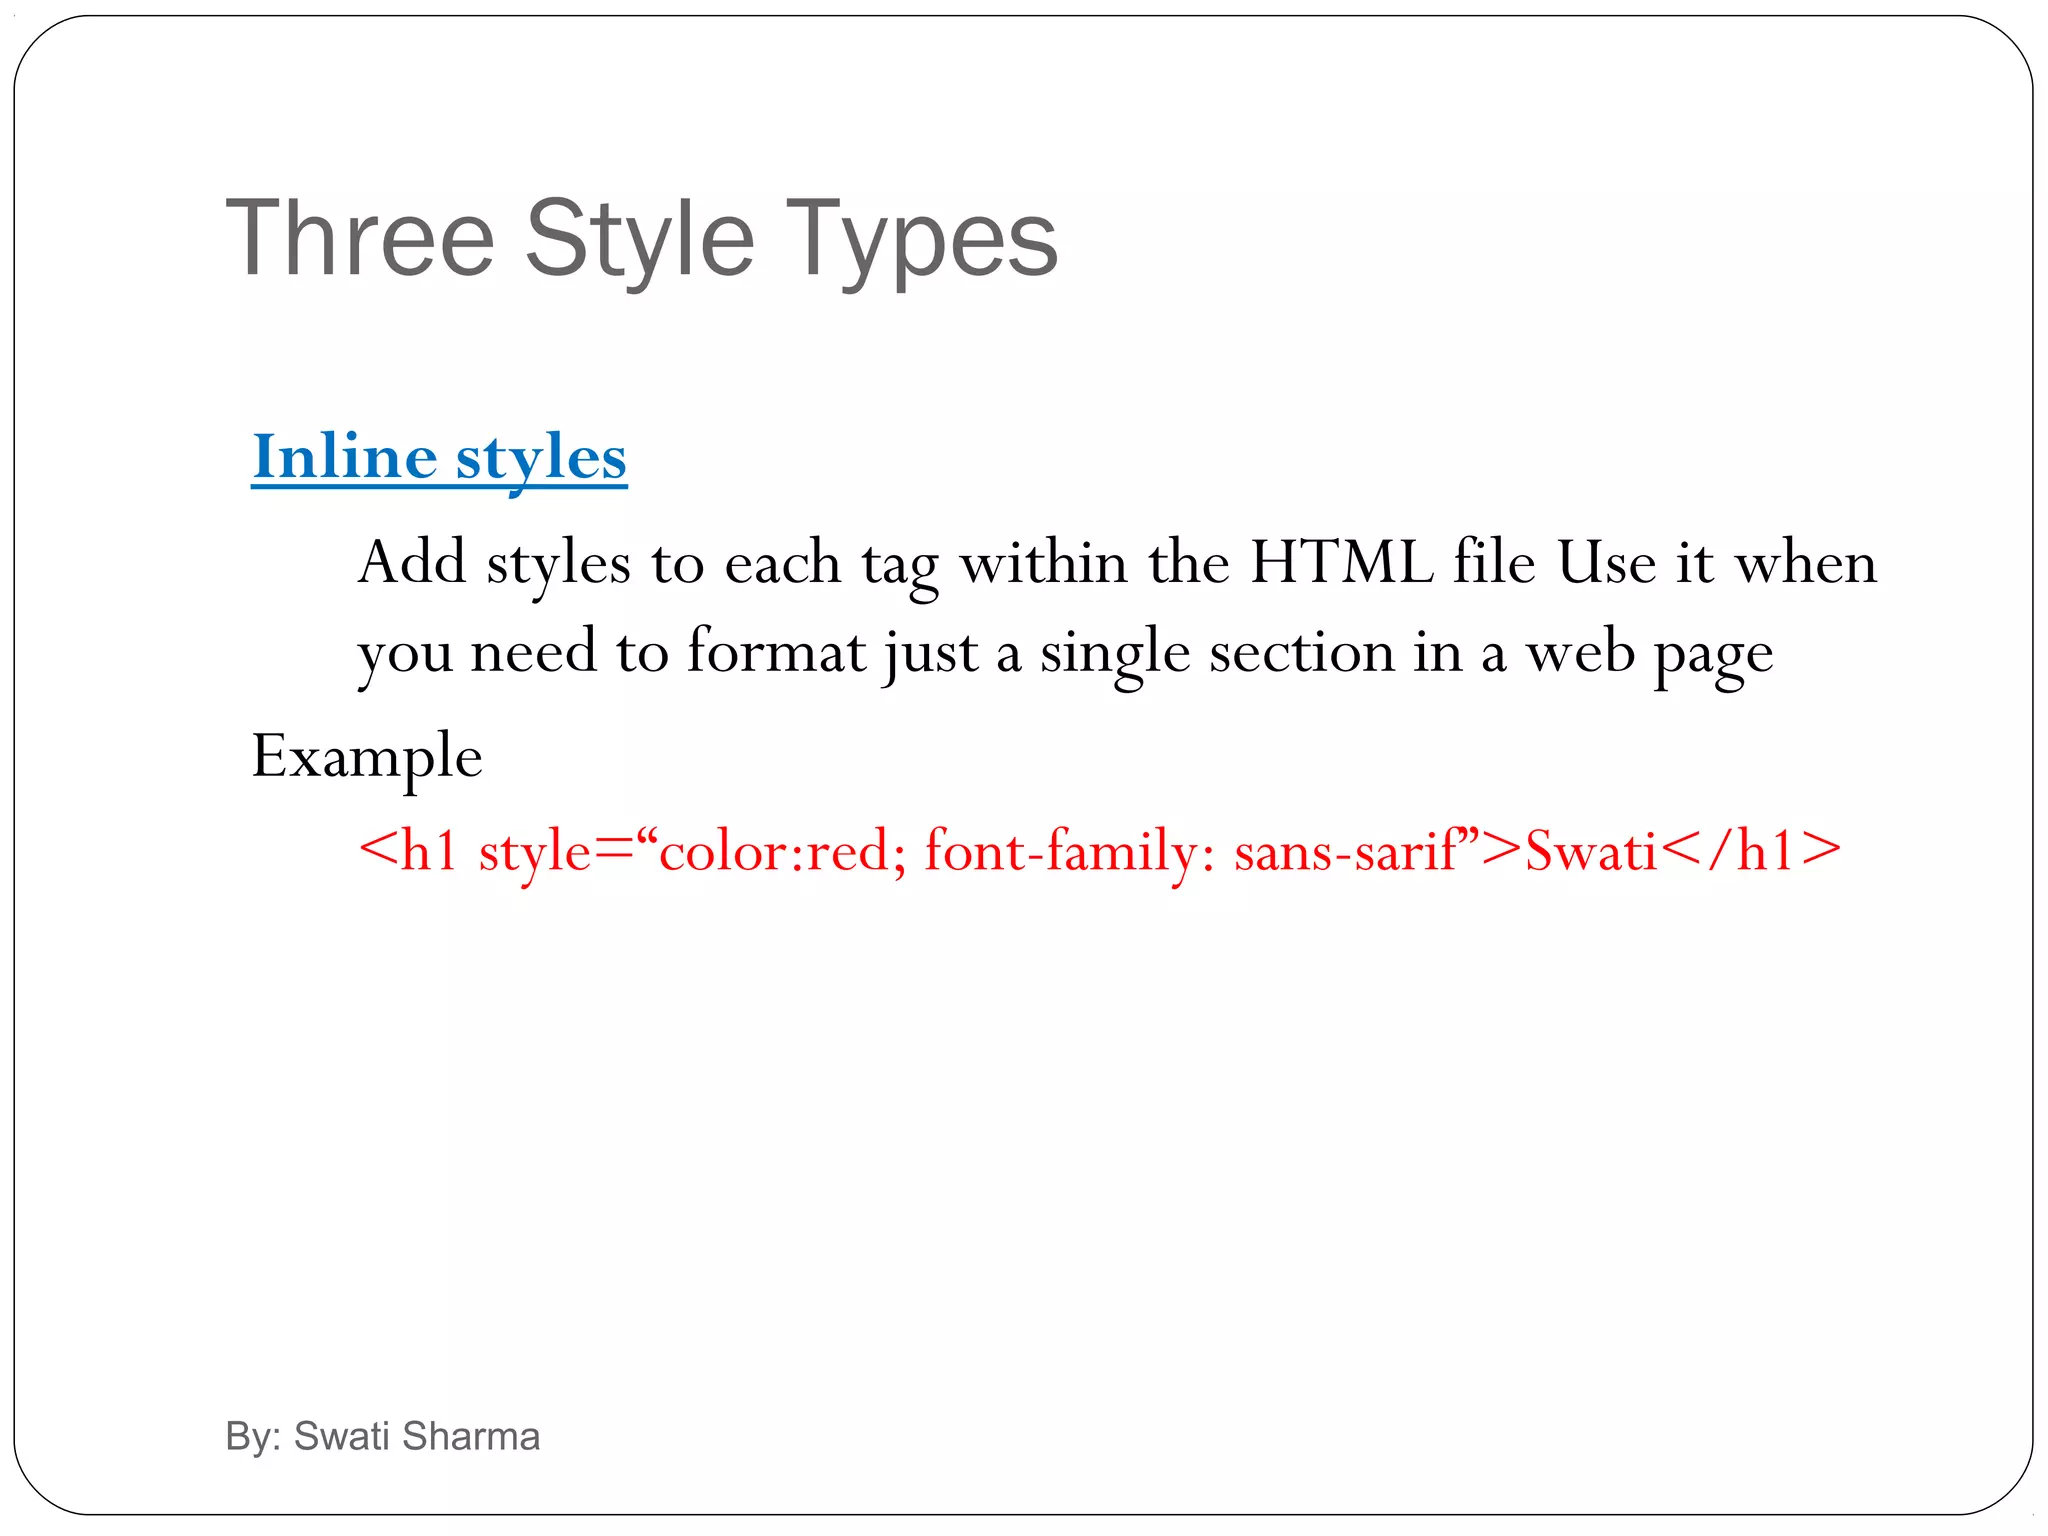
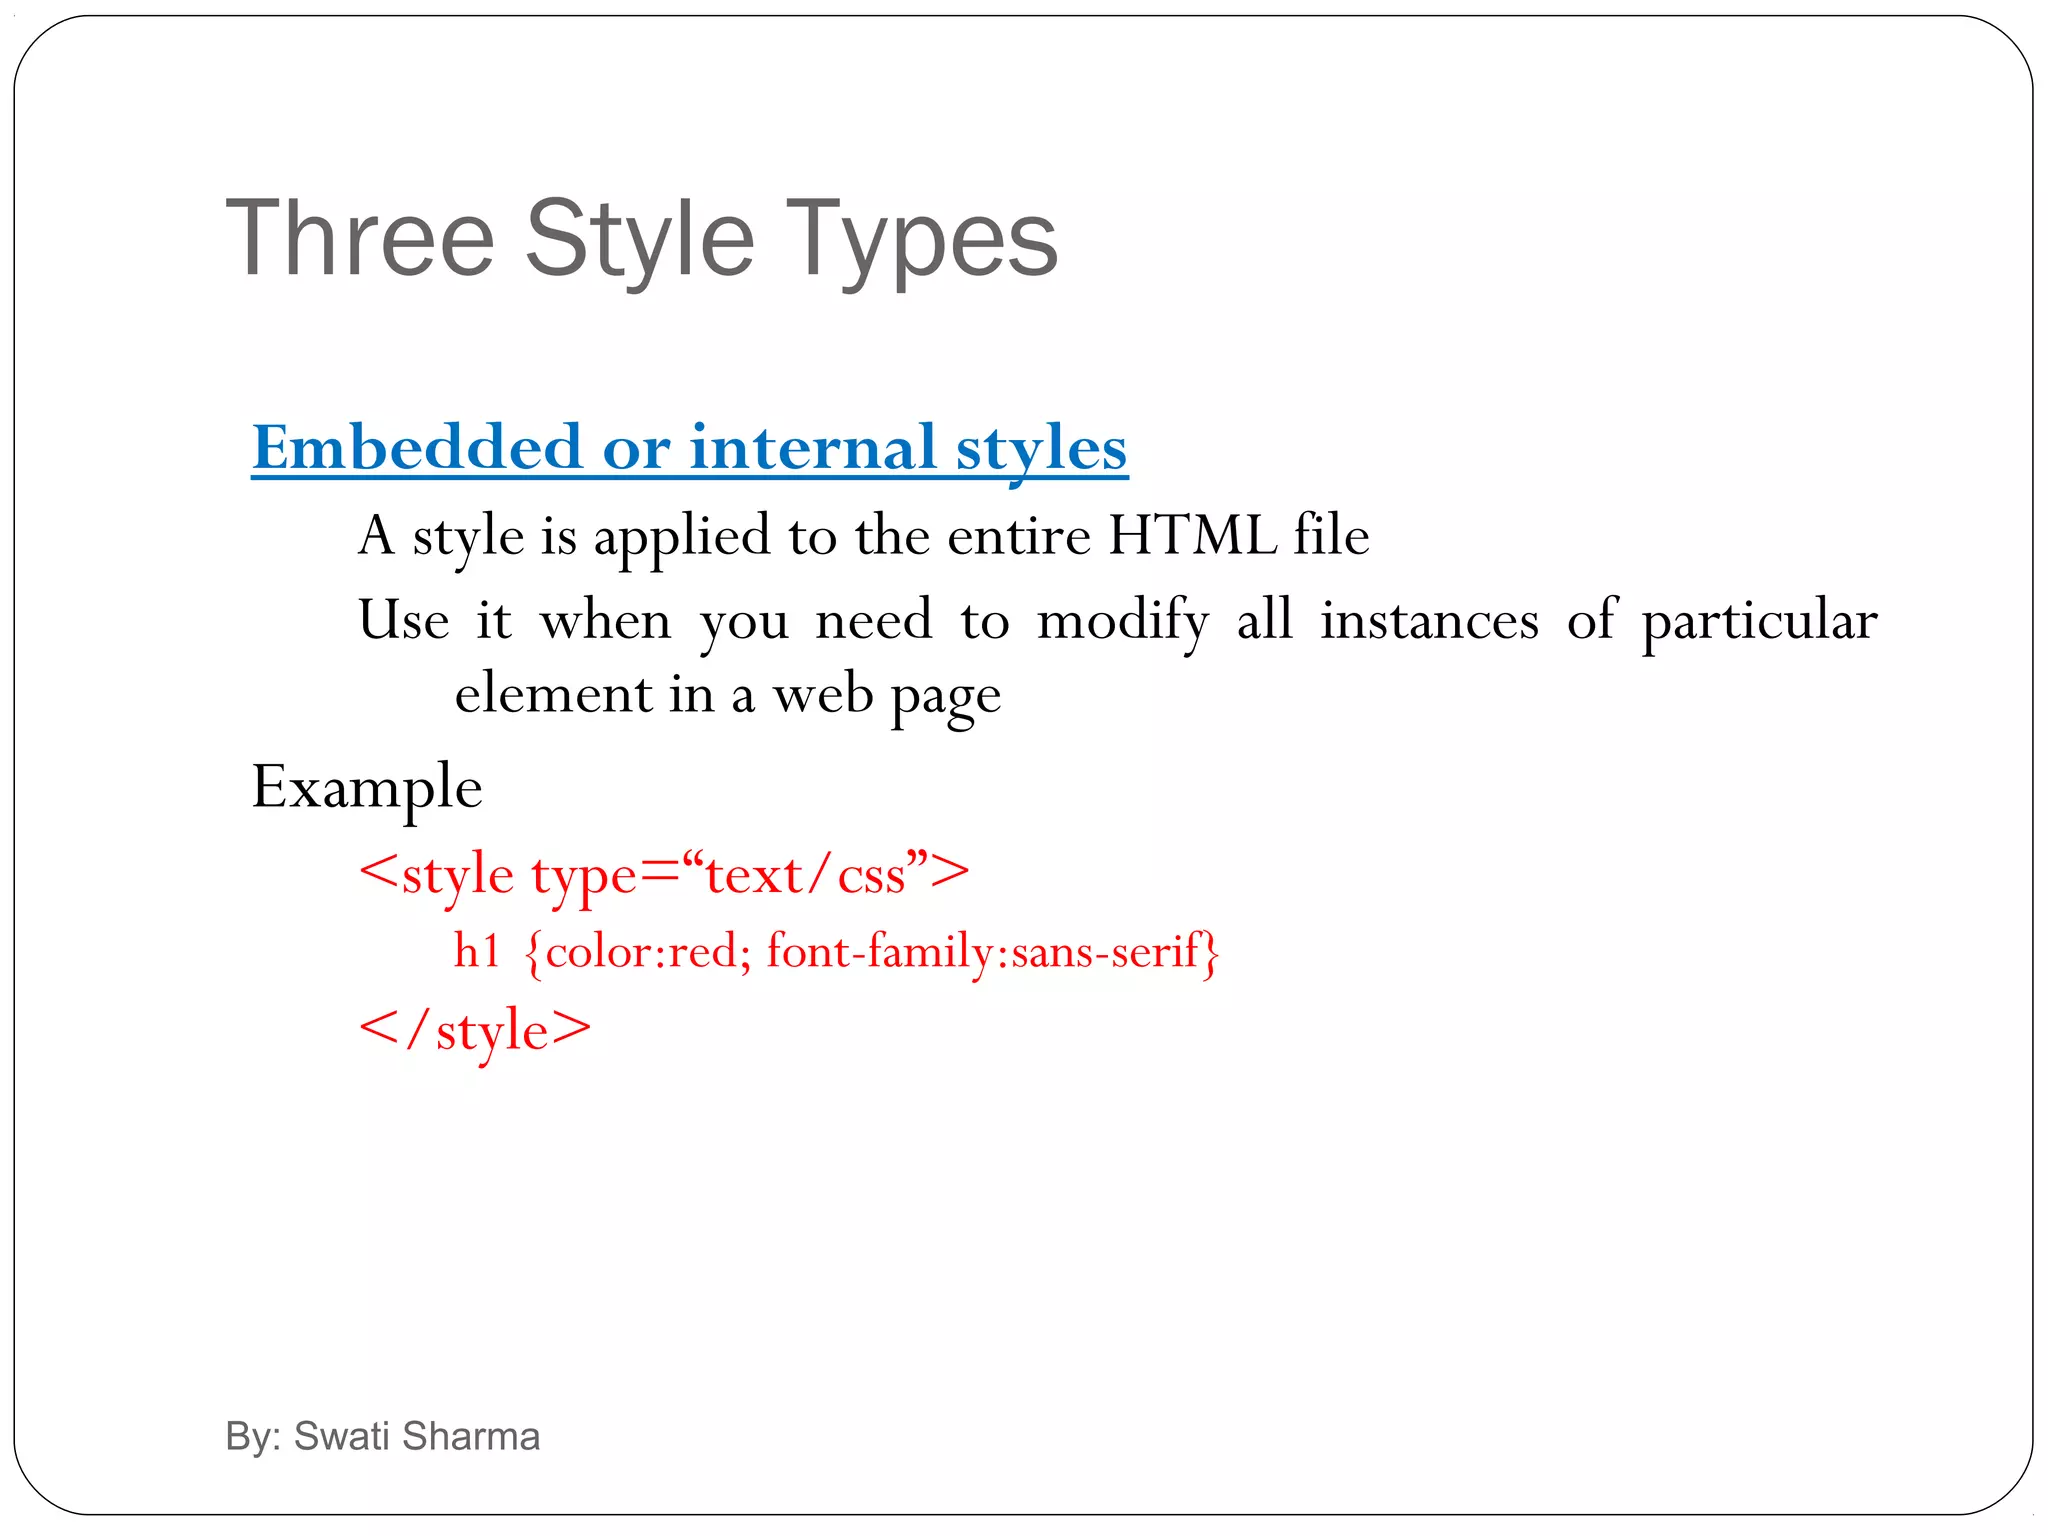
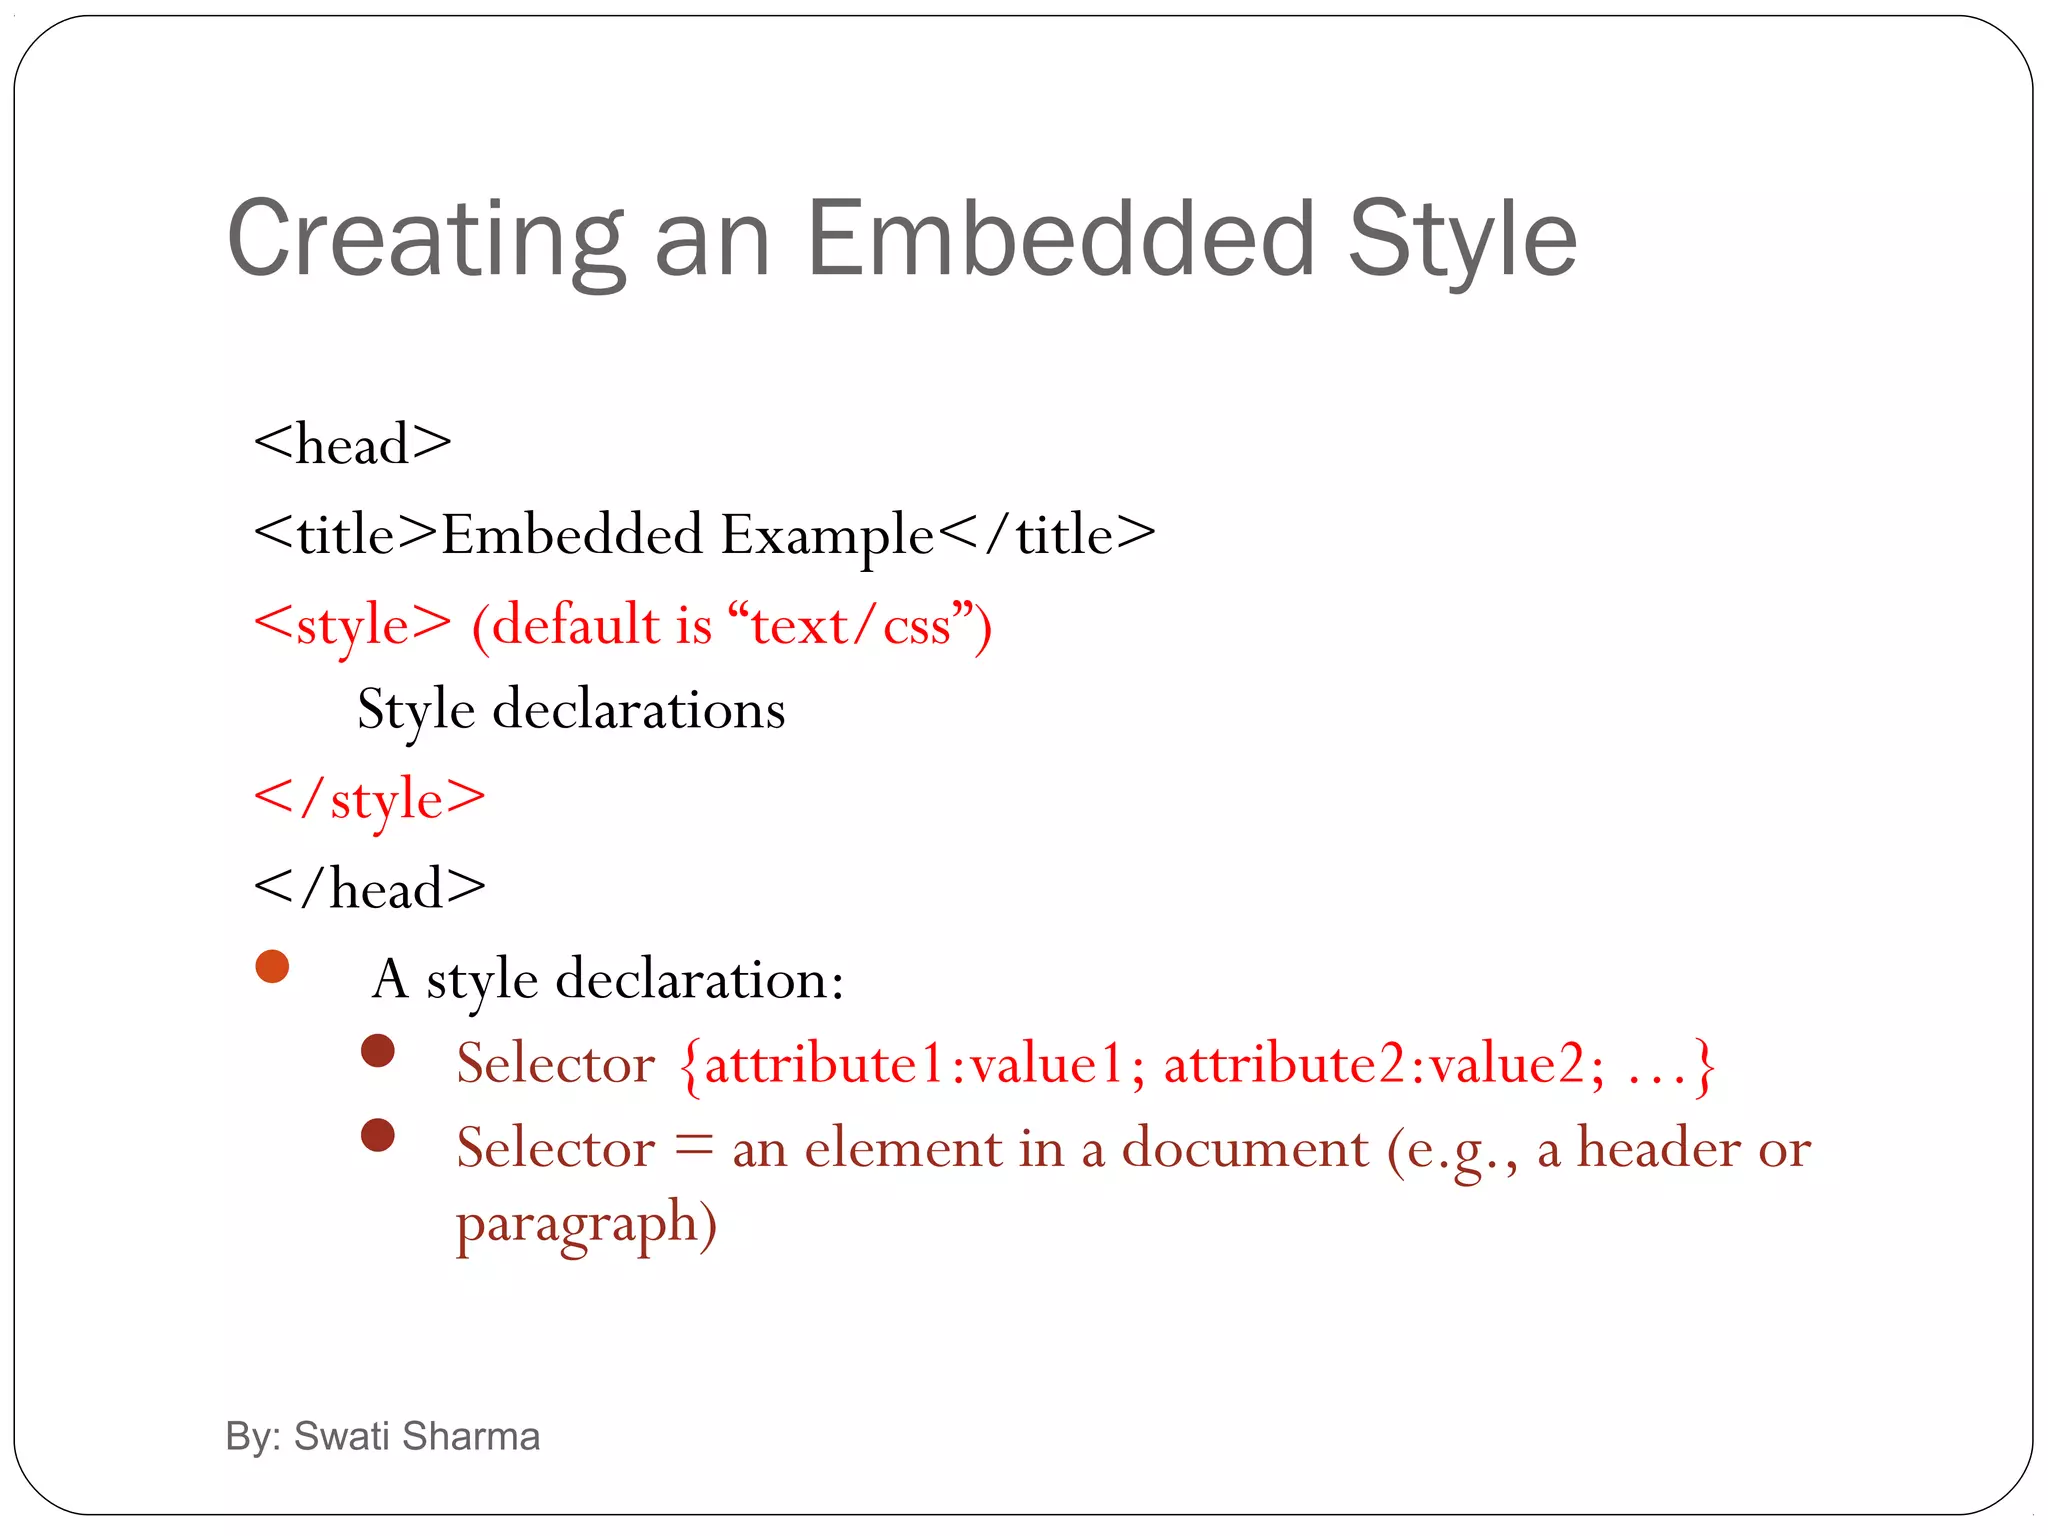
Discusses applying styles via single, embedded styles, and their structure. Includes syntax examples for embedded styles in HTML.
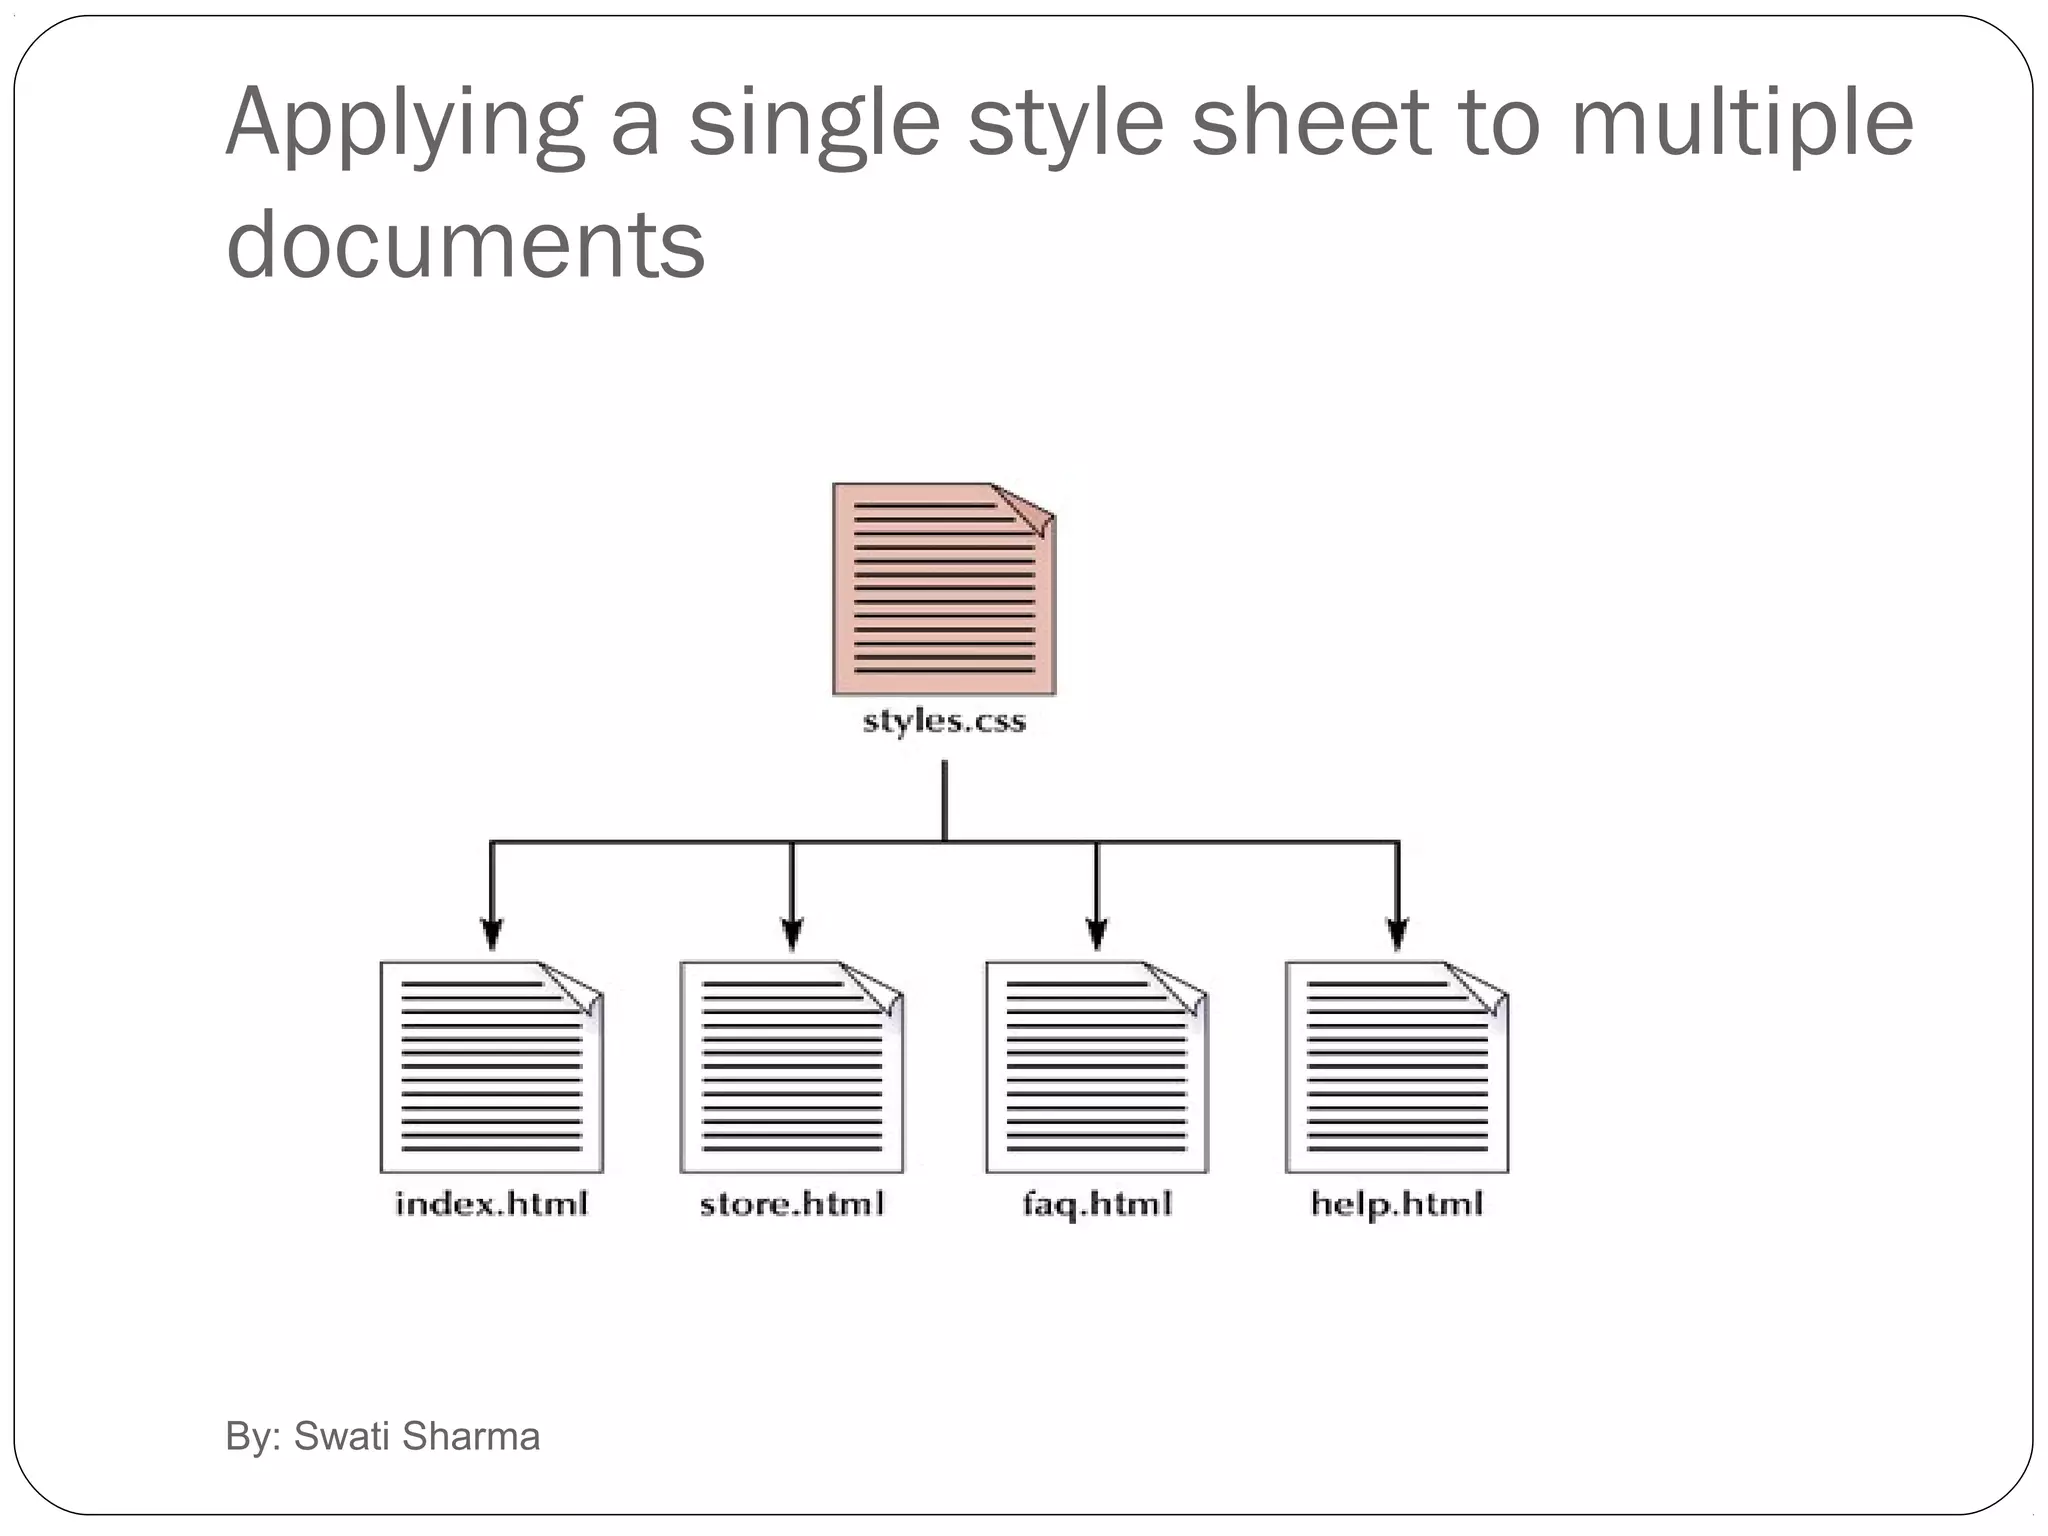
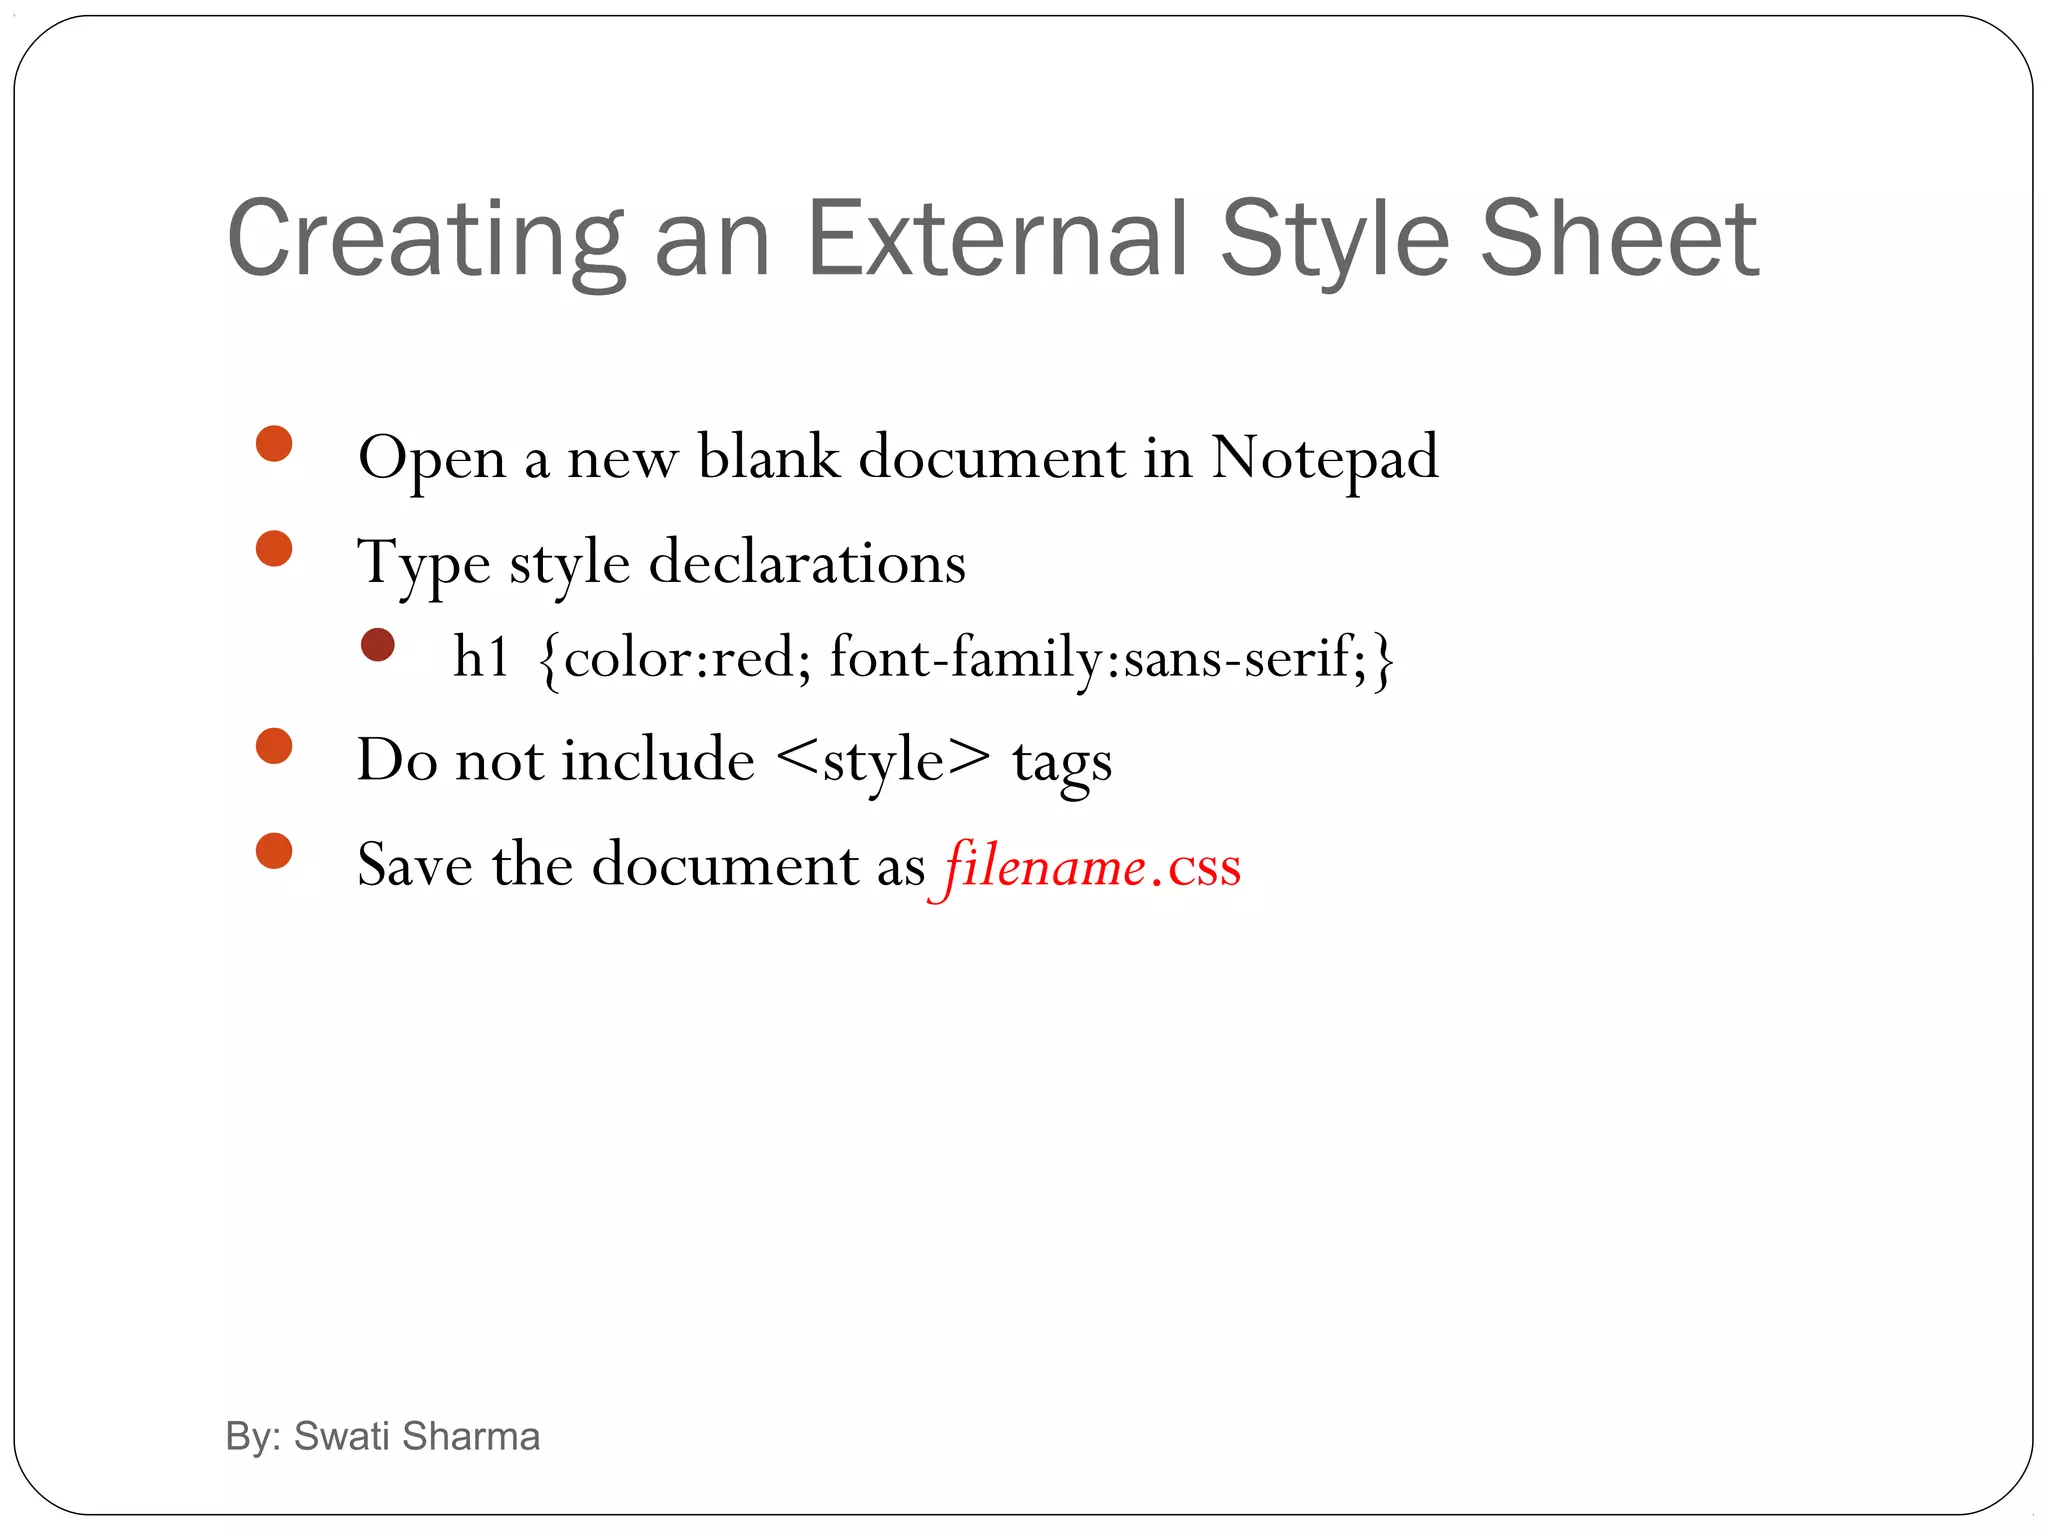
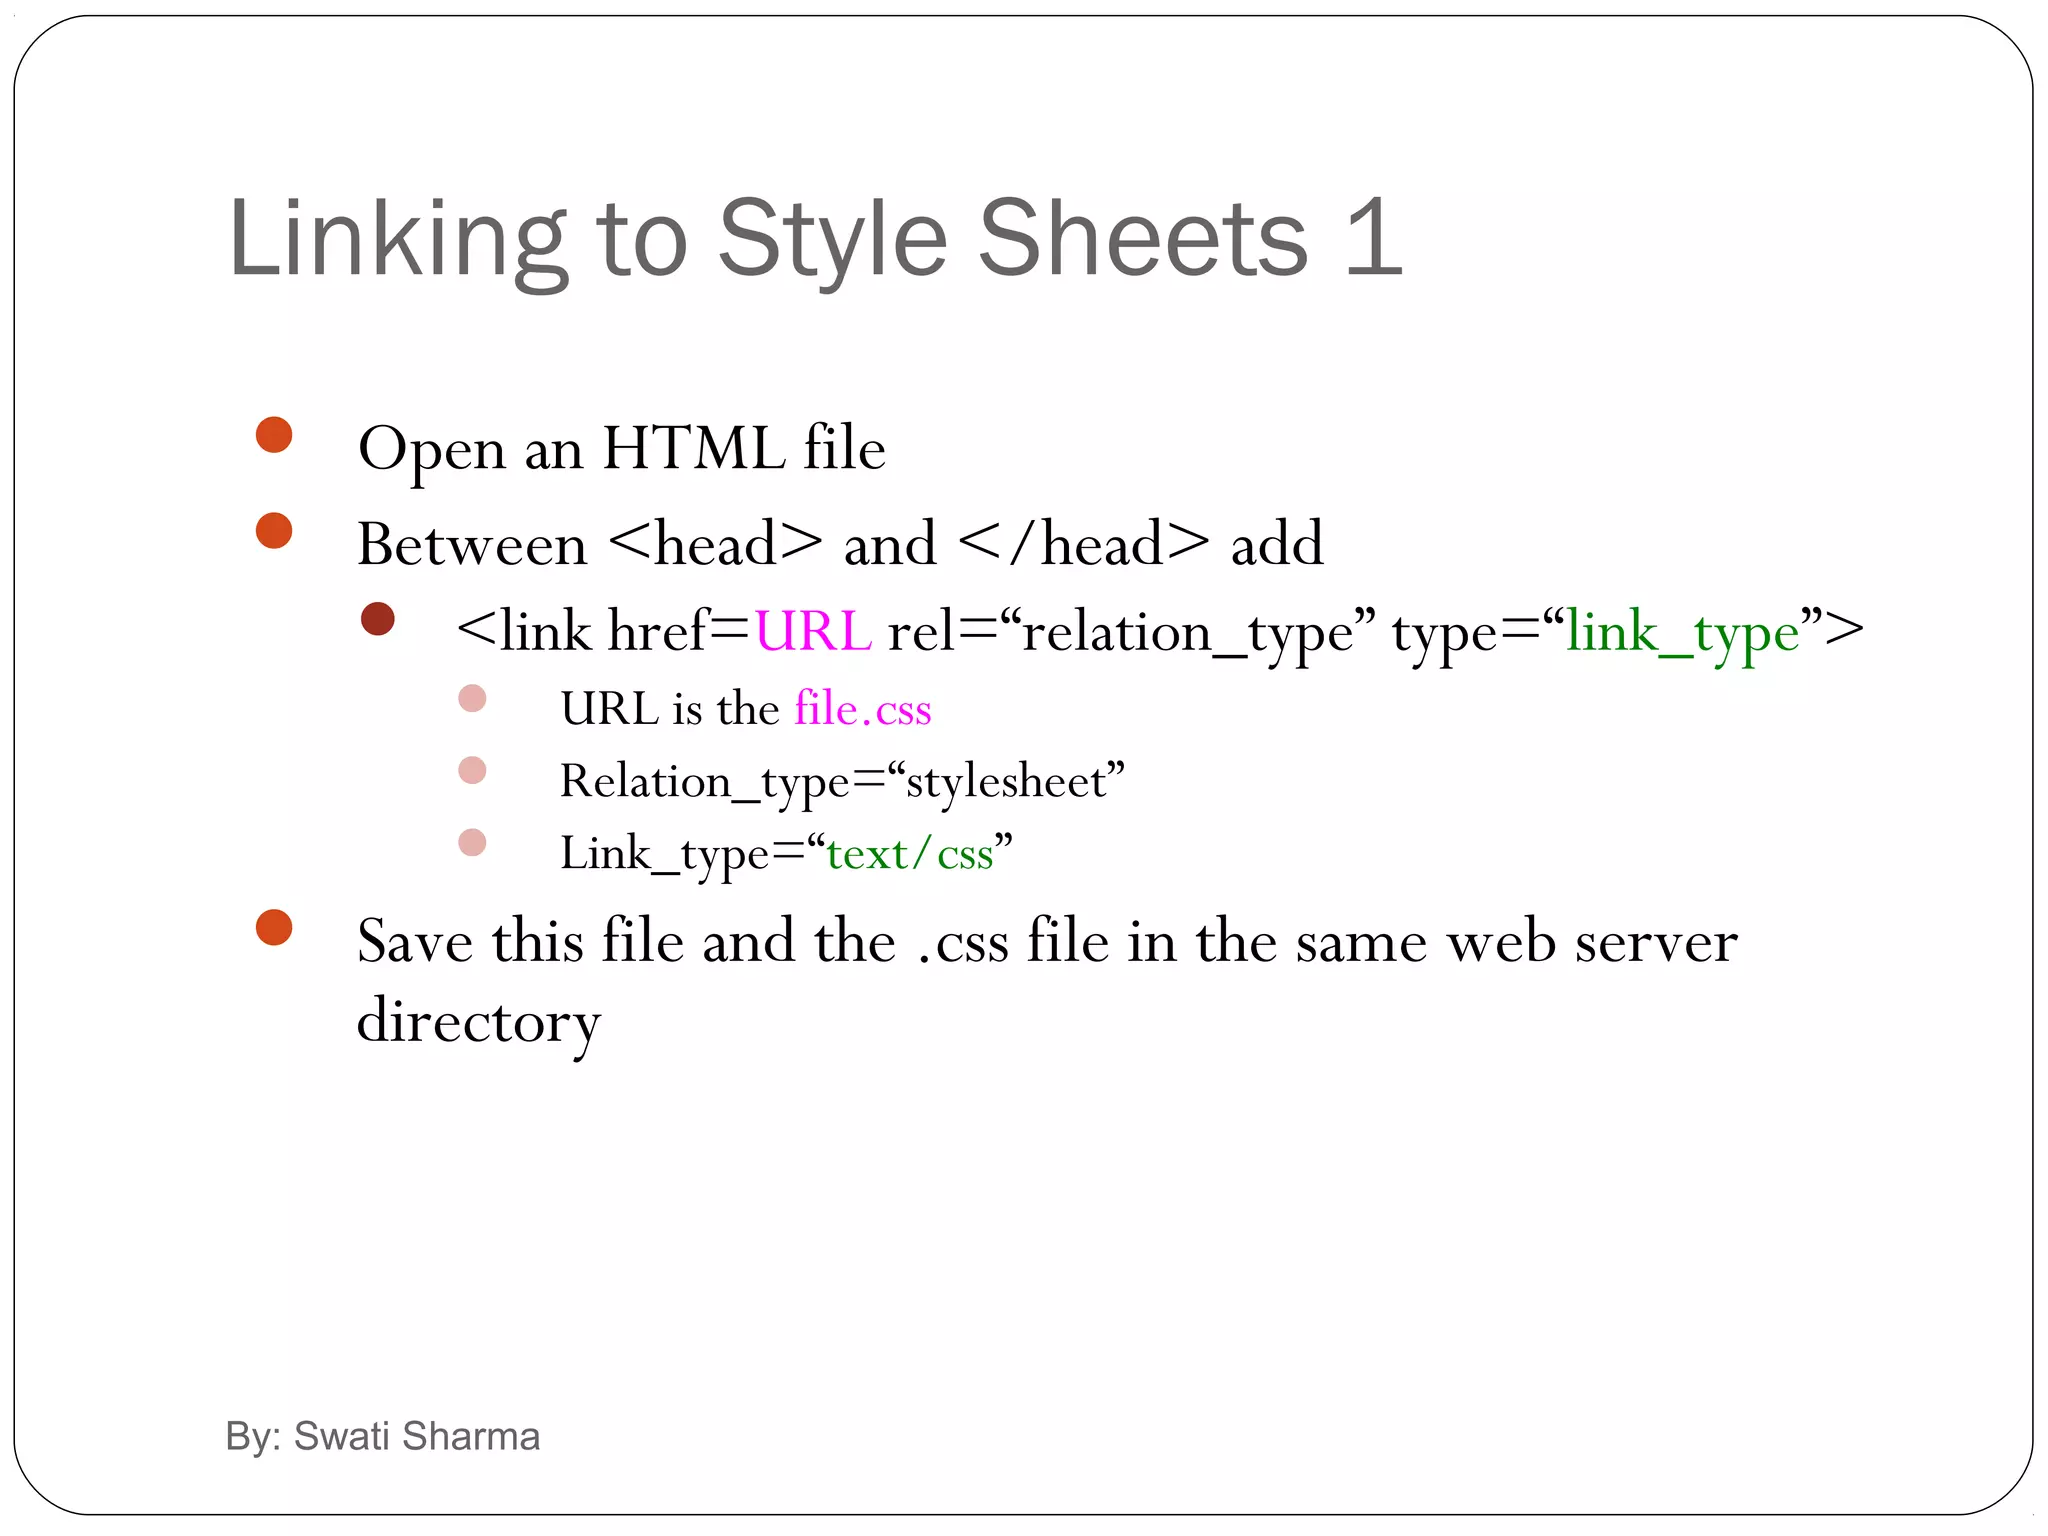
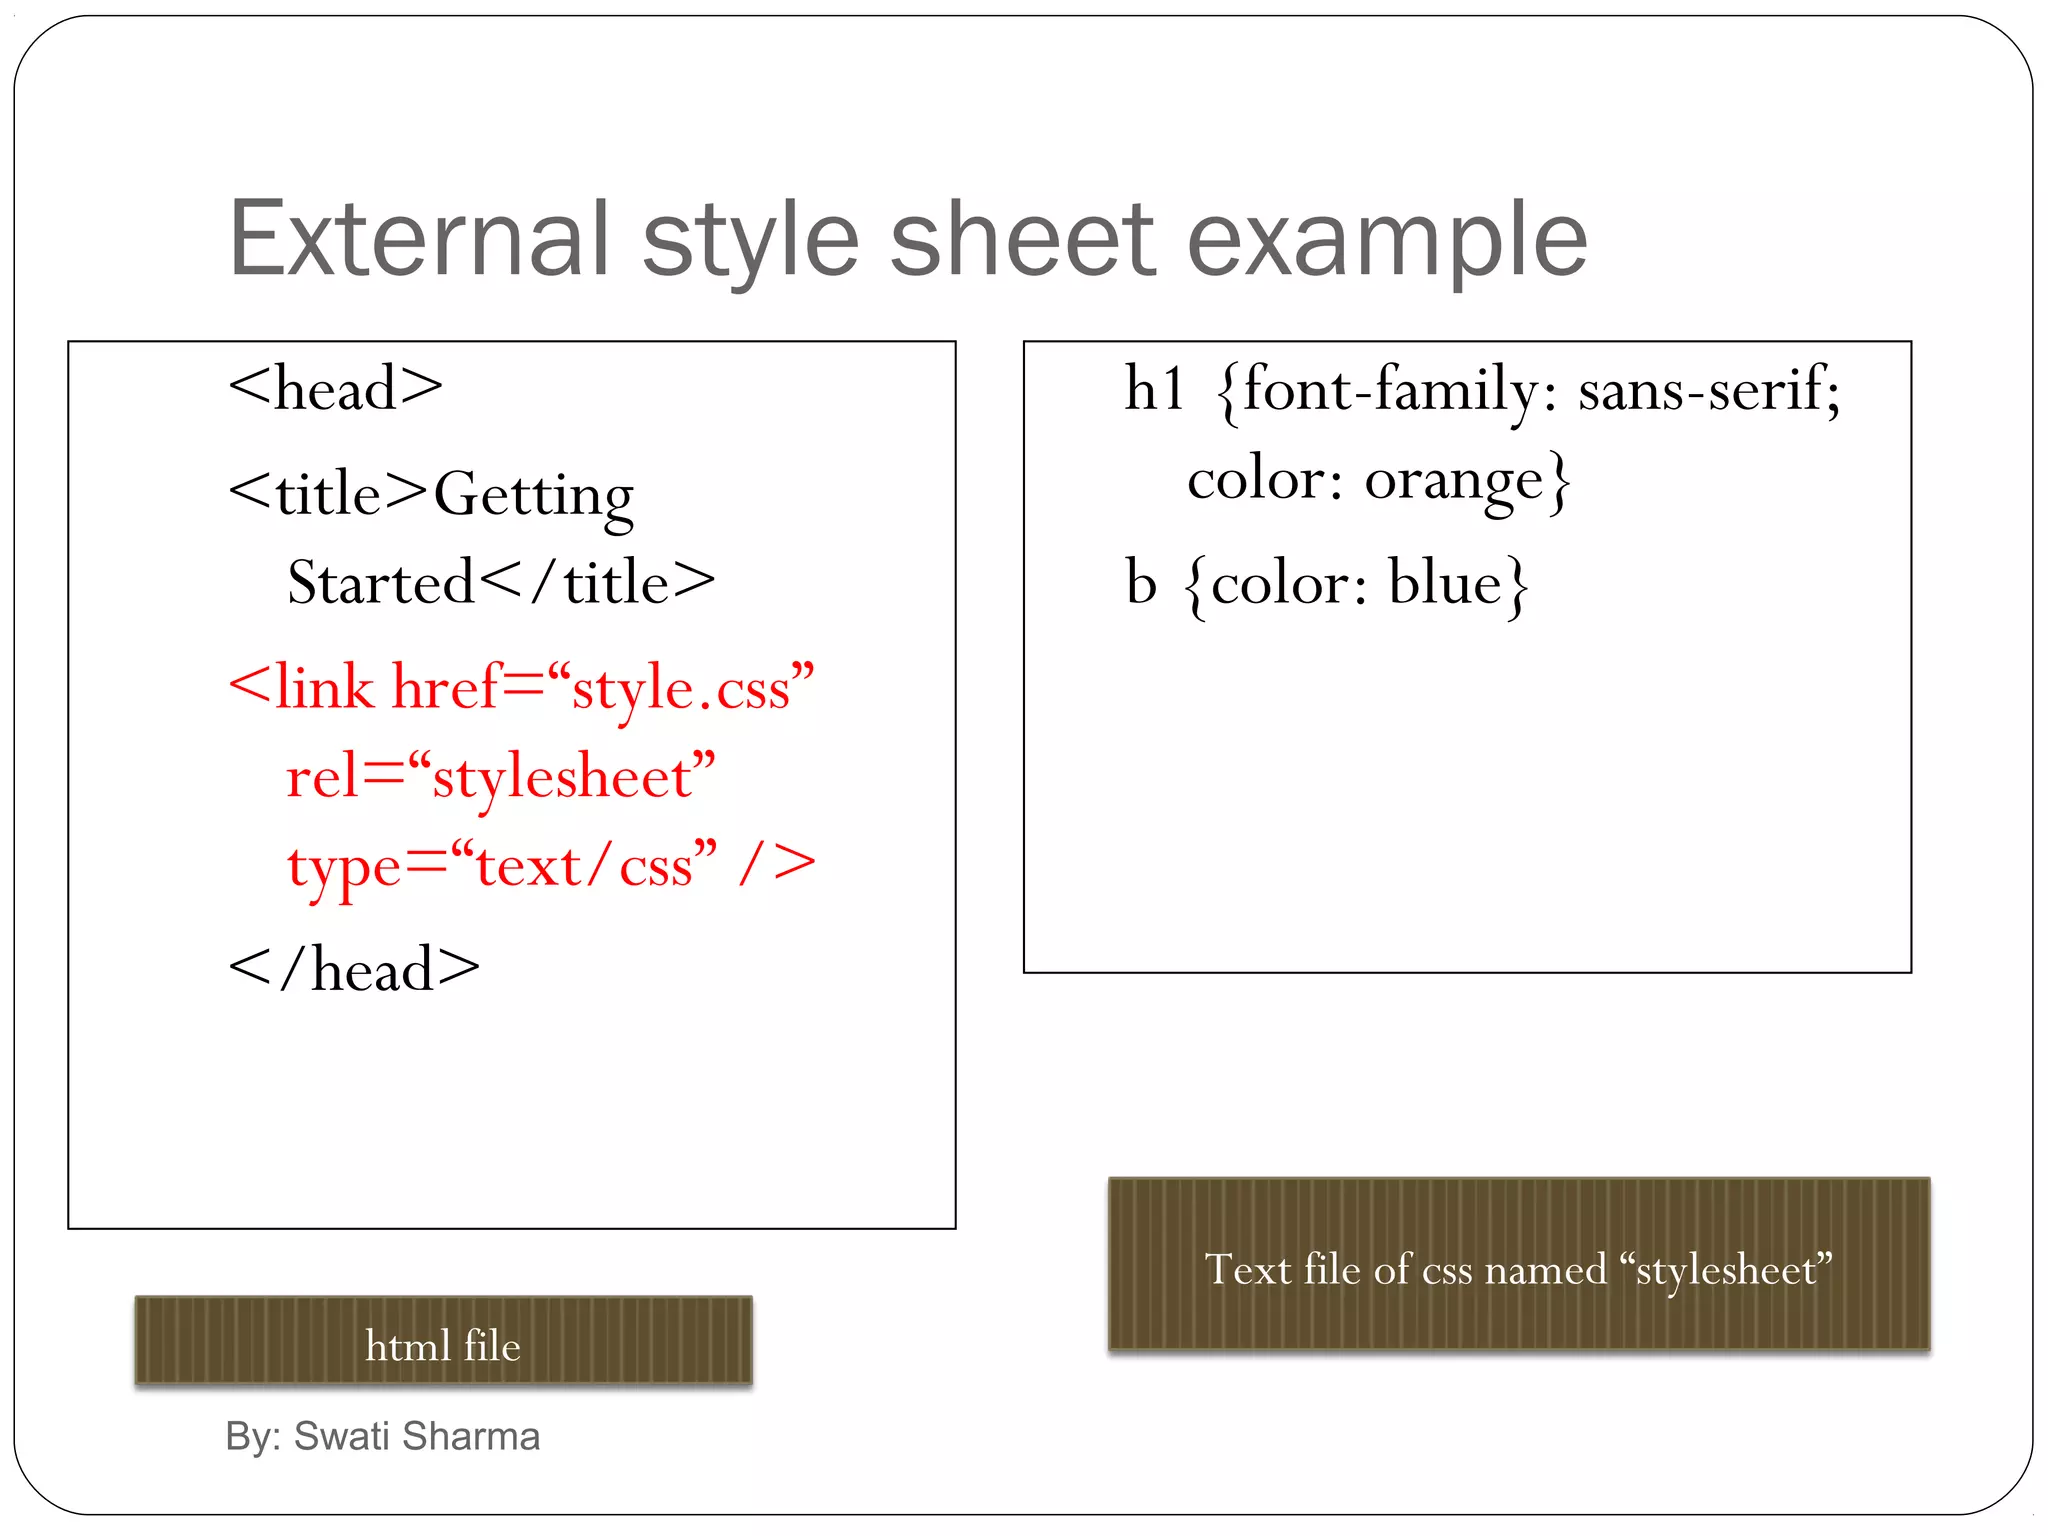
Introduces external stylesheets, how they differ, and their benefits for a whole website. Examples given for usage and linking in HTML.
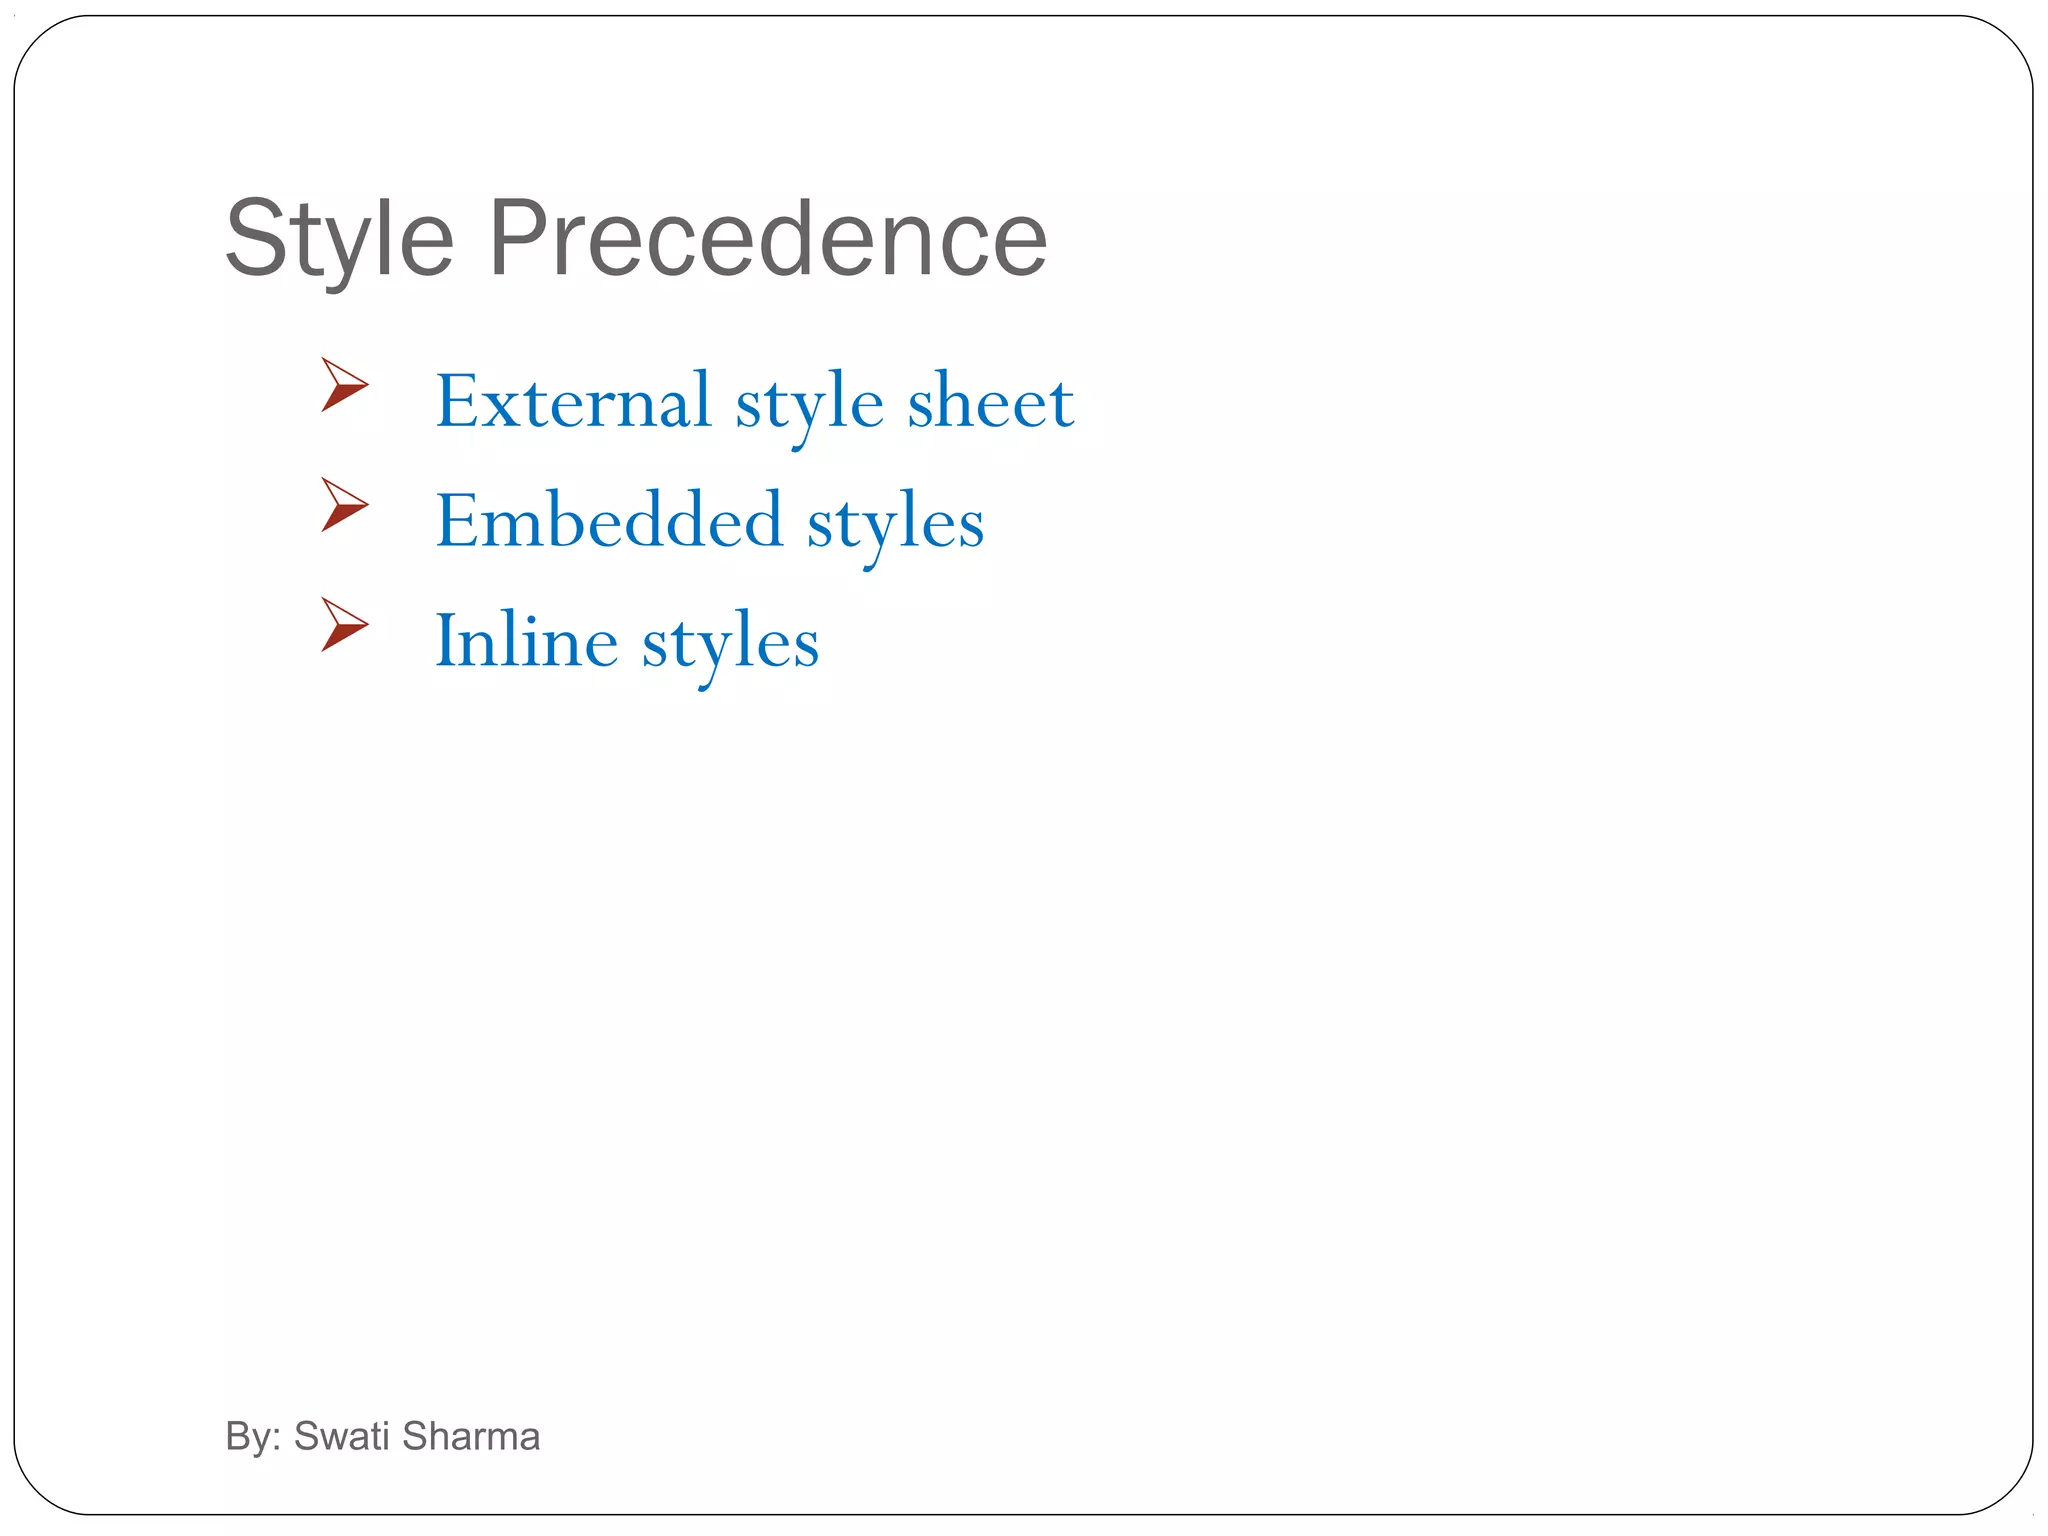
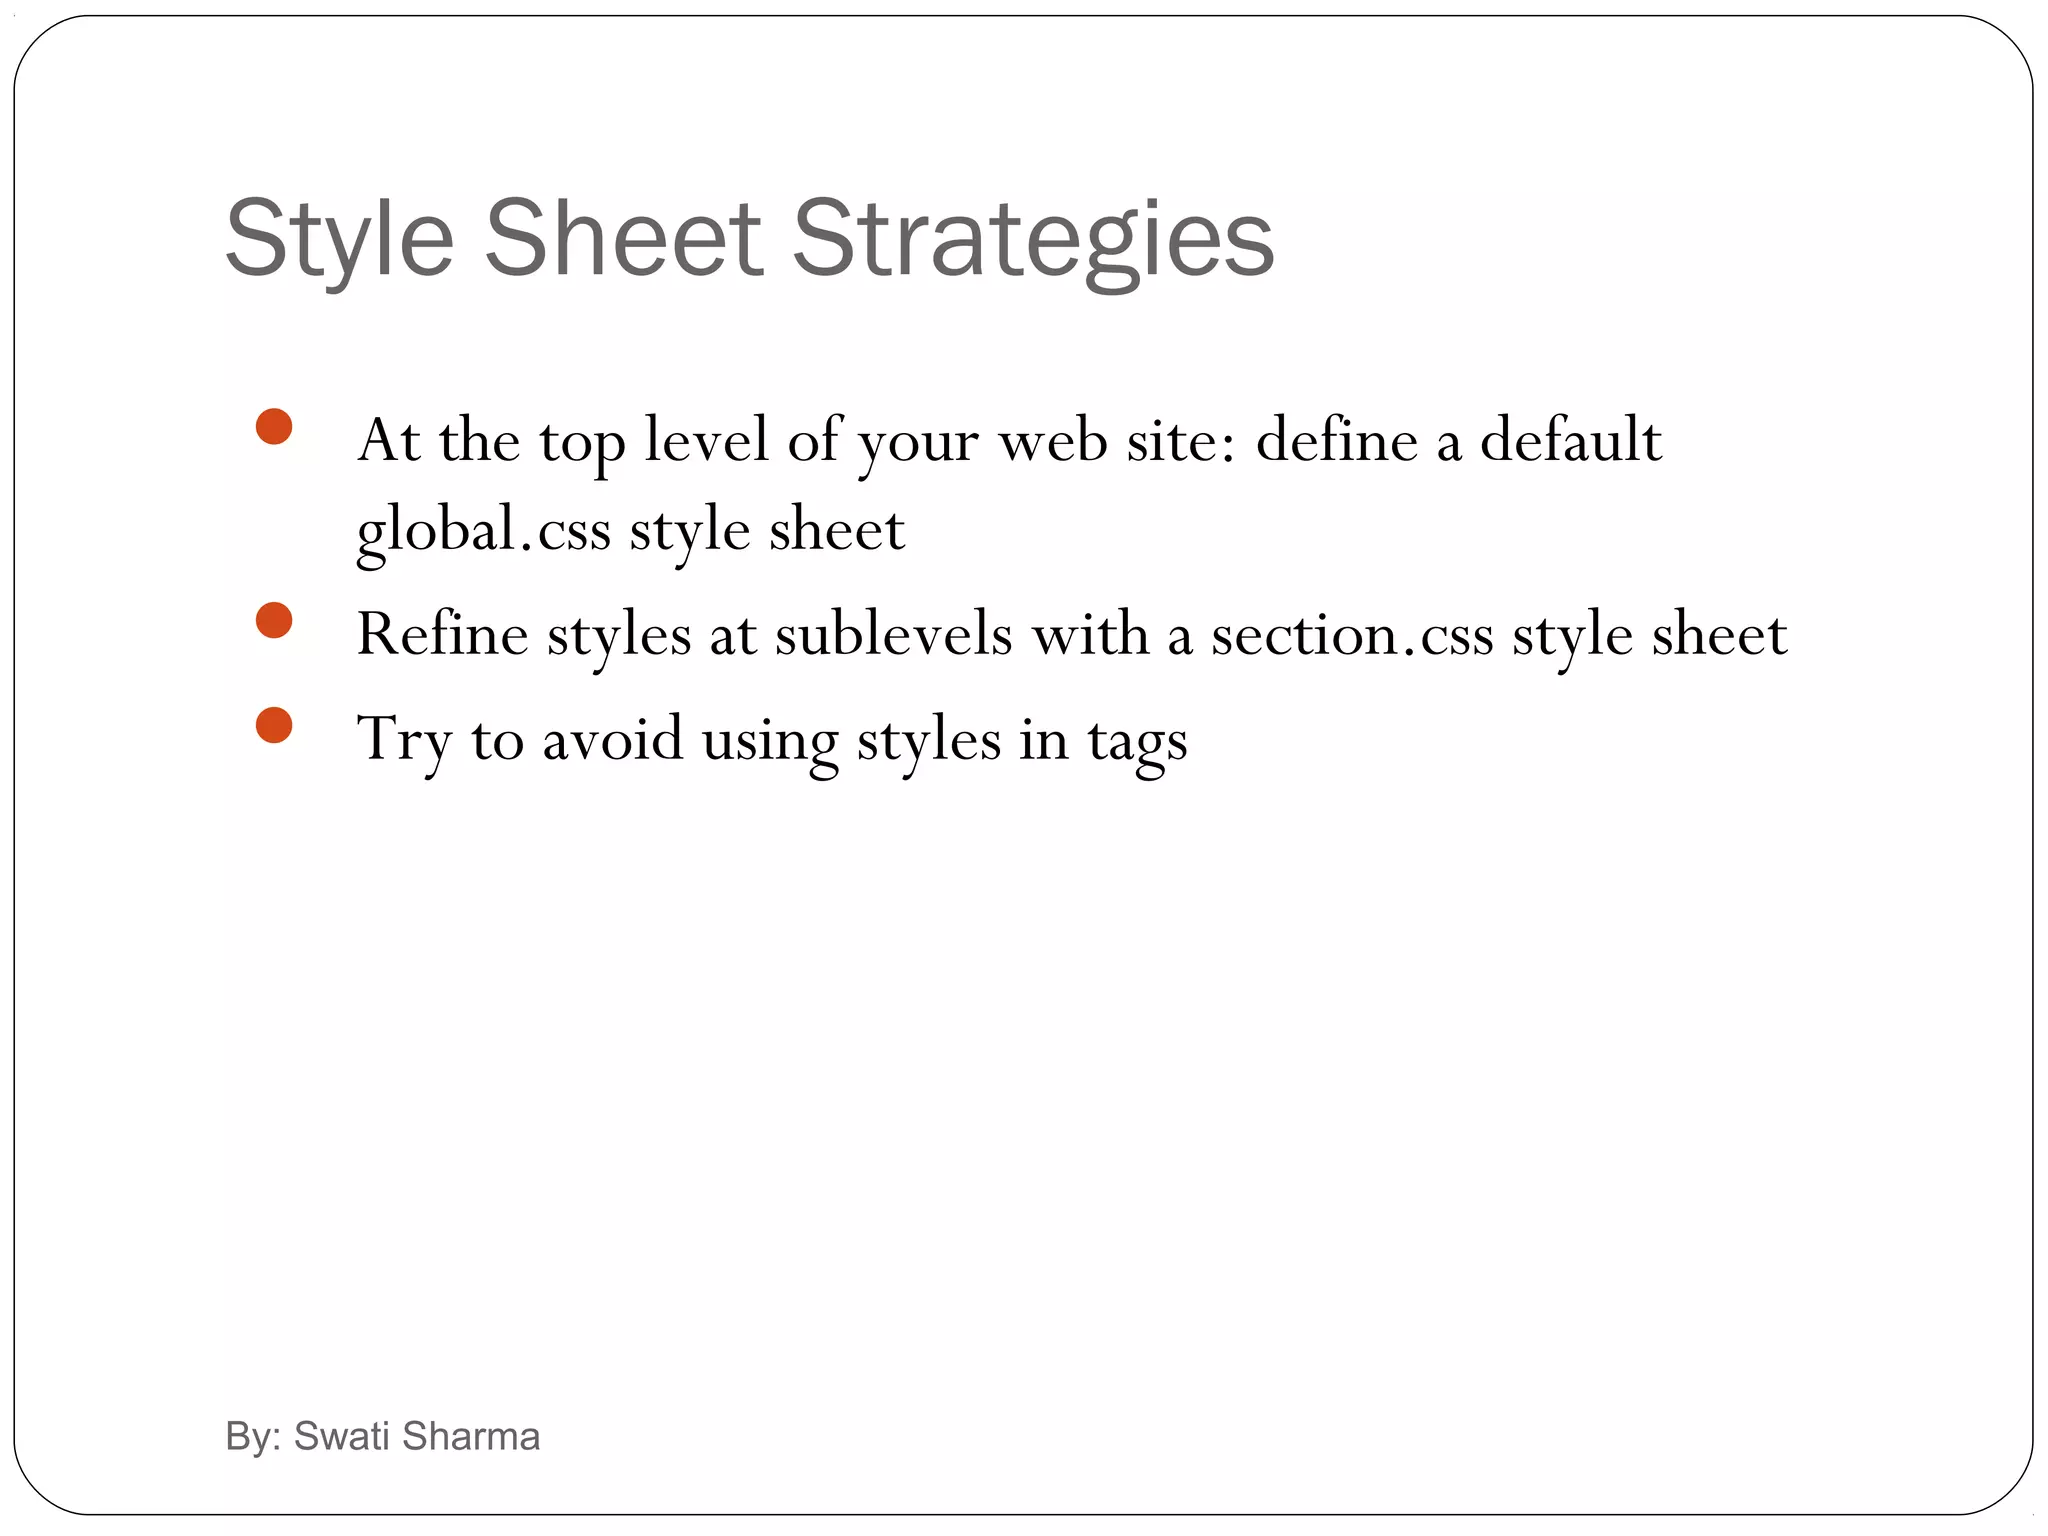
Gives strategies for organizing styles, including using external stylesheets and refining styles for sub-pages.
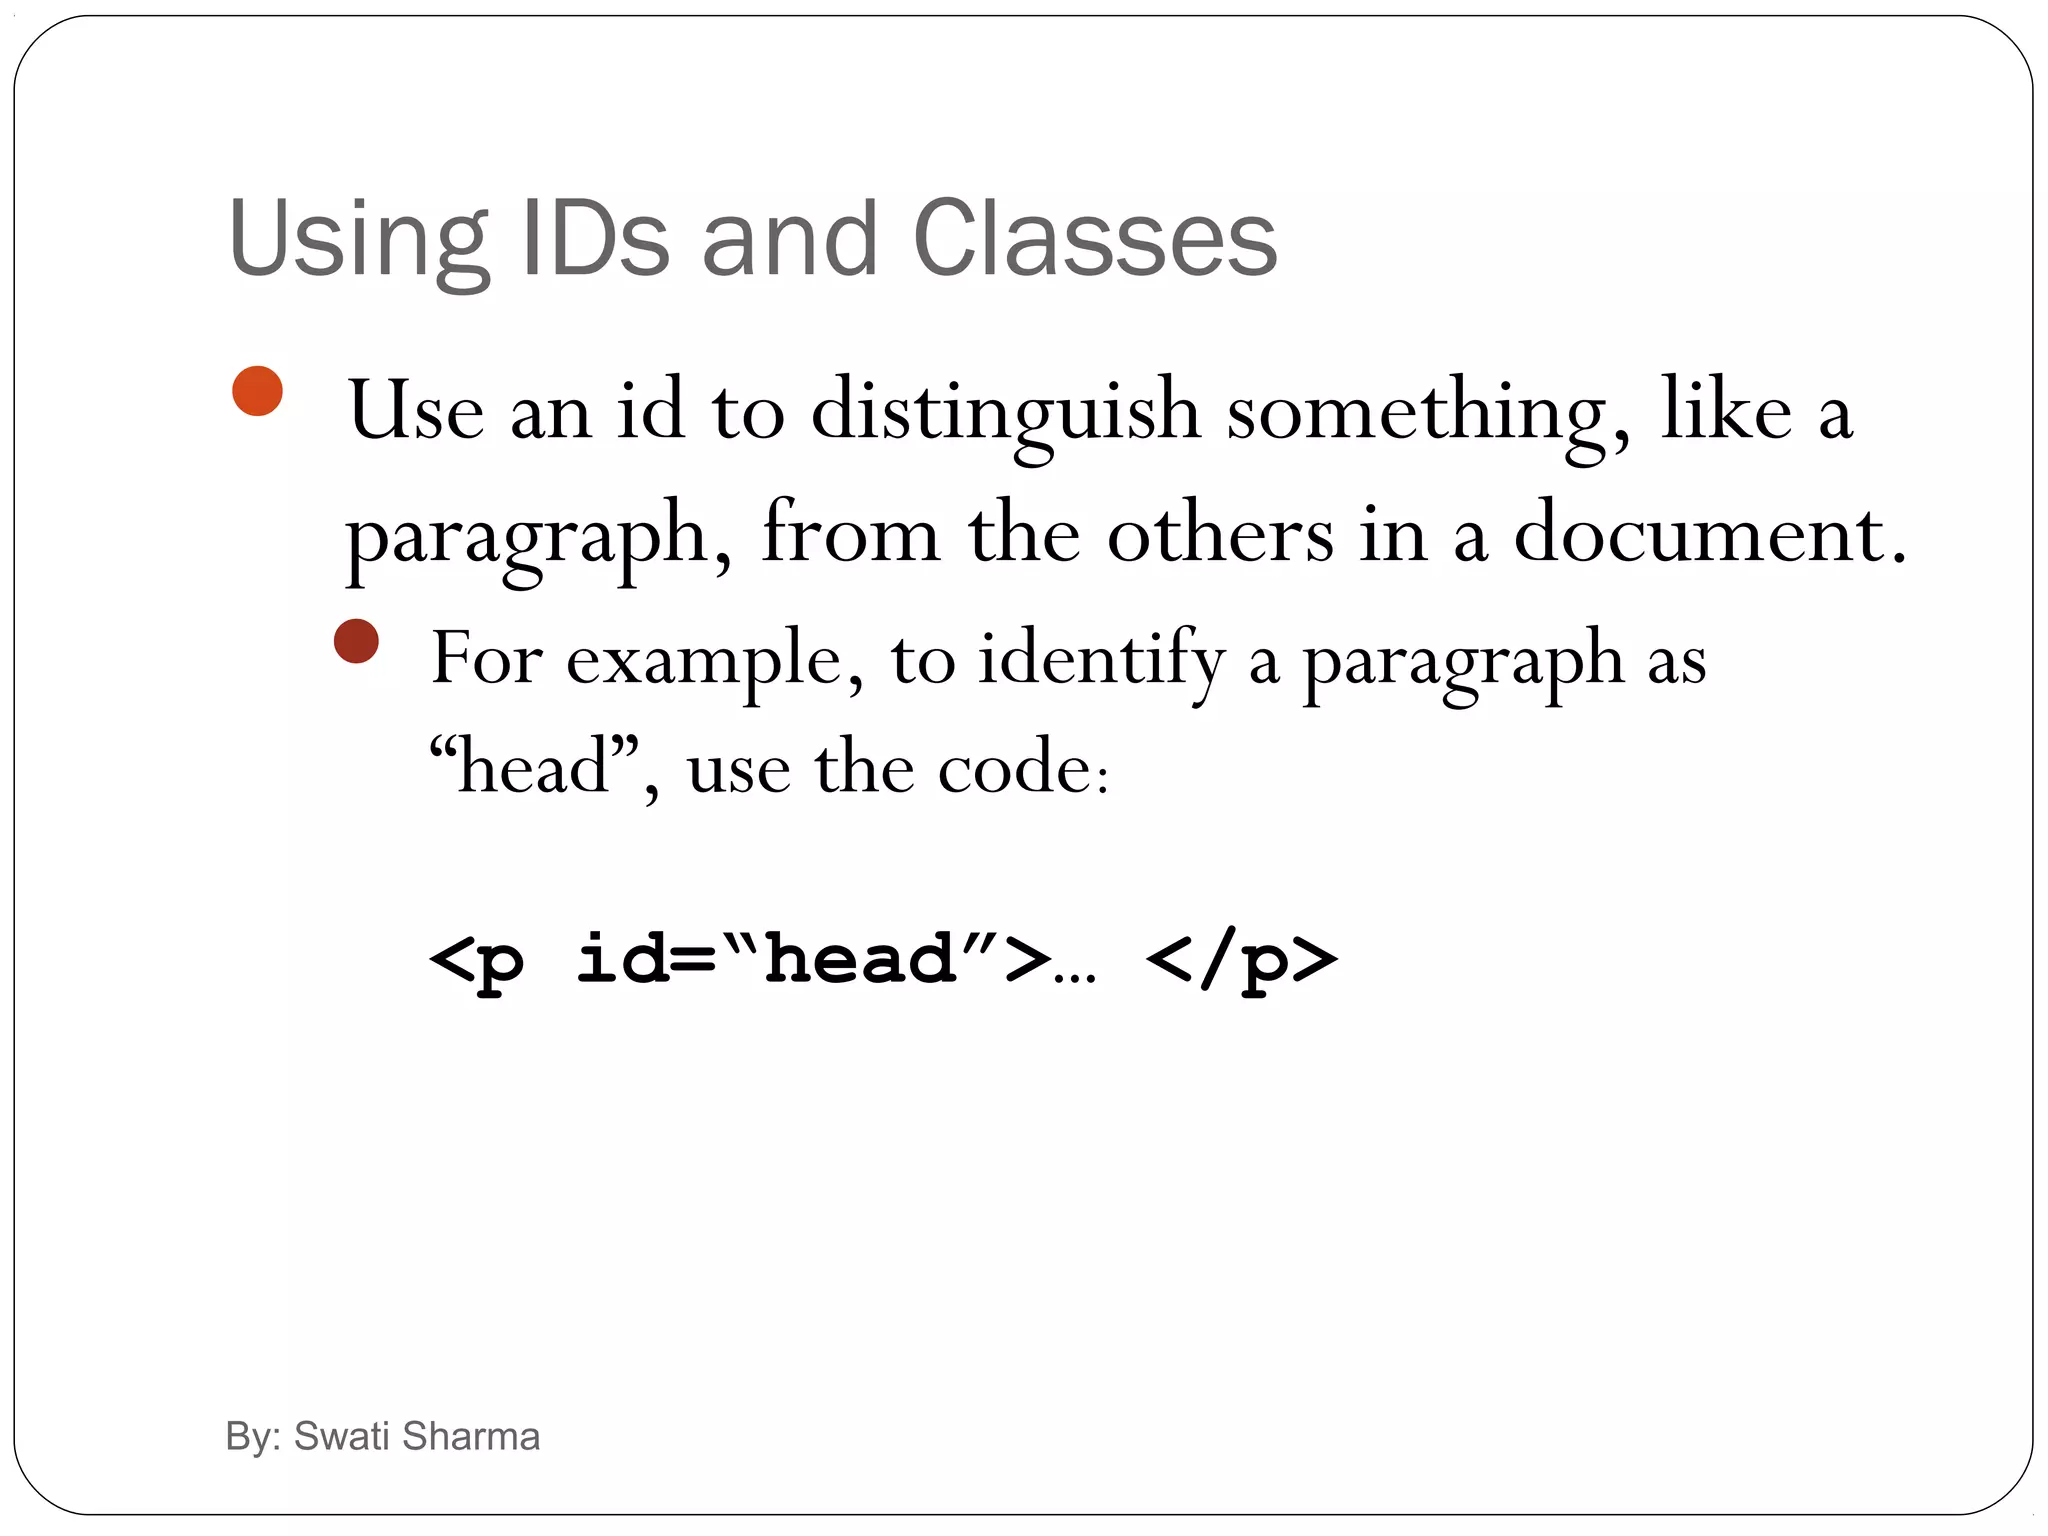
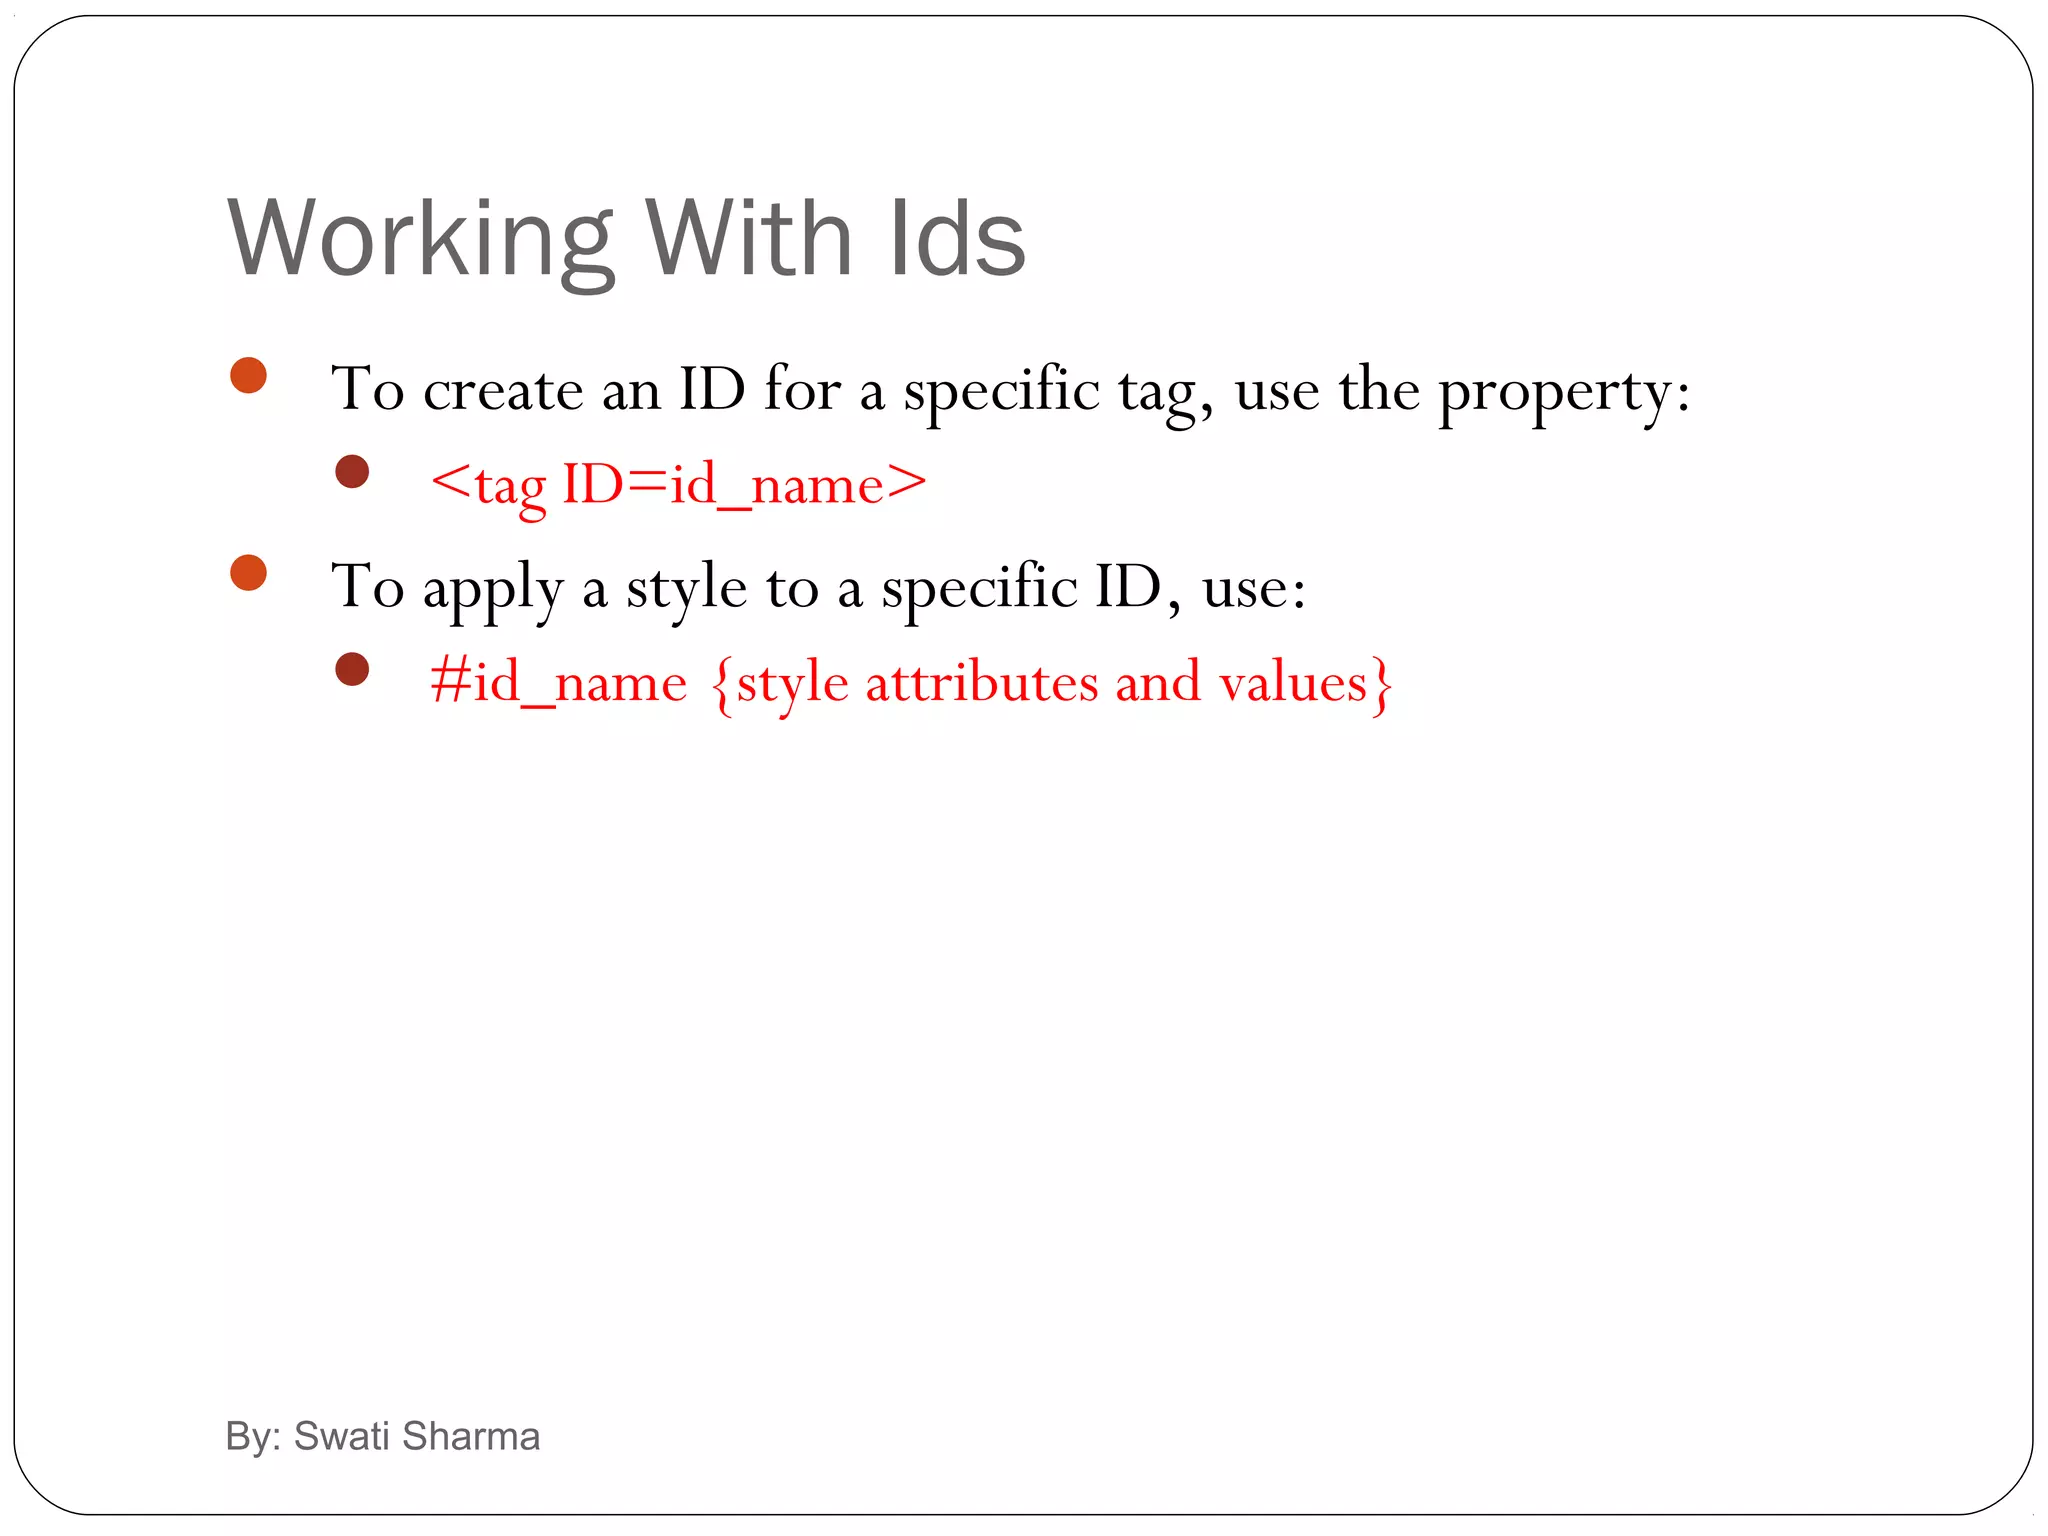
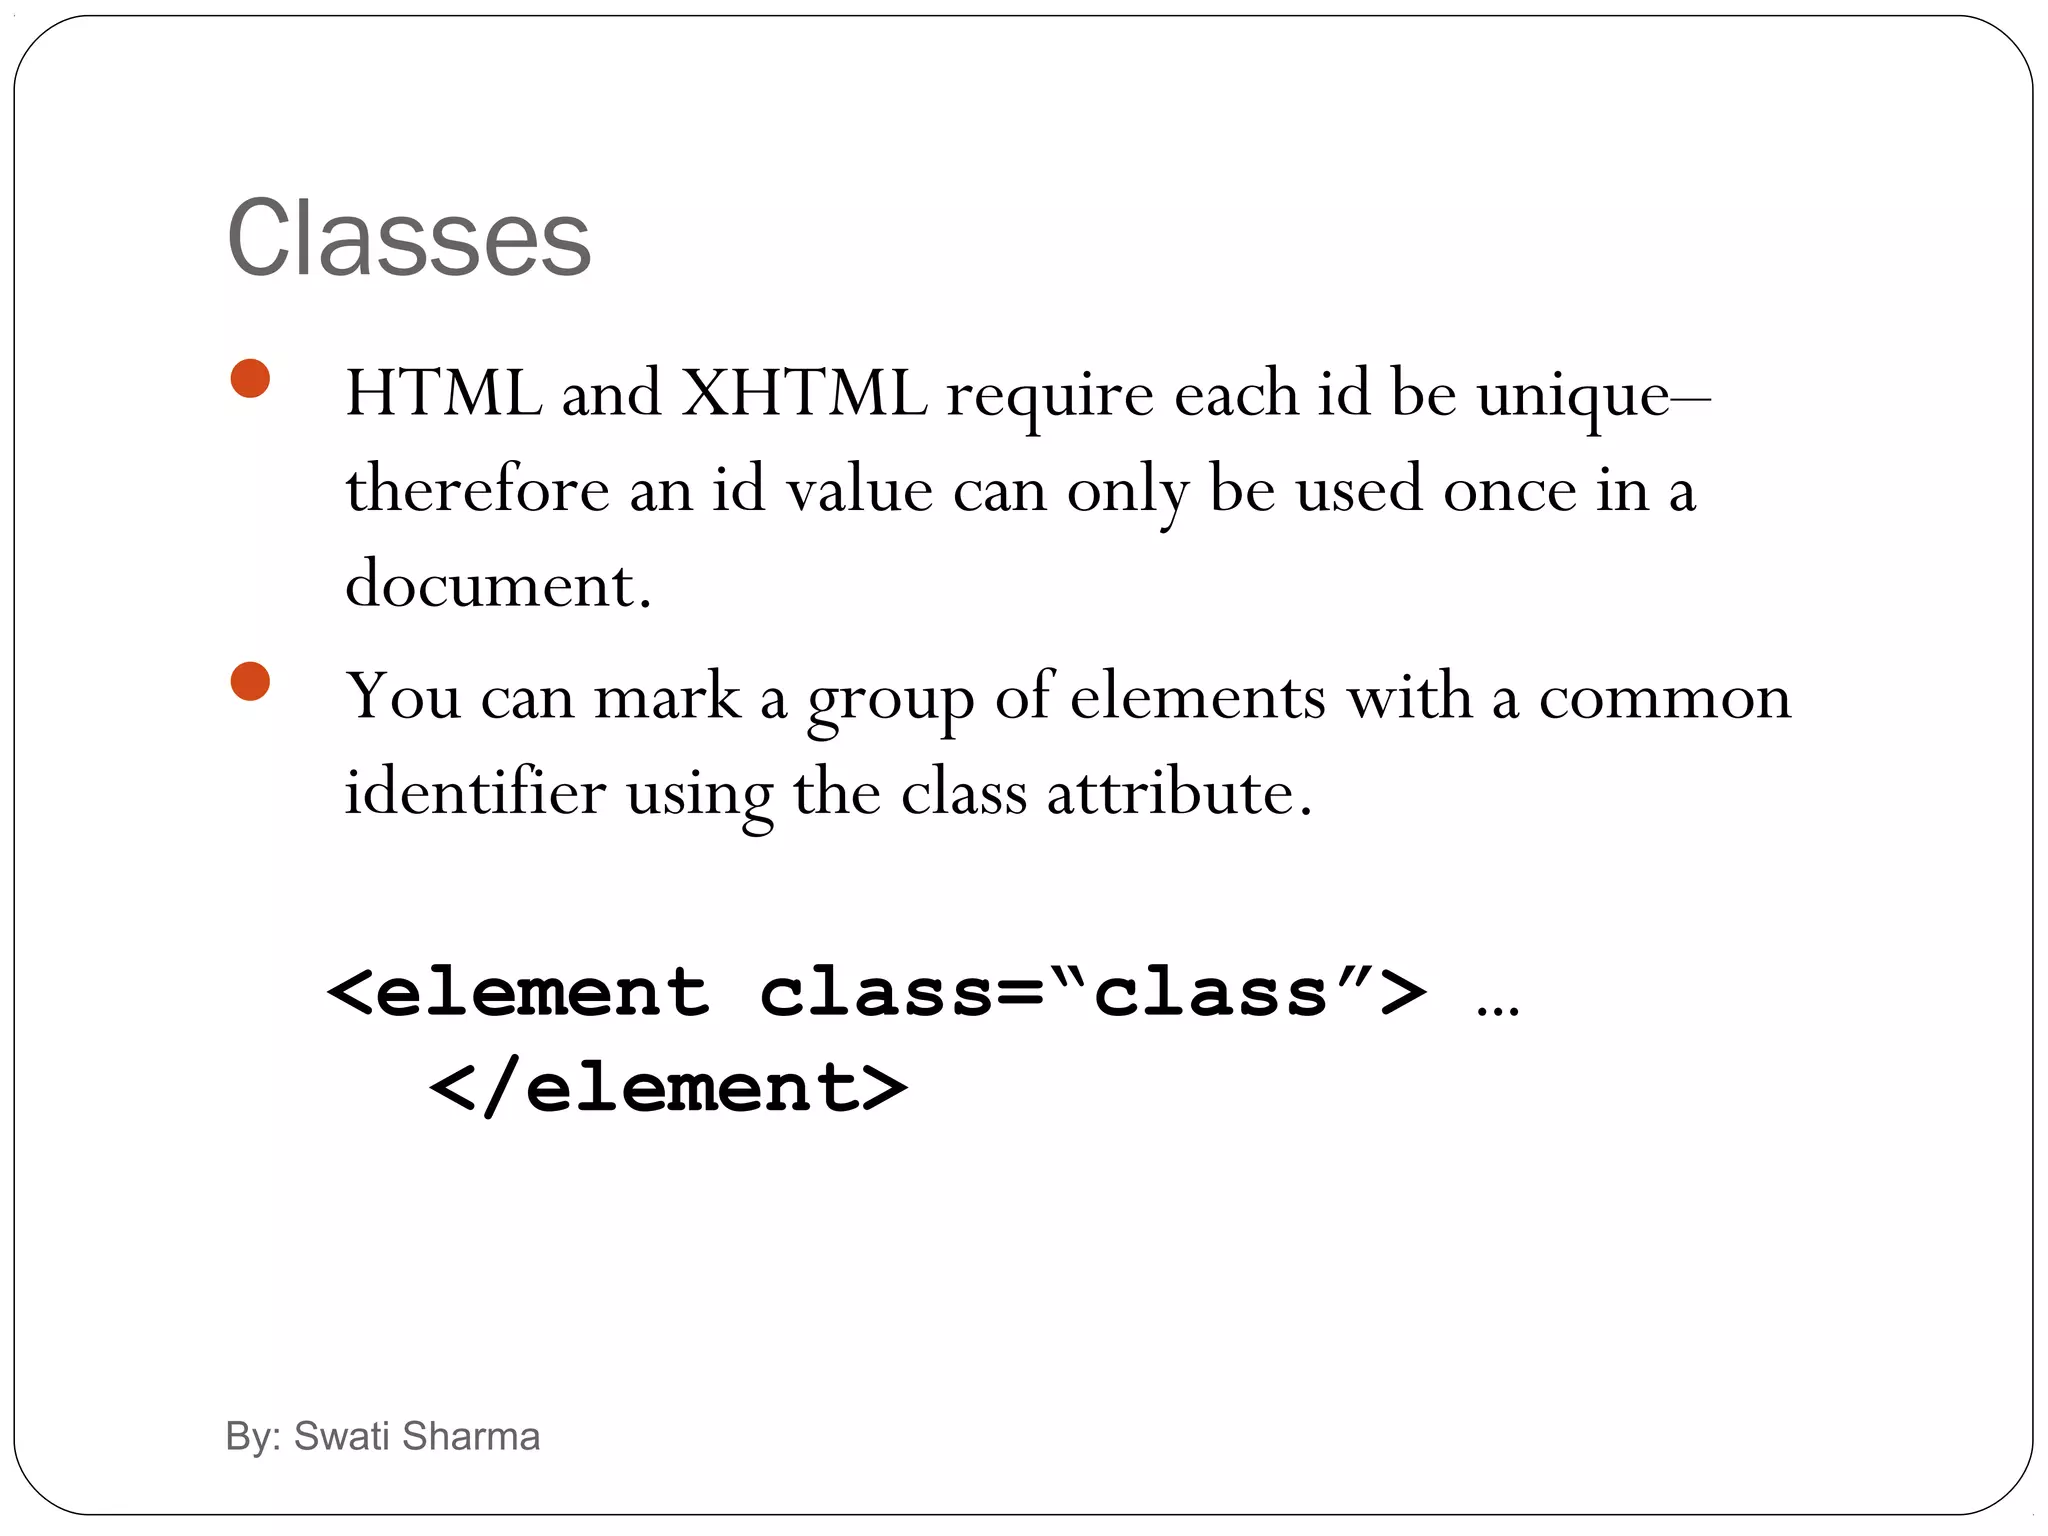
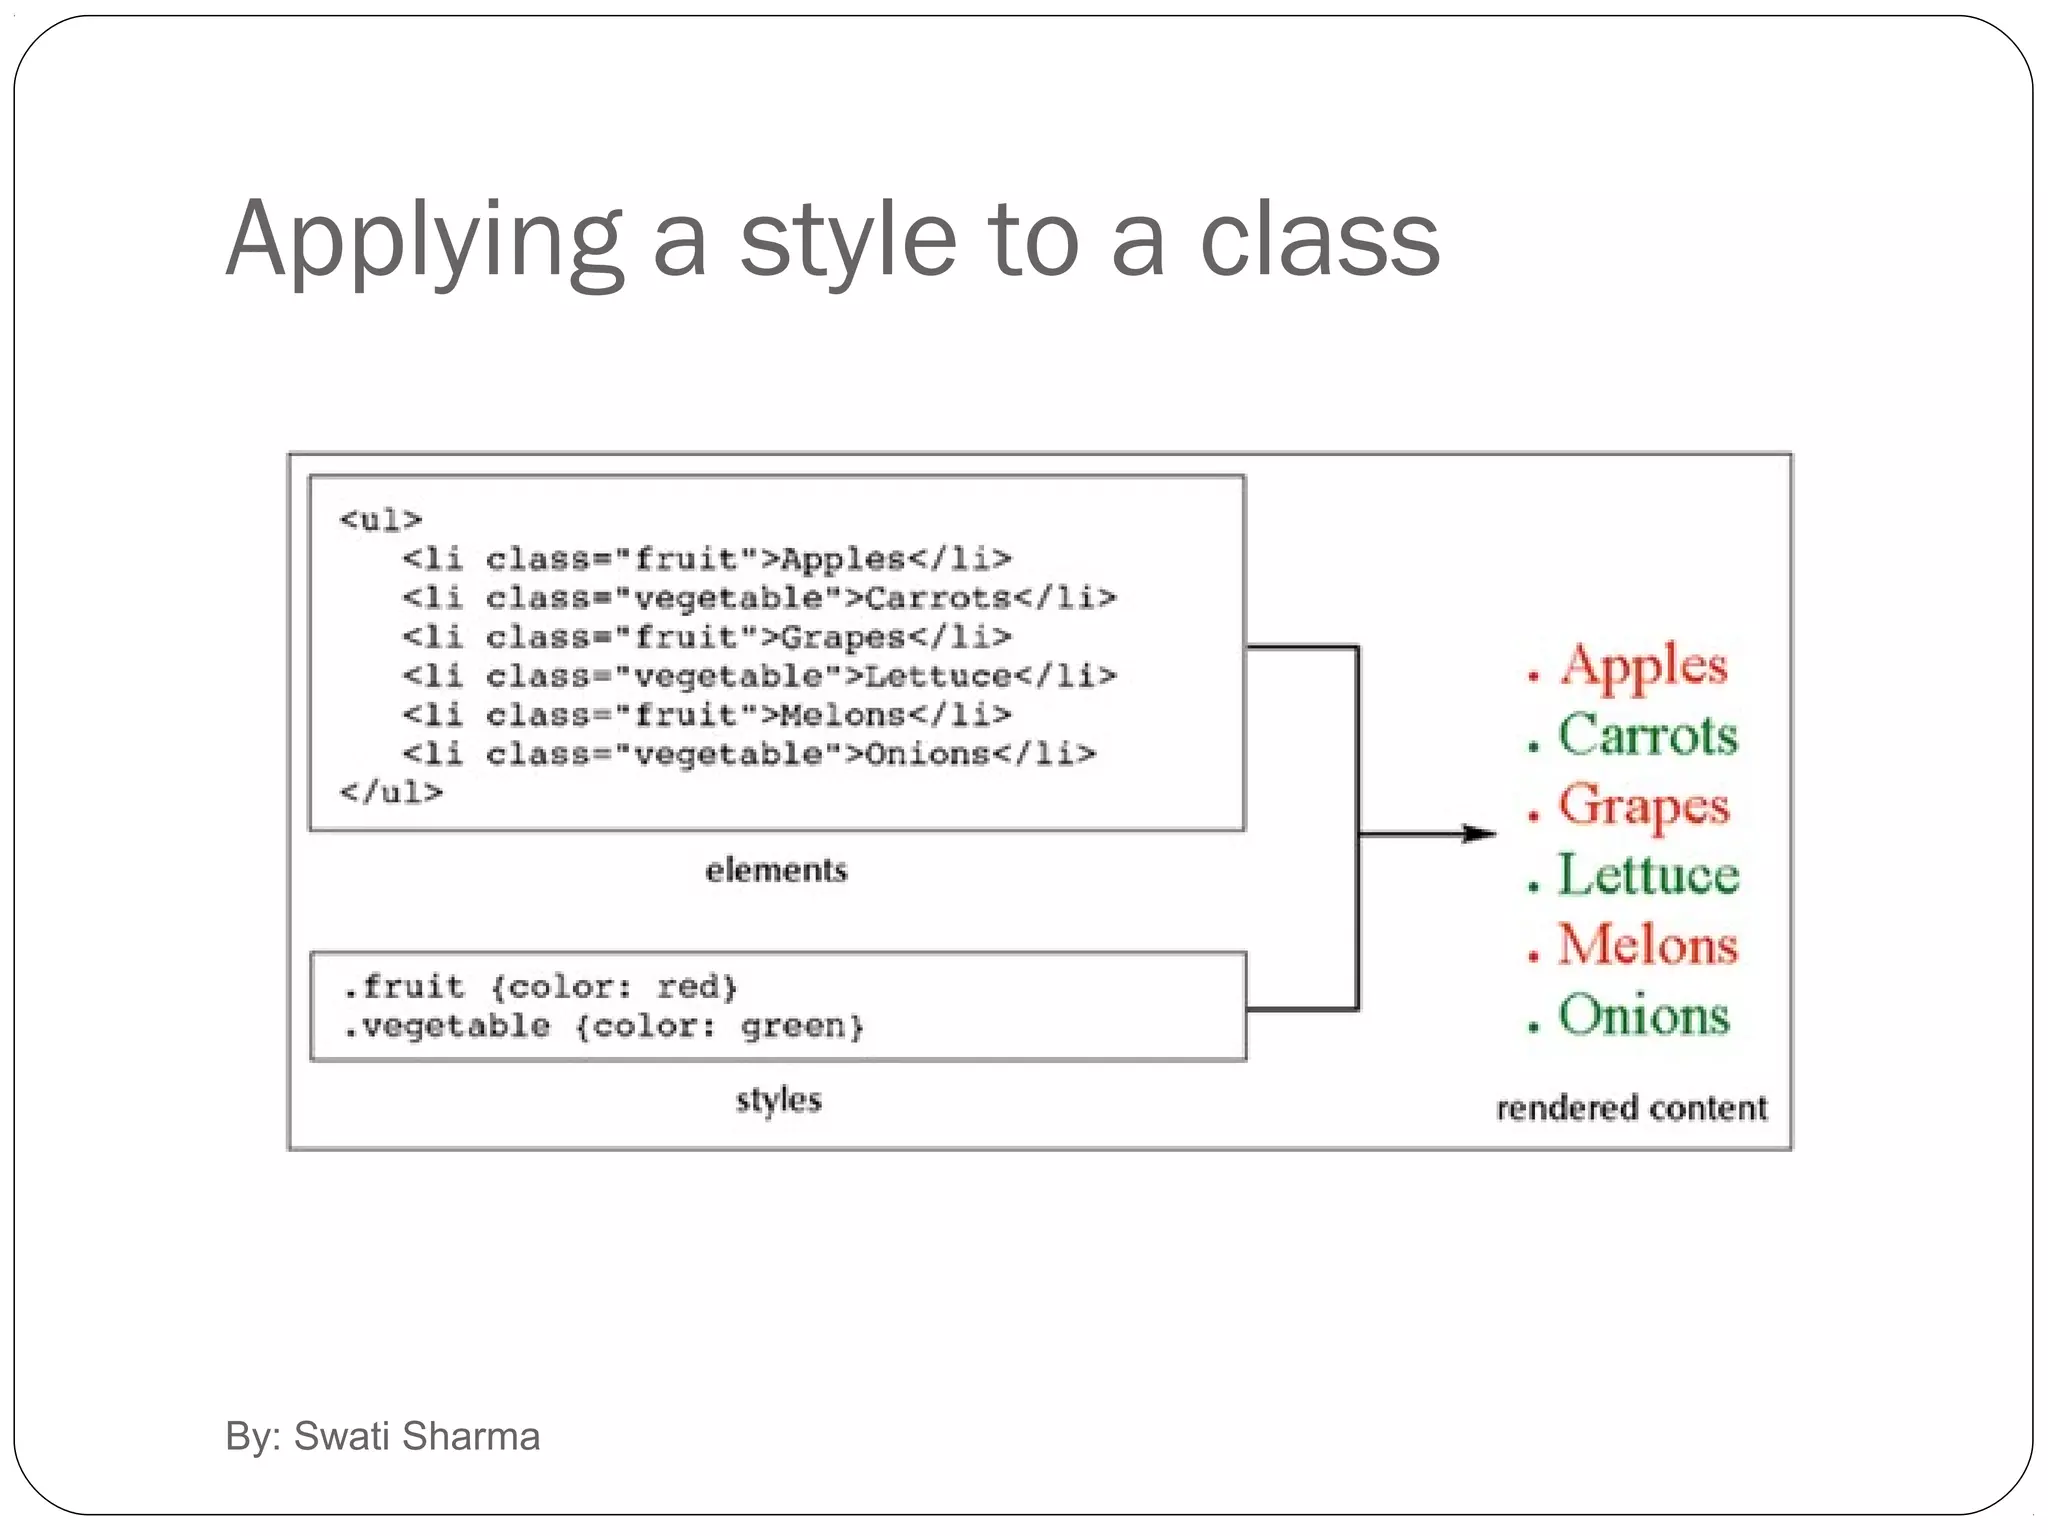
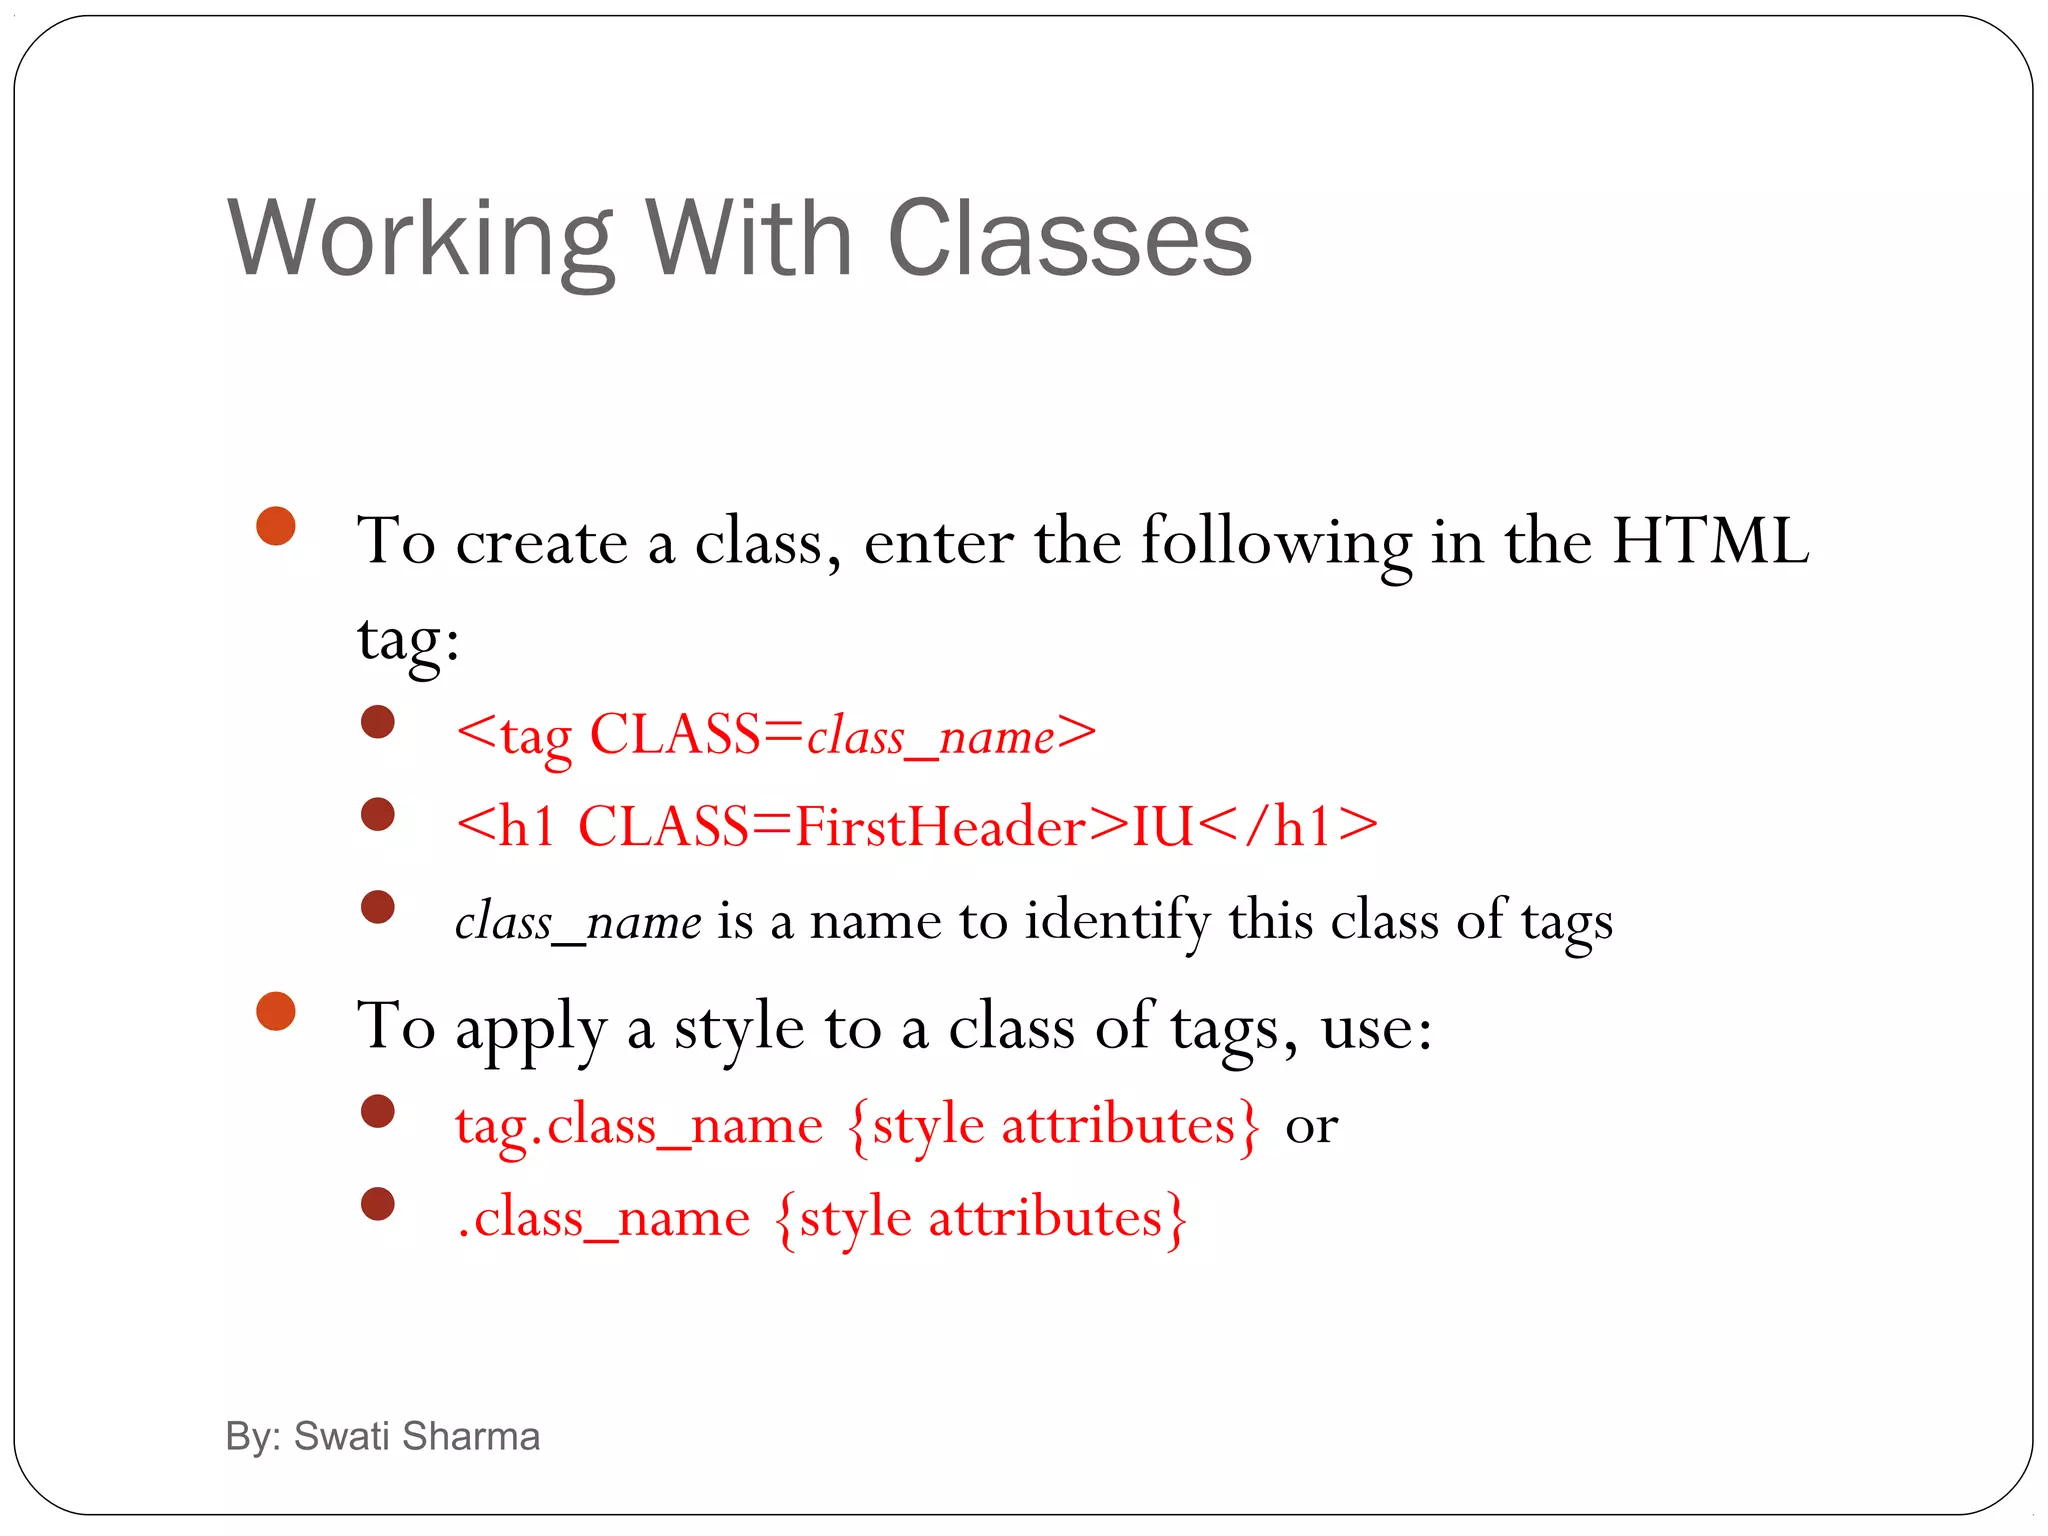
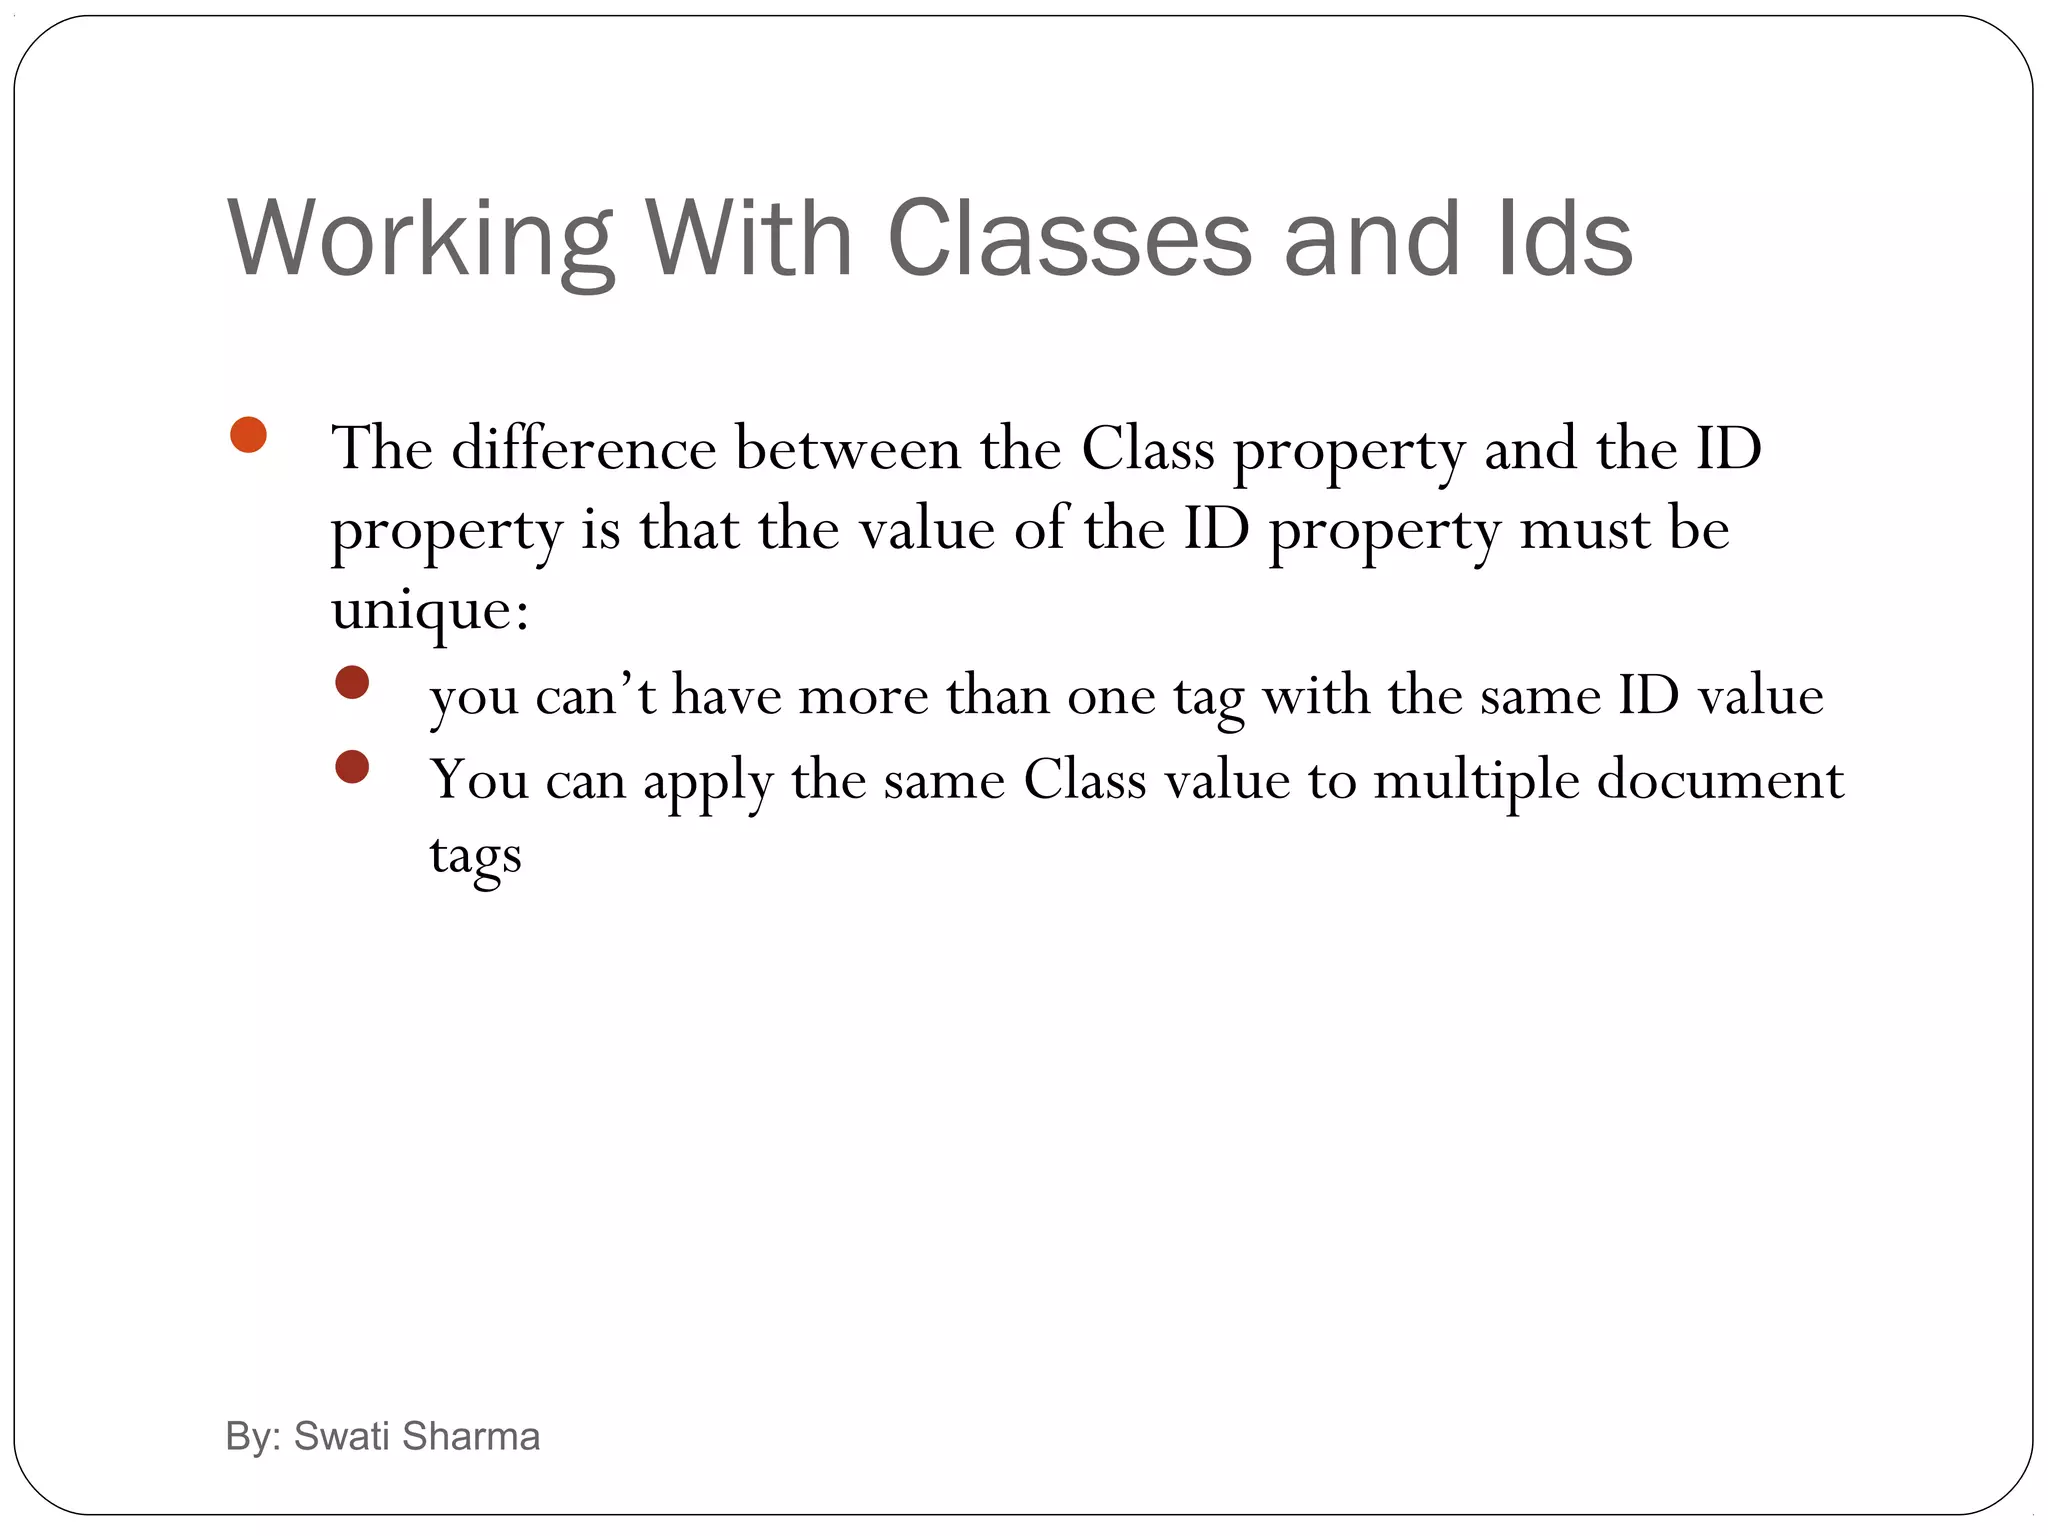
Explains the use of IDs for unique elements and classes for grouping styles. Details syntax for creating and applying styles.
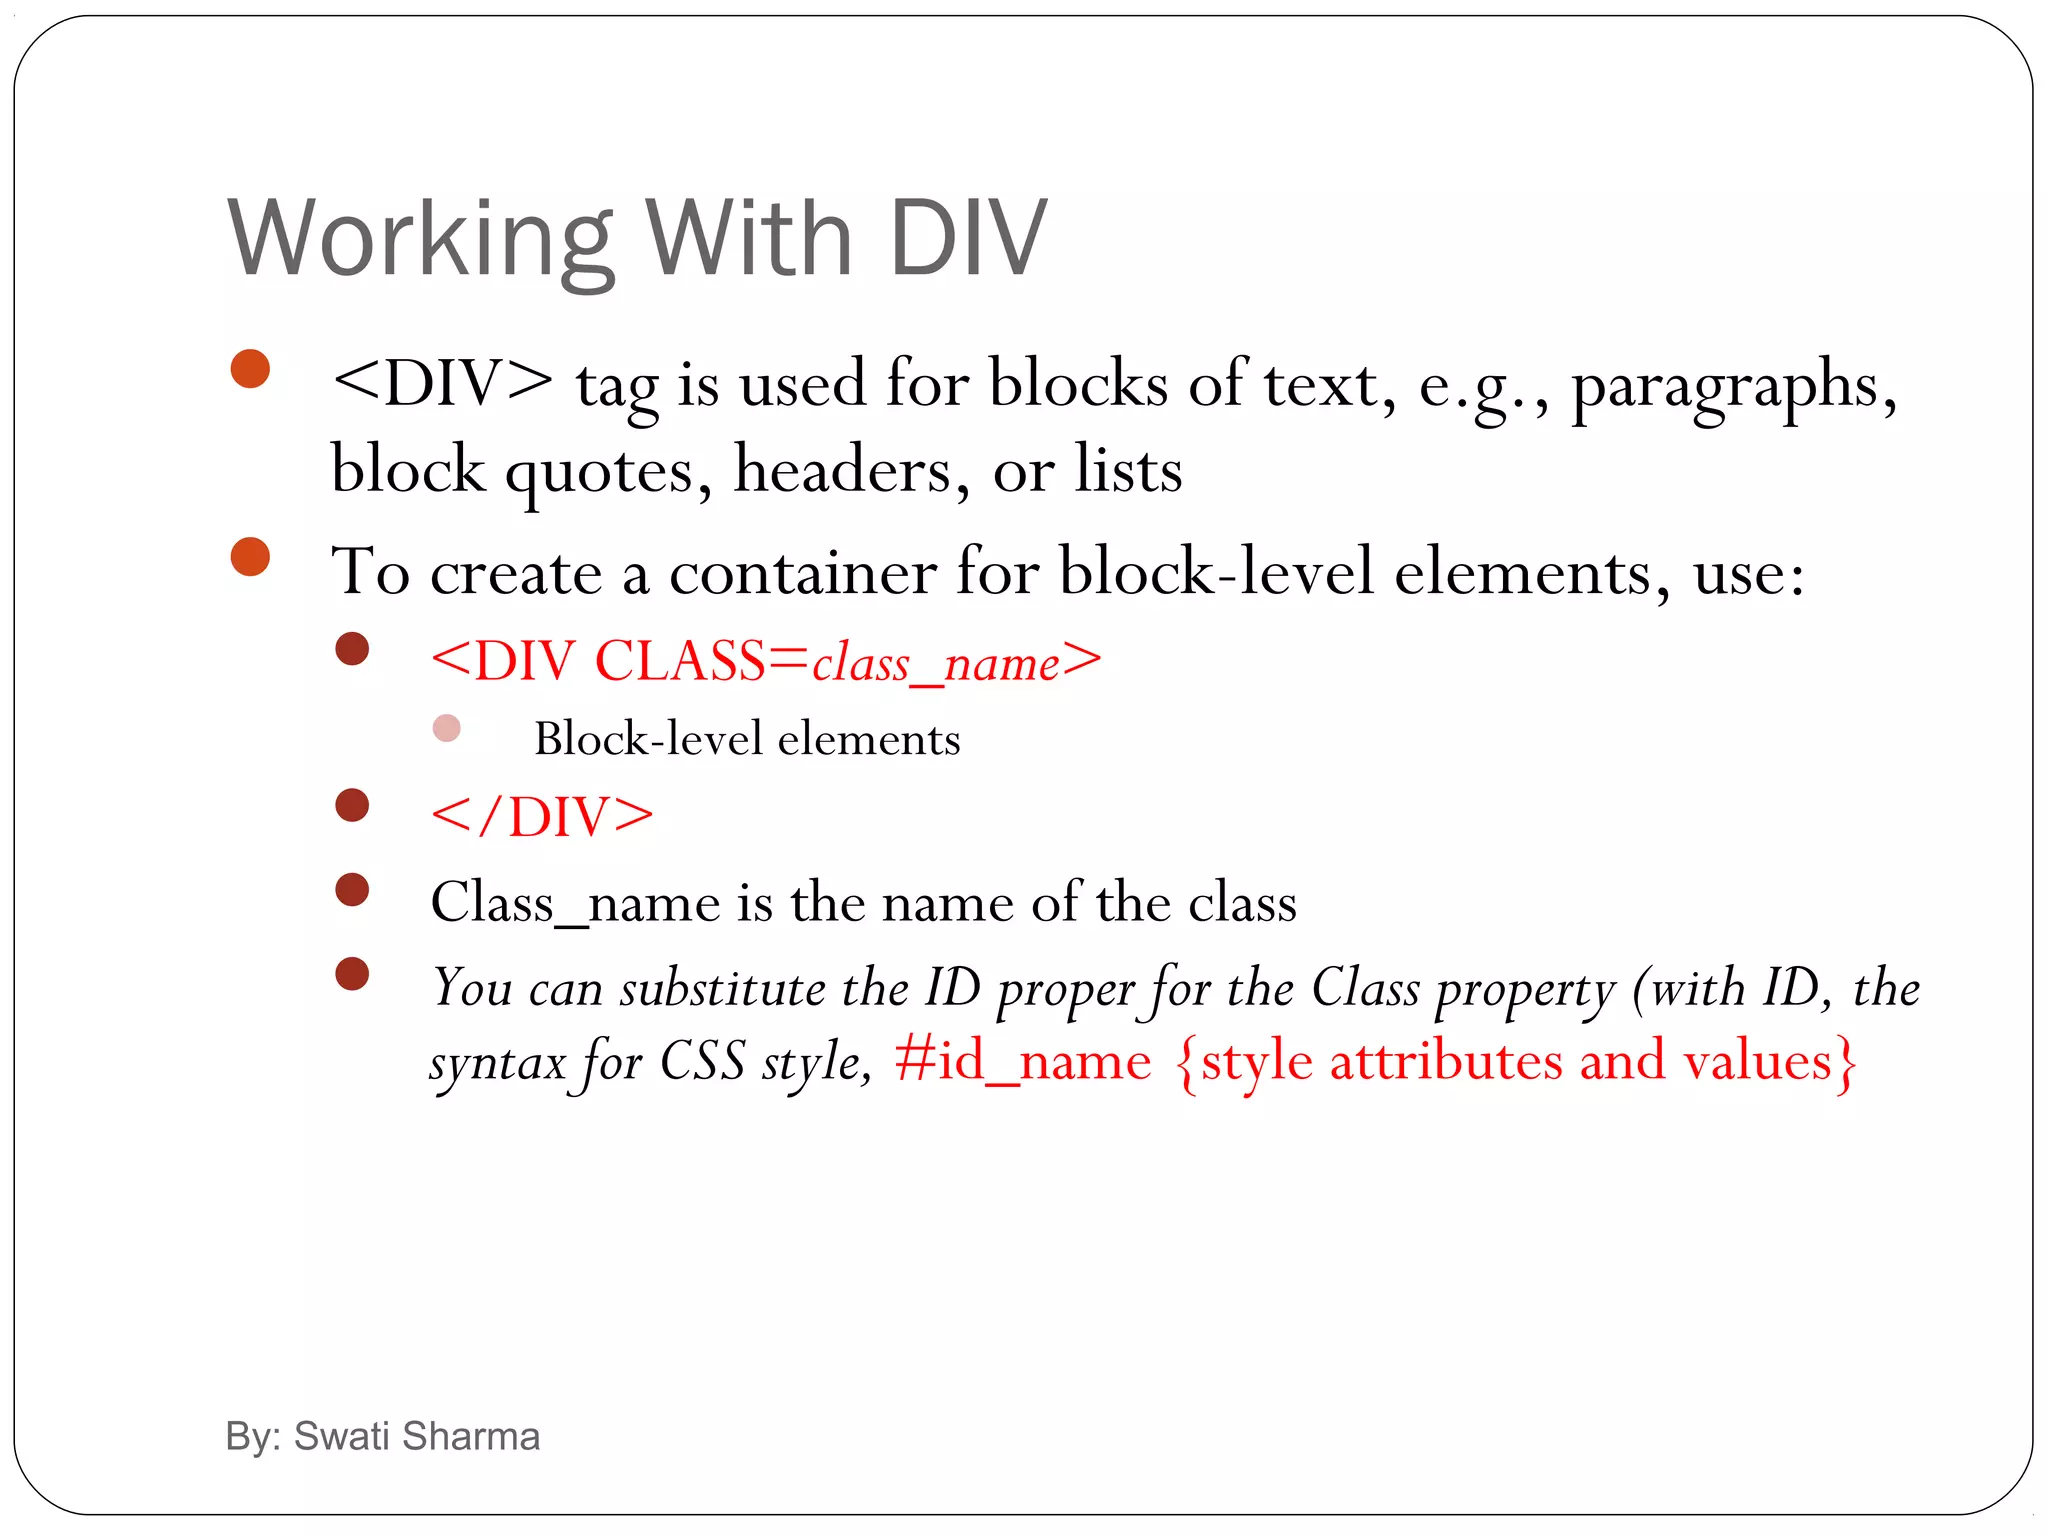
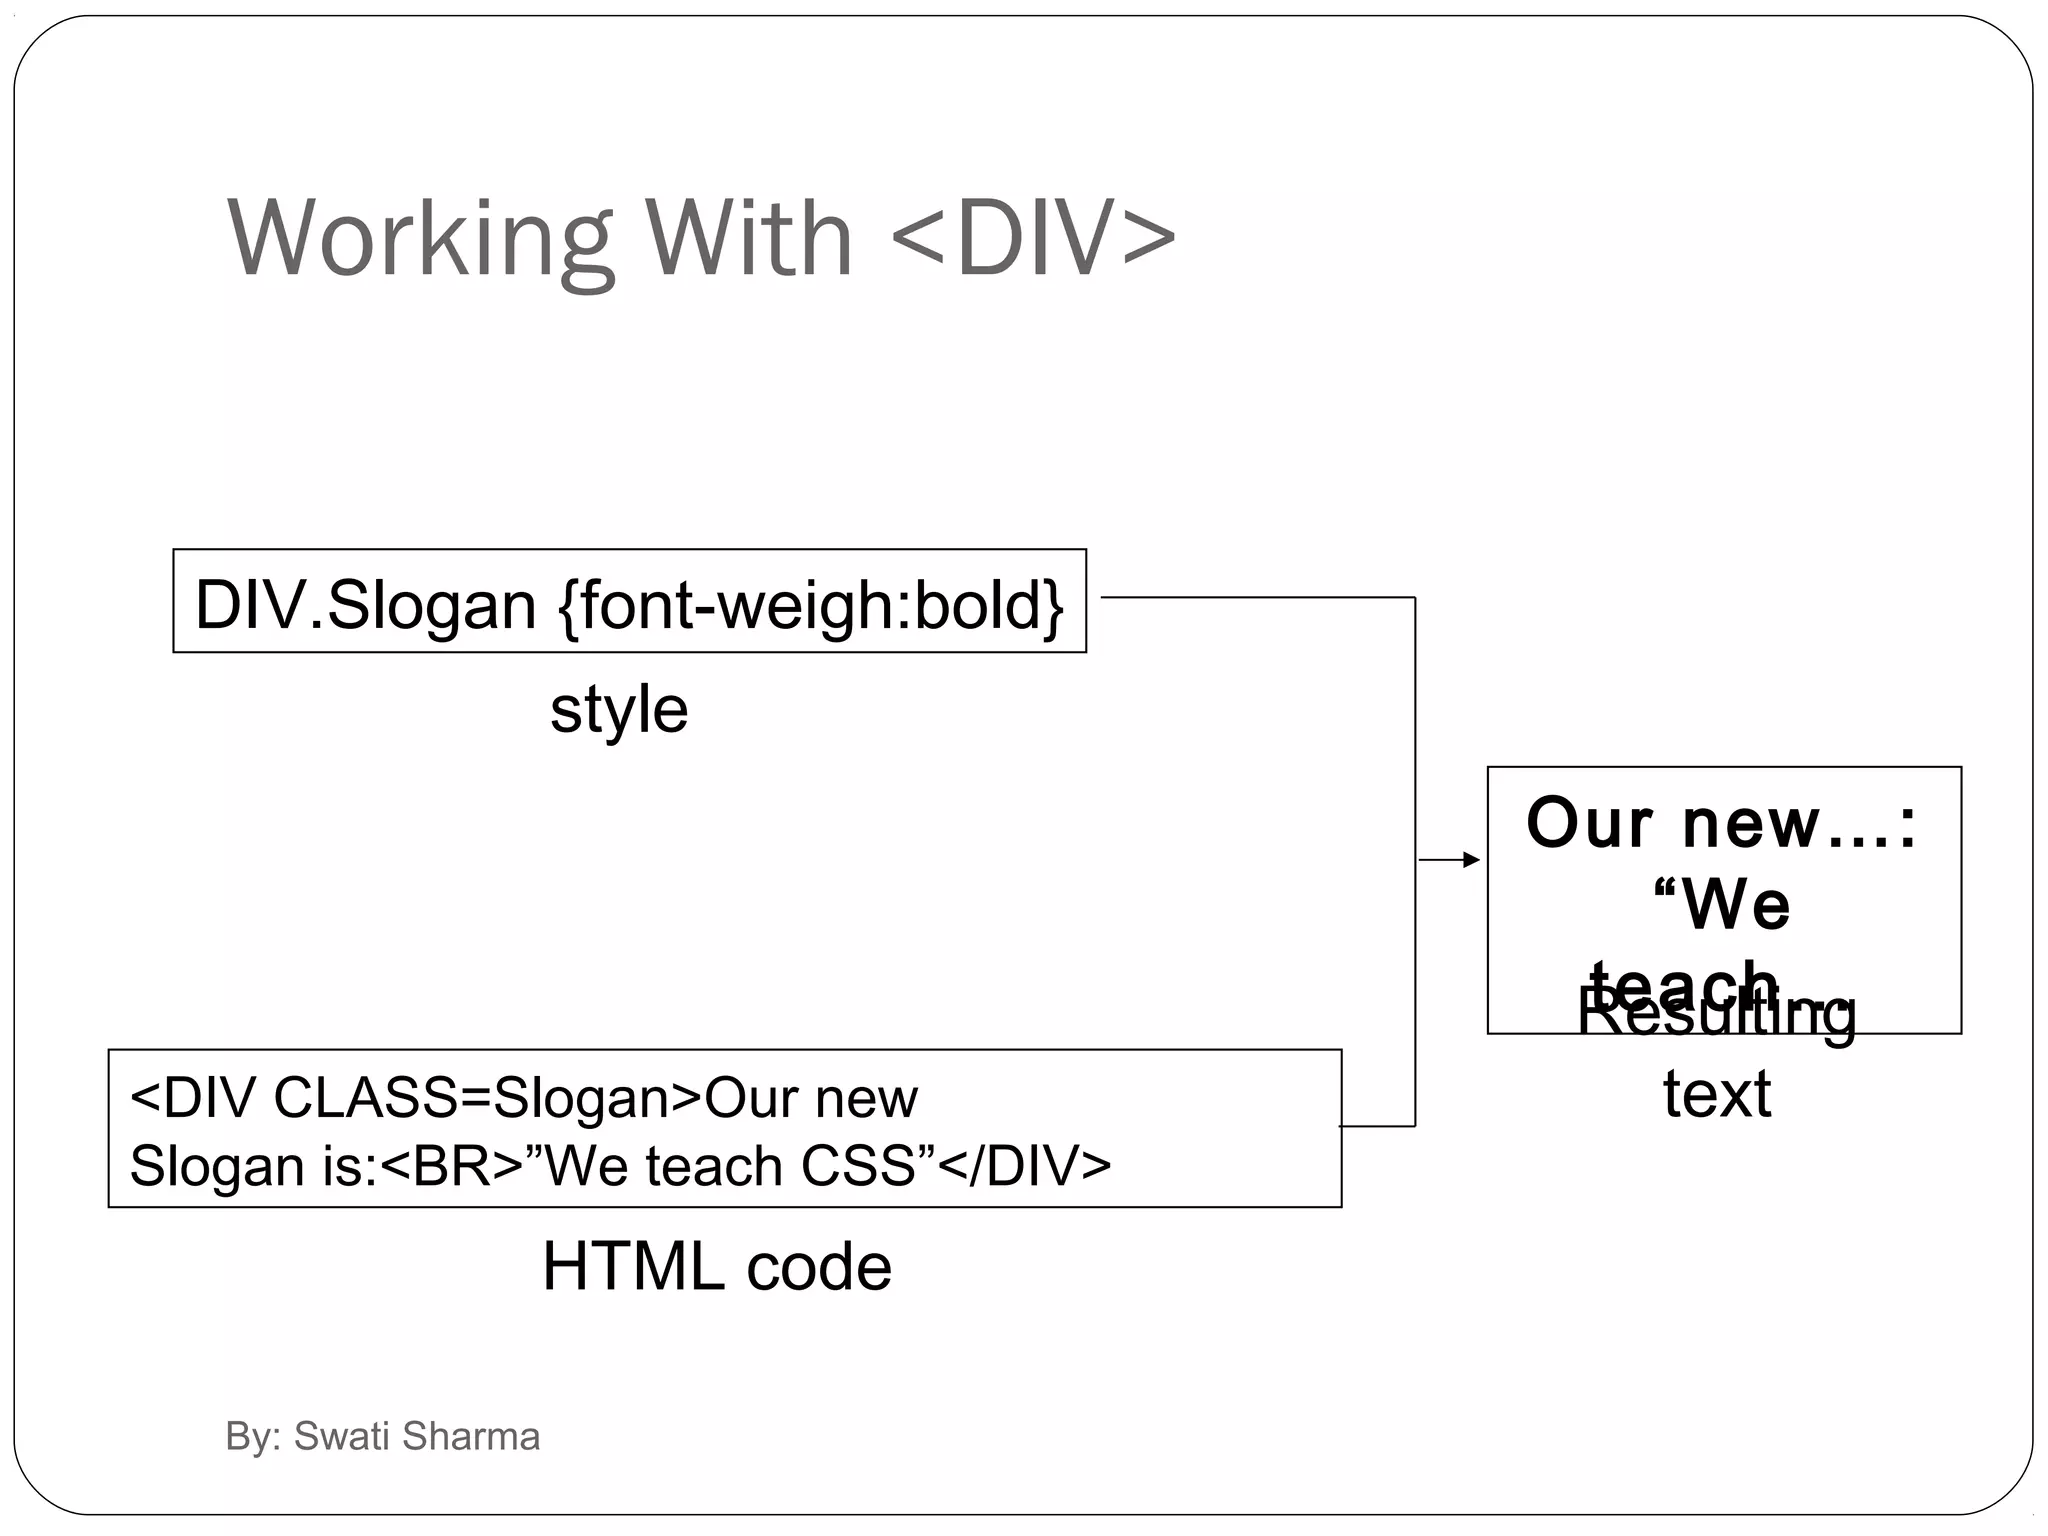
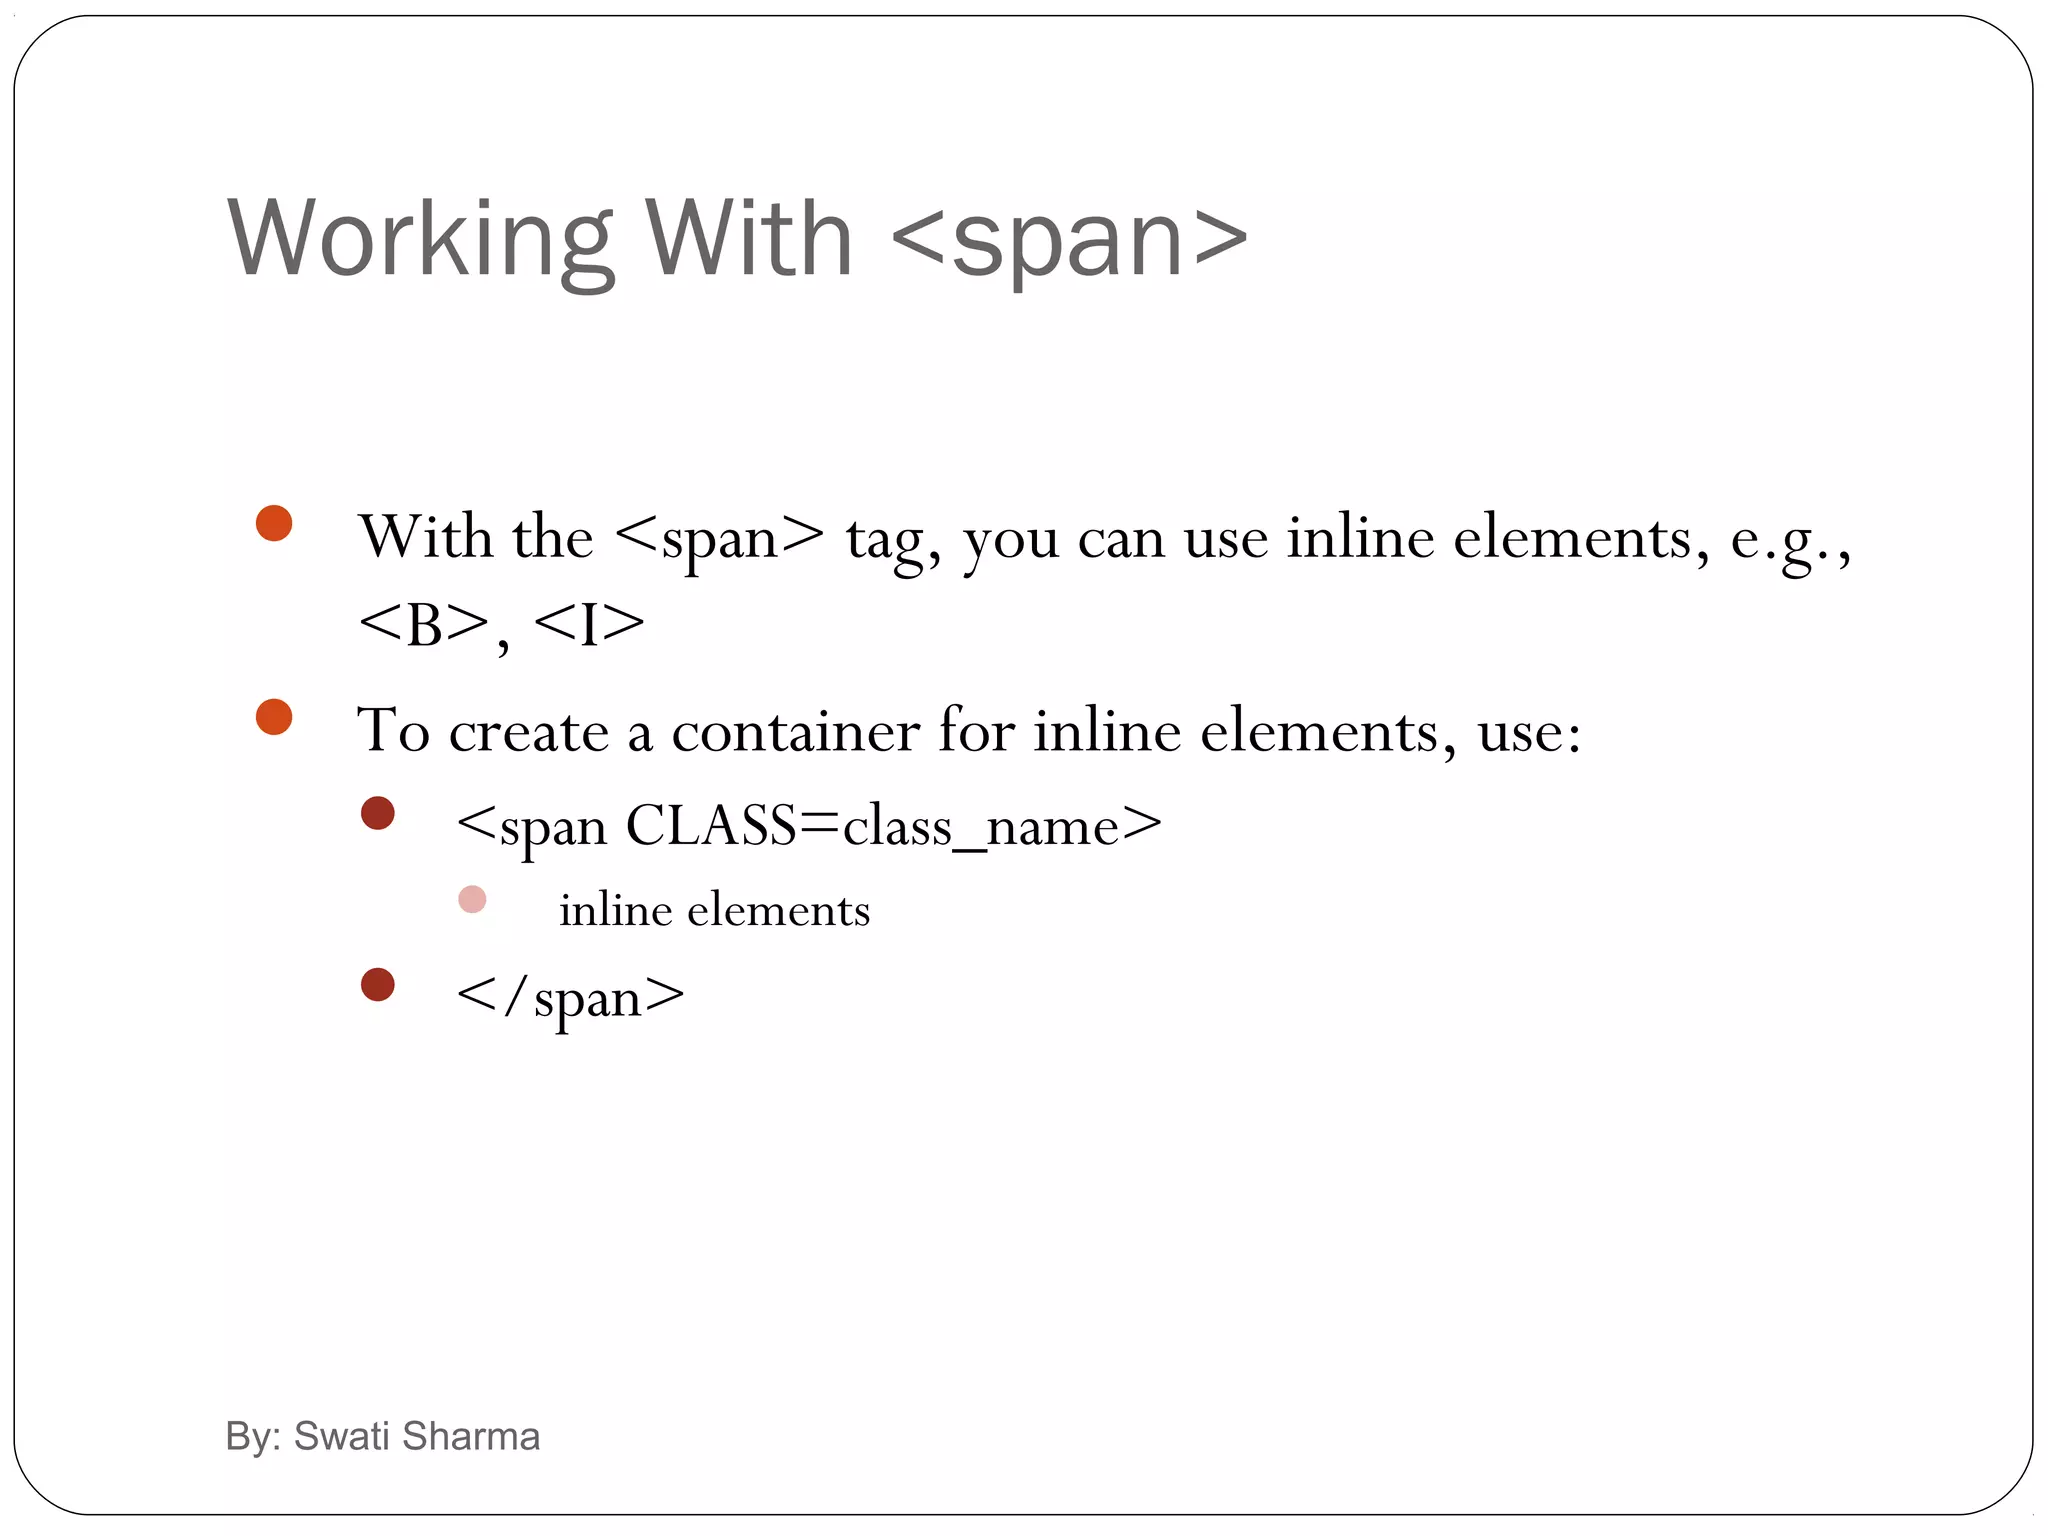
Describes usage of DIV for block elements and span for inline elements in HTML, with CSS style application.
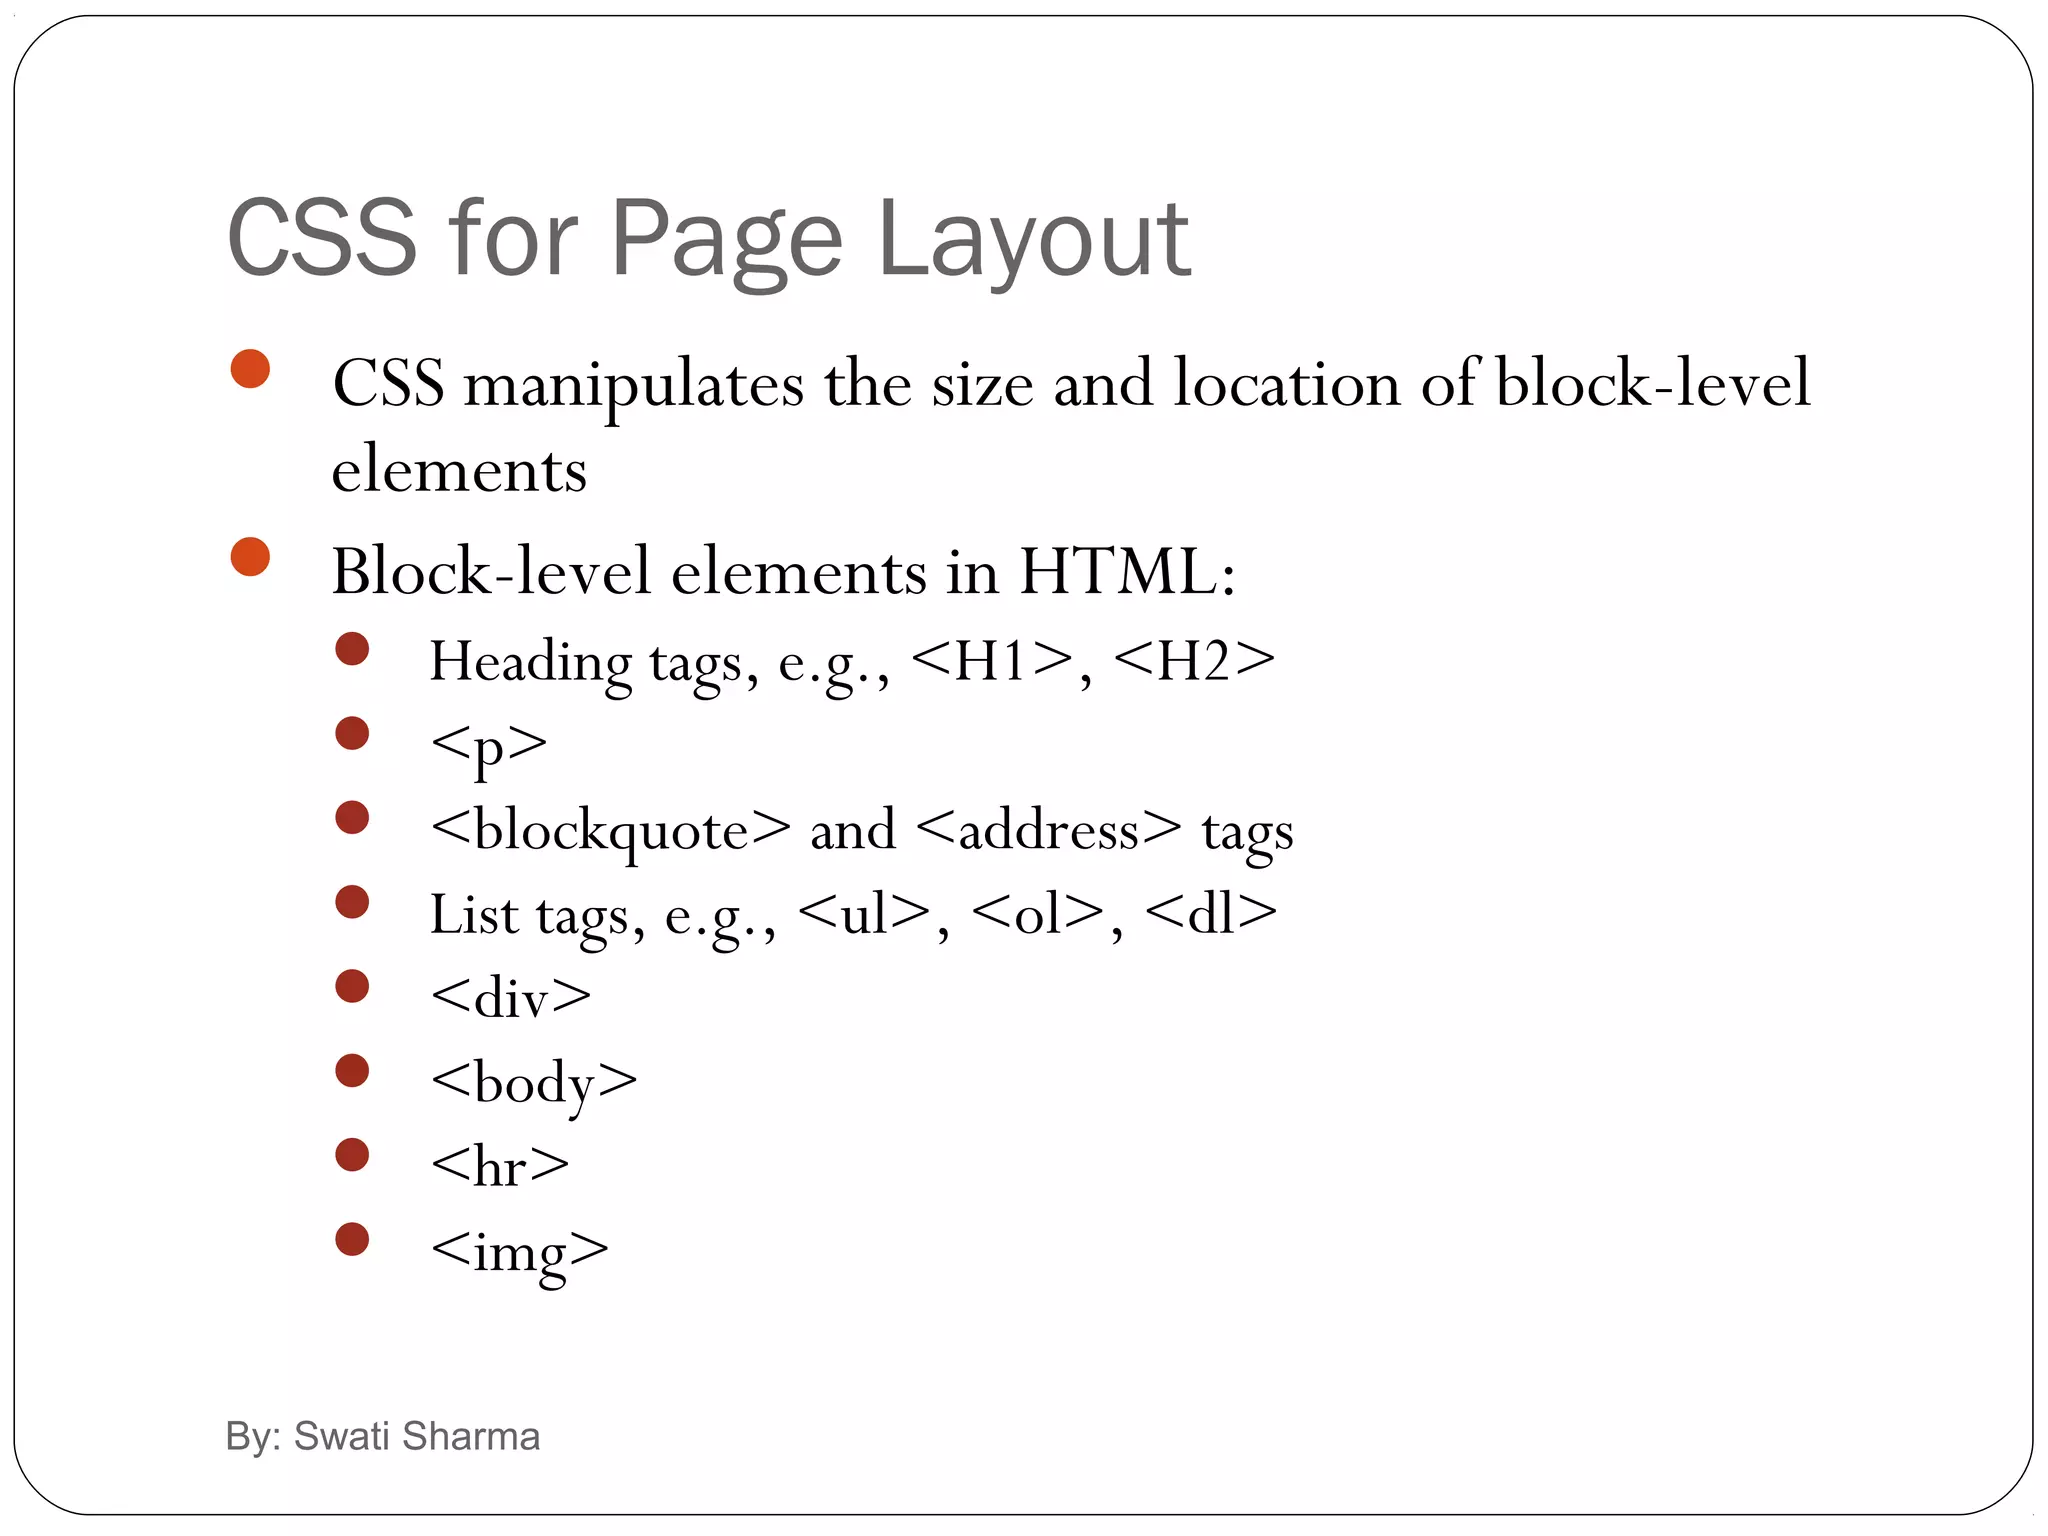
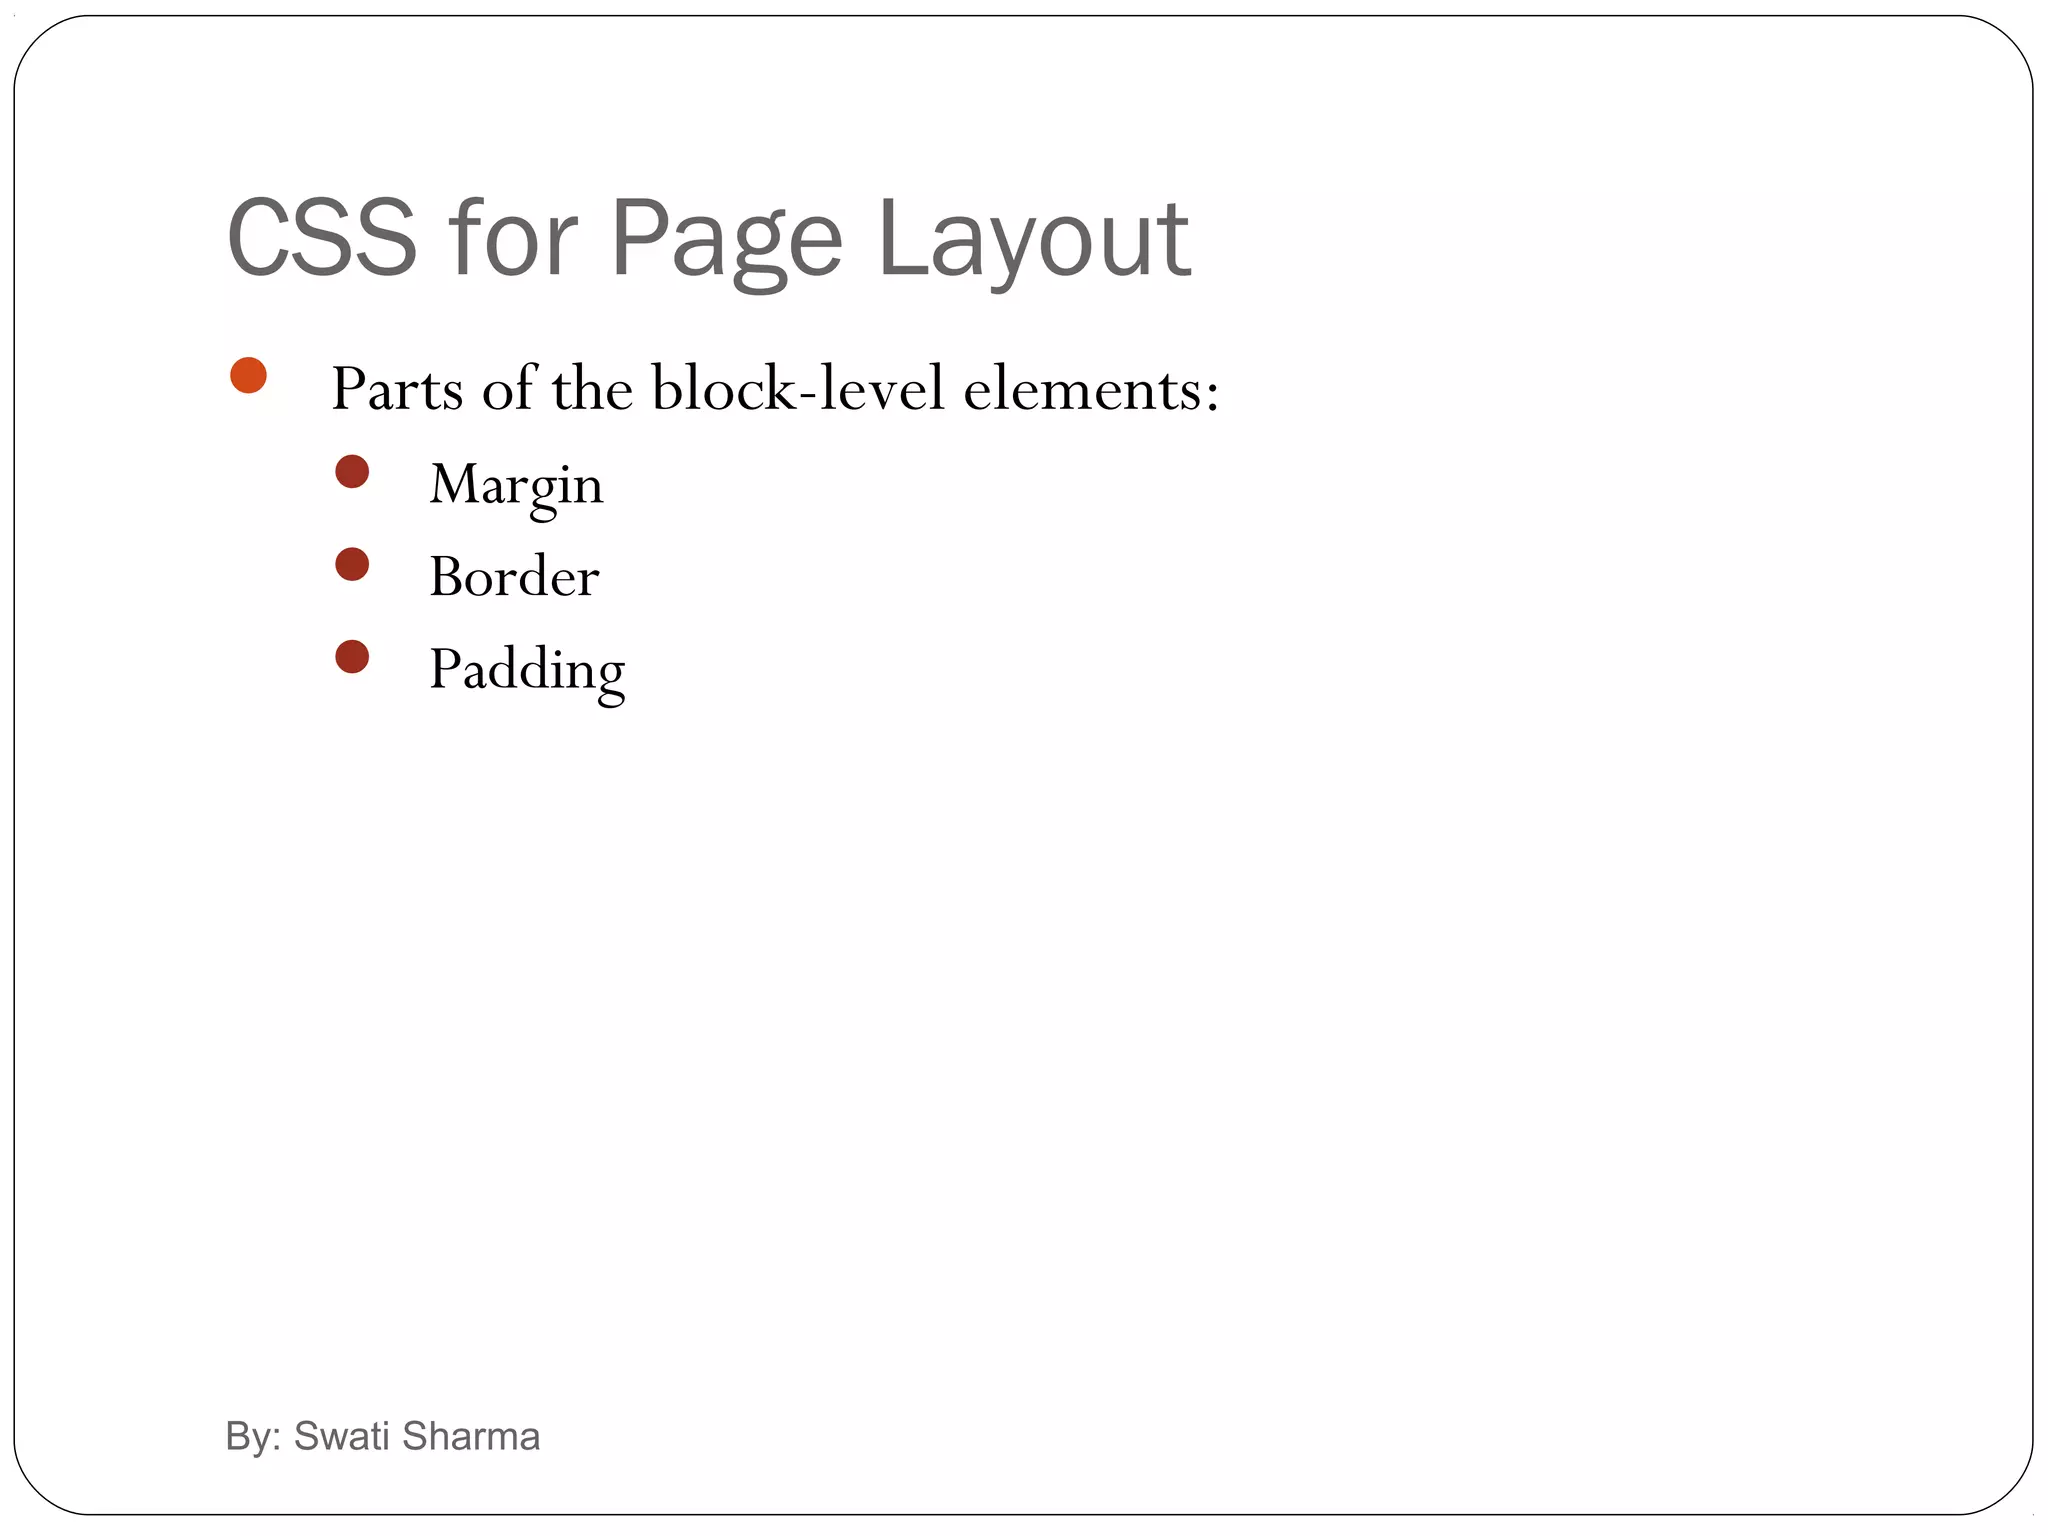
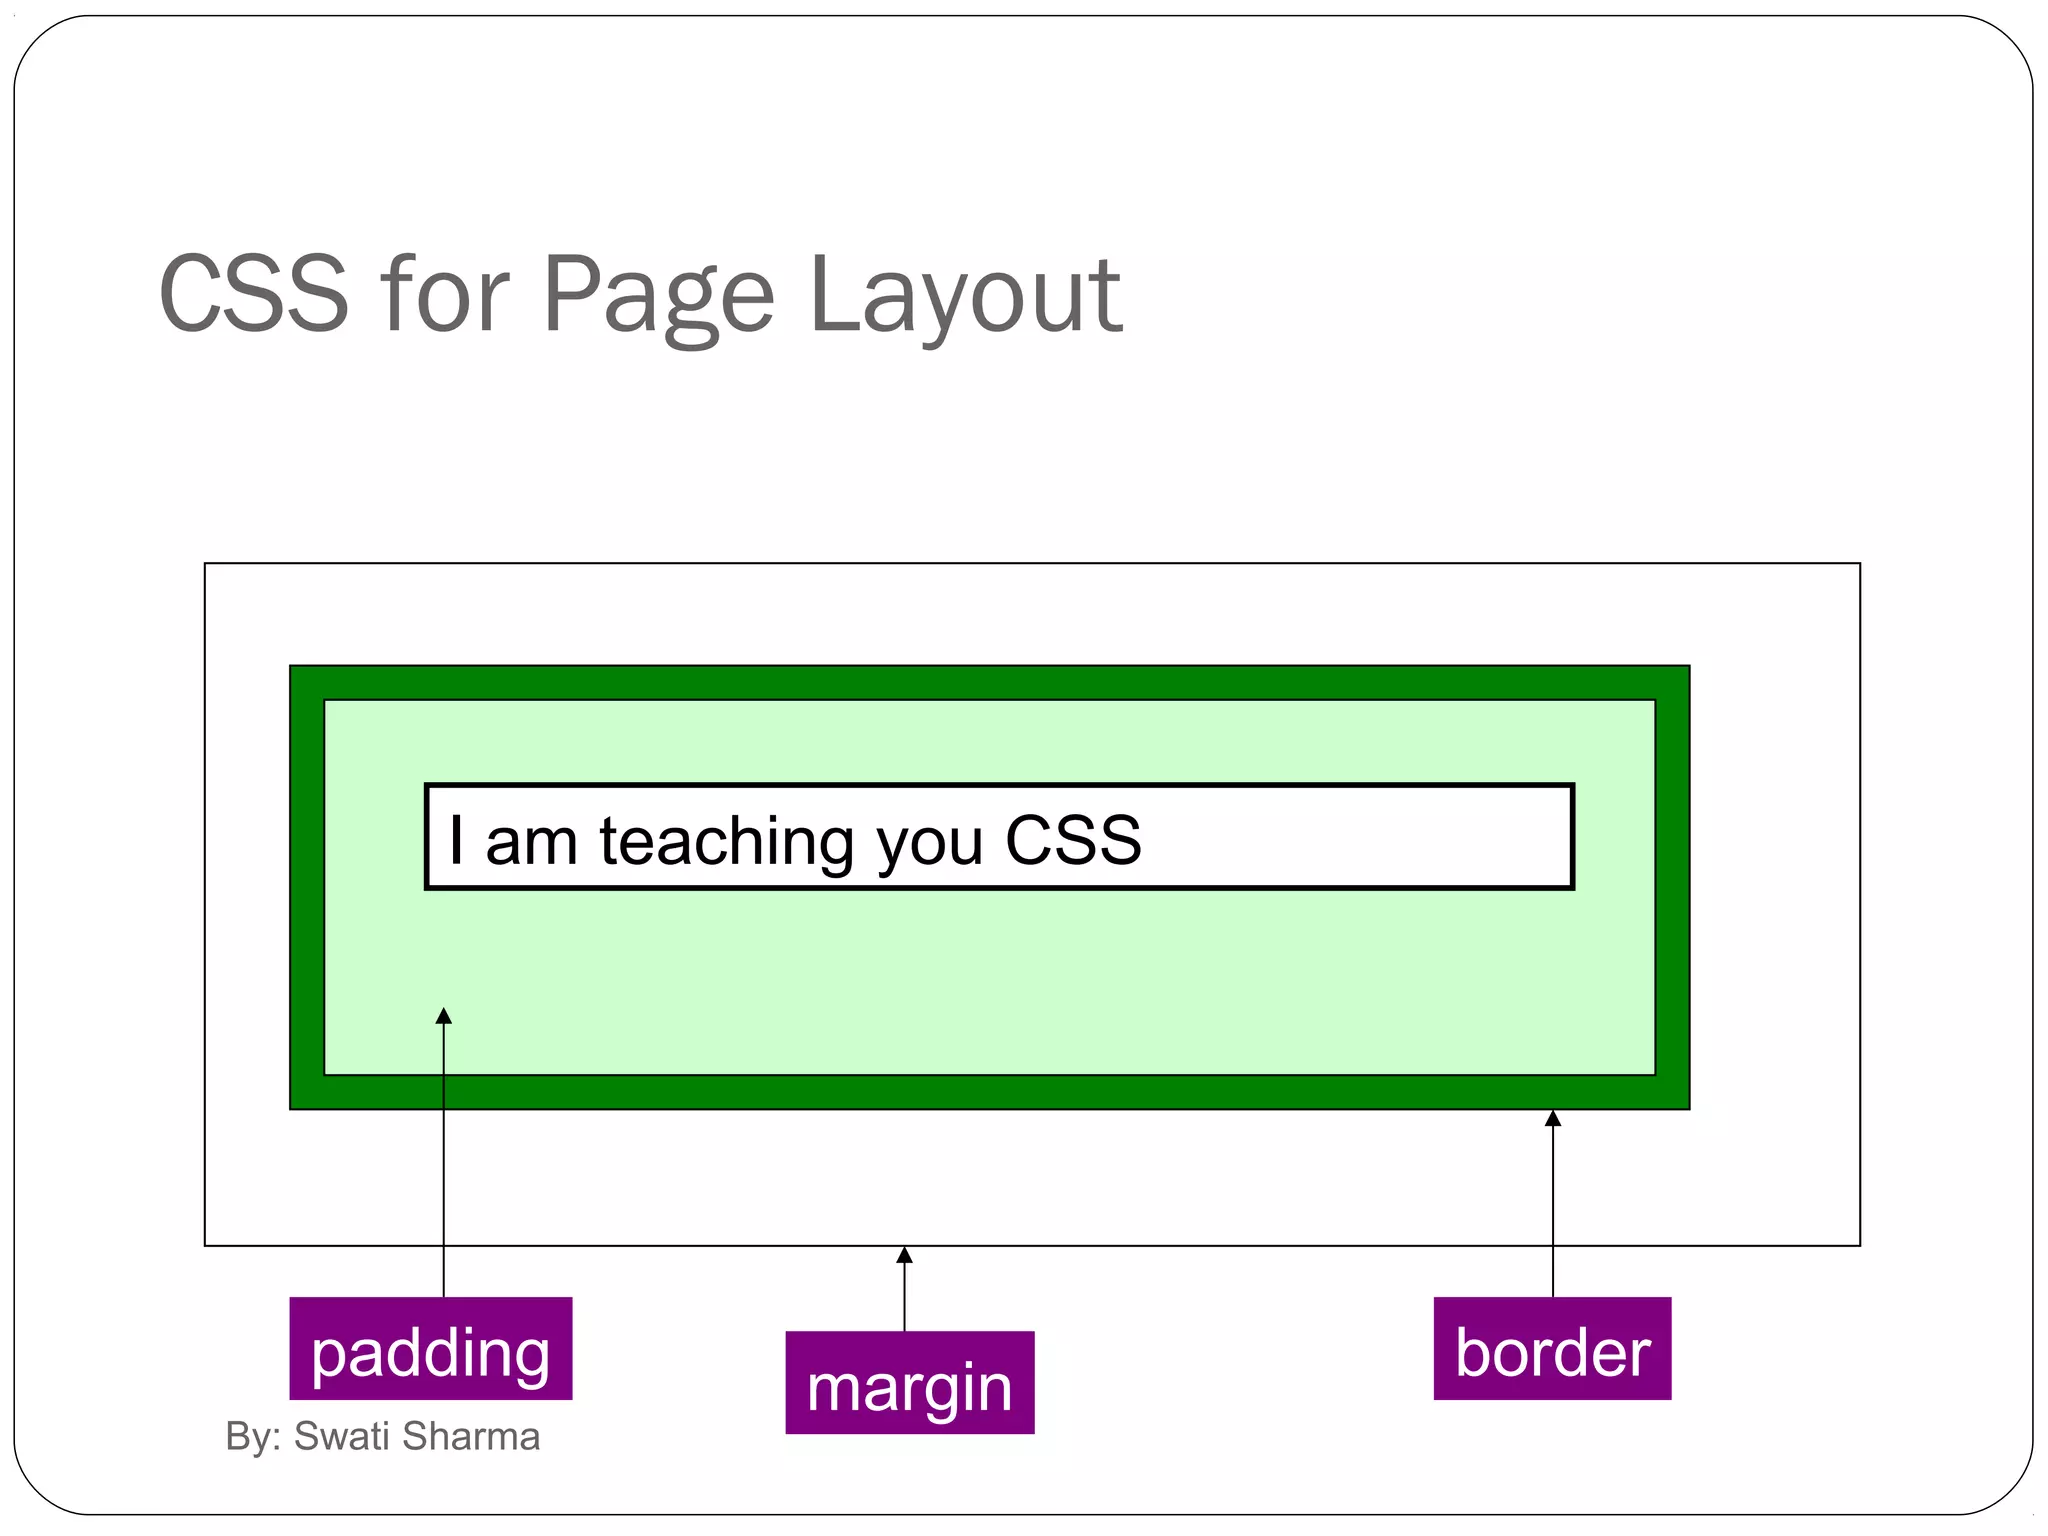
Explains CSS's role in sizing and positioning block elements using margin, border, and padding.
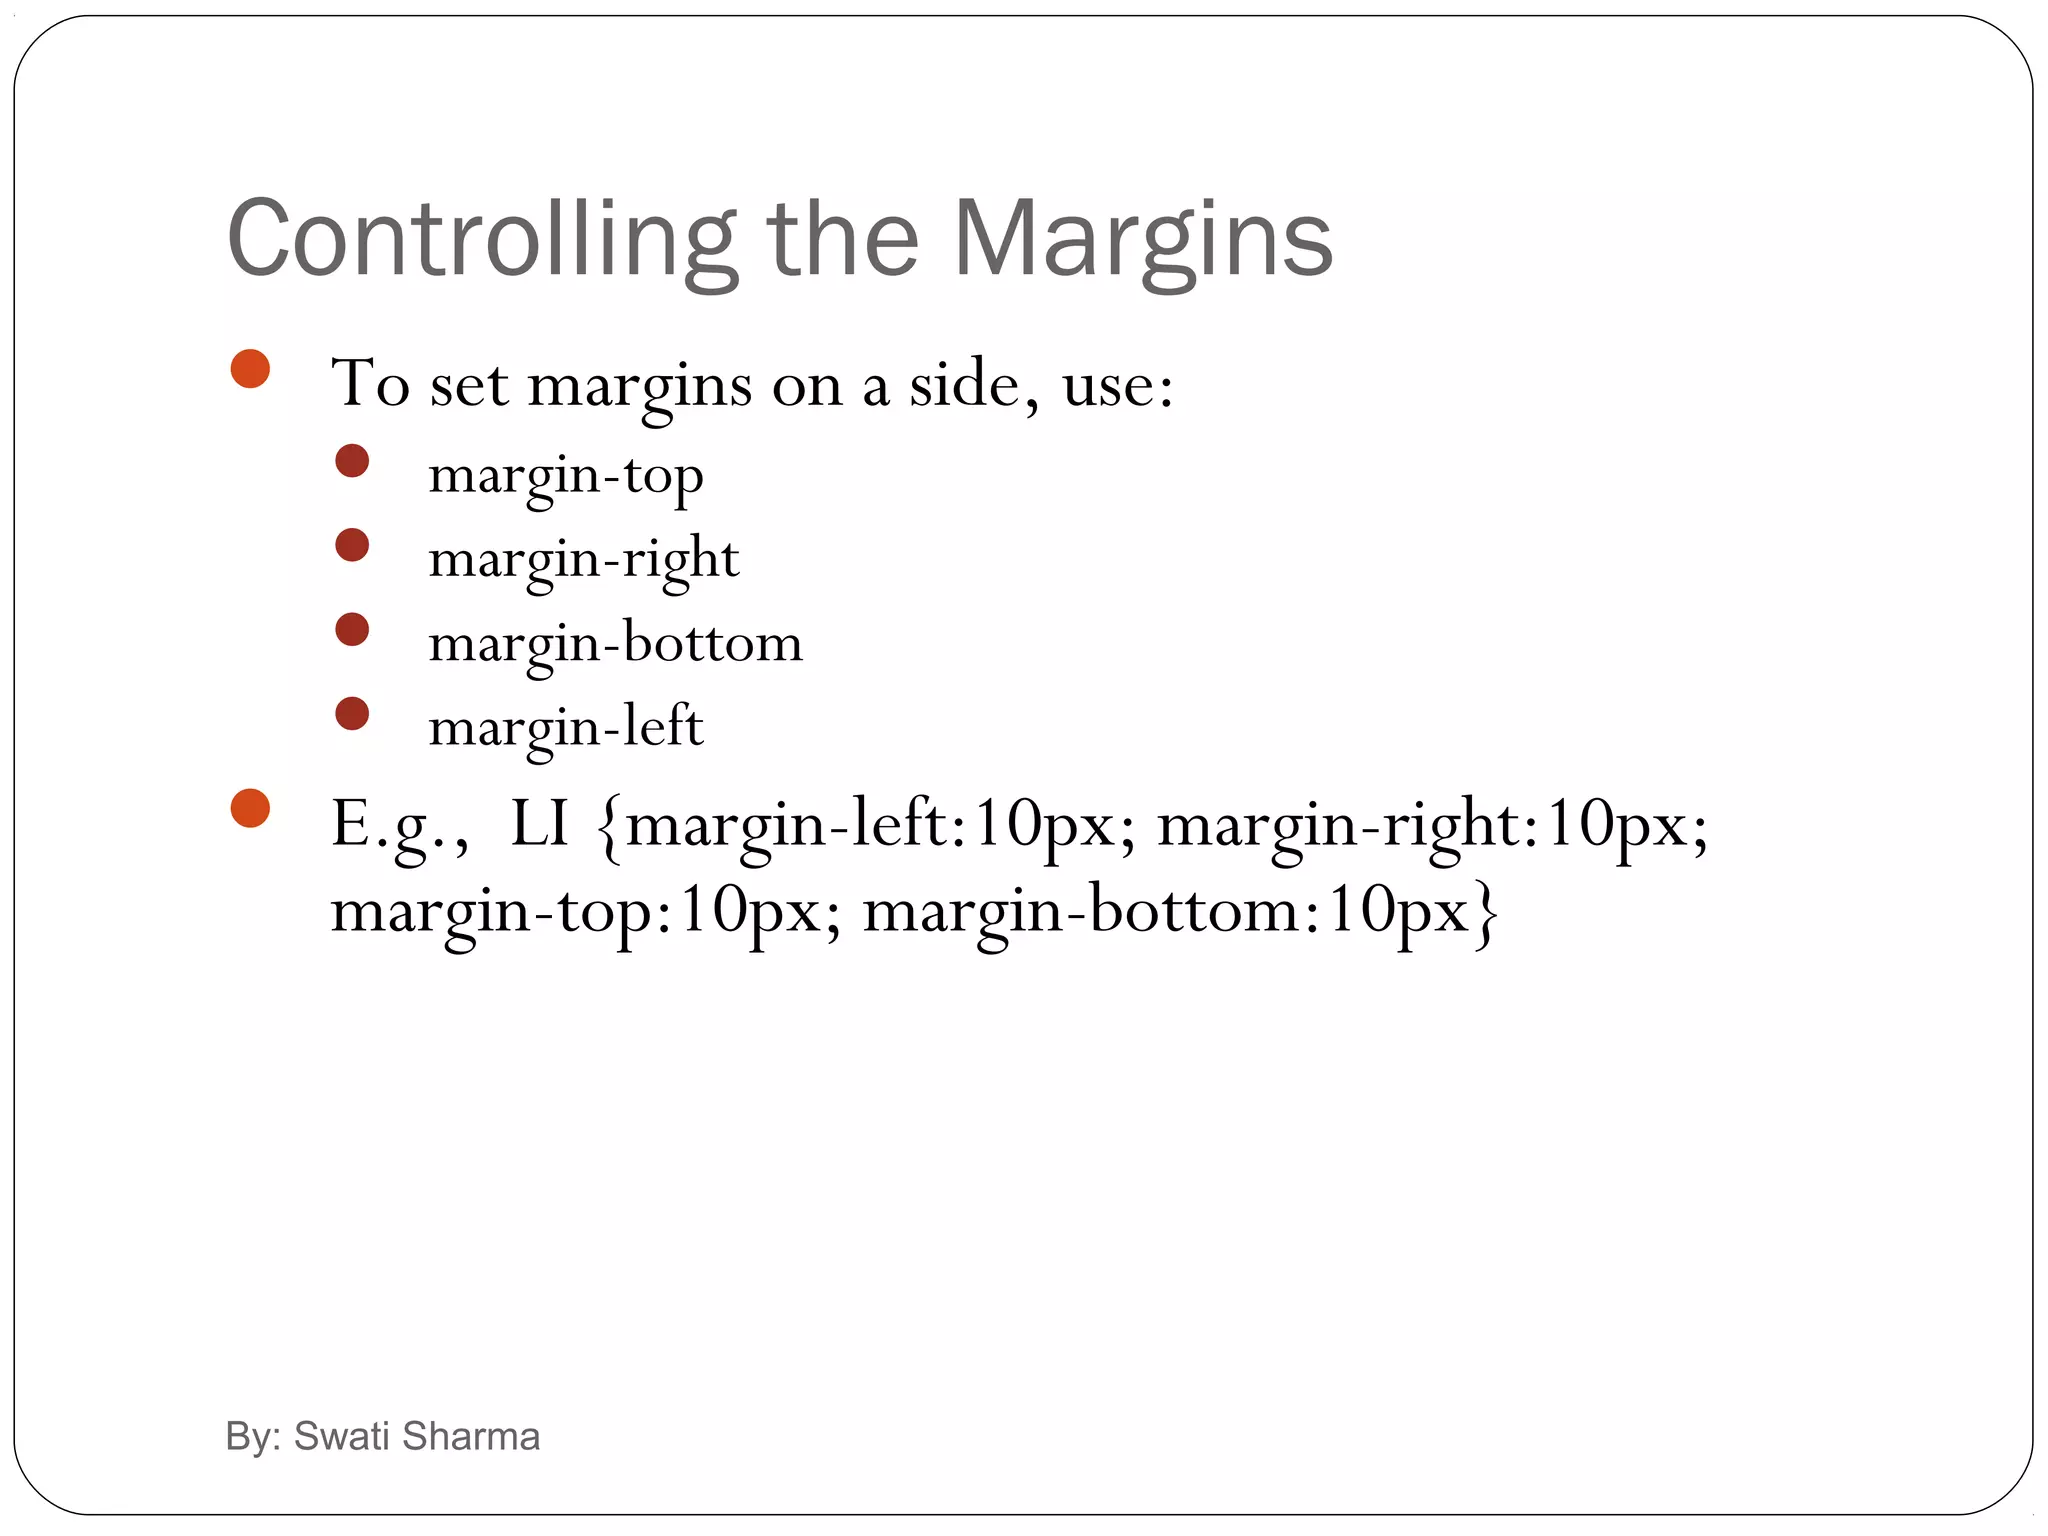
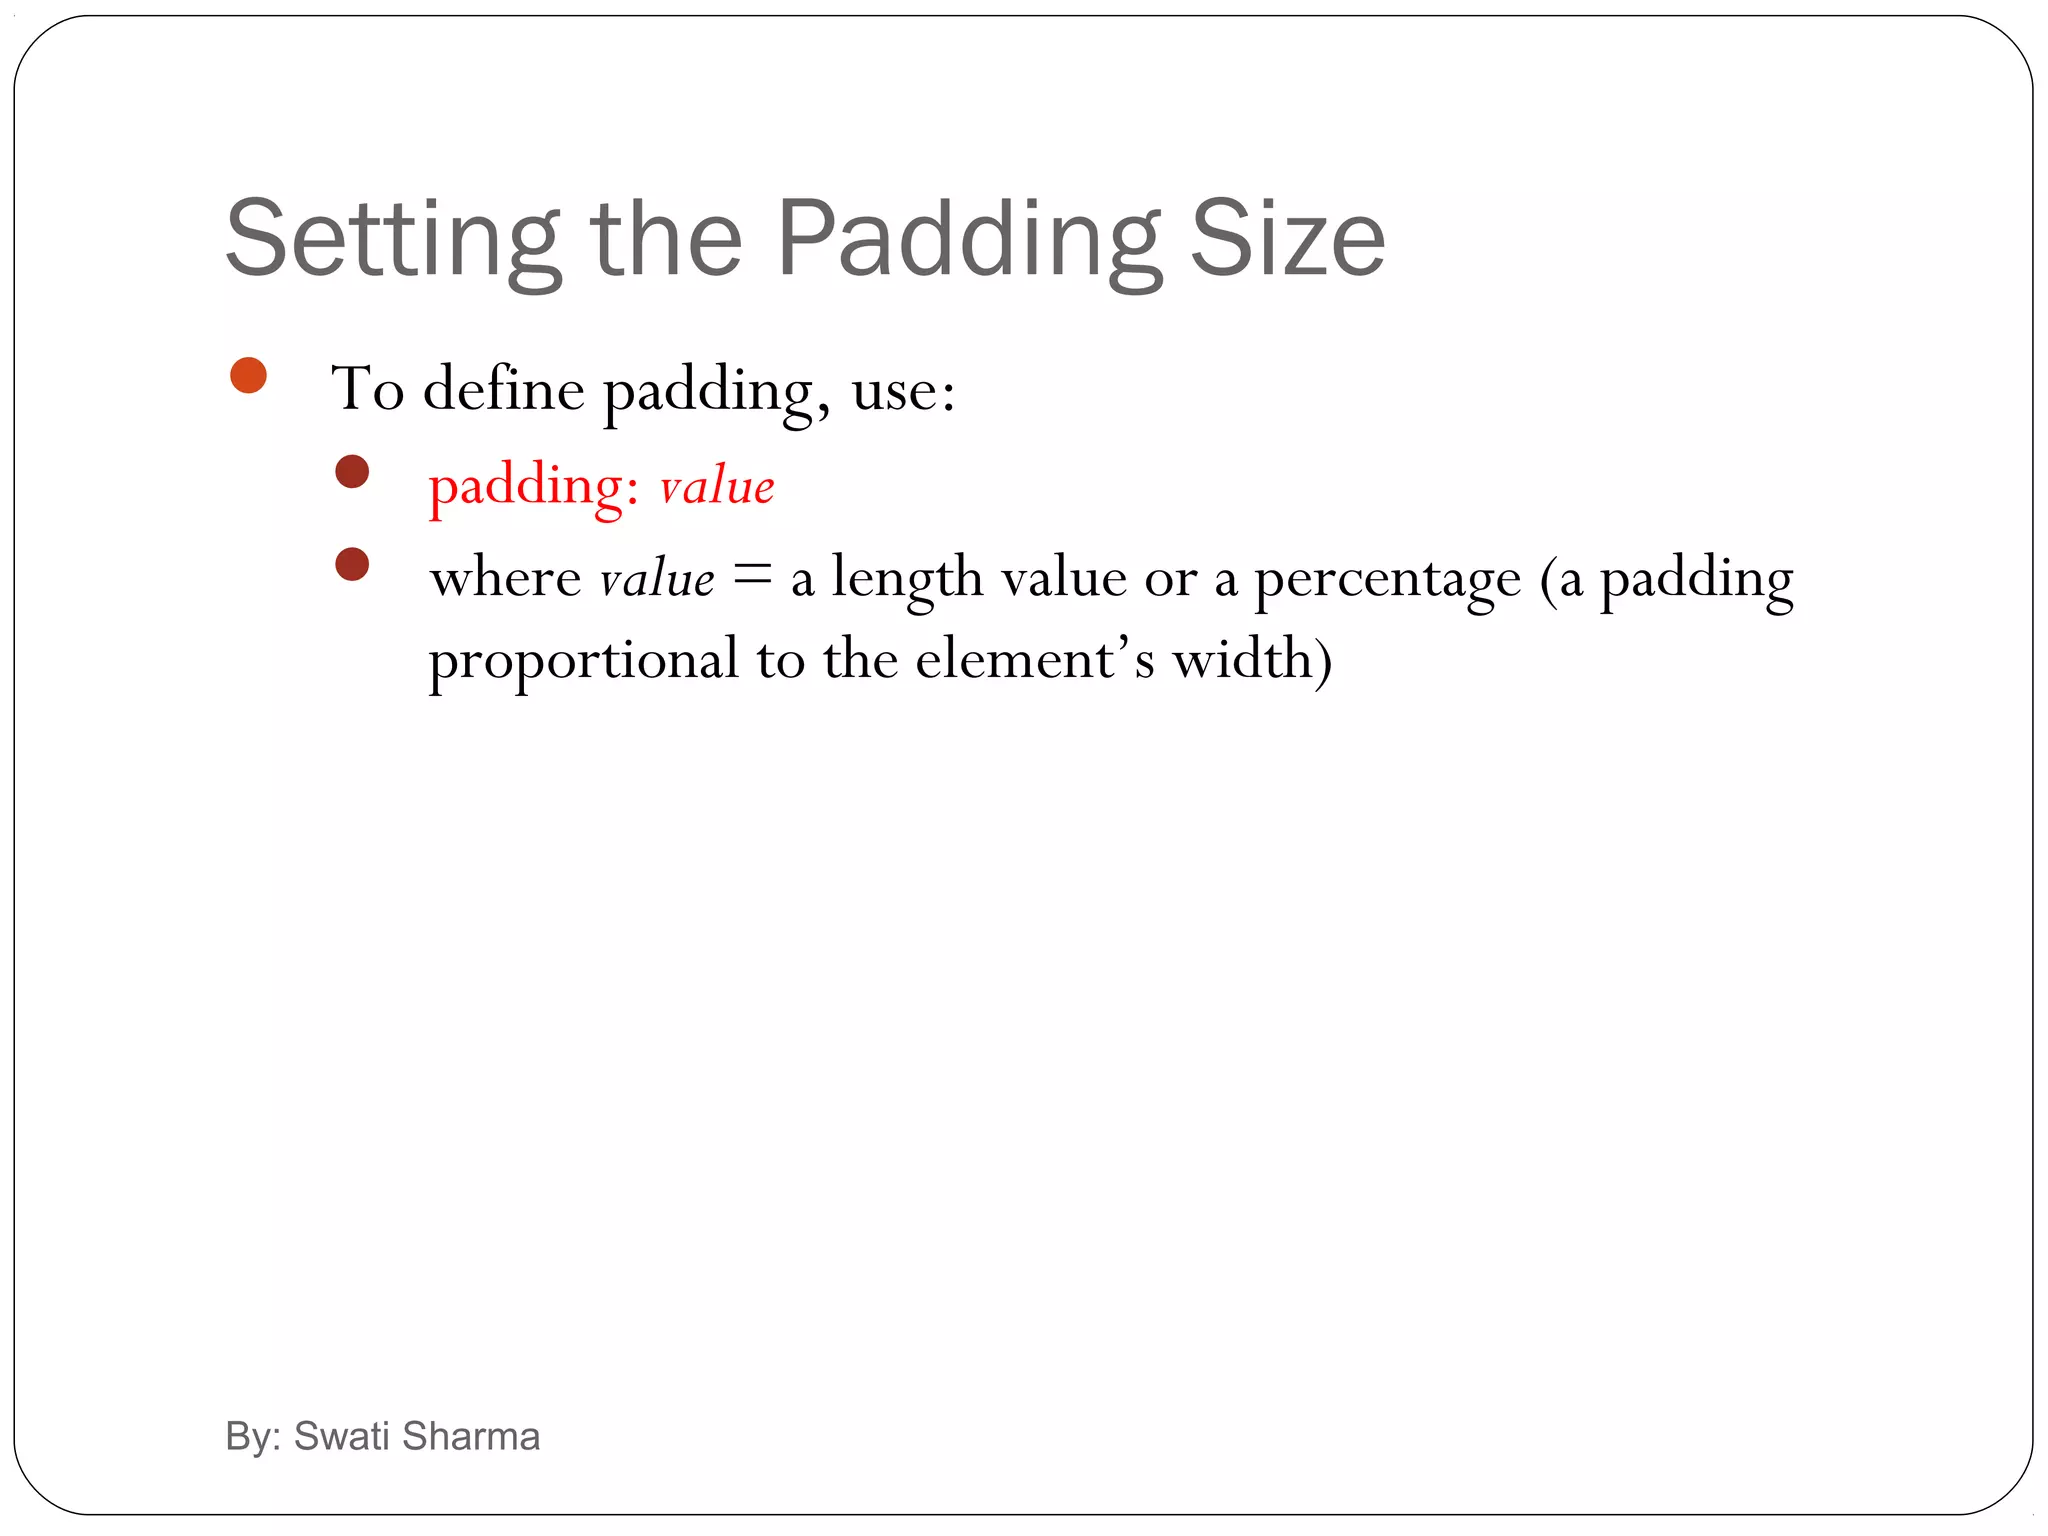
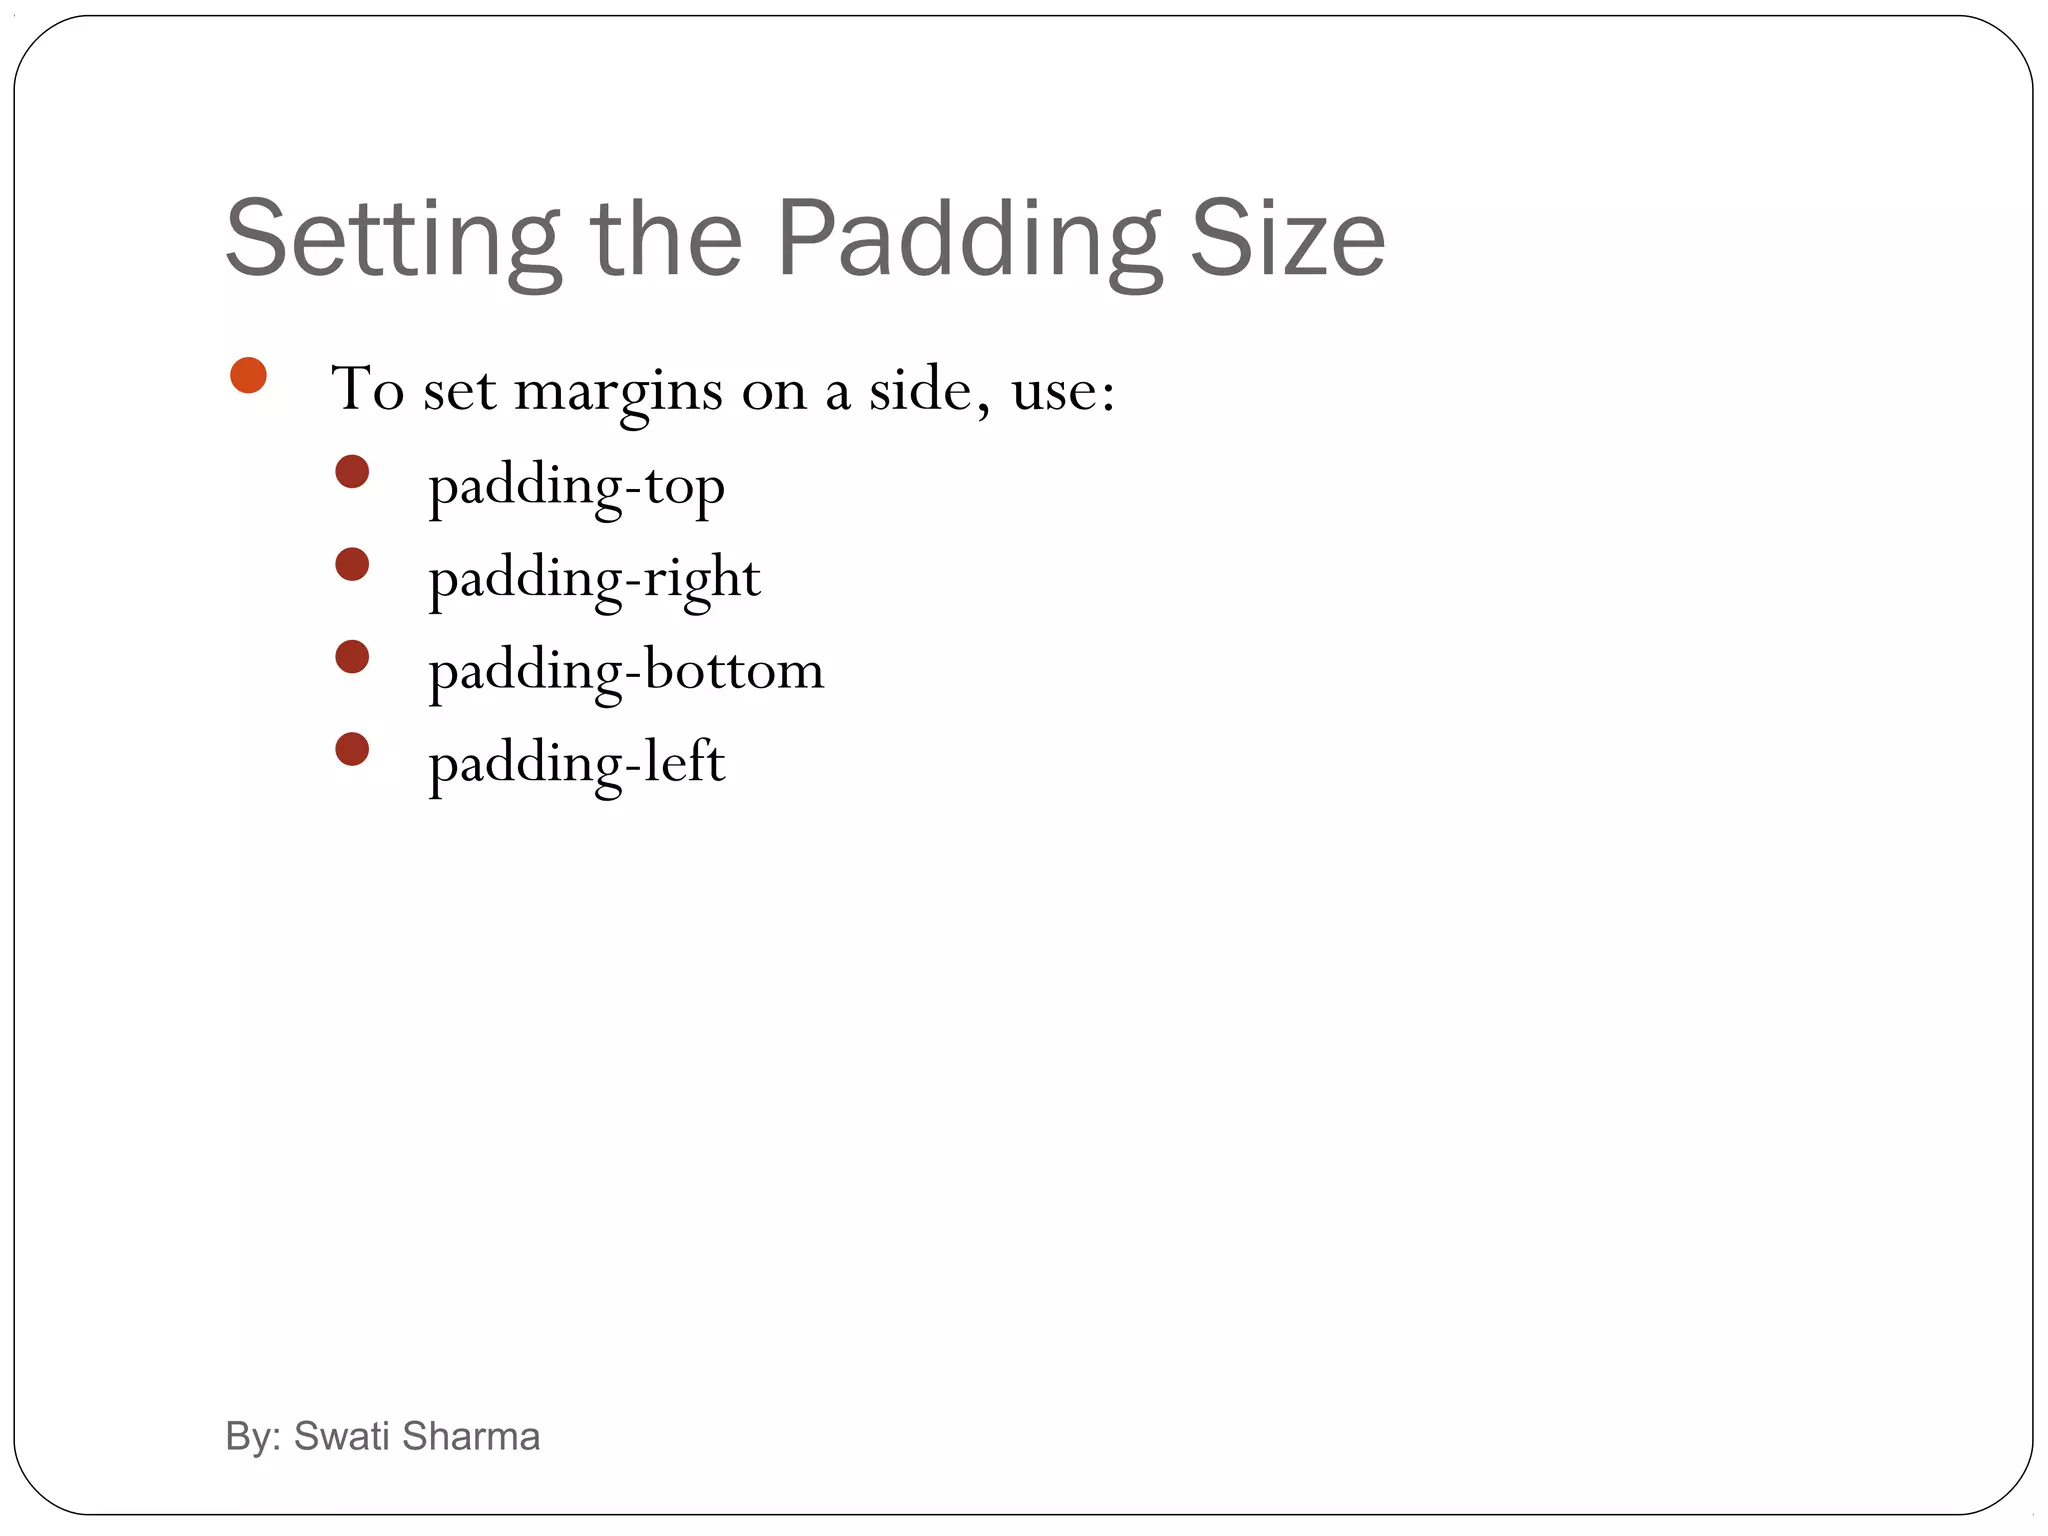
Details how to define margins and padding in elements, including side-specific controls and examples.
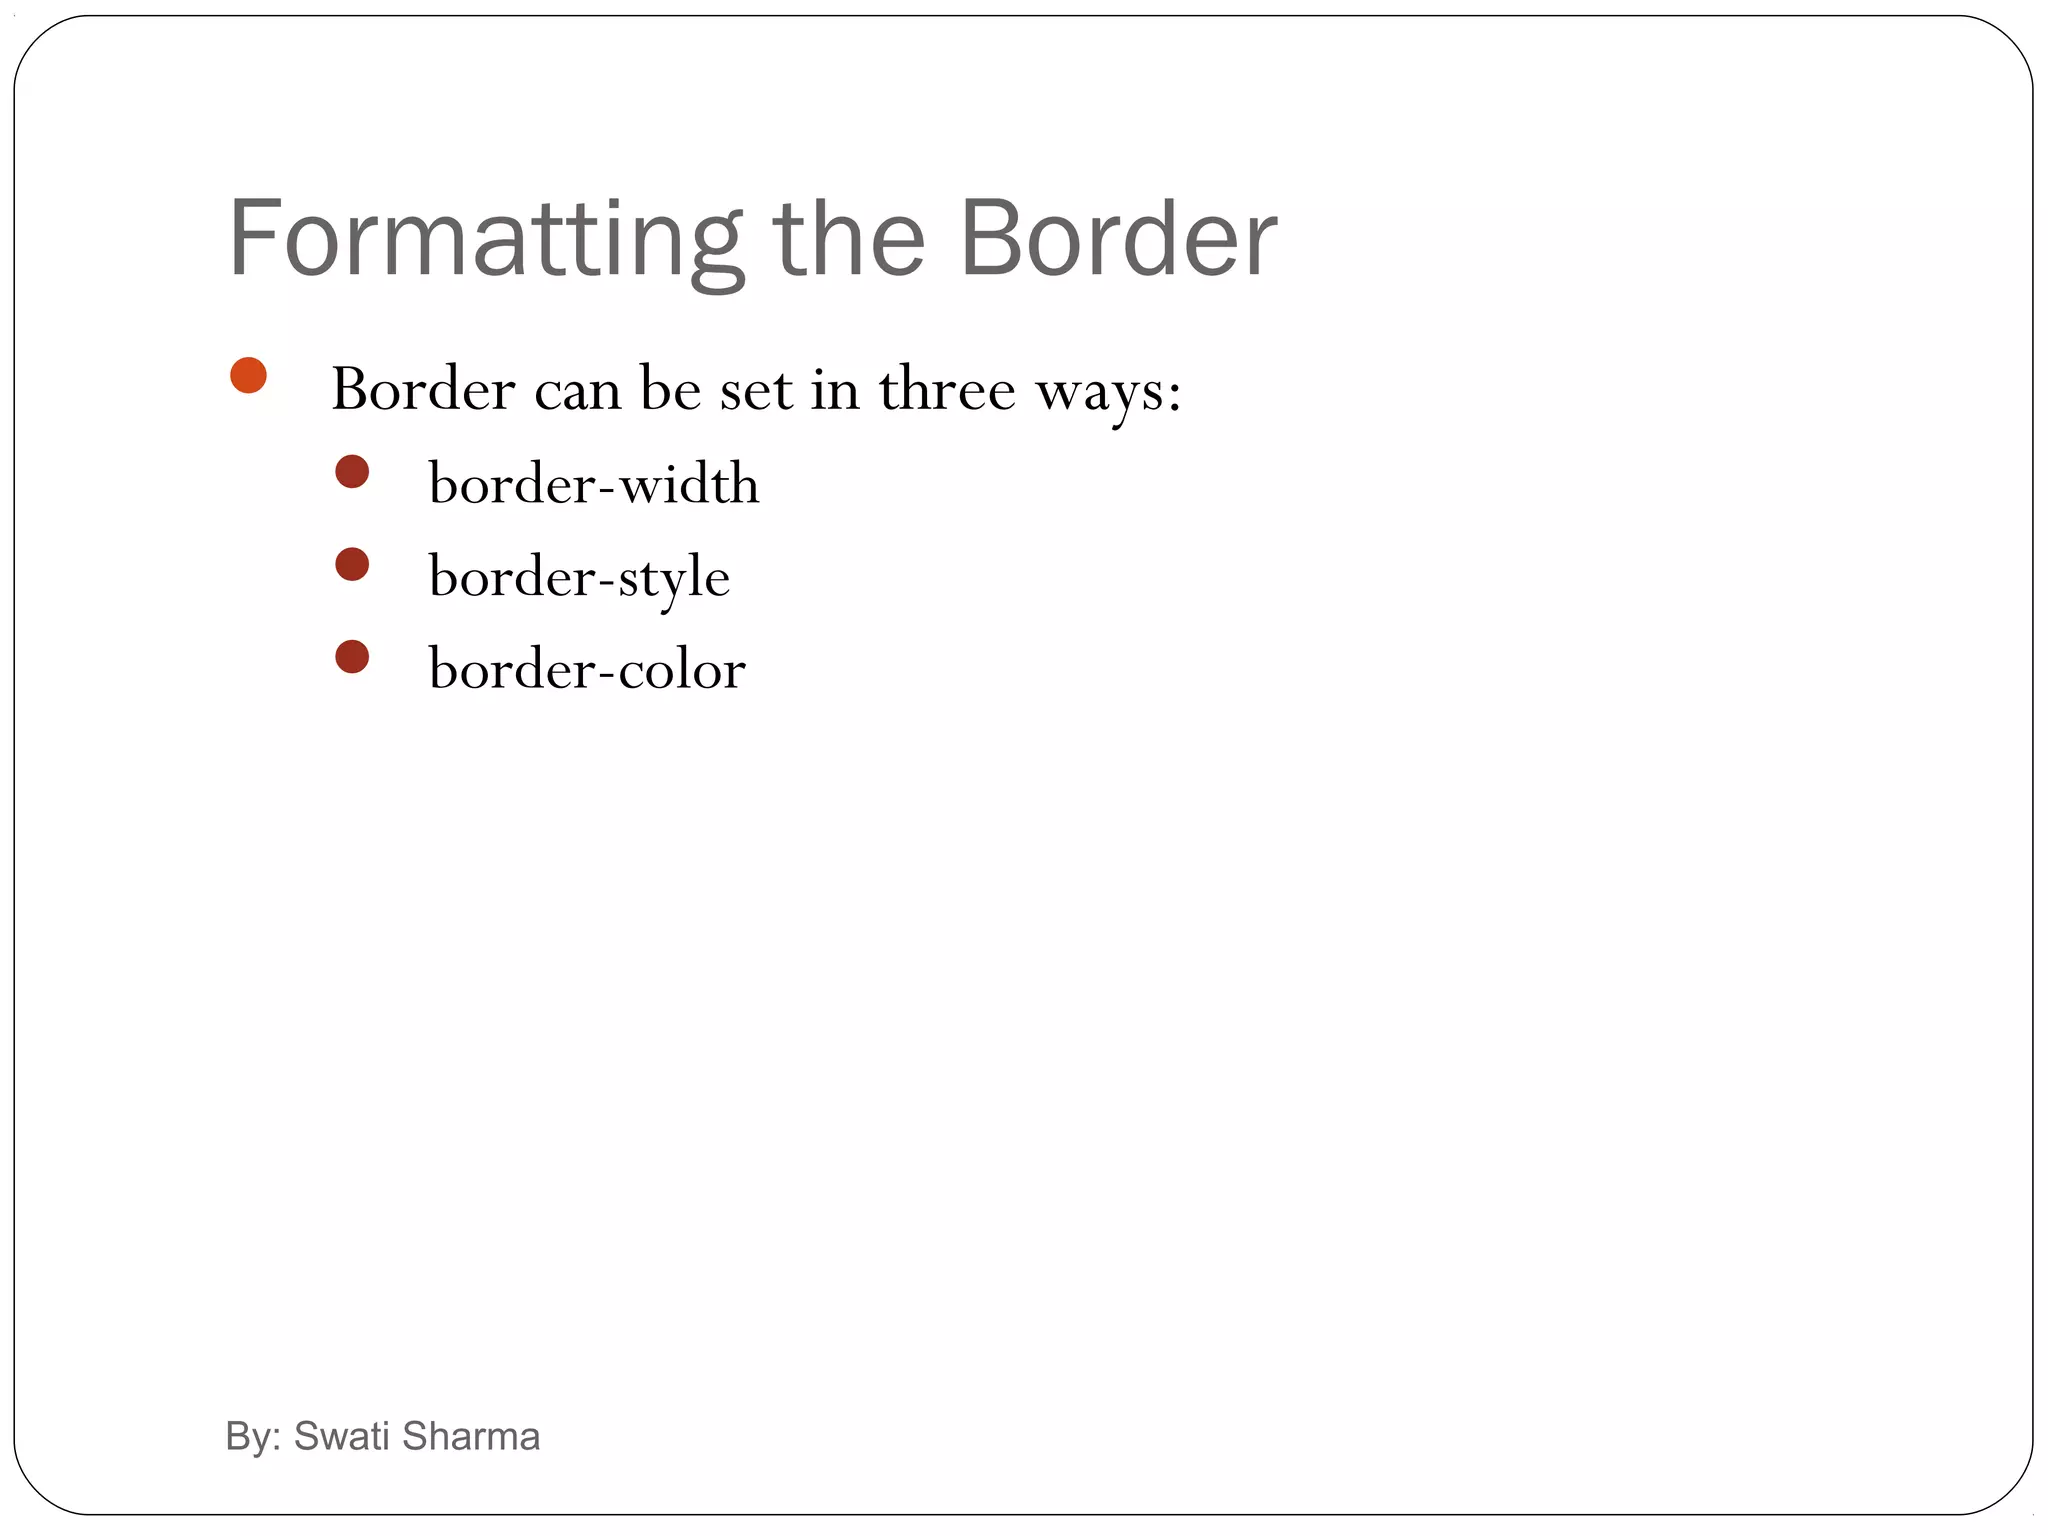
Covers how to set border properties including width, style, and color with examples.
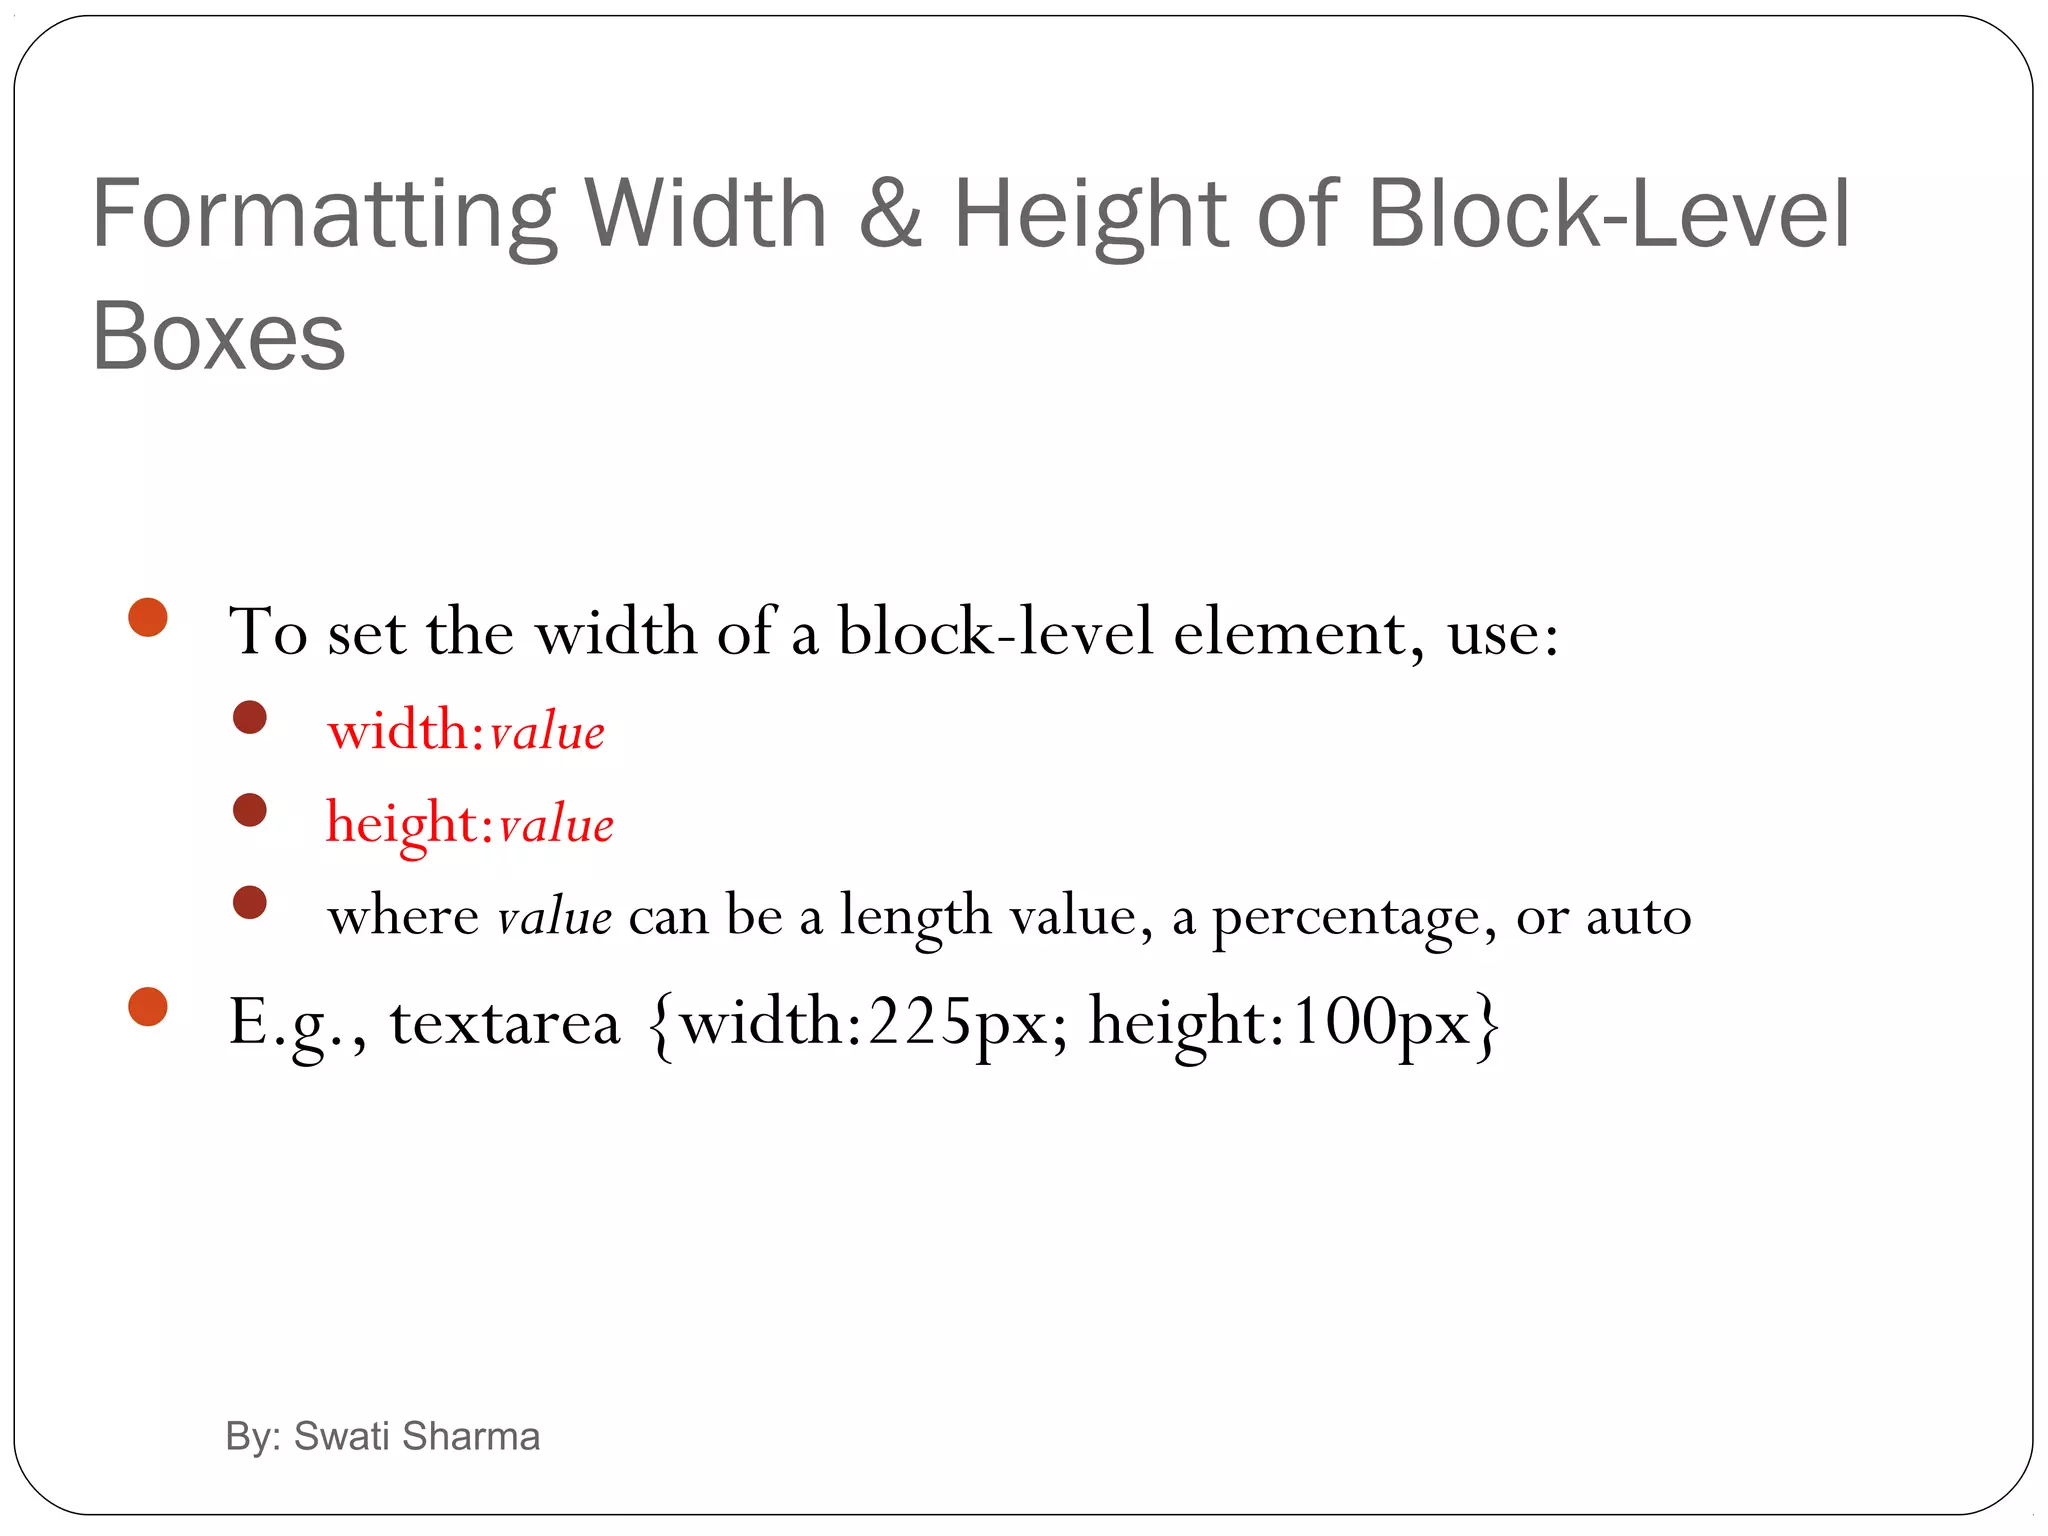
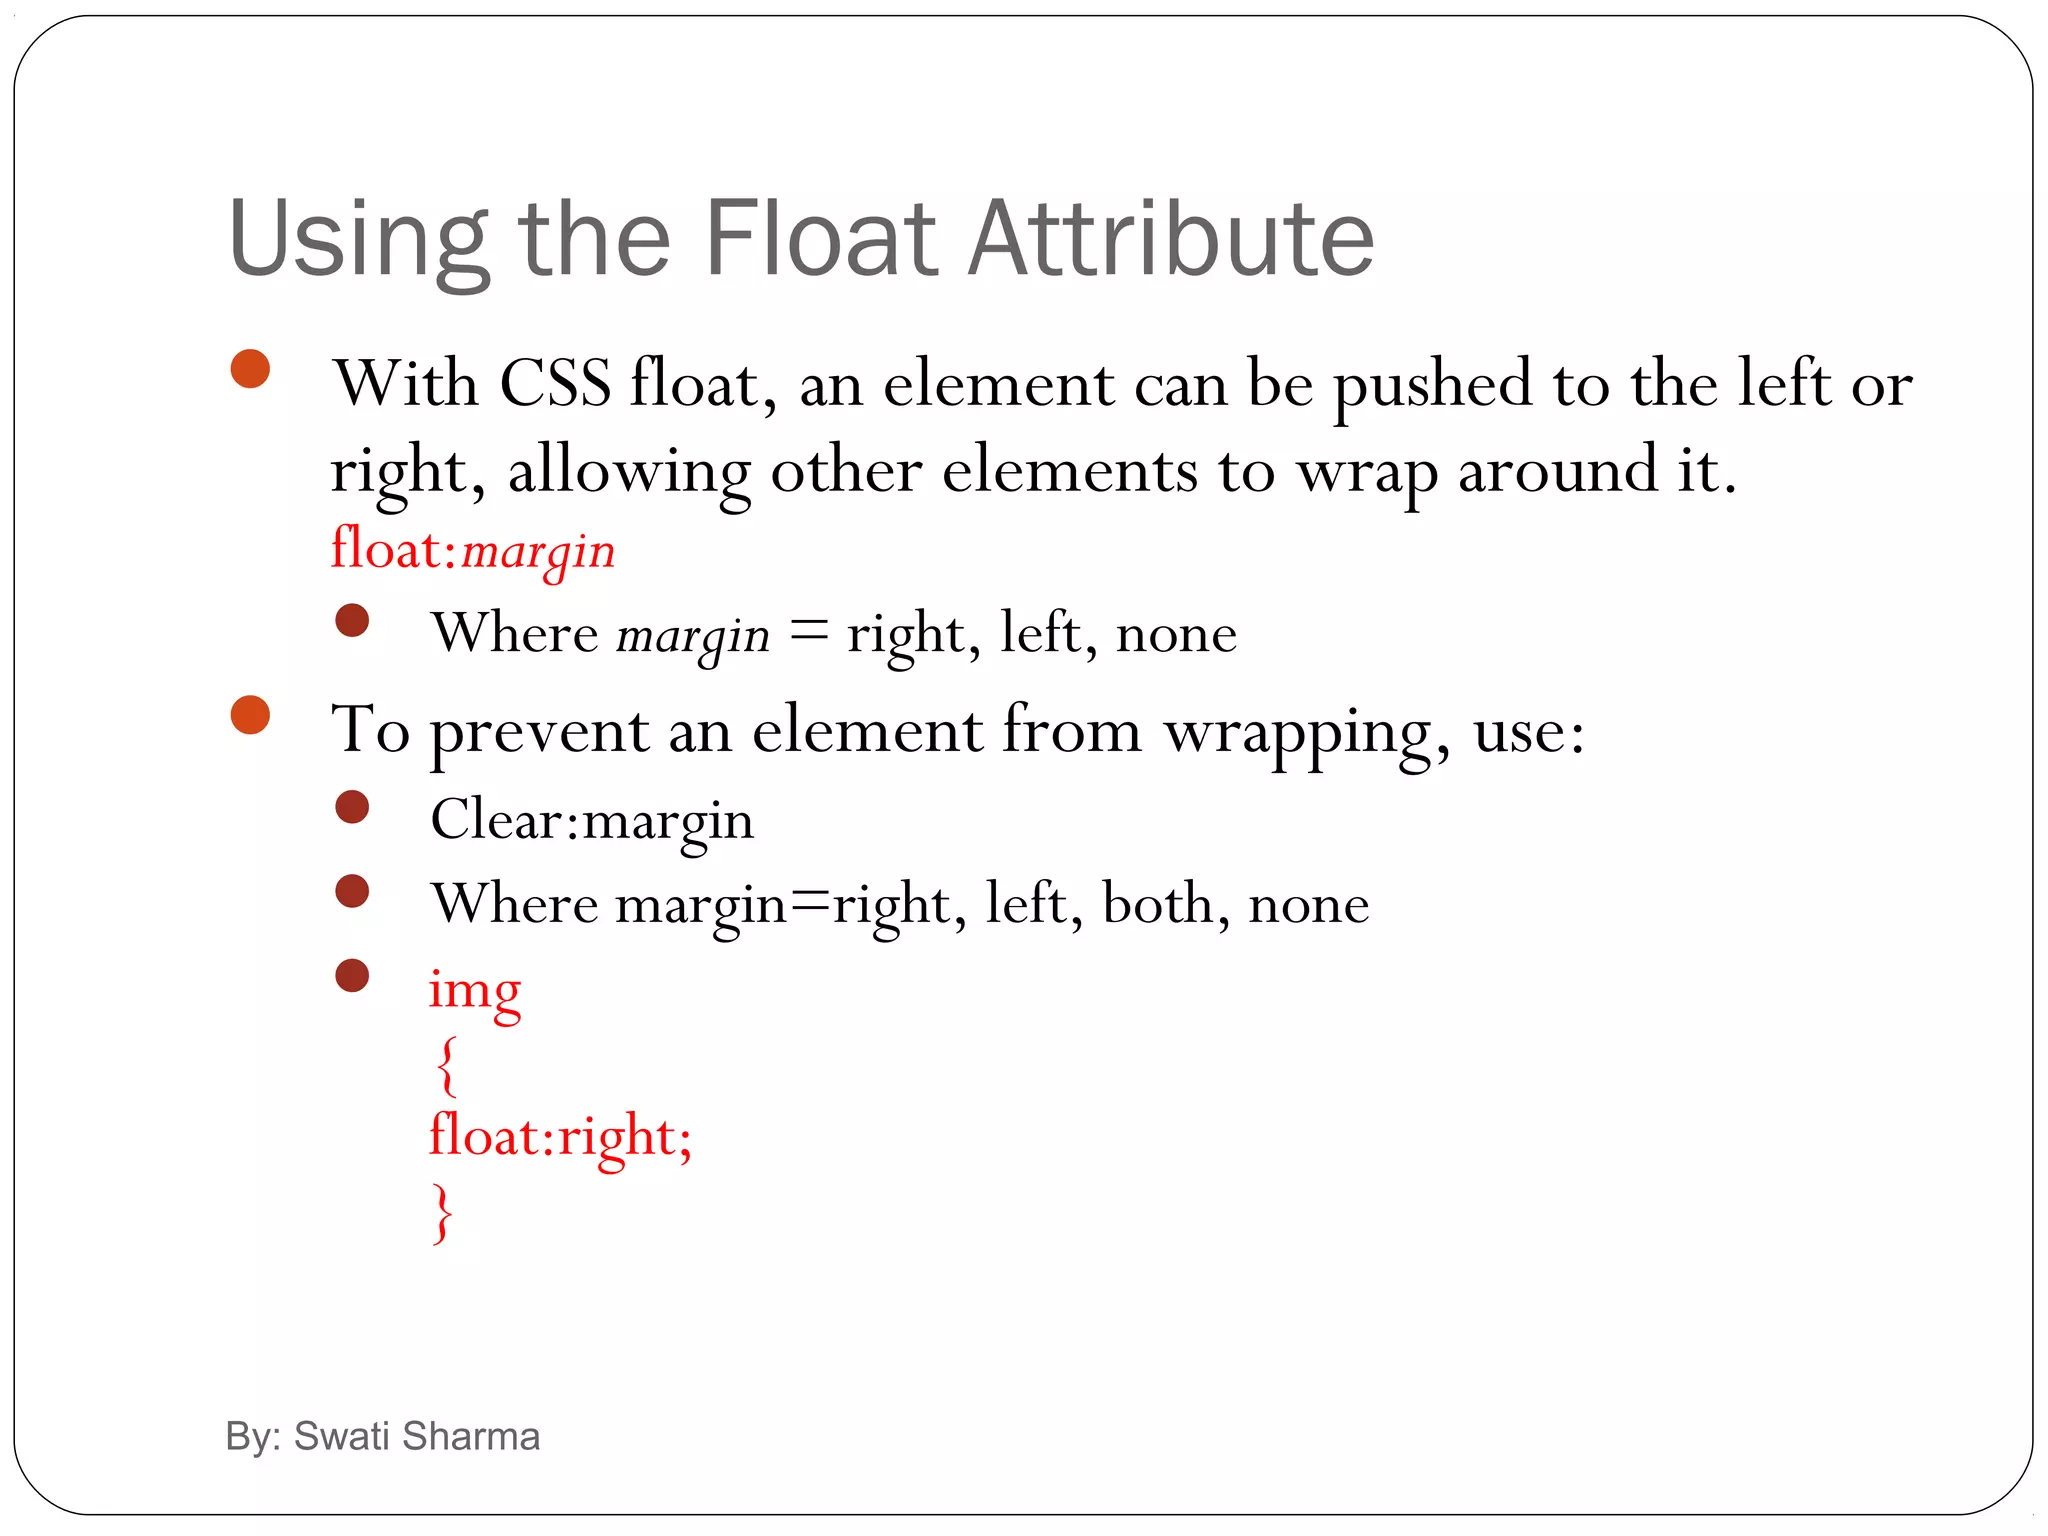
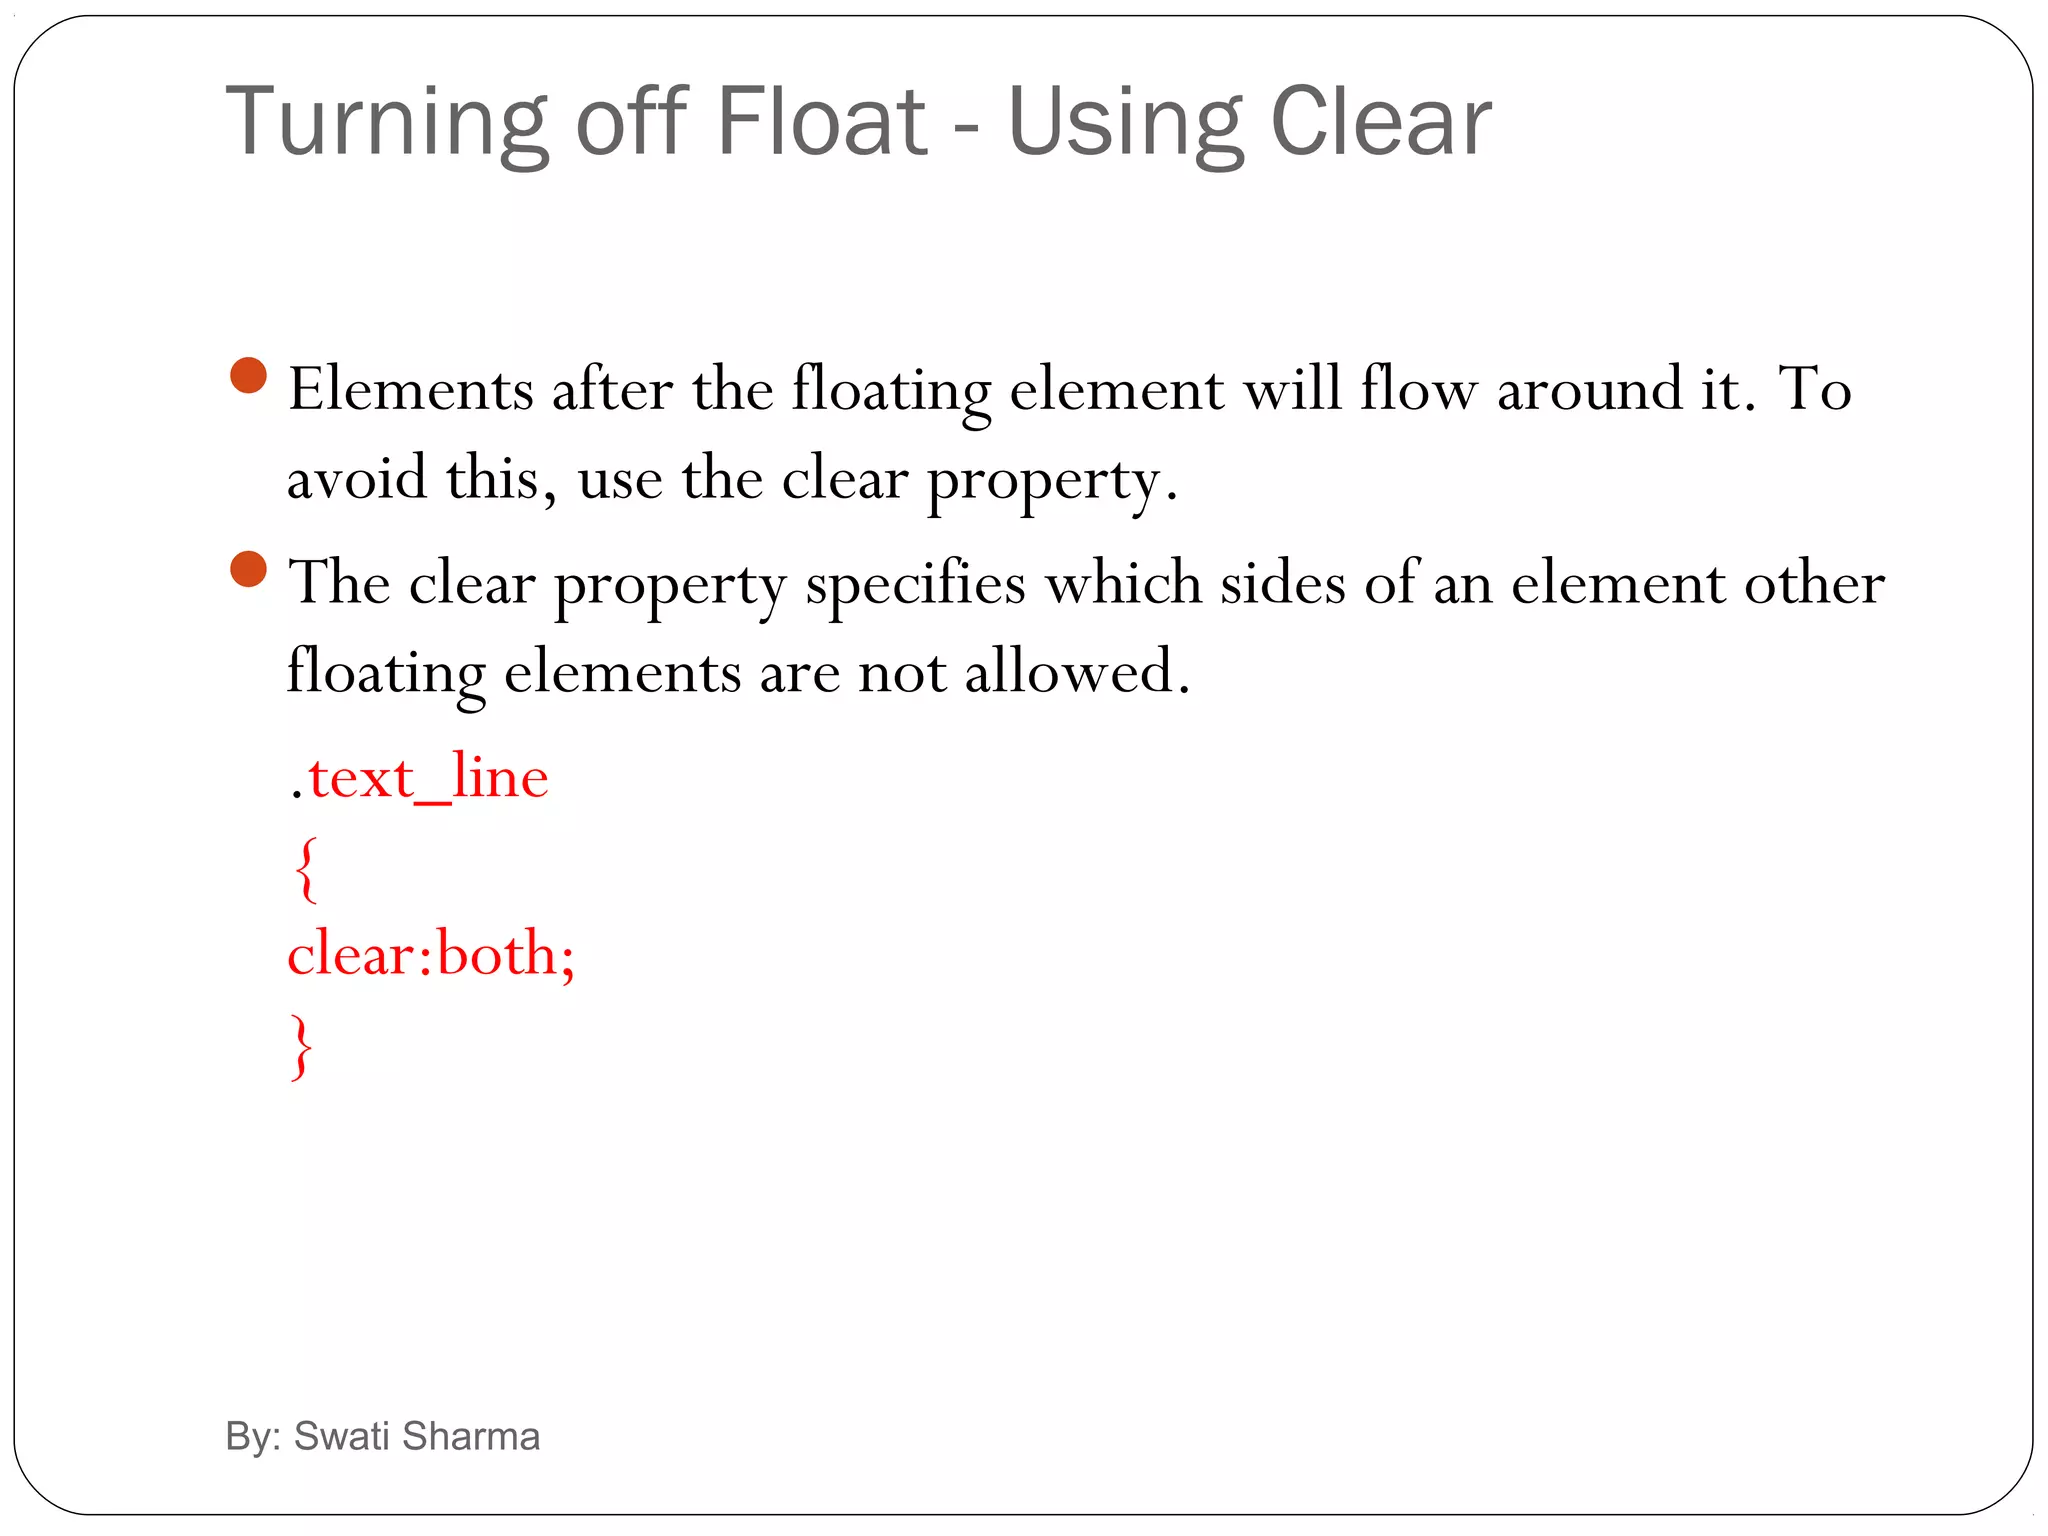
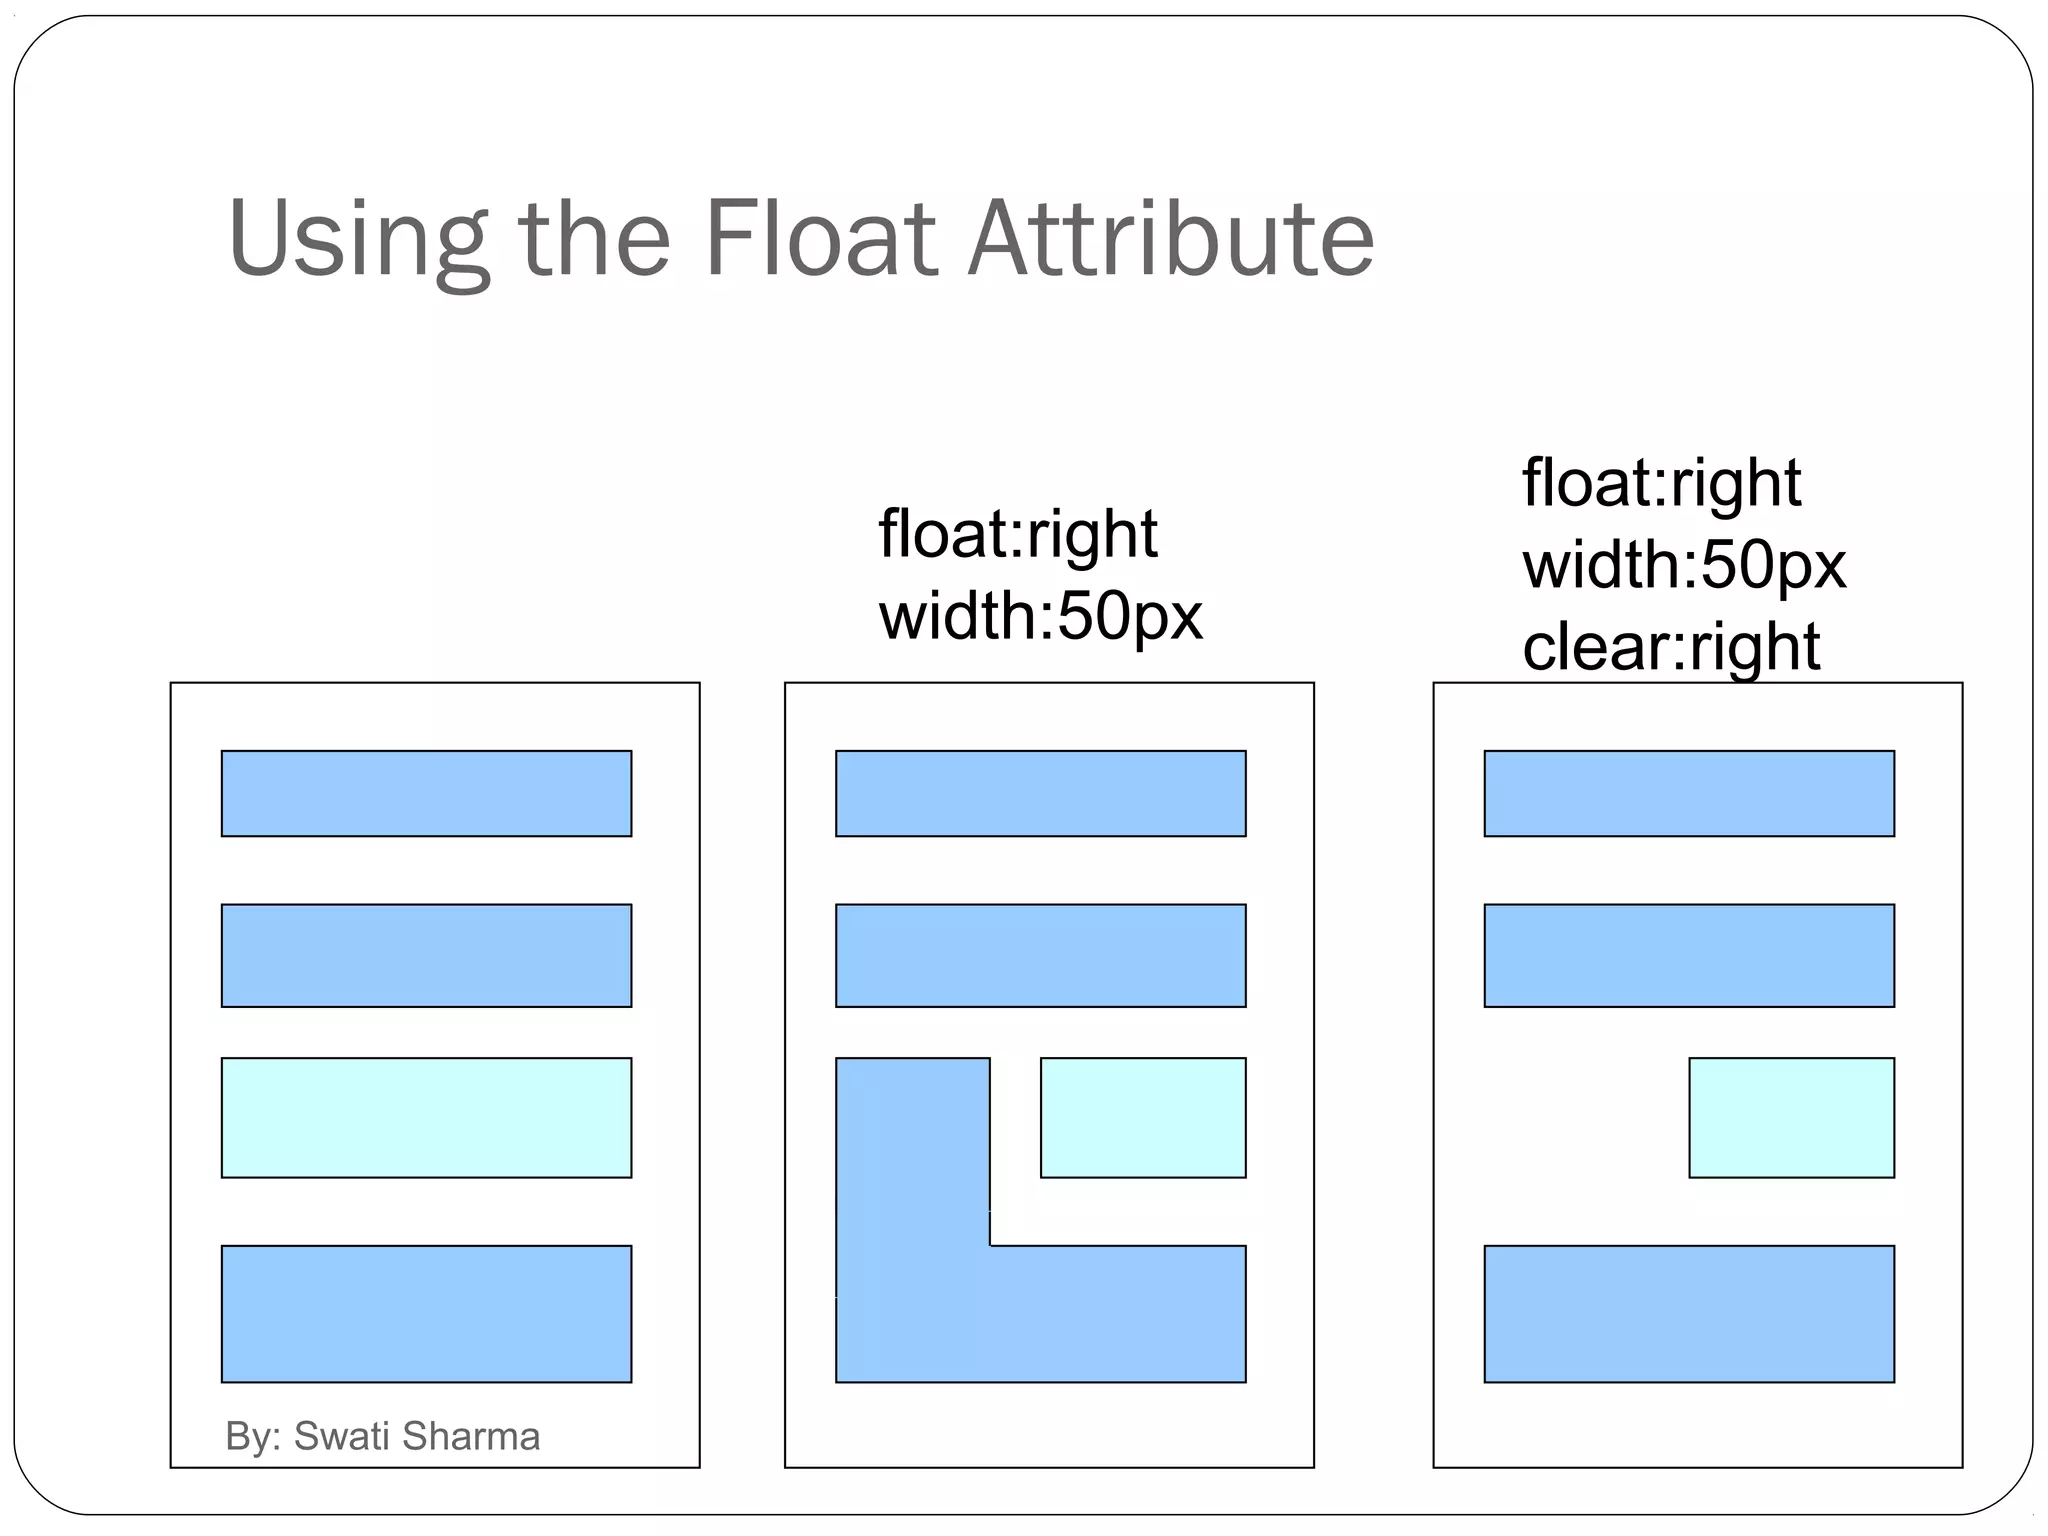
Explains how to set width and height for elements and the float attribute to manage layout.
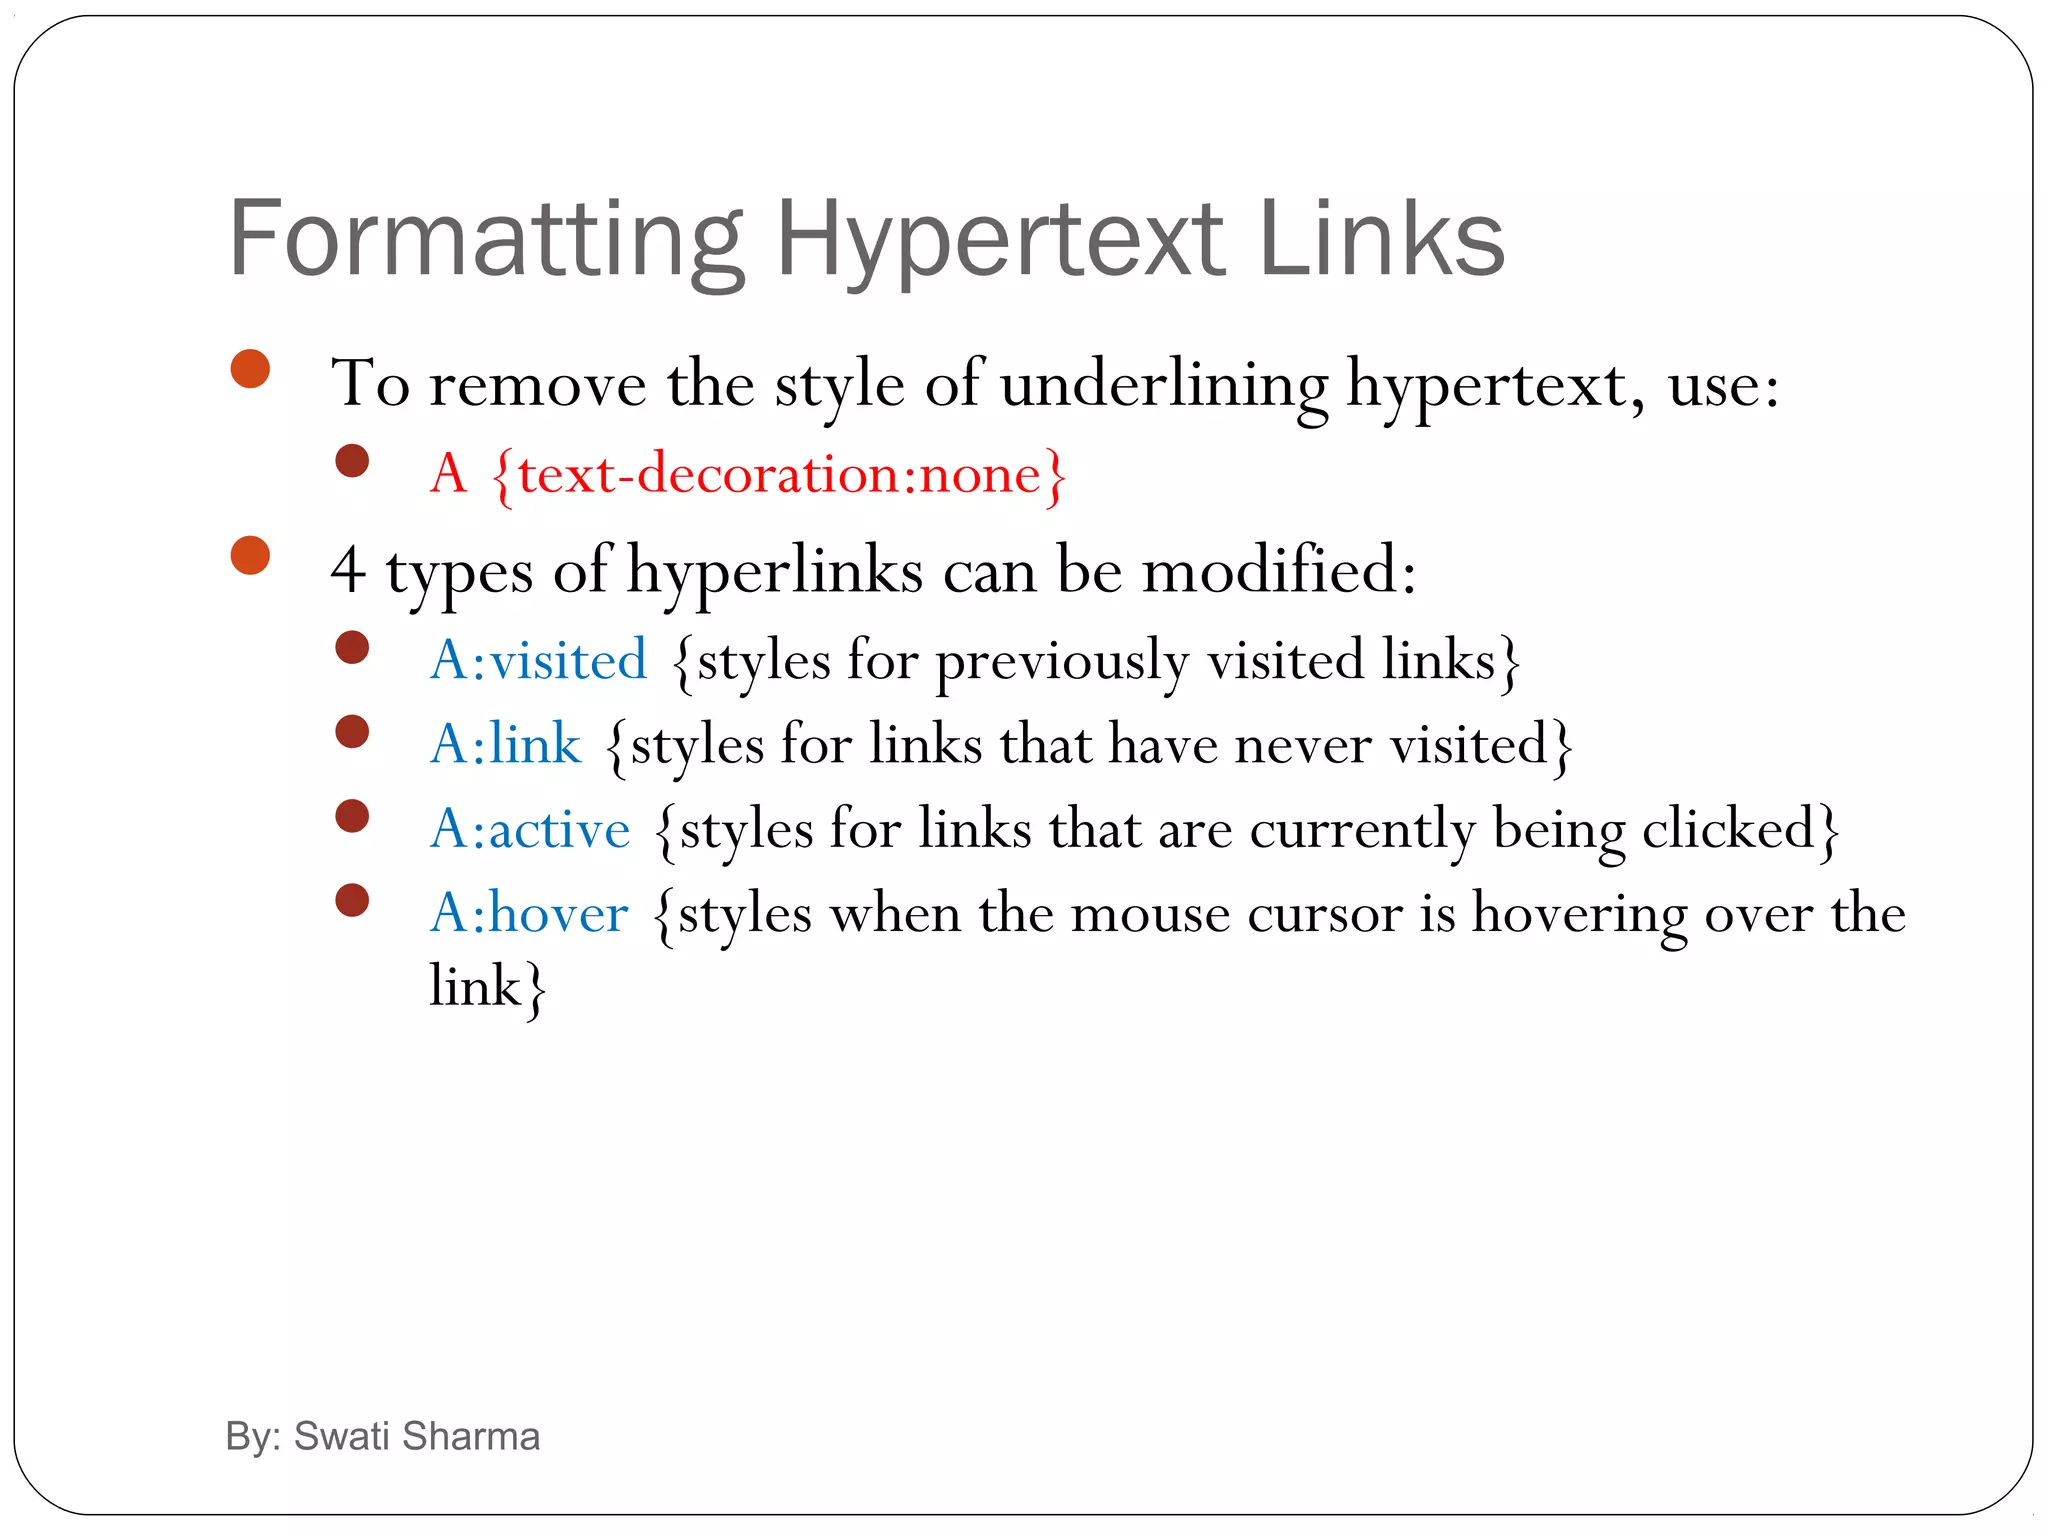
Discusses removing underline from hyperlinks and customizing styles for different link states.
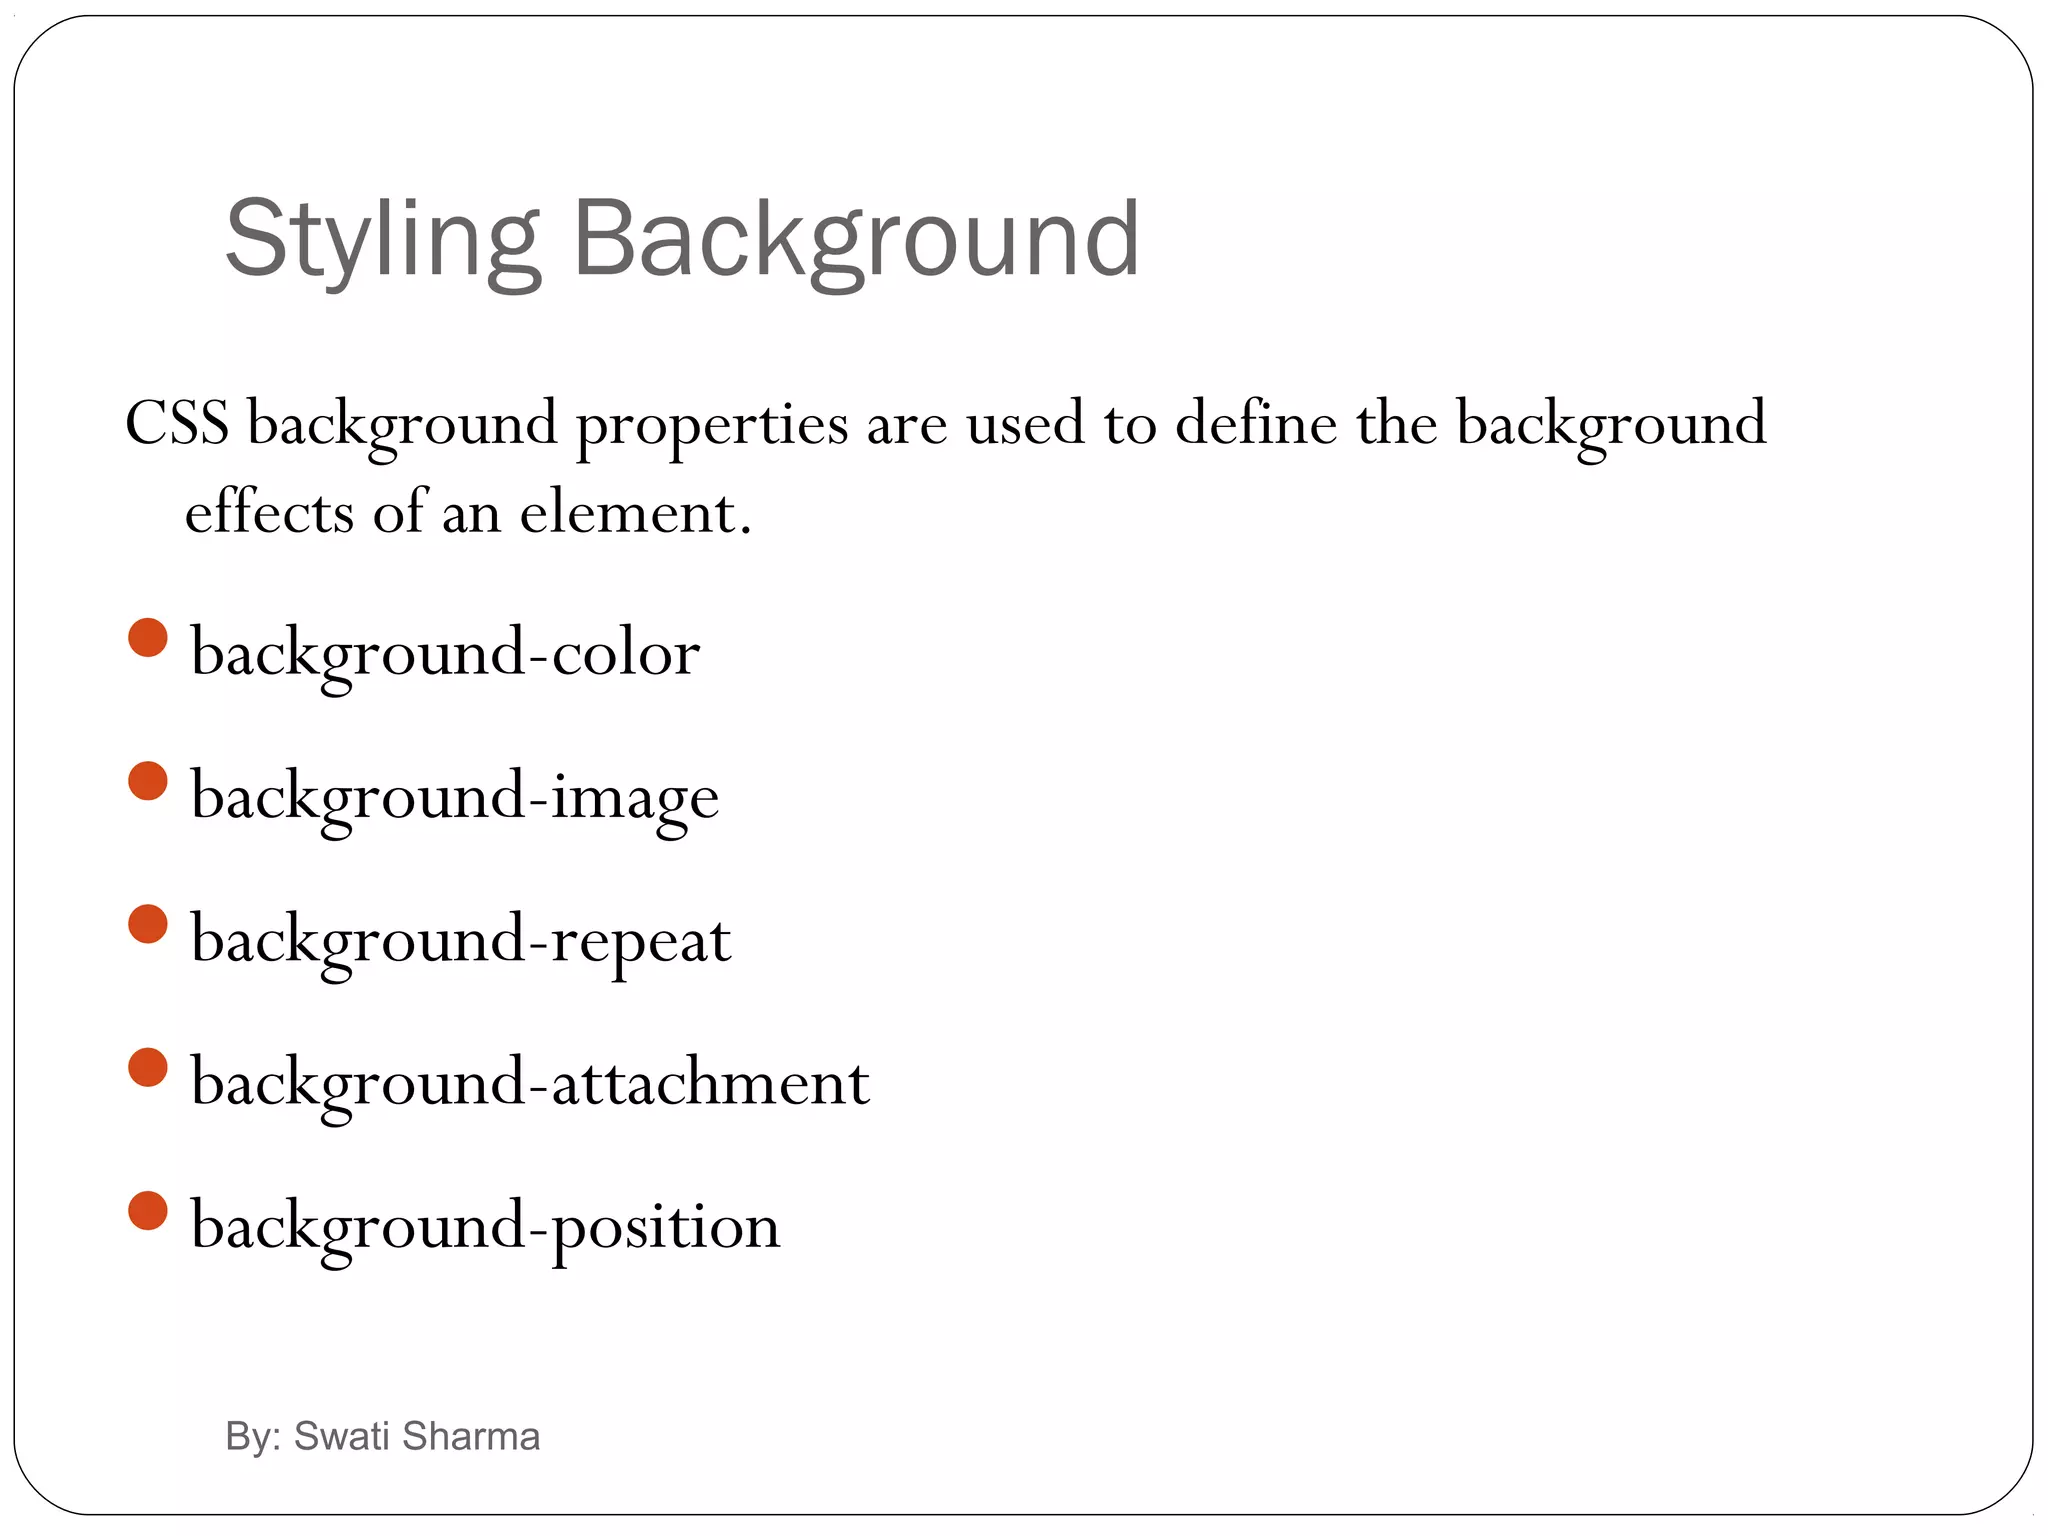
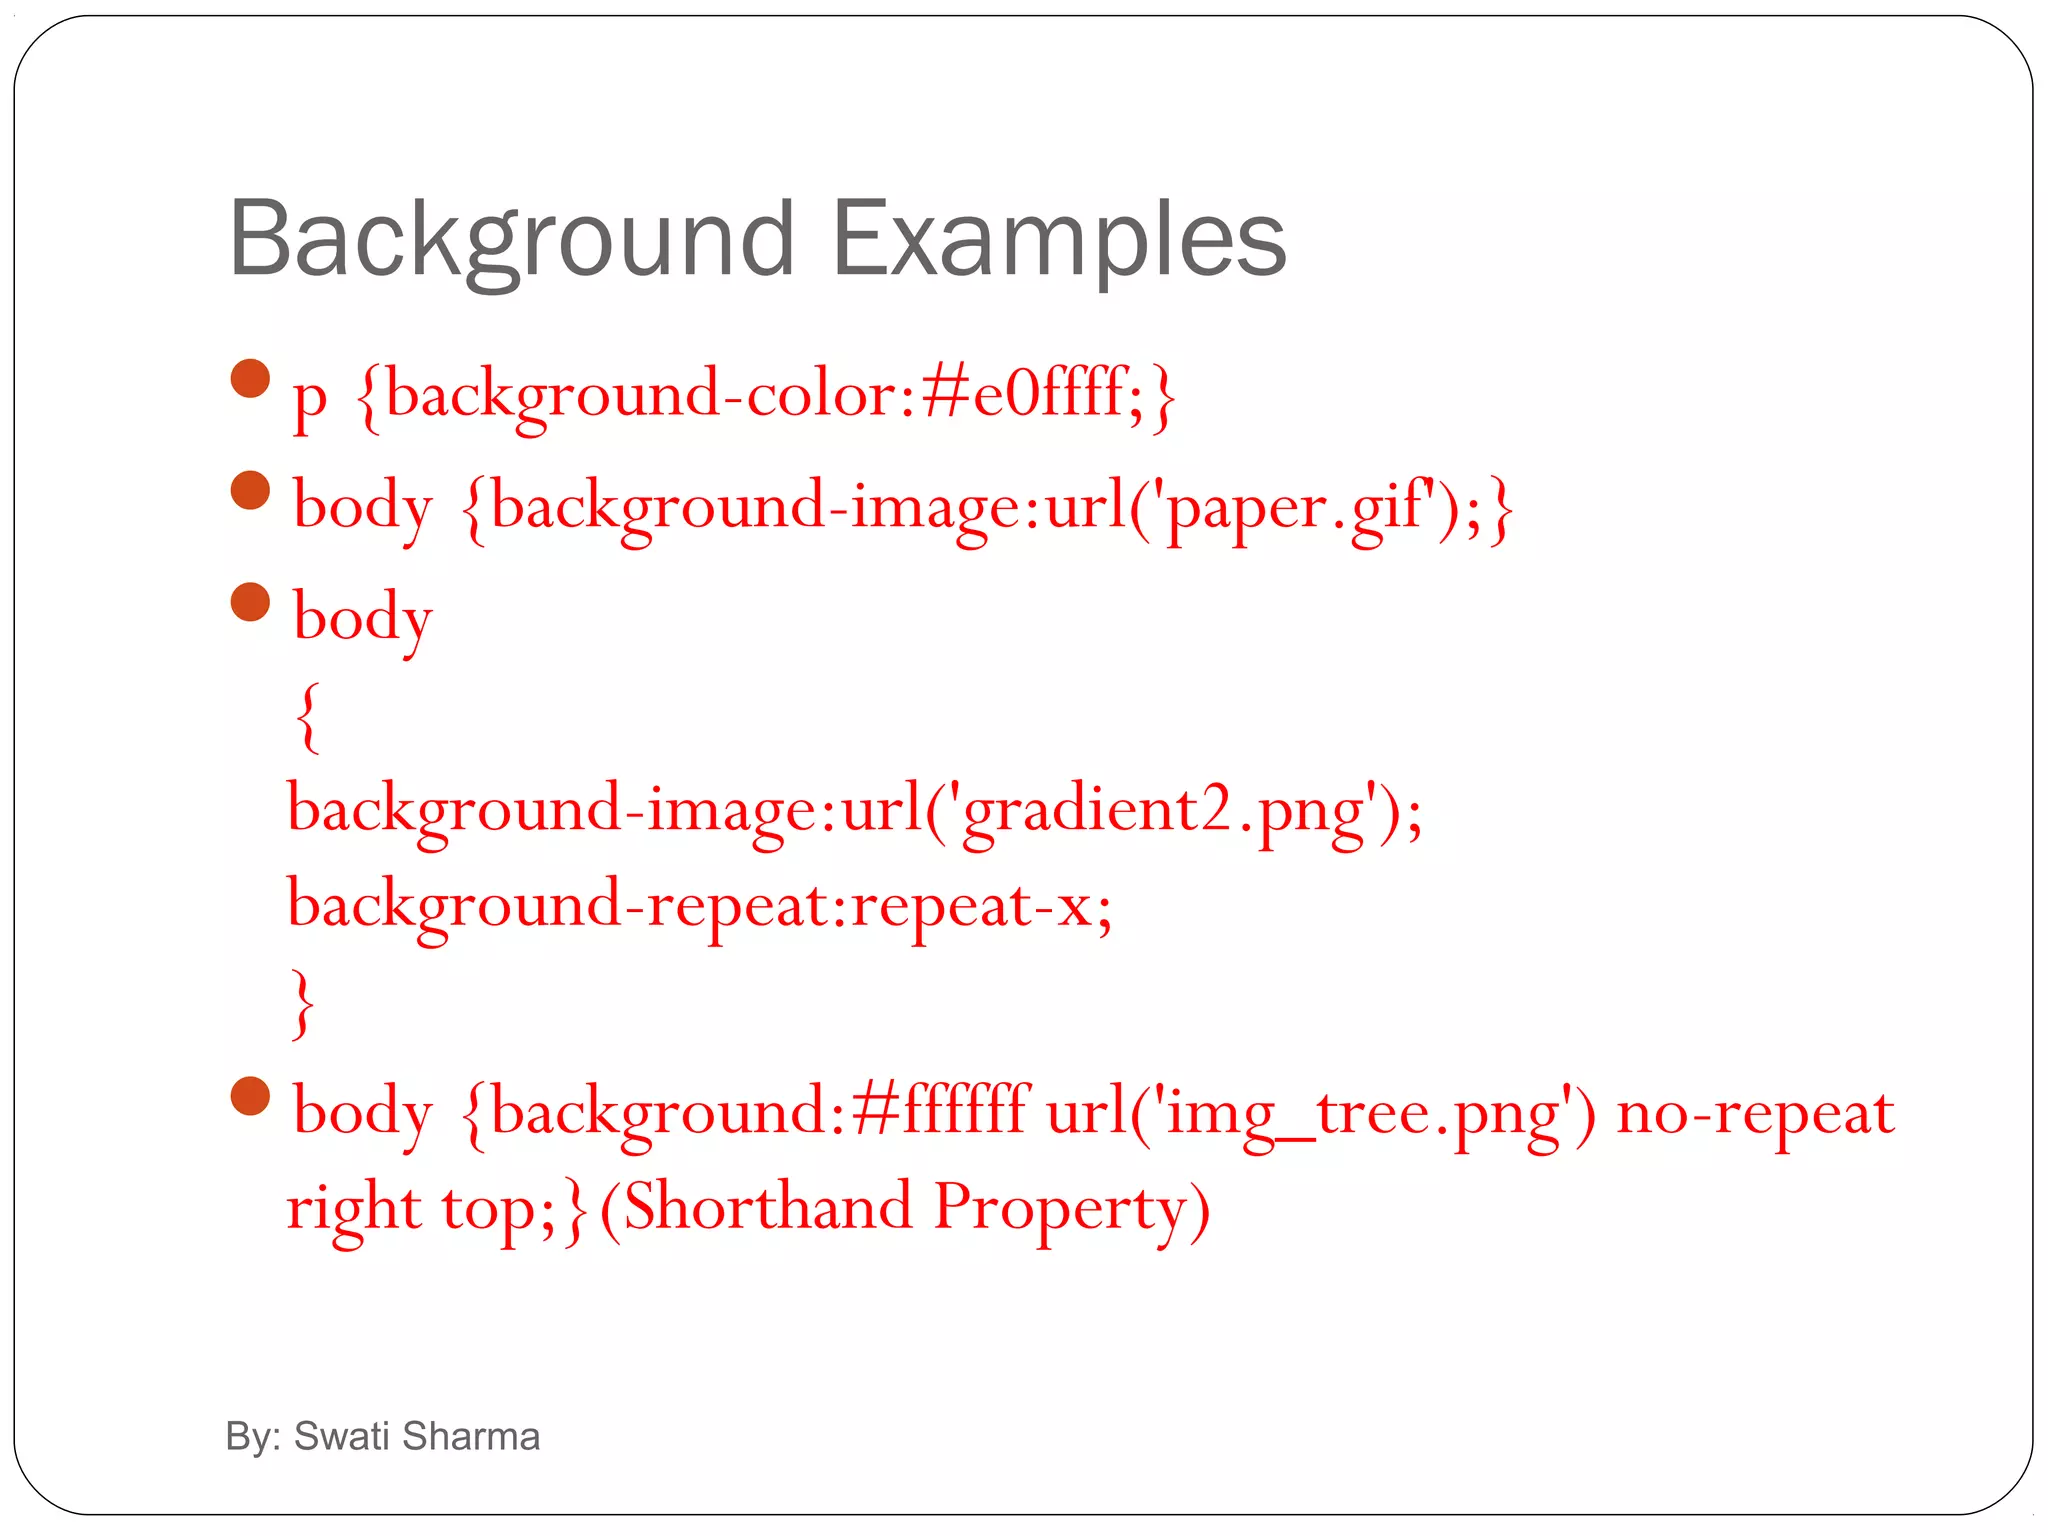
Covers background properties in CSS, including color, images, and positioning.
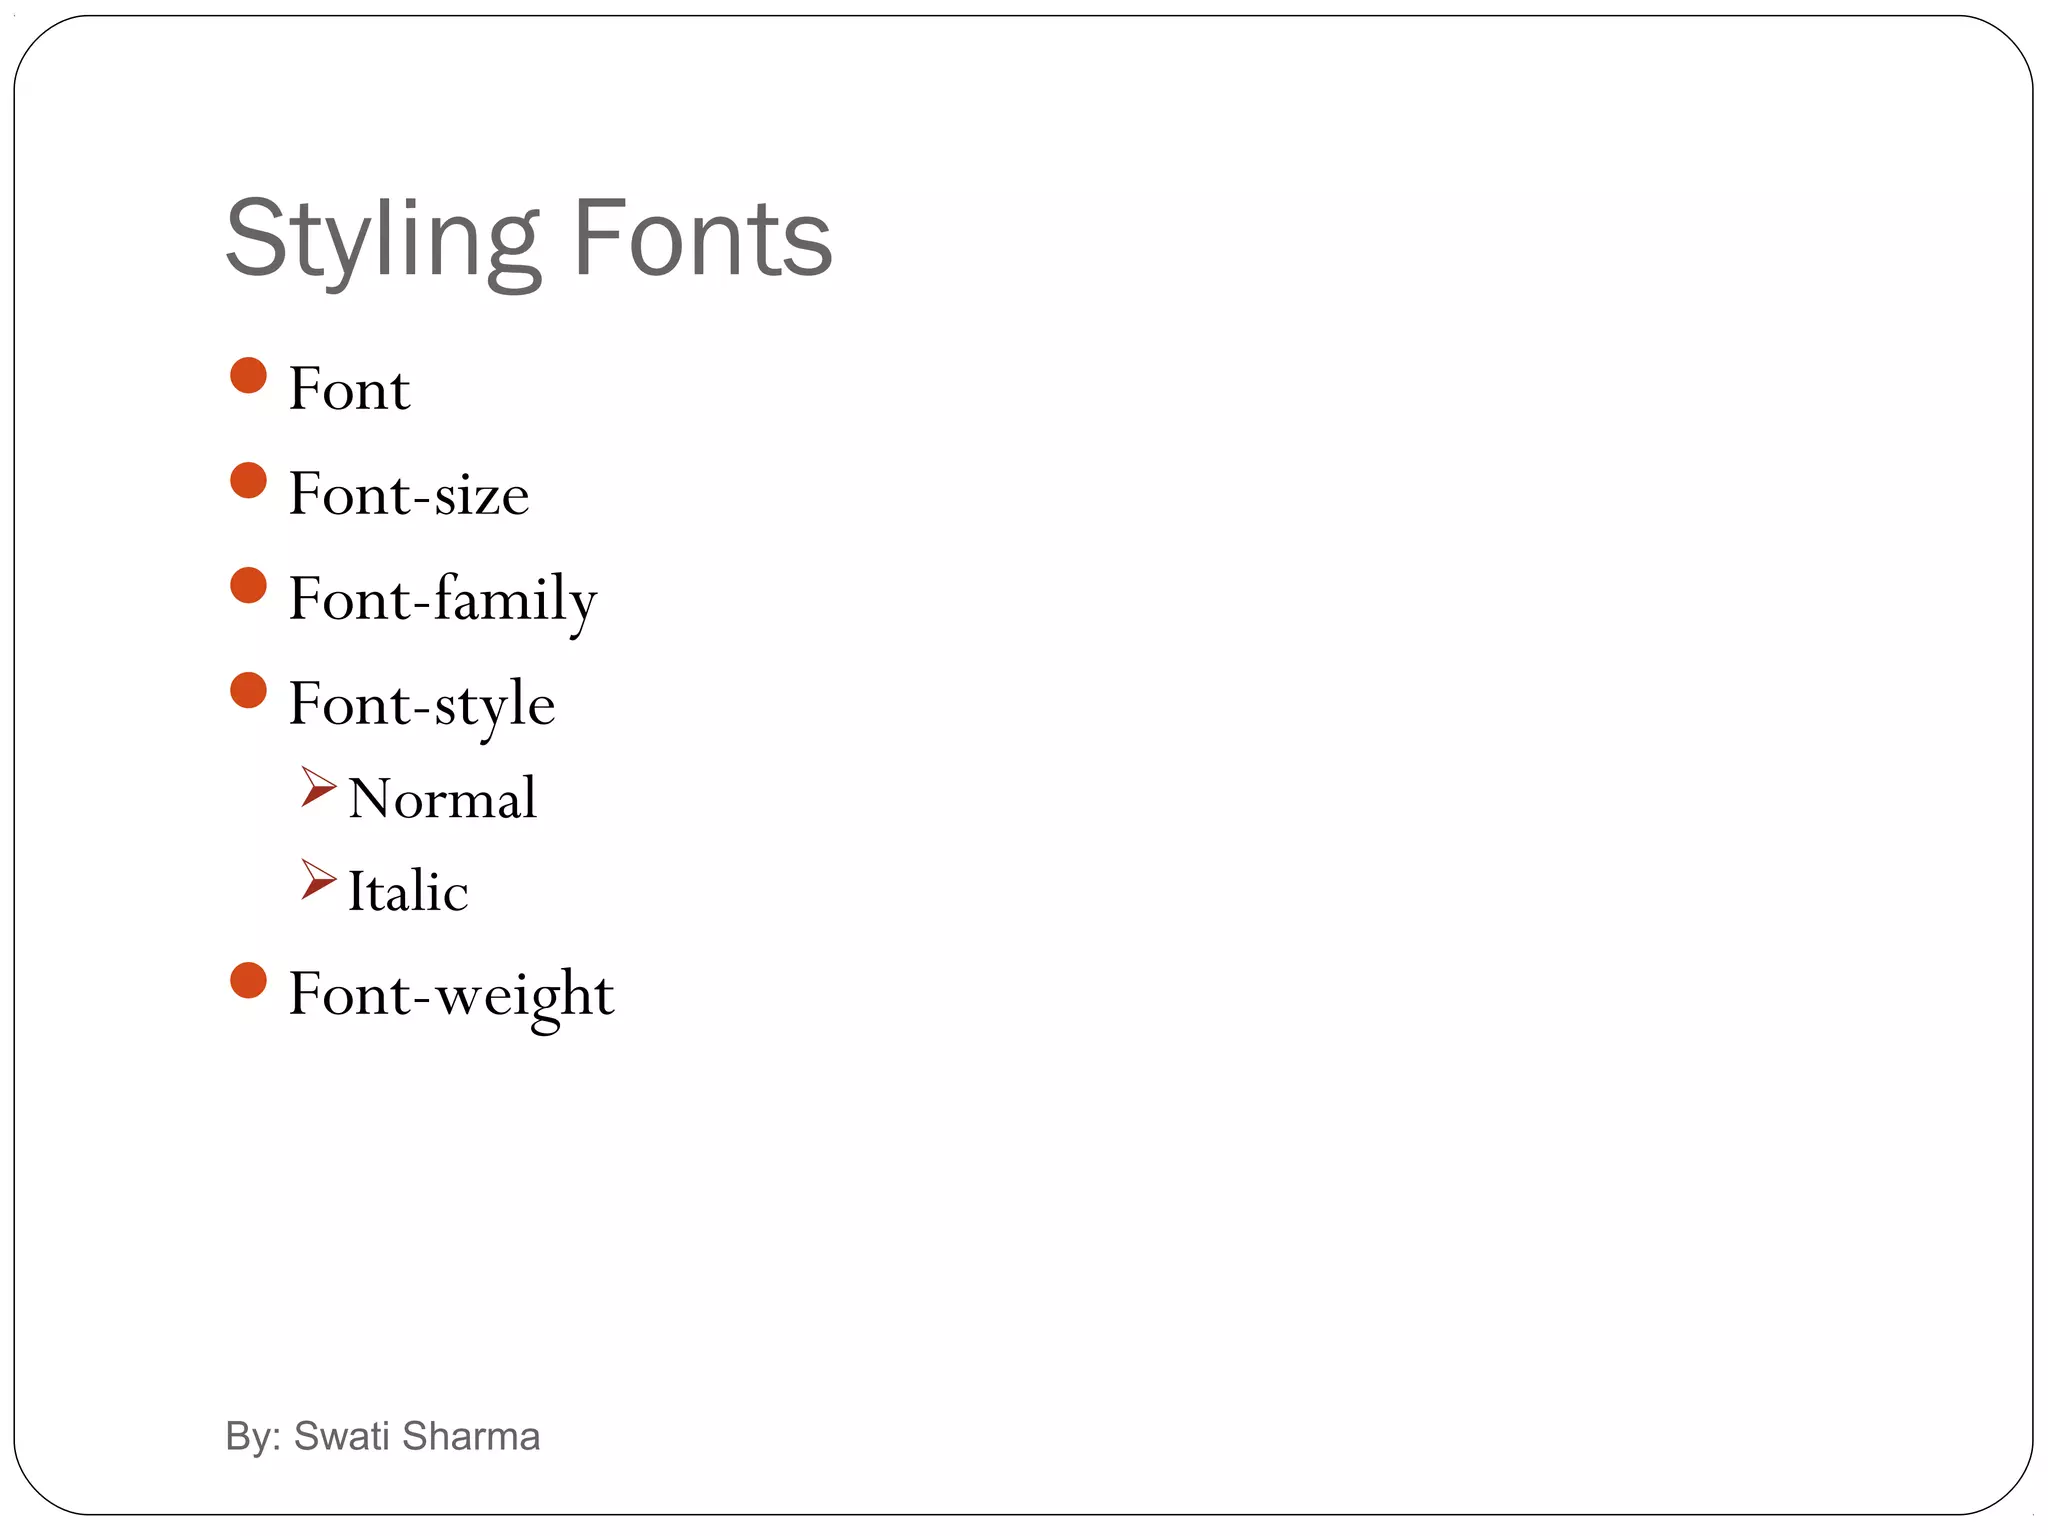
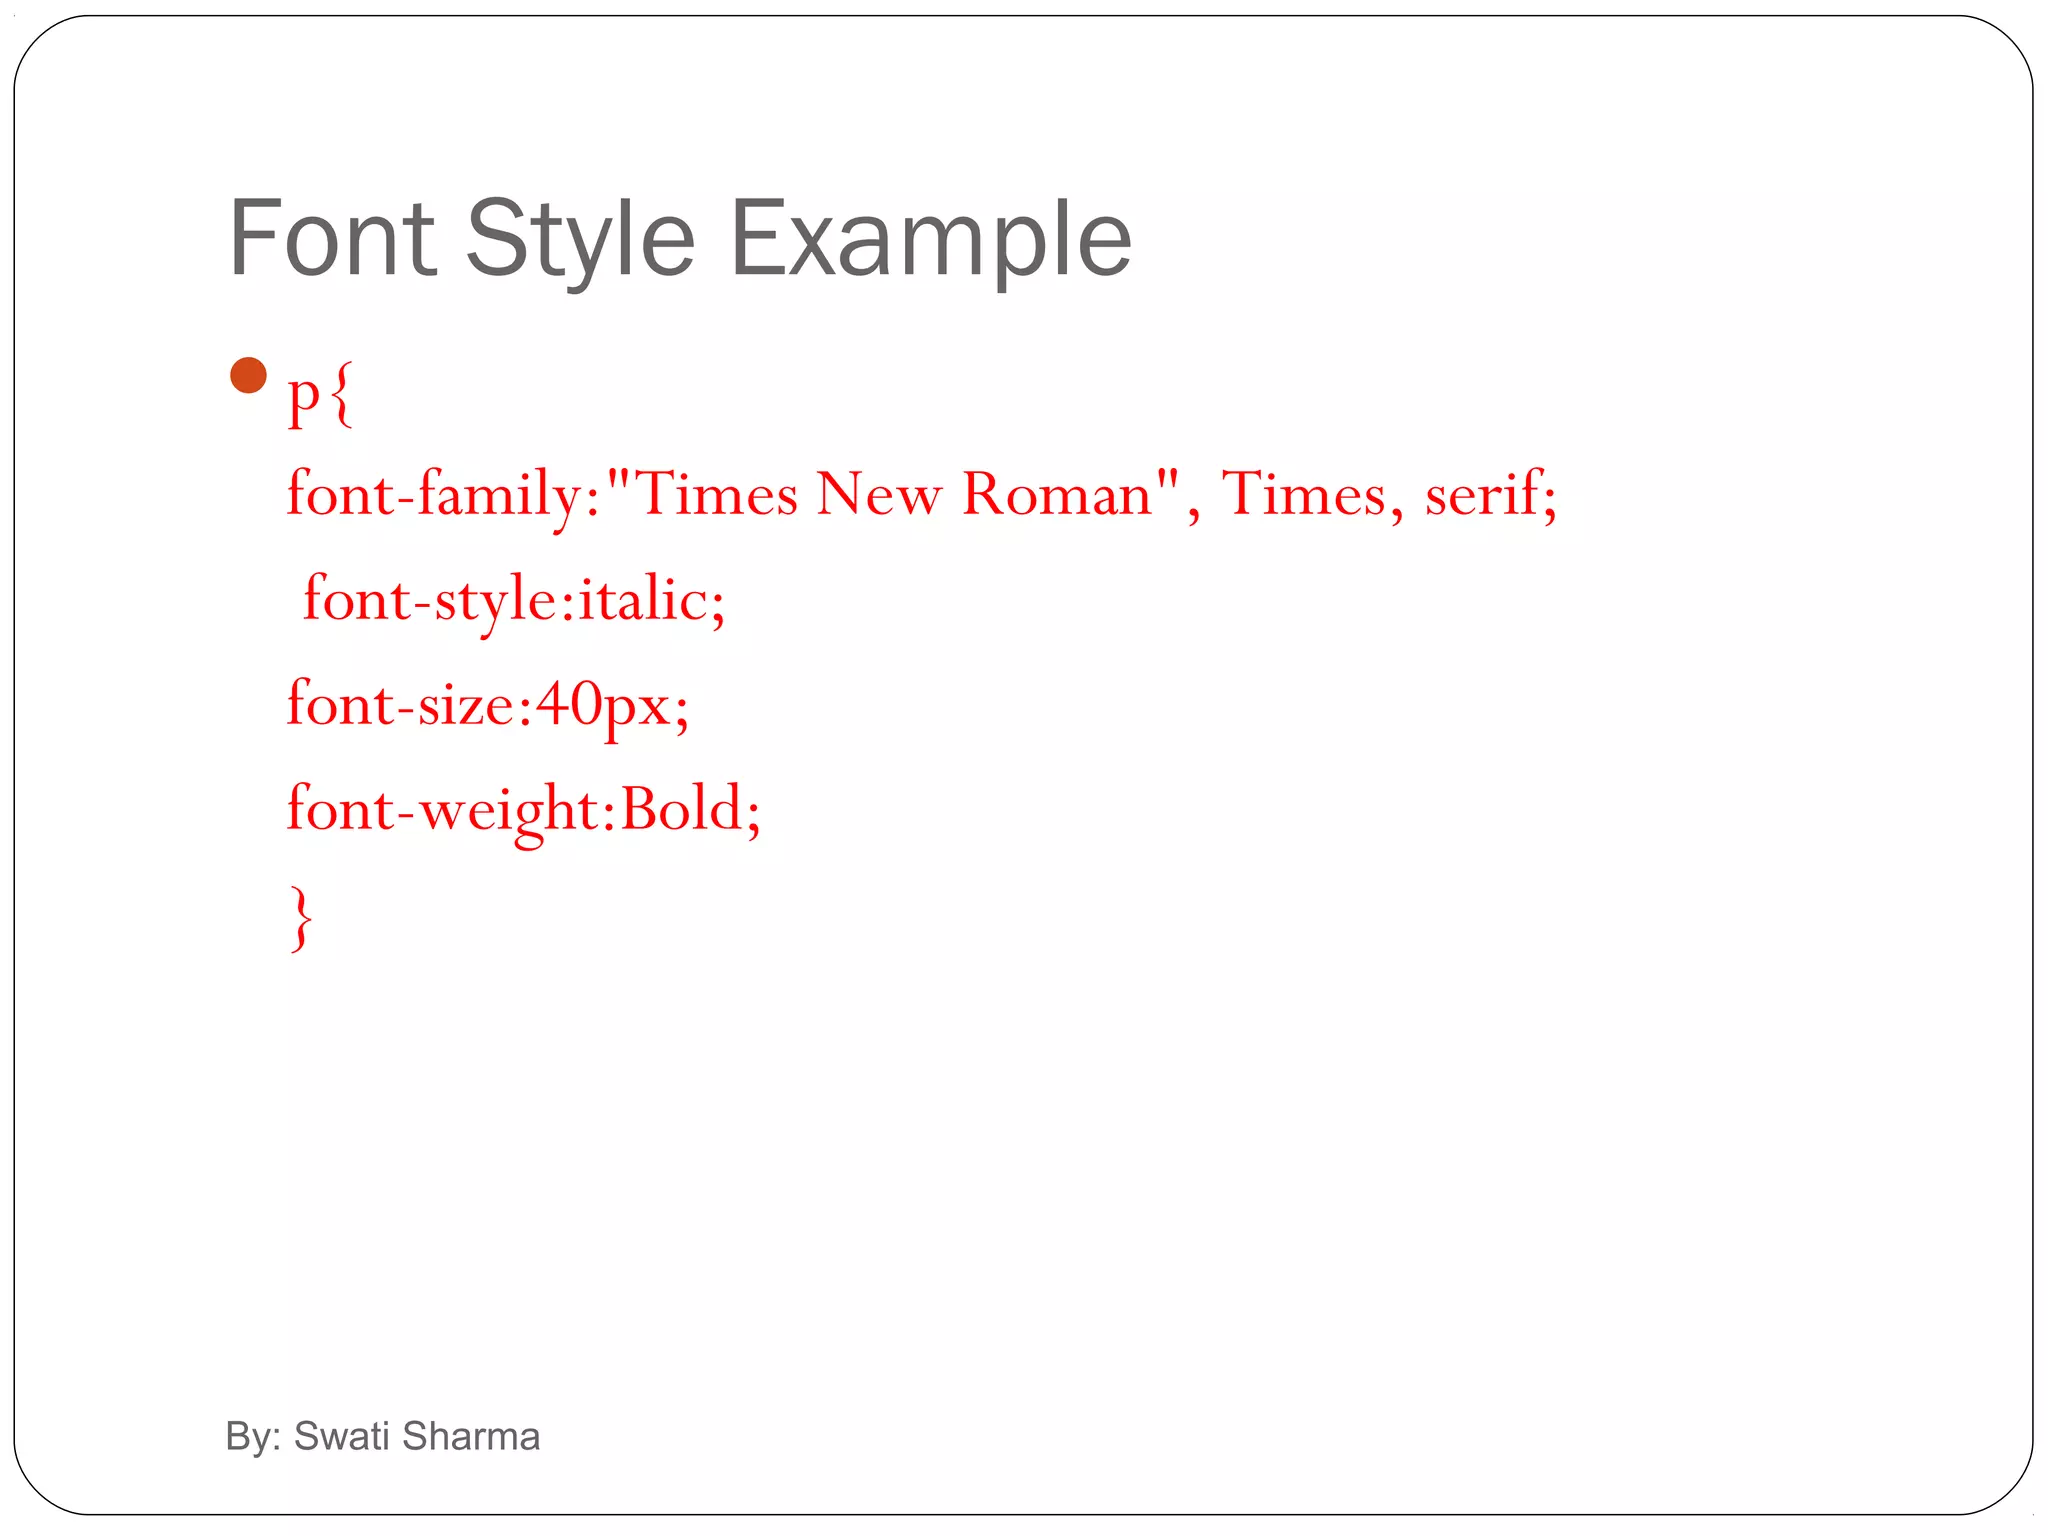
Describes various font properties in CSS such as family, size, style, and weight.
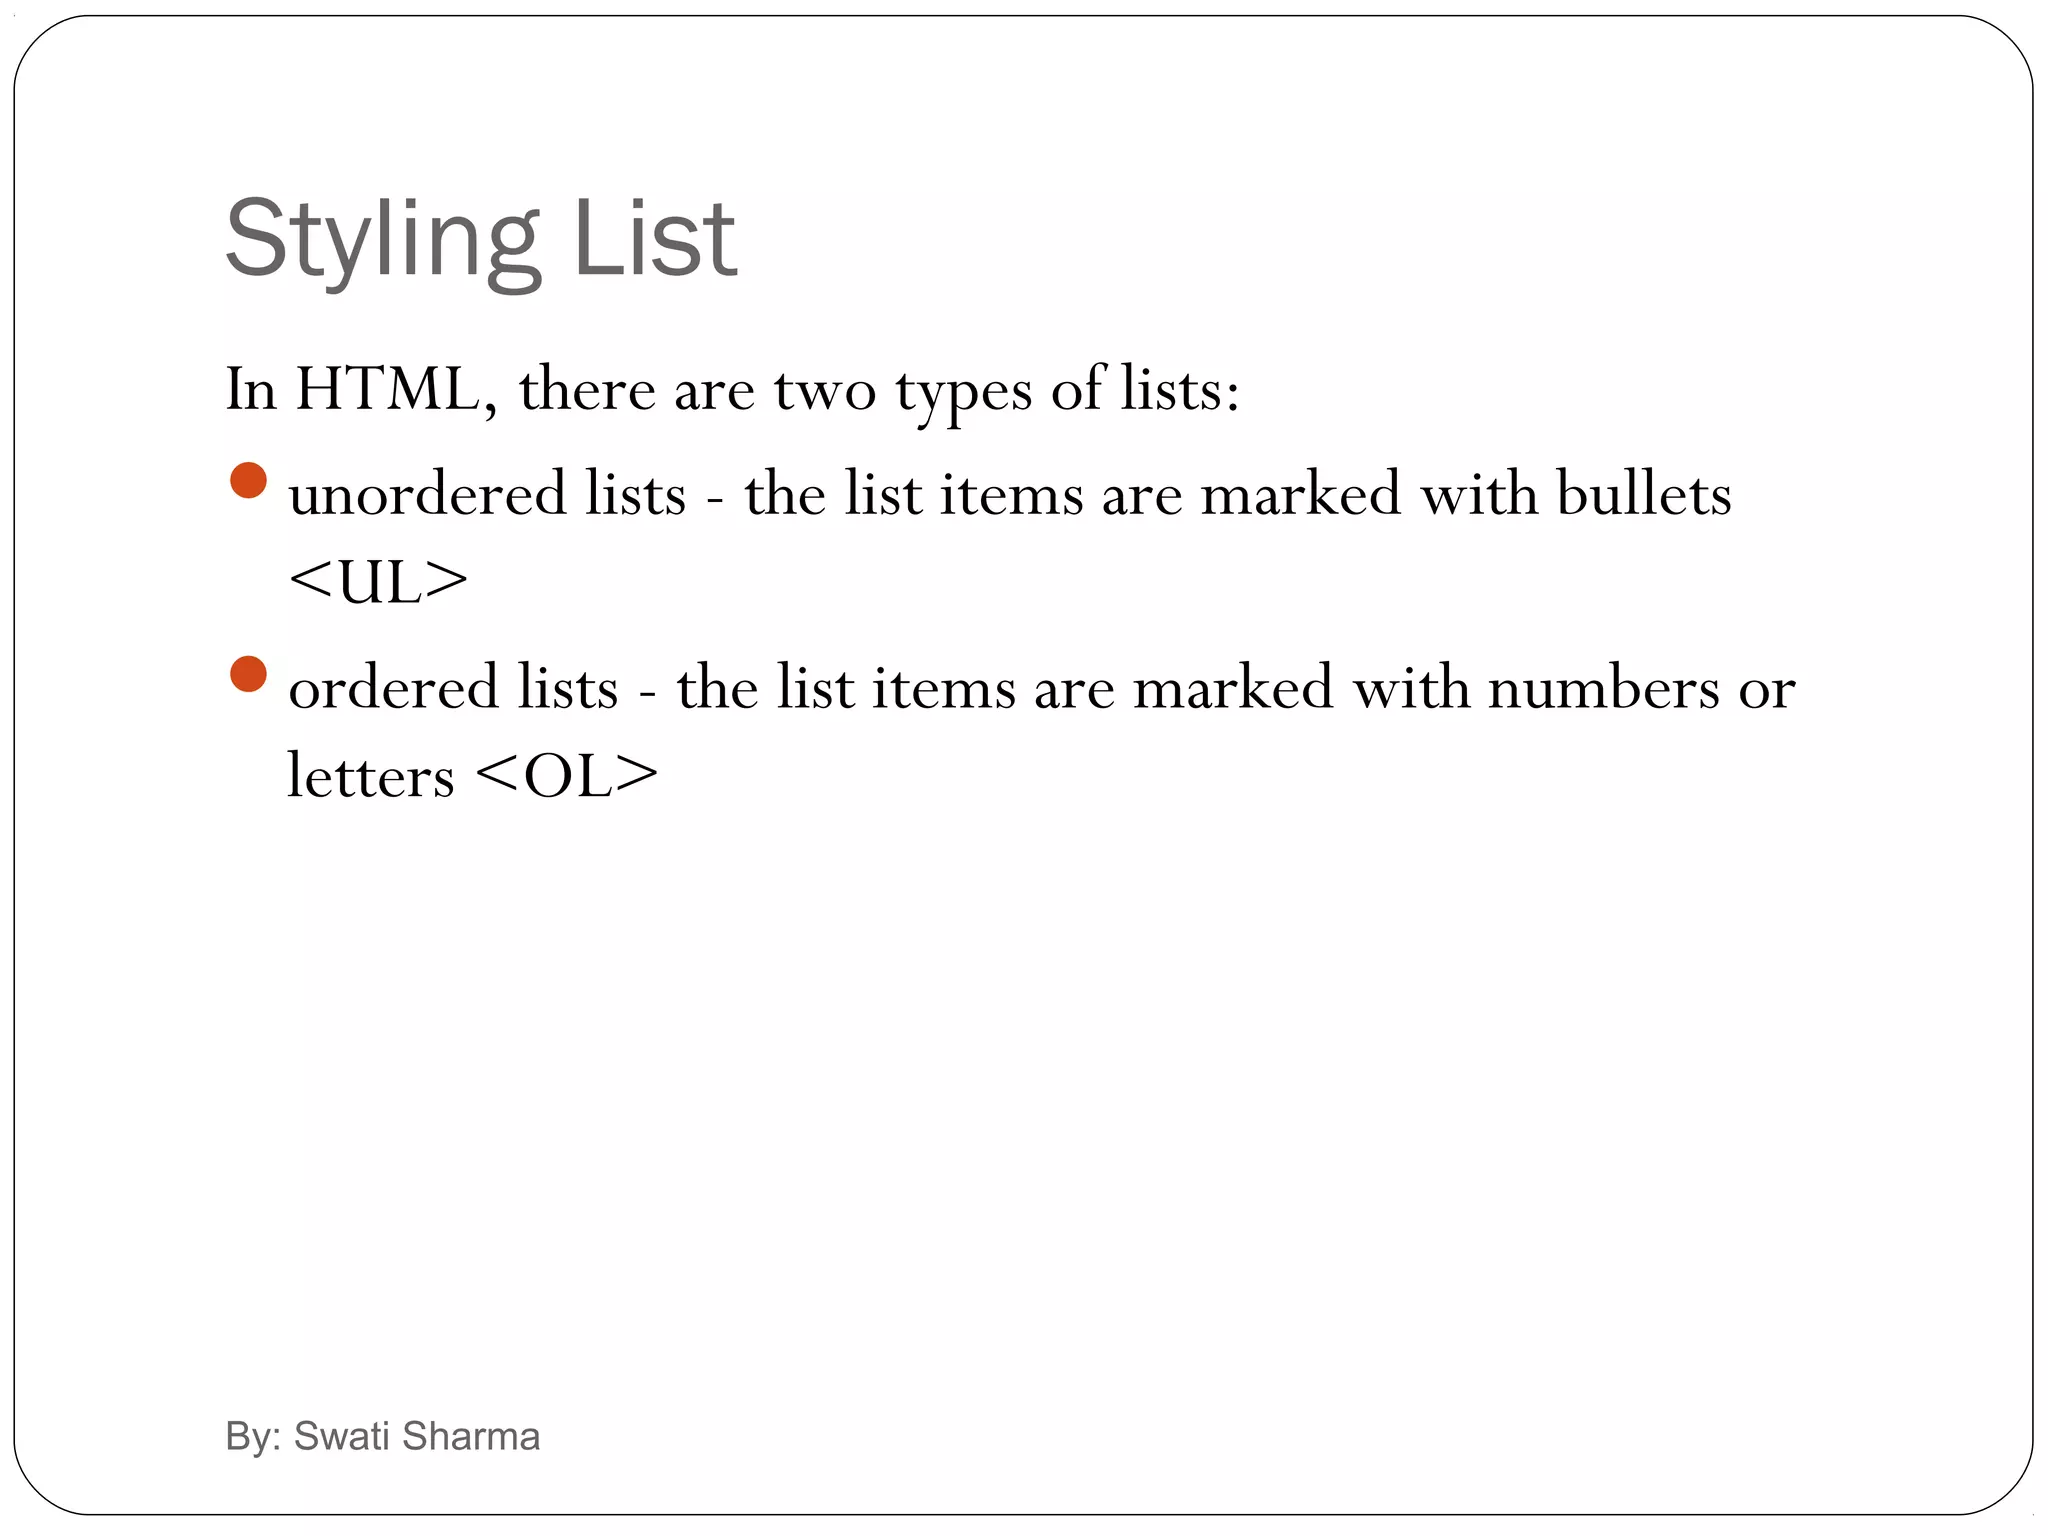
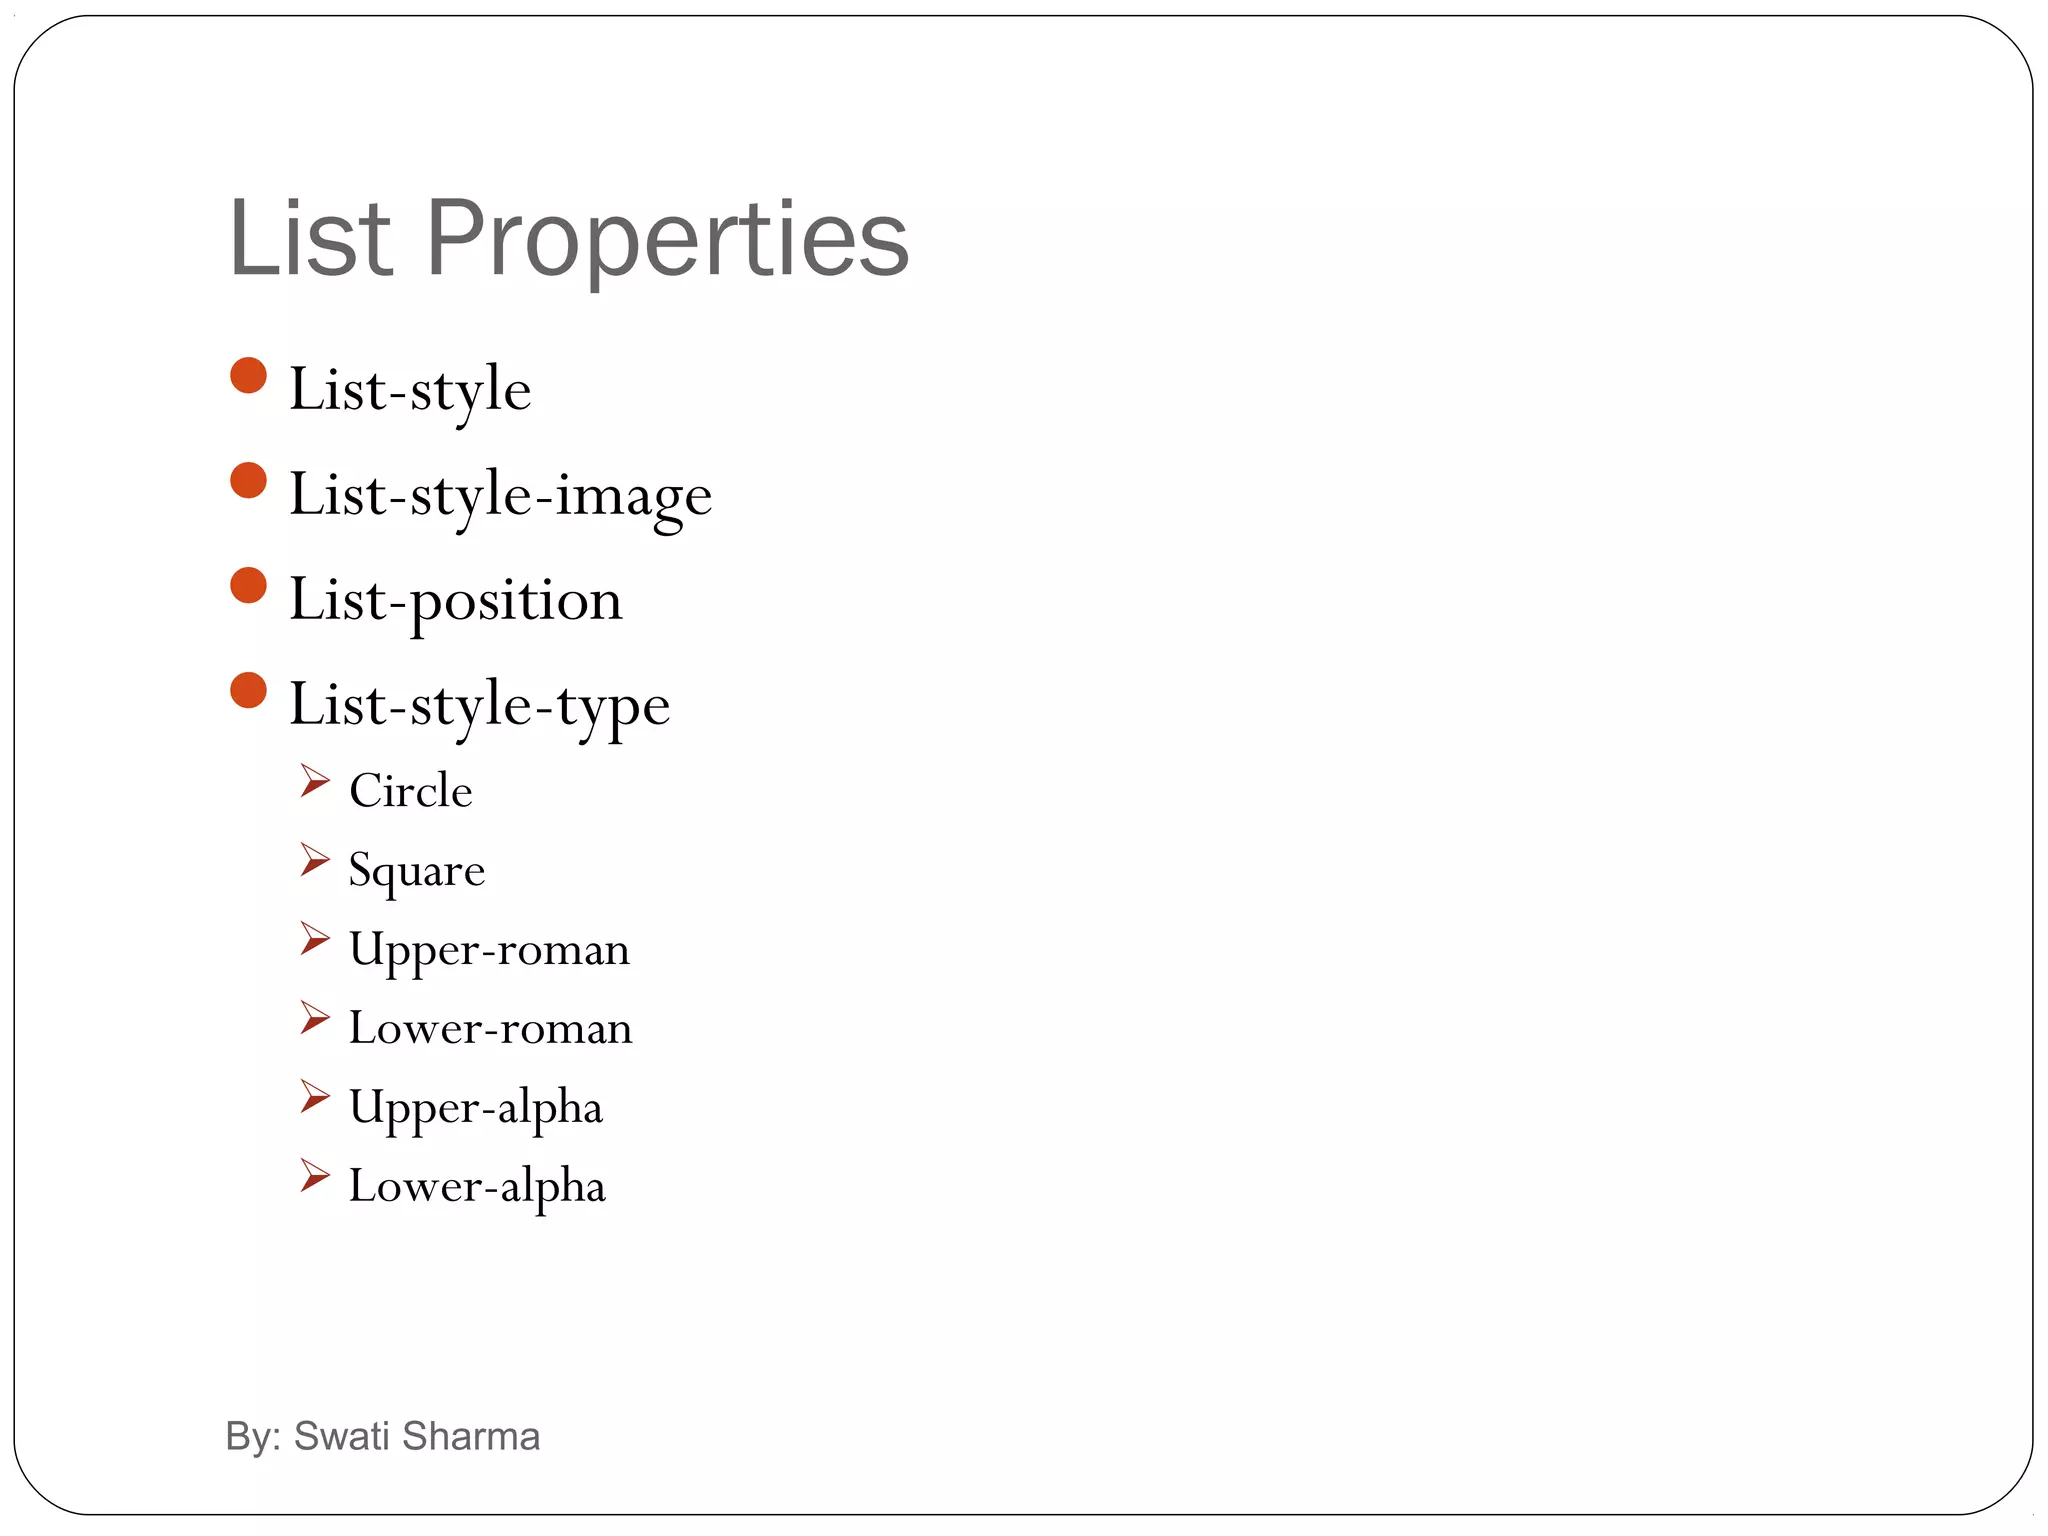
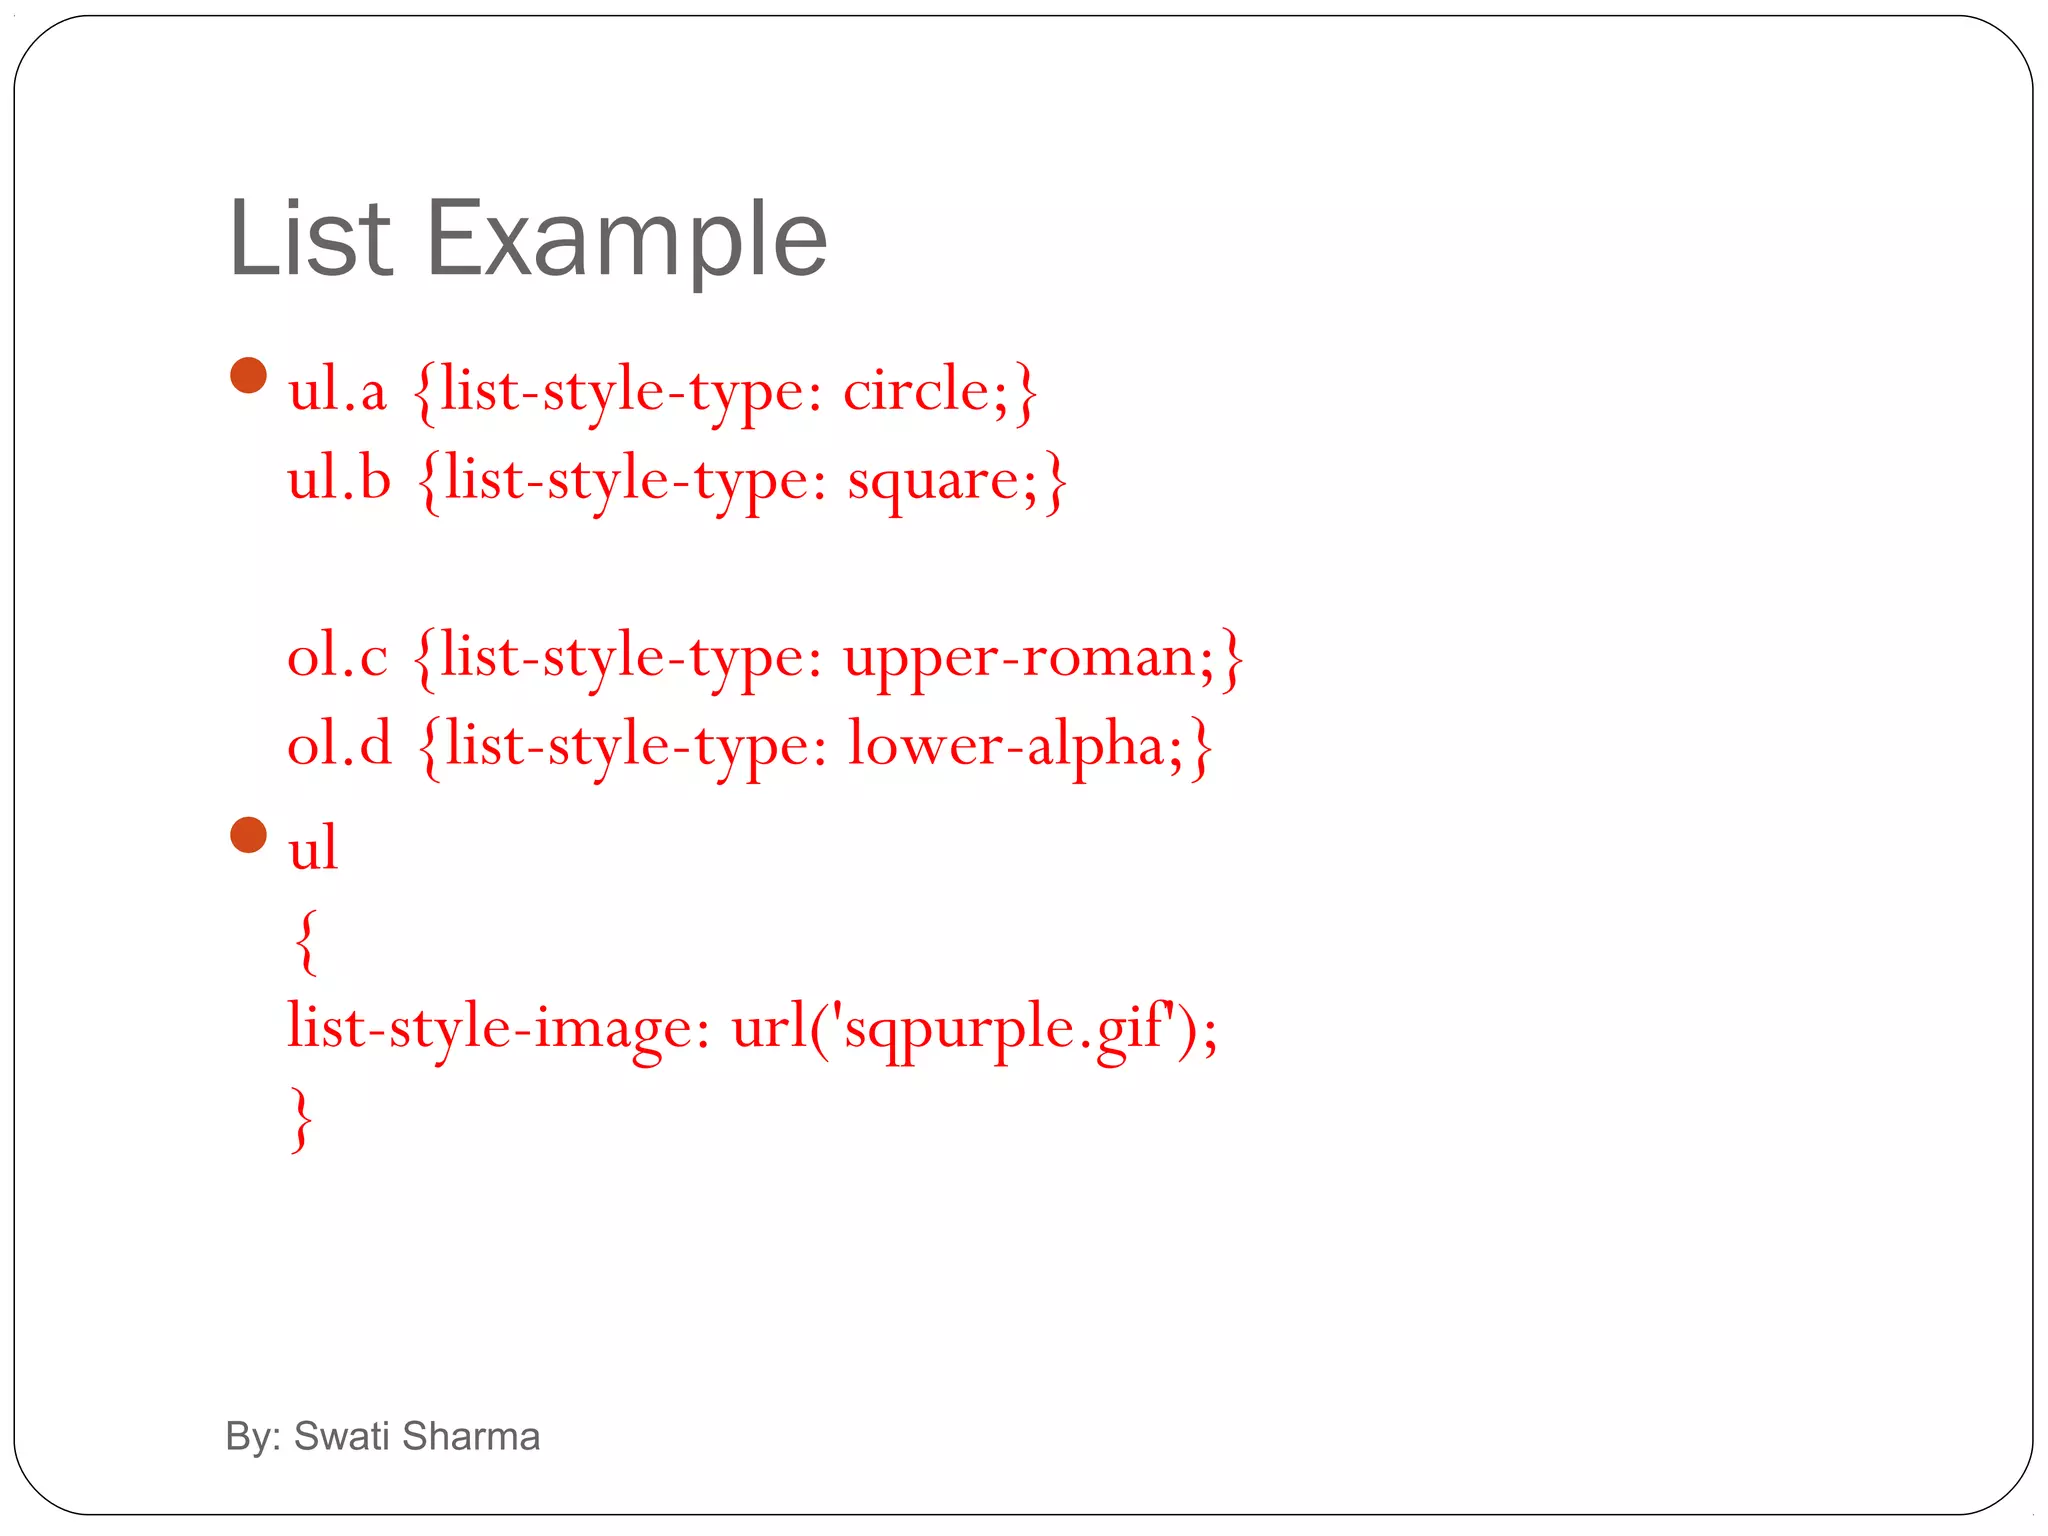
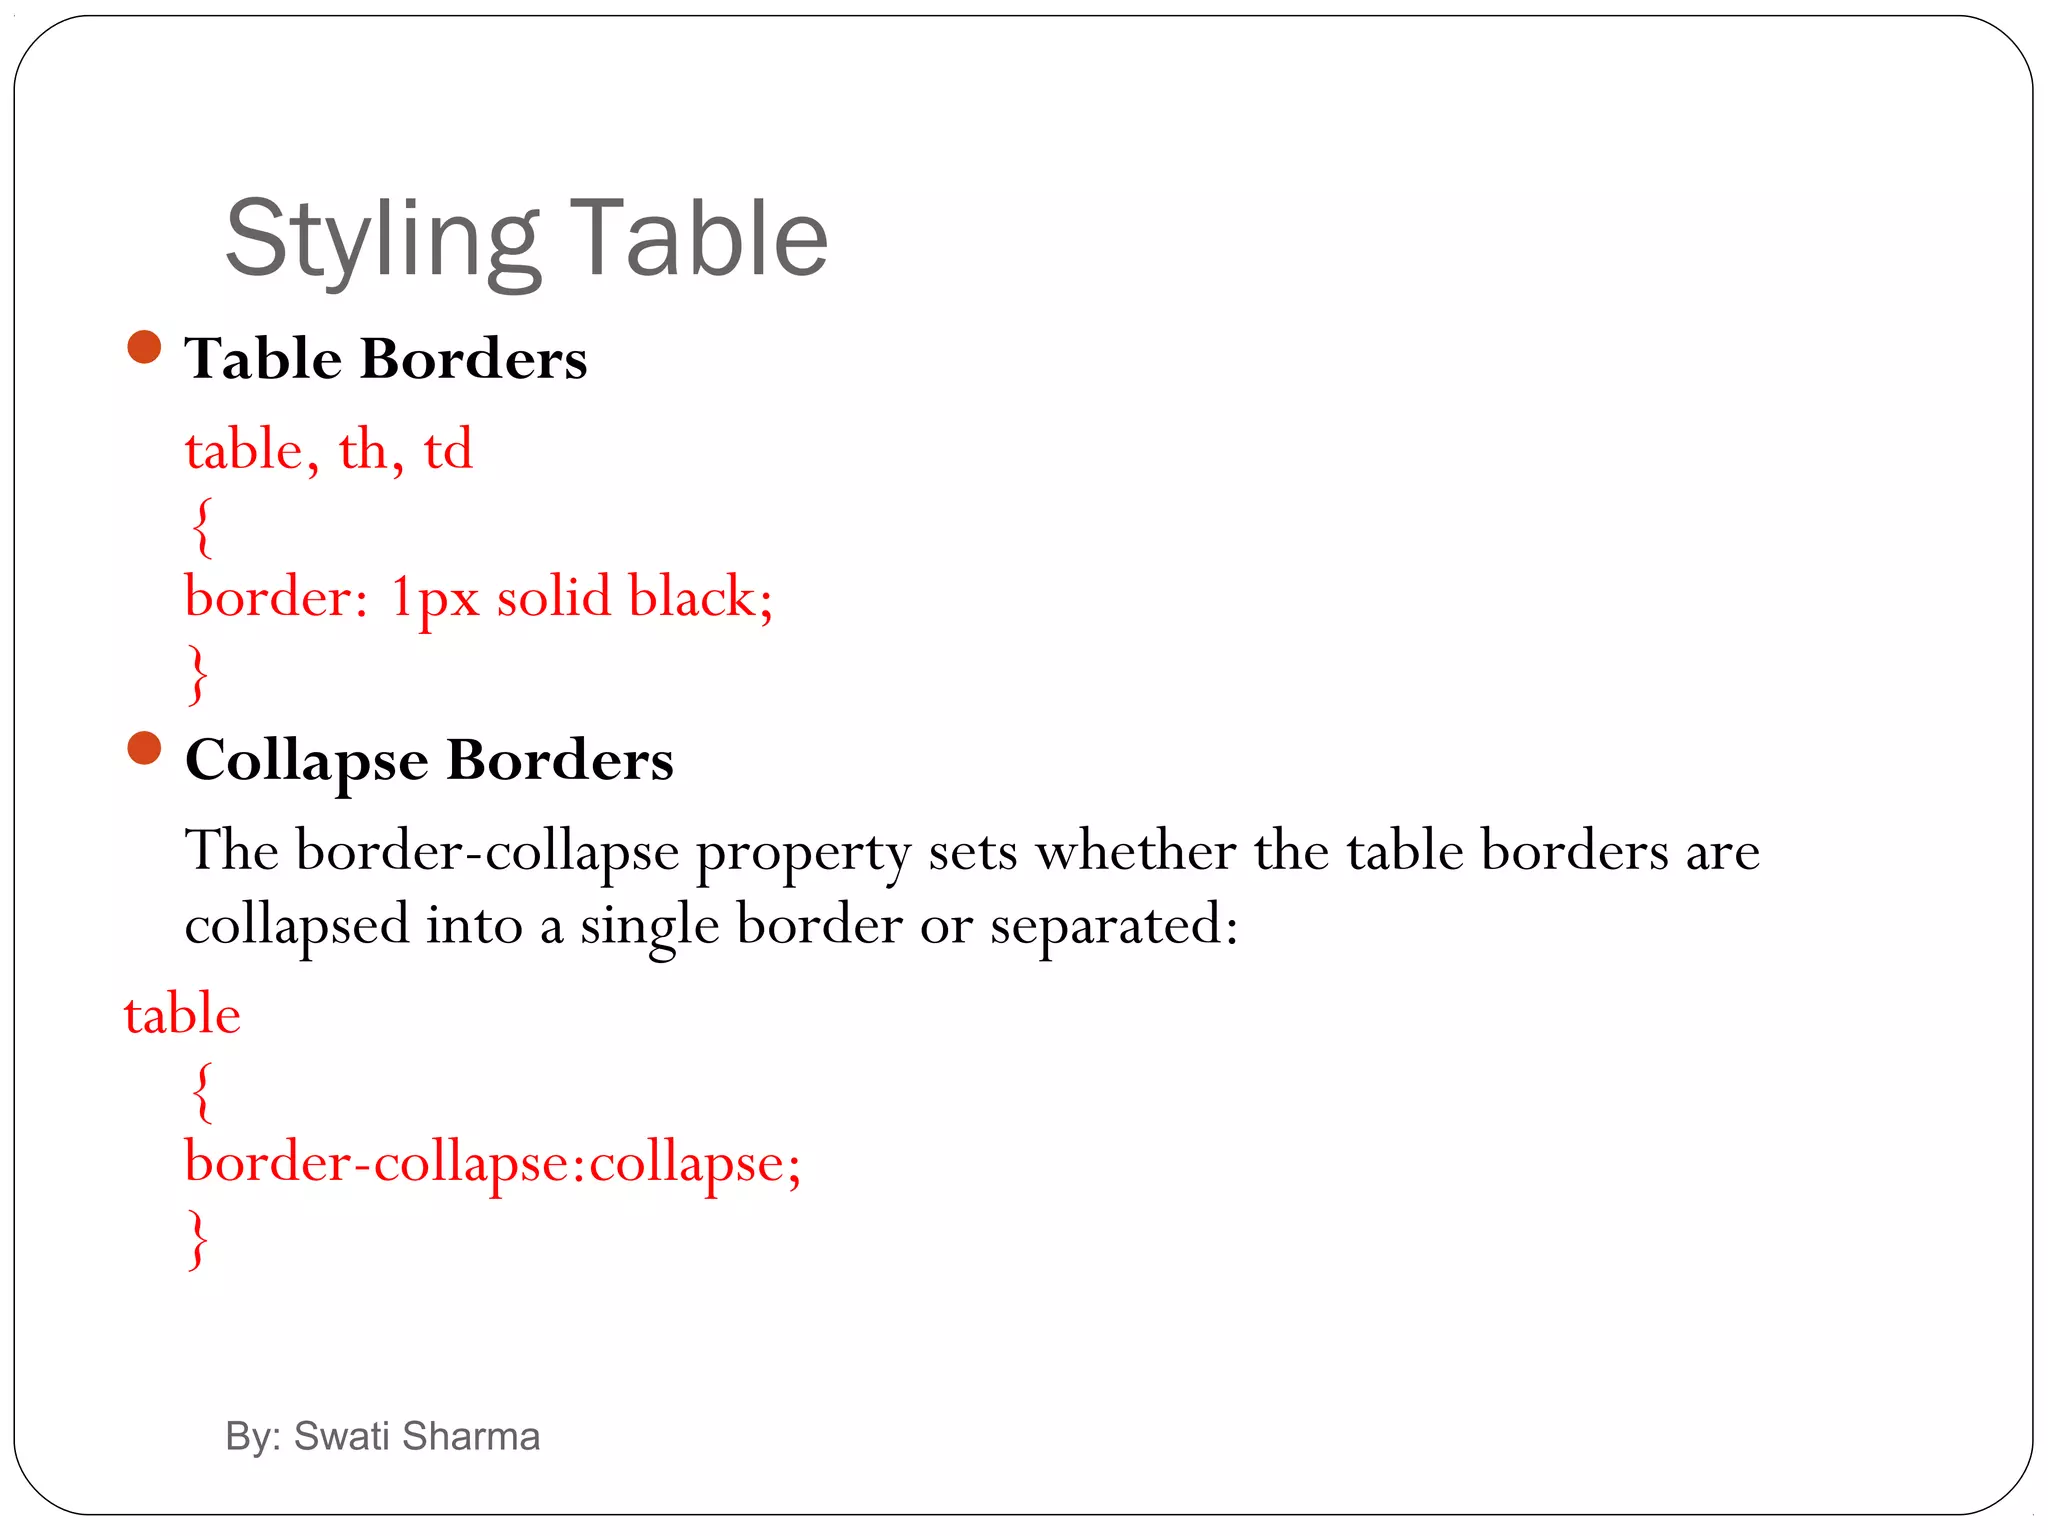
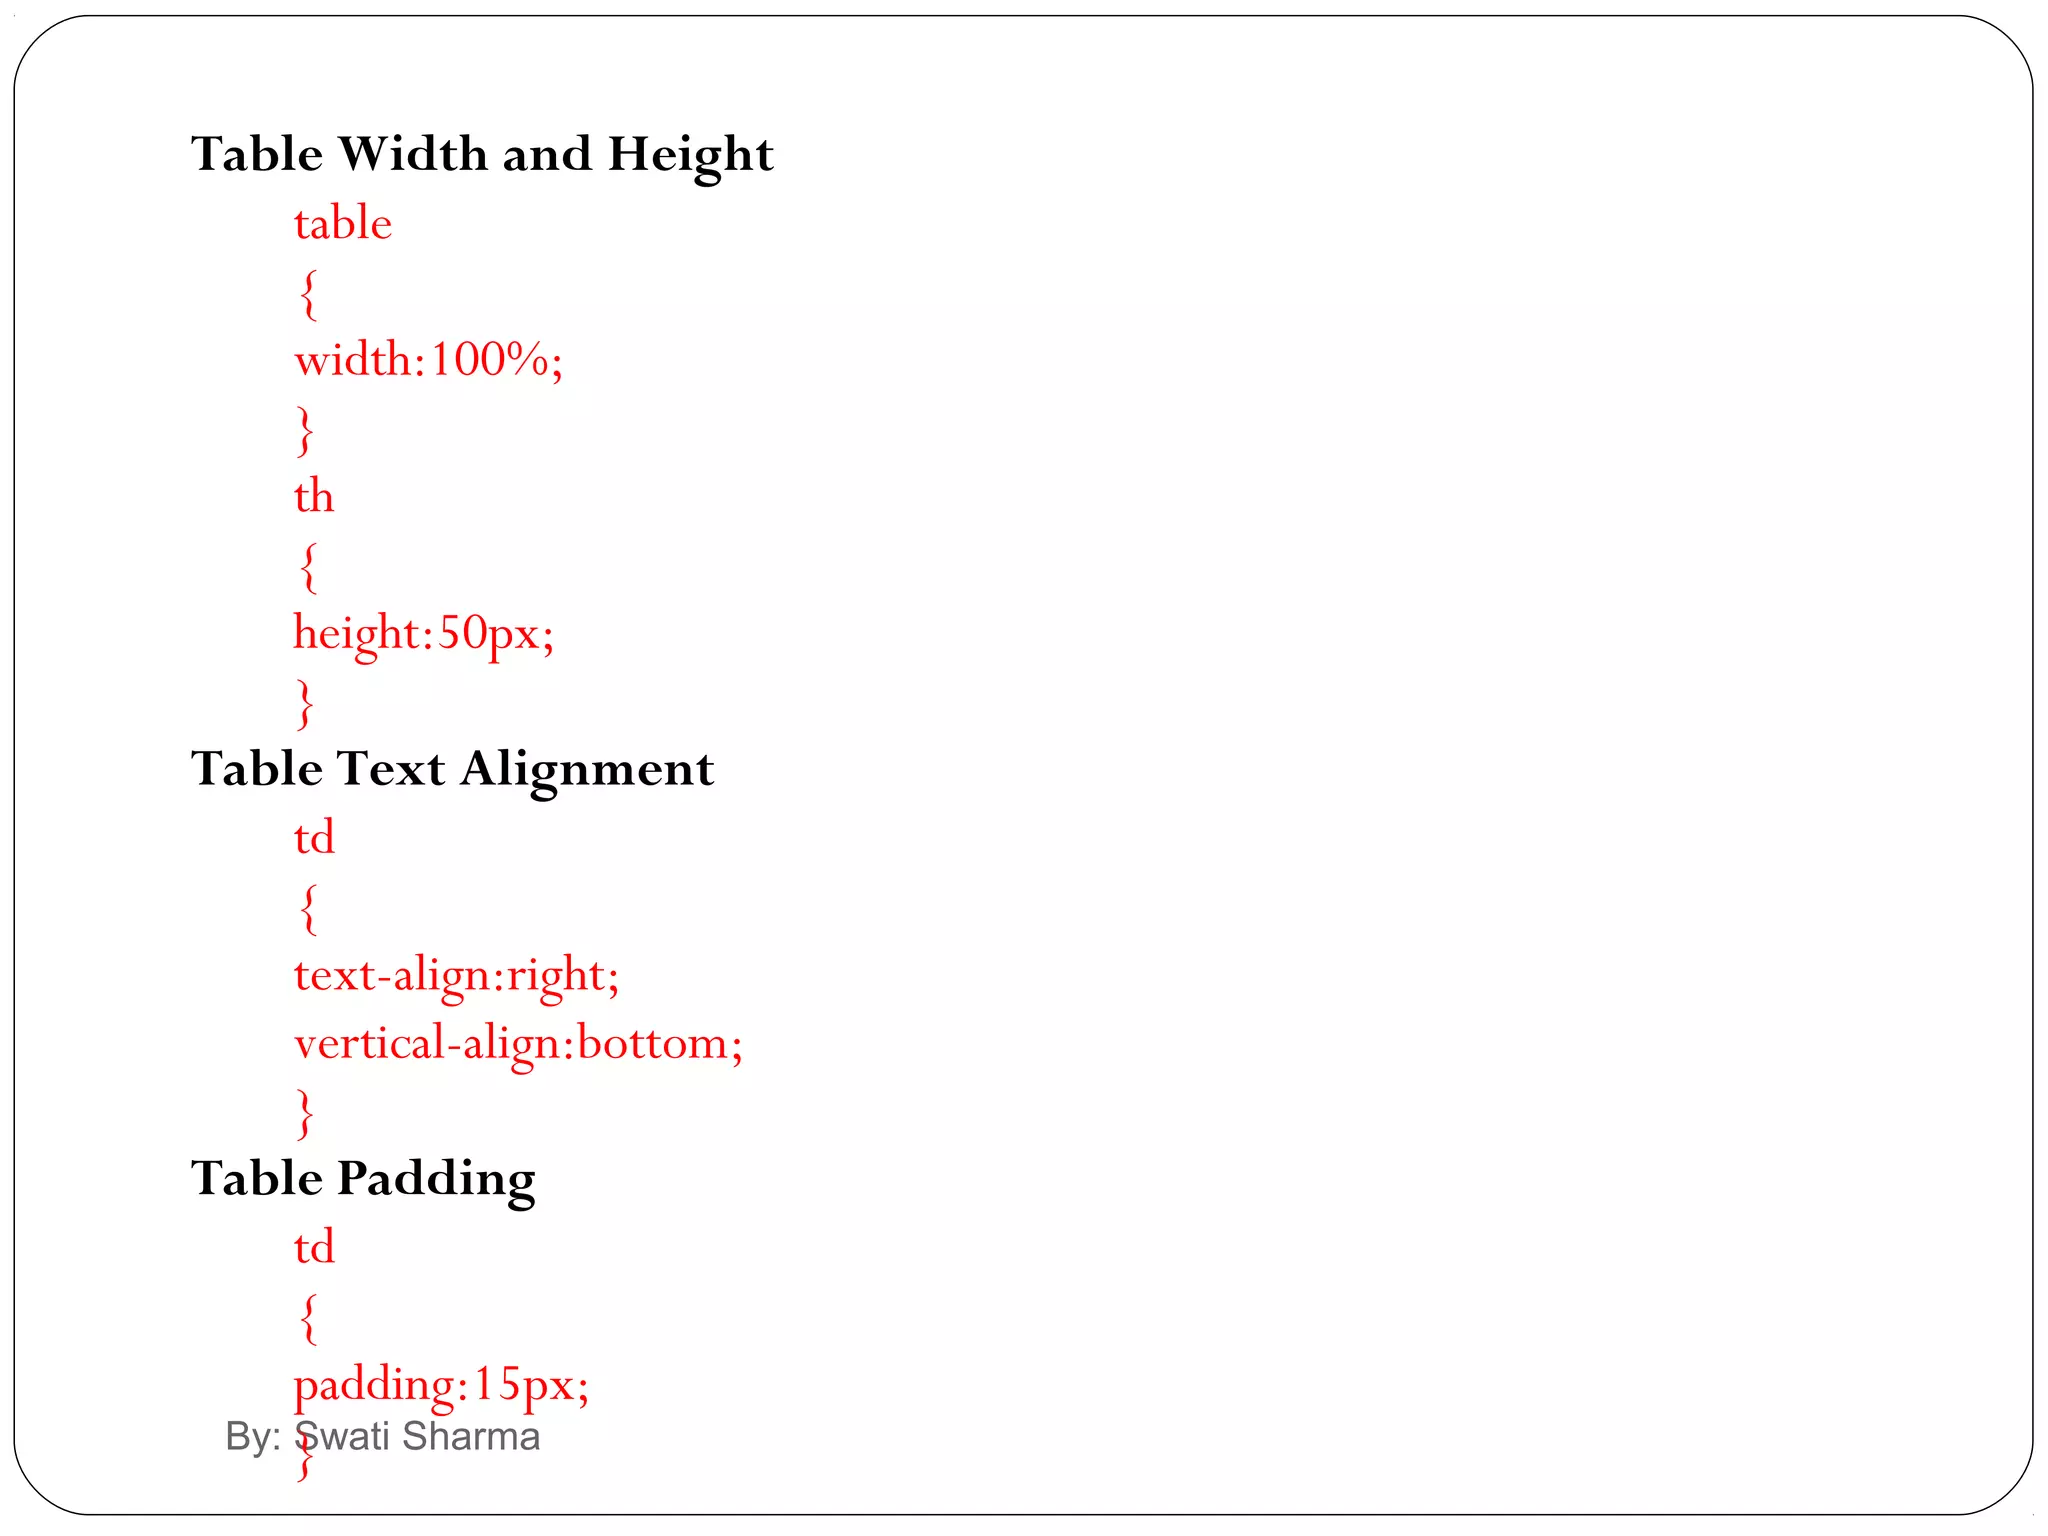
Explains properties for styling unordered and ordered lists, and table borders, widths, alignment, and padding.
End slide inviting questions regarding CSS and its usage.