Flutter Installation document provides instructions on: - Installing Flutter SDK and configuring environment variables on Windows. - Creating a simple Flutter project in Android Studio. - Describing the basic folder structure of a Flutter project. - Introducing some Dart language basics like variables, functions, lists, and maps.
Introduction to Flutter presentation including installation, basics, widgets, layouts, and examples.
Flutter is an open-source UI toolkit by Google for building apps across platforms. Major components include Dart, Flutter engine, and various design-specific widgets.
Steps to install Flutter SDK on Windows, including downloading, setting up the environment, and troubleshooting installation issues.
Guide on creating a new Flutter project, detailing the application folder structure including android, ios, web, lib, test, and configuration files.
Introduction to Dart programming language focusing on variables, data types, functions, maps, and lists.
Overview of Dart control flow statements including if-else, loops (for, while, do-while), switches, and exception handling.
Introduction to widgets in Flutter, categorizing them into Stateless and Stateful, along with layout widgets like Row, Column, and Container.
Demonstrations of using Text, Image, and Buttons widgets in Flutter with practical coding examples.
Explanation of Flutter's layout options, focusing on Row, Column, and Stack widgets which adapt to child arrangements.
Using ListView and ScrollView widgets for displaying scrollable content and managing item clicks in lists.
Exploration of various single and multi-child widgets in Flutter including Container, Card, Expanded, and their properties.
Implementation of forms in Flutter covering validation, decoration themes, and user interactions input through TextFormFields.
Networking basics in Flutter, including HTTP requests, JSON serialization, and utilizing the http library for API calls.
Strategies for data persistence in Flutter apps, such as using SharedPreferences and SQLite with the SQFlite package.
Various methods of state management in Flutter including StatefulWidgets, InheritedWidgets, and the BLoC pattern.
Setting up Firebase for a Flutter application including user authentication, Google Sign-In, and example implementations.
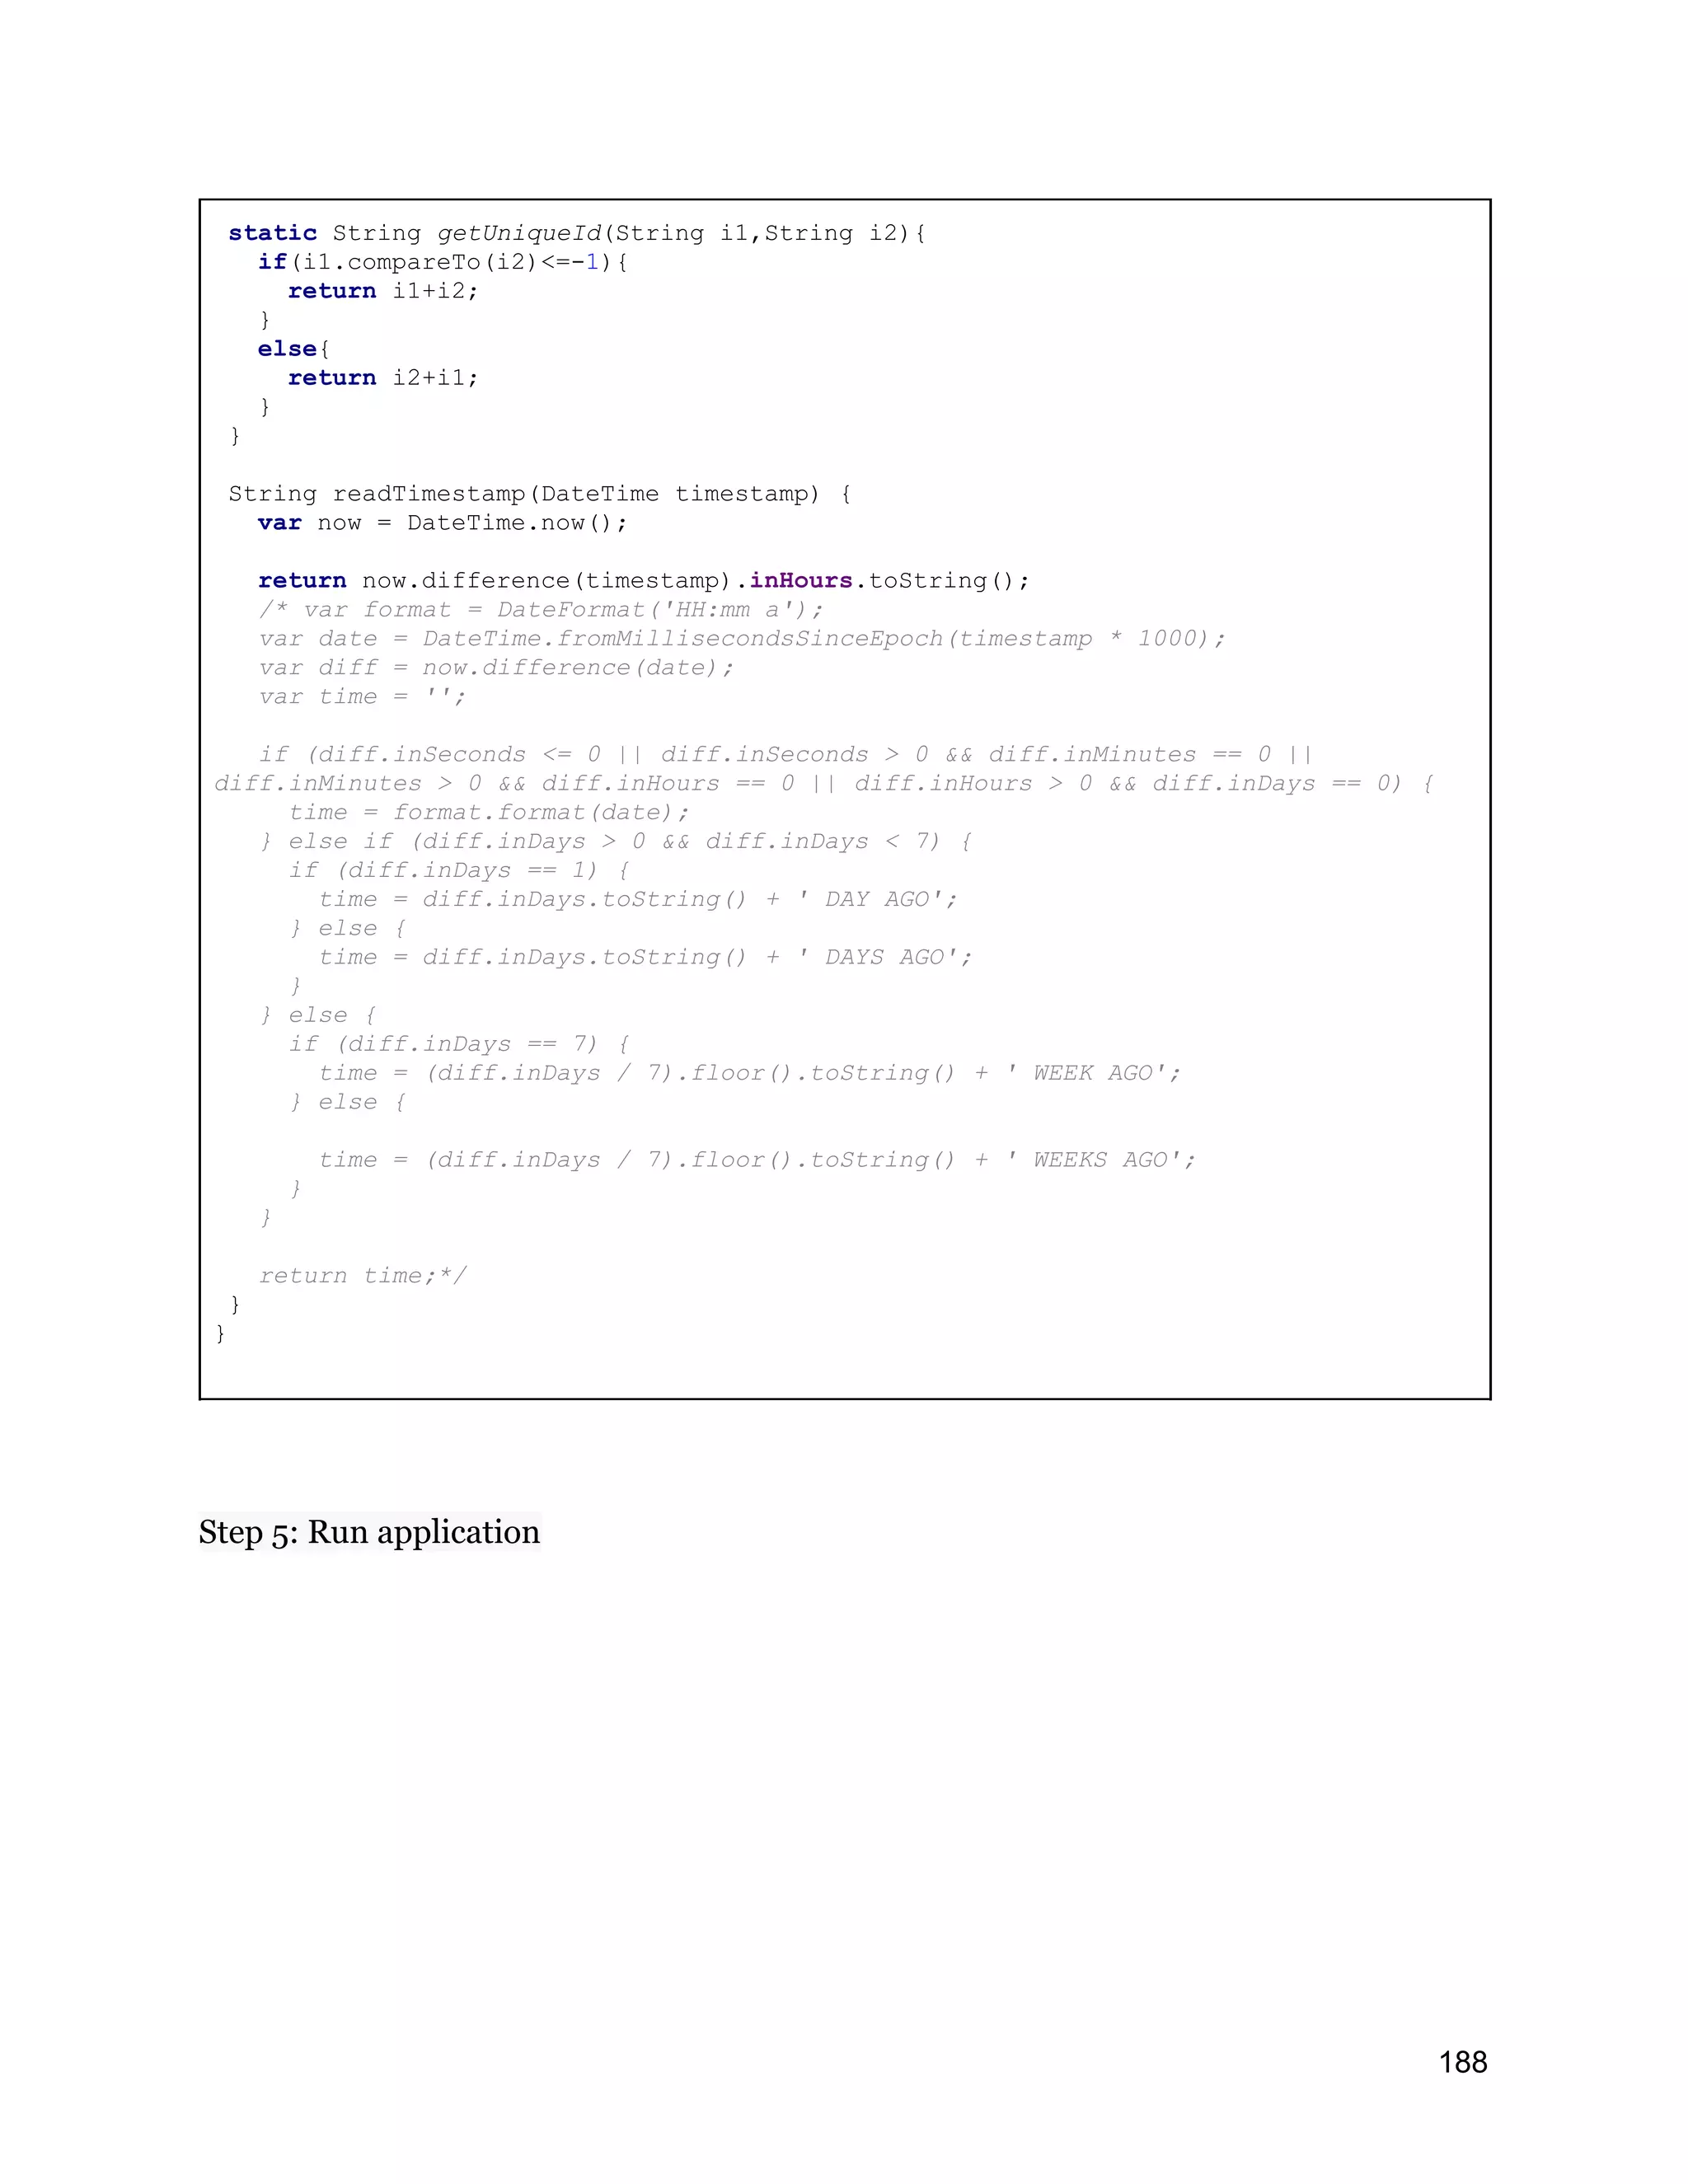
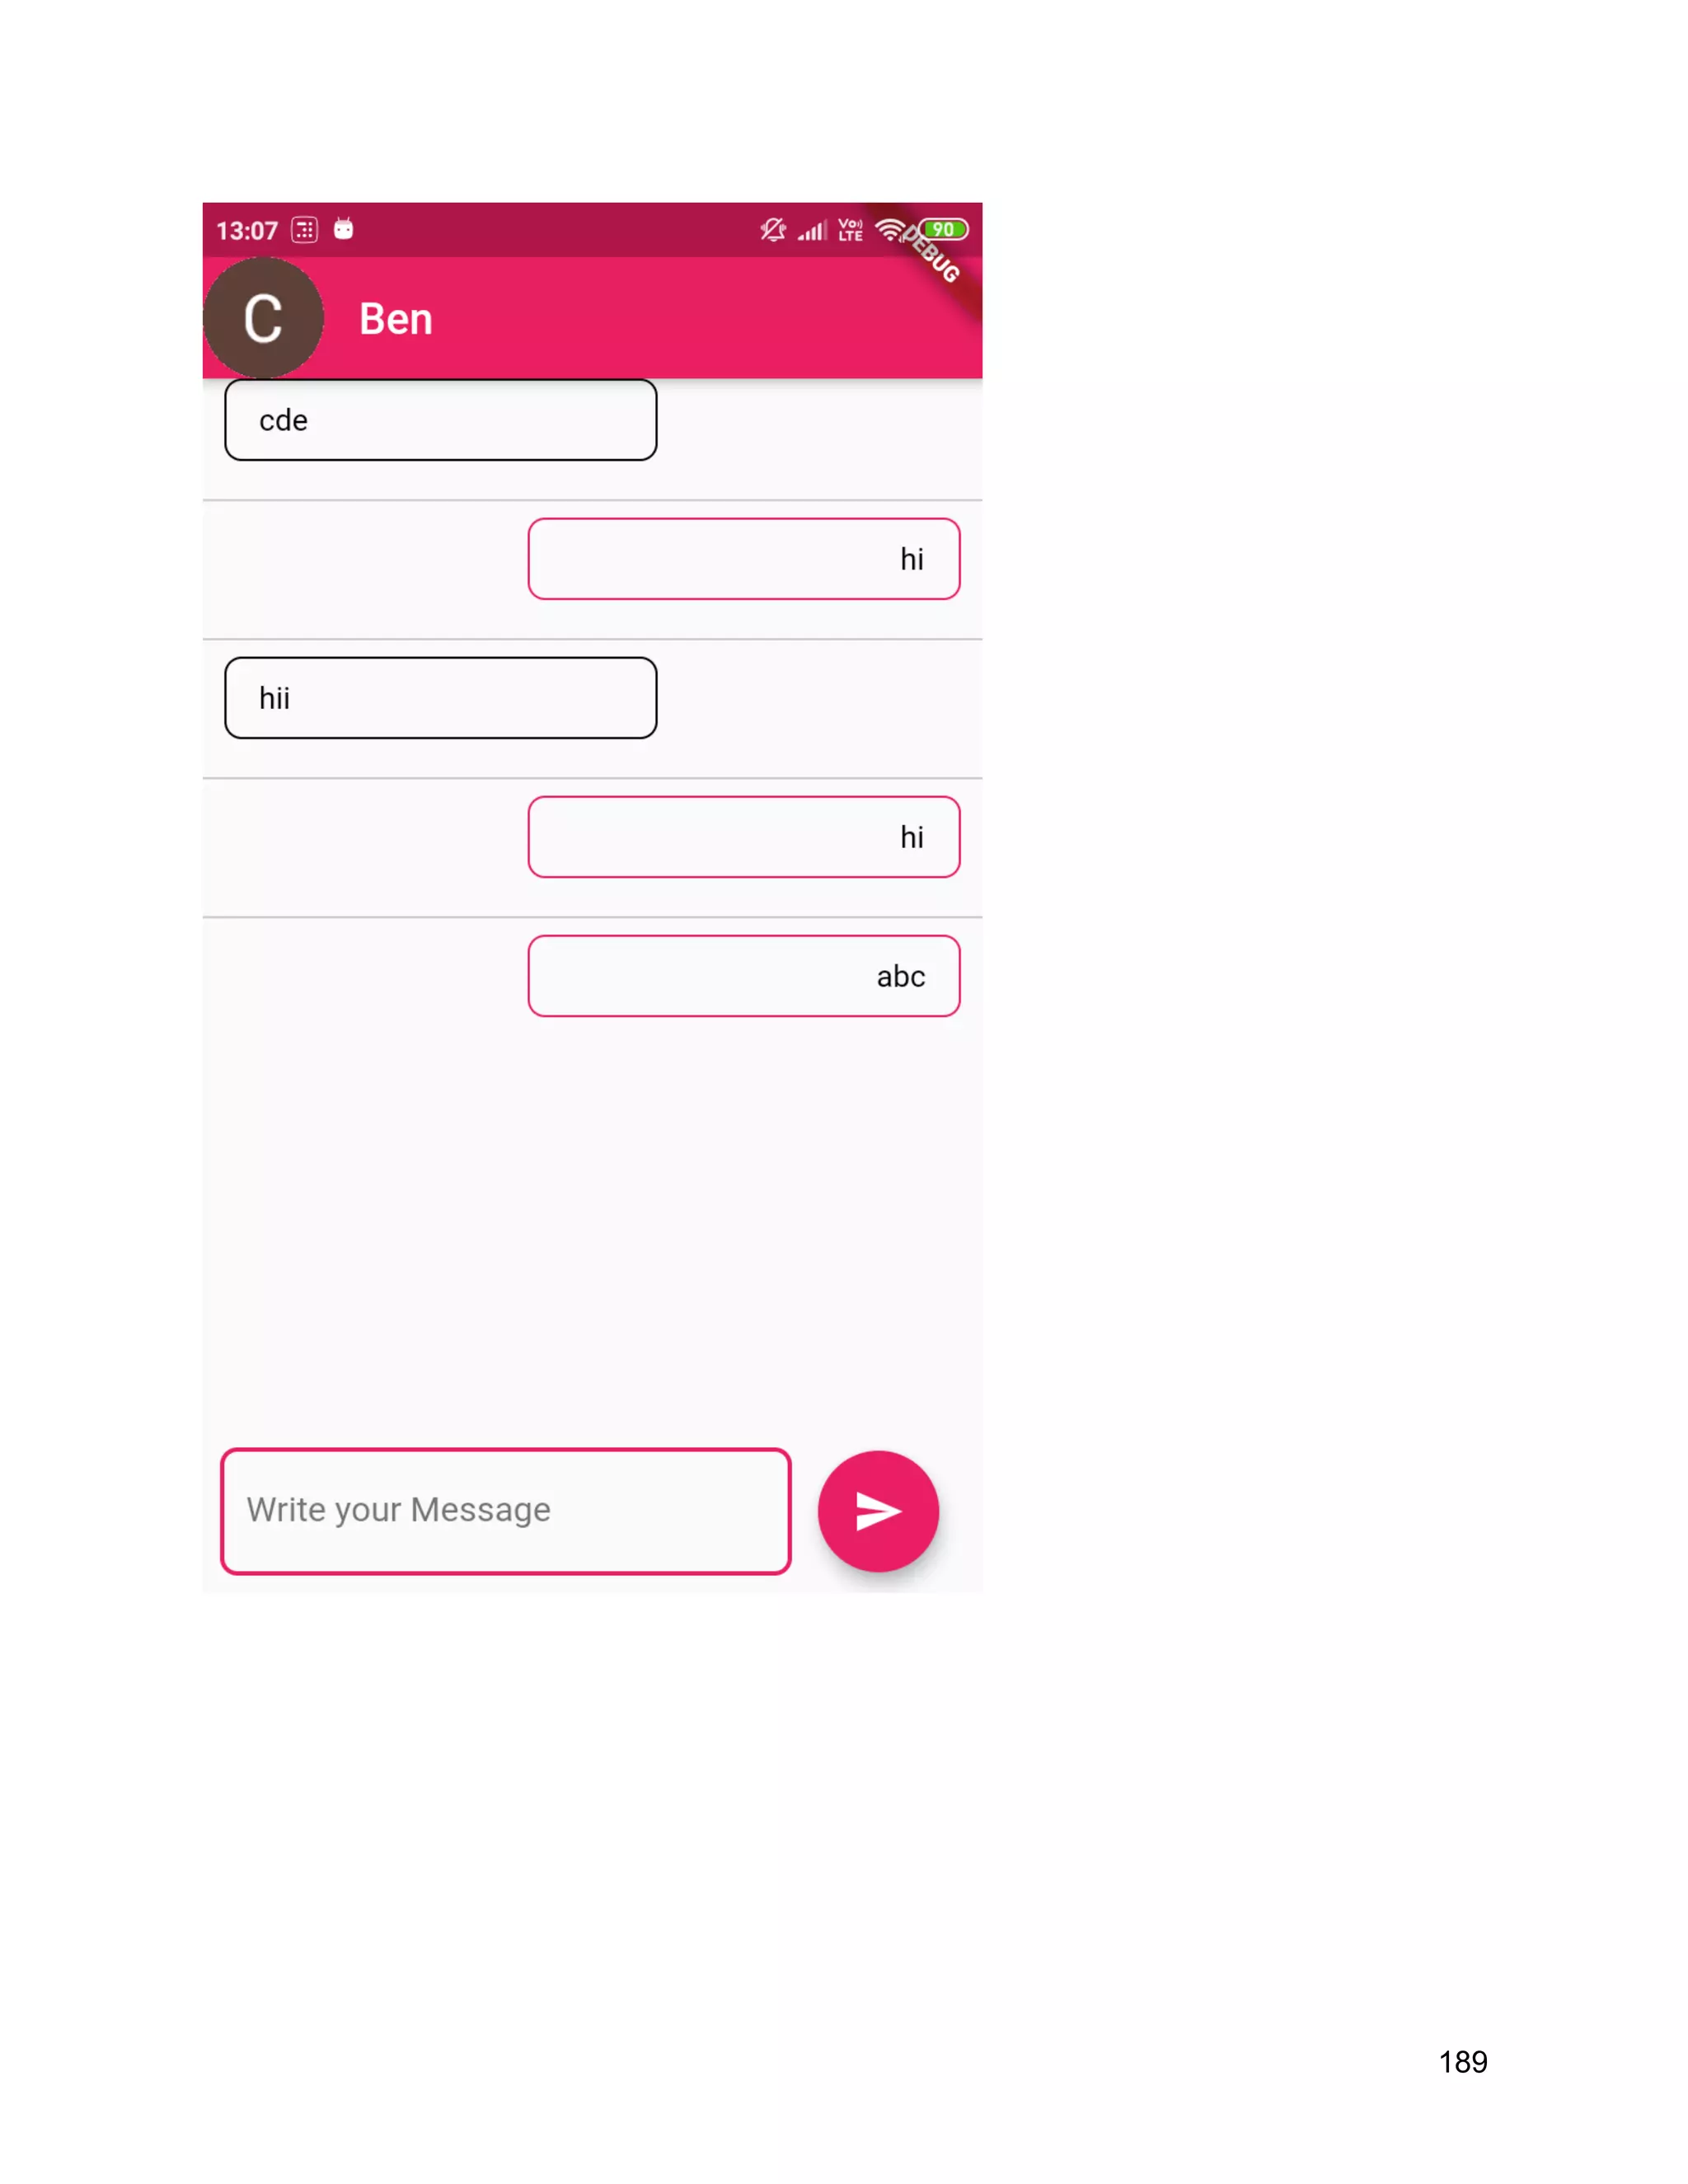
Creating a chat application in Flutter using Firebase for real-time messaging and managing user interactions.
Table of Content Introduction5 Flutter Installation 6 Application Folder Structure 10 Dart Basics 11 Variables 11 Defining a map 14 Functions 15 Named parameter 16 Default value parameter 16 Control flow 17 Loops 17 For Loop 17 While loop 18 Do-while loop 18 Switch 18 Exception handling 19 Flutter - Widgets 21 What is a widget? 21 Platform specific widgets 22 Material Widgets 22 Cupertino Widgets 23 Layout Widgets 23 Single Child Widgets 24 Multi Child Widgets 24 Example of widgets and Layout widgets 25 Image 26 Load Network Image 26 Load Image from Assets 27 Icon 29 Buttons 30 Button Examples 31 Multi Child Layouts 35 Flutter - Linear Layout 35 Framelayout in Flutter 38 2
3.
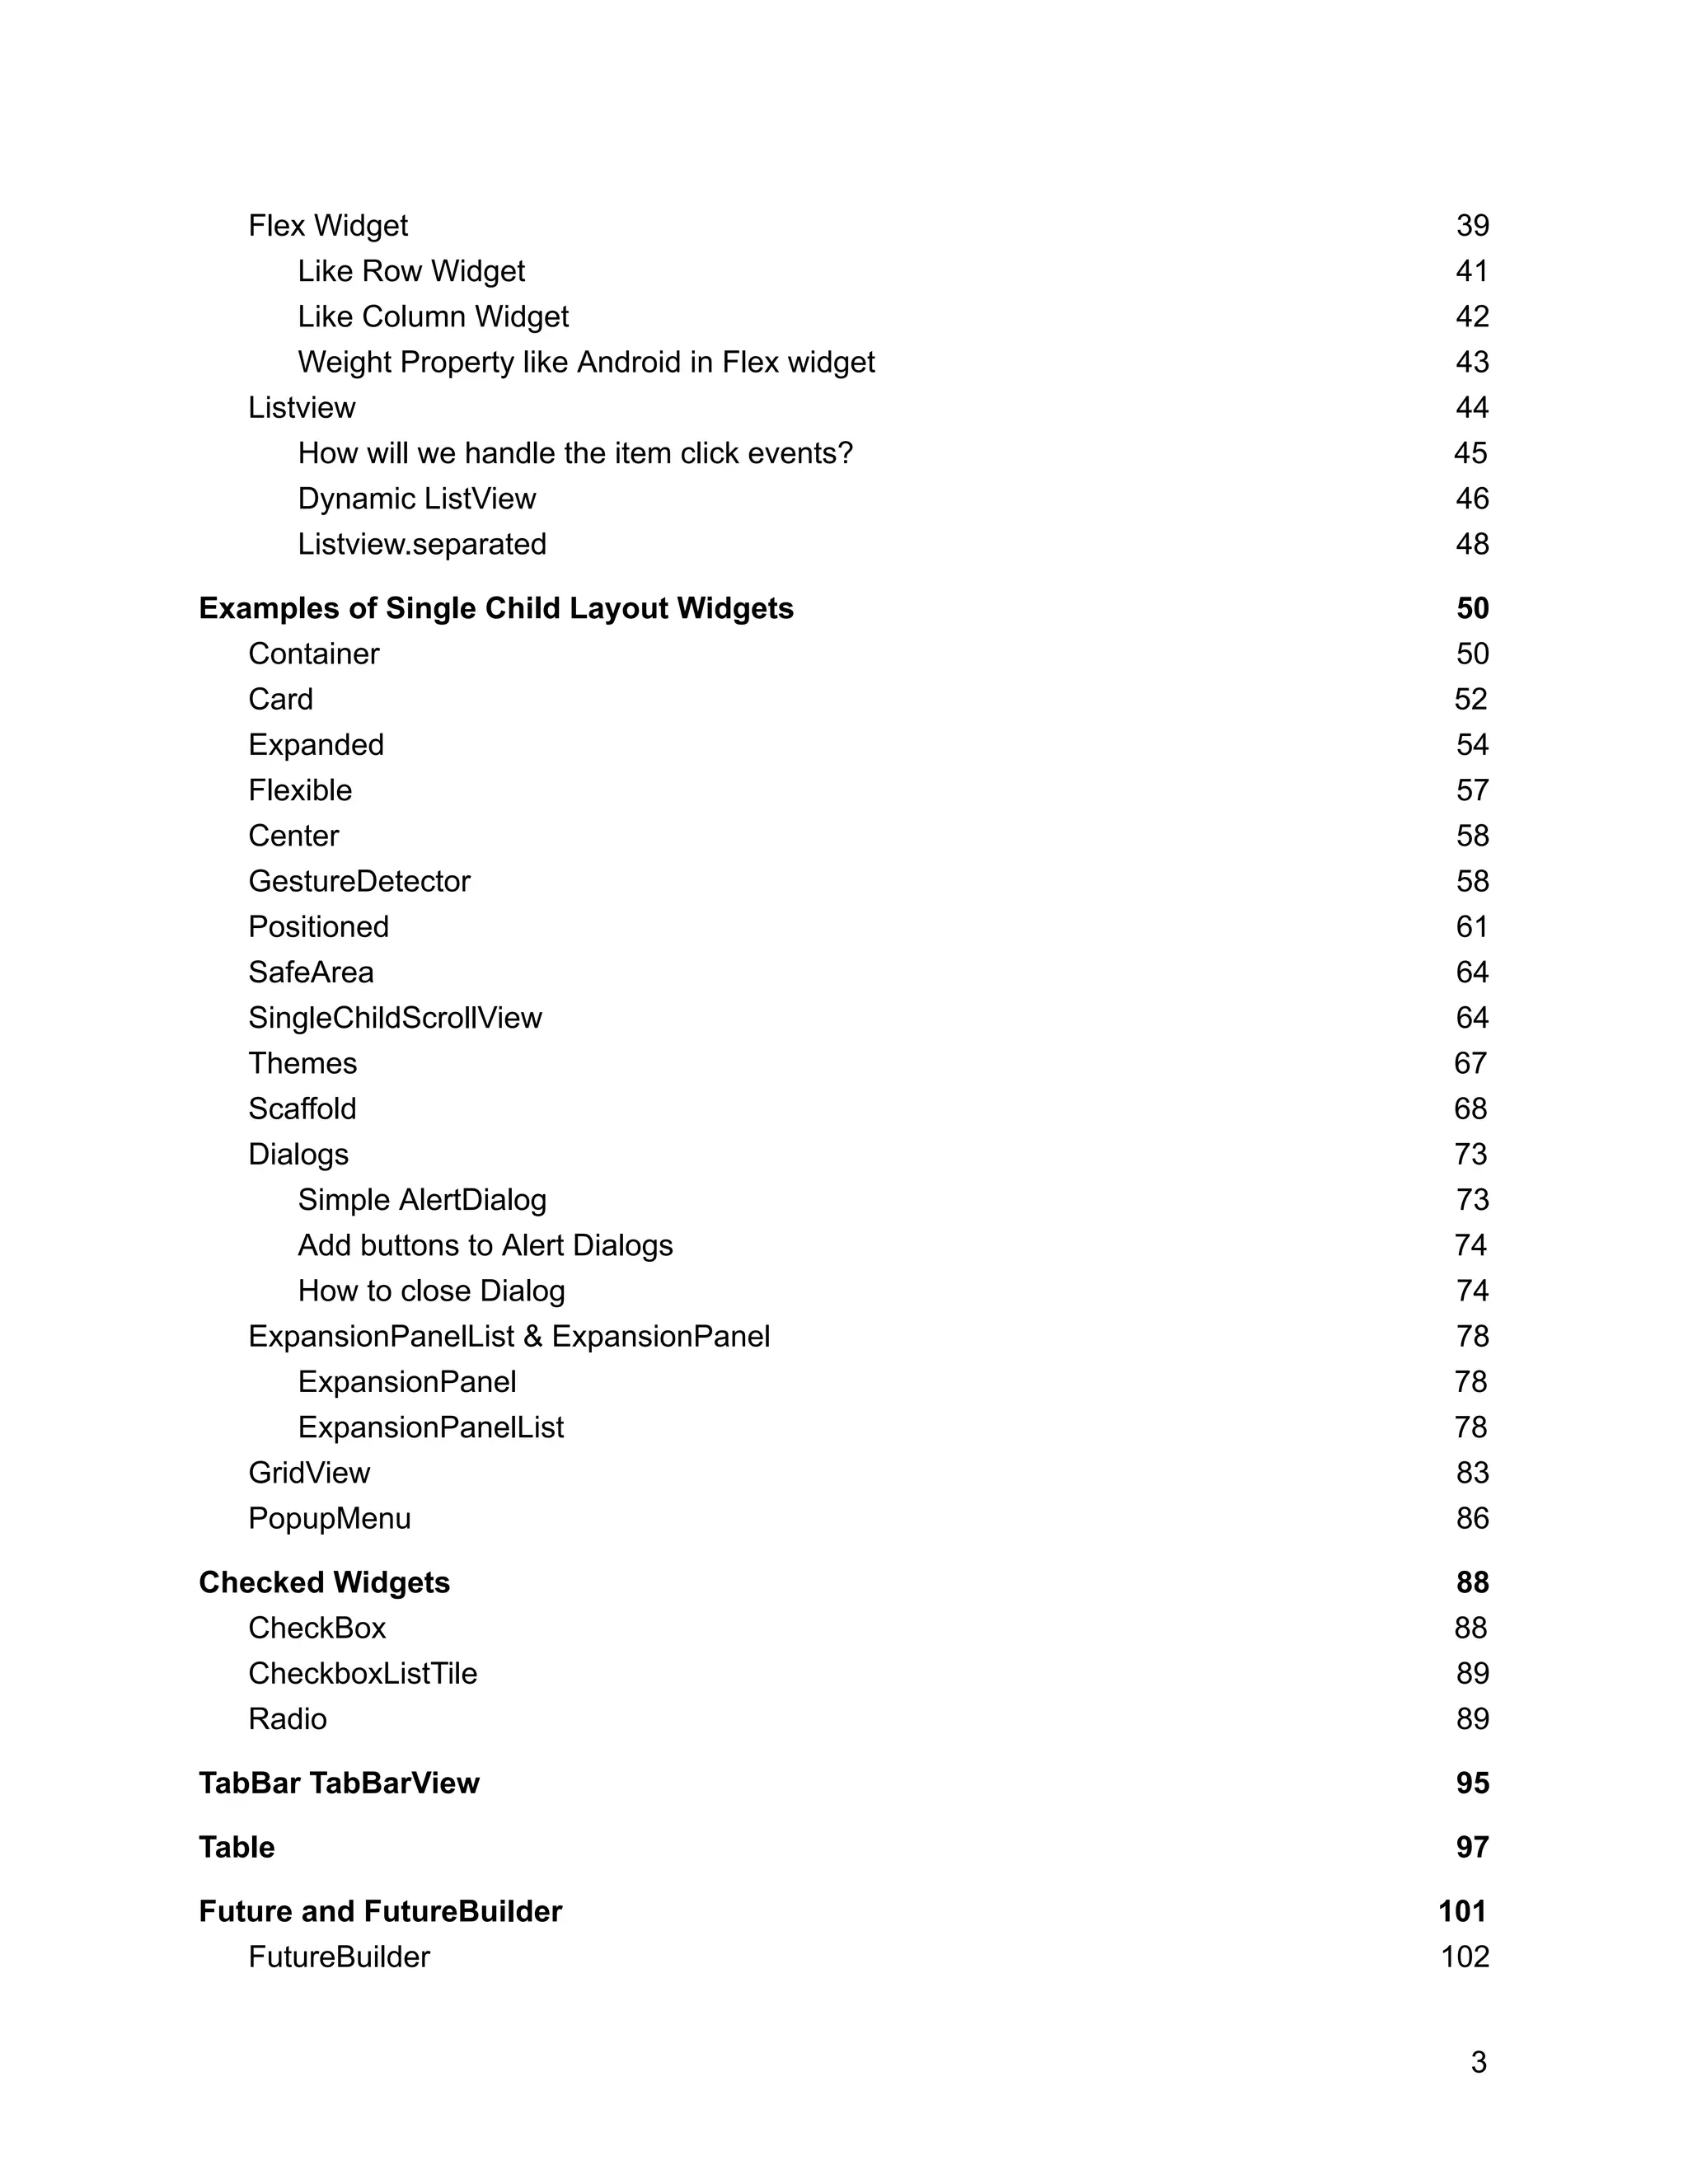
Flex Widget 39 LikeRow Widget 41 Like Column Widget 42 Weight Property like Android in Flex widget 43 Listview 44 How will we handle the item click events? 45 Dynamic ListView 46 Listview.separated 48 Examples of Single Child Layout Widgets 50 Container 50 Card 52 Expanded 54 Flexible 57 Center 58 GestureDetector 58 Positioned 61 SafeArea 64 SingleChildScrollView 64 Themes 67 Scaffold 68 Dialogs 73 Simple AlertDialog 73 Add buttons to Alert Dialogs 74 How to close Dialog 74 ExpansionPanelList & ExpansionPanel 78 ExpansionPanel 78 ExpansionPanelList 78 GridView 83 PopupMenu 86 Checked Widgets 88 CheckBox 88 CheckboxListTile 89 Radio 89 TabBar TabBarView 95 Table 97 Future and FutureBuilder 101 FutureBuilder 102 3
4.
StreamBuilder 105 Navigation 108 Routingtable (Named Routes) 113 Navigation switch animation 117 Form & Form Fields 118 Form State 118 Form Validation 119 Input Decoration Themes 123 Networking & JSON and Serialization 126 HTTP Introduction 126 HTTPClient 126 Make HTTPRequest 126 Decode and encode JSON 127 HTTP Library 131 CompleteExample 135 Database and local storage 141 SharedPreferences 141 How to access Shared Preferences in Flutter? 141 Database 145 How to access SQLite in Flutter? 145 SQFlite Features 145 Database operations 147 Create Table 147 Query 149 State Management 161 Stateful Widget 161 InheritedWidget 162 BLoC 165 What is BLoC? 165 Example 166 Firebase Integration 169 Firebase Setup 169 Firebase authentication & Google sign in using Flutter 174 Chat Application with Firebase database Flutter 181 4
5.
Introduction Flutter is anopen-source UI software development kit created by Google. It is used to develop applications for Android, iOS, Windows, Mac, Linux, Google Fuchsia and the web. Flutter is Google's mobile UI framework that can quickly build high-quality native user interfaces on iOS and Android. Flutter works with existing code. Flutter is being used by more and more developers and organizations around the world, and Flutter is completely free and open source . At present, some modules of the company are developed using Flutter . The major components of Flutter include: Dart platform Flutter engine Foundation library Design-specific widgets Dart Platform Flutter apps are written in the Dart language and make use of many of the language's more advanced features You can refer Dart Language at Dart 5
6.
Flutter Installation Flutter issupporting HybridApp development on different Os. To set up the flutter on each individual os by this Flutter official Tutorial In this section we will learn how to install Flutter SDK in Windows system. Step 1: Download Flutter SDK from Official website The Latest version is 1.12 Step 2: Unzip and archive file in specific folder, like c:flutter Step 3: Update the system path to include flutter bin directory Step 4: Open terminal and move to installed directory and run flutter doctor flutter doctor is tool to check all requirements for the flutter is installed or not and show the details The result of the above command will give you Doctor summary (to see all details, run flutter doctor -v): [√] Flutter (Channel master, v1.14.6-pre.51, on Microsoft Windows [Version 6.3.9600], locale en-IN) [√] Android toolchain - develop for Android devices (Android SDK version 28.0.3) [√] Chrome - develop for the web [√] Android Studio (version 3.3) [!] Android Studio (version 3.4) 6
7.
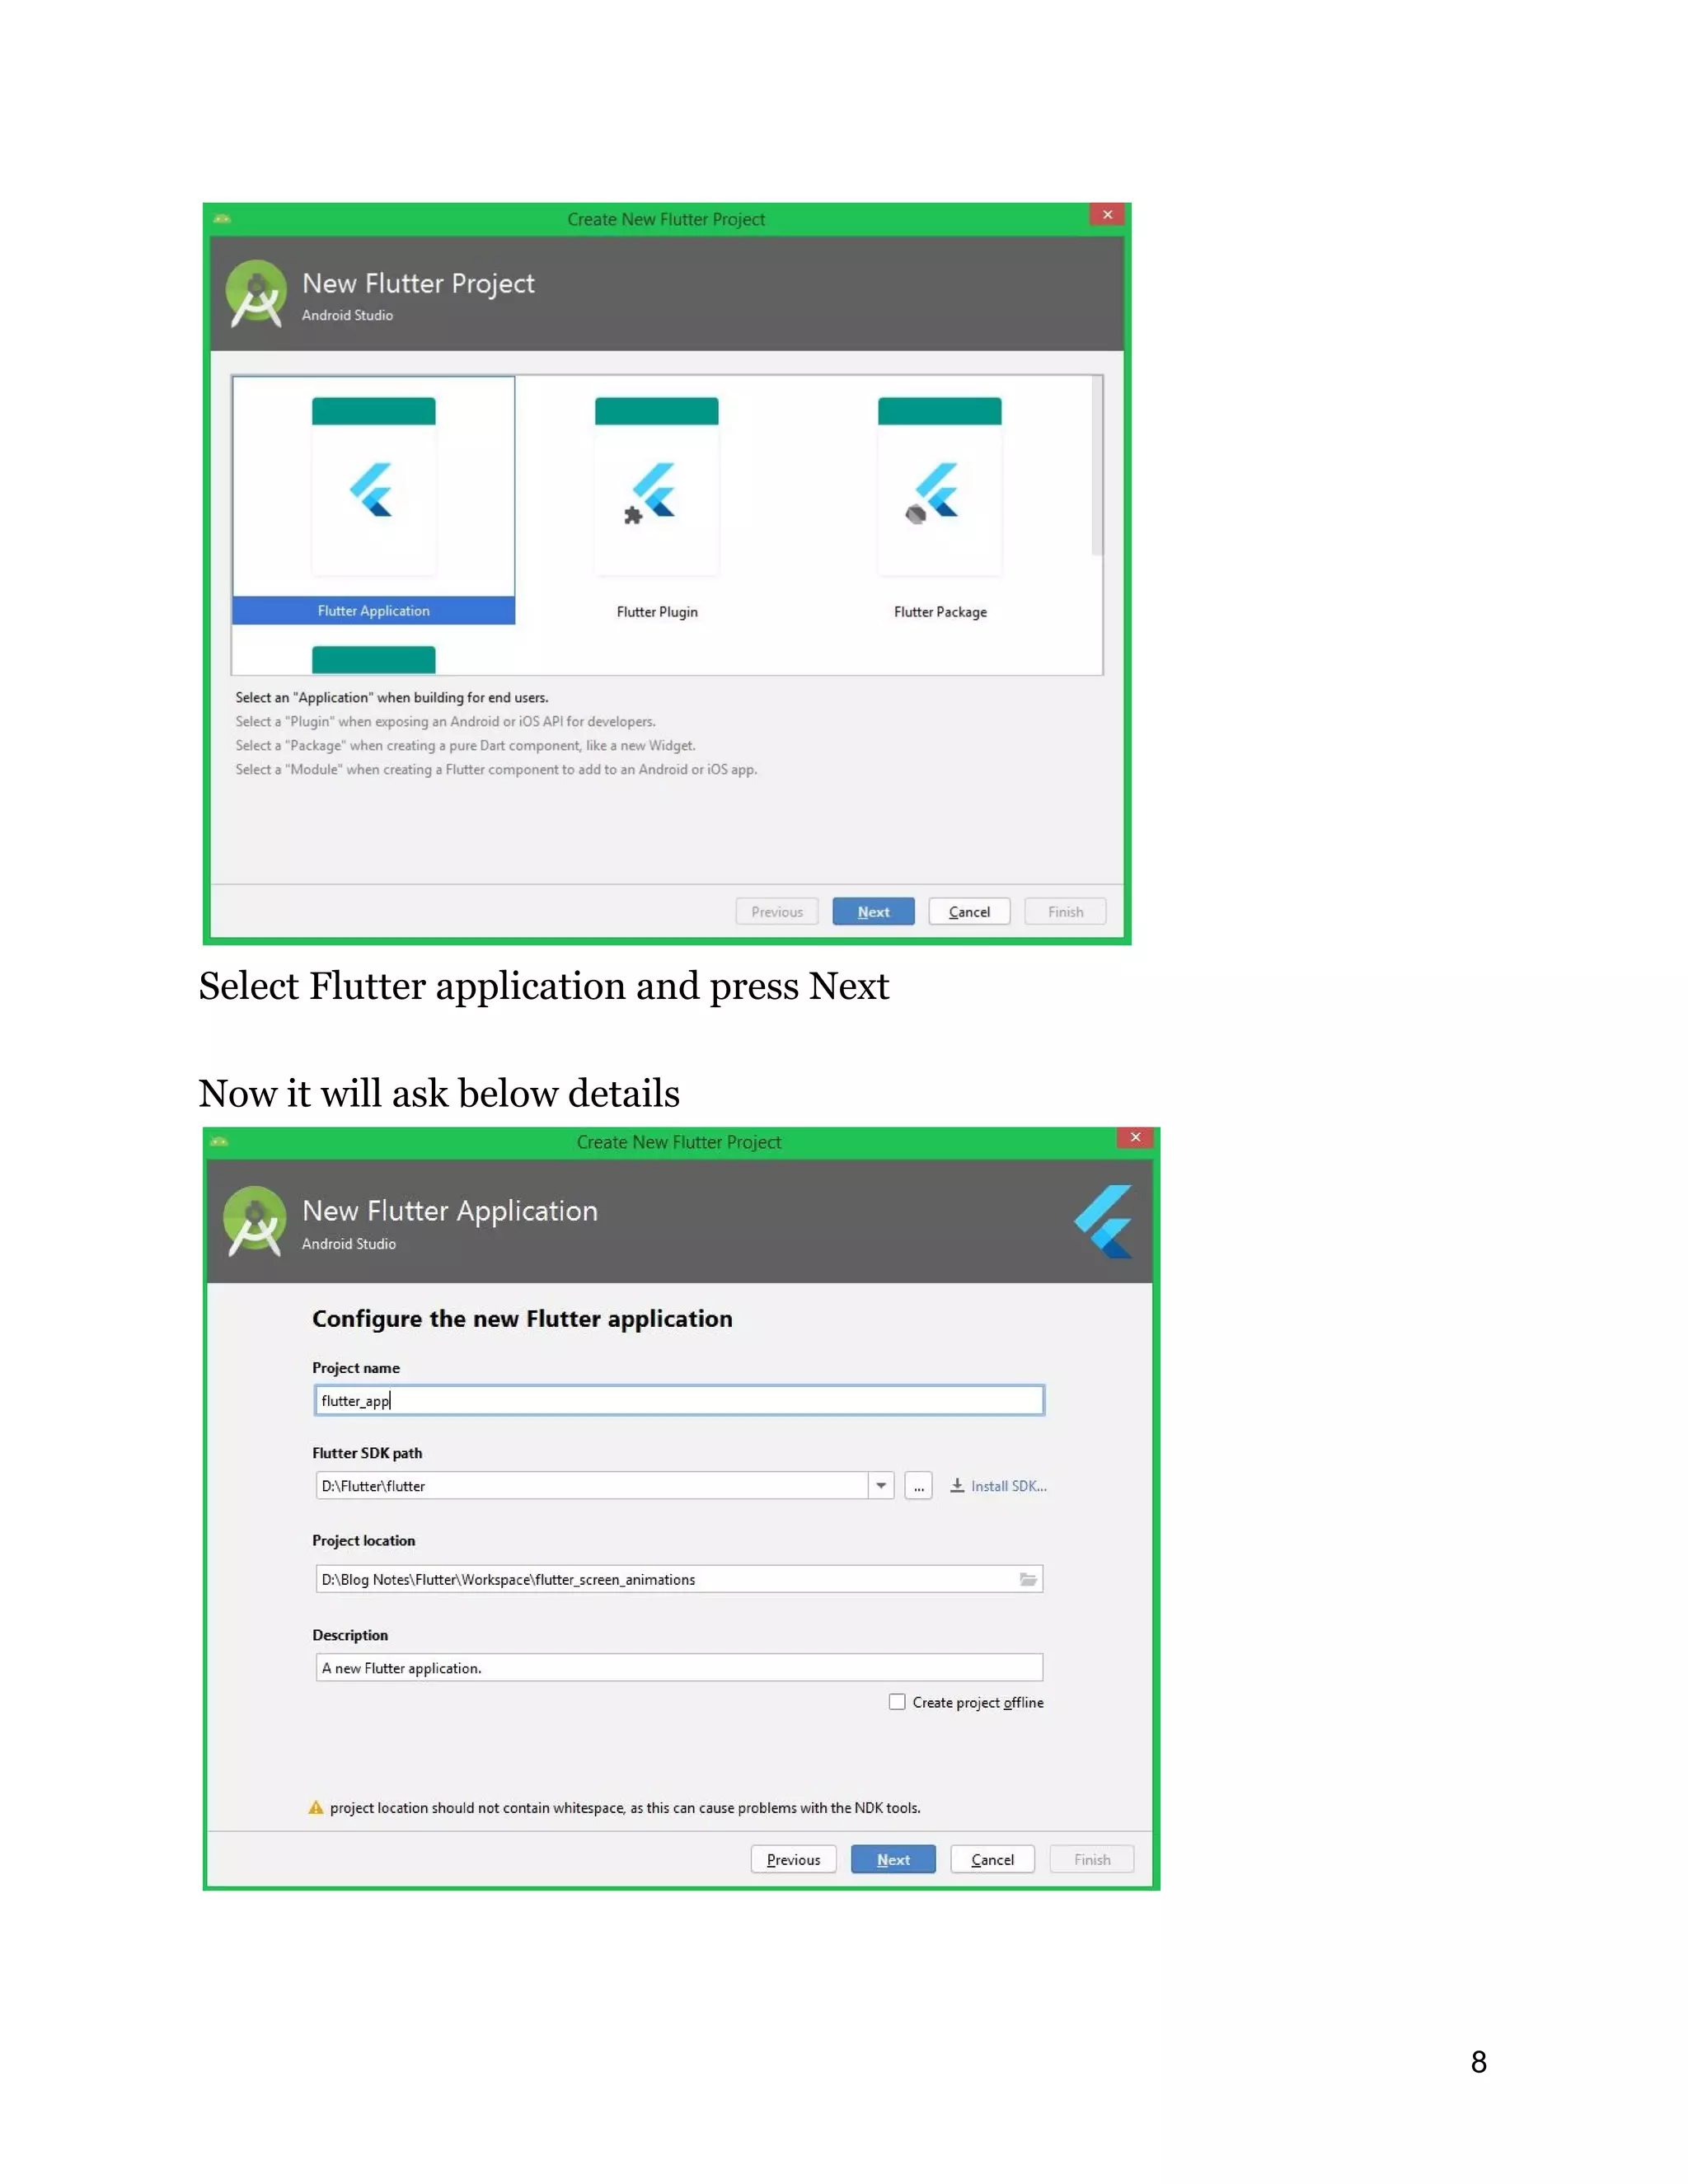
X Flutter pluginnot installed; this adds Flutter specific functionality. X Dart plugin not installed; this adds Dart specific functionality. [√] Connected device (2 available) ! Doctor found issues in 1 category. Step 5: Install Android Studio Step 6: Check Latest Android SDK installed or not, if not install it Step 7: Open Android studio and install Dart and Flutter Plugins for Android studio. ● Click File > Settings > Plugins. ● Select the Flutter plugin and click Install. ● Click Yes when prompted to install the Dart plugin. ● Restart Android studio Flutter – Creating Simple Application in Android Studio Now Open File -> Create new Flutter Project It will prompt below screen 7
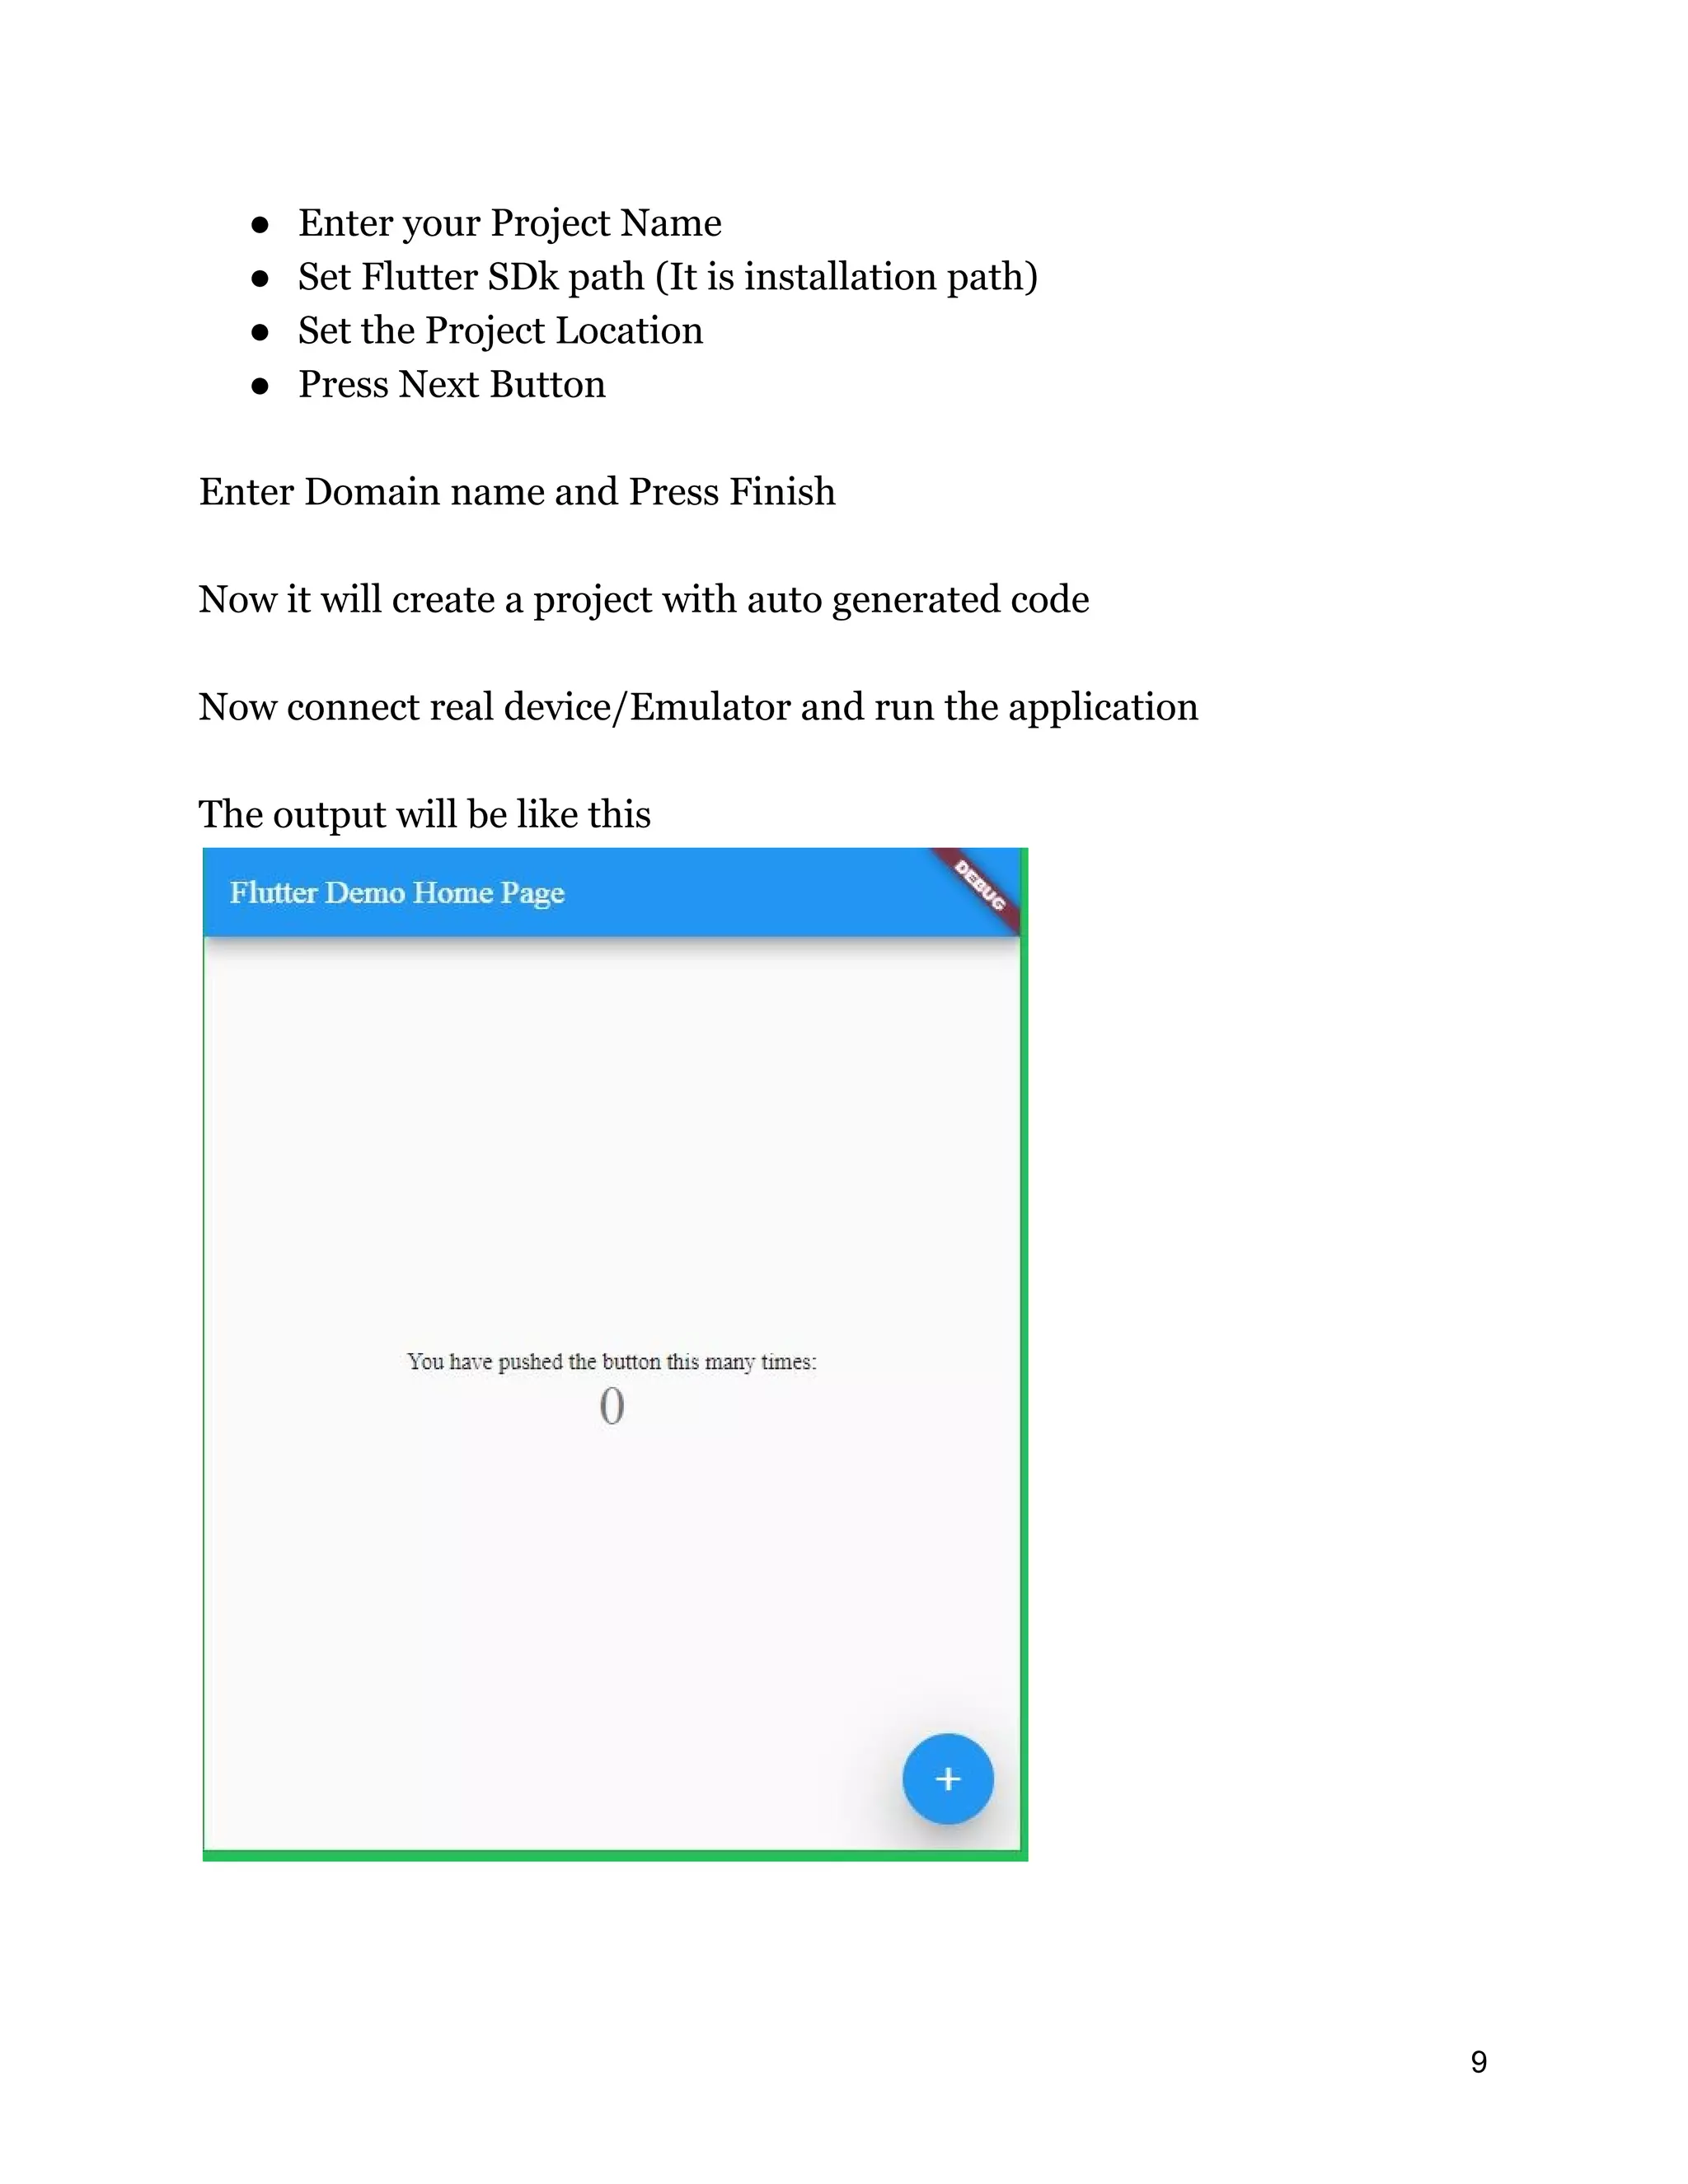
● Enter yourProject Name ● Set Flutter SDk path (It is installation path) ● Set the Project Location ● Press Next Button Enter Domain name and Press Finish Now it will create a project with auto generated code Now connect real device/Emulator and run the application The output will be like this 9
10.
Application Folder Structure Tounderstand flutter fully we need to understand the first Flutter folder structure. ● android - Auto generated source code to create android application ● ios - Auto generated source code to create ios application ● web- Auto generated source code to create web application ● lib - Main folder containing Dart code written using flutter framework ● lib/main.dart - Entry point of the Flutter application ● test - Folder containing Dart code to test the flutter application ● test/widget_test.dart - Sample code ● .gitignore - Git version control file ● .metadata - auto generated by the flutter tools ● .packages - auto generated to track the flutter packages ● .iml - project file used by Android studio ● pubspec.yaml - Used by Pub, Flutter package manager ● pubspec.lock - Auto generated by the Flutter package manager, Pub ● README.md - Project description file written in Markdown format 10
11.
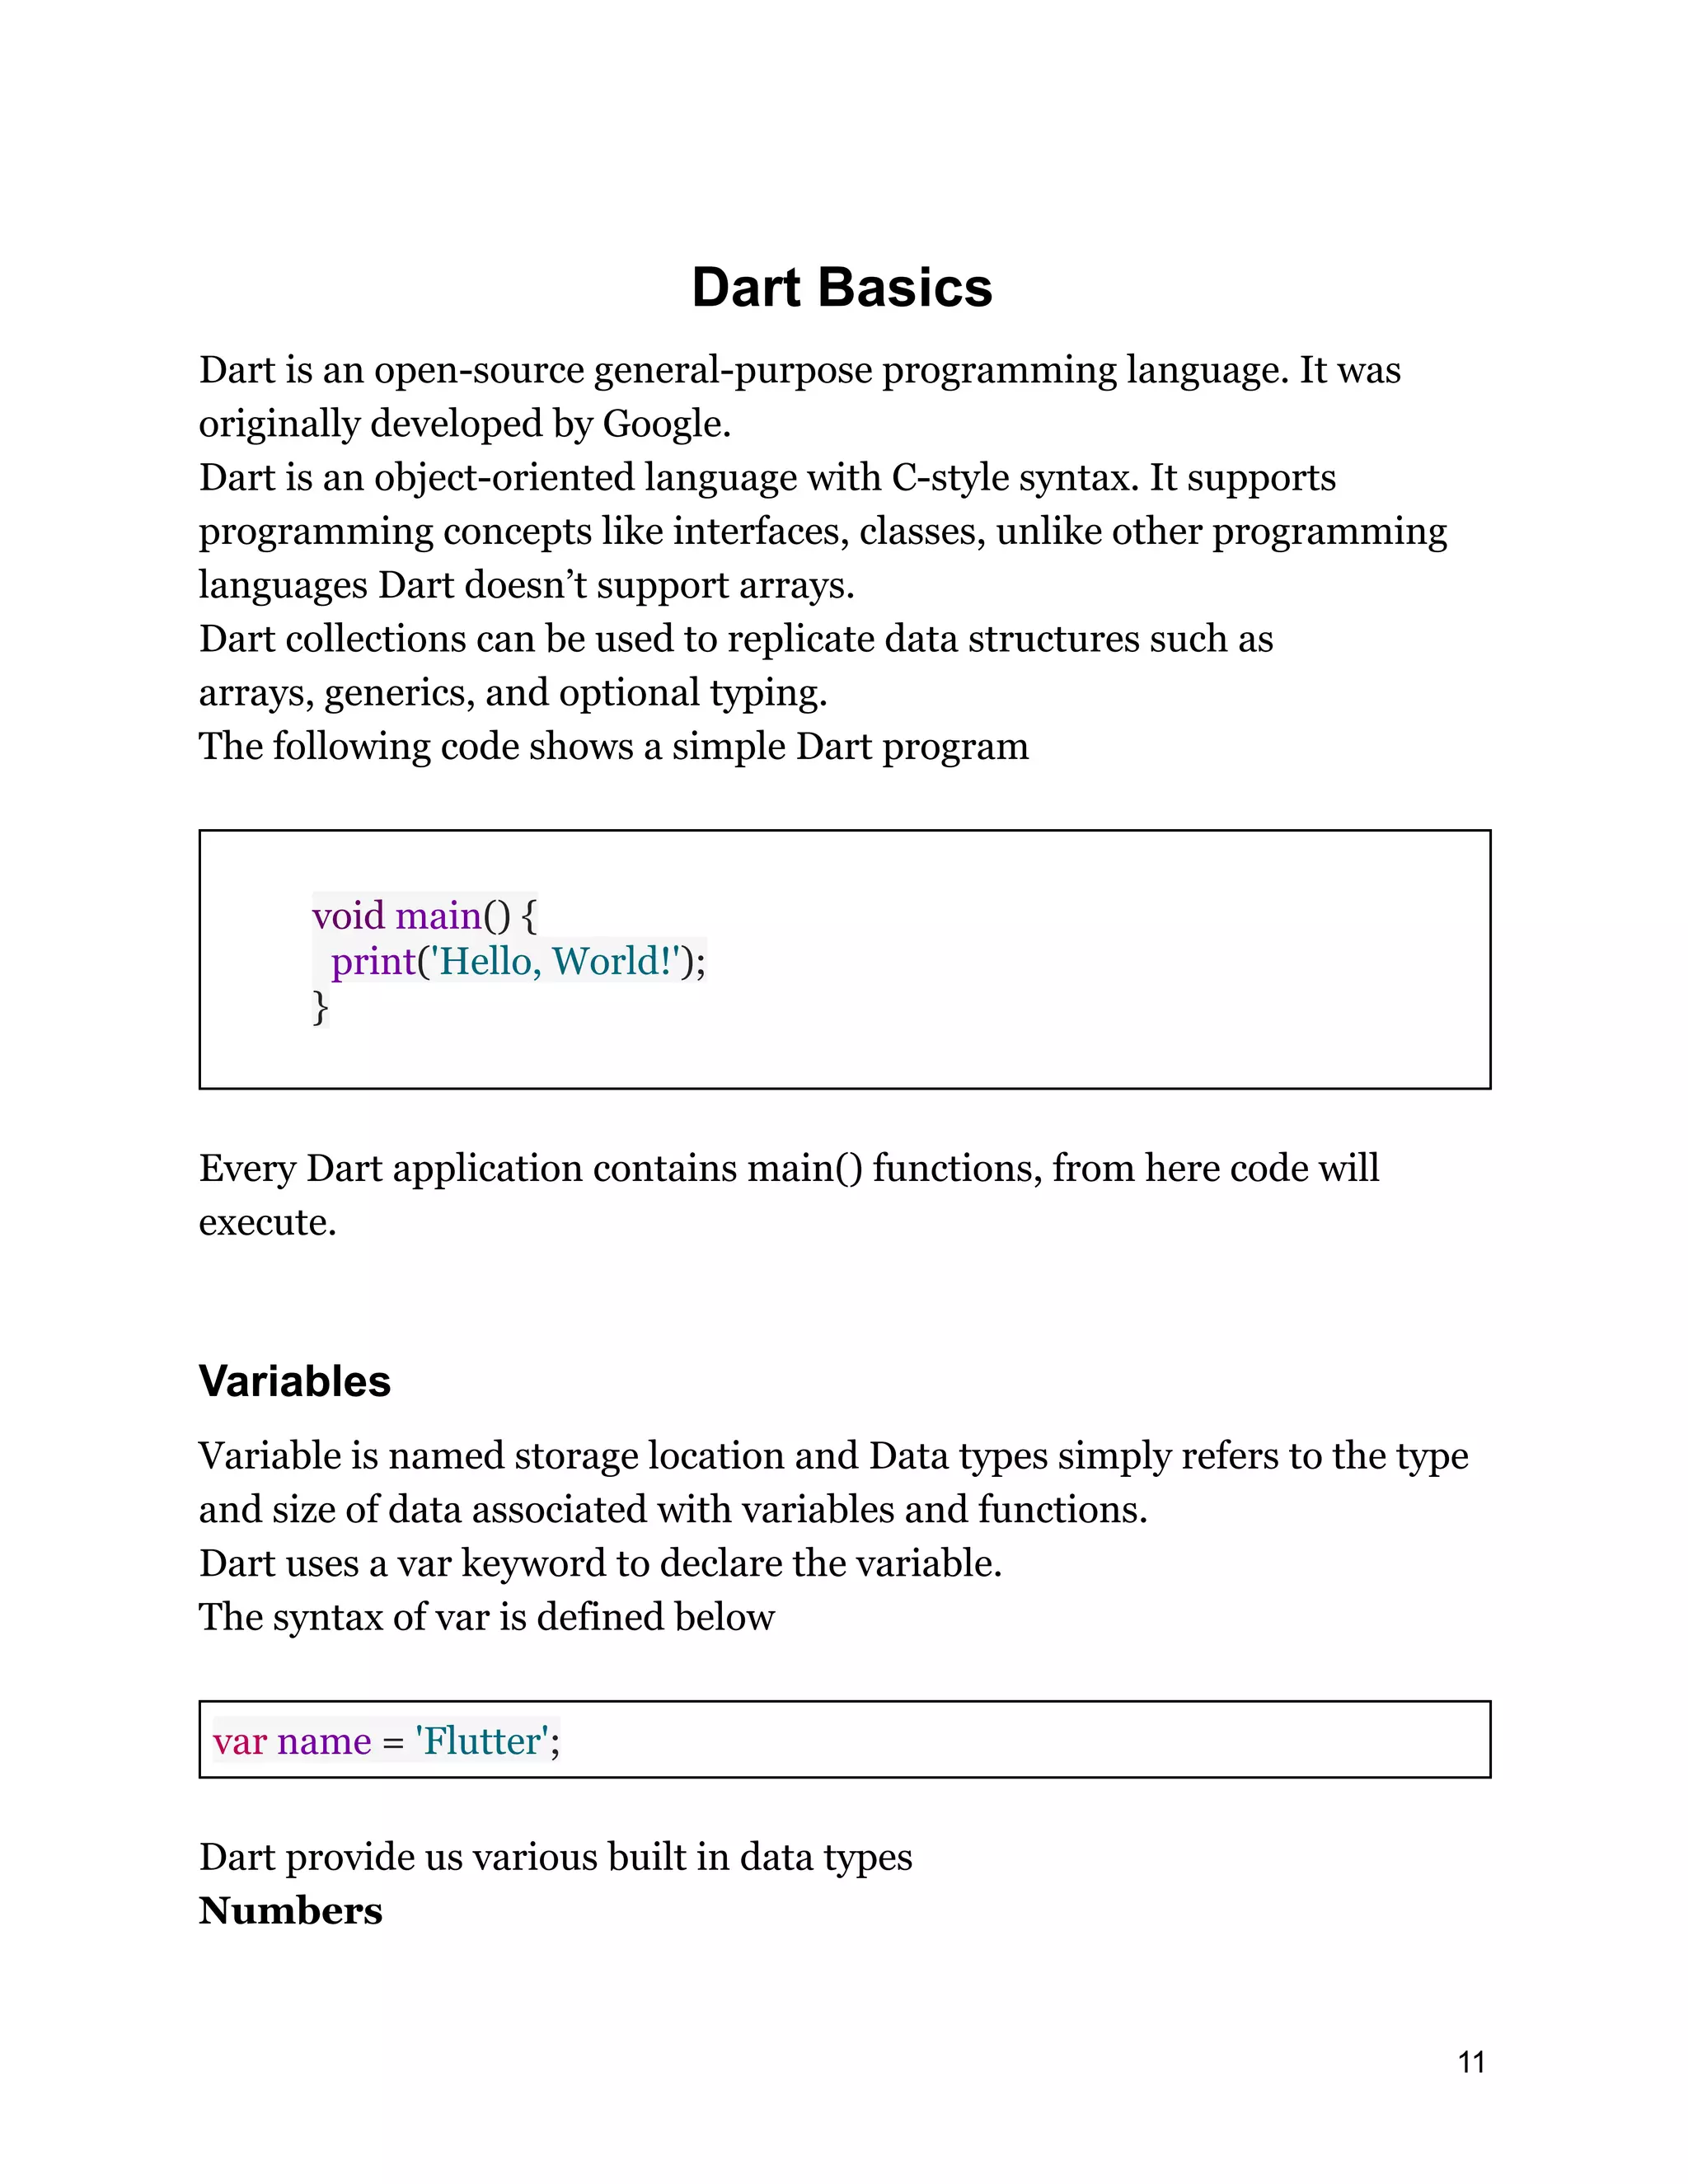
Dart Basics Dart isan open-source general-purpose programming language. It was originally developed by Google. Dart is an object-oriented language with C-style syntax. It supports programming concepts like interfaces, classes, unlike other programming languages Dart doesn’t support arrays. Dart collections can be used to replicate data structures such as arrays, generics, and optional typing. The following code shows a simple Dart program void main() { print('Hello, World!'); } Every Dart application contains main() functions, from here code will execute. Variables Variable is named storage location and Data types simply refers to the type and size of data associated with variables and functions. Dart uses a var keyword to declare the variable. The syntax of var is defined below var name = 'Flutter'; Dart provide us various built in data types Numbers 11
12.
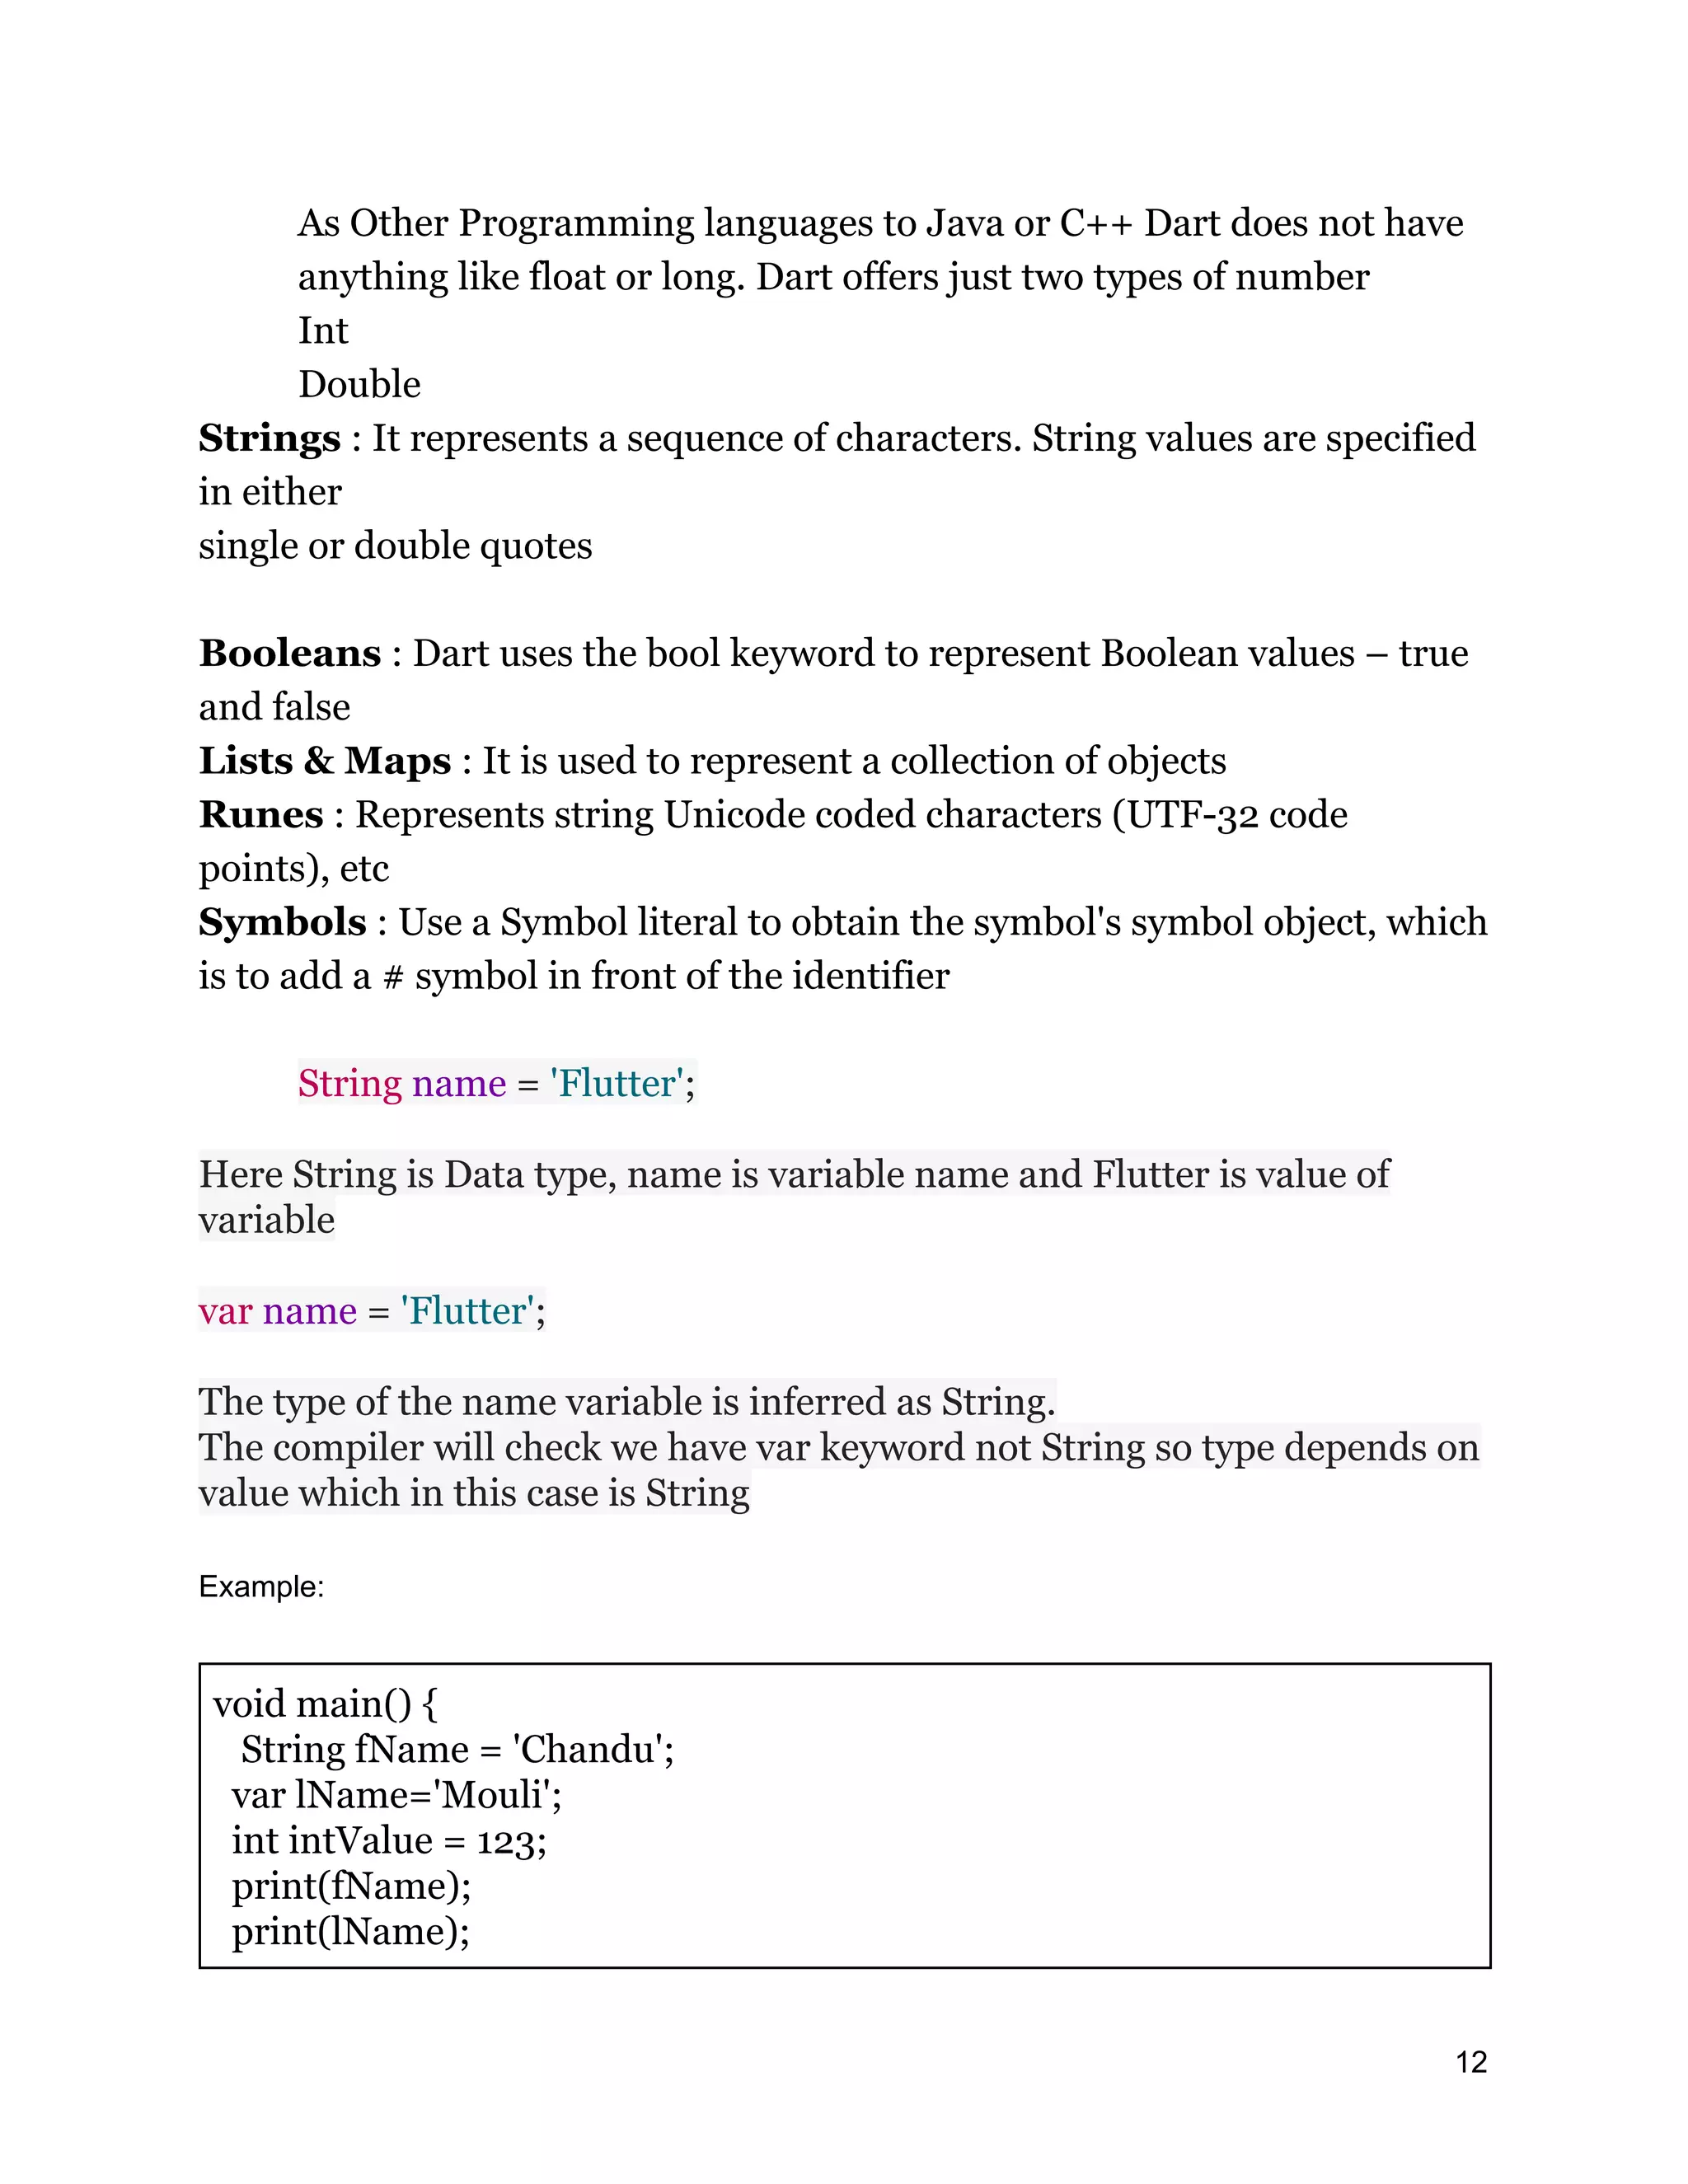
As Other Programminglanguages to Java or C++ Dart does not have anything like float or long. Dart offers just two types of number Int Double Strings : It represents a sequence of characters. String values are specified in either single or double quotes Booleans : Dart uses the bool keyword to represent Boolean values – true and false Lists & Maps : It is used to represent a collection of objects Runes : Represents string Unicode coded characters (UTF-32 code points), etc Symbols : Use a Symbol literal to obtain the symbol's symbol object, which is to add a # symbol in front of the identifier String name = 'Flutter'; Here String is Data type, name is variable name and Flutter is value of variable var name = 'Flutter'; The type of the name variable is inferred as String. The compiler will check we have var keyword not String so type depends on value which in this case is String Example: void main() { String fName = 'Chandu'; var lName='Mouli'; int intValue = 123; print(fName); print(lName); 12
13.
print(intValue); } Output will be Chandu Mouli 123 List: Declare a list is very simple, you can simply use square brackets [] to define the list. The following are common operations for lists main(List<String> args) { var list = [1,2,3,4]; print(list); //Output: [1, 2, 3, 4] //Length print(list.length); //Selecting single value print(list[1]); //Output: 2 //Adding a value list.add(10); //Removing a single instance of value list.remove(3); //Remove at a particular position list.removeAt(0); } If we want to define a compile-time constant list, for example, the contents of the list are immutable, you can use keywords const 13
14.
main(List<String> args) { varlist = const [1,2,3,4]; } Defining a map We can define maps by using curly braces {} main(List<String> args) { var map = { 'key1': 'value1', 'key2': 'value2', 'key3': 'value3' }; //Fetching the values print(map['key1']); //Output: value1 print(map['test']); //Output: null //Add a new value map['key4'] = 'value4'; //Length print(map.length); //Check if a key is present map.containsKey('value1'); //Get entries and values var entries = map.entries; var values = map.values; } We can also define Map by constructor 14
15.
main(List<String> args) { varsquares = new Map(); squares[4] = 16; } Functions Functions in dart are similar to those in JavaScript. It consists of the function name, return value, and parameters. main(List<String> args) { var name = fullName('Chandu', 'Mouli'); print(name); } String fullName(String firstName, String lastName) { return "$firstName $lastName"; } return type is an option, if we can remove return type and function looks like below main(List<String> args) { var name = fullName('Chandu', 'Mouli'); print(name); } fullName(String firstName, String lastName) { return "$firstName $lastName"; } 15
16.
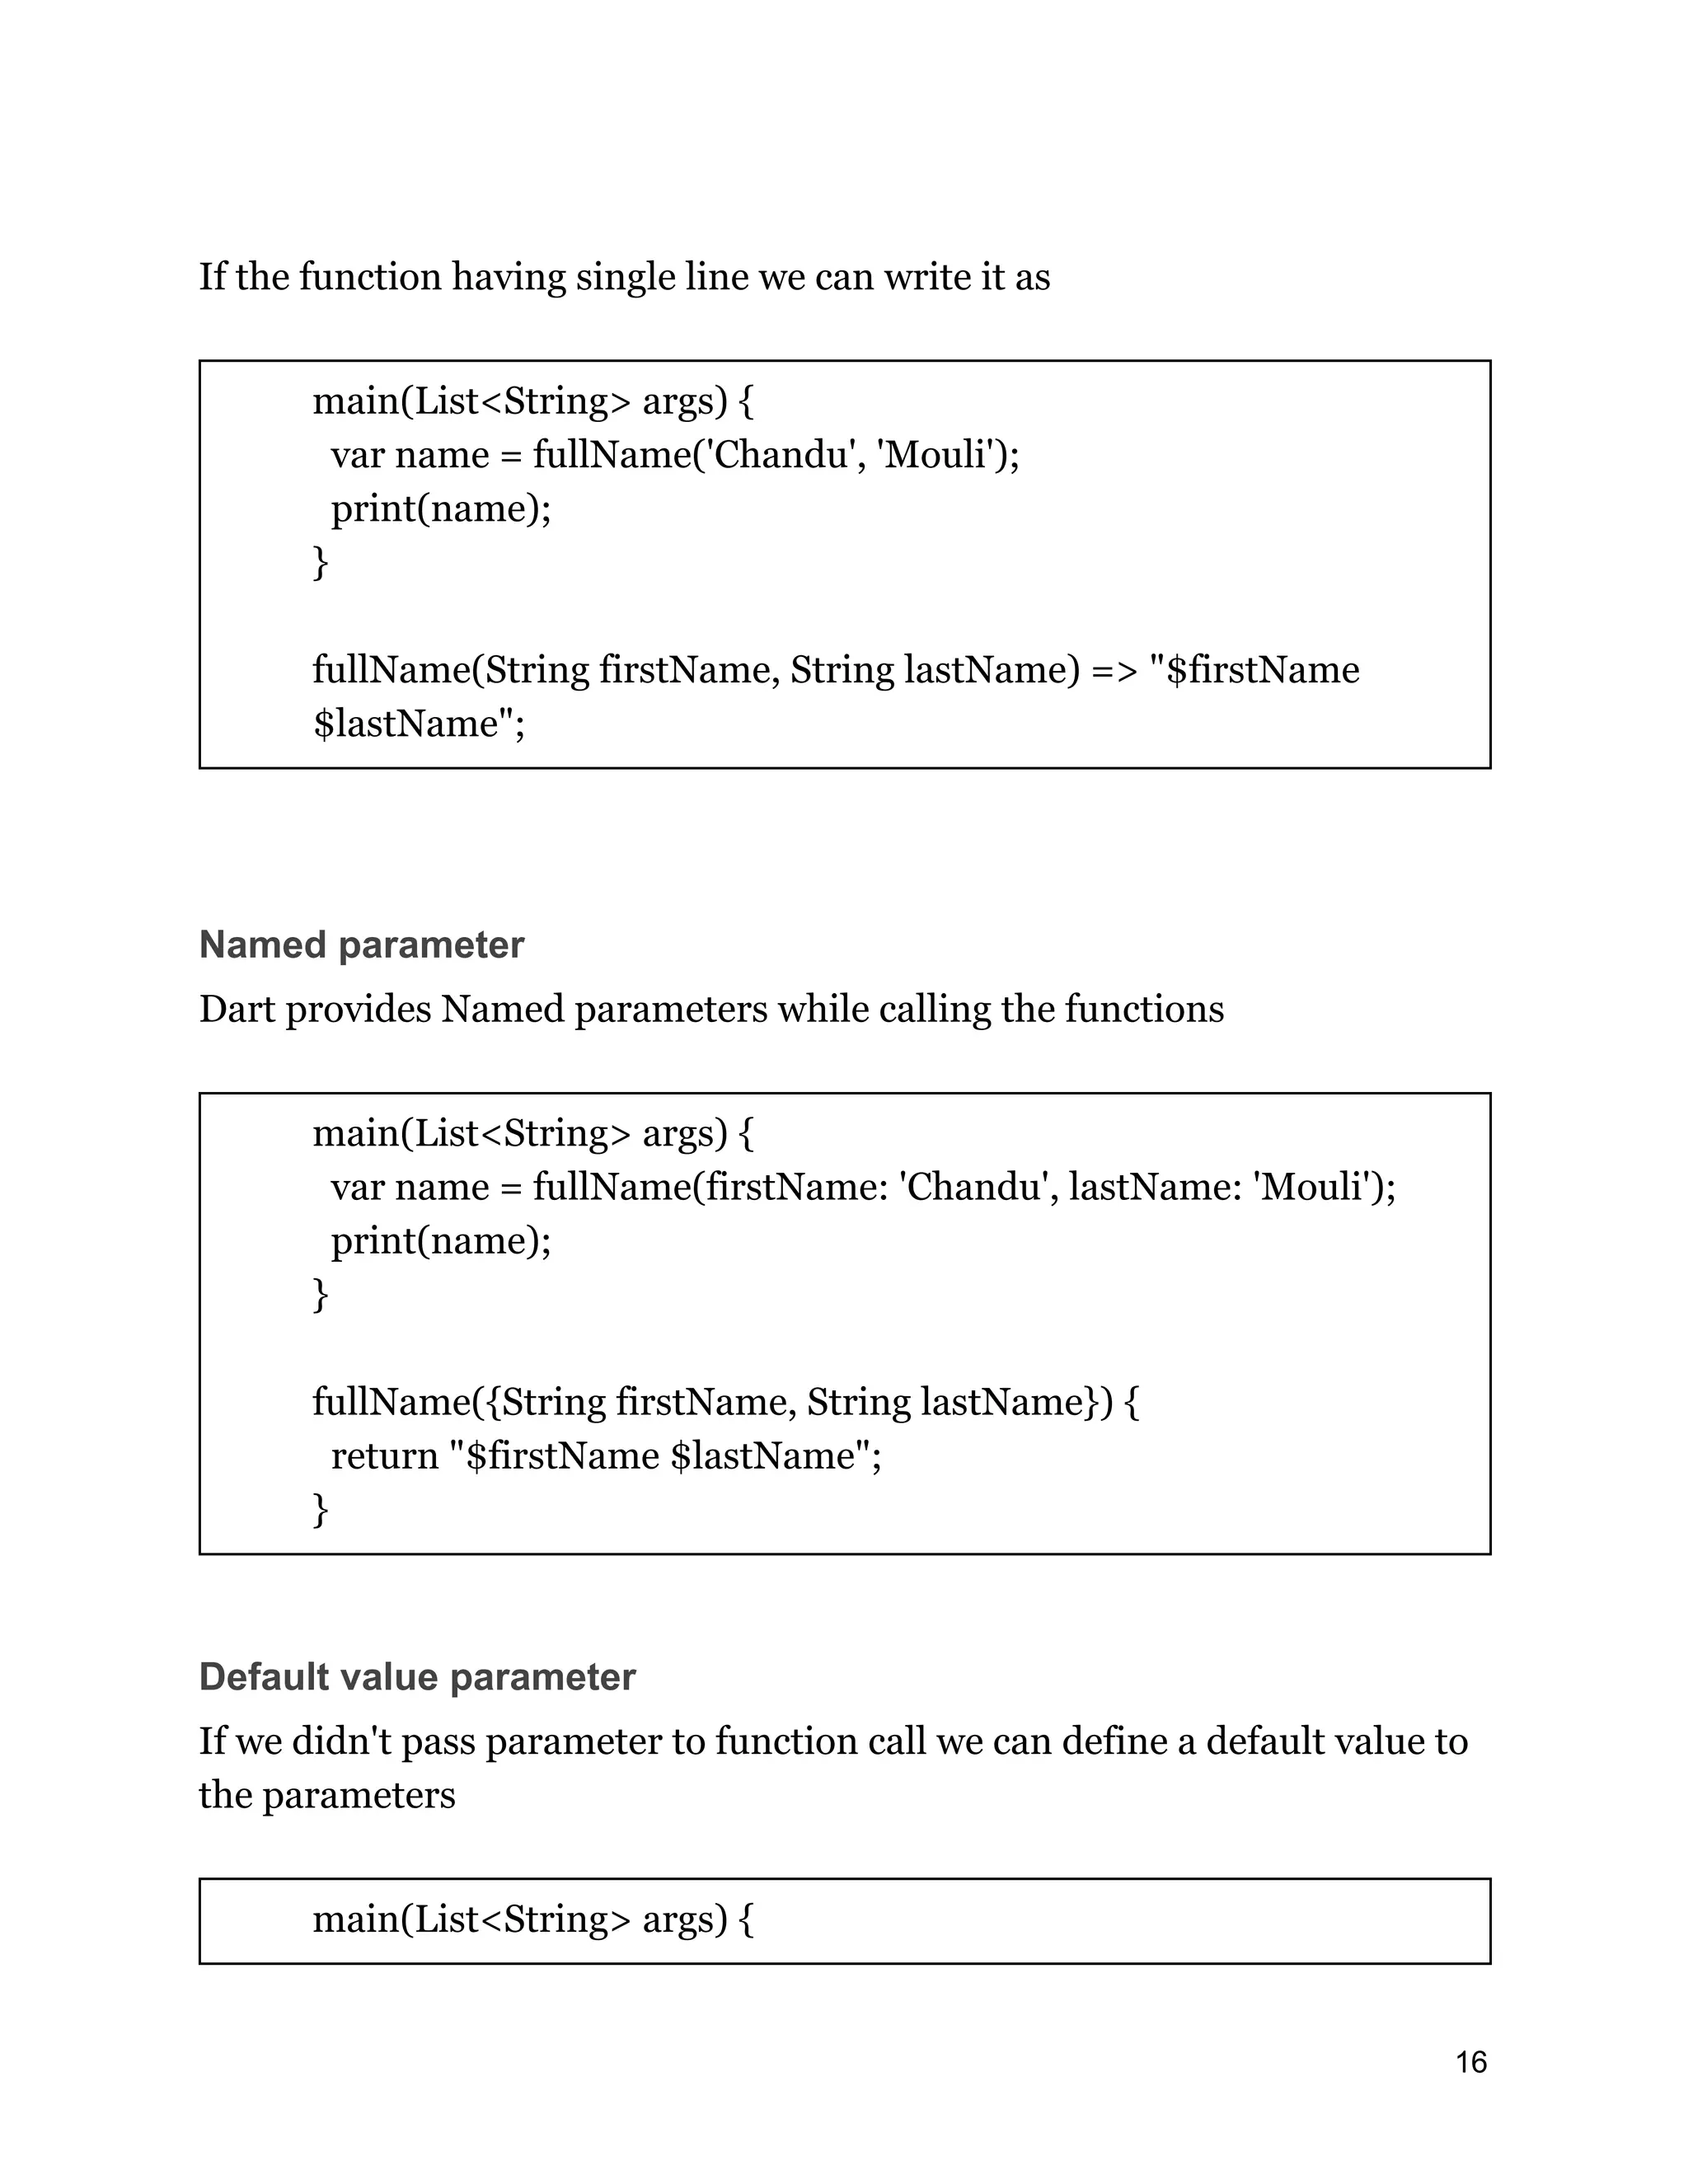
If the functionhaving single line we can write it as main(List<String> args) { var name = fullName('Chandu', 'Mouli'); print(name); } fullName(String firstName, String lastName) => "$firstName $lastName"; Named parameter Dart provides Named parameters while calling the functions main(List<String> args) { var name = fullName(firstName: 'Chandu', lastName: 'Mouli'); print(name); } fullName({String firstName, String lastName}) { return "$firstName $lastName"; } Default value parameter If we didn't pass parameter to function call we can define a default value to the parameters main(List<String> args) { 16
17.
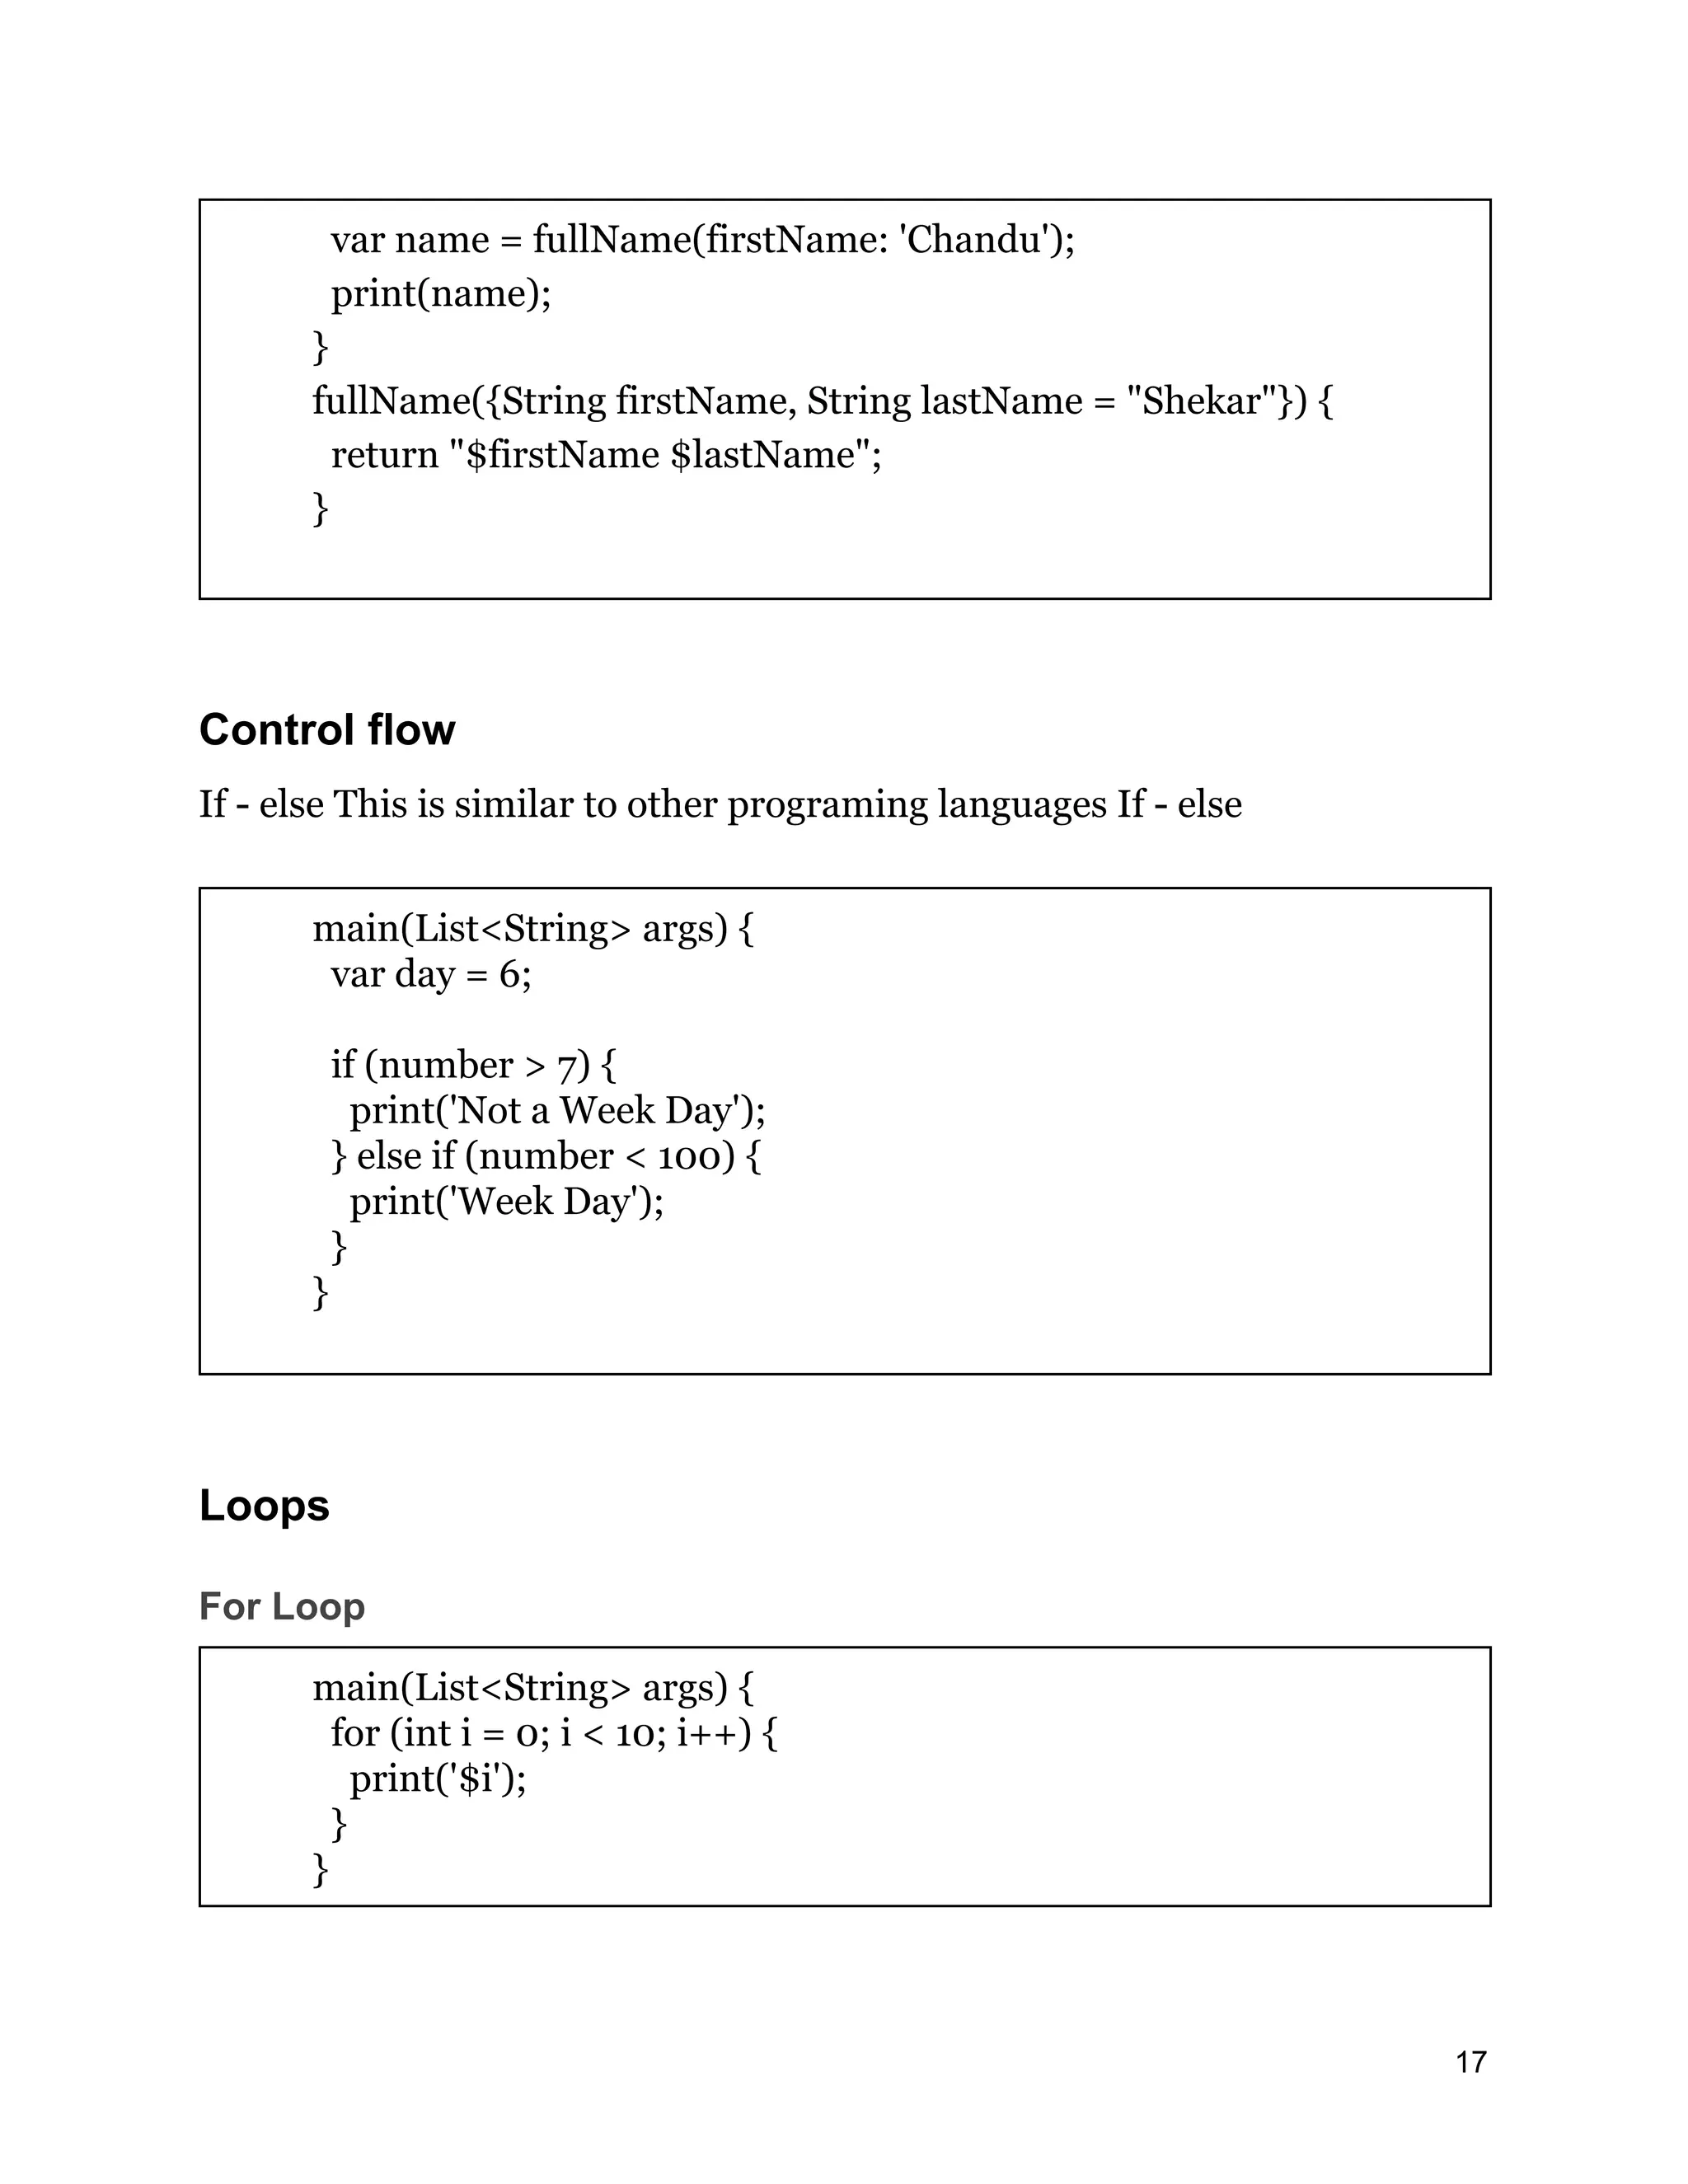
var name =fullName(firstName: 'Chandu'); print(name); } fullName({String firstName, String lastName = "Shekar"}) { return "$firstName $lastName"; } Control flow If - else This is similar to other programing languages If - else main(List<String> args) { var day = 6; if (number > 7) { print('Not a Week Day'); } else if (number < 100) { print('Week Day'); } } Loops For Loop main(List<String> args) { for (int i = 0; i < 10; i++) { print('$i'); } } 17
18.
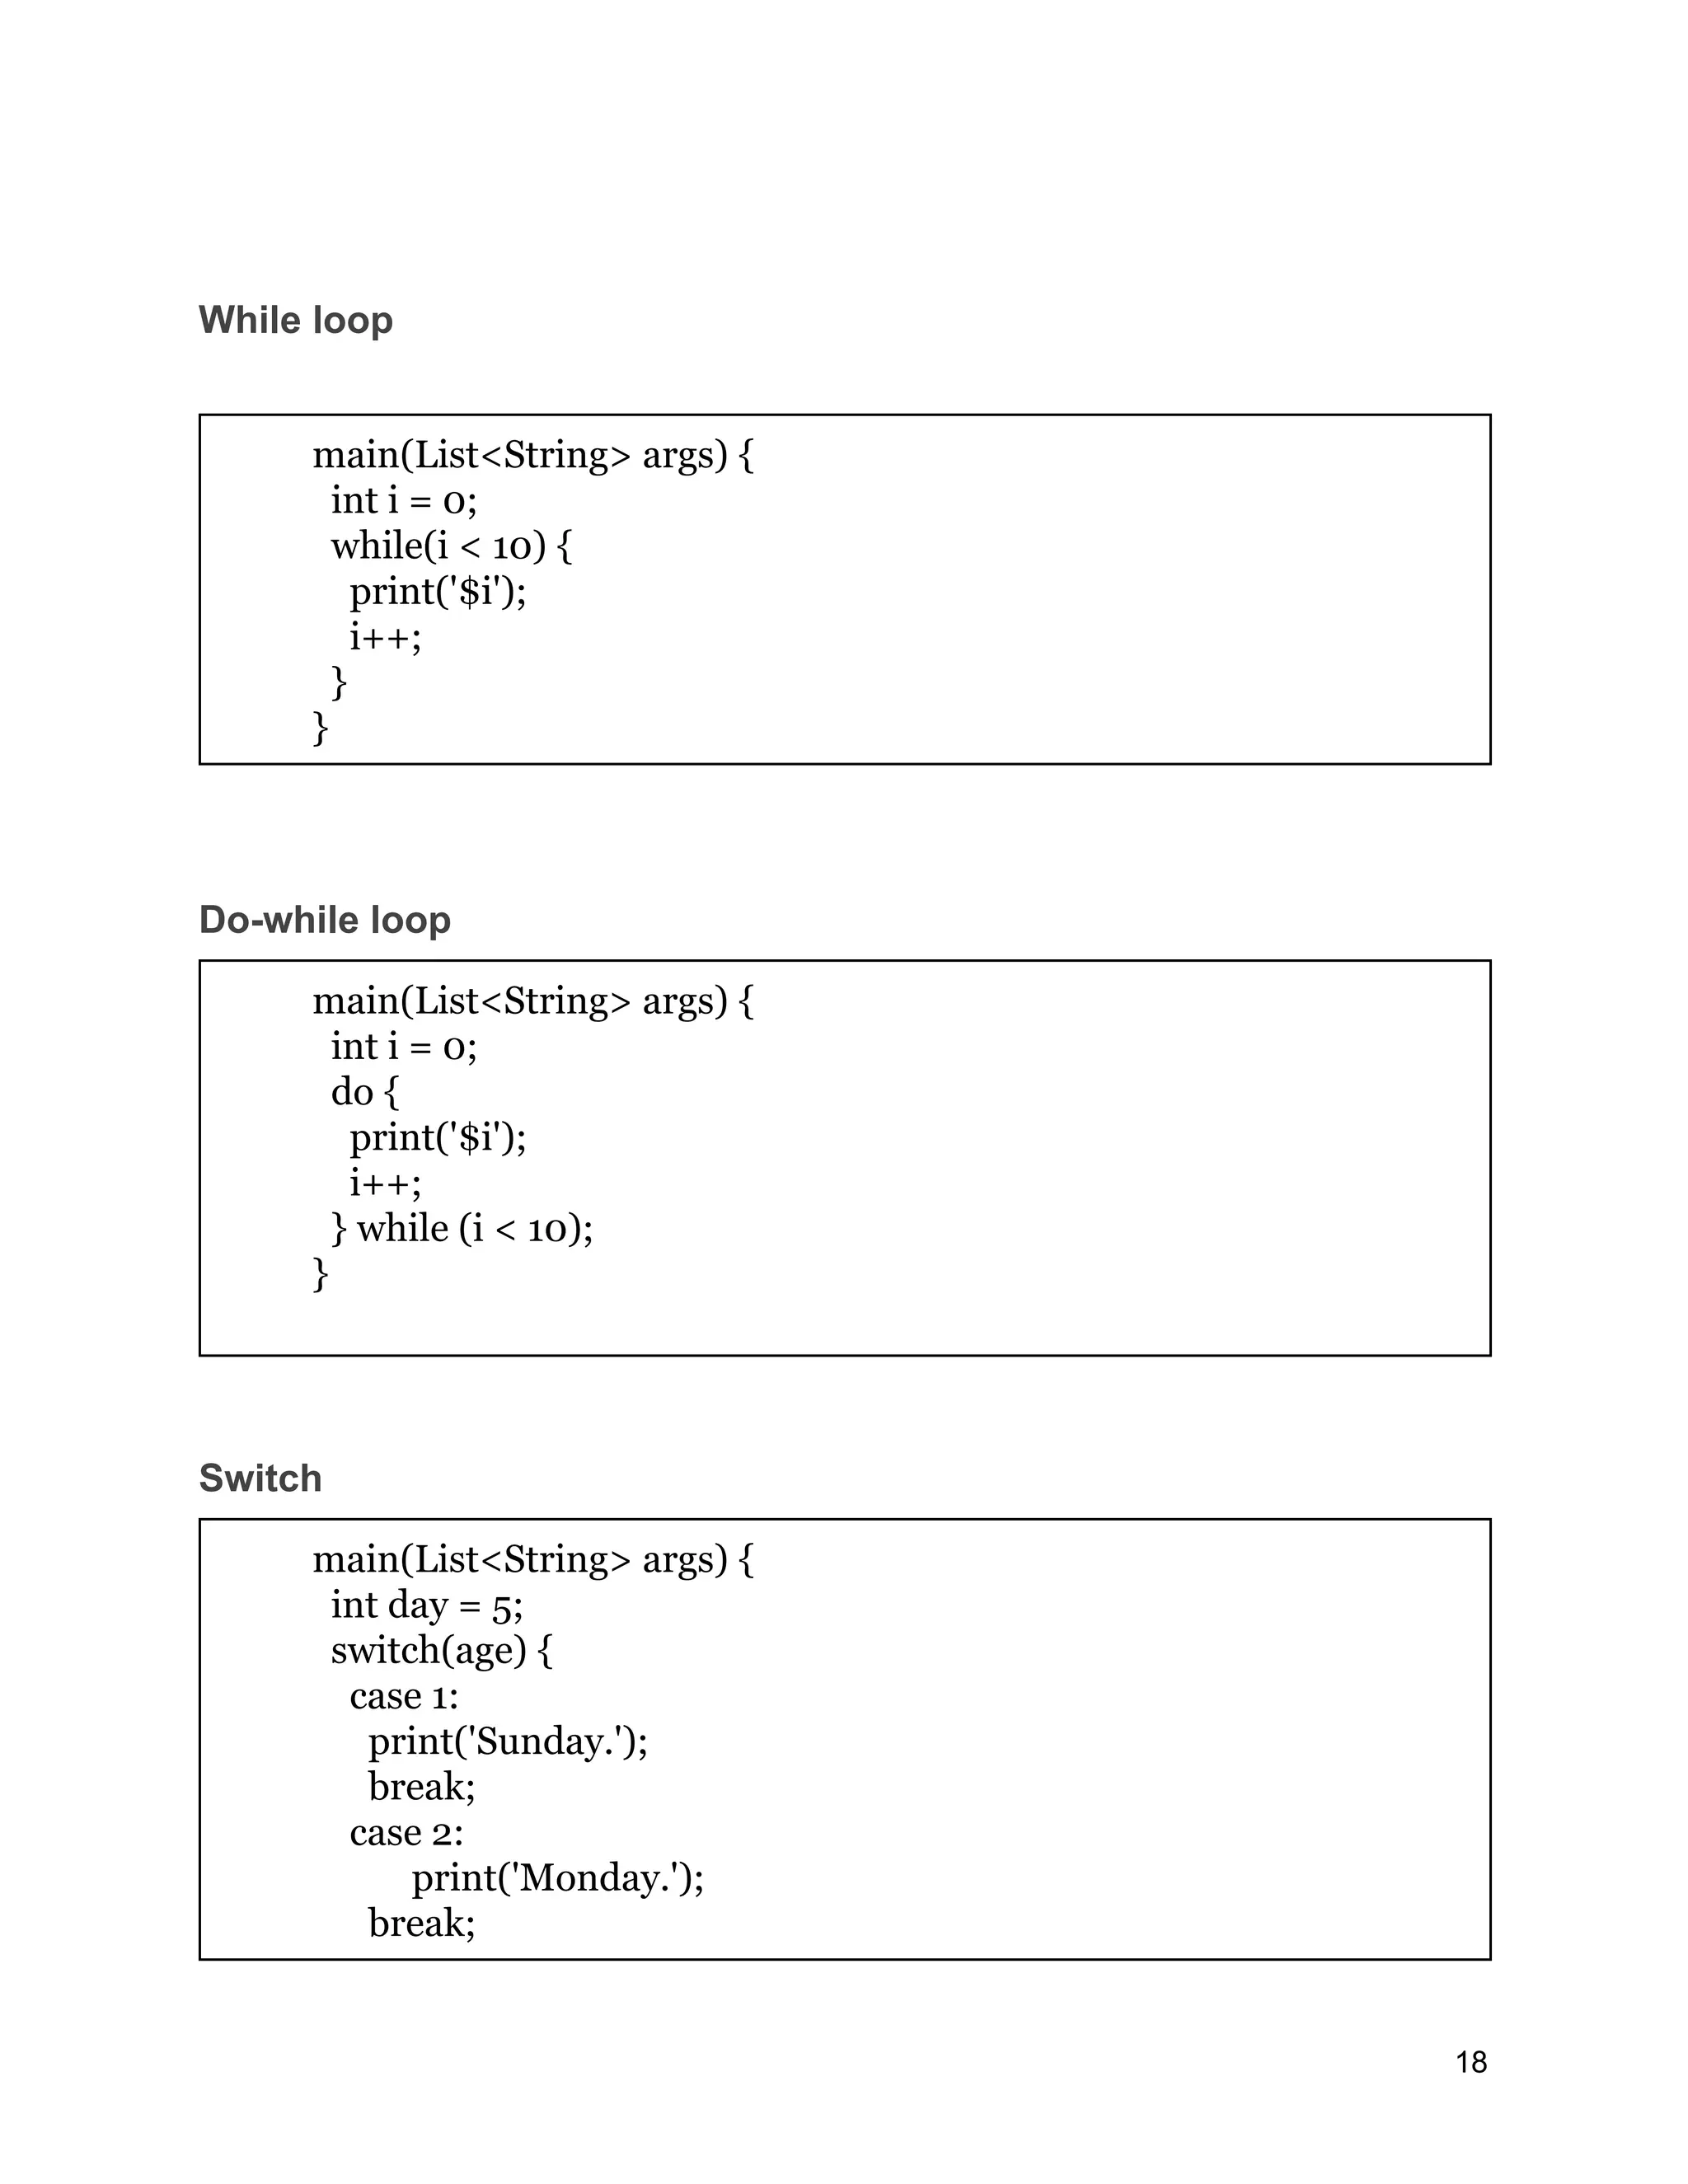
While loop main(List<String> args){ int i = 0; while(i < 10) { print('$i'); i++; } } Do-while loop main(List<String> args) { int i = 0; do { print('$i'); i++; } while (i < 10); } Switch main(List<String> args) { int day = 5; switch(age) { case 1: print('Sunday.'); break; case 2: print('Monday.'); break; 18
19.
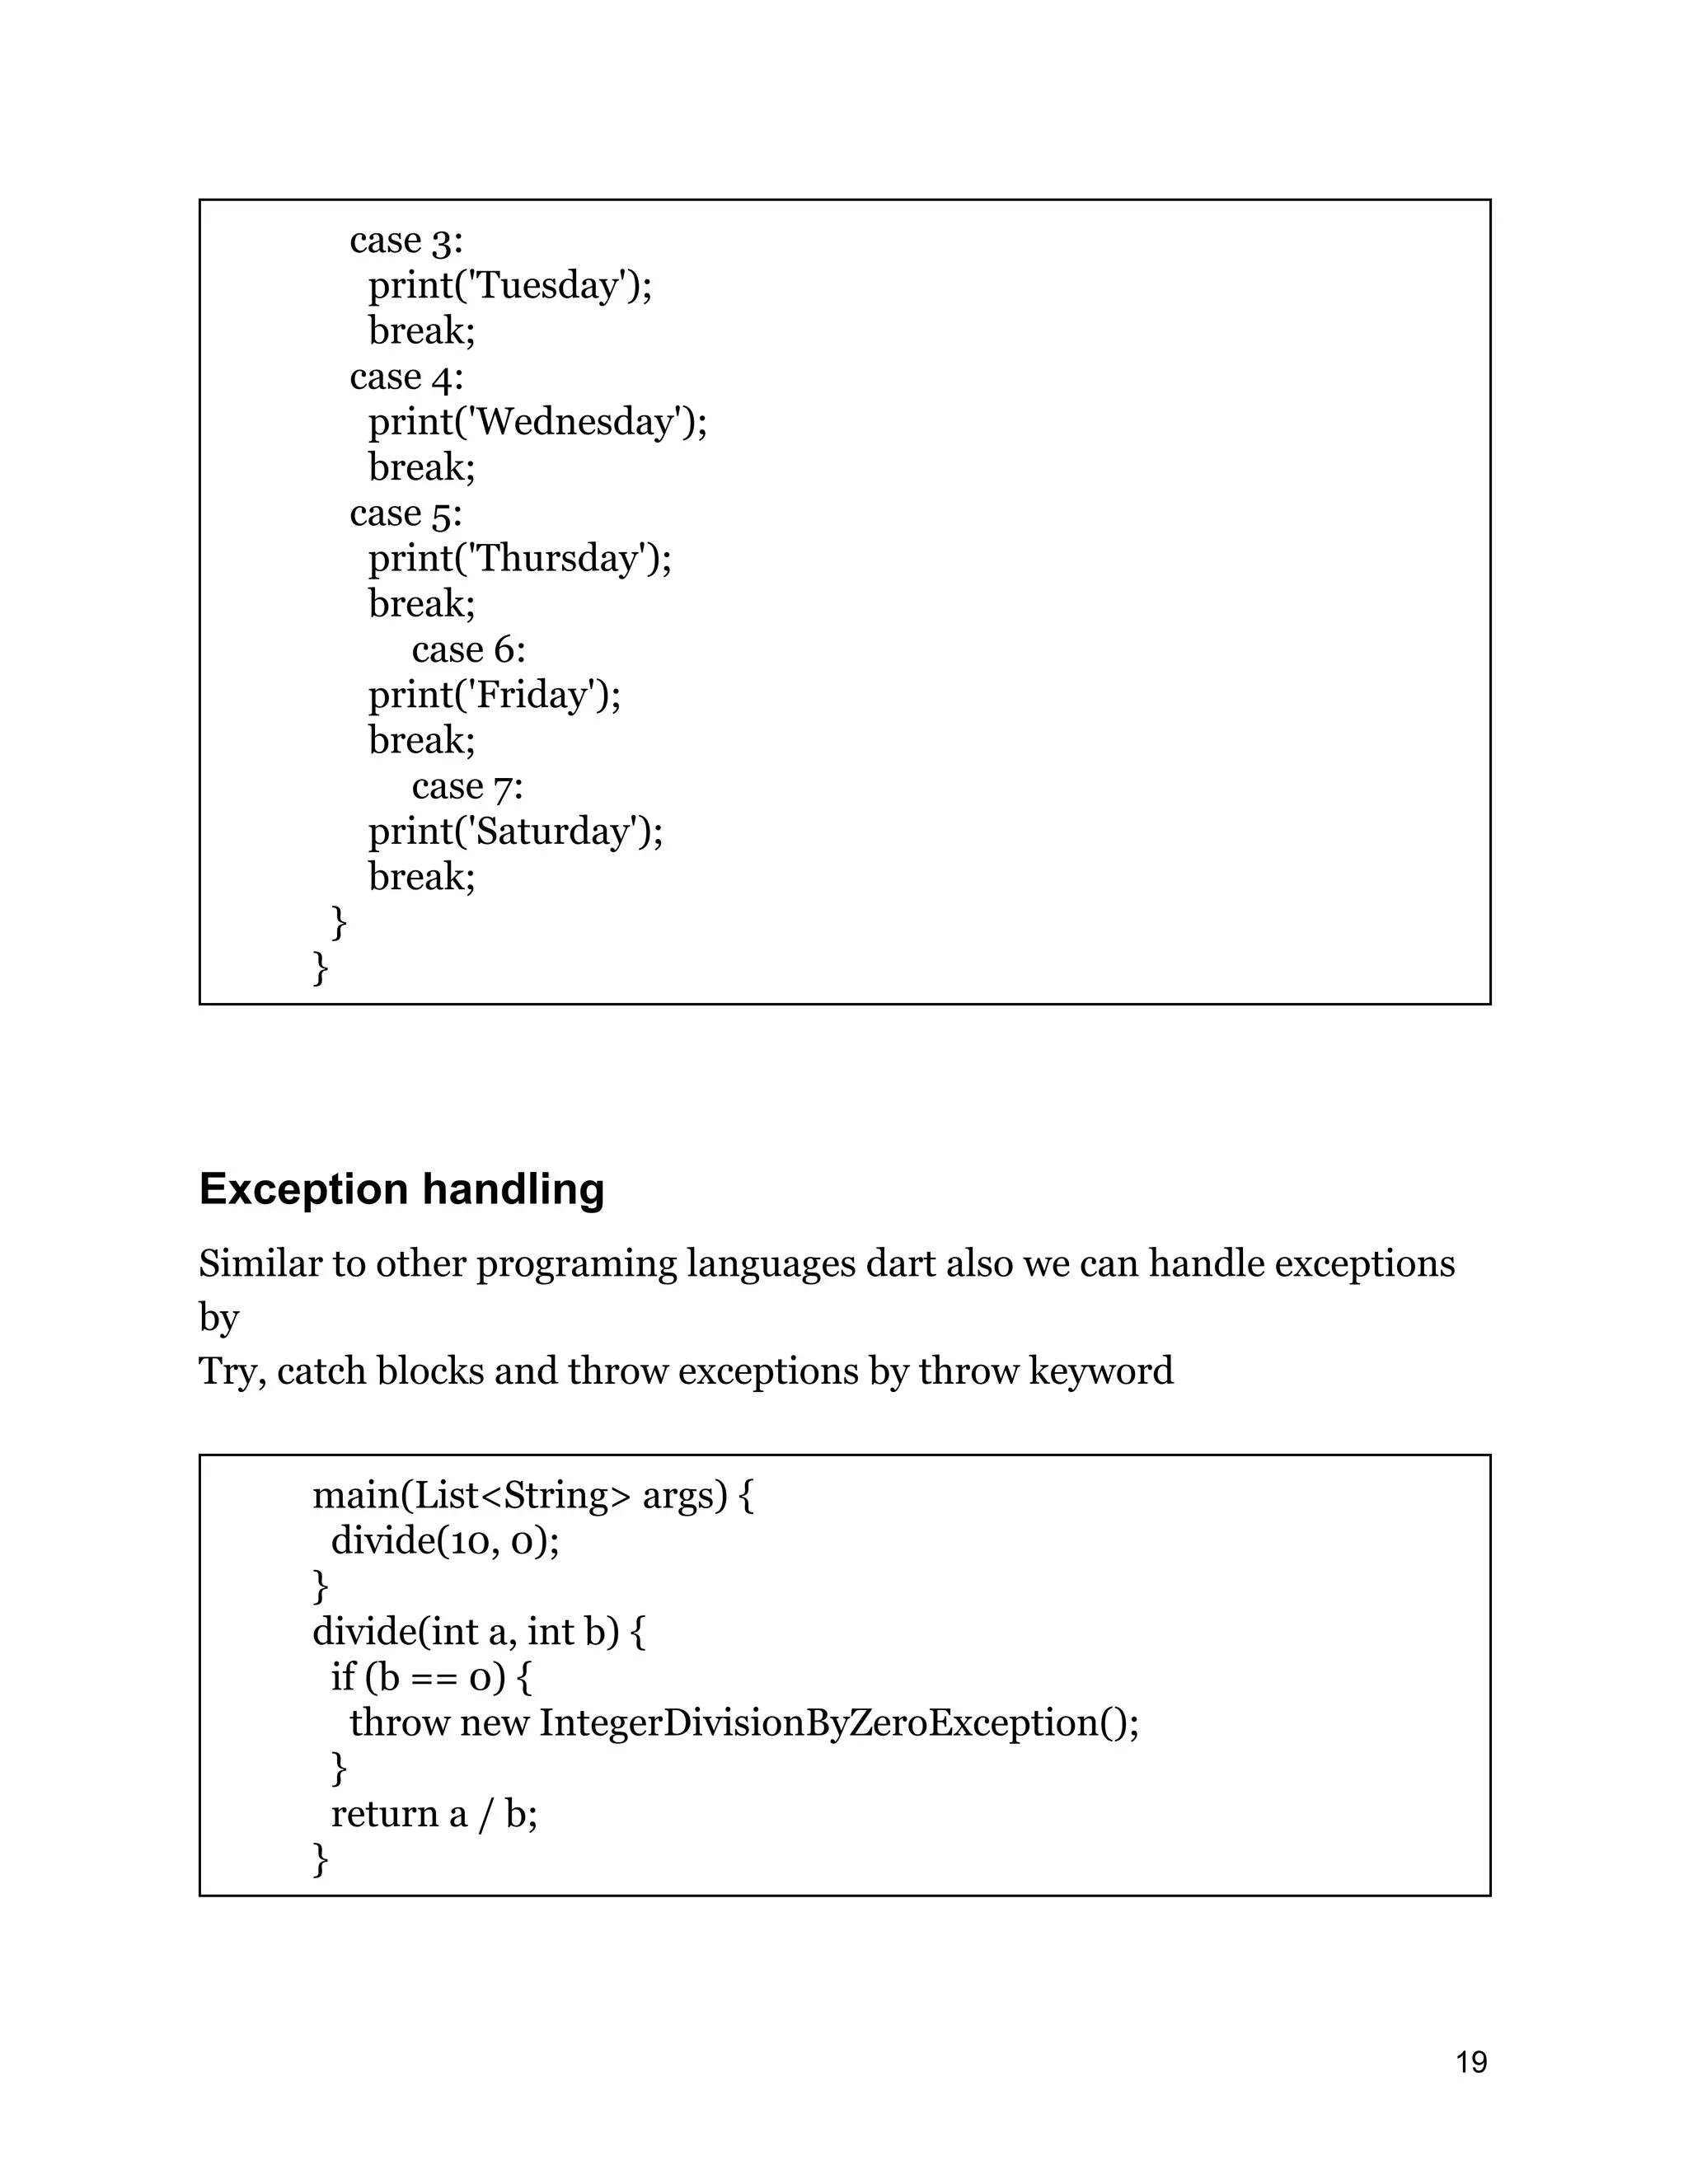
case 3: print('Tuesday'); break; case 4: print('Wednesday'); break; case5: print('Thursday'); break; case 6: print('Friday'); break; case 7: print('Saturday'); break; } } Exception handling Similar to other programing languages dart also we can handle exceptions by Try, catch blocks and throw exceptions by throw keyword main(List<String> args) { divide(10, 0); } divide(int a, int b) { if (b == 0) { throw new IntegerDivisionByZeroException(); } return a / b; } 19
20.
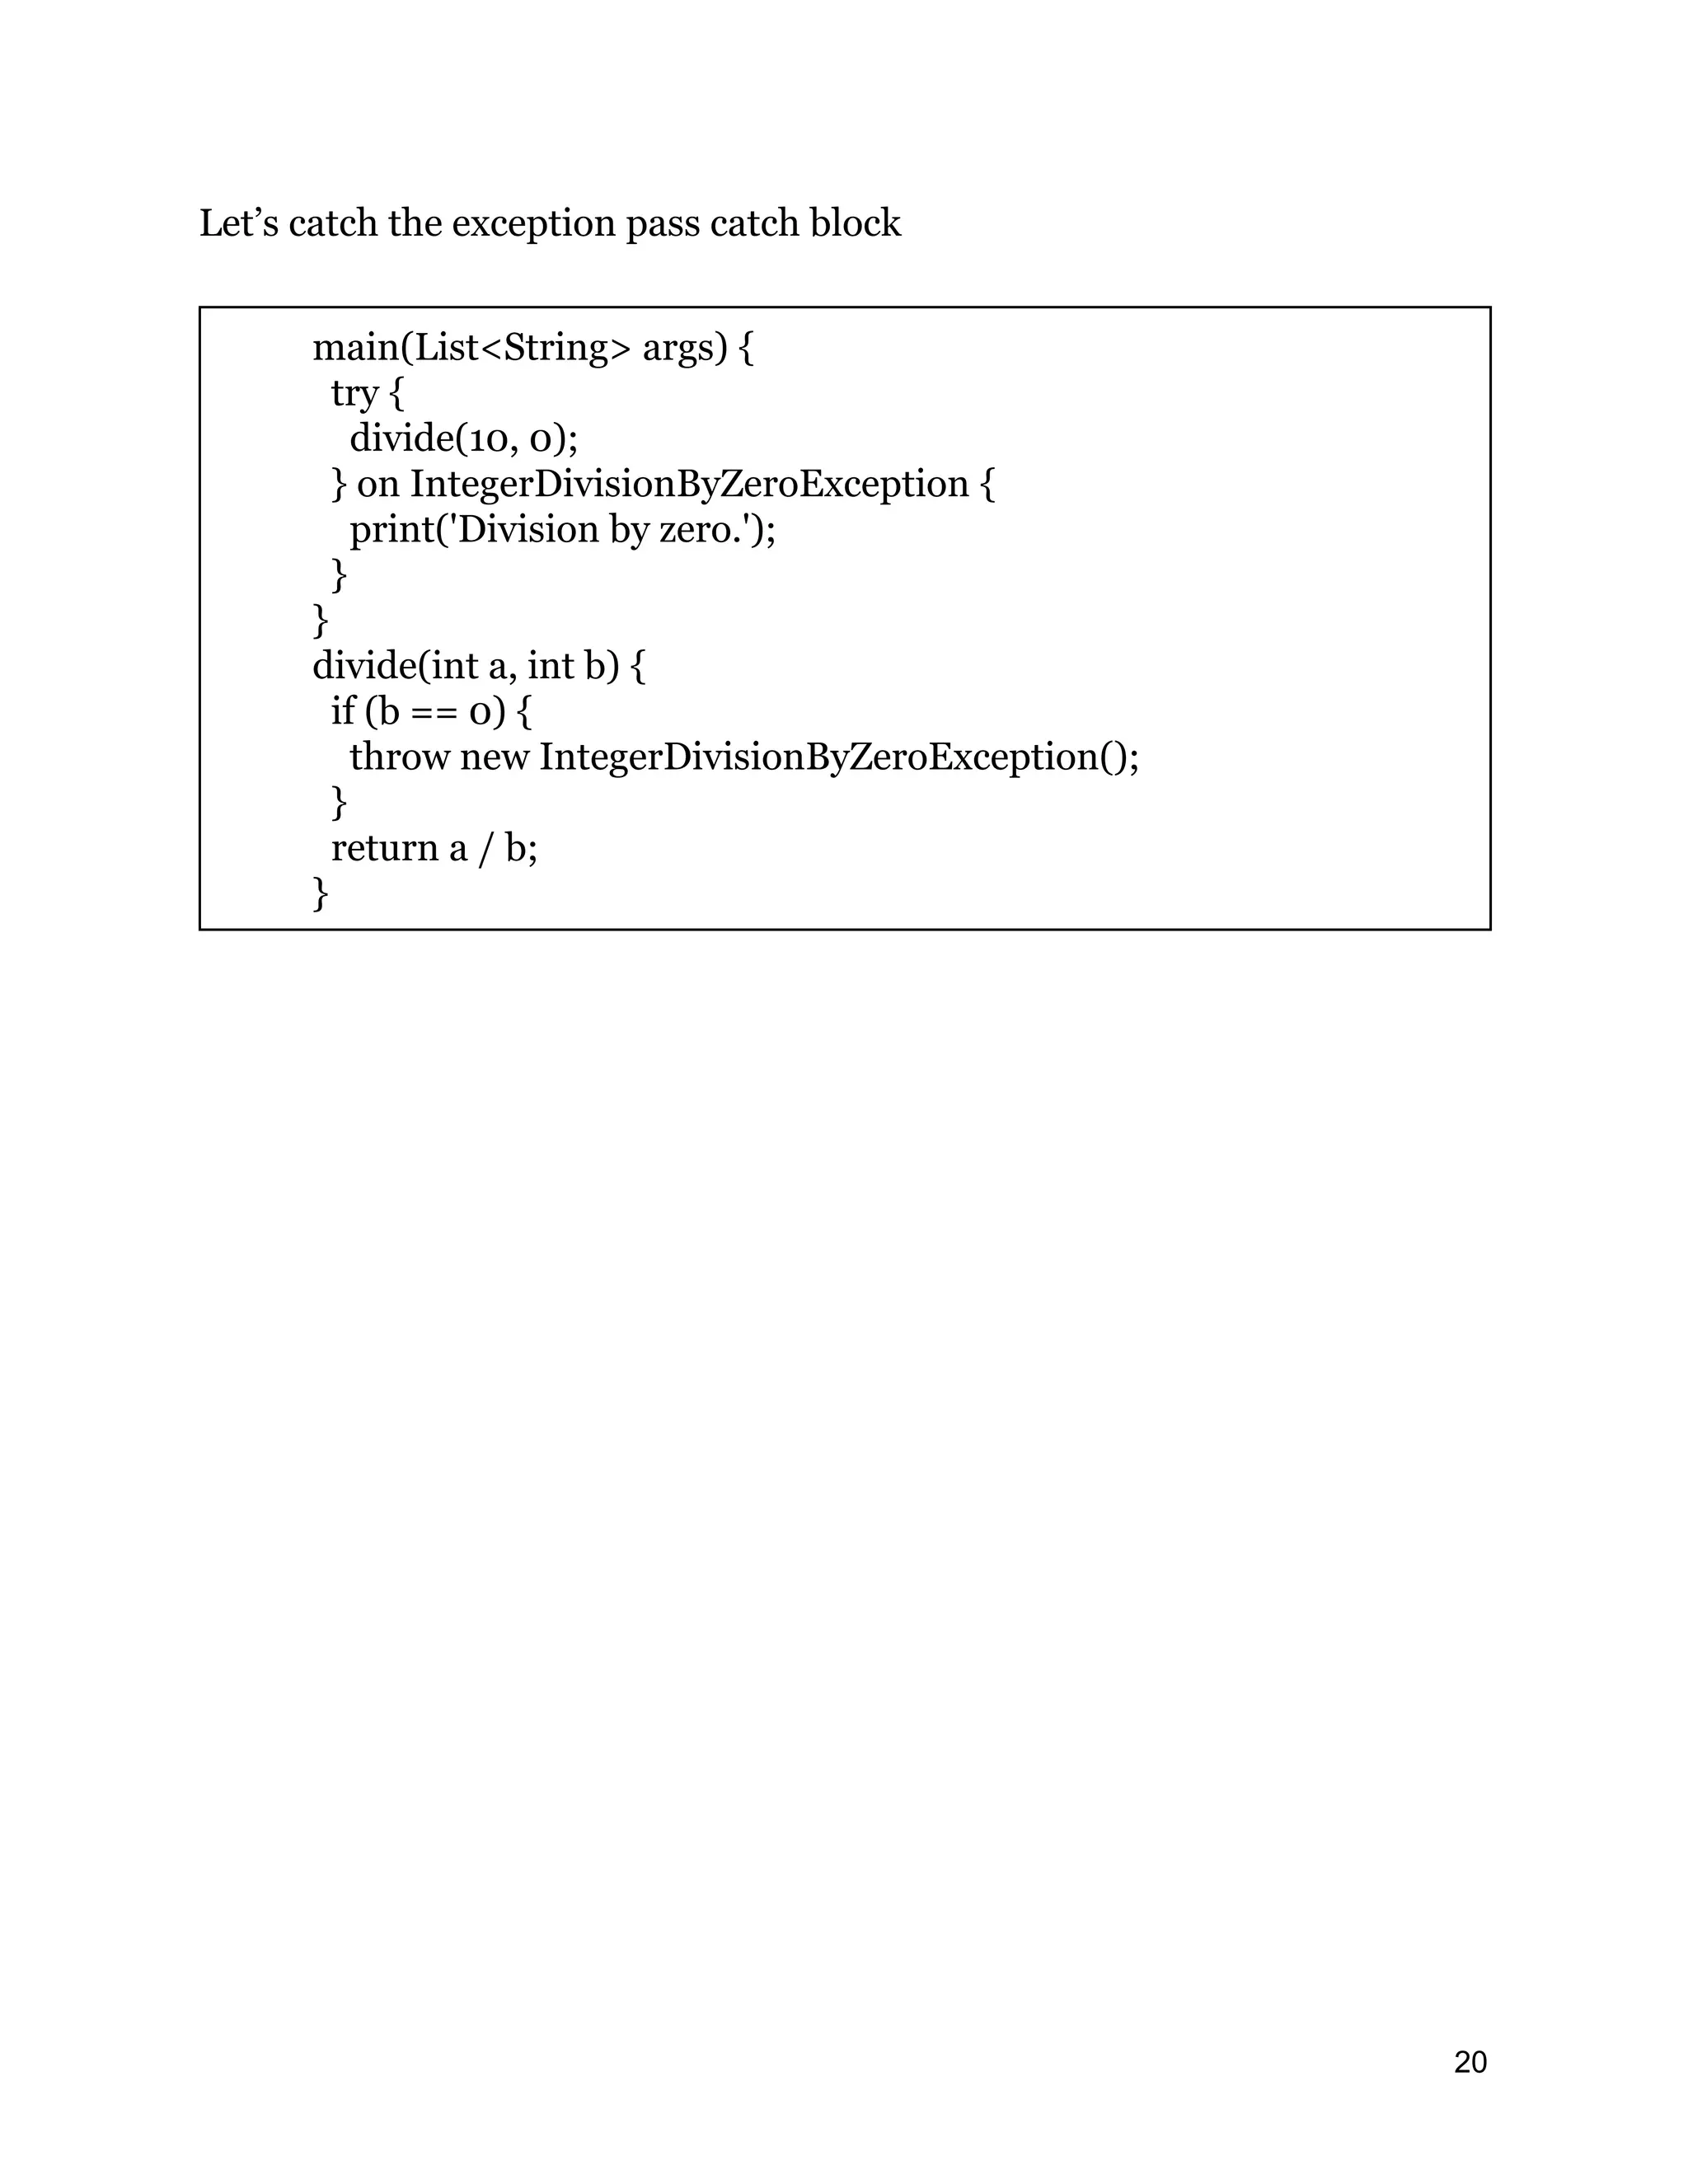
Let’s catch theexception pass catch block main(List<String> args) { try { divide(10, 0); } on IntegerDivisionByZeroException { print('Division by zero.'); } } divide(int a, int b) { if (b == 0) { throw new IntegerDivisionByZeroException(); } return a / b; } 20
21.
Flutter - Widgets Nowyou are not having knowledge on flutter basics then go with Technical overview What is a widget? Everything within a flutter application is widget. From basic "text","Buttons" to "Screen Layouts". In flutter application everything is designed by widget only. These widgets are arranged in hierarchical order to be displayed onto the screen. In the Flutter widgets most of widgets are Container widgets unlike Text widget Widgets are two types ● Stateless Widget ● Stateful widget All Widgets are categorized into below groups 1. Platform specific widgets 2. Layout widgets 3. State maintenance widgets 4. Platform independent / basic widgets 21
22.
Platform specific widgets Flutterprovides platform specific widgets like Android and Ios Android specific widgets are designed based on Material design rules These widgets are called Material Widgets Ios specific widgets are designed based on Human Interface Guidelines by Apple, These widgets are called Cupertino widgets Material Widgets Scaffold AppBar BottomNavigationBar TabBar TabBarView ListTile RaisedButton FloatingActionButton FlatButton IconButton DropdownButton PopupMenuButton ButtonBar TextField Checkbox Radio Switch Slider Date & Time Pickers 22
Example of widgetsand Layout widgets First create a simple visible widget Text("Text widget") If we want to add this visible widget to the Screen we need to put this widget inside the layout widget. Let's create layout widget Container( child: Text("Text Widget") ) Now let;s add this Lyoutwidget to the screen by class Sample1 extends StatelessWidget{ @override Widget build (BuildContext context) { return Container( child: Text("Text Widget"); ) } } 25
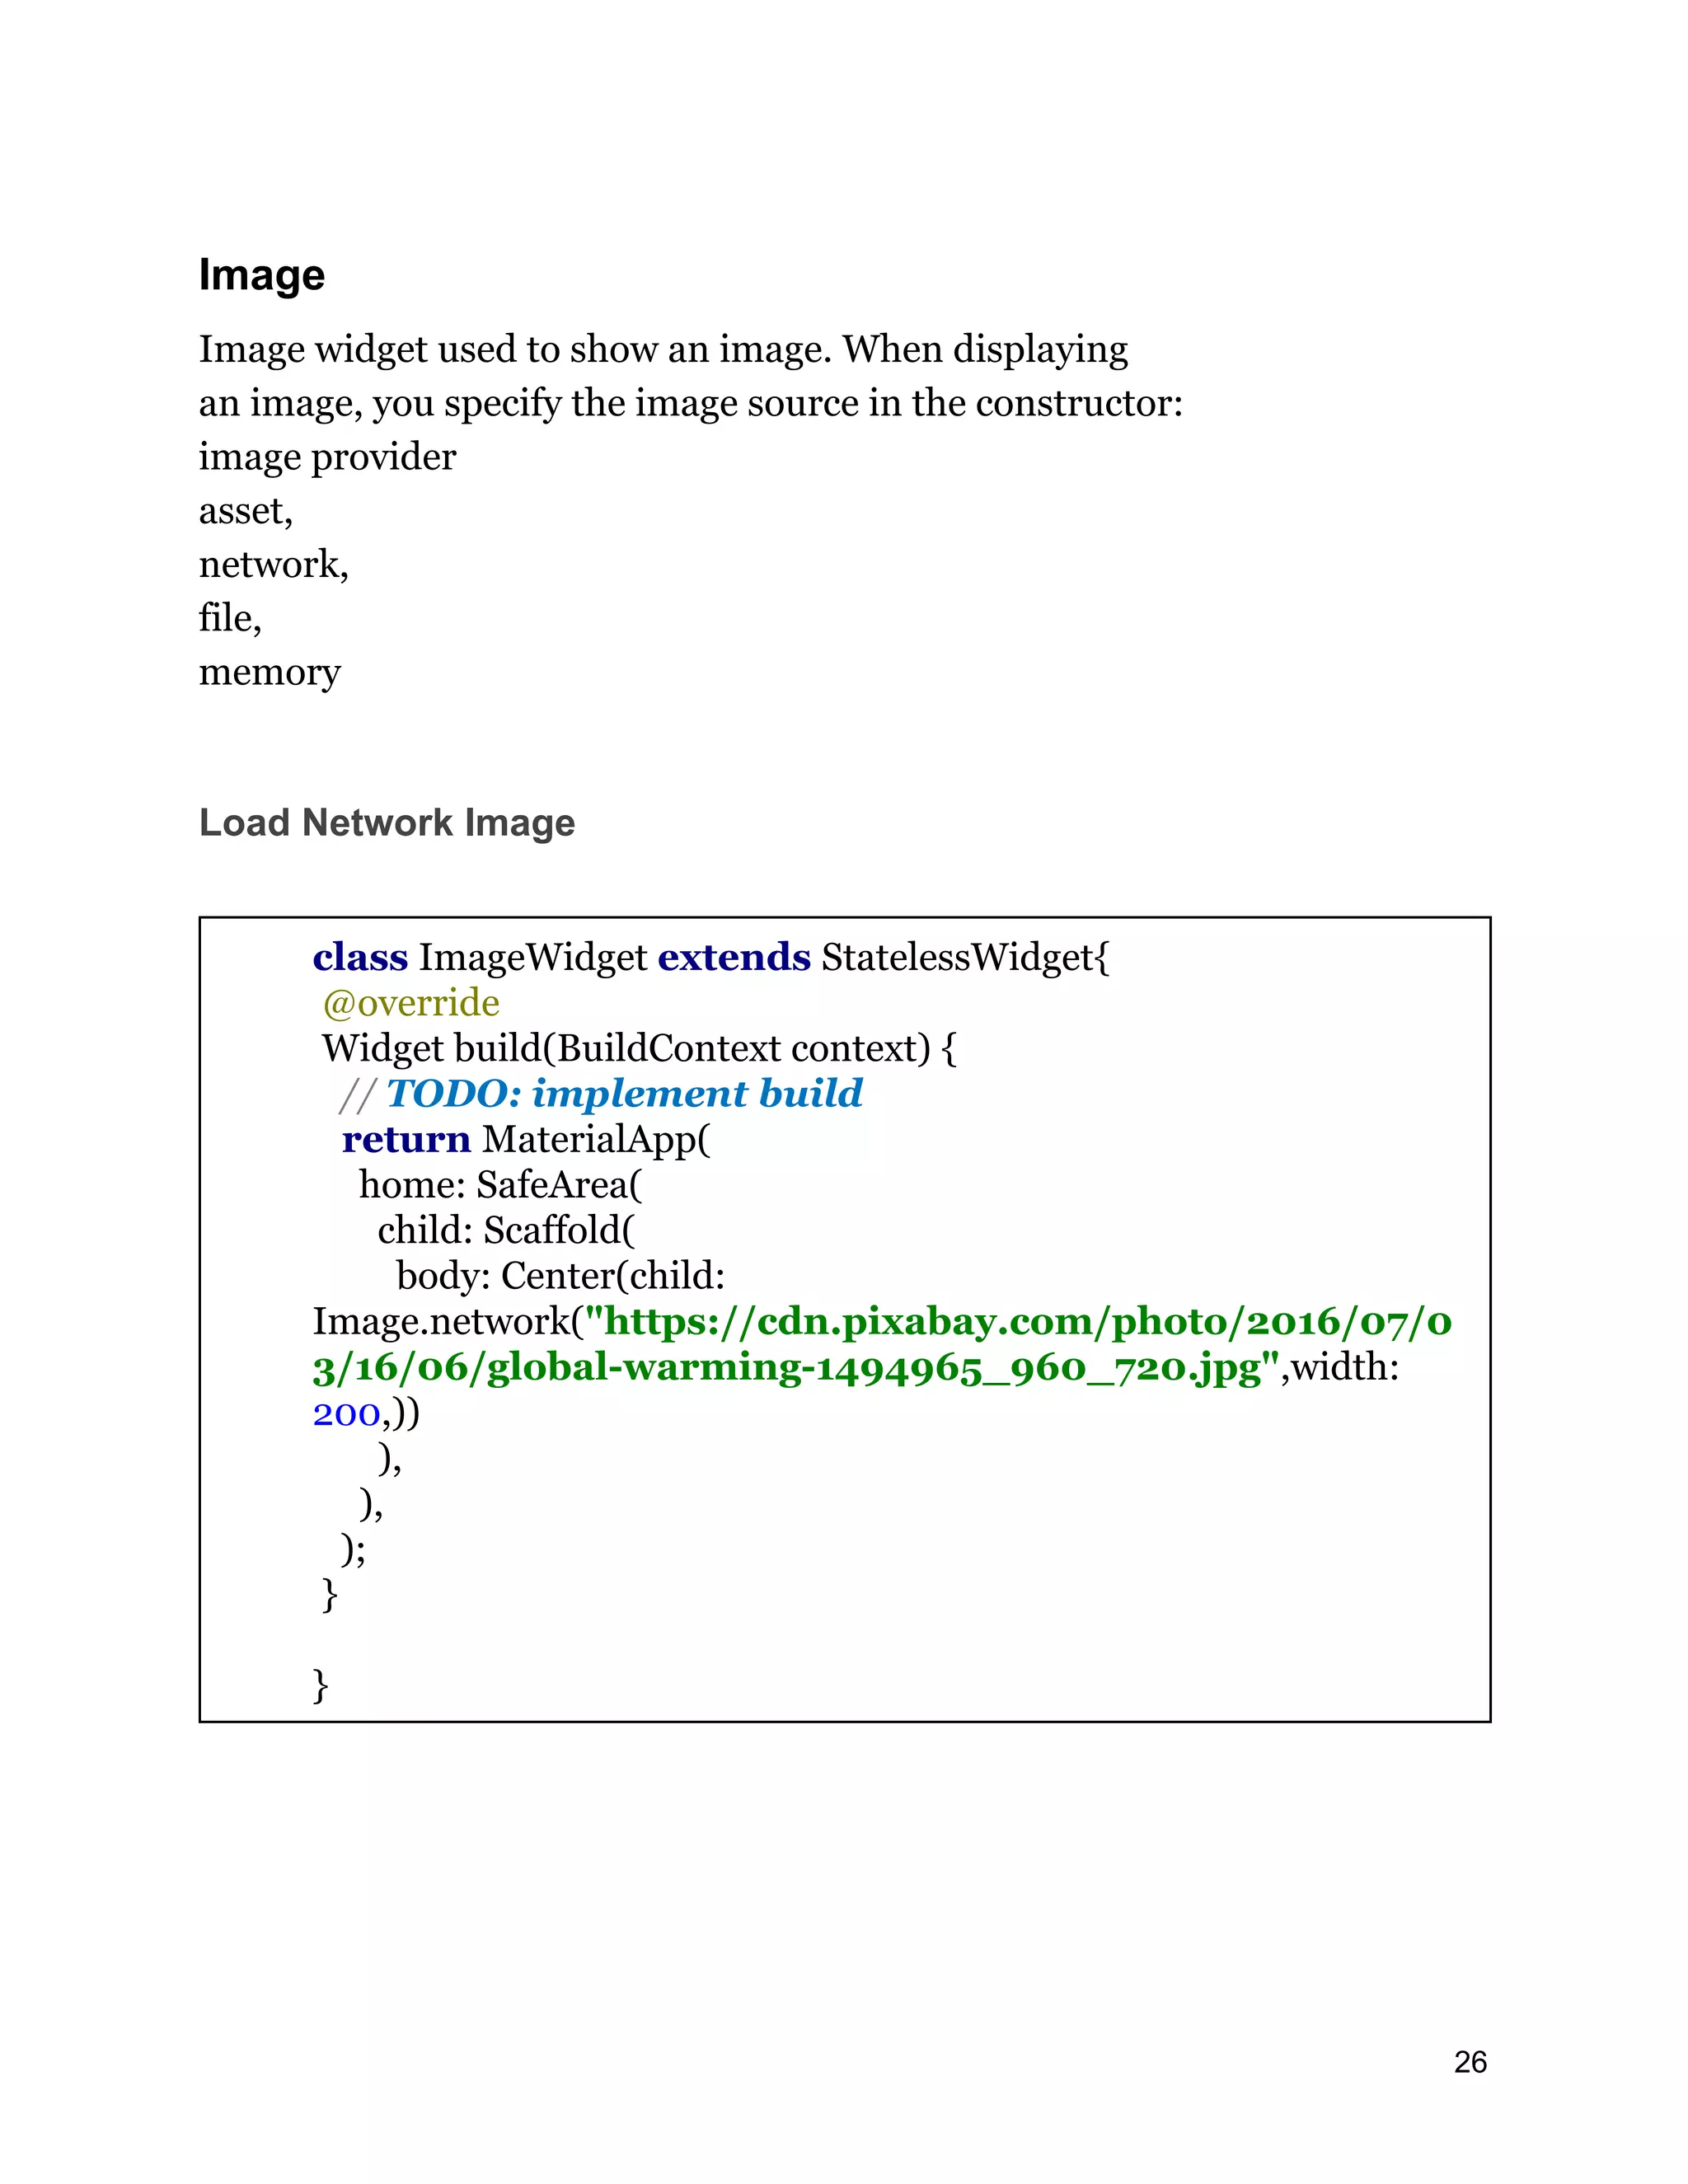
26.
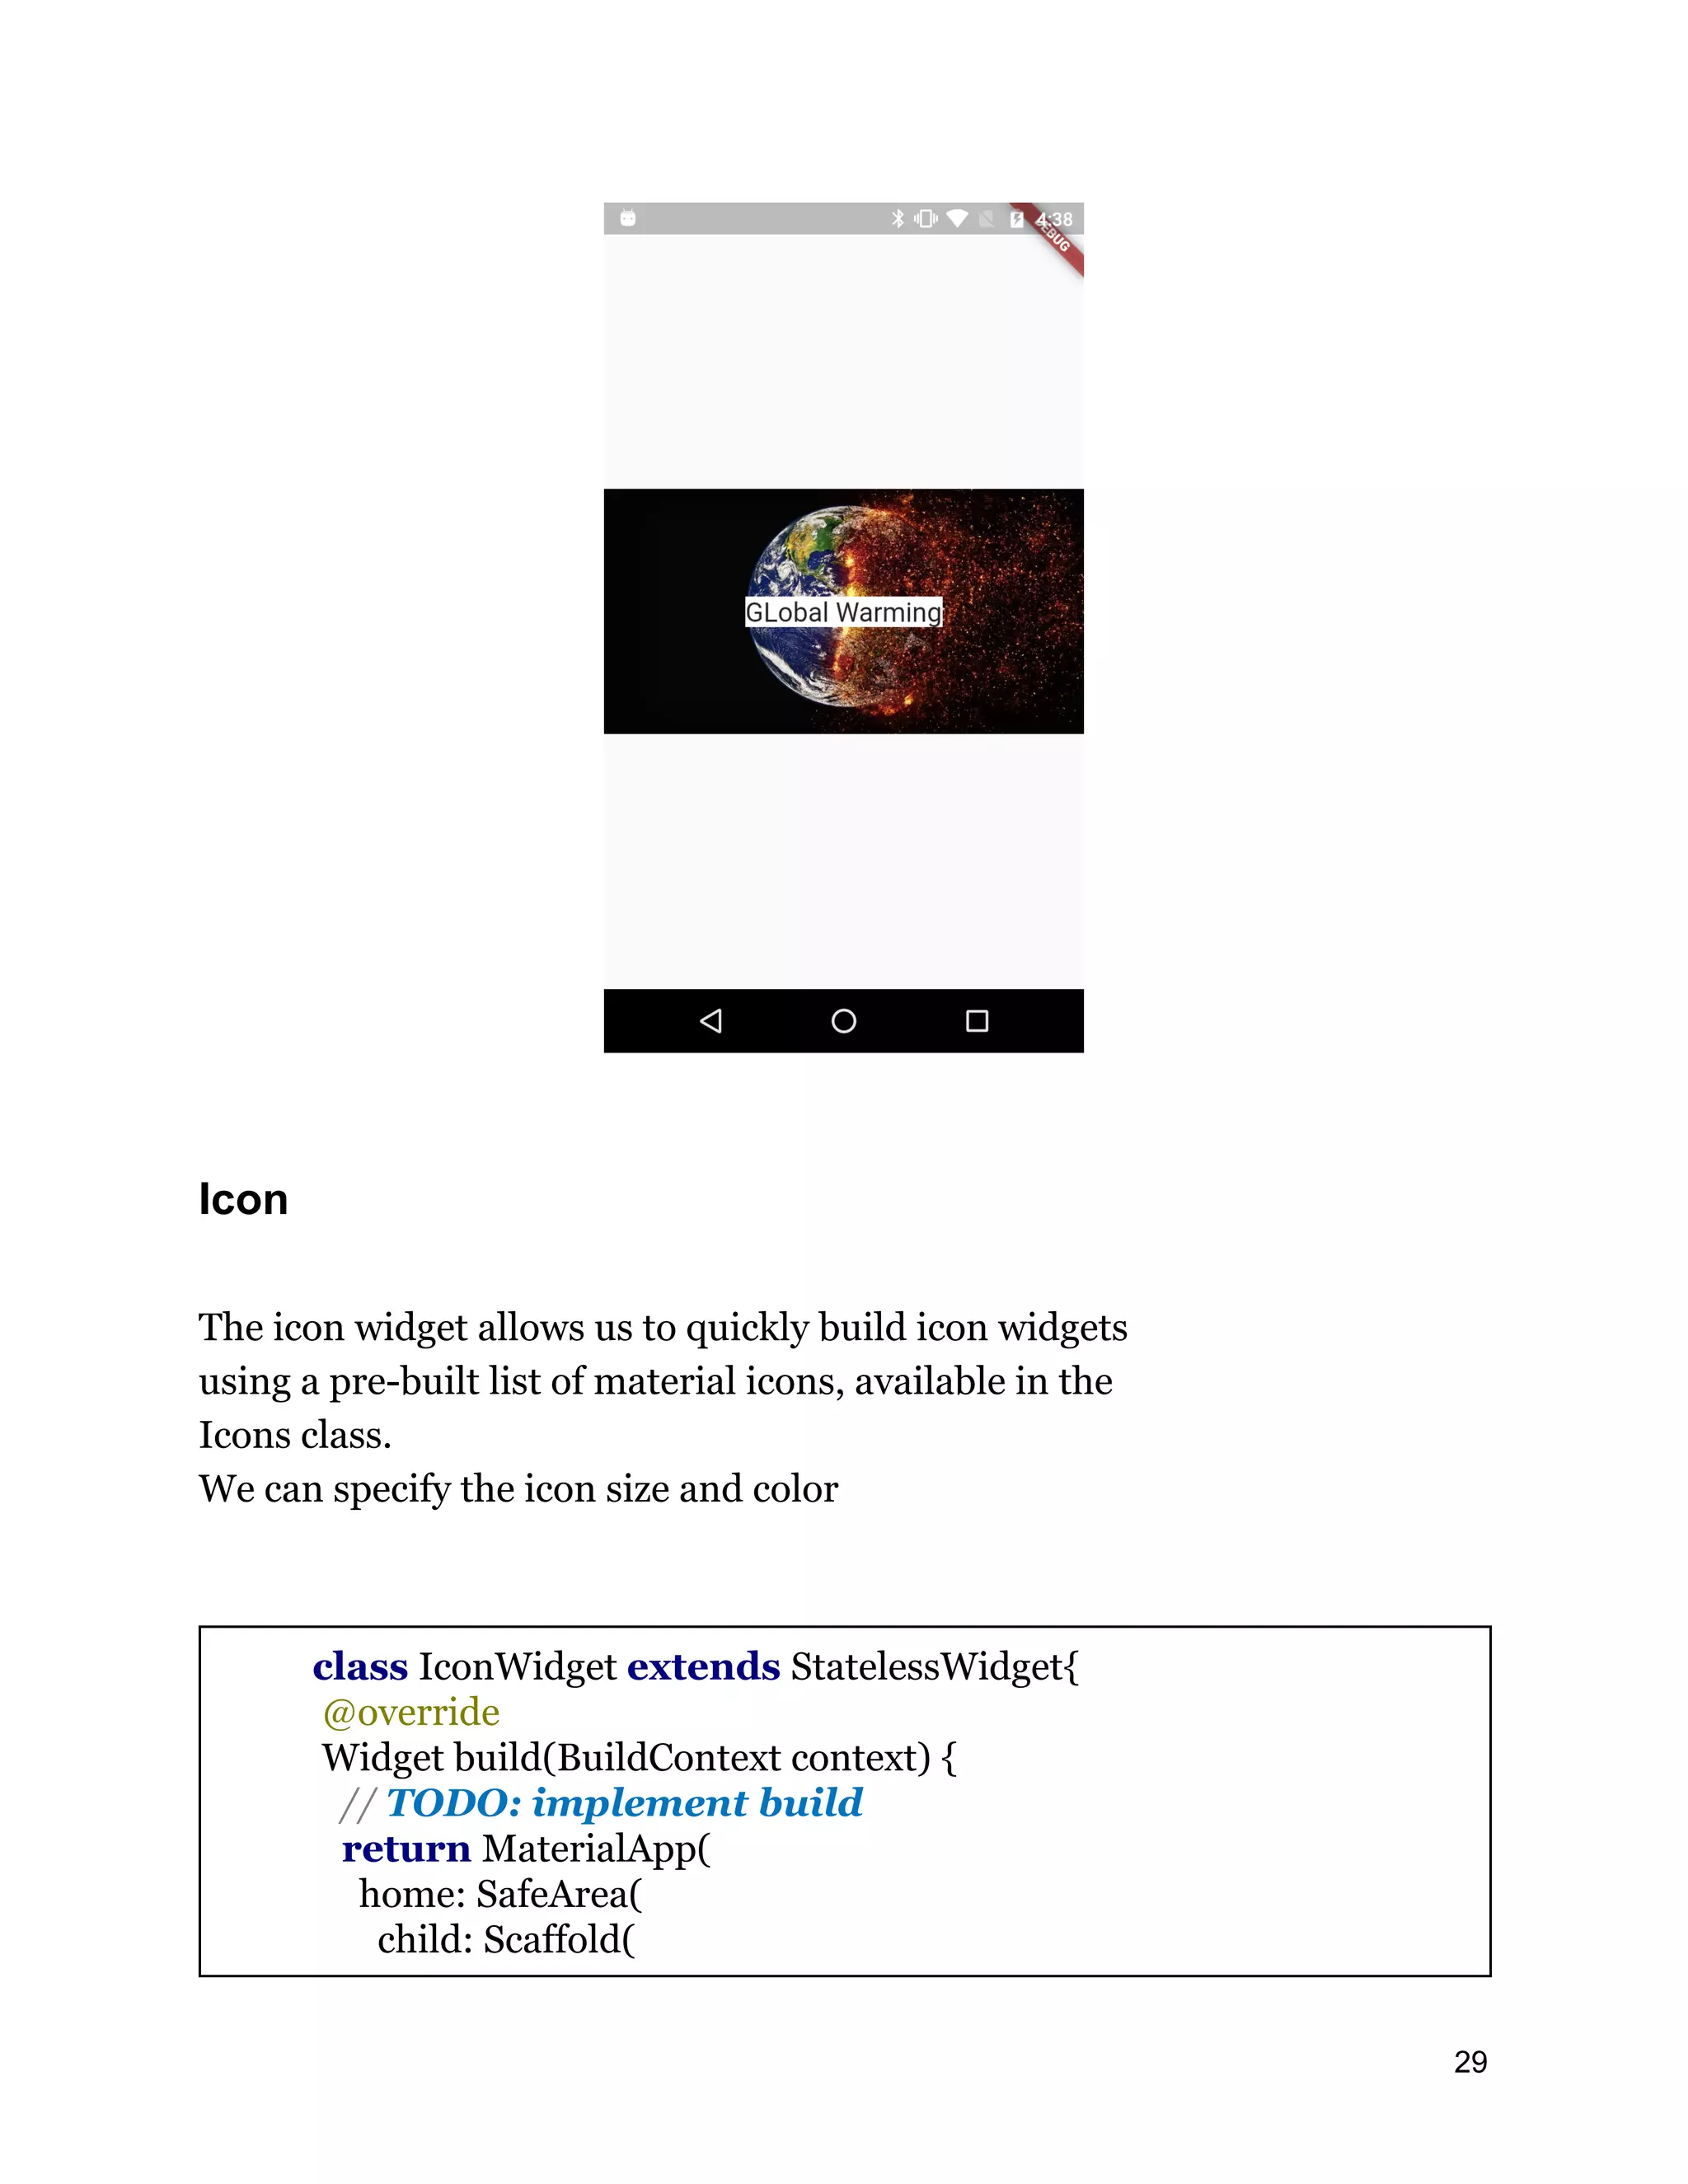
Image Image widget usedto show an image. When displaying an image, you specify the image source in the constructor: image provider asset, network, file, memory Load Network Image class ImageWidget extends StatelessWidget{ @override Widget build(BuildContext context) { // TODO: implement build return MaterialApp( home: SafeArea( child: Scaffold( body: Center(child: Image.network("https://cdn.pixabay.com/photo/2016/07/0 3/16/06/global-warming-1494965_960_720.jpg",width: 200,)) ), ), ); } } 26
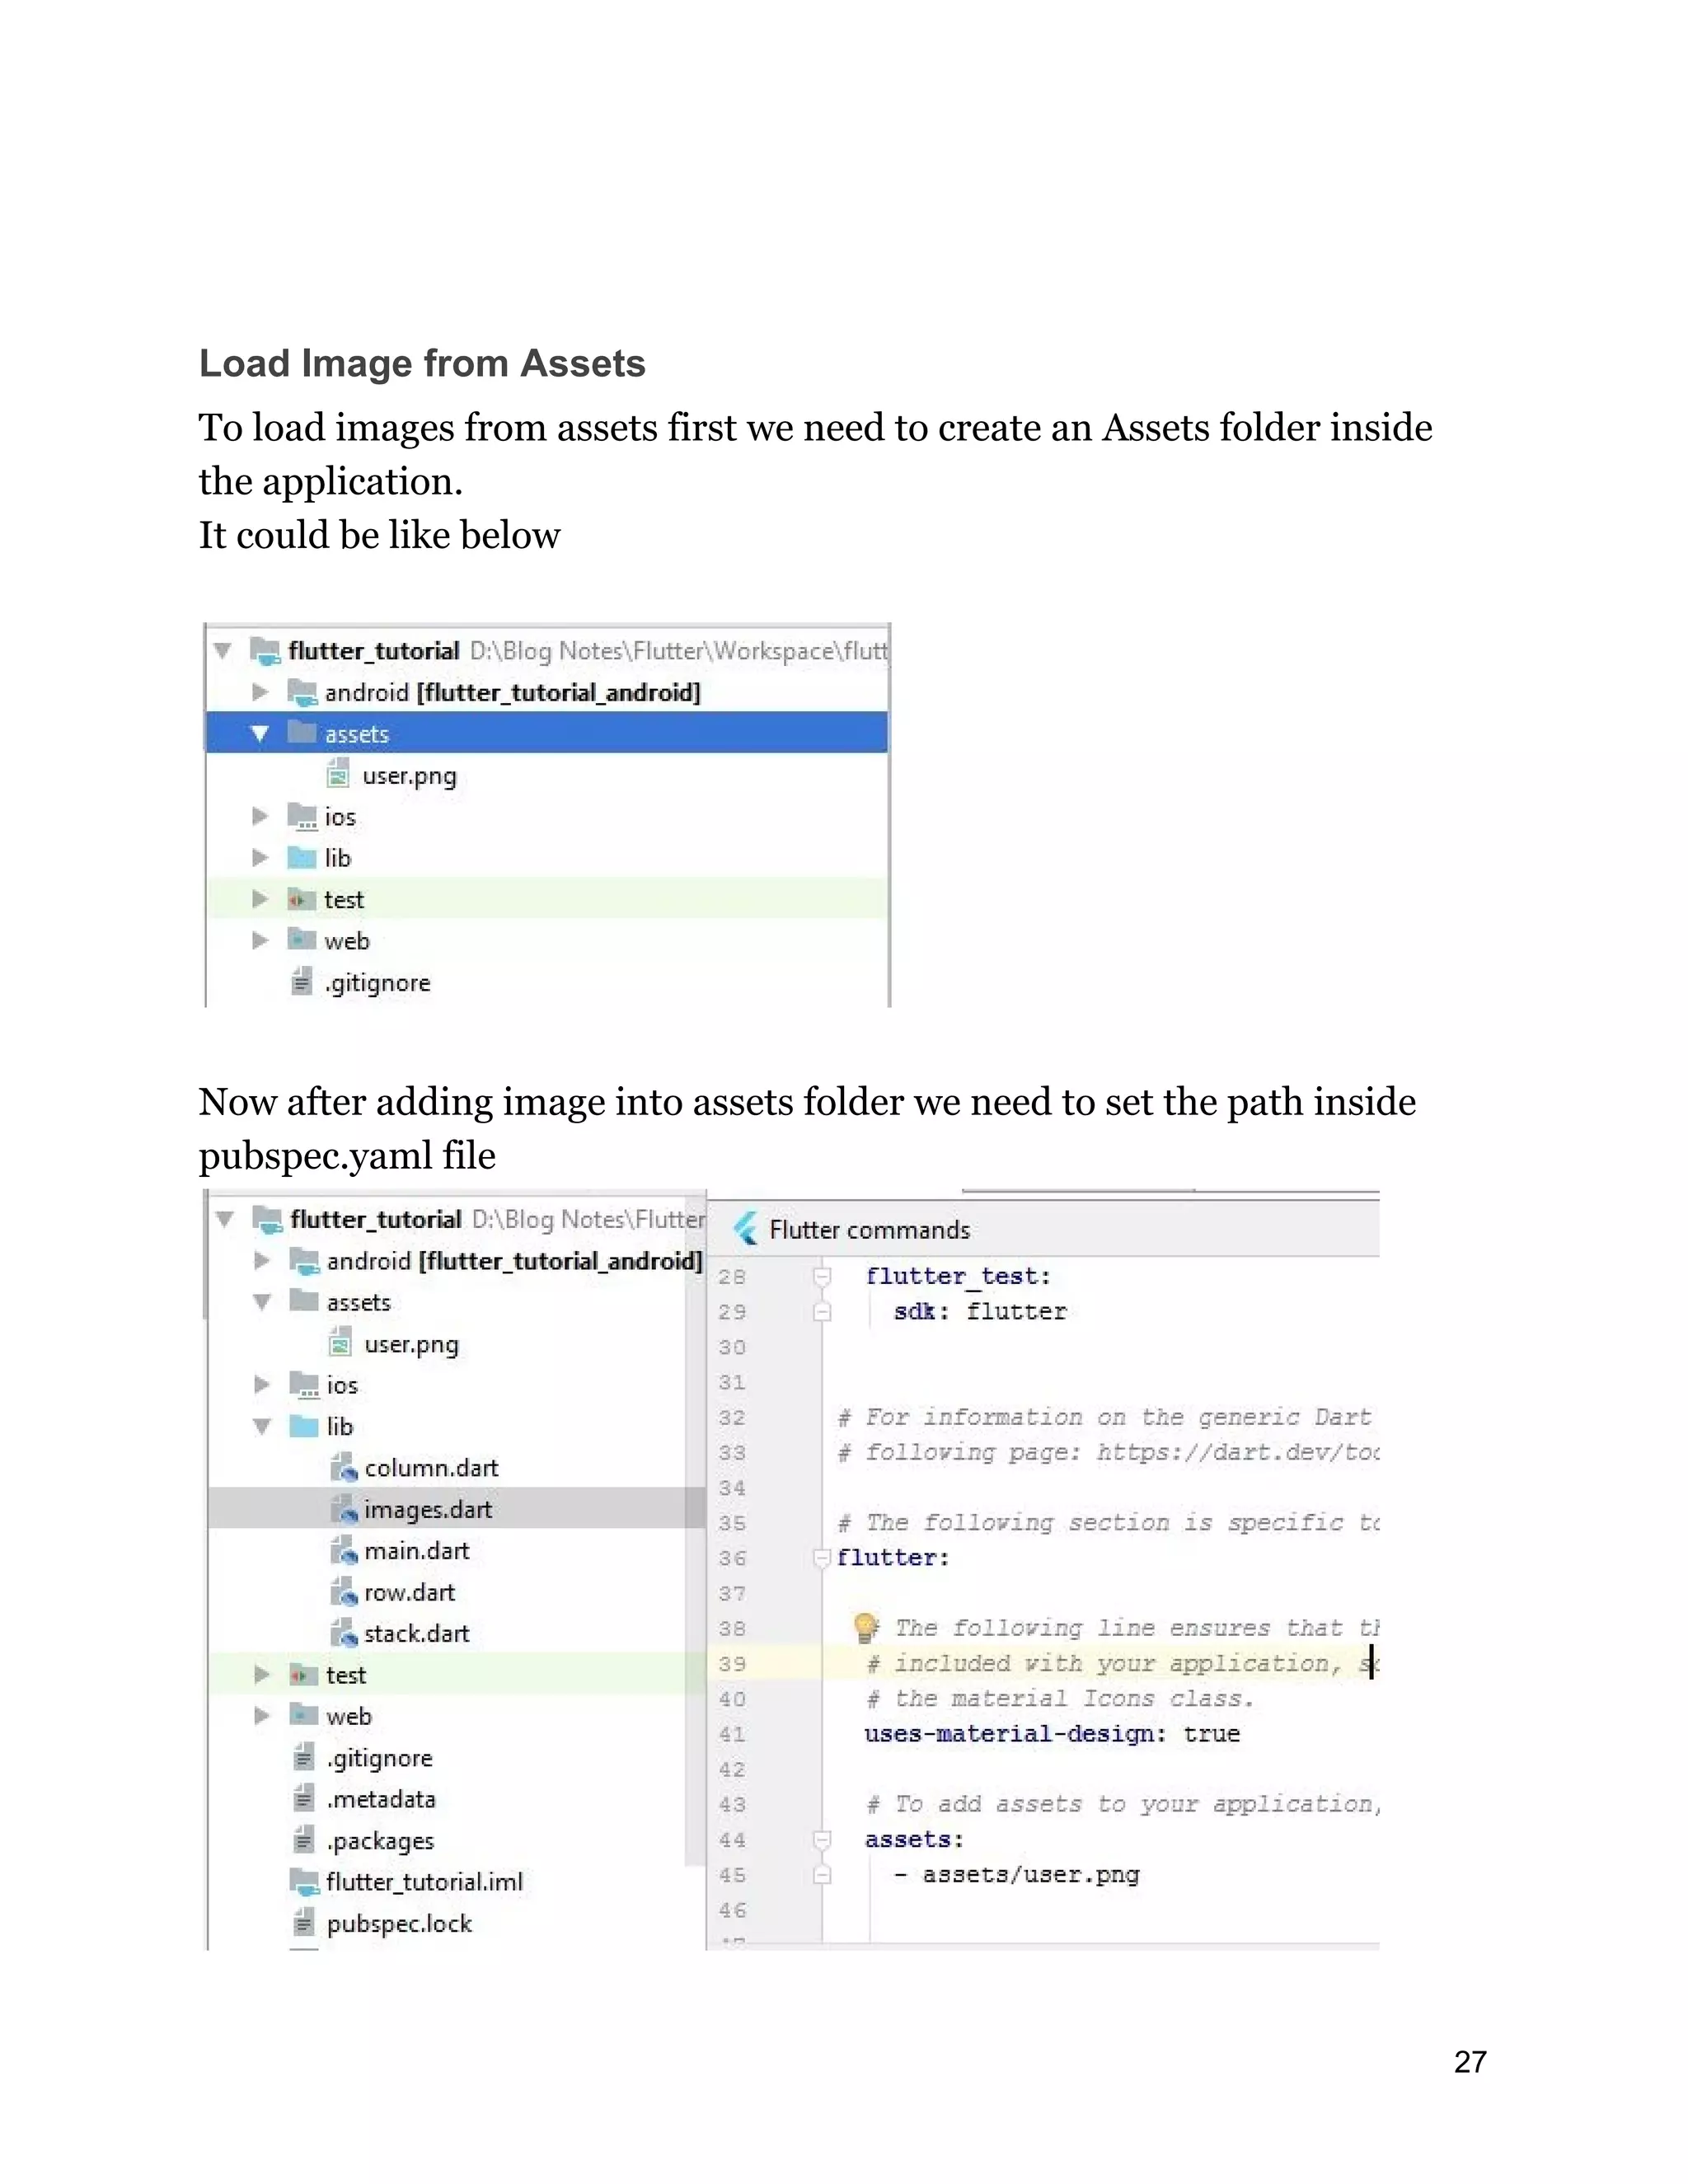
27.
Load Image fromAssets To load images from assets first we need to create an Assets folder inside the application. It could be like below Now after adding image into assets folder we need to set the path inside pubspec.yaml file 27
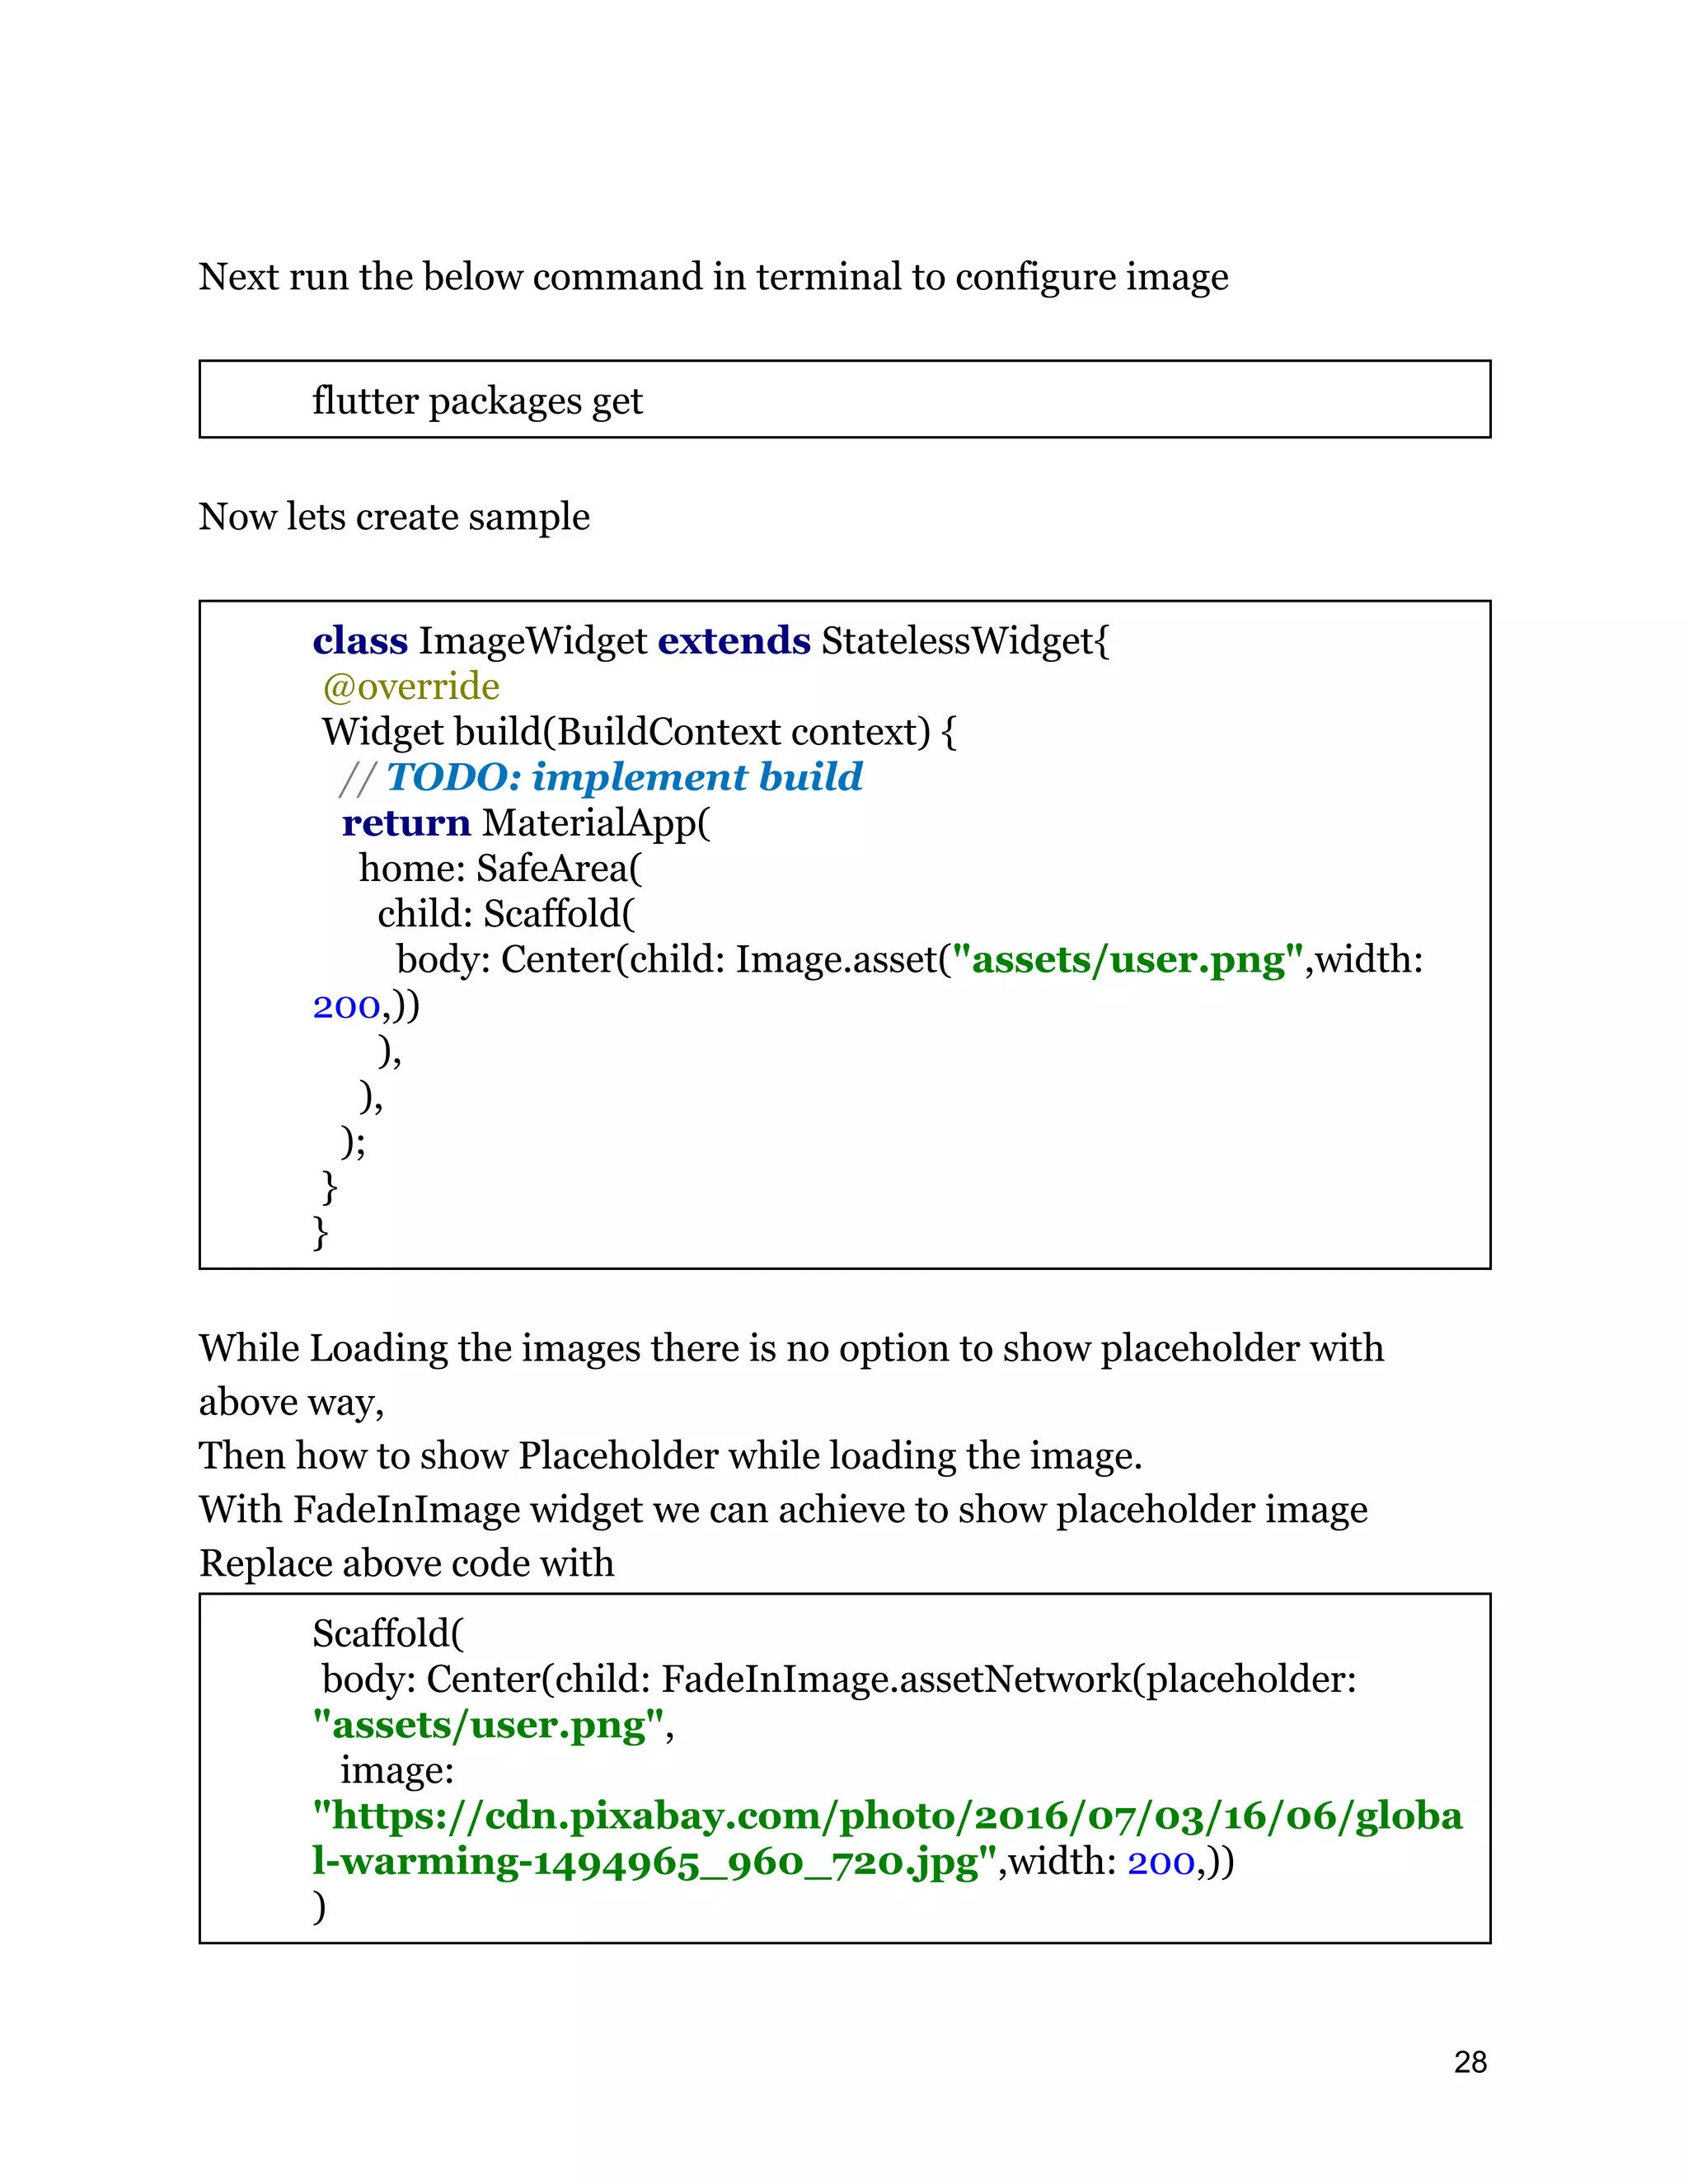
28.
Next run thebelow command in terminal to configure image flutter packages get Now lets create sample class ImageWidget extends StatelessWidget{ @override Widget build(BuildContext context) { // TODO: implement build return MaterialApp( home: SafeArea( child: Scaffold( body: Center(child: Image.asset("assets/user.png",width: 200,)) ), ), ); } } While Loading the images there is no option to show placeholder with above way, Then how to show Placeholder while loading the image. With FadeInImage widget we can achieve to show placeholder image Replace above code with Scaffold( body: Center(child: FadeInImage.assetNetwork(placeholder: "assets/user.png", image: "https://cdn.pixabay.com/photo/2016/07/03/16/06/globa l-warming-1494965_960_720.jpg",width: 200,)) ) 28
29.
Icon The icon widgetallows us to quickly build icon widgets using a pre-built list of material icons, available in the Icons class. We can specify the icon size and color class IconWidget extends StatelessWidget{ @override Widget build(BuildContext context) { // TODO: implement build return MaterialApp( home: SafeArea( child: Scaffold( 29
30.
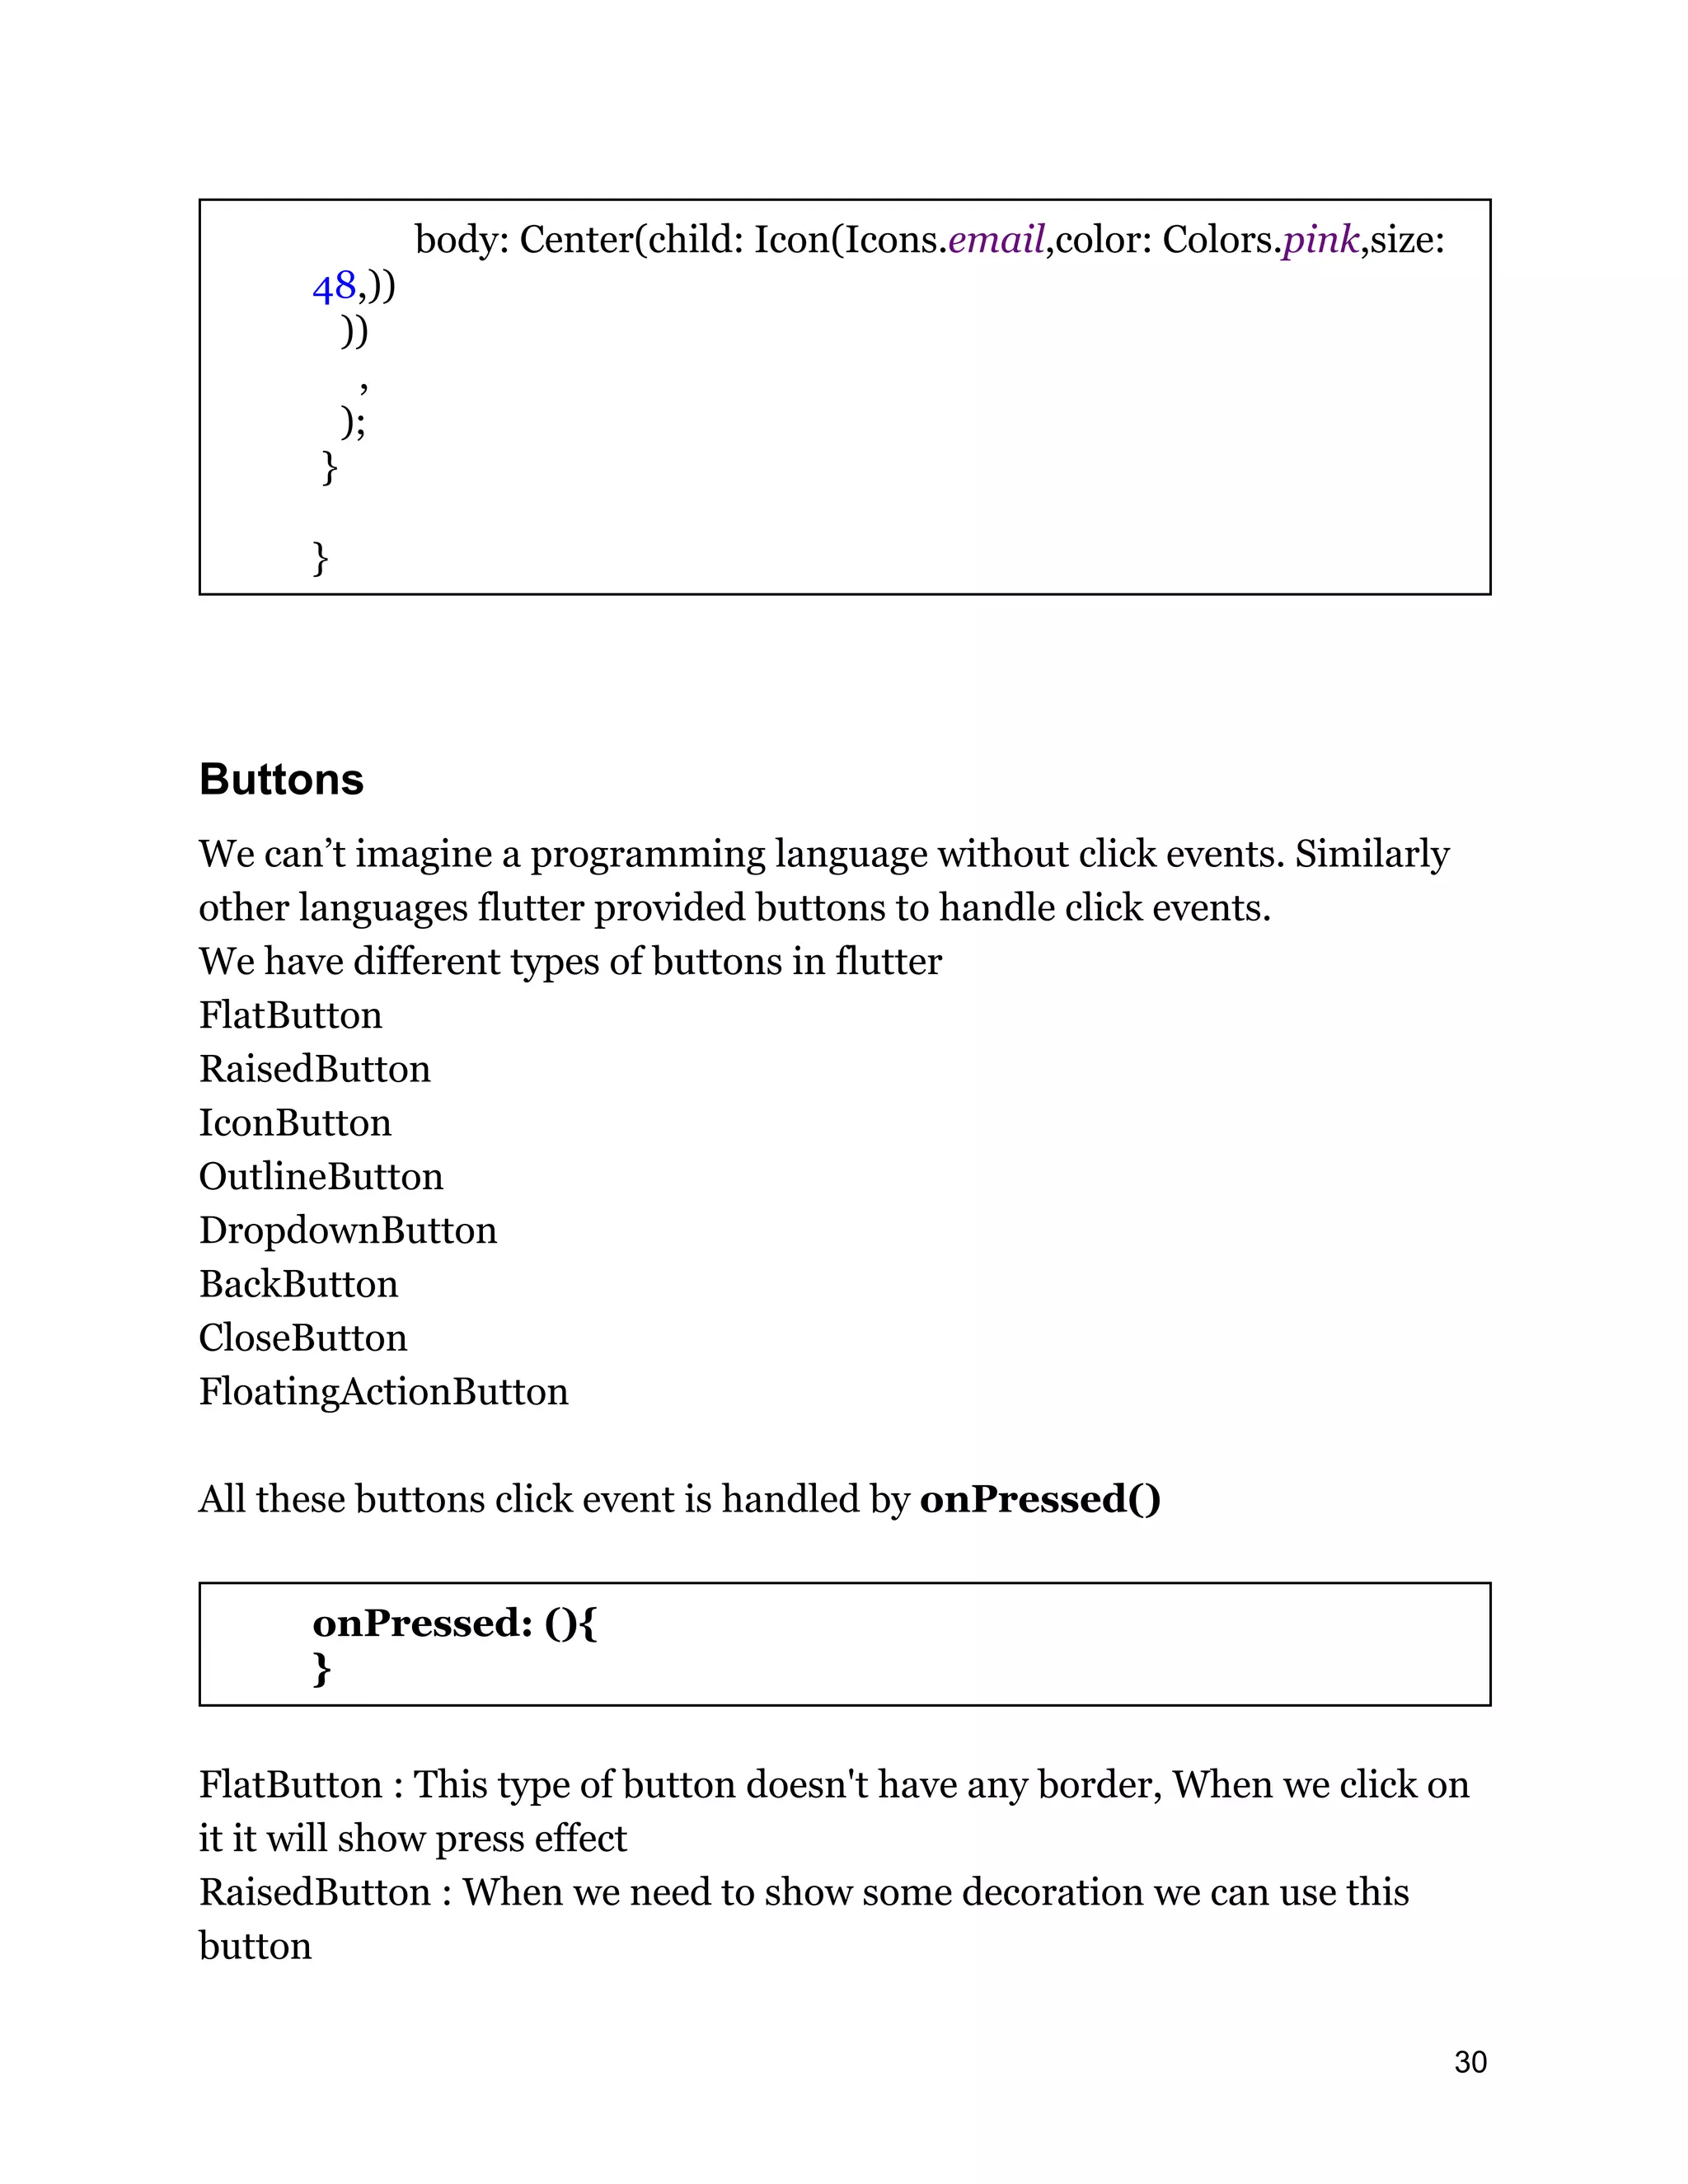
body: Center(child: Icon(Icons.email,color:Colors.pink,size: 48,)) )) , ); } } Buttons We can’t imagine a programming language without click events. Similarly other languages flutter provided buttons to handle click events. We have different types of buttons in flutter FlatButton RaisedButton IconButton OutlineButton DropdownButton BackButton CloseButton FloatingActionButton All these buttons click event is handled by onPressed() onPressed: (){ } FlatButton : This type of button doesn't have any border, When we click on it it will show press effect RaisedButton : When we need to show some decoration we can use this button 30
31.
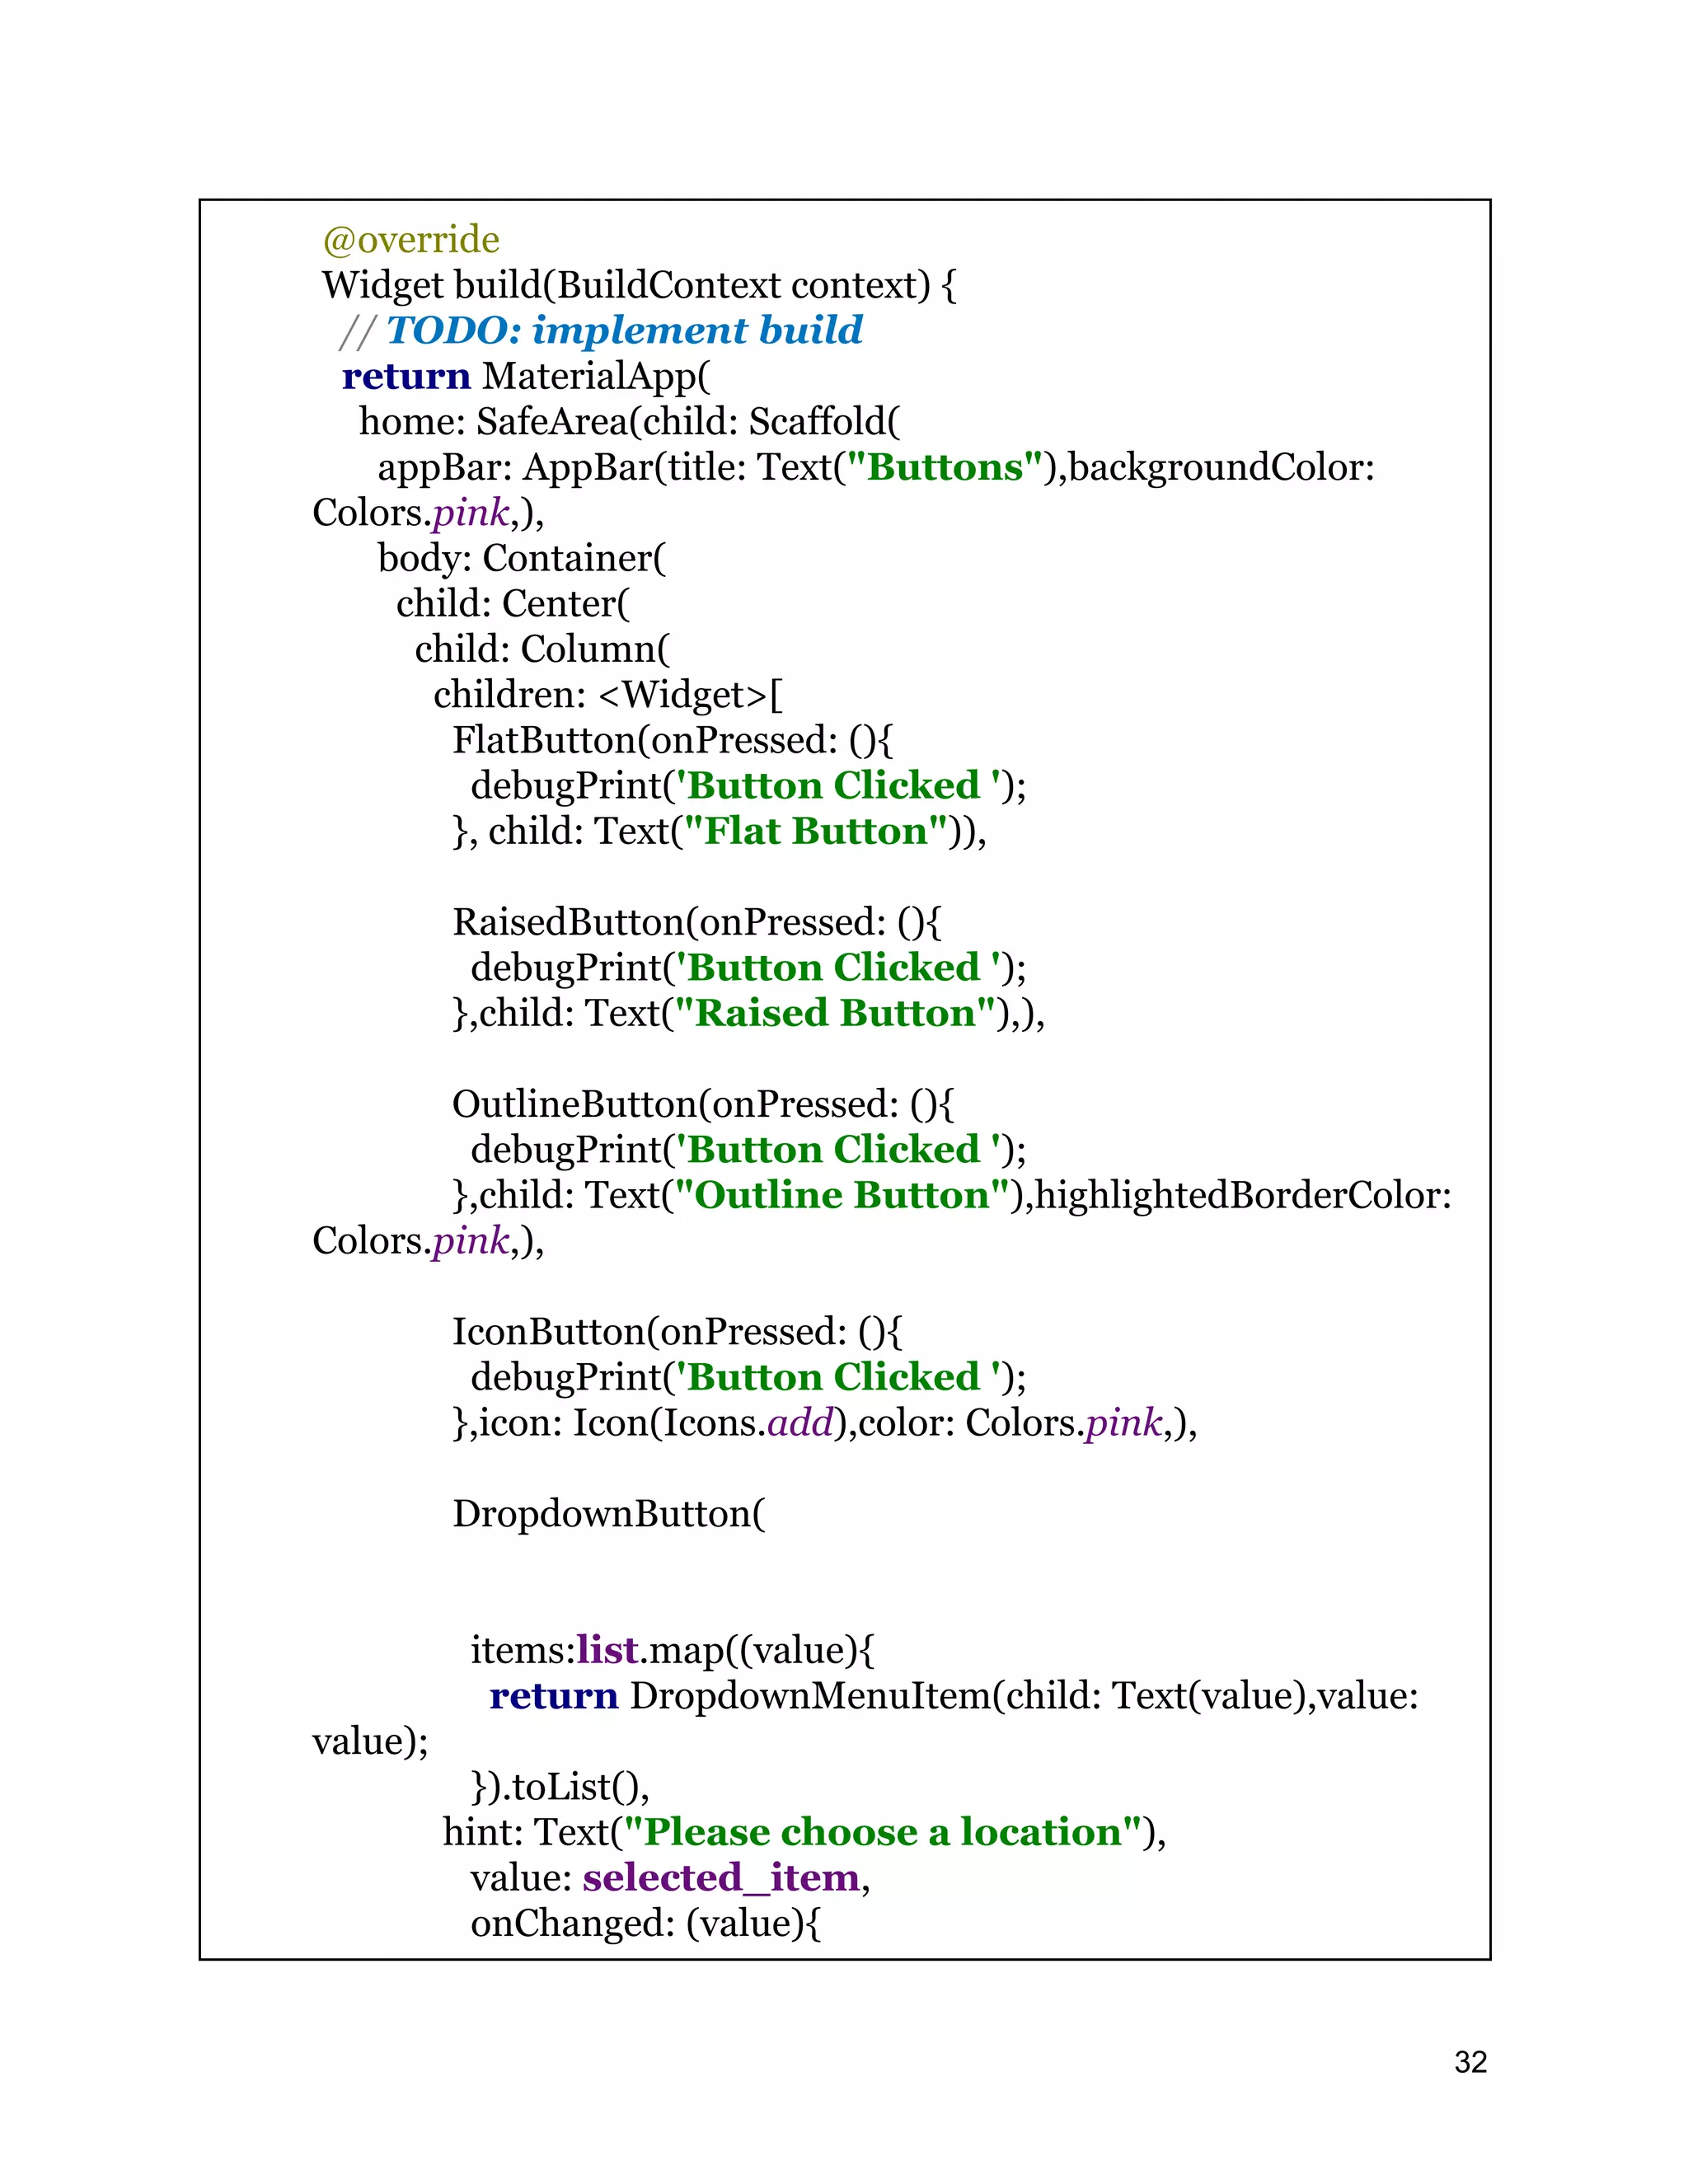
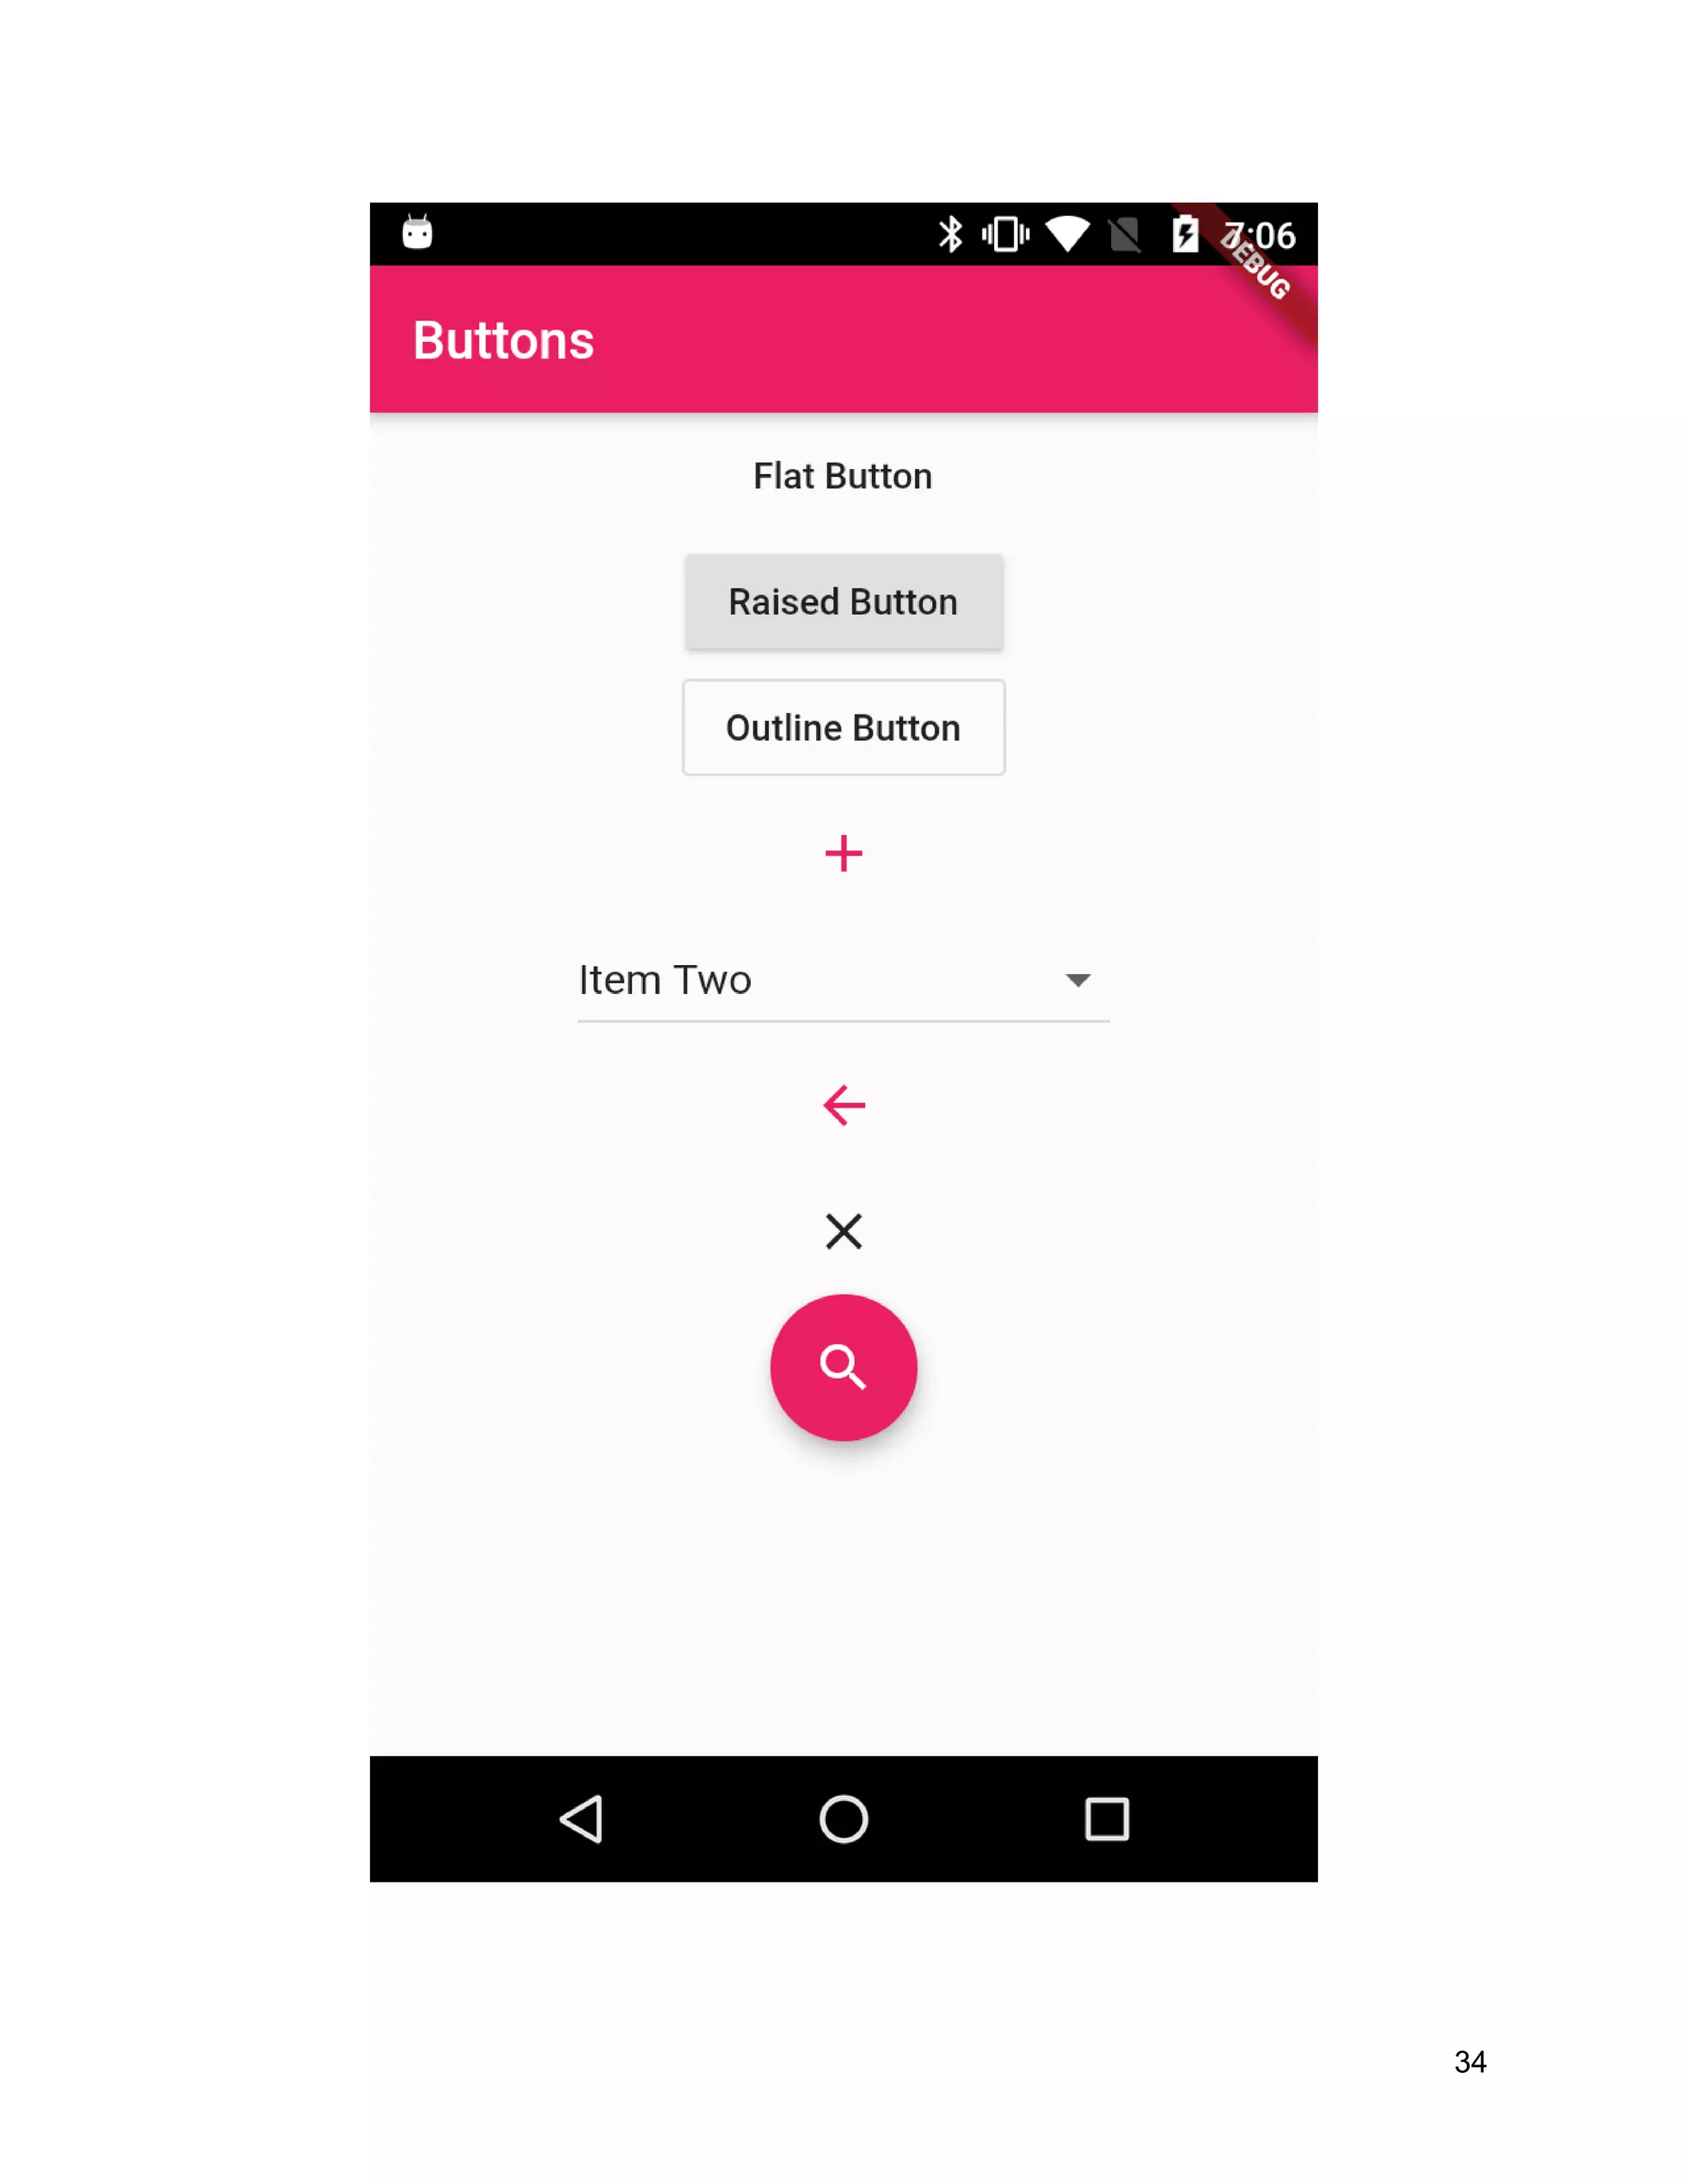
IconButton : Itis a material button, Flashes background circle when clicked on OutlineButton : A bordered button whose elevation increases and whose background becomes opaque when the button is pressed DropDownButton : It is a Material widget, Which is used for selecting from a list of items It similar to Spinner in Android CloseButton : An IconButton setup for use as a close button to close modals (or any other closeable content). Flashes background circle when clicked on FloatingActionButton: It is a Material widget button, A button that hovers in a layer above content Button Examples class ButtonWidget extends StatefulWidget{ @override State<StatefulWidget> createState() { // TODO: implement createState return ButtonsWidgetState(); } } class ButtonsWidgetState extends State<ButtonWidget>{ var selected_item="Please choose a location"; List<String>list=[ "Please choose a location", "Item One", "Item Two", "Item Three", "Item Four", ]; 31
Multi Child Layouts Flutter- Linear Layout In Android we have a linear layout to arrange childs in horizontal and vertical, similarly in flutter we can arrange by Row, Column widgets. Example Horizontal Arrangement by Row class RowWidget extends StatelessWidget { // This widget is the root of your application. @override Widget build(BuildContext context) { return MaterialApp( title: 'Flutter Tutorial', theme: ThemeData( primarySwatch: Colors.blue, ), home: Scaffold( body: SafeArea(child: Container( color: Colors.brown, child: Row( mainAxisSize: MainAxisSize.min, crossAxisAlignment: CrossAxisAlignment.start, children: <Widget>[ Text("Header",style: TextStyle(color: Colors.white),), Icon(Icons.account_circle,size: 100,color: Colors.white,), Text("Name ",style: TextStyle(color: Colors.white)) ], ), )), ), 35
We can seethe arrangement of children horizontal/vertical in below screen Row wrap_content Row match_parent Column wrap_content Column match_parent How to set the Gravity for these widgets We can set the Gravity by using CrossAxisAlignment How it will work for Row and Column widgets If we set the property for the Row it will align based on Vertical direction(center,start,end…) If we set the property for Column it will align based on Horizontal direction(center,start,end…) 37
38.
Framelayout in Flutter Flutteruses Stack widgets to control child widgets at a layer. Child widgets can completely or partially cover the base widgets. Stack control positions its children relative to the edges of its box. This class is useful if you just want to overlap multiple child widgets. class StackWidget extends StatelessWidget { // This widget is the root of your application. @override Widget build(BuildContext context) { return MaterialApp( title: 'Flutter Tutorial', theme: ThemeData( primarySwatch: Colors.blue, ), home: Scaffold( body: SafeArea(child: Center( child: Stack( alignment: const Alignment(0, 0), children: <Widget>[ Image.network("https://cdn.pixabay.com/photo/2017/04/23 /19/17/climate-change-2254711_960_720.jpg"), Container( decoration: BoxDecoration( color: Colors.white, ), child: Text('GLobal Warming',style: TextStyle(fontSize: 20),), ), ], 38
39.
), )), ), ); } } Flex Widget The FlexWidget is similar to Row and Column widget. We can use it as Row and Column by specifying the direction property. class FlexWidget extends StatelessWidget { // This widget is the root of your application. @override Widget build(BuildContext context) { return MaterialApp( title: 'Flutter Tutorial', theme: ThemeData( primarySwatch: Colors.blue, ), home: Scaffold( body: SafeArea(child: Container( color: Colors.brown, child: Flex( direction: Axis.vertical, mainAxisSize: MainAxisSize.min, mainAxisAlignment: MainAxisAlignment.center, children: <Widget>[ Container(child: Padding( padding: const EdgeInsets.all(8.0), child: Text("Header",style: TextStyle(color: Colors.white),), 39
40.
),color: Colors.green,), Container(child: Icon(Icons.account_circle,size:100,color: Colors.white,),color: Colors.yellow,), Container(child: Padding( padding: const EdgeInsets.all(8.0), child: Text("Name ",style: TextStyle(color: Colors.white)), ),color: Colors.pink,) ], ), ), ), ), ); } } Change different alignment and check the result 40
Weight Property likeAndroid in Flex widget If we add more items inside flex , to fit all these we can use Expandable widget to set each child flex . Flex( direction: Axis.horizontal, mainAxisSize: MainAxisSize.min, mainAxisAlignment: MainAxisAlignment.center, children: <Widget>[ Flexible( flex: 1, child: Container(child: Padding( padding: const EdgeInsets.all(8.0), child: Text("Header",style: TextStyle(color: Colors.white),), ),color: Colors.green,), ), Flexible(flex: 1,child: Container(child: Icon(Icons.account_circle,size: 100,color: Colors.white,),color: Colors.yellow,)), Flexible(flex: 1, child: Container(child: Padding( padding: const EdgeInsets.all(8.0), child: Text("Name ",style: TextStyle(color: Colors.white)), ),color: Colors.pink,), ), ], ) 43
44.
Listview If we havemore items to make them scrollable if the screen of the user device is smaller than the content of the control. In Flutter, the easiest way is to use ListView Here simple listview example class ListViewWidget extends StatefulWidget { ListViewWidget({Key key}) : super(key: key); @override ListViewWidgetState createState() => ListViewWidgetState(); } class ListViewWidgetState extends State<ListViewWidget> { @override Widget build(BuildContext context) { return MaterialApp( home: Scaffold( appBar: AppBar( backgroundColor: Colors.pink, title: Text("Listview"), ), body: _getListData(), ), ); } _getListData() { List<Widget> widgets = []; for (int i = 0; i < 100; i++) { widgets.add( Card( margin: EdgeInsets.all(5), 44
45.
child: ListTile( title: Text("Row$i"), leading: Icon(Icons.account_circle), trailing: Icon(Icons.arrow_forward_ios,size: 14,), ), )); } return ListView(children: widgets); } } How will we handle the item click events? ListTile has the property of onTap() function, with this we can handle the Click events of each child item. onTap: (){ _scaffoldKey.currentState.showSnackBar(SnackBar(content: Text("Clicked on Child $i"))); }, 45
46.
Dynamic ListView The aboveexample shows all static static widgets data. If we want to show dynamic data then we need to use ListView.Builder() class ListViewWidget extends StatefulWidget { ListViewWidget({Key key}) : super(key: key); 46
● Expanded willbe distributed as full as possible in the main axis direction of Row, Column, or Flex ● If Column contains two childs and two widgets are expanded, both share the available vertical space evenly. ● If only one is expanded, the expanded one takes up all the available vertical space. ● If neither is expanded, the available vertical space goes unfilled Example: class ExpandedWidget extends StatelessWidget { @override Widget build(BuildContext context) { // TODO: implement build return MaterialApp( home: Scaffold( appBar: AppBar(backgroundColor: Colors.pink,title: Text("Expanded Widget"),), body: new Row( children: <Widget>[ new Expanded( flex: 2, child: new Container( child: new Text('Text1', textAlign: TextAlign.center), height: 100, alignment: AlignmentDirectional.center, color: Colors.yellow, ), ), new Expanded( 55
Flexible It is actuallyExpanded inheritance Flexible. Use Flexible widgets to Row, Column or Flex provided in the main shaft expands to fill the available space in flexibility (e.g., horizontal filling sub assembly Row or perpendicular filled Column), but Expandeddifferent, Flexible is not required to fill the available space sub components. Flexible The control must be Row, Column or Flex a descendant of Row, the path from the control to its closure , Column or Flex the path must contain only Stateless Widgets or Stateful Widget these, and cannot be other types of widgets (for example Render ObjectWidget) 57
58.
Center This widget isused to center a Widget within its parent Widget. GestureDetector GestureDetector is a widget that detects gestures. If the child property of GestureDetector is not empty, GestureDetector sets its size to the size of the child. If the child property is empty, it sets its size to the size of the parent component We have different type of gestures, below are few of them ● onTapDown, ● onTapUp, ● onTap, ● onTapCancel, ● onForcePressPeak, ● onForcePressUpdate, ● onForcePressEnd, ● onPanDown, ● onPanStart, ● onPanUpdate, ● onPanEnd, ● onPanCancel, ● onScaleStart, ● onScaleUpdate, ● onScaleEnd 58
Positioned This use controlsthe position of the widget, through which he can place a component at will, a bit like an absolute layout Positioned({ Key key, this.left, this.top, this.right, this.bottom, this.width, this.height, @required Widget child, }) 61
SafeArea A widget thatinsets its child by sufficient padding to avoid intrusions by the operating system SafeArea is mainly used to ensure that the view will not be covered by system components, such as the status bar, etc SafeArea Constructor is like below const SafeArea({ Key key, this.left = true, this.top = true, this.right = true, this.bottom = true, this.minimum = EdgeInsets.zero, this.maintainBottomViewPadding = false, @required this.child, }) SingleChildScrollView This Widget is used to show a child Widget even if there is not enough space to view the entirety of the child Widget SingleChildScrollView is similar to scrollview in Android, and it can only contain one child element const SingleChildScrollView({ Key key, this.scrollDirection = Axis.vertical, 64
65.
this.reverse = false, this.padding, boolprimary, this.physics, this.controller, this.child, this.dragStartBehavior = DragStartBehavior.down, }) key : the unique identifier of the current element (similar to id in Android) scrollDirection : scroll direction, default is vertical reverse : whether to slide in the opposite direction of the reading direction. padding : padding distance primary : Whether to use the default Primary ScrollController in the widget tree. When the sliding direction is vertical (scrollDirection value is Axis.vertical) and the controller is not specified, the primary defaults to true physics : This property accepts a ScrollPhysics object, which determines how the scrollable widget responds to user operations, such as the user continuing to perform an animation after lifting the finger, or how to display it when sliding to the boundary. controller : This property accepts a ScrollController object. The main role of ScrollController is to control the scroll position and listen for scroll events child : child element class SingleChildScrollViewWidget extends StatelessWidget{ var alphabets="ABCDEFGHIJKLMNOPQRSTUVWXYZ"; @override Widget build(BuildContext context) { // TODO: implement build return MaterialApp( home: Scaffold( 65
Vertical Direction HorizontalDirection Themes When we build a Flutter app, we build a root Widget. That Widget usually returns a MaterialApp, which builds the foundations for the app. One of the constructor arguments for MaterialApp is the Theme object. This object specifies the colors to be used in the application’s Widgets. As you can see below the user can pass in Theme data into the MaterialApp constructor using a ThemeData object Change Dynamic theme Find example here http://rrtutors.com/description/27 67
68.
Scaffold Scaffold is thepage display framework Scaffold has different attributes to handle the Pages appBar: An AppBar displayed at the top of the interface, which is the ActionBar and Toolbar in Android body: the main content widget displayed in the current interface floatingActionButton: FAB defined in paper and ink design, the main function button of the interface persistentFooterButtons: Buttons that are fixed to the bottom, such as OK and Cancel buttons below the dialog box drawer: sidebar control backgroundColor: The background color of the content. The default value is ThemeData.scaffoldBackgroundColor. bottomNavigationBar: the navigation bar displayed at the bottom of the page resizeToAvoidBottomPadding: similar to android: windowSoftInputMode = ”adjustResize” in Android, controls whether the content body of the interface is rearranged to avoid the bottom being covered, for example, when the keyboard is displayed, the re-layout is to avoid covering the content with the keyboard. The default value is true class ScffoldHomePage extends StatefulWidget { @override State<StatefulWidget> createState() { return ScffoldHomePageState(); } } 68
Dialogs A material designdialog, Dialogs are temporary windows that appear as overlays over the existing application Show dialog is simple showDialog(context: context, builder: (context) => Center(child: Text("Dialog"))); In flutter we have multiple ways to show dialogs 1. Alert Dialog 2. Custom Dialog 3. Full-Screen Dialog Simple AlertDialog showDialog( context: context, builder: (BuildContext context){ return AlertDialog( title: Text("Alert Dialog"), content: Text("Dialog Content"), ); } ) This is a simple alert dialog with title and message. We can also add buttons to handle the events 73
74.
Add buttons toAlert Dialogs This widget, there is a parameter called action. It accepts an array of widgets and we can provide multiple buttons to that. Those Buttons will appear in the bottom right corner of the dialog actions:[ FlatButton( child: Text("Close"), ) ] How to close Dialog We can close the Displayed Dialog by calling the Navigator.of(context).pop(); FlatButton( child: Text("Close"), onPressed: (){ Navigator.of(context).pop(); }, ) Example class MyDialog extends StatelessWidget { @override Widget build(BuildContext context) { return Scaffold( appBar: AppBar(title: Text("Dialog"),backgroundColor: Colors.pink,), body: Center( 74
ExpansionPanelList & ExpansionPanel Thesetwo widgets are designed to work together to present a list of expandable panels to the user We have to manage the state of what was expanded / collapsed and rebuild the ExpansionPanelList & ExpansionPanels everytime the state changes ExpansionPanel Shrink the panel. It has a title and a body that can be expanded or collapsed. The body of the panel is only visible when expanded. The shrink panel is only used as a child of ExpansionPanelList. Example implementation, please use ExpansionPanelList ExpansionPanel({ @required this.headerBuilder, @required this.body, this.isExpanded = false, this.canTapOnHeader = false, }) ExpansionPanelList A material expansion panel list that lays out its children and animates expansions Lays out the child ExpansionPanels const ExpansionPanelList({ Key key, this.children = const <ExpansionPanel>[], this.expansionCallback, this.animationDuration = kThemeAnimationDuration, }) 78
79.
There are onlythree parameters that we need to use: children: Needless to say, it is ExpansionPanel expansionCallback: expansion callback, here will return the index of the click animationDuration: the duration of the animation Example: class ExpansionWidget extends StatefulWidget{ @override State<StatefulWidget> createState() { // TODO: implement createState return ExpansionWidgetState(); } } class ExpansionWidgetState extends State<ExpansionWidget>{ List<bool>listExpans=List(); @override void initState() { // TODO: implement initState super.initState(); listExpans.add(false); listExpans.add(false); } @override Widget build(BuildContext context) { // TODO: implement build return Scaffold( backgroundColor: Colors.grey, appBar: AppBar(title: Text("Expansionpanel"),backgroundColor: Colors.pink,), body: SingleChildScrollView( child: Container( 79
GridView GridView displays thevalues of a data source in a table where each column represents a field and each row represents a record Constructors GridView.builder() GridView.count() GridView.custom() GridView.extent() 83
84.
GridView.builder({ Key key, Axis scrollDirection= Axis.vertical, bool reverse = false, ScrollController controller, bool primary, ScrollPhysics physics, bool shrinkWrap = false, EdgeInsetsGeometry padding, @required this.gridDelegate, @required IndexedWidgetBuilder itemBuilder, int itemCount, bool addAutomaticKeepAlives = true, bool addRepaintBoundaries = true, bool addSemanticIndexes = true, int semanticChildCount, }) Example class GridViewWidget extends StatelessWidget { List list = new List(); GridViewWidget() { for (int i = 1; i < 20; i++) { int j = (i % 9) + 1; var temp = { "imageurl": "https://cdn.pixabay.com/photo/2016/10/17/17/41/priyan ka-chopra-1748248_960_720.jpg", "title": "Image $i" }; list.add(temp); } } @override Widget build(BuildContext context) { 84
PopupMenu Why use thisPopupMenu? Because most message interfaces have a setting option in the upper right corner, and this option is most commonly implemented through PopupMenu. Look at the effect map 86
} Widget _NomalPopMenu() { returnnew PopupMenuButton<int>( itemBuilder: (BuildContext context) => <PopupMenuItem<int>>[ new PopupMenuItem<int>( value: 1, child: new Text('Item One')), new PopupMenuItem<int>( value: 2, child: new Text('Item Two')), new PopupMenuItem<int>( value: 3, child: new Text('Item Three')), new PopupMenuItem<int>( value: 4, child: new Text('I am Item Four')) ], onSelected: (int value) { setState(() { _value = value; }); }); } } Checked Widgets CheckBox Checkbox is a checkbox component, usually used for setting options Attributes ● activeColor : Color -the color when active. ● onChanged : ValueChanged -fired when changed. ● tristate: bool -If true, the value of the checkbox can be true, false or null. 88
89.
● value :bool -the value of the checkbox CheckboxListTile CheckboxListTile is an upper-level package of Checkbox. Its appearance is to provide a selection component similar to a setting page, which can set icons and text Radio Radio is used for single selection options Attributes ● Value of value radio ● groupValue radio The value of the group. Value == groupValue is selected. ● onChanged callback when the value changes ● activeColor when selected Example class CheckWidgets extends StatefulWidget{ @override State<StatefulWidget> createState() { // TODO: implement createState return CheckWidgetState(); } } class Course{ Course(this.title,this.price,this.courseCheck); 89
TabBar TabBarView TabBar isa row of horizontal tabs, you can switch back and forth, the effect map TabBar is generally used together with TabBarView. TabBarView is used to select different TabBars. TabBarView displays the corresponding View TabBarView property description class TabBarDemo extends StatefulWidget { @override State<StatefulWidget> createState() => _TabBar(); } class _TabBar extends State<TabBarDemo> { final List<String> _tabValues = [ 'Tab1', 'Tab2', 'Tab3', 'Tab4', 'Tab5', 'Tab6', 'Tab7', 'Tab8', ]; TabController _controller; @override void initState() { super.initState(); _controller = TabController( length: _tabValues.length, 95
Table A widget thatuses the table layout algorithm for its children The height of each row of the table is determined by its content, and the width of each column is controlled individually by the columnWidths property 97
Future and FutureBuilder ToMake the Asynchronous operation will use Future Uses future.then get future value and catch future exception Combined async,await future.whenComplete future.timeout import 'dart:async'; Future<String> testFuture() { // throw new Error(); return Future.value('success'); // return Future.error('error'); } main() { testFuture().then((s) { print(s); }, onError: (e) { print('onError:'); print(e); }).catchError((e) { print('catchError:'); print(e); }); } Sometimes we need to Futuredo something at the end, and we know then().catchError()the pattern is similar try-catch, try-catch there is a finally code block, and future.whenCompletethat Future Is finally 101
102.
FutureBuilder FutureBuilder combines asynchronousoperations and asynchronous UI updates. Through it we can update the results of network requests, database reads, etc. future: Future object represents the asynchronous calculation currently connected to this builder; initialData: Indicates the initialization data of a non-empty Future before completion; builderA return function of type AsyncWidgetBuilder is a function that builds a widget based on asynchronous interaction Properties connectionState -Enumeration of ConnectionState, which indicates the connection status with asynchronous calculation. ConnectionState has four values: none, waiting, active, and done; data -Asynchronous calculation of the latest data received; error -Asynchronously calculate the latest error object received; Example class FutureWidget extends StatefulWidget { String computeListOfTimestamps(int count) { StringBuffer sb = new StringBuffer(); var random = Random(); for (int i = 0; i < 2000; i++) { sb.writeln("Random Number : ${random.nextInt(2000)}"); sb.writeln(""); } return sb.toString(); } 102
style: TextStyle(fontSize: 20.0)))); }) :Text('Press Refresh to load Data'); return new Scaffold( key: _scaffoldKey, appBar: new AppBar( backgroundColor: Colors.pink, title: new Text("Future Builder "), ), body: new Center( child: new Column( mainAxisAlignment: MainAxisAlignment.center, children: <Widget>[child])), floatingActionButton: new FloatingActionButton( backgroundColor: Colors.pink, onPressed: _onInvokeFuturePressed, tooltip: 'Call Future', child: new Icon(Icons.refresh), ), // This trailing comma makes auto-formatting nicer for build ); } } 104
105.
StreamBuilder StreamBuilder is similarto FutureBuilder, provides the ability to acquire asynchronous data and update ui Stream is an event stream, which is similar to RxJava. It allows us to emit an event from one end and listen to changes in the event from the other 105
106.
end. Through Streamwe can design reactive code based on event flow on Flutter logic Stream is not flutter widget, it provided by Dart Stream is an abstract interface StreamBuilder Constructor const StreamBuilder({ Key key, this.initialData, Stream<T> stream, @required this.builder, }) Example class StreamBuilderWidget extends StatelessWidget{ var index = 0; StreamSubscription<String> subscription; var streamController = StreamController<String>(); //To Emit the stream StreamSink<String> get streamSink => streamController.sink; Stream<String> get streamData => streamController.stream; StreamBuilderWidgetState() { streamSink.add("0"); } 106
Navigation To Implement pagenavigation in Flutter we need to use two classes Navigator and Route. The Navigator is responsible for the stack structure processing of the page and the route processing of the Route complex page The Navigator used the stack structure to manage pages. When a page needs to be added, the stack method is used, when we need to exit a page use the pop-out method Push and pop will handle all stack elements Let’s Start Code Create Two Pages First, we will create two pages, each of which contains a button. Clicking the button on the first page will jump to the second page, and clicking the button on the second page will return to the first page class FirstPage extends StatelessWidget{ @override Widget build(BuildContext context) { // TODO: implement build return Scaffold( appBar: AppBar(title: Text(" First Page"), backgroundColor: Colors.pink,), body: Center( child: RaisedButton( onPressed: (){ 108
Now let’s jumpto second page In order to jump to the second page, we will use the Navigator.push method. This push method will add one Route to the routing heap managed by Navigator. But the Push method requires one Route, but Route where does it come from? We can create our own Route, or use it MaterialPageRoute. MaterialPageRoute Conveniently, it will jump to a new page using platform-specific animations. In the FirstScreen Widget build method, update the onPressedcallback onPressed: () { Navigator.push( context, MaterialPageRoute(builder: (context) => SeconPage()), ); }, Return to the first Now that we are on the second screen, how do we close it and return to the first screen? Use the Navigator.pop method! pop Method to remove the current one from the routing stack managed by Navigator Route. In this part, update SecondScreenthe onPressedcallback in the widget onPressed: () { Navigator.pop(context); }, 110
Routing table (NamedRoutes) Flutter also provided Navigation with NamedRoutes The simple way is to define all routes in the runApp, so that centralized management is possible, which is also a very recommended approach A MaterialApp is the easiest way to set it up, and the MaterialApp's home becomes the route at the bottom of the navigator stack. To push a new route on the stack, you can create a MaterialPageRoute instance with builder capabilities class NamedRoutes extends StatelessWidget{ @override Widget build(BuildContext context) { // TODO: implement build 113
return Scaffold( appBar: AppBar(title:Text("SecondPage"),backgroundColor: Colors.pink,), body: Center( child: Column( children: <Widget>[ RaisedButton(onPressed: (){Navigator.pop(context);},child: Text("SecondPage"),) ], ), ), ); } } class ThirdPage extends StatelessWidget{ @override Widget build(BuildContext context) { // TODO: implement build return Scaffold( appBar: AppBar(title: Text("ThirdPage"),backgroundColor: Colors.pink,), body: Center( child: Column( children: <Widget>[ RaisedButton(onPressed: (){Navigator.pop(context);},child: Text("ThirdPage"),) ], ), ), ); } } To get the result from called page by 116
117.
onPressed: (){ Navigator.pushNamed(context, "/f").then((value){ print(value); }); } Afterpop the screen the then() method will execute and print the result. Navigation switch animation The default navigation switch animation is a pop-up process from bottom to top on Android, and a pan-to-left process from iOS In order to unify, you can customize a route, including the color and behavior of the modal barrier of the route, and the animation conversion of other aspects of the route You can find the example of Navigation Screen animation at http://rrtutors.com/description/53 117
118.
Form & FormFields A form is an area that contains form elements. Form elements allow users to enter content, such as text fields, drop-down lists, radio boxes, check boxes, and so on. Common application scenarios are: login, registration, input information, etc. There are two important components in the form, one is the Form component for the entire form submission, and the other is the TextFormField component for user input Form Constructor const Form({ Key key, @required this.child, this.autovalidate = false, this.onWillPop, this.onChanged, }) The Form object gives the following methods: reset to reset fields. save to save fields. validate to validate, returning a true if the form fields are valid, false if one or more are invalid Form State The Form object stores input state data from child TextFormFields but not other field types like Checkboxes, DropdownButtons, Radios, Switches. So, 118
119.
if we wantform to work with those other types of fields, we need to store the state of those items. If we take a look a look at the example we will see that these fields are stored as state in the Stateful Widget Form Validation As mentioned earlier, the Form class has an autovalidate constructor argument. If this argument is set to true, the framework invokes validation as data is input. If this argument is set to false, the framework will not invoke validation until the validate method is invoked Example With Login Page class FormWidget extends StatefulWidget{ @override State<StatefulWidget> createState() { // TODO: implement createState return _LoginPageState(); } } class _LoginPageState extends State<FormWidget> { GlobalKey<FormState> loginKey = GlobalKey<FormState>(); String userName; String password; void login() { 119
Input Decoration Themes Byusing this Input Decoration themes we can change the style for form fields as we like ThemeData( scaffoldBackgroundColor: Color(0xFF000000), appBarTheme: AppBarTheme( color: Colors.white, textTheme: TextTheme( title: TextStyle(fontSize: 22, color: Colors.white), ) 123
Networking & JSONand Serialization Now a days every mobile application communicate with remote server on Networking Flutter provides a sky_enginedevelopment kit in the Flutter engine , which contains a _http library that contains various operation classes related to encapsulated http requests. In this article, we will introduce _http the use of related operation classes and the use _httpof three-party dio network libraries based on encapsulation HTTP Introduction The Hypertext Transfer Protocol (HTTP) is designed to enable communications between clients and servers. HTTP works as a request-response protocol between a client and server. A protocol describes how machines communicate with each other using messages. A protocol defines the format of these messages HTTPClient Make HTTPRequest http support is located dart:io, so to create an HTTP client, we need to add an import import 'dart:io'; var httpClient = new HttpClient(); 126
127.
HTTP API usesDart Futures in the return value . We recommend using the async/ await syntax to call the AP Involve below steps to handle the HttpClient ● Create client ● Construct Uri ● Make a request, wait for a request, and you can also configure request headers and body ● Close the request and wait for a response ● Decode the content of the response get() async { var httpClient = new HttpClient(); var uri = new Uri.http( 'domain', 'path to api', params in map object); var request = await httpClient.getUrl(uri); var response = await request.close(); var responseBody = await response.transform(UTF8.decoder).join(); } Decode and encode JSON The dart:convertlibrary makes it easy to decode and encode JSON. Decode a simple JSON string and parse the response into a Map Map data = JSON.decode(responseBody); String name=mapNews[0]['name'] 127
128.
Check Example class NetwotkHTTPextends StatefulWidget { NetwotkHTTP({Key key}) : super(key: key); @override _NetwotkHTTPState createState() => new _NetwotkHTTPState(); } class _NetwotkHTTPState extends State<NetwotkHTTP> { Map<int,dynamic>mapNews=Map(); @override void initState() { // TODO: implement initState super.initState(); _getNewsData(); } _getNewsData() async { var url='https://newsapi.org/v2/sources?apiKey=API_KEY&p age=1'; //var url = 'https://httpbin.org/ip'; var httpClient = new HttpClient(); var listNewsdata=""; try { var request = await httpClient.getUrl(Uri.parse(url)); var response = await request.close(); if (response.statusCode == HttpStatus.OK) { var json = await response.transform(utf8.decoder).join(); var data = jsonDecode(json); 128
129.
List<dynamic>hm=data['sources'] as List; setState((){ mapNews=hm.asMap(); print("errorr SetState"+mapNews.toString()); }); } else { print("errorr "); listNewsdata = 'Error Resposne :nHttp status ${response.statusCode}'; } } catch (exception) { print("errorr $exception"); listNewsdata = 'Failed getting News Data $exception'; } // If the widget was removed from the tree while the message was in flight, // we want to discard the reply rather than calling setState to update our // non-existent appearance. if (!mounted) return; } @override Widget build(BuildContext context) { var spacer = new SizedBox(height: 32.0); return new Scaffold( appBar: AppBar(title: Text("News API WITH HTTP CLIENT"),backgroundColor: Colors.pink,), body: SingleChildScrollView( 129
TextStyle(fontSize: 12,color: Colors.grey[800]),maxLines:3,), ], ), ) ], ), ), ) ); }) ], ), ), ), ); } } HTTP Library http Library http.dartfile package HttpClientclass is our common network requests the operation class, which is an abstract class, the specific operation by the http_impl.dart document _HttpClient class that implements the class encapsulates http request various methods, including get, post, put, delete, patchAnd head wait for the request Let's look at the usage method through the following example 131
132.
In this exampleusing the NewsAPI to fetch the news headlines. News API is a simple HTTP REST API for searching and retrieving live articles from all over the web To call api in Flutter we need to add http: ^0.12.0+2 dependencies in the pubspec.yaml file The above same example with http library static Future callNewsCAtegory() async{ var url="API_KEY"; return get('https://newsapi.org/v2/sources?apiKey=$url&page=1') ; } The above method will return the response data, that we are handle in below code fetchNews(){ var callNews = NewsCategoryModel.callNewsCAtegory(); callNews.then((data){ var response=json.decode(data.body ); print(response); var listNewsdata=response['sources']as List; setState(() { listNews=listNewsdata.map<NewsCategoryModel>((model) =>NewsCategoryModel.fromJson(model)).toList(); listNewsAll.clear(); listNewsAll.addAll(listNews); }); 132
133.
},onError: (error){ print("Result Error$error"); } ); } POST Method Map<String, String> queryParameters = {'key': 'value', 'key': 'value'}; Map<String, String> header = {'key': 'value'}; post("API_URL",body: queryParameters,headers: header); JSON Parsing After getting the response from the API we need to parse the data, for this we are using the import 'dart:convert' library var callNews = NewsCategoryModel.callNewsCAtegory(); callNews.then((data){ var response=json.decode(data.body ); print(response); var listNewsdata=response['sources']as List Var listNews=listNewsdata.map<NewsCategoryModel>((model)=>Ne wsCategoryModel.fromJson(model)).toList(); The NewsCategoryModel class like below 133
Database and localstorage In Android we have different ways to store data ● SharedPreferences ● Local database ● Files Similarly in Flutter also we can handle the data by above ways SharedPreferences Shared Preferences allow us to save and retrieve data in the form of key,value pair How to access Shared Preferences in Flutter? In Flutter, we can access this feature by using the plugin Shared_Preferences Example class MySharedPref extends StatefulWidget{ @override State<StatefulWidget> createState() { // TODO: implement createState return MySharedPrefState(); } } class MySharedPrefState extends State<MySharedPref>{ @override Widget build(BuildContext context) { 141
Database In Android, wecan use SQLite to store structured data that is queried via SQL. How to access SQLite in Flutter? In Flutter, we can use the SQFlite plugin to access this feature of SQFlite SQFlite Features ● Supports transactions and batch operations ● Automatic version management during program opening ● Addition, deletion, change, and help program ● Perform DB operations in iOS and Android background threads SQFlite does not perform a type check on the value, that is, a column of type INTEGER can store TEXT, but when we parse the result of the query and map it, it will report a type exception. So still avoid storing inconsistent data SQFlite supports 5 data types: NULL , INTEGER , REAL , TEXT , BLOB NULL When a column does not store data, the default value is NULL. INTEGER Int type in dart, the value range is -2 ^ 63 to 2 ^ 63-1 REAL 145
146.
num type indart, namely int and double types TEXT String type in dart BLOB The Uint8List type in dart, although it can store List <int>, is not officially recommended because the conversion is slow bool Stores INTEGER type, 0 is false, 1 is true If we need to store other types of data, such as bool, DateTime, List <String>, etc., we need to handle it by ourselves. Everyone may have their own unique method. I hope you can make some suggestions. We can encapsulate entity classes and parsing classes. From the perspective of external code, these types of storage, such as bool, DateTime, and List <String>, are implemented DateTime Store INTEGER type, the creation time and update time of a column of data is generally more important. Of course, there are other information, such as the payment time, delivery time, and cancellation time of an order. If the TEXT type is stored, the program is inconvenient if it supports multiple languages. List To store TEXT type, we can combine the data into String and store it in the database according to the special separator. It is then parsed into a List <String> according to the split of the String. There are still many things to note, such as the elements of List must not contain the defined delimiters. It is troublesome to modify a certain Item of List, and it can only cover List as a whole. 146
147.
Map, json, entityclasses Store the TEXT type. Generally, I use the toMap method of the entity class to convert the entity class into a Map. The entity class is converted to a String through jsonEncode. In turn, the string is converted to a Map using jsonDecode, and the entity class is converted from the Map to the entity class Database operations Database creation Open the database based on the name and version number createDB(VERSION) async { String databasesPath = await getDatabasesPath(); // Database Path: /data/user/0/com.package.name/databases String path = join(databasesPath, 'db_name.db'); // Path: /data/user/0/com.package.name/databases/db_name.db Database database = await openDatabase( path, version: VERSION, onCreate: (Database db, int version) async { }, onUpgrade: (Database db, int oldVersion, int newVersion) async { }, ); } Create Table The Create Table query should be inside onCreate() method "CREATE TABLE users(id INTEGER PRIMARY KEY autoincrement, name TEXT, email TEXT, password TEXT, mobile TEXT)"; 147
148.
Delete Table db.execute('DROP tableusers'); Clear Table db.execute('DELETE FROM users'); Rename Table db.execute('ALTER TABLE users RENAME TO users_1'); Add Field db.execute('ALTER TABLE users ADD gender TEXT'); Delete Field db.execute('ALTER TABLE users DROP COLUMN gender'); Modify Field Type db.execute('ALTER TABLE users ALTER COLUMN value integer'); Insert Insert will returns the last inserted record id int id = await database.rawInsert('INSERT INTO user(name, email, password, mobile) VALUES("shiva", "test@tes.com", "1234#","1234567899")'); Delete returns the number of records affected int count = await database.rawDelete('DELETE FROM user WHERE email = ?', ['test@test.com']); 148
149.
Update int count =await database.update( 'user', {'name': 'Name 2'} where: 'email = ?', whereArgs: ['test@test.com'] Query Query is the most complicated one in SQL statements. The keywords include distinct, where, group by, having, count, order by asc / desc, limit, offset, in, join, as, union and so on List<Map<String, dynamic>> result = await database.query( 'user', distinct: true, columns: ['name','mobile'], where: 'email = ?', whereArgs: ['test@test.com'], groupBy: 'name', limit: 5, offset: 2, ); List<Map<String, dynamic>> result = await database.rawQuery( 'SELECT * FROM user WHERE email=test@test.com order by name asc limit 5 offset 2', [16], ); Example Add Plugins Add below plugins to pubspec.yaml file sqflite: path: path_provider: ^0.4.1 Create User Model class class User{ int id; String name; String email; 149
150.
String pasword; String mobile; User(this.name,this.email,this.pasword,this.mobile); Map<String,dynamic>toUserMap(){ return{ 'name':name, 'email':email, 'password':pasword, 'mobile':mobile, }; } static fromMap(Map<String, dynamic> c) { return User(c['name'],c['email'],c['passowrd'],c['mobile']); } } Create Database import 'dart:io'; import 'package:flutter_firebase_app/models/user.dart'; import 'package:path/path.dart'; import 'package:sqflite/sqflite.dart'; import 'package:path_provider/path_provider.dart'; class UserDatabase{ static String path; static final _databaseName = "mydb.db"; static final _databaseVersion = 1; static final _table_user = 'users'; static final _table_logins = 'logins'; UserDatabase._privateConstructor(); static final UserDatabase instance = UserDatabase._privateConstructor(); // only have a single app-wide reference to the database static Database _database; Future<Database> get database async { if (_database != null) return _database; // lazily instantiate the db the first time it is accessed _database = await _initDatabase(); return _database; } // this opens the database (and creates it if it doesn't exist) _initDatabase() async { Directory documentsDirectory = await getApplicationDocumentsDirectory(); String path = join(documentsDirectory.path, _databaseName); 150
151.
return await openDatabase(path, version:_databaseVersion, onCreate: _onCreate); } // SQL code to create the database table Future _onCreate(Database db, int version) async { await db.execute( "CREATE TABLE users(id INTEGER PRIMARY KEY autoincrement, name TEXT, email TEXT, password TEXT, mobile TEXT)", ); await db.execute( "CREATE TABLE logins(name TEXT, email TEXT, mobile TEXT,password TEXT)", ); } static Future<String> getFileData() async { return getDatabasesPath().then((s){ return path=s; }); } Future<int> insertUser(User user) async{ Database db = await instance.database; var users=await db.rawQuery("select * from users where mobile = "+user.mobile); if(users.length>0) { return -1; } return await db.insert("users",user.toUserMap(),conflictAlgorithm: ConflictAlgorithm.ignore ); } Future<User> checkUserLogin(String mobile, String password) async { Database db = await instance.database; var res=await db.rawQuery("select * from users where mobile = '$mobile' and password = '$password'"); if(res.length>0) { List<dynamic> list = res.toList().map((c) => User.fromMap(c)).toList() ; print("Data "+list.toString()); await db.insert("logins",list[0].toUserMap()); return list[0]; } return null; } Future<int> getUser() async{ Database db = await instance.database; var logins=await db.rawQuery("select * from logins"); if(logins==null) 151
152.
return 0; return logins.length; } Future<User>getUserData() async{ Database db = await instance.database; var res=await db.rawQuery("select * from logins"); print("result user data $res"); print("result user data "+res.toString()); List<dynamic> list = res.toList().map((c) => User.fromMap(c)).toList() ; return list[0]; } Future<int> deleteUser(String mobile) async{ Database db = await instance.database; var logins= db.delete(_table_logins, where: "mobile = ?", whereArgs: [mobile]); return logins; } } Signup Page import 'package:flutter/material.dart'; import 'package:flutter_firebase_app/databases/UserDatabase.dart'; import 'package:flutter_firebase_app/models/user.dart'; class SignupPage extends StatefulWidget{ @override State<StatefulWidget> createState() { // TODO: implement createState return SignUpState(); } } class SignUpState extends State<SignupPage>{ final _formKey = GlobalKey<FormState>(); final _scafoldKey = GlobalKey<ScaffoldState>(); final _nameEditController=TextEditingController(); final _emailEditController=TextEditingController(); final _mobileEditController=TextEditingController(); final _passwordEditController=TextEditingController(); String email_pattern = r'^(([^<>()[].,;:s@"]+(.[^<>()[].,;:s@"]+)*)|(".+"))@(([[0-9]{1, 3}.[0-9]{1,3}.[0-9]{1,3}.[0-9]{1,3}])|(([a-zA-Z-0-9]+.)+[a-zA-Z]{2,}))$' ; String password_pattern = r'^[a-zA-Z0-9]{6,}$'; String mobile_pattern = r'^(?([0-9]{3}))?[-. ]?([0-9]{3})[-. ]?([0-9]{4})$'; Size size; 152
State Management We arealways looking for a powerful way of state management. We knows flutter itself has provided us with state management Stateful widget Flutter has different ways of estate management topics Stateful Widget InheritedWidget Provider BLoC Stateful Widget Widgets which will change its behaviour/state dynamically called stateful widgets Stateful widgets are useful when the part of the user interface you are describing can change dynamically. User interfaces need to respond to a variety of things: The user doing something in the user interface. Receiving data from another computer. This is what Stateful Widgets are for. They store data (state) in an associated State class and they can respond when that data (state) changes as the result of the user doing something Let's create a Counter app with Stateful widget class MyStatefulwidget extends StatefulWidget{ @override State<StatefulWidget> createState() { // TODO: implement createState return MyState(); 161
162.
} } class MyState extendsState<MyStatefulwidget>{ int count; @override void initState() { // TODO: implement initState super.initState(); count=0; } @override Widget build(BuildContext context) { // TODO: implement build return Scaffold( appBar: AppBar(title: Text("Statefulwidget"),backgroundColor: Colors.pink,), floatingActionButton: FloatingActionButton(onPressed: (){ setState(() { count++; }); },child: Icon(Icons.add,color: Colors.white,),backgroundColor: Colors.pink,), body: Container( child: Center( child: Text("Count : $count",style: TextStyle(color: Colors.pink,fontSize: 20),), ), ), ); } } here on tap on add button every time we are updating the state by calling the setState() method, so this will entirely rebuild the widget This will be useful when a single widget needs to update the State. InheritedWidget Flutter provides an InheritedWidget that can define provide context to every widget below it in the tree. InheritedWidget is a special widget that can store and retrieve data , and subcomponents can obtain stored data. Commonly used MediaQuery and Theme are inherited from InheritedWidget 162
163.
While this isnice in theory, we can see that it takes quite a lot of code to get a basic example wired up. Fortunately, there are libraries like Bloc, Redux, and Scoped Model abstract this complexity away Let's check the counter app with InheritedWidget Create InheritedWidget class CounterInherited extends InheritedWidget{ final Map _counter={'count':0}; Widget child; CounterInherited ({@required Widget this. child}):super(child:child); get counter=>_counter['count']; increment() { _counter['count']++; } @override bool updateShouldNotify(InheritedWidget oldWidget) { // TODO: implement updateShouldNotify return true; } static CounterInherited of(BuildContext ctx)=> ctx.inheritFromWidgetOfExactType(CounterInherited); } Here we are extending the class with InheritedWidget, which have override method will tell the widget to need to update state or not @override bool updateShouldNotify(InheritedWidget oldWidget) { // TODO: implement updateShouldNotify return true; } Create Child widget Child widget will have the counter increment UI 163
164.
class Counter extendsStatefulWidget{ @override State<StatefulWidget> createState() { // TODO: implement createState return CounterState(); } } class CounterState extends State<Counter>{ @override Widget build(BuildContext context) { int count=CounterInherited.of(context).counter; return Scaffold( appBar: AppBar(title: Text("InheritedWidget"),centerTitle: true,backgroundColor: Colors.pink,), floatingActionButton: FloatingActionButton(onPressed: (){ setState((){}); CounterInherited.of(context).increment(); },child: Icon(Icons.add,color: Colors.white,),backgroundColor: Colors.pink,), body: Container( child: Center( child: Text("Count : $count",style: TextStyle(color: Colors.pink,fontSize: 20),), ), ), ); } } This Child widget need parent widget instance to update counter value, This will done by static method of CounterInherited widget CounterInherited.of(context) Main Widget Now create a widget which contains parent widget as Inherited widget and pass child widget of our counter widget class MyInherited extends StatelessWidget{ @override Widget build(BuildContext context) { // TODO: implement build return CounterInherited( child: Counter(), ); } 164
165.
} void main() =>runApp(MyInherited ()); BLoC Flutter, however, brings a new reactive style that is not entirely compatible with MVC. Its design idea is to separate data from views, and render views by data mapping A variation of this classical pattern has emerged from the Flutter community – BLoC What is BLoC? BLoC stands for Business Logic Components, BLoC is a method of building applications using reactive programming. This is a completely asynchronous world composed of streams ● Wrap stateful components with StreamBuilder, streambuilder will listen for a stream ● This stream comes from BLoC ● The data in the stateful widget comes from the listening stream. ● User interaction gestures are detected and events are generated. For example, press the button. ● Call the function of bloc to handle this event ● After processing in bloc, the latest data will be added to the sink of the stream. ● StreamBuilder listens to new data, generates a new snapshot, and calls the build method again ● Widget is rebuilt 165
166.
Example Here we codinga simple counter application with BLoC This Example show the Number counts in the first page, in the second page we are increase the counter number, this will reflect in the fistpage For this we are going to create app with below steps Create bloc model CountBLoC class CountBLoC{ int _count = 0; var _countController = StreamController<int>.broadcast(); Stream<int> get stream => _countController.stream; int get value => _count; addCount() { _countController.sink.add(++_count); } dispose() { _countController.close(); } } Create Provider class BlocProvider extends InheritedWidget{ CountBLoC bLoC = CountBLoC(); BlocProvider({Key key, Widget child}) : super(key: key, child: child); @override bool updateShouldNotify(InheritedWidget oldWidget) { // TODO: implement updateShouldNotify return true; } static CountBLoC of(BuildContext context) => (context.inheritFromWidgetOfExactType(BlocProvider) as BlocProvider).bLoC; } 166
167.
Create First Page ThisPage will show the number counts, for this we are accessing the data with streambuilder class CountPage extends StatelessWidget{ @override Widget build(BuildContext context) { final bloc = BlocProvider.of(context); return Scaffold( backgroundColor: Colors.white, appBar: AppBar( title: Text('Counter Page',), backgroundColor: Colors.pink, ), body: Center( child: StreamBuilder<int>( stream: bloc.stream, initialData: bloc.value, builder: (BuildContext context, AsyncSnapshot<int> snapshot) { return Text( 'Number Counts : ${snapshot.data}',style: TextStyle(color: Colors.pink,fontSize: 20), ); }), ), floatingActionButton: FloatingActionButton( backgroundColor: Colors.pink, child: Icon(Icons.add,color: Colors.white,), onPressed: () => Navigator.of(context).push(MaterialPageRoute(builder: (context) => DisplayPage()))), ); } } Create Second page This Page will increase the count by tap on button. With calling the addCount function will increase the count value class DisplayPage extends StatelessWidget{ @override Widget build(BuildContext context) { // TODO: implement build final bloc = BlocProvider.of(context); print('build'); return Scaffold( backgroundColor: Colors.white, appBar: AppBar( 167
168.
title: Text('Update Count'), backgroundColor:Colors.pink, ), body: Center( child: StreamBuilder( stream: bloc.stream, initialData: bloc.value, builder: (context, snapshot) => Center( child: Text( " Counter : ${snapshot.data} nIncreate Count by Button tap", style: TextStyle(color: Colors.pink,fontSize: 20),textAlign: TextAlign.center,), )), ), floatingActionButton: FloatingActionButton( onPressed: () => bloc.addCount(), backgroundColor: Colors.pink, child: Icon(Icons.add,color: Colors.white,), ), ); } } Now It’s time to check out Main Page Here we are using the Provider to load the child widgets to Inherited widget. class MyBloc extends StatelessWidget { @override Widget build(BuildContext context) { return BlocProvider( child: MaterialApp( title: 'BLoC', theme: ThemeData.dark(), home: CountPage(), ), ); } } 168
169.
Firebase Integration Firebase isa mobile and web application development platform developed by Firebase. Firebase supports frameworks like Flutter on a best-effort basis. Now we are going to learn how to setup firebase for Flutter Application Firebase Setup Step 1: Create a new Project in on firebase console (https://console.firebase.google.com/) This will ask to login with gmail. Login with your account. Now create new project in Firebase console After creating project it will navigates to Console dashboard 169
Add your applicationpackage name and register application Download google-service.json file and this under android->app folder 171
172.
Modify your build.gradlefiles to use the plugin project level build.gradle file buildscript { repositories { // Check that you have the following line (if not, add it): google() // Google's Maven repository } dependencies { // ... // Add the following line: classpath 'com.google.gms:google-services:4.3.3' // Google Services plugin } } allprojects { // ... repositories { // Check that you have the following line (if not, add it): google() // Google's Maven repository // ... } } app level build.gradle file apply plugin: 'com.google.gms.google-services' That's it for Android setup iOS Setup Copy & Paste your Downloaded GoogleService-Info.plist into projectname/ios/Runner folder Open projectname/ios/PODFile (Execute pod install if file not found) & Add ; pod 'Firebase/Core; and execute pod install 172
That's it nowour application is ready for use Firebase Firebase authentication & Google sign in using Flutter Firebase Authentication provides backend services, easy-to-use SDKs, and ready-made UI libraries to authenticate users to your app. It supports authentication using passwords, phone numbers, popular federated identity providers like Google, Facebook and Twitter, and more Now we are going to learn how to set up and implementing Google Signin using Firebase authentication Step 1: Create Flutter application Step 2: Add dependencies Add required dependencies in pubspec.yaml file 174


![Flutter Installation Flutter is supporting HybridApp development on different Os. To set up the flutter on each individual os by this Flutter official Tutorial In this section we will learn how to install Flutter SDK in Windows system. Step 1: Download Flutter SDK from Official website The Latest version is 1.12 Step 2: Unzip and archive file in specific folder, like c:flutter Step 3: Update the system path to include flutter bin directory Step 4: Open terminal and move to installed directory and run flutter doctor flutter doctor is tool to check all requirements for the flutter is installed or not and show the details The result of the above command will give you Doctor summary (to see all details, run flutter doctor -v): [√] Flutter (Channel master, v1.14.6-pre.51, on Microsoft Windows [Version 6.3.9600], locale en-IN) [√] Android toolchain - develop for Android devices (Android SDK version 28.0.3) [√] Chrome - develop for the web [√] Android Studio (version 3.3) [!] Android Studio (version 3.4) 6](https://image.slidesharecdn.com/fluttertutorial-201008182102/75/Flutter-tutorial-for-Beginner-Step-by-Step-6-2048.jpg)
![X Flutter plugin not installed; this adds Flutter specific functionality. X Dart plugin not installed; this adds Dart specific functionality. [√] Connected device (2 available) ! Doctor found issues in 1 category. Step 5: Install Android Studio Step 6: Check Latest Android SDK installed or not, if not install it Step 7: Open Android studio and install Dart and Flutter Plugins for Android studio. ● Click File > Settings > Plugins. ● Select the Flutter plugin and click Install. ● Click Yes when prompted to install the Dart plugin. ● Restart Android studio Flutter – Creating Simple Application in Android Studio Now Open File -> Create new Flutter Project It will prompt below screen 7](https://image.slidesharecdn.com/fluttertutorial-201008182102/75/Flutter-tutorial-for-Beginner-Step-by-Step-7-2048.jpg)

![print(intValue); } Output will be Chandu Mouli 123 List : Declare a list is very simple, you can simply use square brackets [] to define the list. The following are common operations for lists main(List<String> args) { var list = [1,2,3,4]; print(list); //Output: [1, 2, 3, 4] //Length print(list.length); //Selecting single value print(list[1]); //Output: 2 //Adding a value list.add(10); //Removing a single instance of value list.remove(3); //Remove at a particular position list.removeAt(0); } If we want to define a compile-time constant list, for example, the contents of the list are immutable, you can use keywords const 13](https://image.slidesharecdn.com/fluttertutorial-201008182102/75/Flutter-tutorial-for-Beginner-Step-by-Step-13-2048.jpg)
![main(List<String> args) { var list = const [1,2,3,4]; } Defining a map We can define maps by using curly braces {} main(List<String> args) { var map = { 'key1': 'value1', 'key2': 'value2', 'key3': 'value3' }; //Fetching the values print(map['key1']); //Output: value1 print(map['test']); //Output: null //Add a new value map['key4'] = 'value4'; //Length print(map.length); //Check if a key is present map.containsKey('value1'); //Get entries and values var entries = map.entries; var values = map.values; } We can also define Map by constructor 14](https://image.slidesharecdn.com/fluttertutorial-201008182102/75/Flutter-tutorial-for-Beginner-Step-by-Step-14-2048.jpg)
![main(List<String> args) { var squares = new Map(); squares[4] = 16; } Functions Functions in dart are similar to those in JavaScript. It consists of the function name, return value, and parameters. main(List<String> args) { var name = fullName('Chandu', 'Mouli'); print(name); } String fullName(String firstName, String lastName) { return "$firstName $lastName"; } return type is an option, if we can remove return type and function looks like below main(List<String> args) { var name = fullName('Chandu', 'Mouli'); print(name); } fullName(String firstName, String lastName) { return "$firstName $lastName"; } 15](https://image.slidesharecdn.com/fluttertutorial-201008182102/75/Flutter-tutorial-for-Beginner-Step-by-Step-15-2048.jpg)

![IconButton : It is a material button, Flashes background circle when clicked on OutlineButton : A bordered button whose elevation increases and whose background becomes opaque when the button is pressed DropDownButton : It is a Material widget, Which is used for selecting from a list of items It similar to Spinner in Android CloseButton : An IconButton setup for use as a close button to close modals (or any other closeable content). Flashes background circle when clicked on FloatingActionButton: It is a Material widget button, A button that hovers in a layer above content Button Examples class ButtonWidget extends StatefulWidget{ @override State<StatefulWidget> createState() { // TODO: implement createState return ButtonsWidgetState(); } } class ButtonsWidgetState extends State<ButtonWidget>{ var selected_item="Please choose a location"; List<String>list=[ "Please choose a location", "Item One", "Item Two", "Item Three", "Item Four", ]; 31](https://image.slidesharecdn.com/fluttertutorial-201008182102/75/Flutter-tutorial-for-Beginner-Step-by-Step-31-2048.jpg)
![selected_item=value; setState(() { }); debugPrint('Changed: ${value}'); }, ) BackButton(onPressed: (){ debugPrint('Button Clicked '); },color: Colors.pink,), CloseButton(), FloatingActionButton(onPressed: (){ debugPrint('Button Clicked '); }, child: Icon(Icons.search),backgroundColor: Colors.pink,) ], ), ), ), )), ); } } 33](https://image.slidesharecdn.com/fluttertutorial-201008182102/75/Flutter-tutorial-for-Beginner-Step-by-Step-33-2048.jpg)
![Multi Child Layouts Flutter - Linear Layout In Android we have a linear layout to arrange childs in horizontal and vertical, similarly in flutter we can arrange by Row, Column widgets. Example Horizontal Arrangement by Row class RowWidget extends StatelessWidget { // This widget is the root of your application. @override Widget build(BuildContext context) { return MaterialApp( title: 'Flutter Tutorial', theme: ThemeData( primarySwatch: Colors.blue, ), home: Scaffold( body: SafeArea(child: Container( color: Colors.brown, child: Row( mainAxisSize: MainAxisSize.min, crossAxisAlignment: CrossAxisAlignment.start, children: <Widget>[ Text("Header",style: TextStyle(color: Colors.white),), Icon(Icons.account_circle,size: 100,color: Colors.white,), Text("Name ",style: TextStyle(color: Colors.white)) ], ), )), ), 35](https://image.slidesharecdn.com/fluttertutorial-201008182102/75/Flutter-tutorial-for-Beginner-Step-by-Step-35-2048.jpg)
![); } } Vertical Arrangement by Column class ColumnWidget extends StatelessWidget { // This widget is the root of your application. @override Widget build(BuildContext context) { return MaterialApp( title: 'Flutter Tutorial', theme: ThemeData( primarySwatch: Colors.blue, ), home: Scaffold( body: SafeArea(child: Container( color: Colors.brown, child: Column( mainAxisSize: MainAxisSize.max, children: <Widget>[ Text("Header",style: TextStyle(color: Colors.white),), Icon(Icons.account_circle,size: 100,color: Colors.white,), Text("Name ",style: TextStyle(color: Colors.white)) ], ), )), ), ); } } 36](https://image.slidesharecdn.com/fluttertutorial-201008182102/75/Flutter-tutorial-for-Beginner-Step-by-Step-36-2048.jpg)
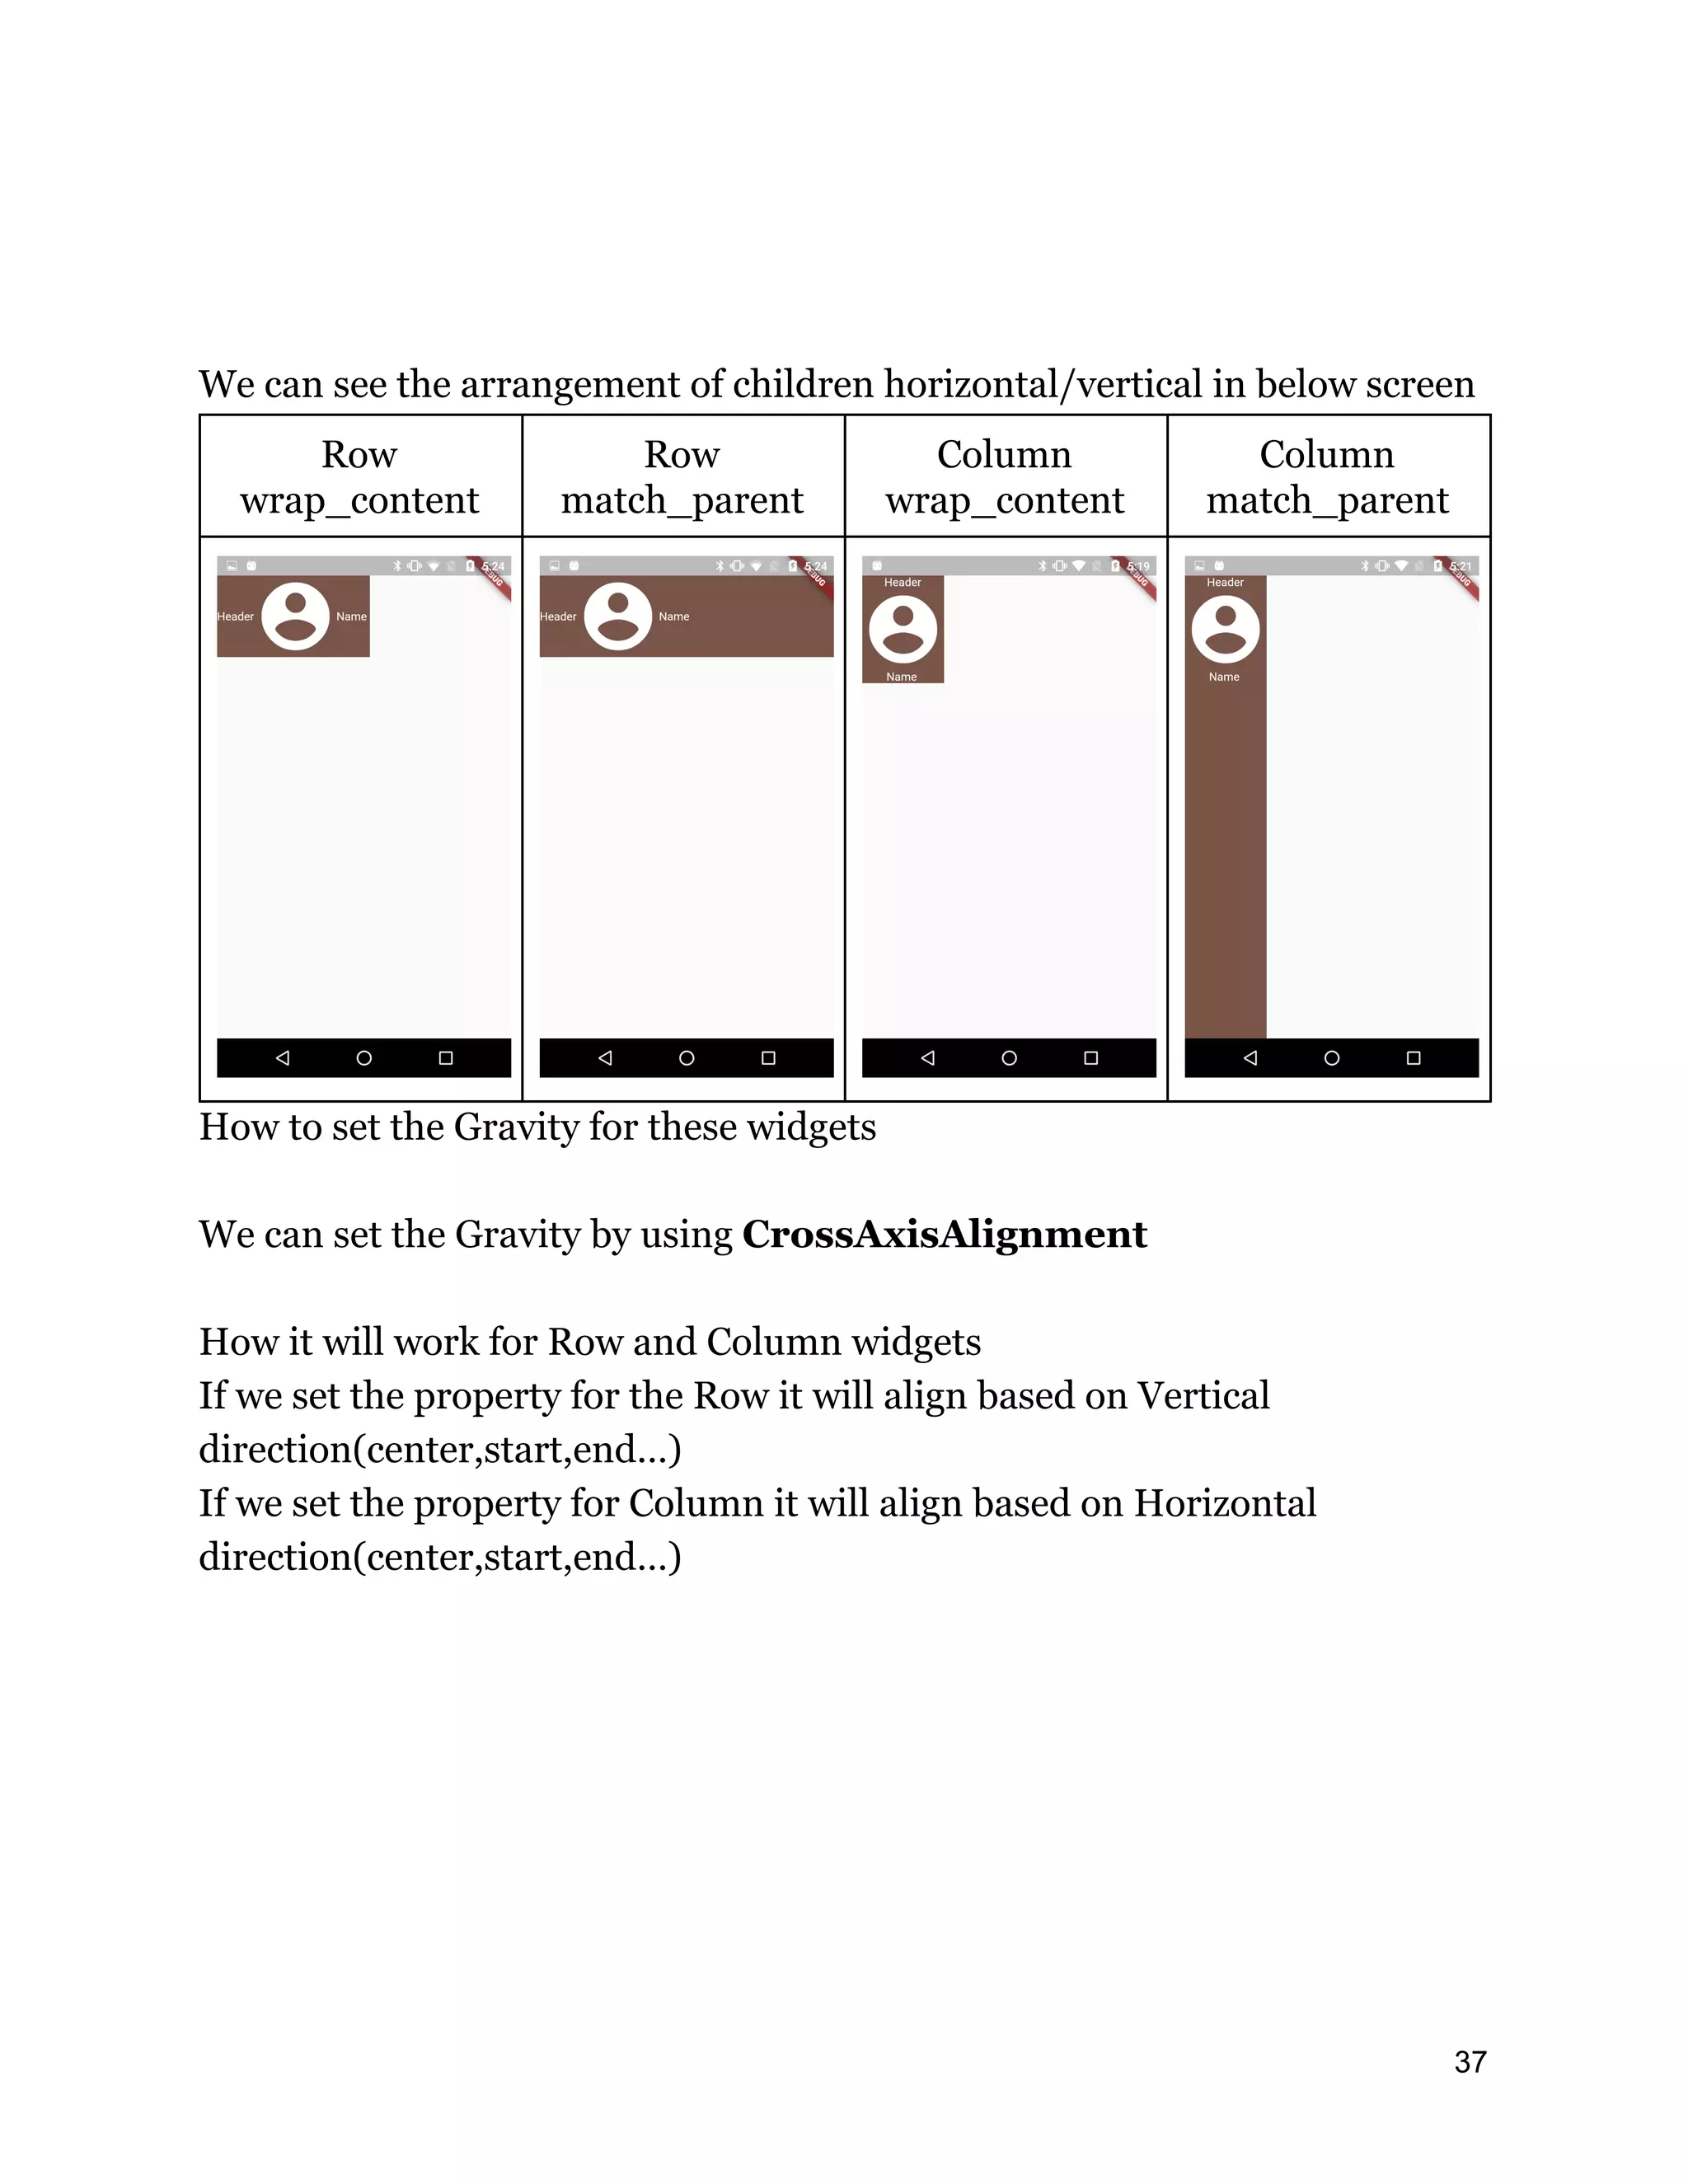
![Framelayout in Flutter Flutter uses Stack widgets to control child widgets at a layer. Child widgets can completely or partially cover the base widgets. Stack control positions its children relative to the edges of its box. This class is useful if you just want to overlap multiple child widgets. class StackWidget extends StatelessWidget { // This widget is the root of your application. @override Widget build(BuildContext context) { return MaterialApp( title: 'Flutter Tutorial', theme: ThemeData( primarySwatch: Colors.blue, ), home: Scaffold( body: SafeArea(child: Center( child: Stack( alignment: const Alignment(0, 0), children: <Widget>[ Image.network("https://cdn.pixabay.com/photo/2017/04/23 /19/17/climate-change-2254711_960_720.jpg"), Container( decoration: BoxDecoration( color: Colors.white, ), child: Text('GLobal Warming',style: TextStyle(fontSize: 20),), ), ], 38](https://image.slidesharecdn.com/fluttertutorial-201008182102/75/Flutter-tutorial-for-Beginner-Step-by-Step-38-2048.jpg)
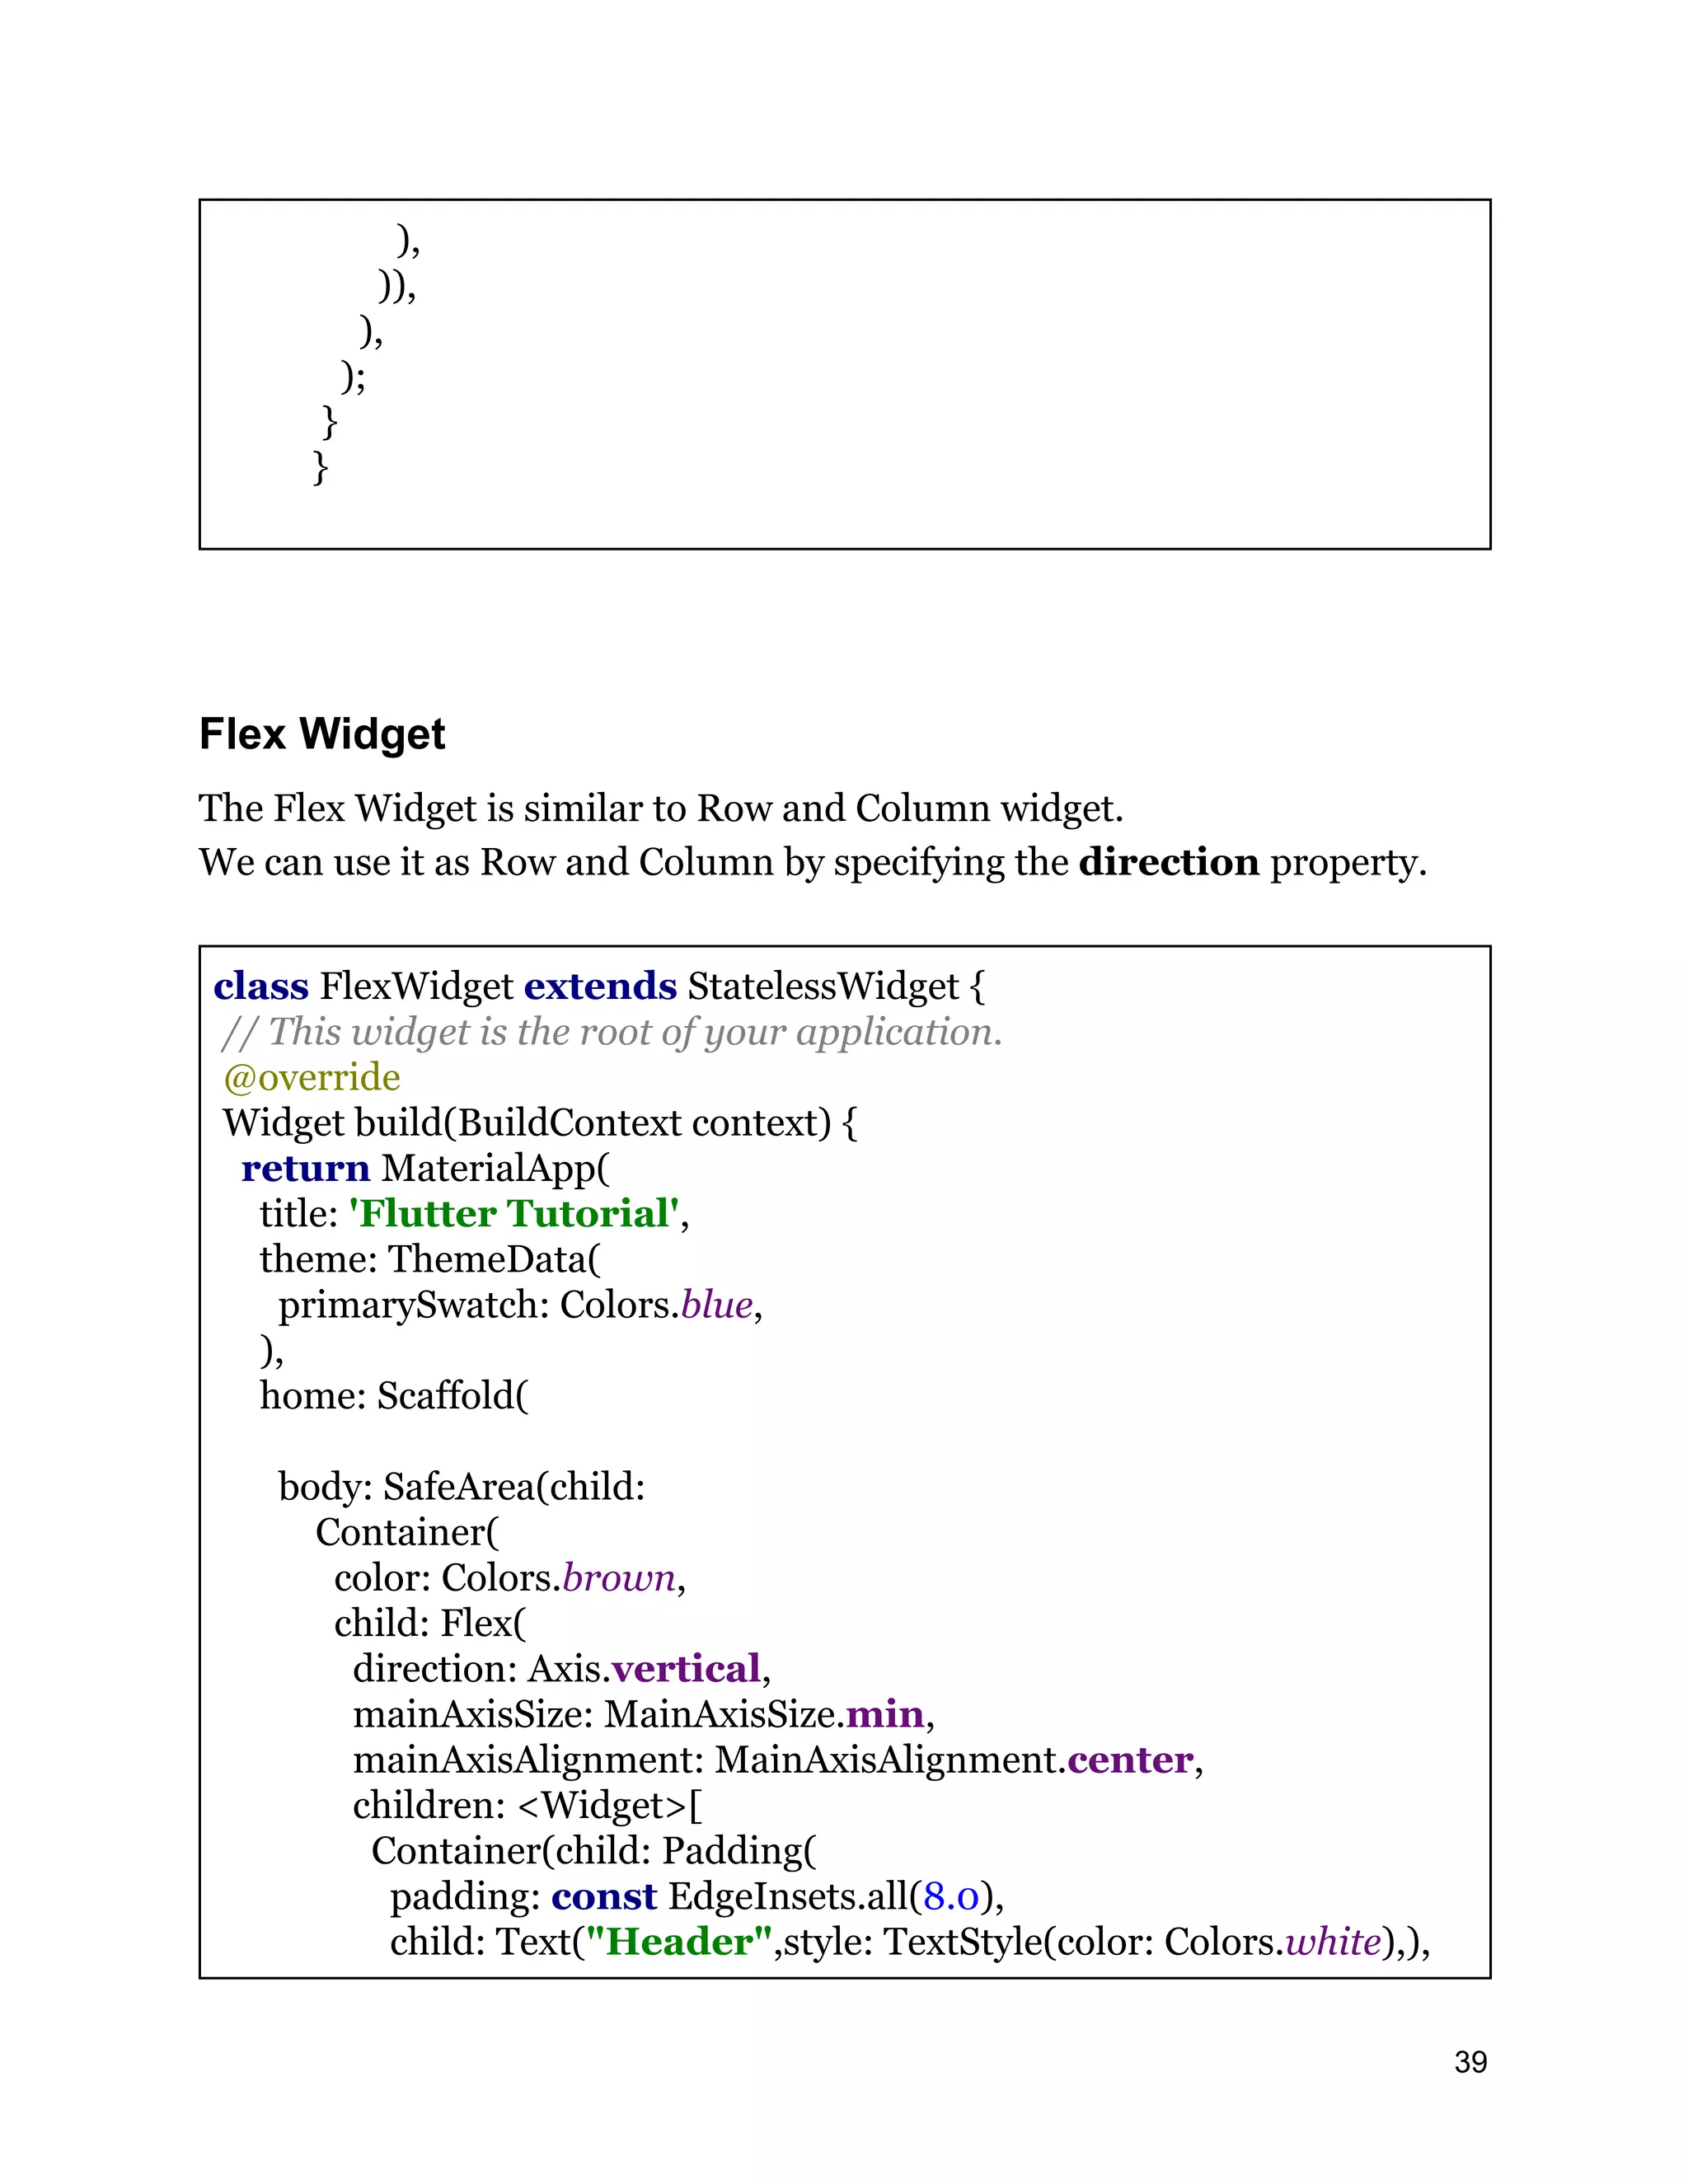
![),color: Colors.green,), Container(child: Icon(Icons.account_circle,size: 100,color: Colors.white,),color: Colors.yellow,), Container(child: Padding( padding: const EdgeInsets.all(8.0), child: Text("Name ",style: TextStyle(color: Colors.white)), ),color: Colors.pink,) ], ), ), ), ), ); } } Change different alignment and check the result 40](https://image.slidesharecdn.com/fluttertutorial-201008182102/75/Flutter-tutorial-for-Beginner-Step-by-Step-40-2048.jpg)
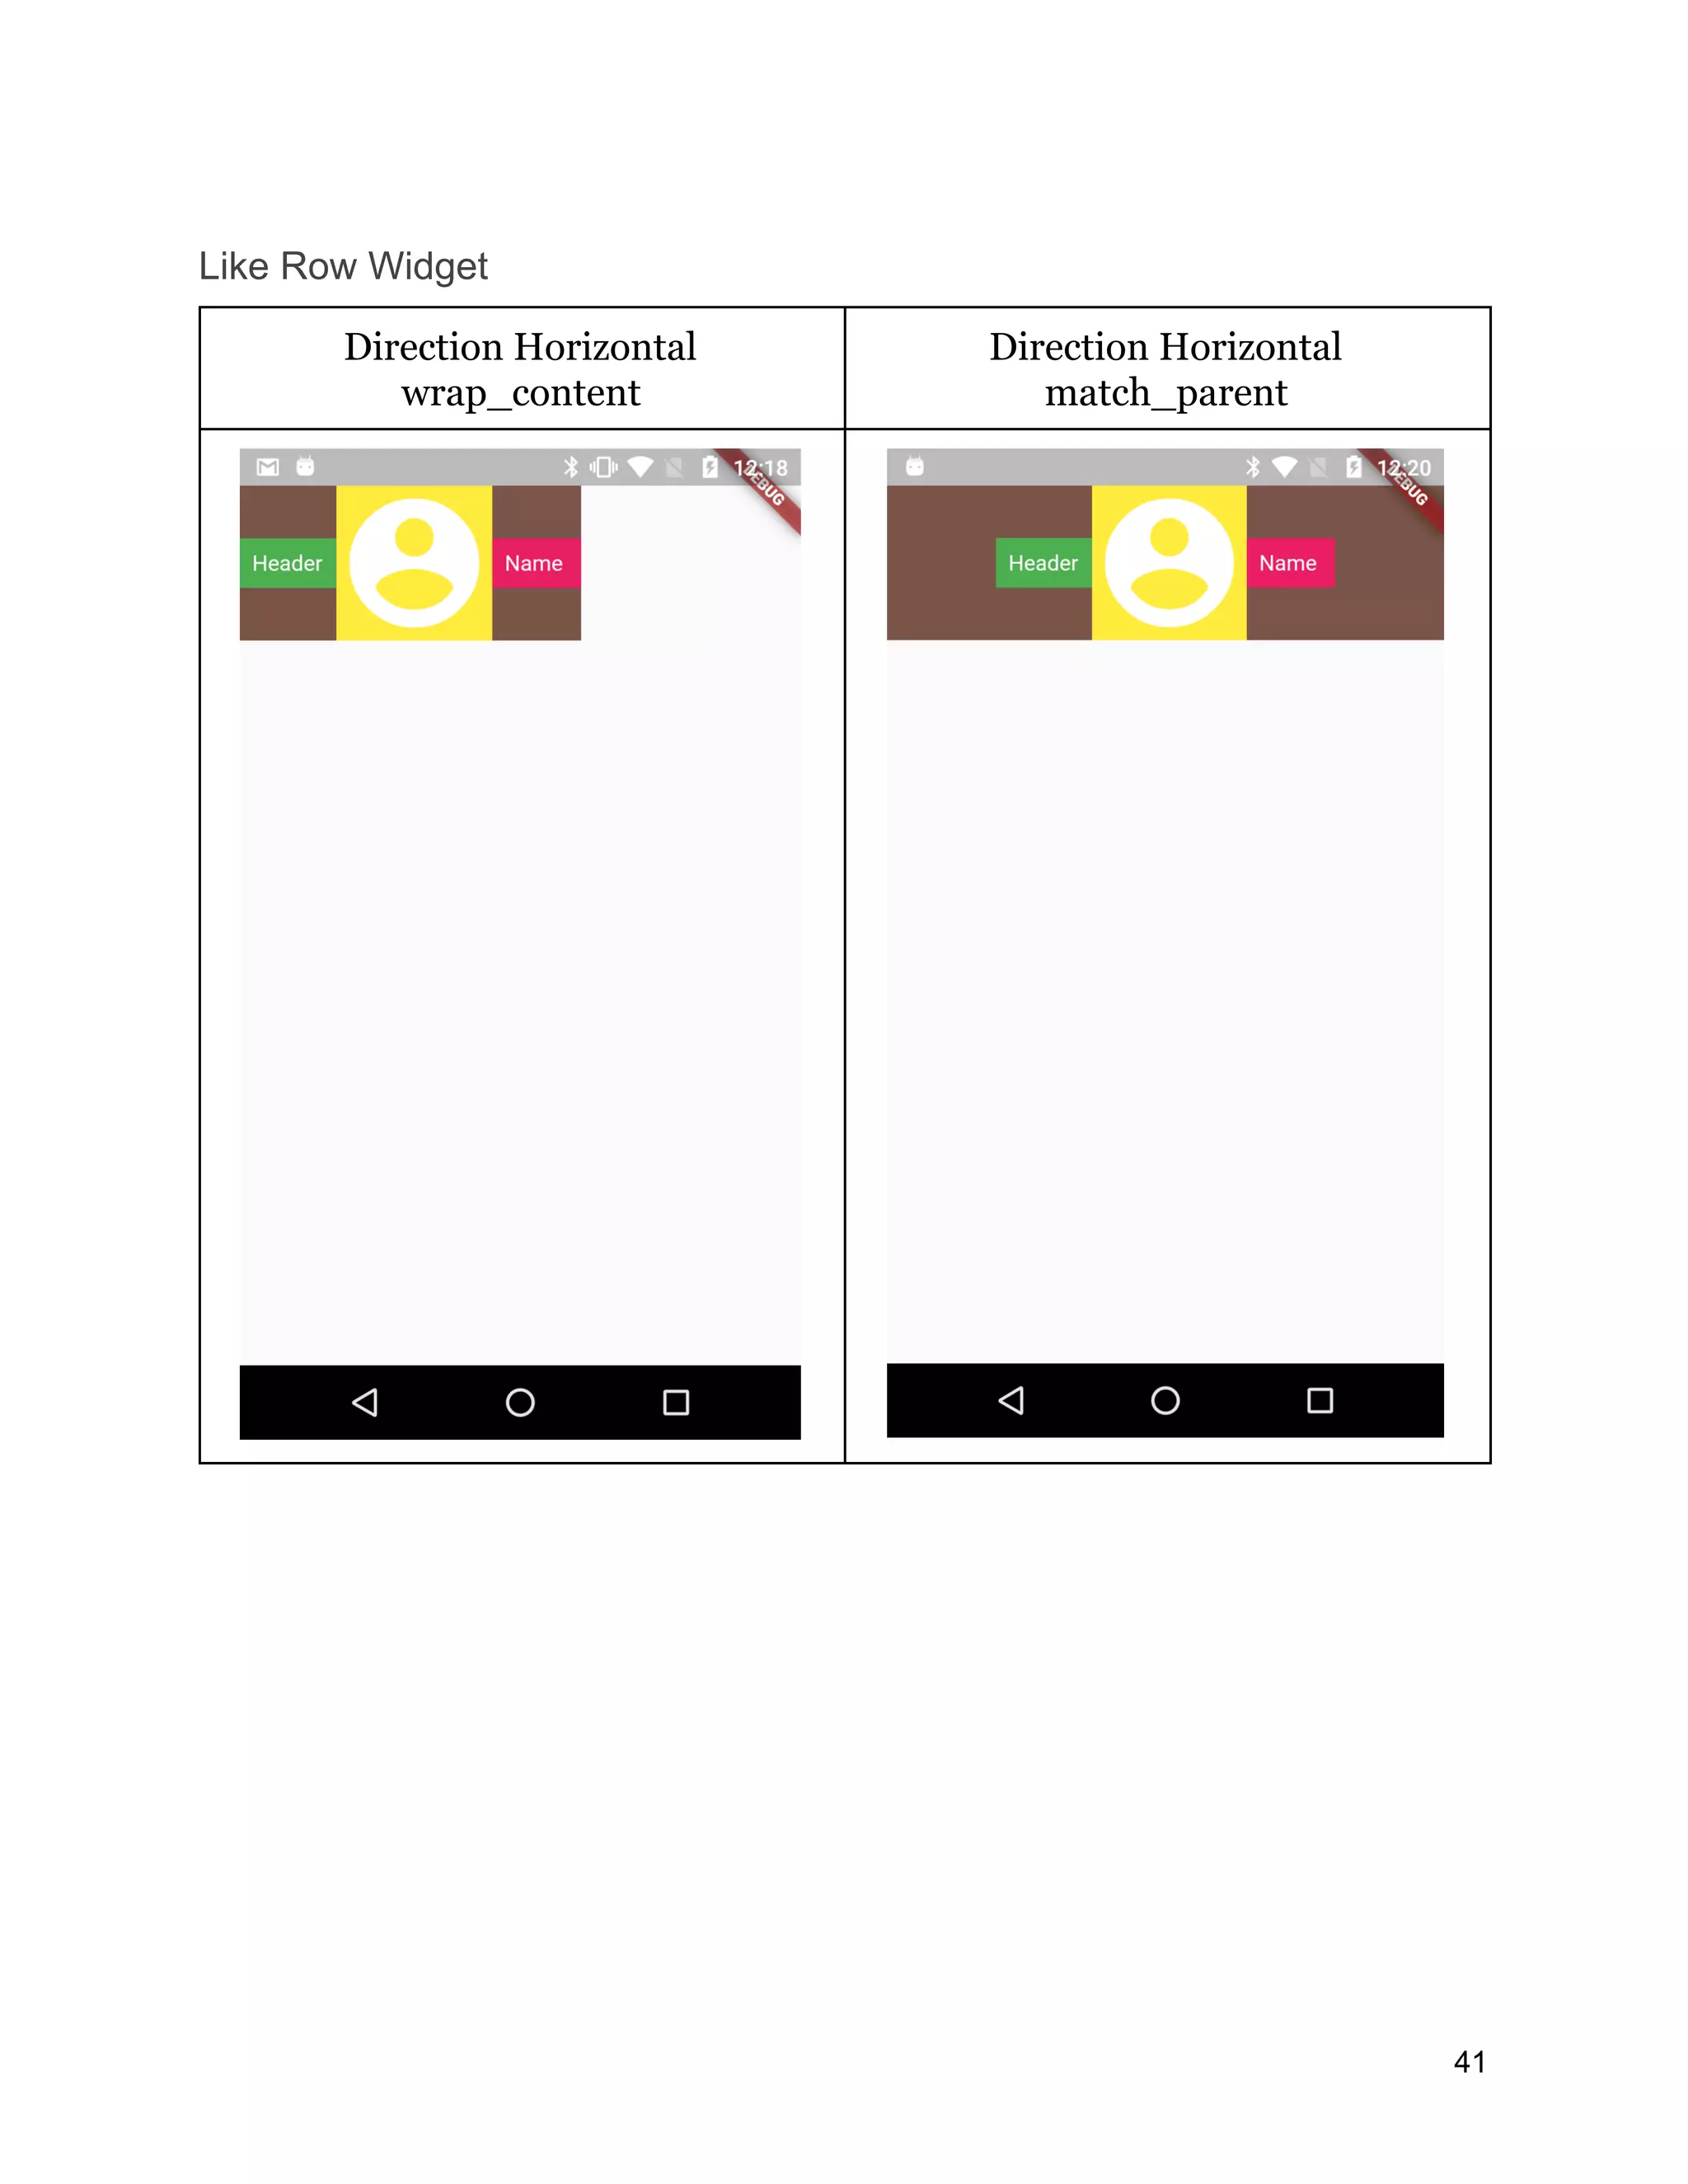
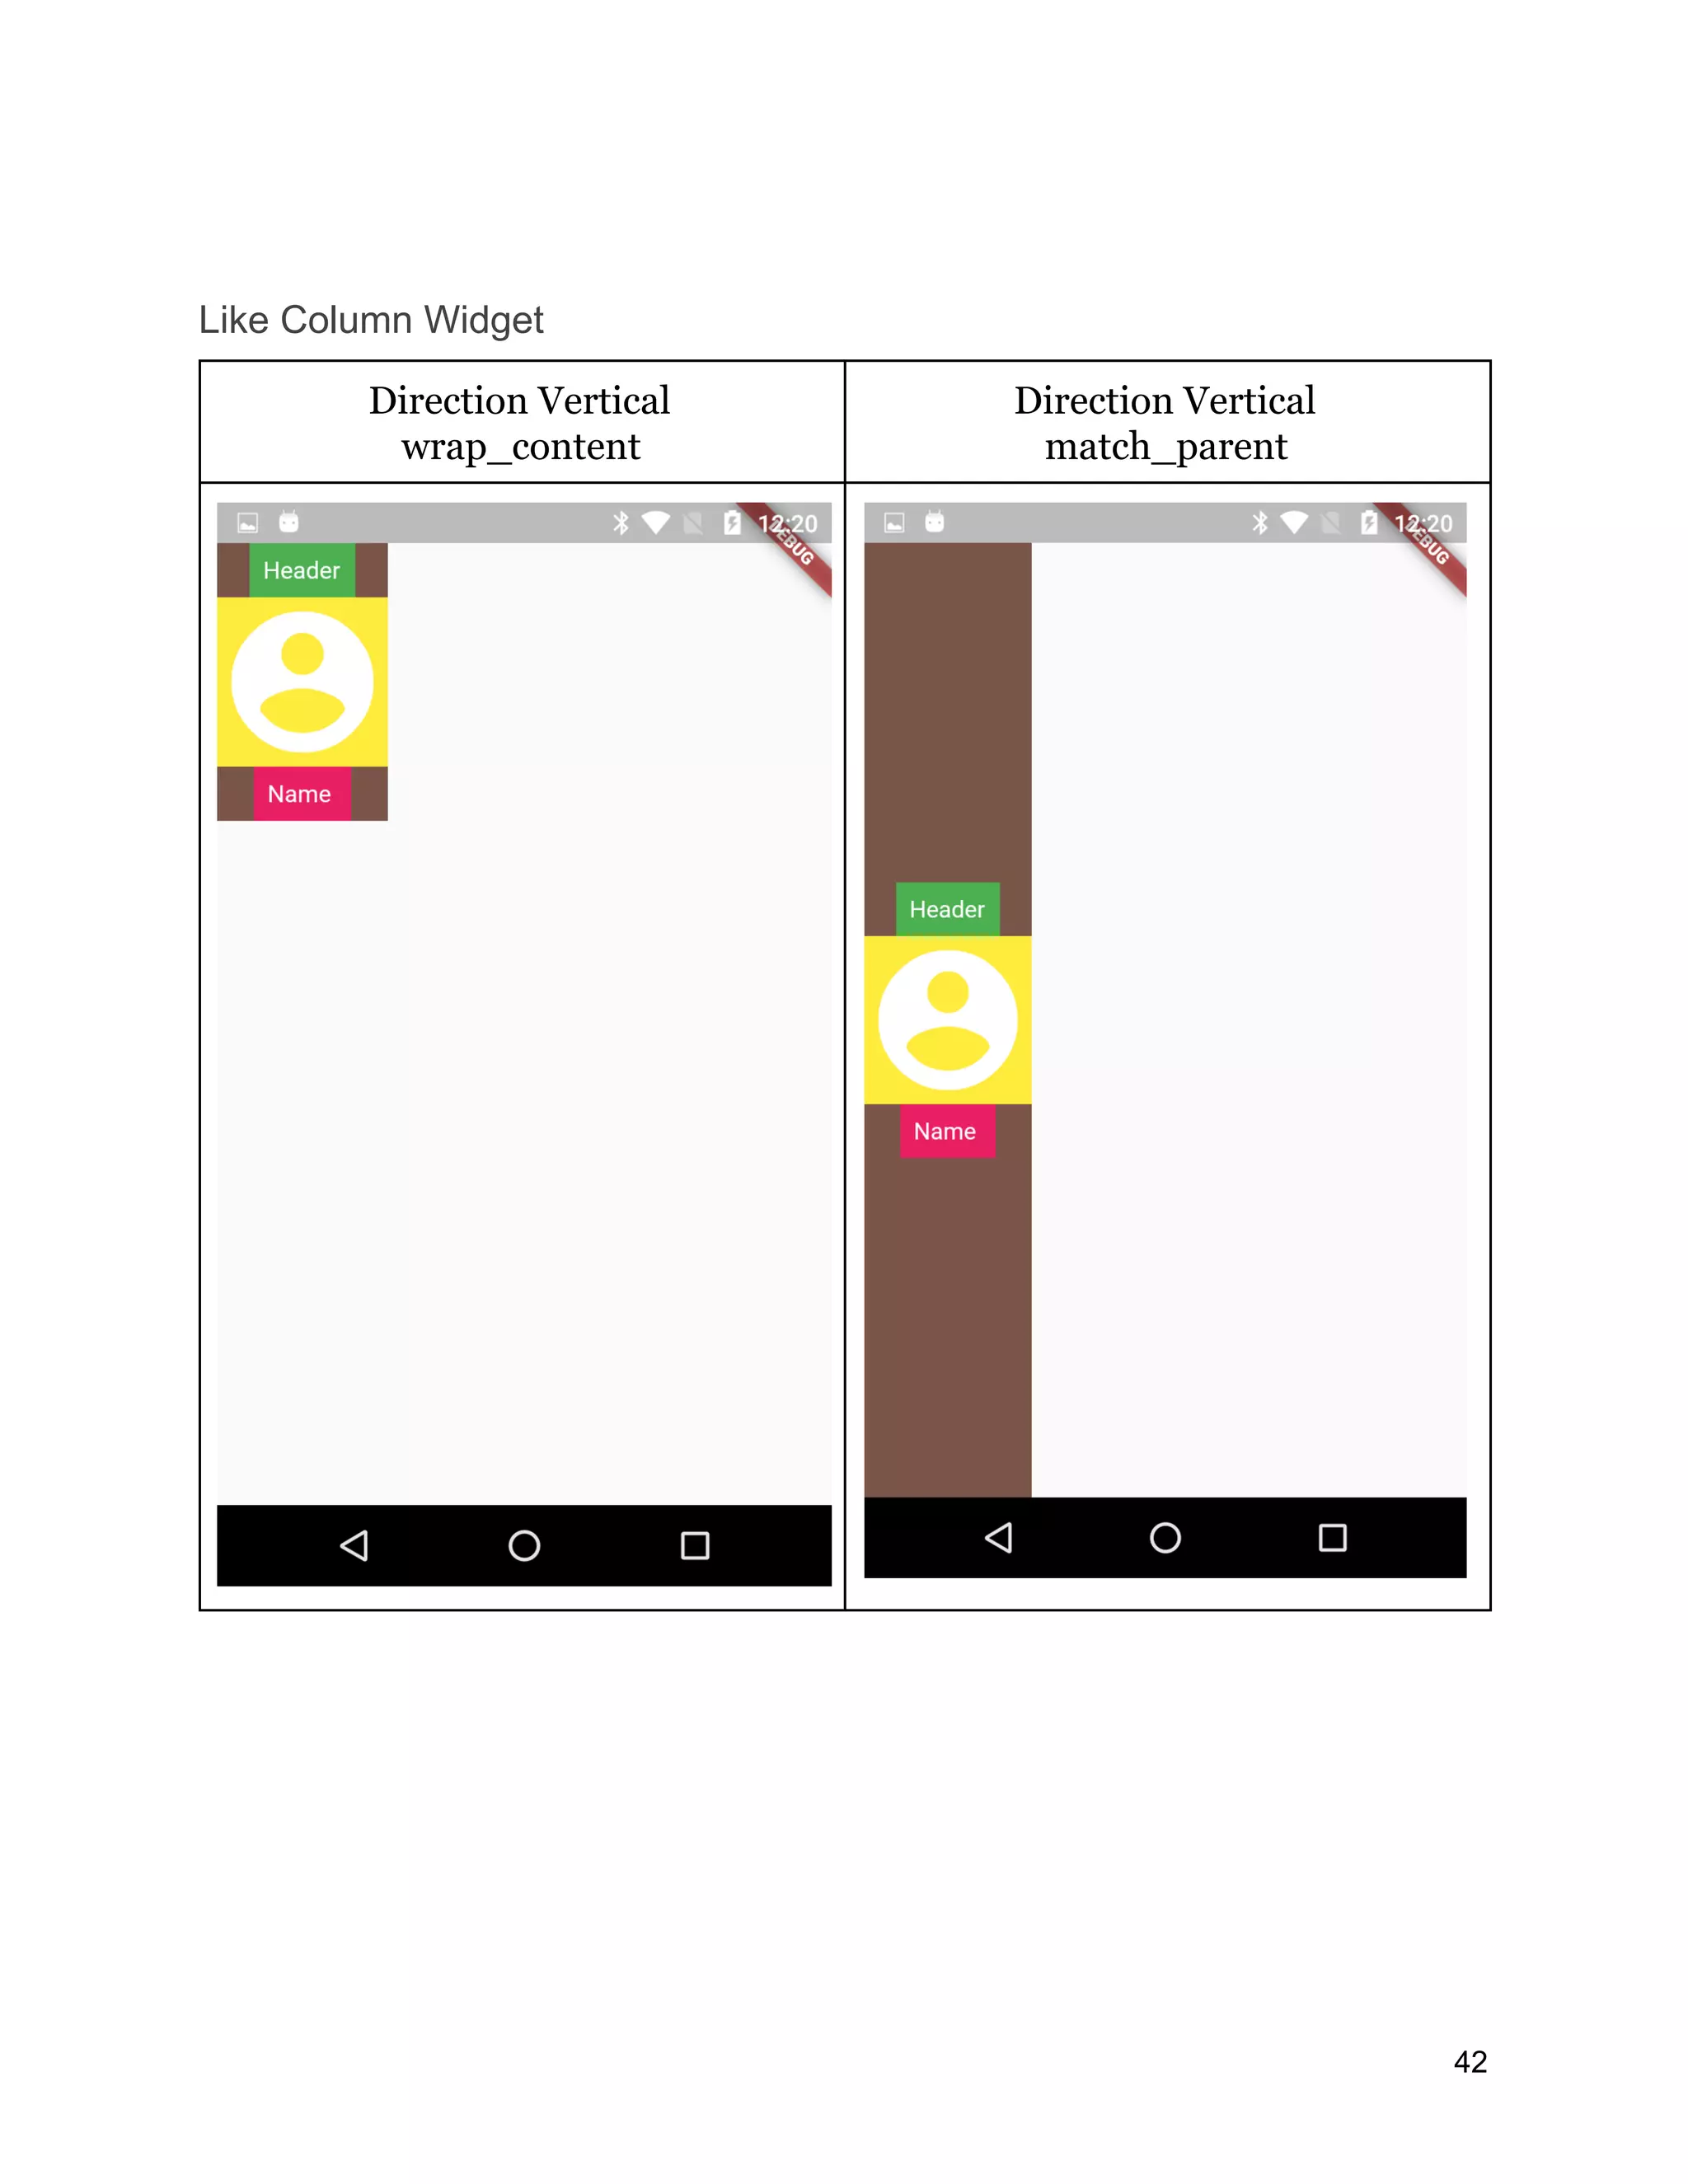
![Weight Property like Android in Flex widget If we add more items inside flex , to fit all these we can use Expandable widget to set each child flex . Flex( direction: Axis.horizontal, mainAxisSize: MainAxisSize.min, mainAxisAlignment: MainAxisAlignment.center, children: <Widget>[ Flexible( flex: 1, child: Container(child: Padding( padding: const EdgeInsets.all(8.0), child: Text("Header",style: TextStyle(color: Colors.white),), ),color: Colors.green,), ), Flexible(flex: 1,child: Container(child: Icon(Icons.account_circle,size: 100,color: Colors.white,),color: Colors.yellow,)), Flexible(flex: 1, child: Container(child: Padding( padding: const EdgeInsets.all(8.0), child: Text("Name ",style: TextStyle(color: Colors.white)), ),color: Colors.pink,), ), ], ) 43](https://image.slidesharecdn.com/fluttertutorial-201008182102/75/Flutter-tutorial-for-Beginner-Step-by-Step-43-2048.jpg)
![Listview If we have more items to make them scrollable if the screen of the user device is smaller than the content of the control. In Flutter, the easiest way is to use ListView Here simple listview example class ListViewWidget extends StatefulWidget { ListViewWidget({Key key}) : super(key: key); @override ListViewWidgetState createState() => ListViewWidgetState(); } class ListViewWidgetState extends State<ListViewWidget> { @override Widget build(BuildContext context) { return MaterialApp( home: Scaffold( appBar: AppBar( backgroundColor: Colors.pink, title: Text("Listview"), ), body: _getListData(), ), ); } _getListData() { List<Widget> widgets = []; for (int i = 0; i < 100; i++) { widgets.add( Card( margin: EdgeInsets.all(5), 44](https://image.slidesharecdn.com/fluttertutorial-201008182102/75/Flutter-tutorial-for-Beginner-Step-by-Step-44-2048.jpg)
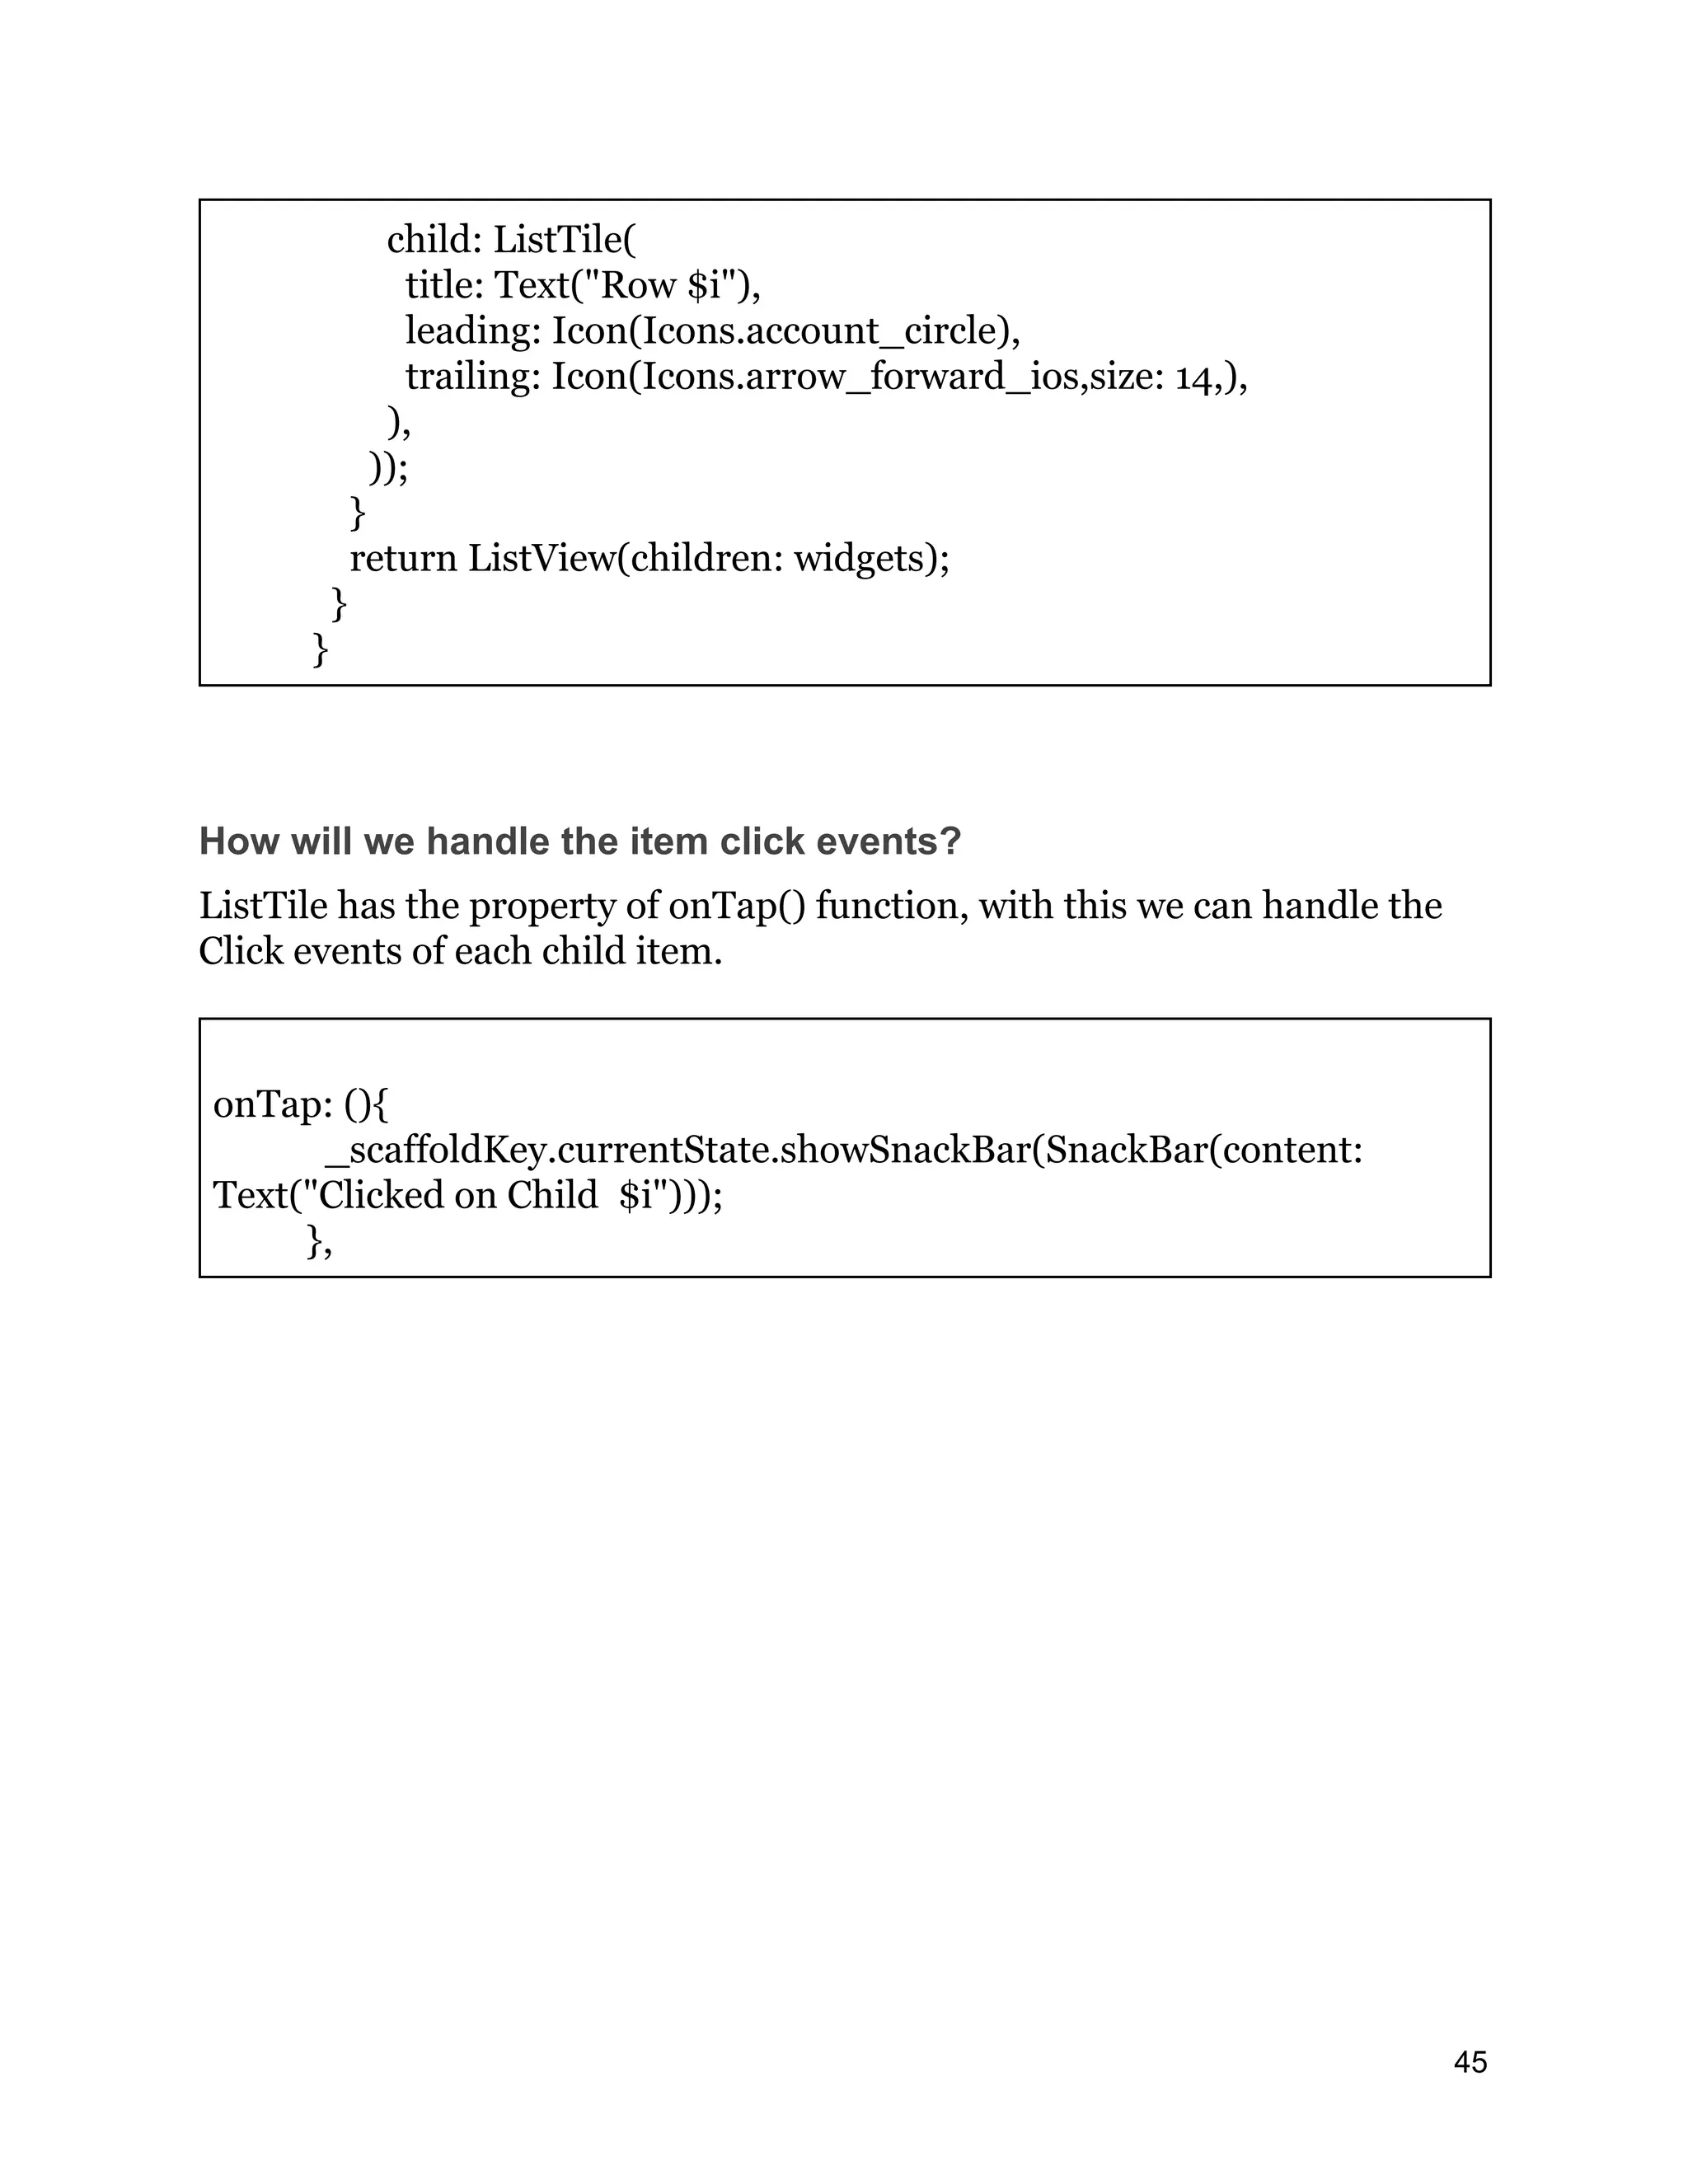
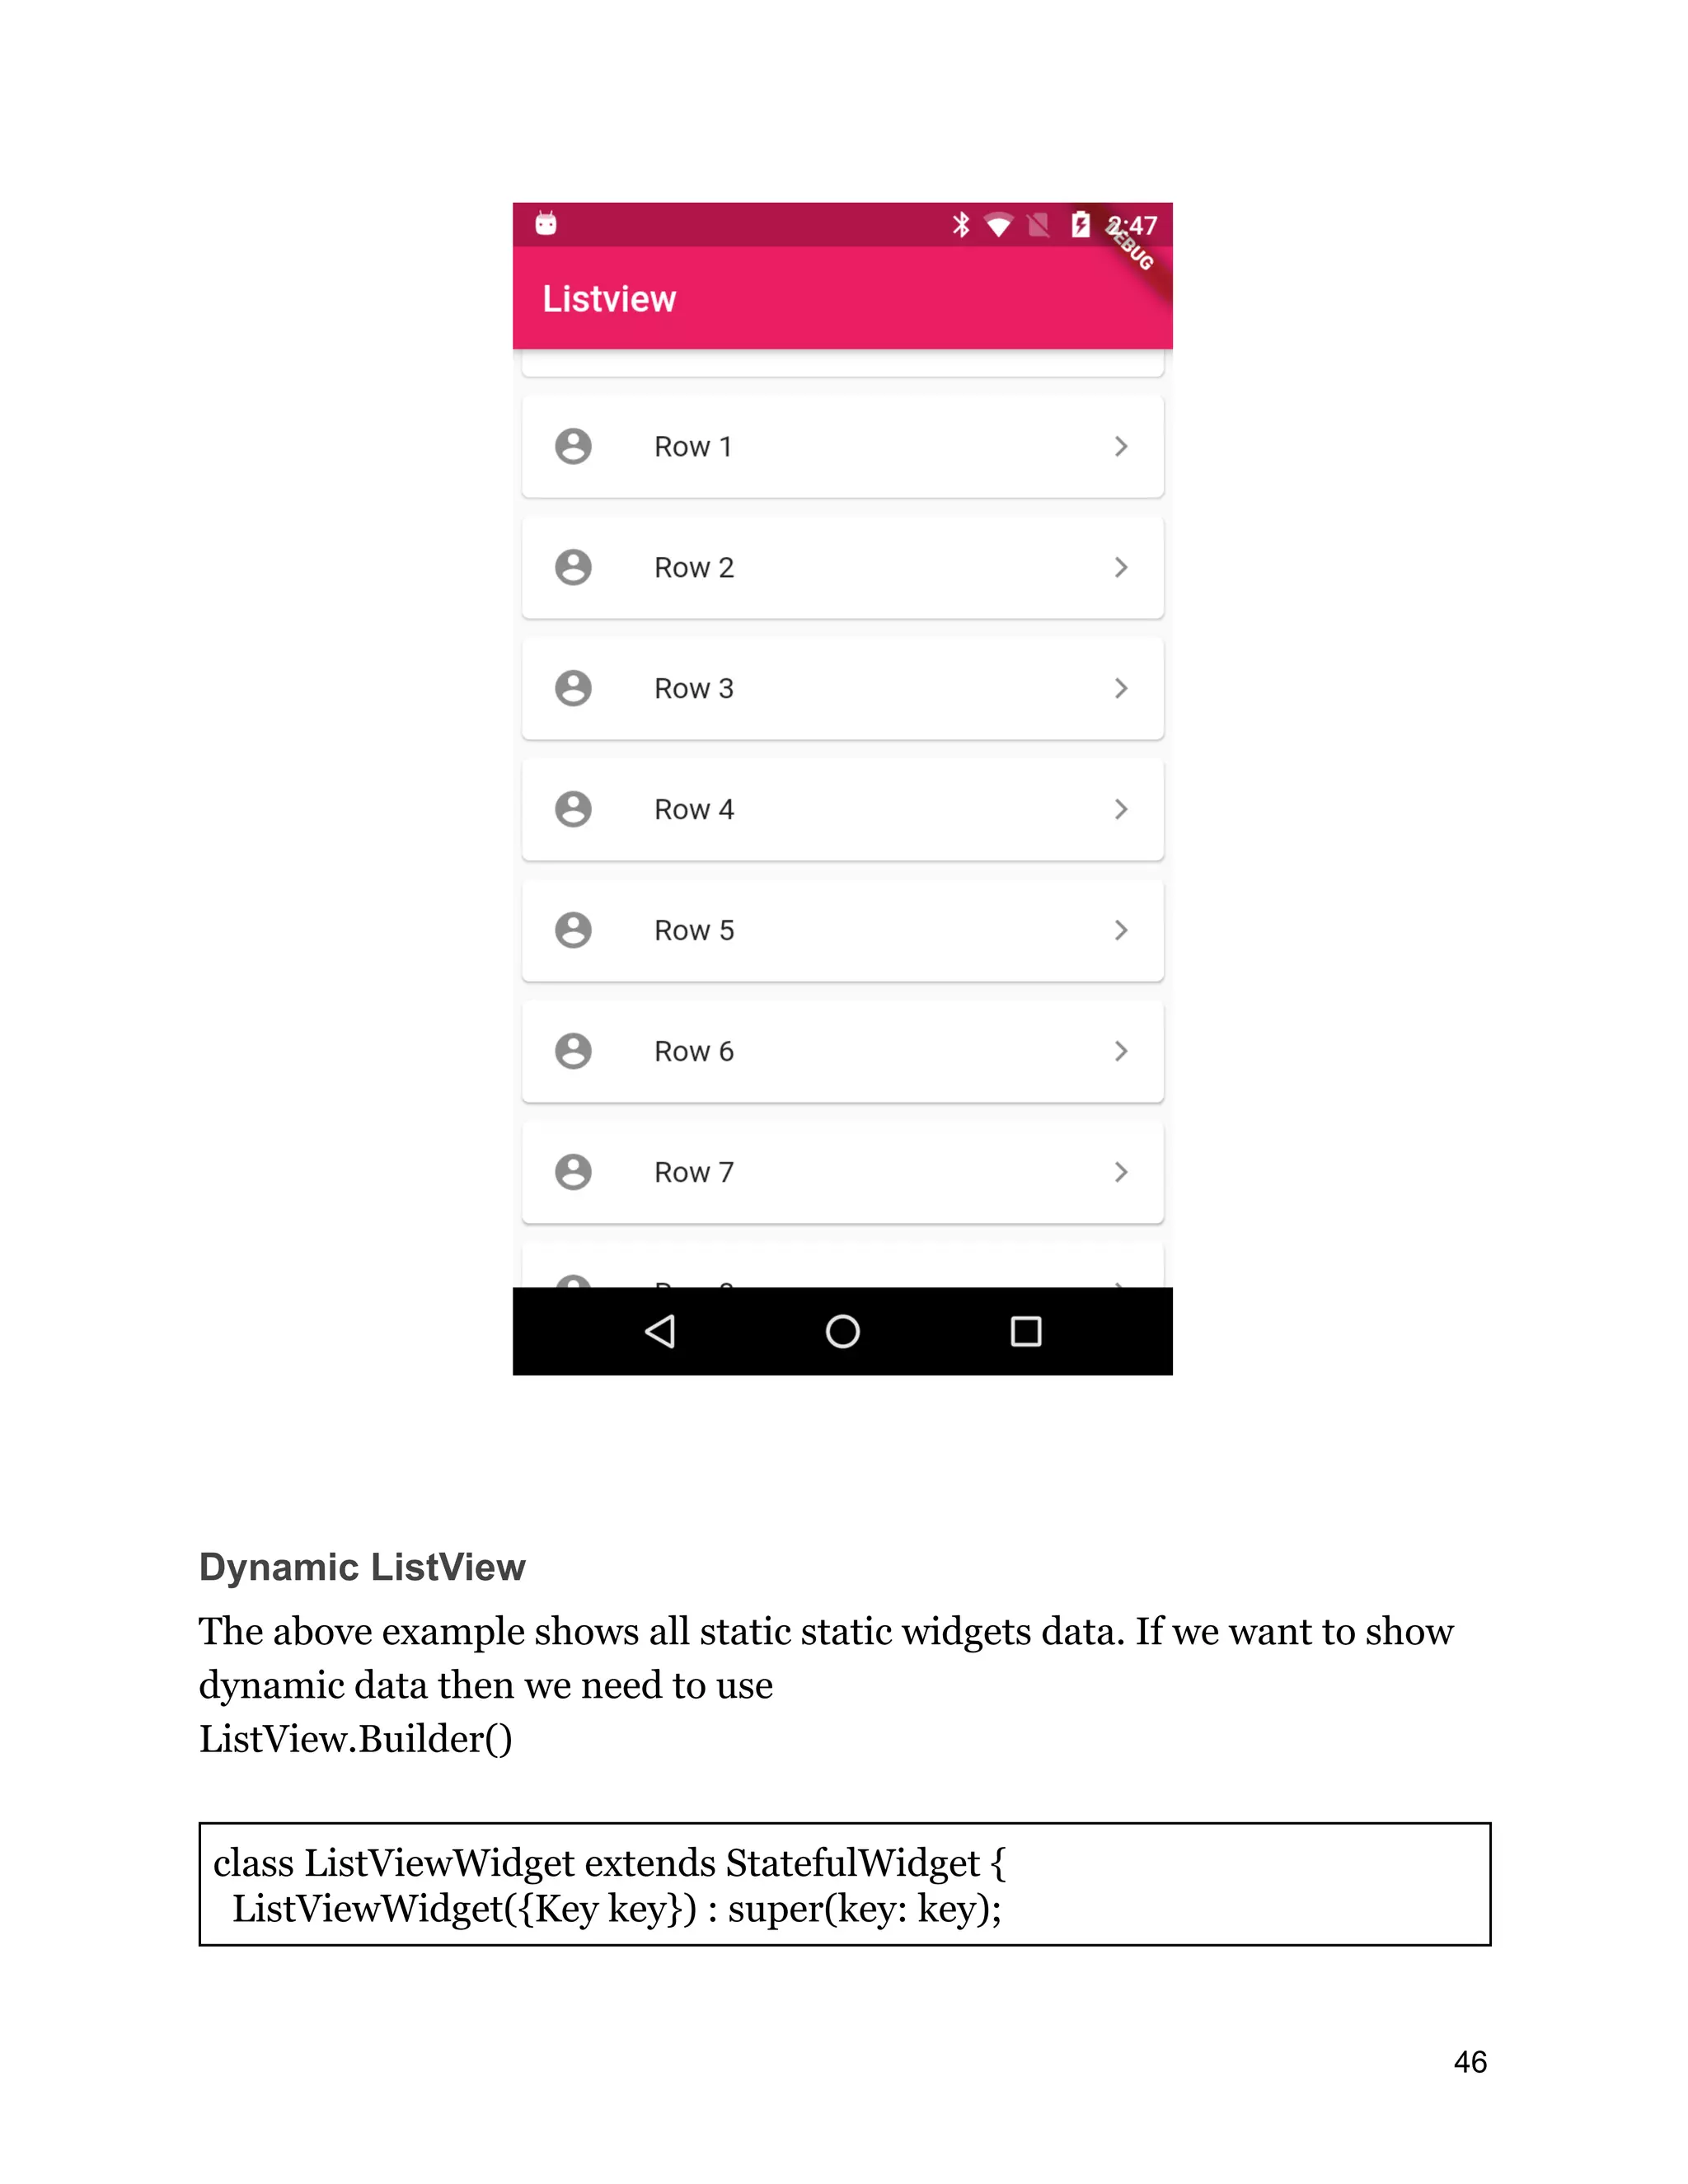
![@override ListViewWidgetState createState() => ListViewWidgetState(); } class ListViewWidgetState extends State<ListViewWidget> { @override Widget build(BuildContext context) { return MaterialApp( home: Scaffold( appBar: AppBar( backgroundColor: Colors.pink, title: Text("Listview"), ), body: _getDynamicList(), ), ); } _getDynamicList() { var countries = ['Albania', 'Andorra', 'Armenia', 'Austria', 'Azerbaijan', 'Belarus', 'Belgium', 'Bosnia and Herzegovina', 'Bulgaria', 'Croatia', 'Cyprus', 'Czech Republic', 'Denmark', 'Estonia', 'Finland', 'France', 'Georgia', 'Germany', 'Greece', 'Hungary', 'Iceland', 'Ireland', 'Italy', 'Kazakhstan', 'Kosovo', 'Latvia', 'Liechtenstein', 'Lithuania', 'Luxembourg', 'Macedonia', 'Malta', 'Moldova', 'Monaco', 'Montenegro', 'Netherlands', 'Norway', 'Poland', 'Portugal', 'Romania', 'Russia', 'San Marino', 'Serbia', 'Slovakia', 'Slovenia', 'Spain', 'Sweden', 'Switzerland', 'Turkey', 'Ukraine', 'United Kingdom', 'Vatican City']; return ListView.builder( itemCount: countries.length, itemBuilder: (ctx,index){ return ListTile( onTap: (){ _scaffoldKey.currentState.showSnackBar(SnackBar(content: Text("Clicked on Country ${countries[index]}"))); 47](https://image.slidesharecdn.com/fluttertutorial-201008182102/75/Flutter-tutorial-for-Beginner-Step-by-Step-47-2048.jpg)
![}, title: Text(countries[index]), leading: Icon(Icons.flag), trailing: Icon(Icons.arrow_forward_ios,size: 14,), ); }); } } Listview.separated class ListViewBuilderWidget extends StatefulWidget{ @override 48](https://image.slidesharecdn.com/fluttertutorial-201008182102/75/Flutter-tutorial-for-Beginner-Step-by-Step-48-2048.jpg)
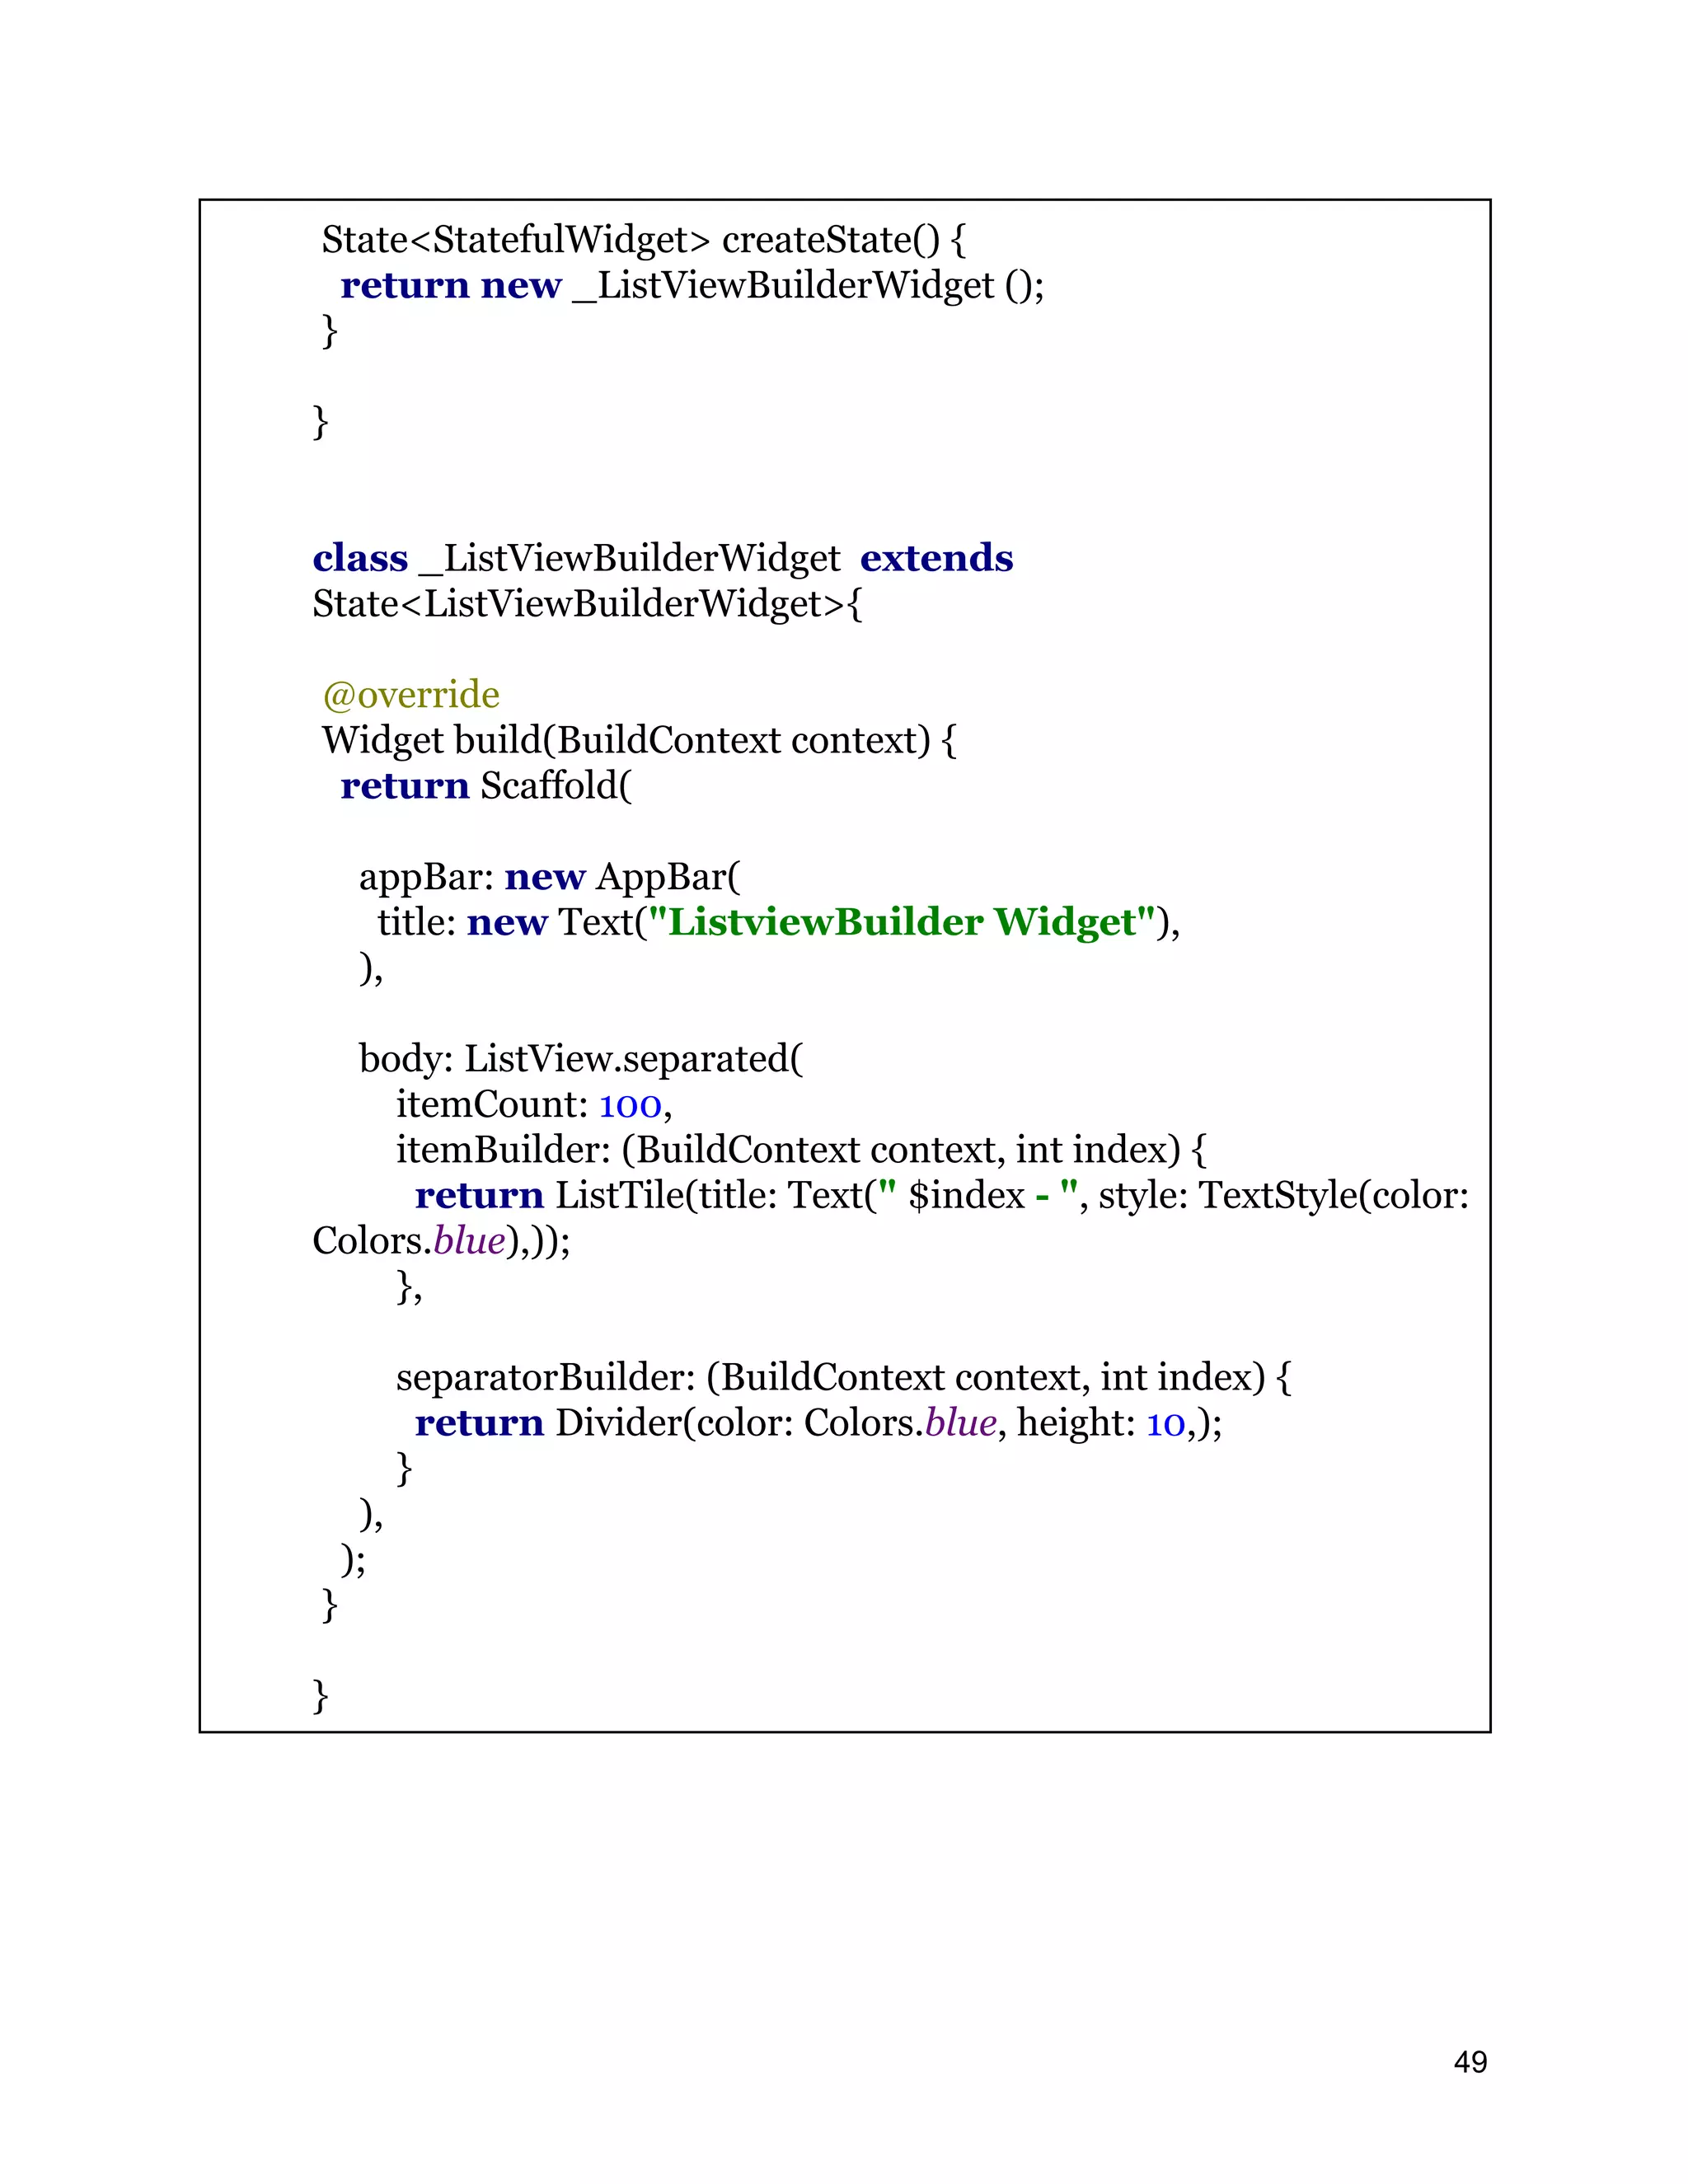
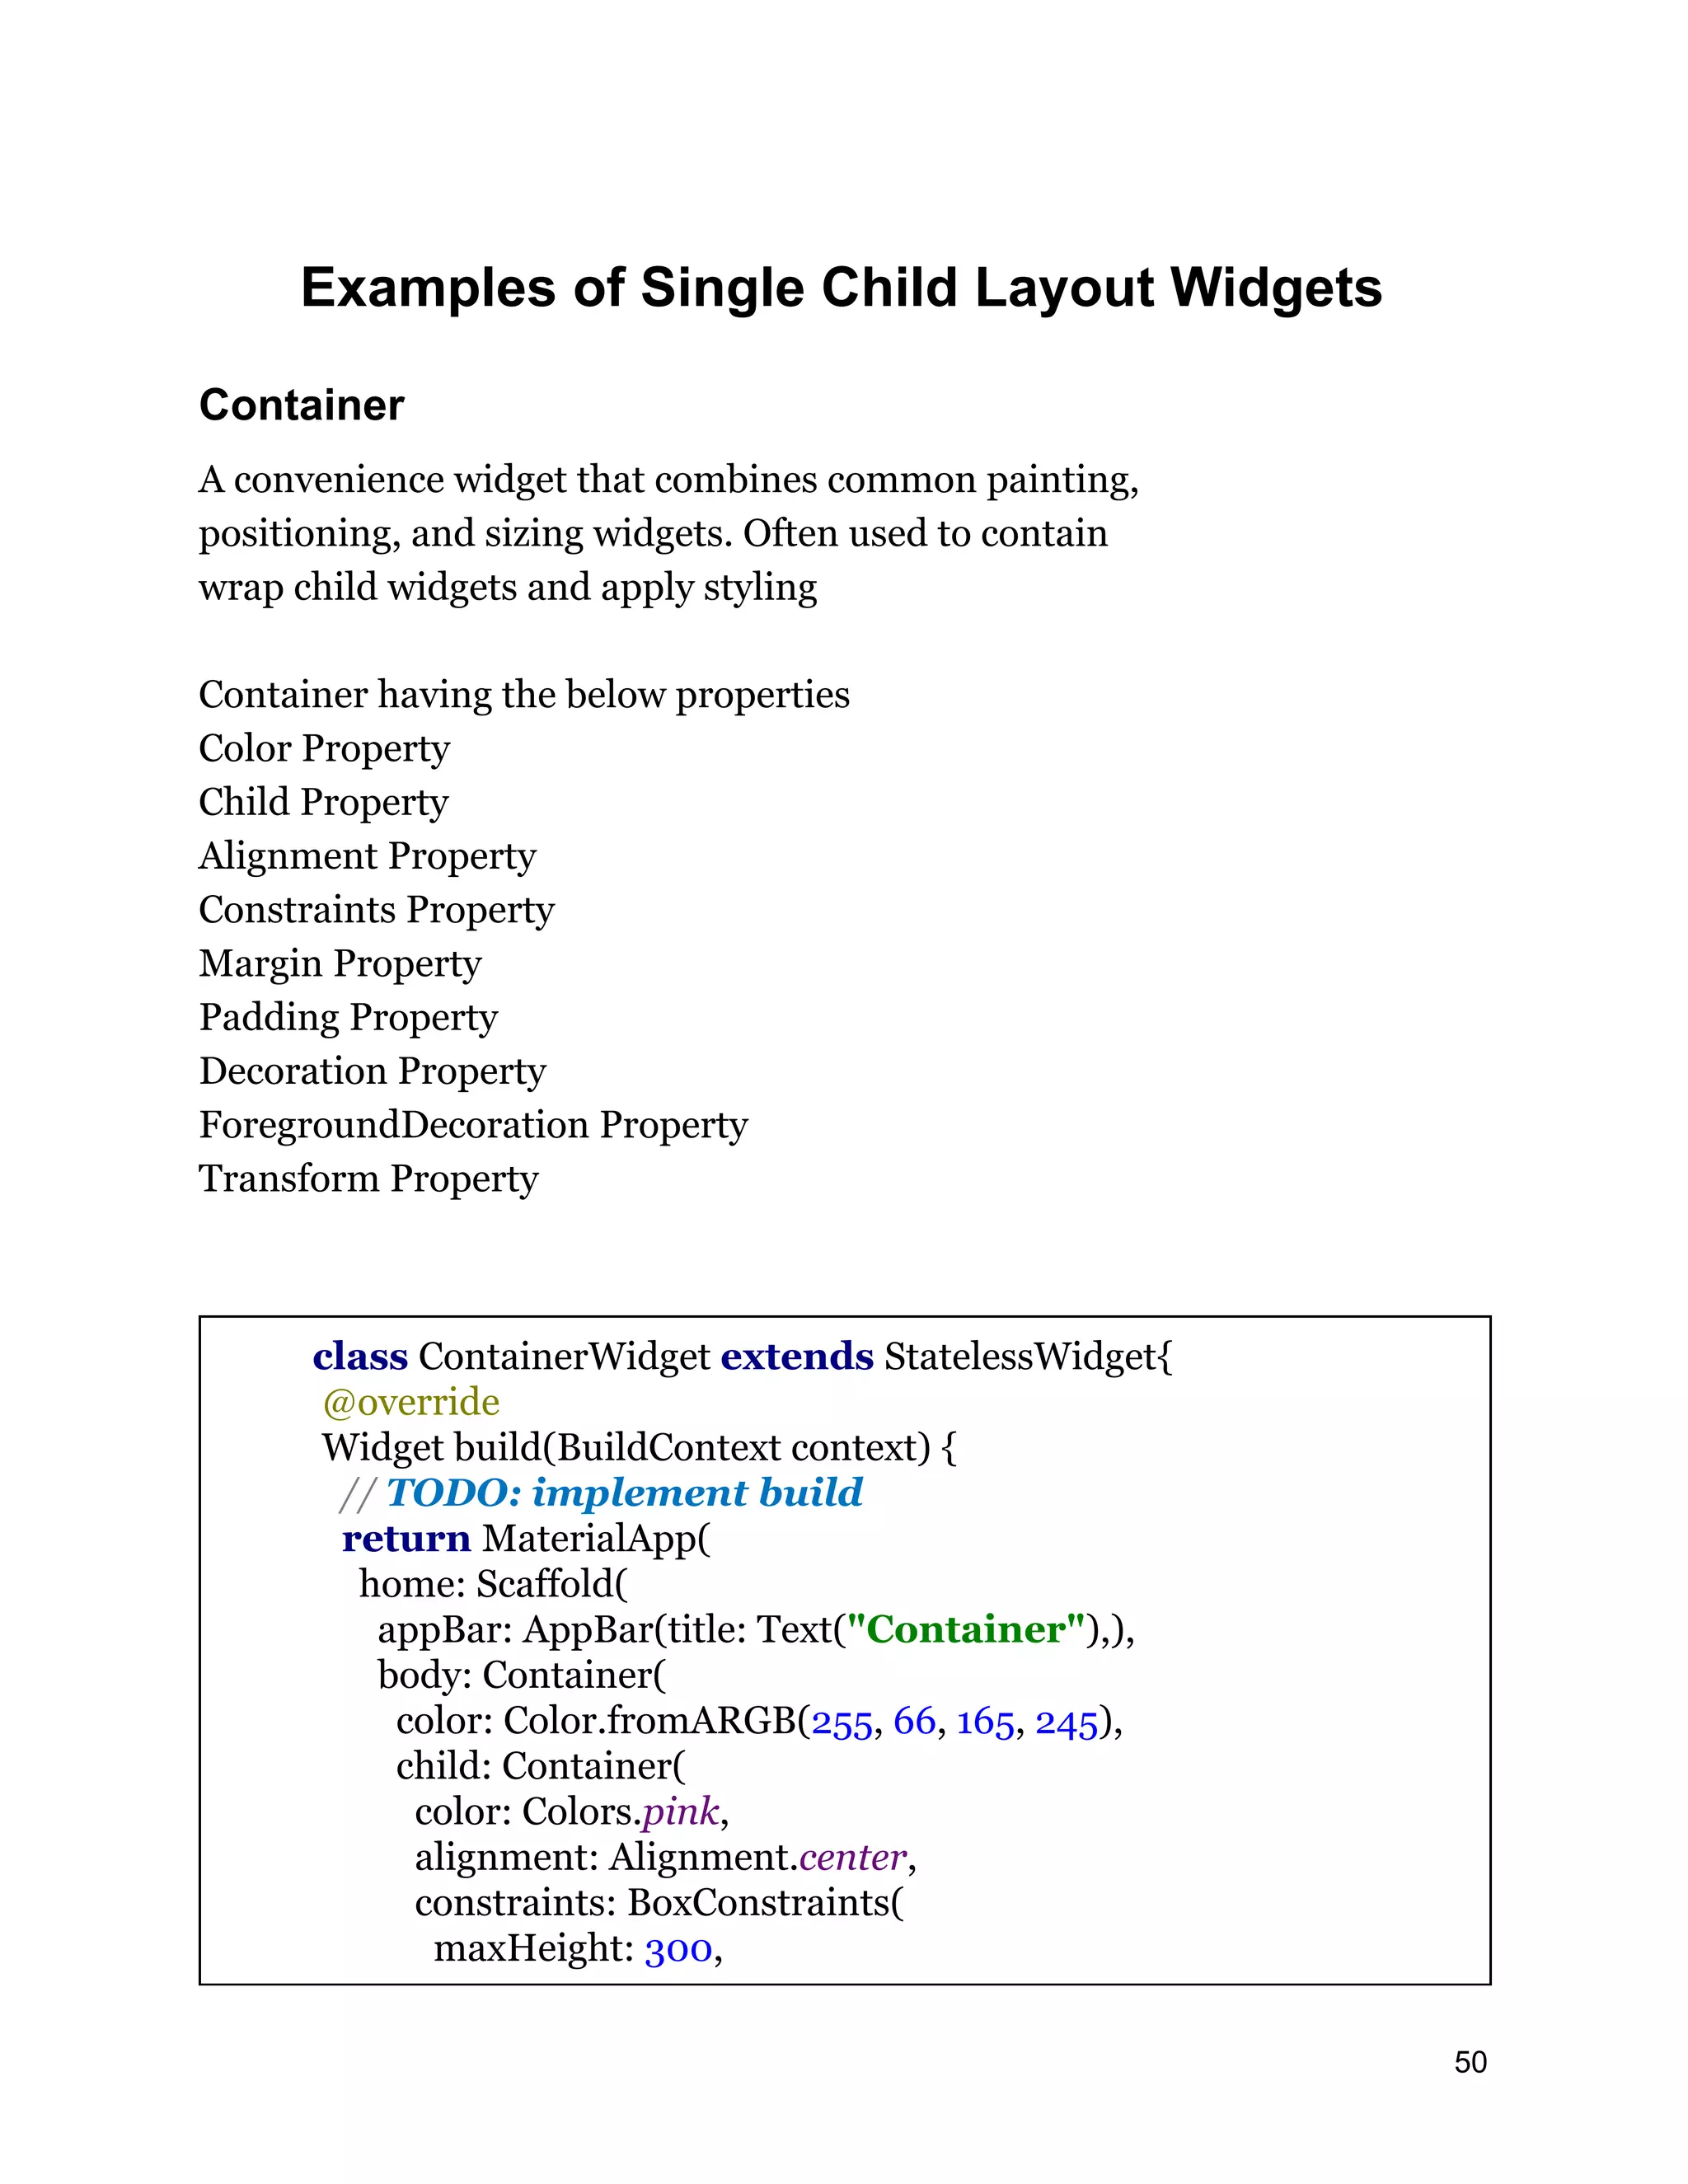
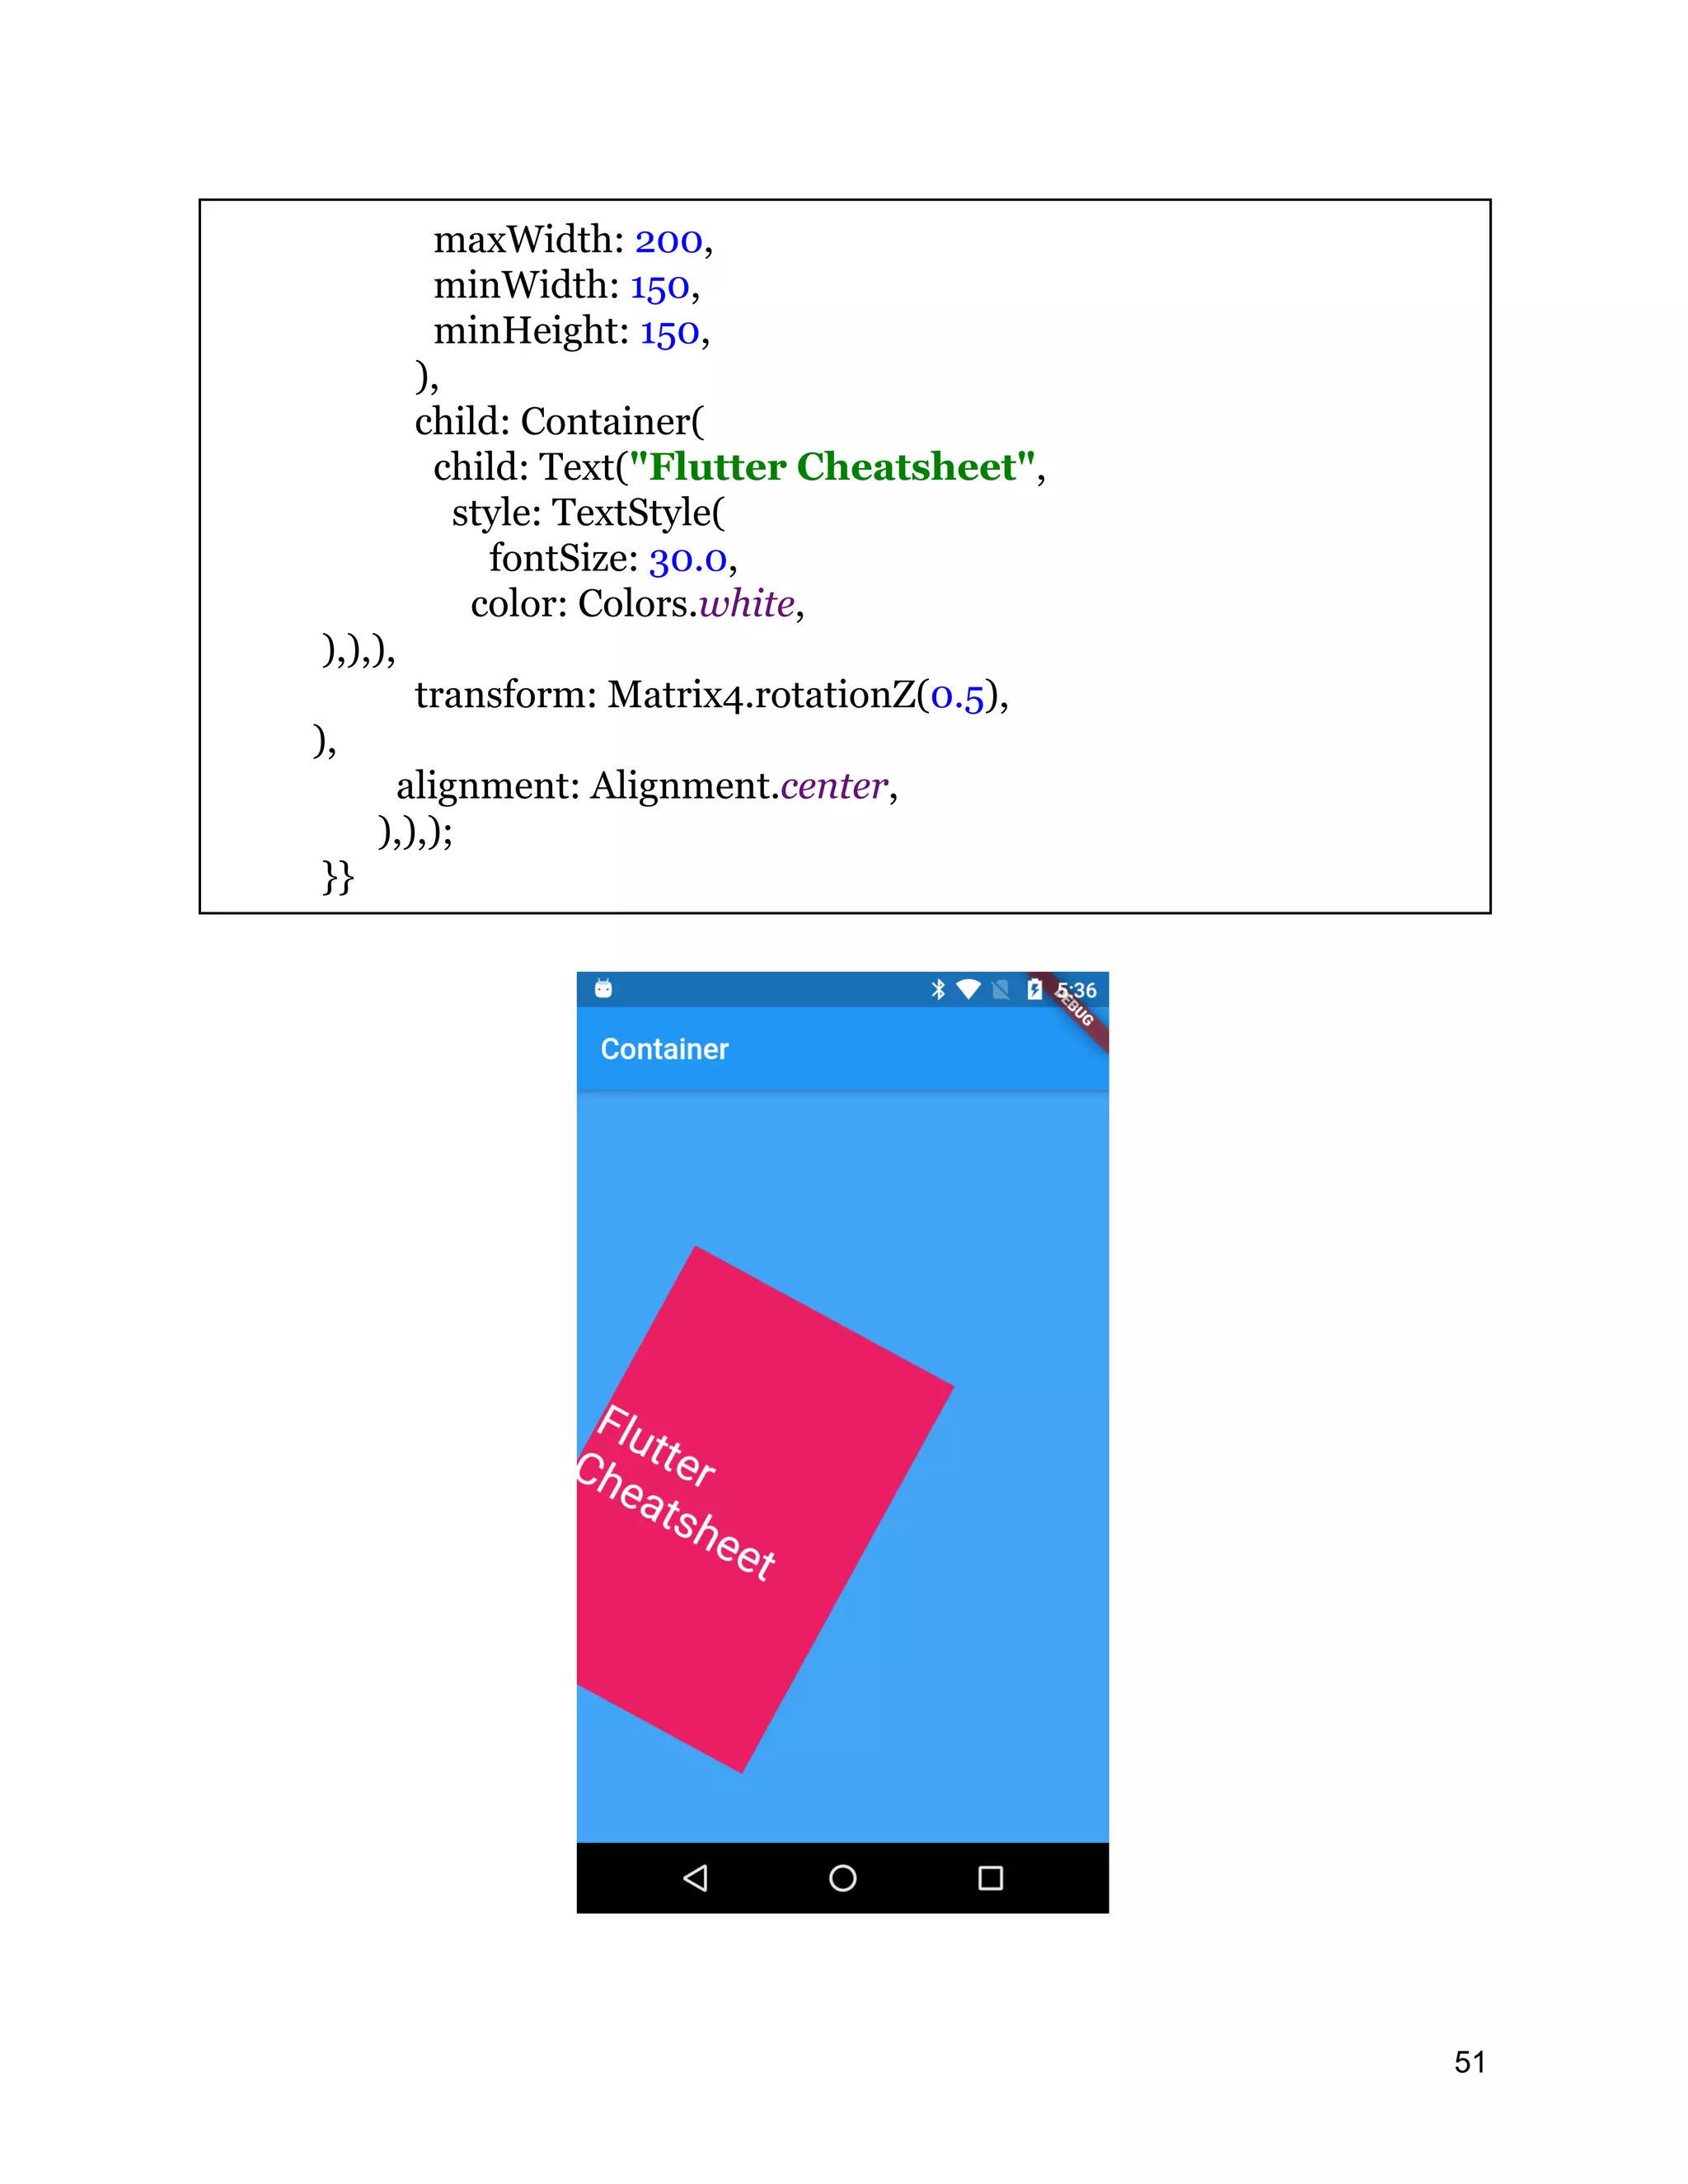
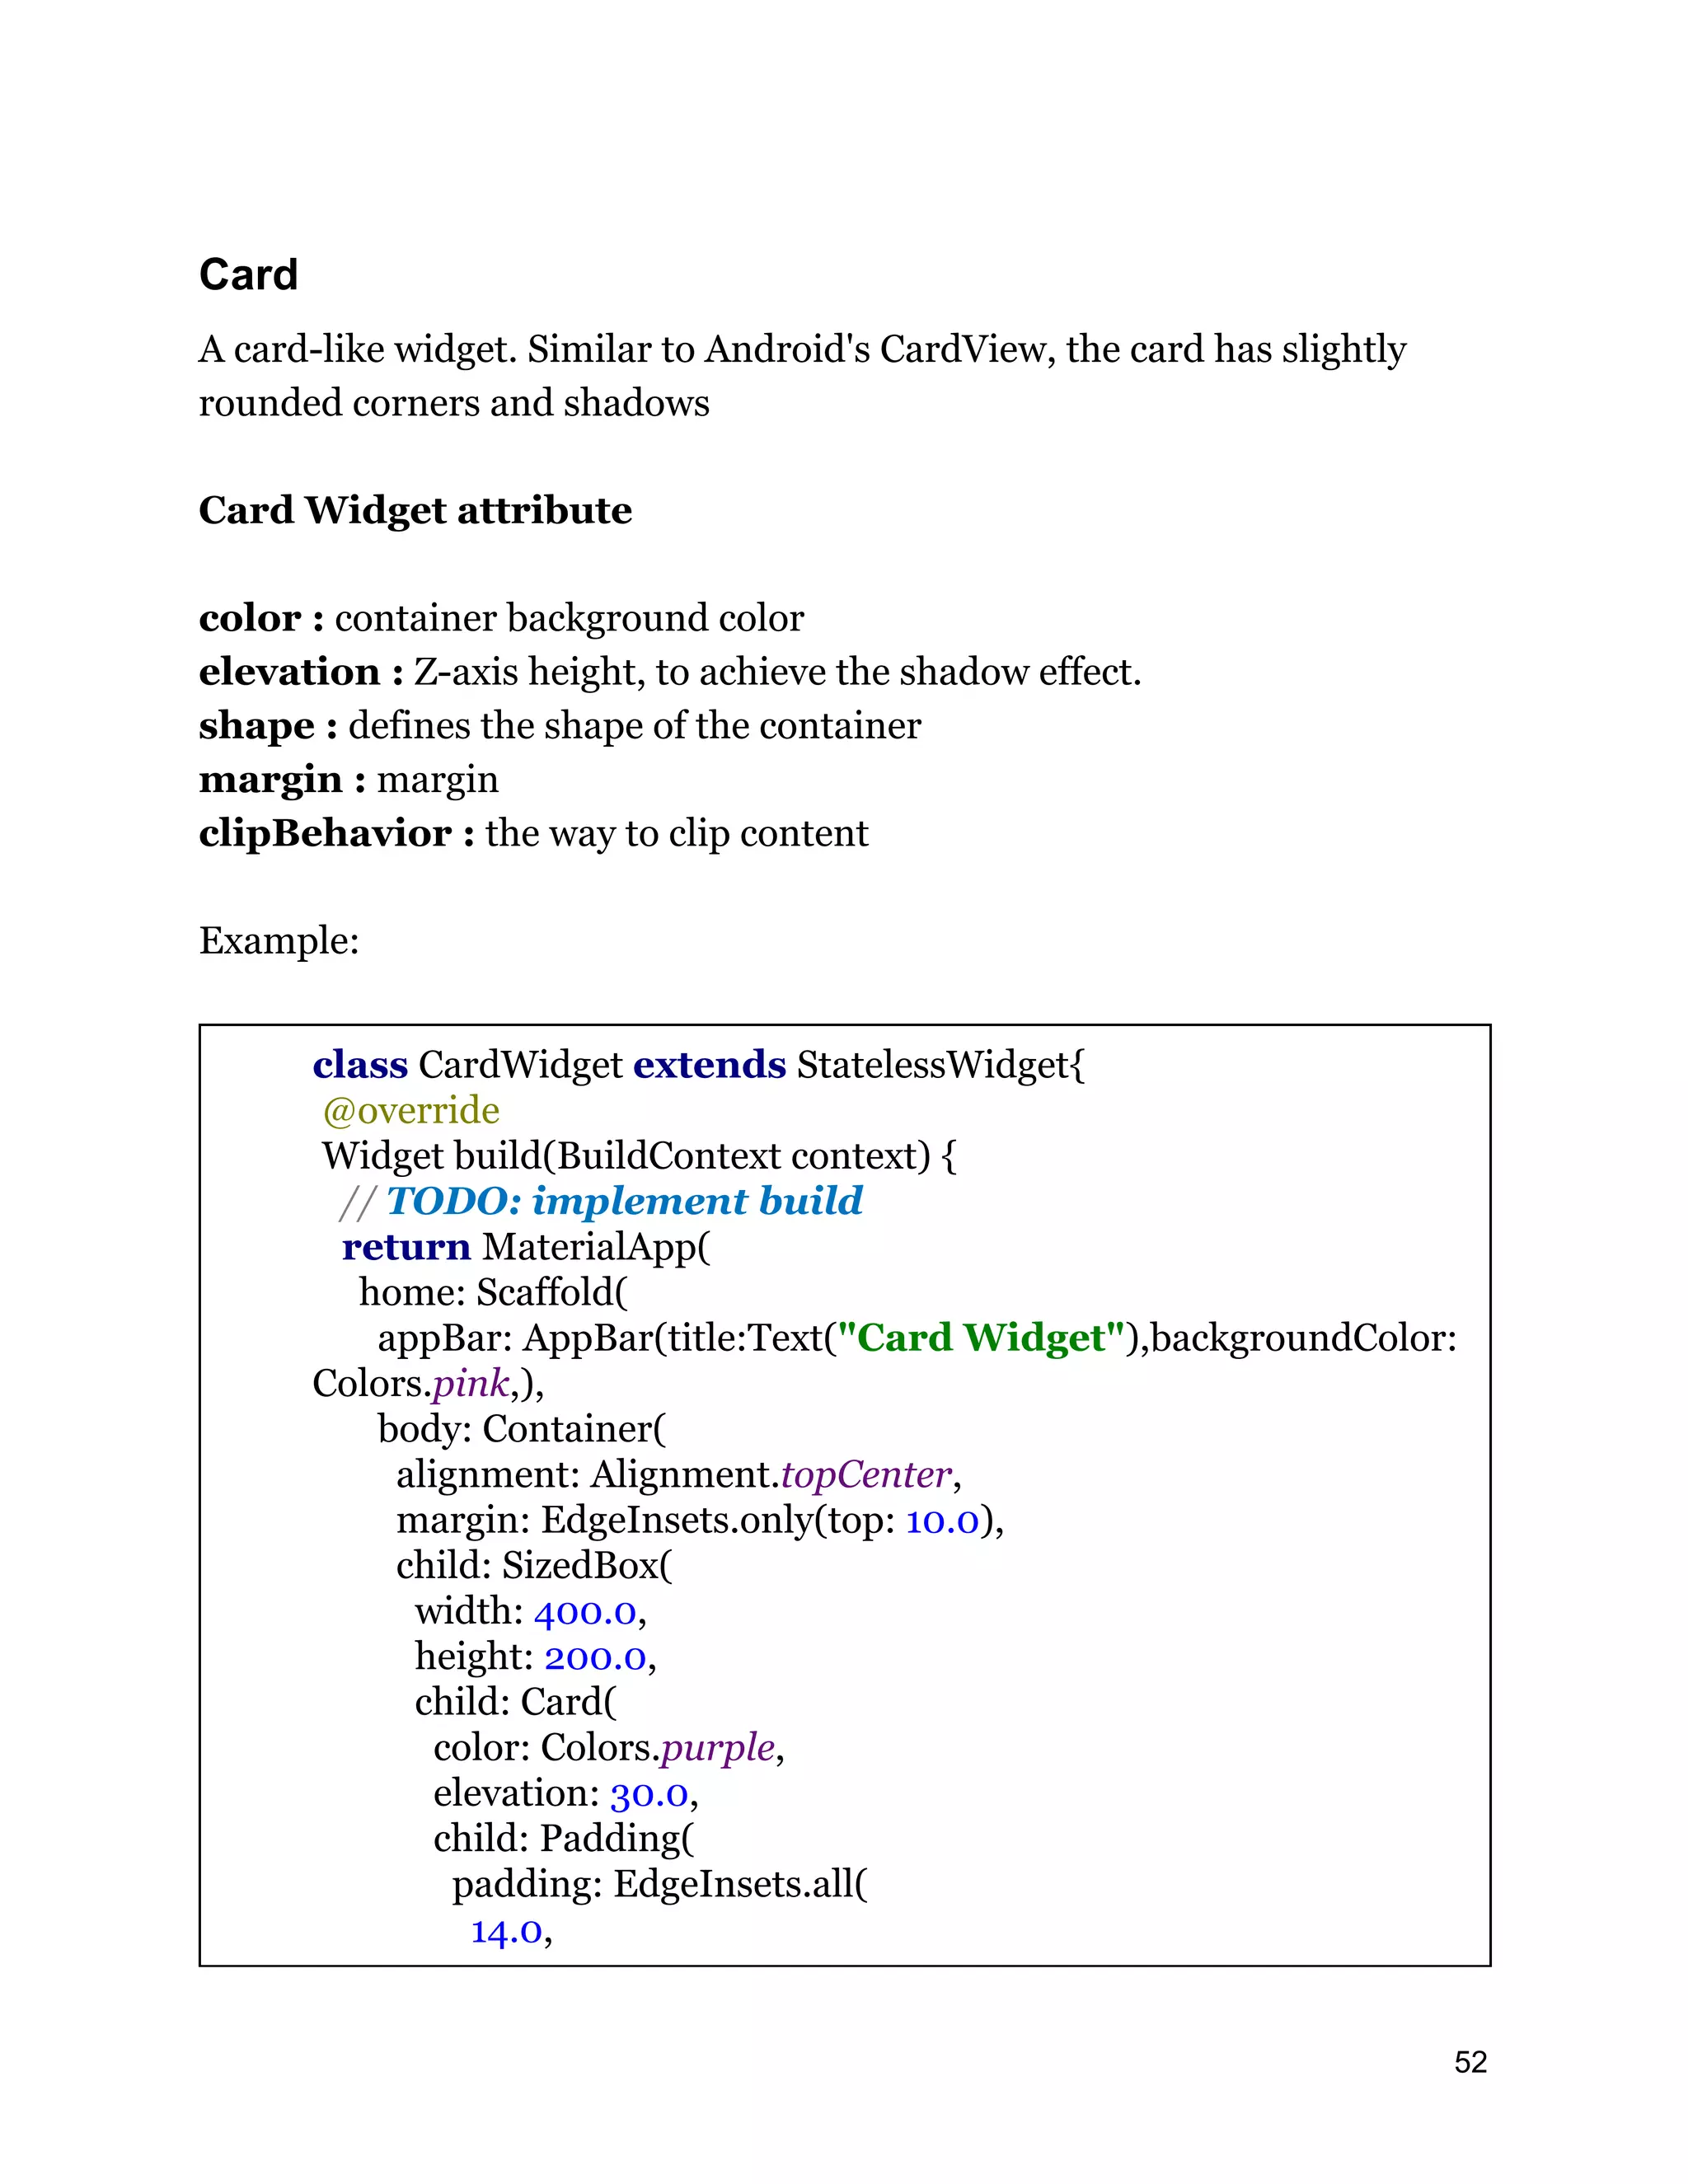
![), child: Column( children: <Widget>[ Row( children: <Widget>[ CircleAvatar( backgroundImage: NetworkImage( "https://cdn.pixabay.com/photo/2016/10/17/17/41/priyan ka-chopra-1748248_960_720.jpg"), radius: 24.0, ), Container( margin: EdgeInsets.only(left: 10.0), child: Text( "Text", style: TextStyle(color: Colors.white, fontSize: 20.0), ), ), ], ), Container( margin: EdgeInsets.only(top: 30.0), child: Text( "Never Stop Thinking...", style: TextStyle(color: Colors.white, fontSize: 30.0), ), ), Container( alignment: Alignment.bottomRight, margin: EdgeInsets.only(top: 30.0), child: Text( "2020-01-10 15:47:35", style: TextStyle(color: Colors.white, fontSize: 14.0), ), ), 53](https://image.slidesharecdn.com/fluttertutorial-201008182102/75/Flutter-tutorial-for-Beginner-Step-by-Step-53-2048.jpg)
![], ), ), ), ), ), ), ); } } Expanded The Expanded component allows Row, Column, Flex and other sub-components to expand in the direction of their main axis and fill the available space. Similar usage of widget properties in Android 54](https://image.slidesharecdn.com/fluttertutorial-201008182102/75/Flutter-tutorial-for-Beginner-Step-by-Step-54-2048.jpg)
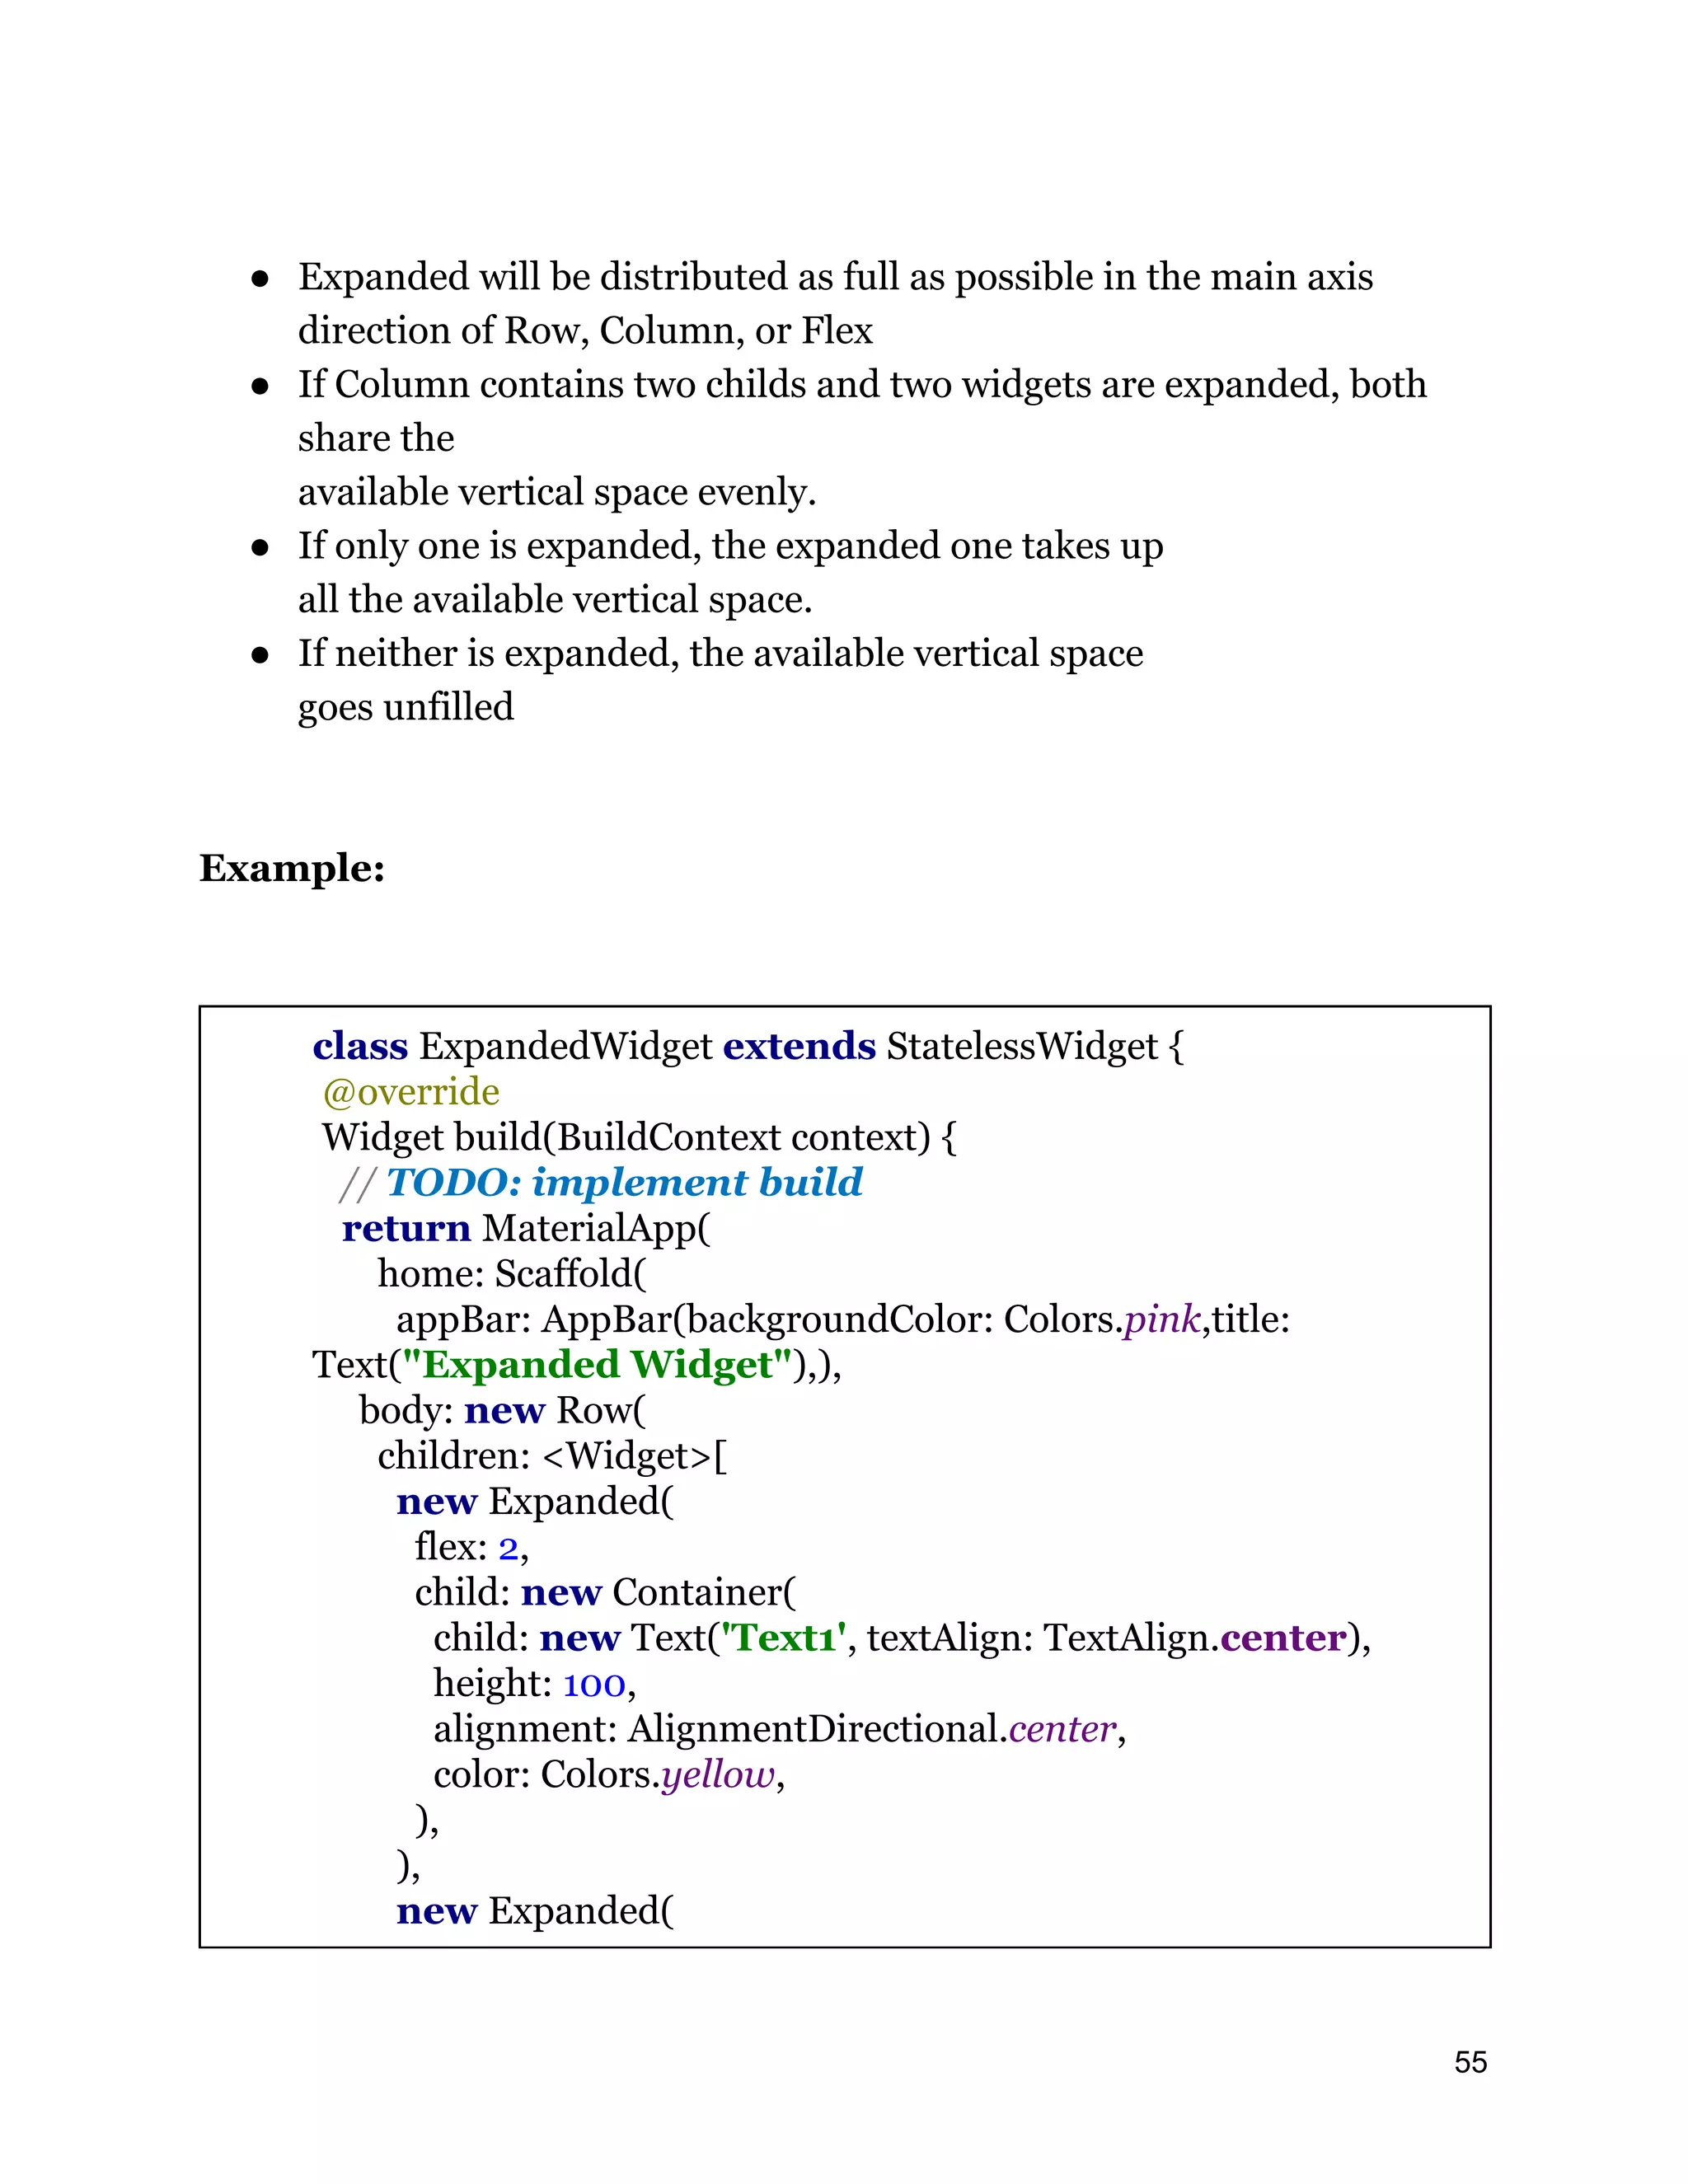
![flex: 1, child: new Container( child: new Text('Text2', textAlign: TextAlign.center), height: 100, alignment: AlignmentDirectional.center, color: Colors.lightGreen, ), ), new Expanded( flex: 1, child: new Container( child: new Text('Text3', textAlign: TextAlign.center), height: 100, alignment: AlignmentDirectional.center, color: Colors.deepPurple, ), ), ], ), )); } } 56](https://image.slidesharecdn.com/fluttertutorial-201008182102/75/Flutter-tutorial-for-Beginner-Step-by-Step-56-2048.jpg)
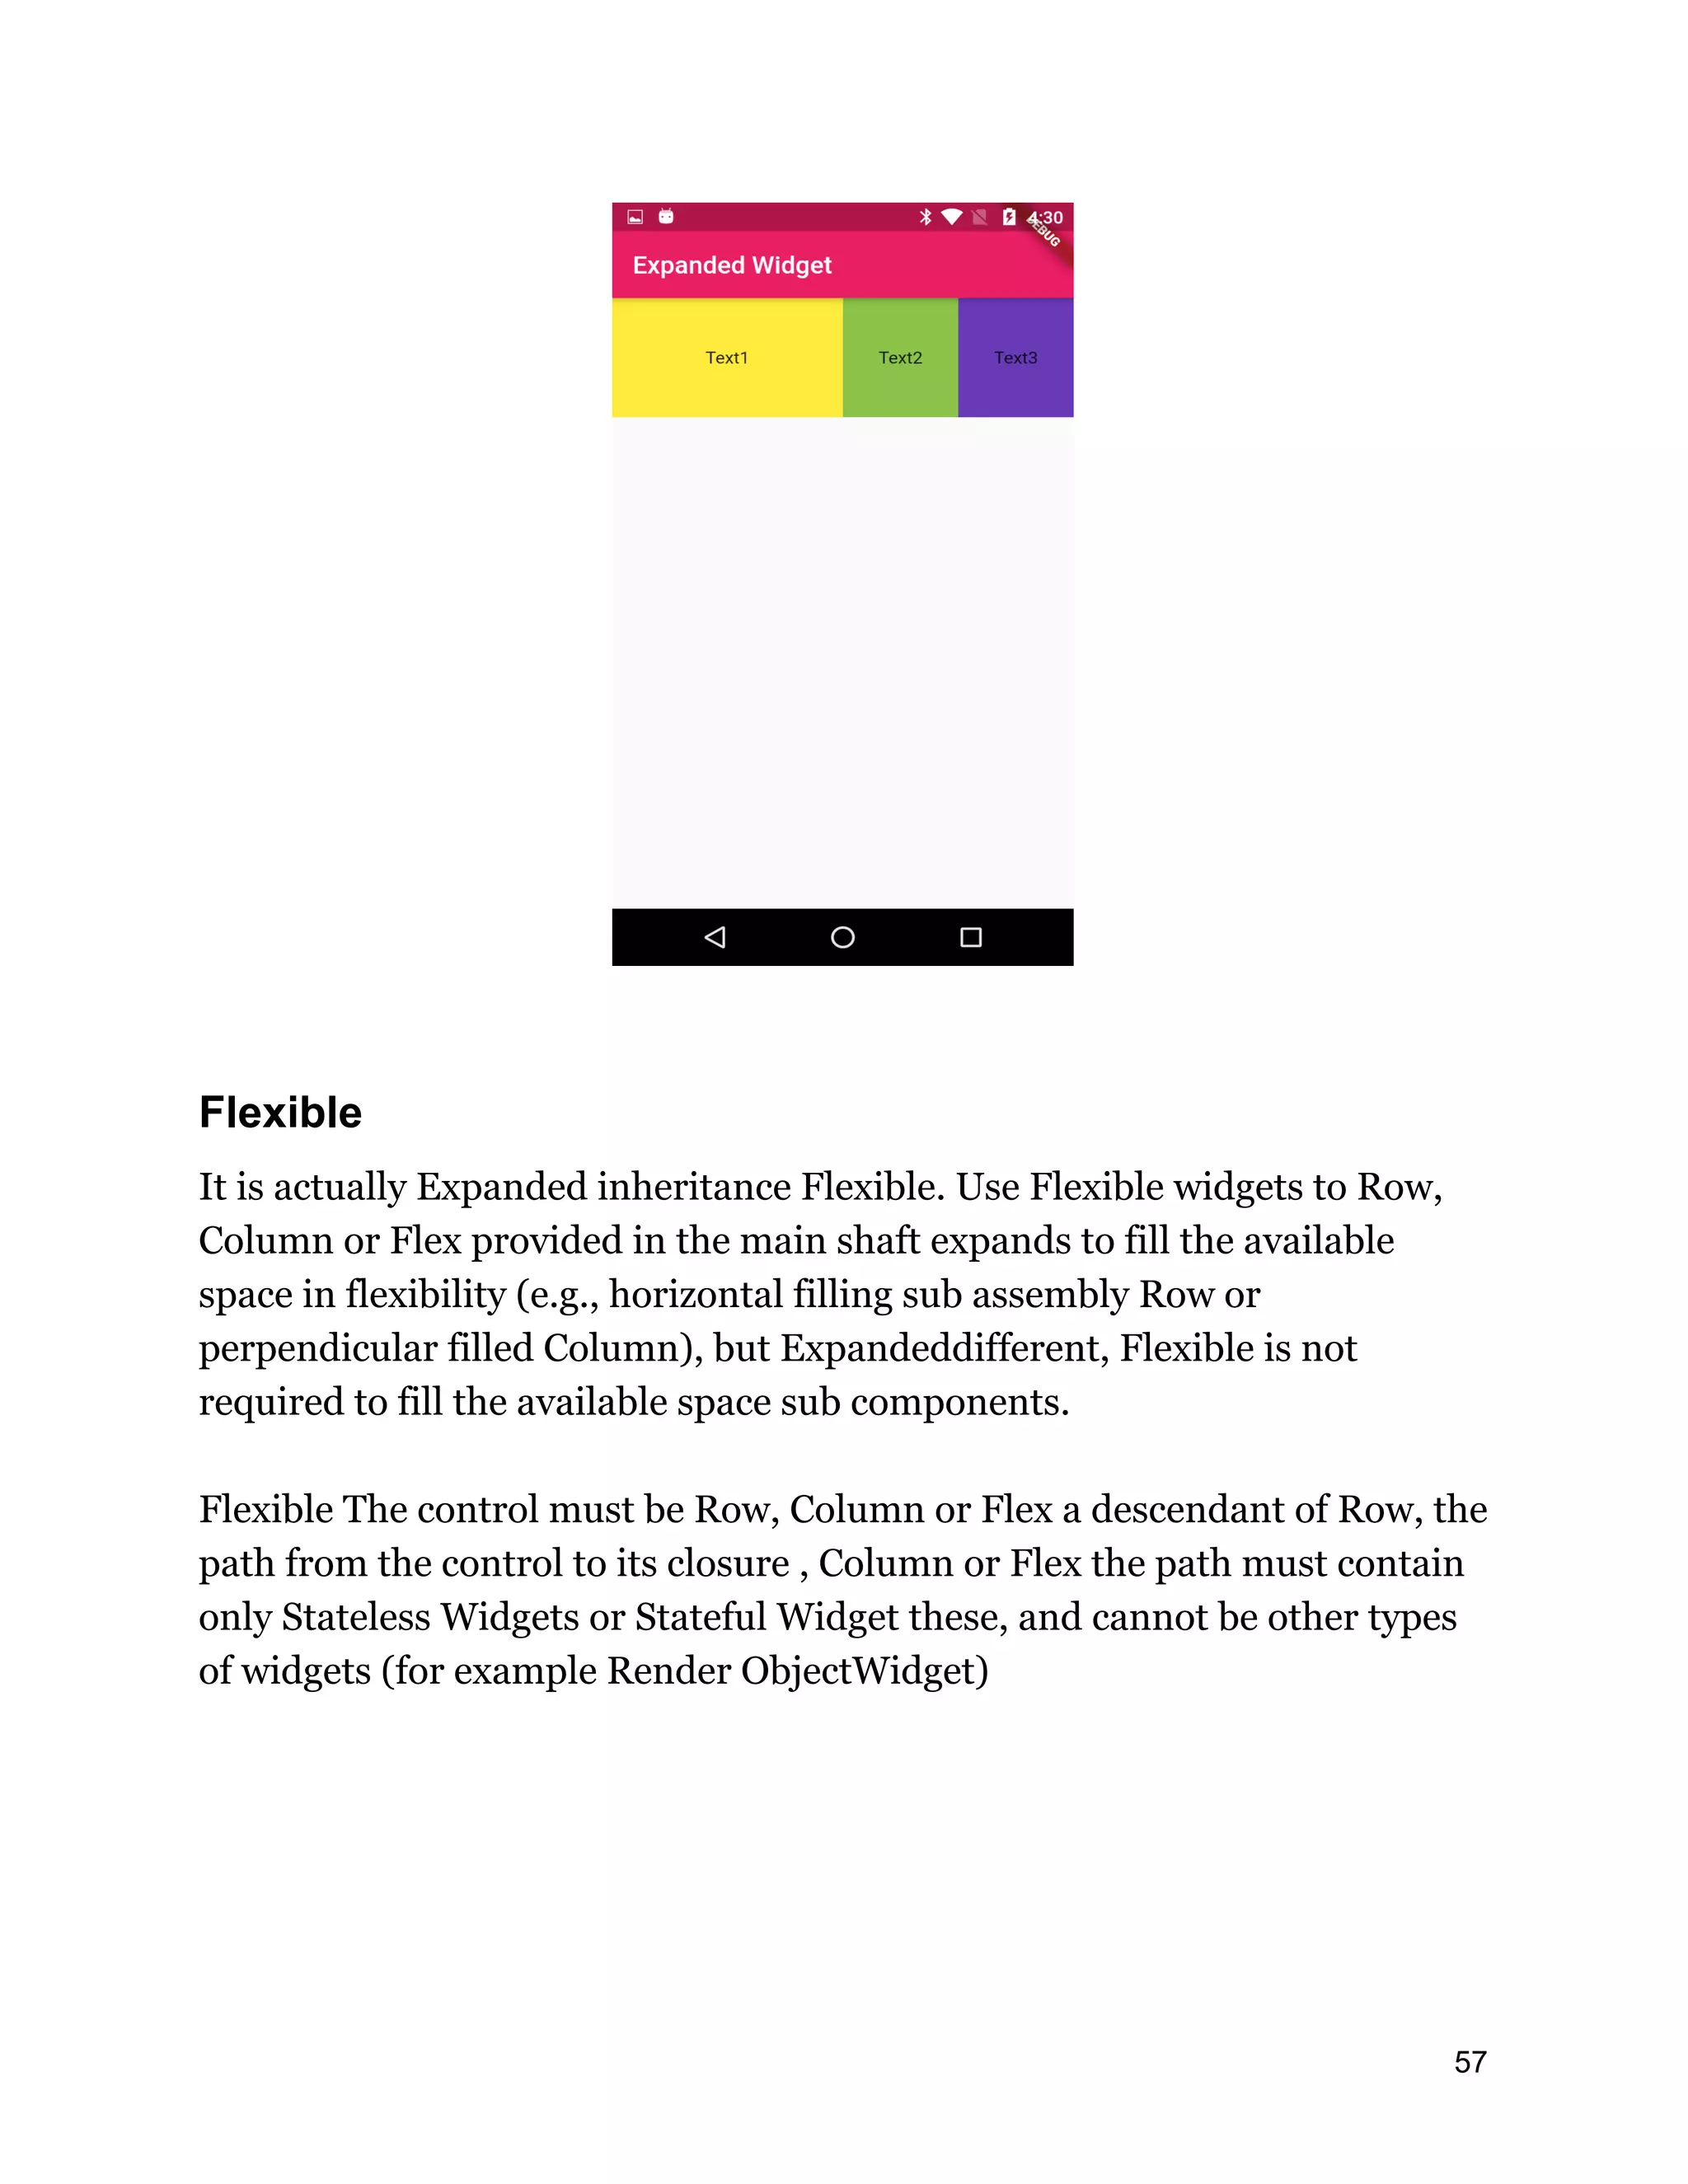

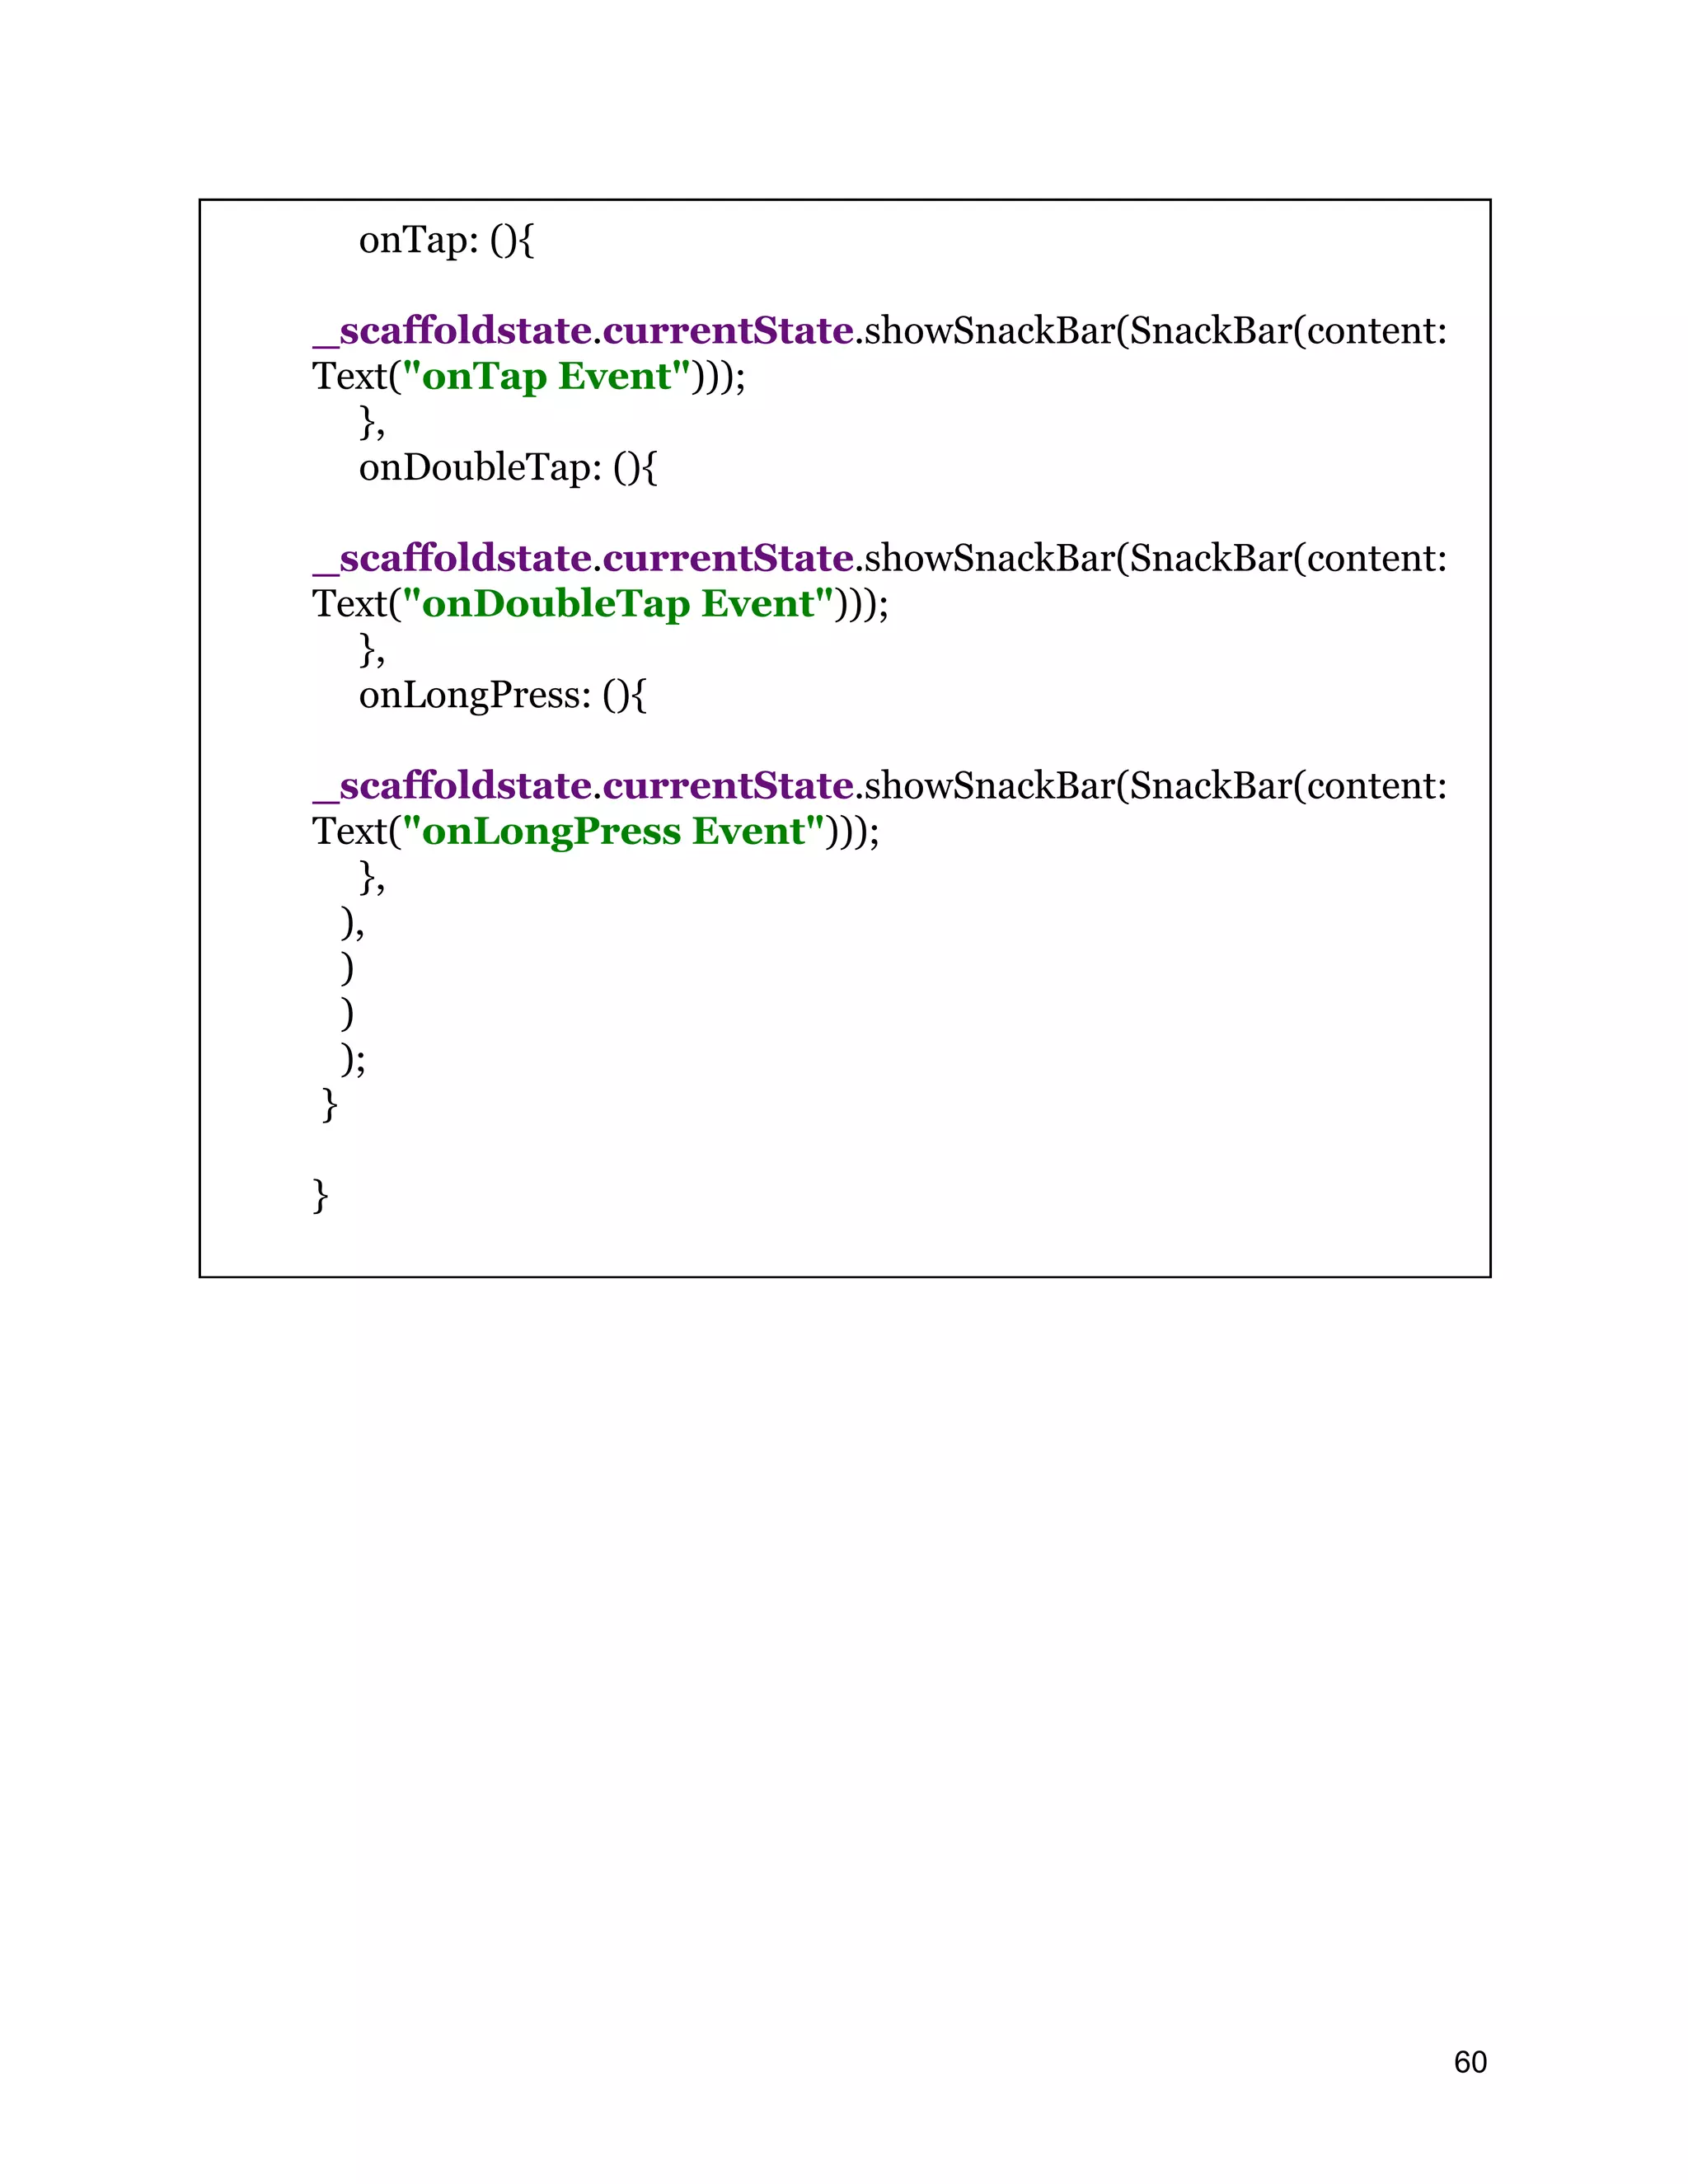
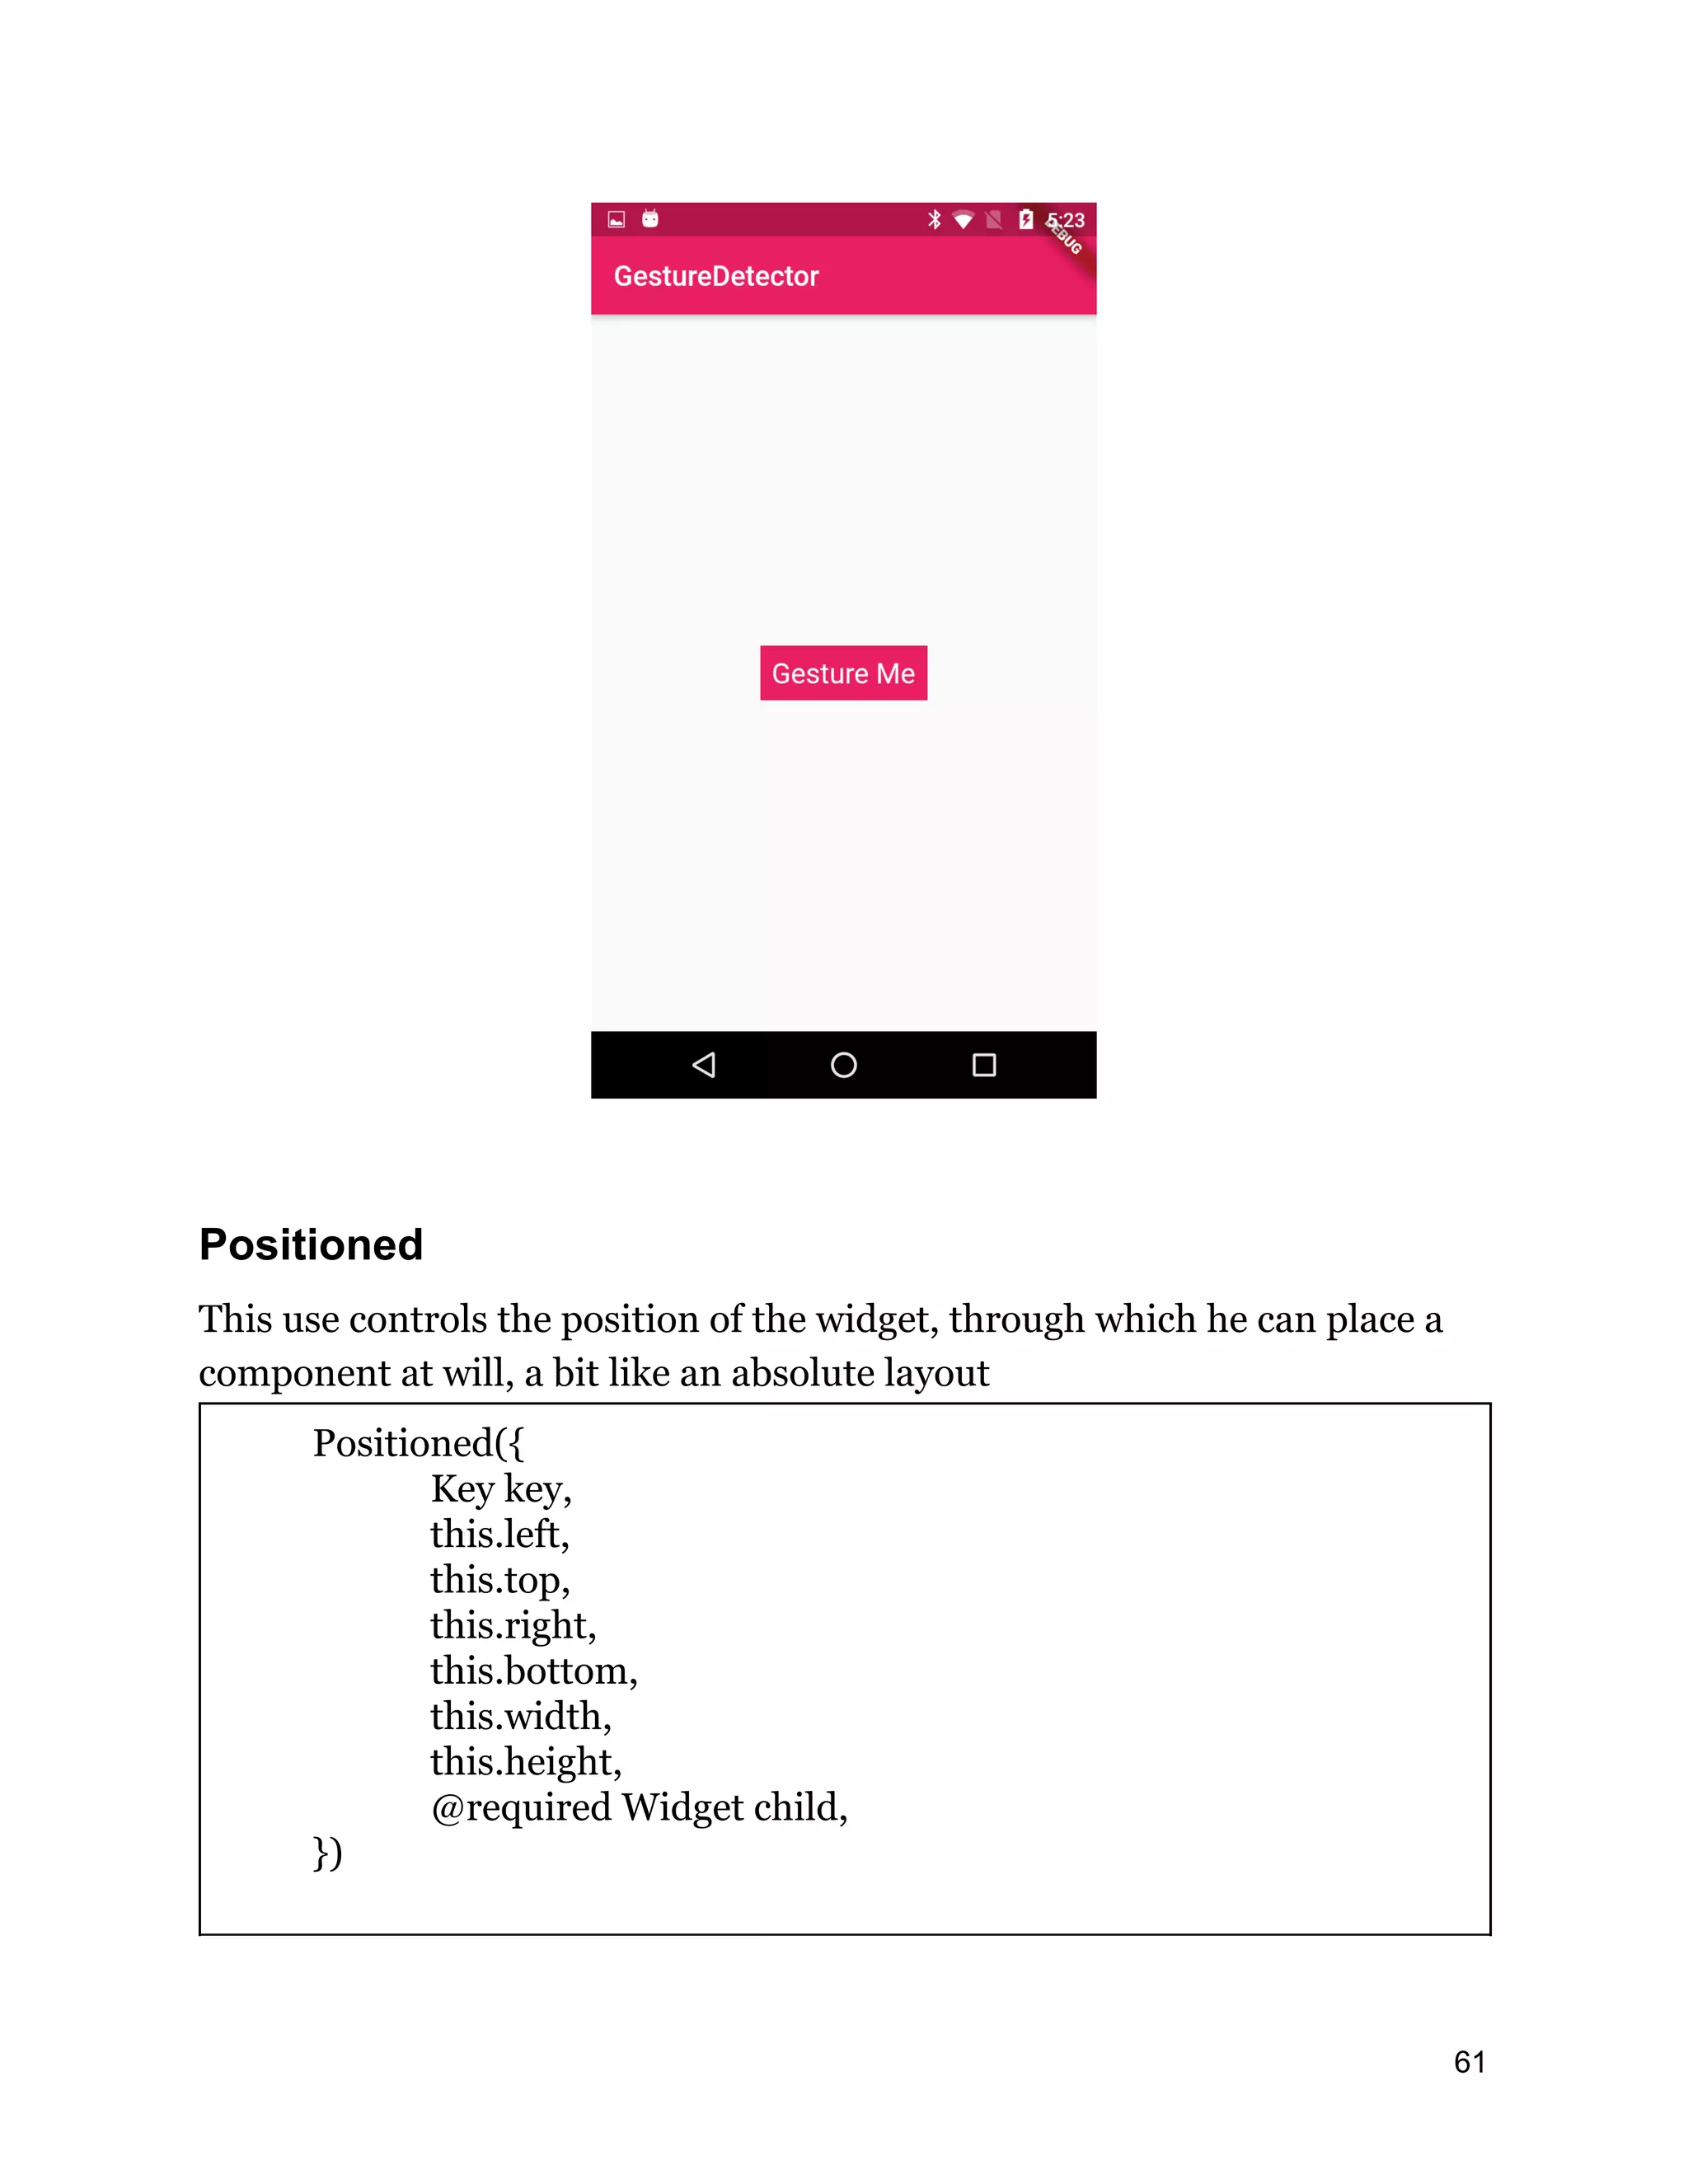
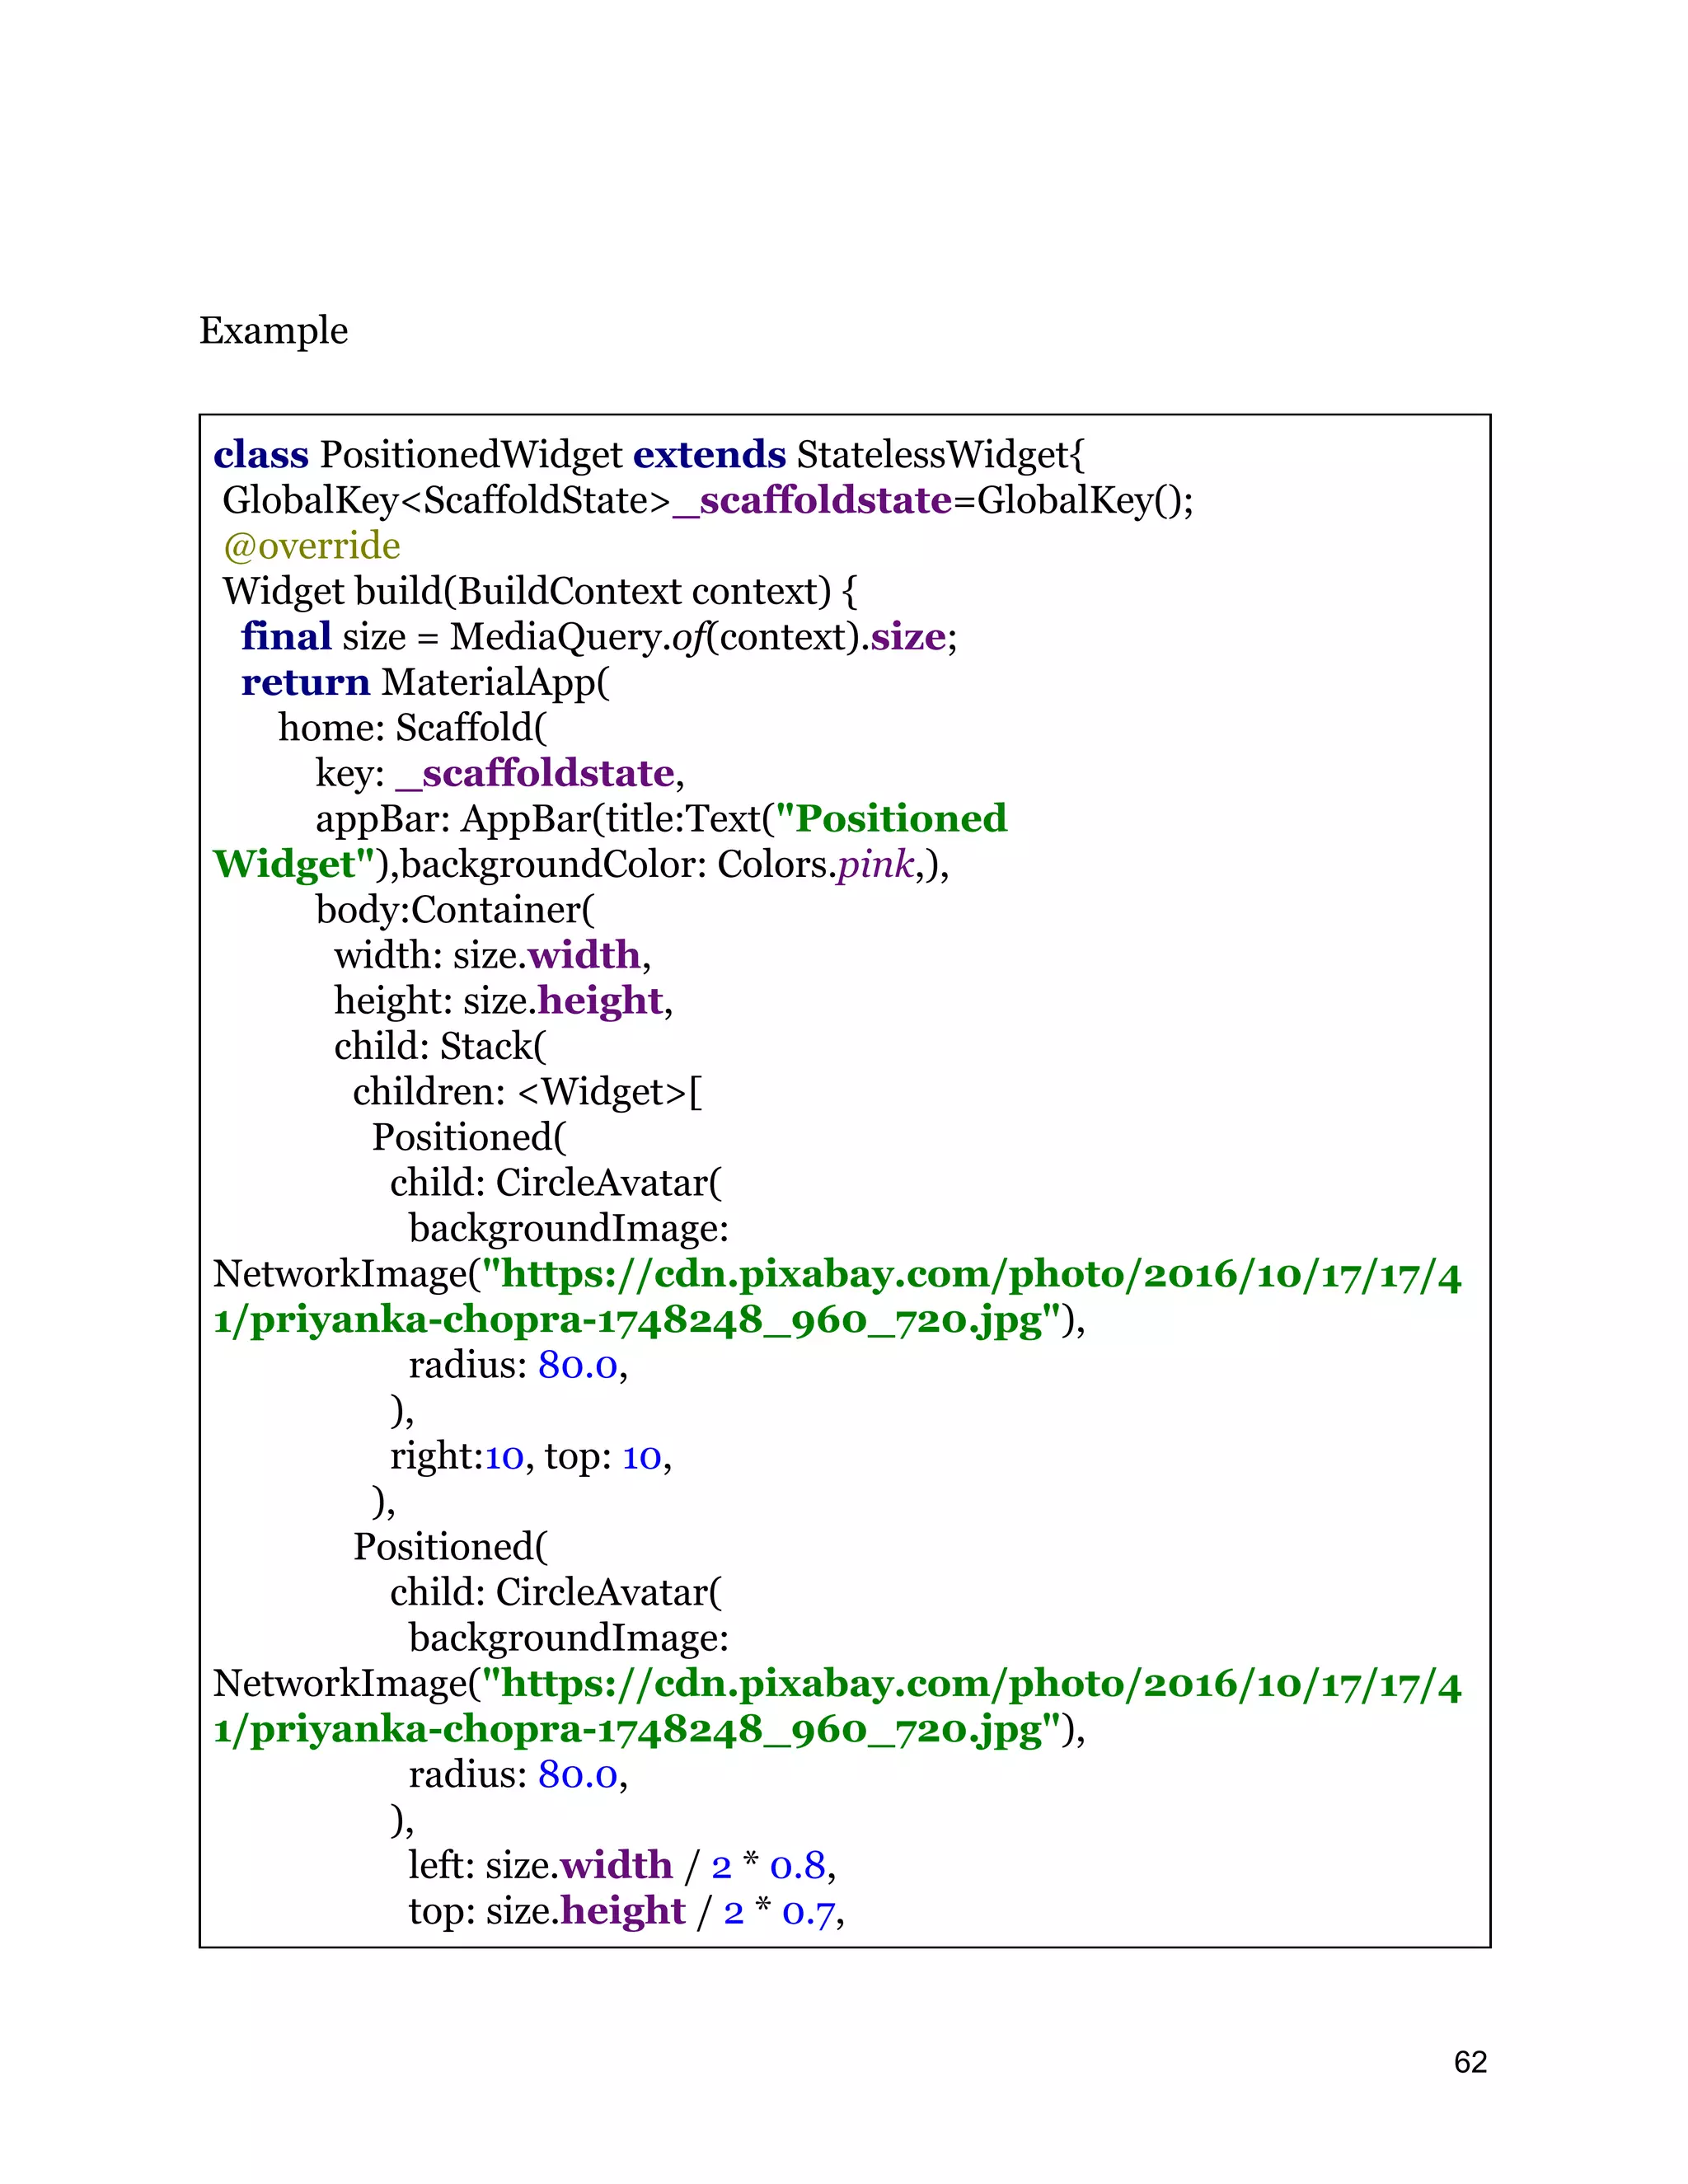
![), Positioned( child: CircleAvatar( backgroundImage: NetworkImage("https://cdn.pixabay.com/photo/2016/10/17/17/4 1/priyanka-chopra-1748248_960_720.jpg"), radius: 80.0, ), left: 10, bottom: 10, )], ), ),) ); }} 63](https://image.slidesharecdn.com/fluttertutorial-201008182102/75/Flutter-tutorial-for-Beginner-Step-by-Step-63-2048.jpg)
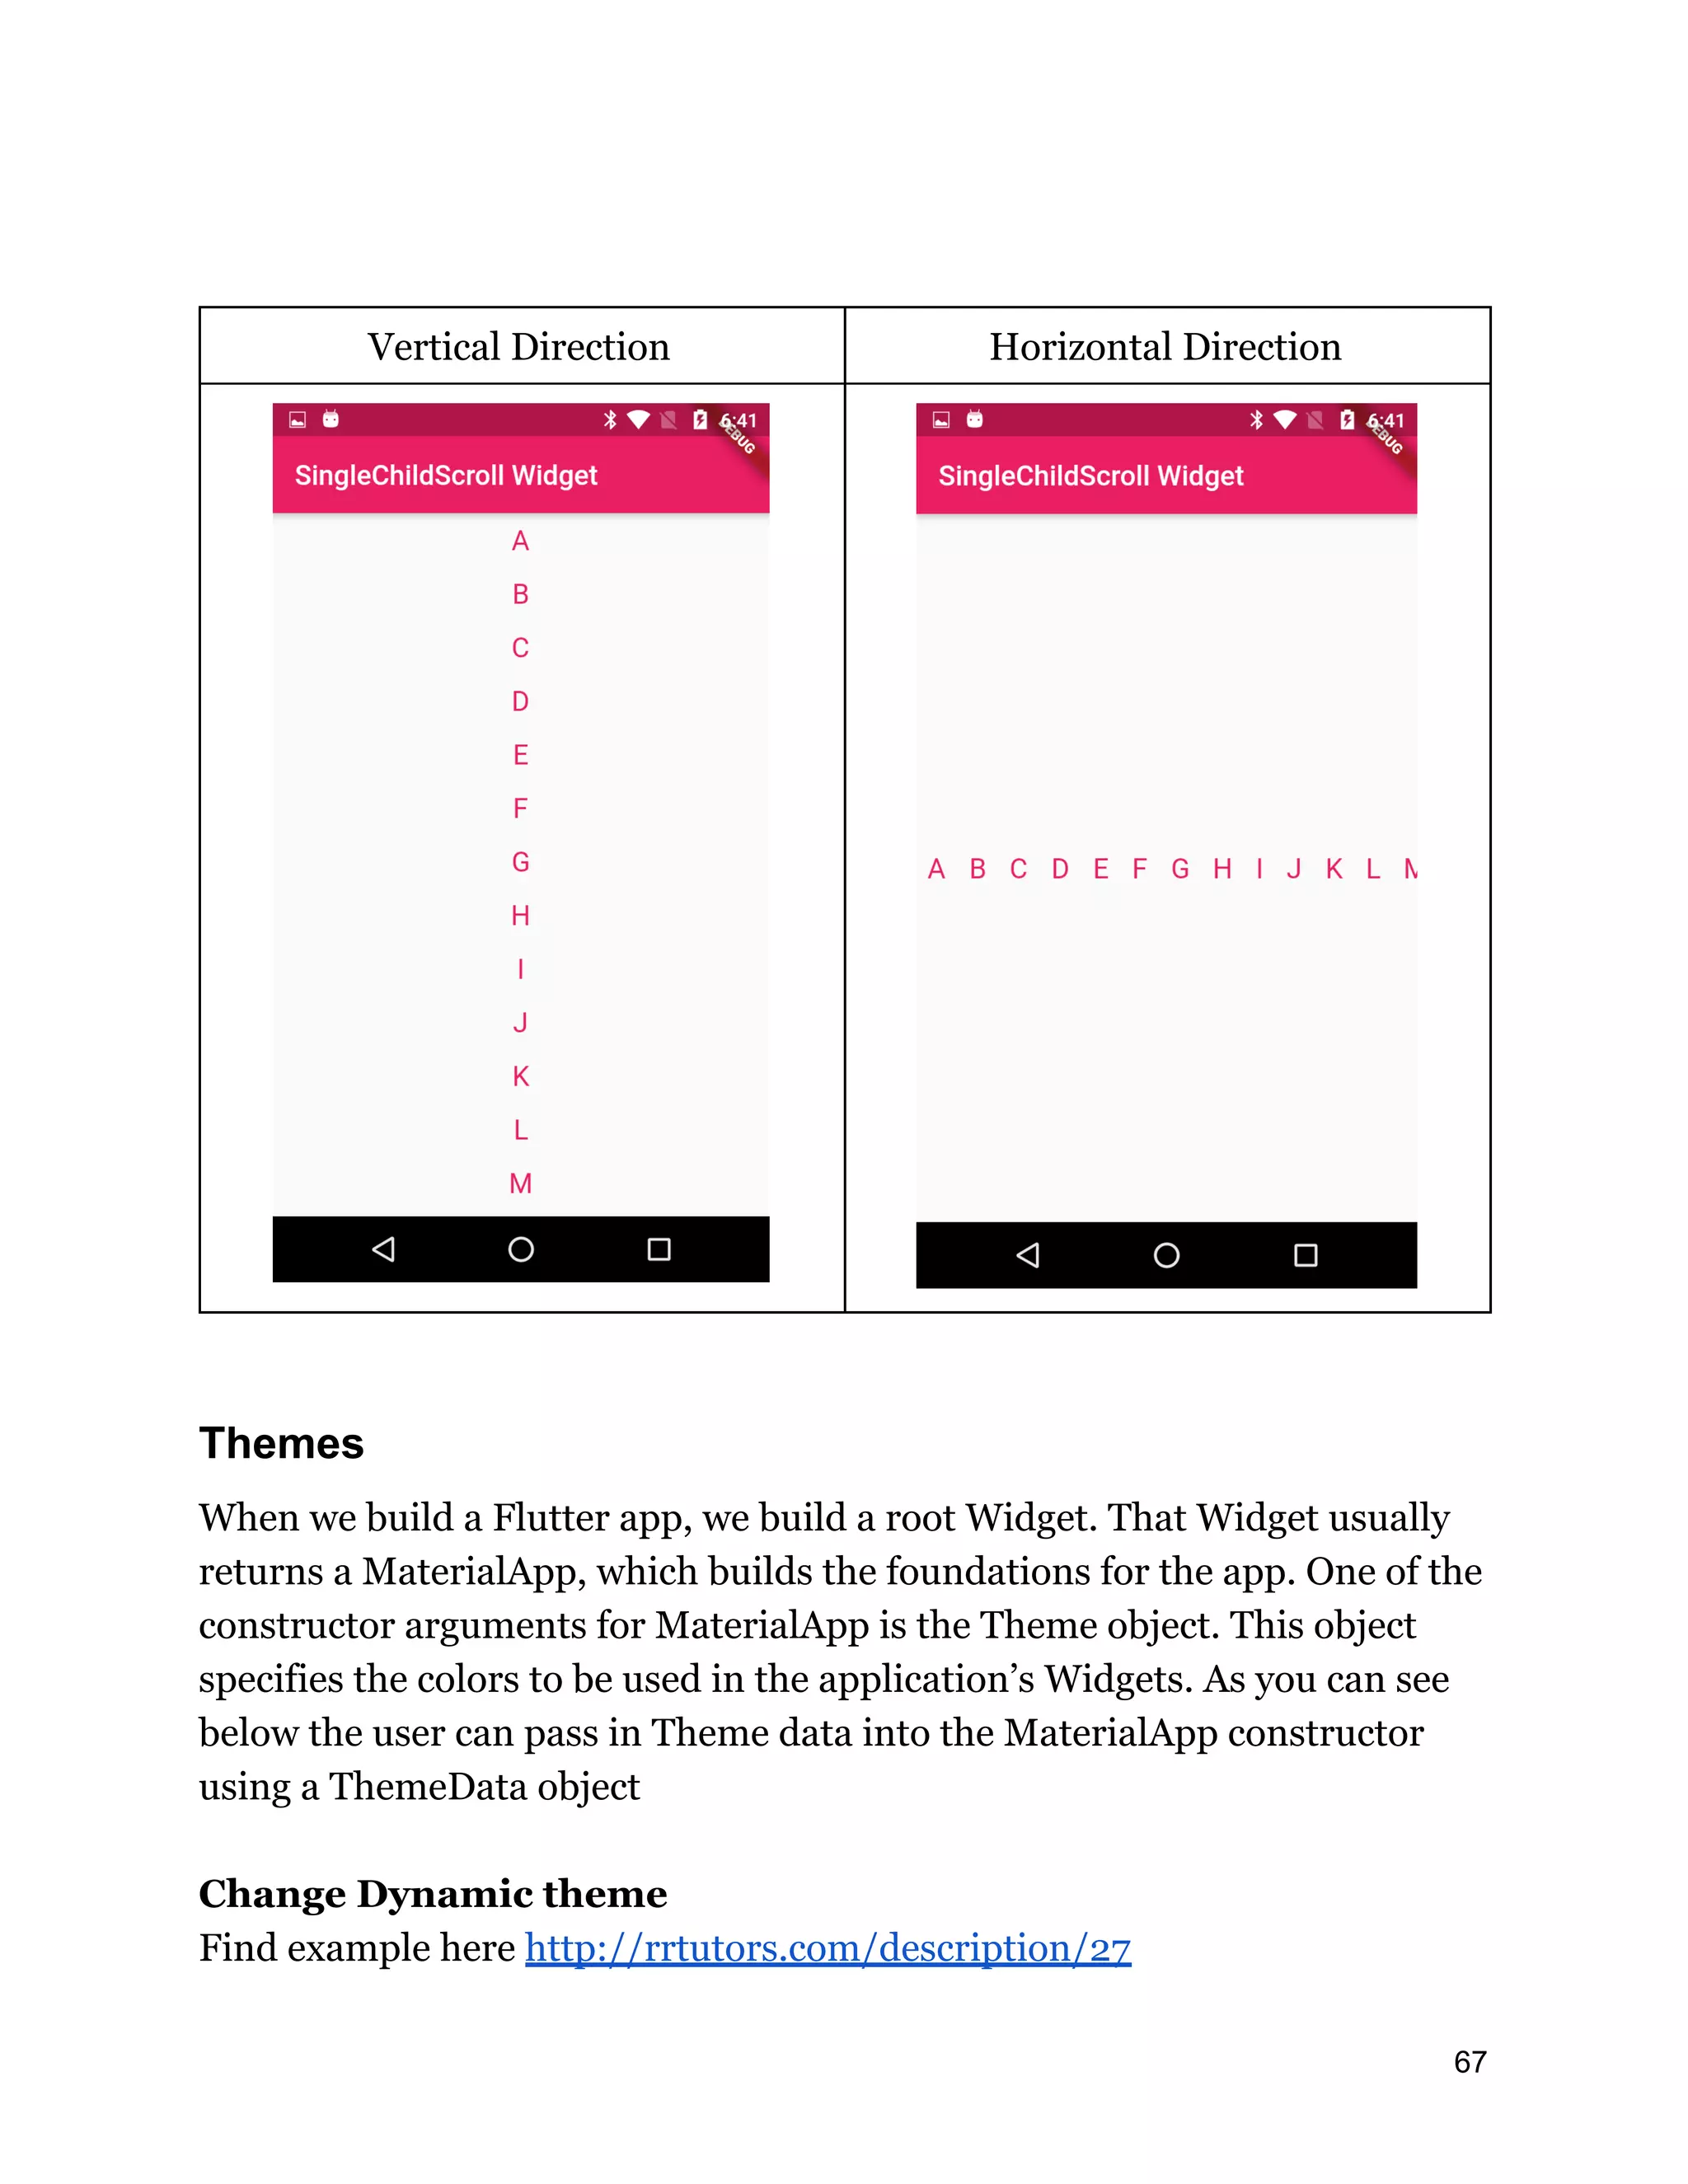

![class ScffoldHomePageState extends State<ScffoldHomePage> { num index =0; List <Widget> pageWidgetList =[ Home(), SearchScreen(), ProfileScreen(), ]; @override Widget build(BuildContext context) { return Scaffold( appBar: AppBar( title: Text("HomePage"), backgroundColor: Colors.pink, ), body:pageWidgetList[index], floatingActionButton: FloatingActionButton( child: Text("++"), onPressed: () { }, tooltip: "Click tooltips", backgroundColor: Colors.pink, focusColor: Colors.green, hoverColor: Colors.purpleAccent, 69](https://image.slidesharecdn.com/fluttertutorial-201008182102/75/Flutter-tutorial-for-Beginner-Step-by-Step-69-2048.jpg)
![splashColor: Colors.deepPurple, foregroundColor: Colors.white, elevation: 0.0, highlightElevation: 20.0, ), floatingActionButtonLocation: FloatingActionButtonLocation.endFloat, persistentFooterButtons: <Widget>[ Text( "1", style: TextStyle(color: Colors.blue), ), Text("2"), Text("3"), Text("4"), Text("5"), ], drawer: Container( color: Colors.grey, width: 120, child: FlatButton( child: Text("Close Left Swipe"), onPressed: () { Navigator.of(context).pop(); }, ), ), endDrawer: Container( color: Colors.orange, width: 200, 70](https://image.slidesharecdn.com/fluttertutorial-201008182102/75/Flutter-tutorial-for-Beginner-Step-by-Step-70-2048.jpg)
![height: 800, child: FlatButton( child: Text("Close Right Swipe",style: TextStyle(color: Colors.white),), onPressed: () { Navigator.of(context).pop(); }, ), ), bottomNavigationBar:new BottomNavigationBar( backgroundColor: Colors.pink, items: <BottomNavigationBarItem>[ BottomNavigationBarItem(icon:Icon(Icons.home,color: index==0?Colors.white:Colors.white,),title: Text("Home",style: TextStyle(color: index==0?Colors.white:Colors.white),) ), BottomNavigationBarItem(icon:Icon(Icons.search,color: index==1?Colors.white:Colors.white,),title: Text("Search",style: TextStyle(color: index==1?Colors.white:Colors.white),) ), BottomNavigationBarItem(icon:Icon(Icons.people,color: index==2?Colors.white:Colors.white,),title: Text("Account",style: TextStyle(color: index==2?Colors.white:Colors.white),) ), ], onTap: (flag) { print("flag $flag"); index = flag; setState(() {}); }, currentIndex: index, ) , ); } } 71](https://image.slidesharecdn.com/fluttertutorial-201008182102/75/Flutter-tutorial-for-Beginner-Step-by-Step-71-2048.jpg)
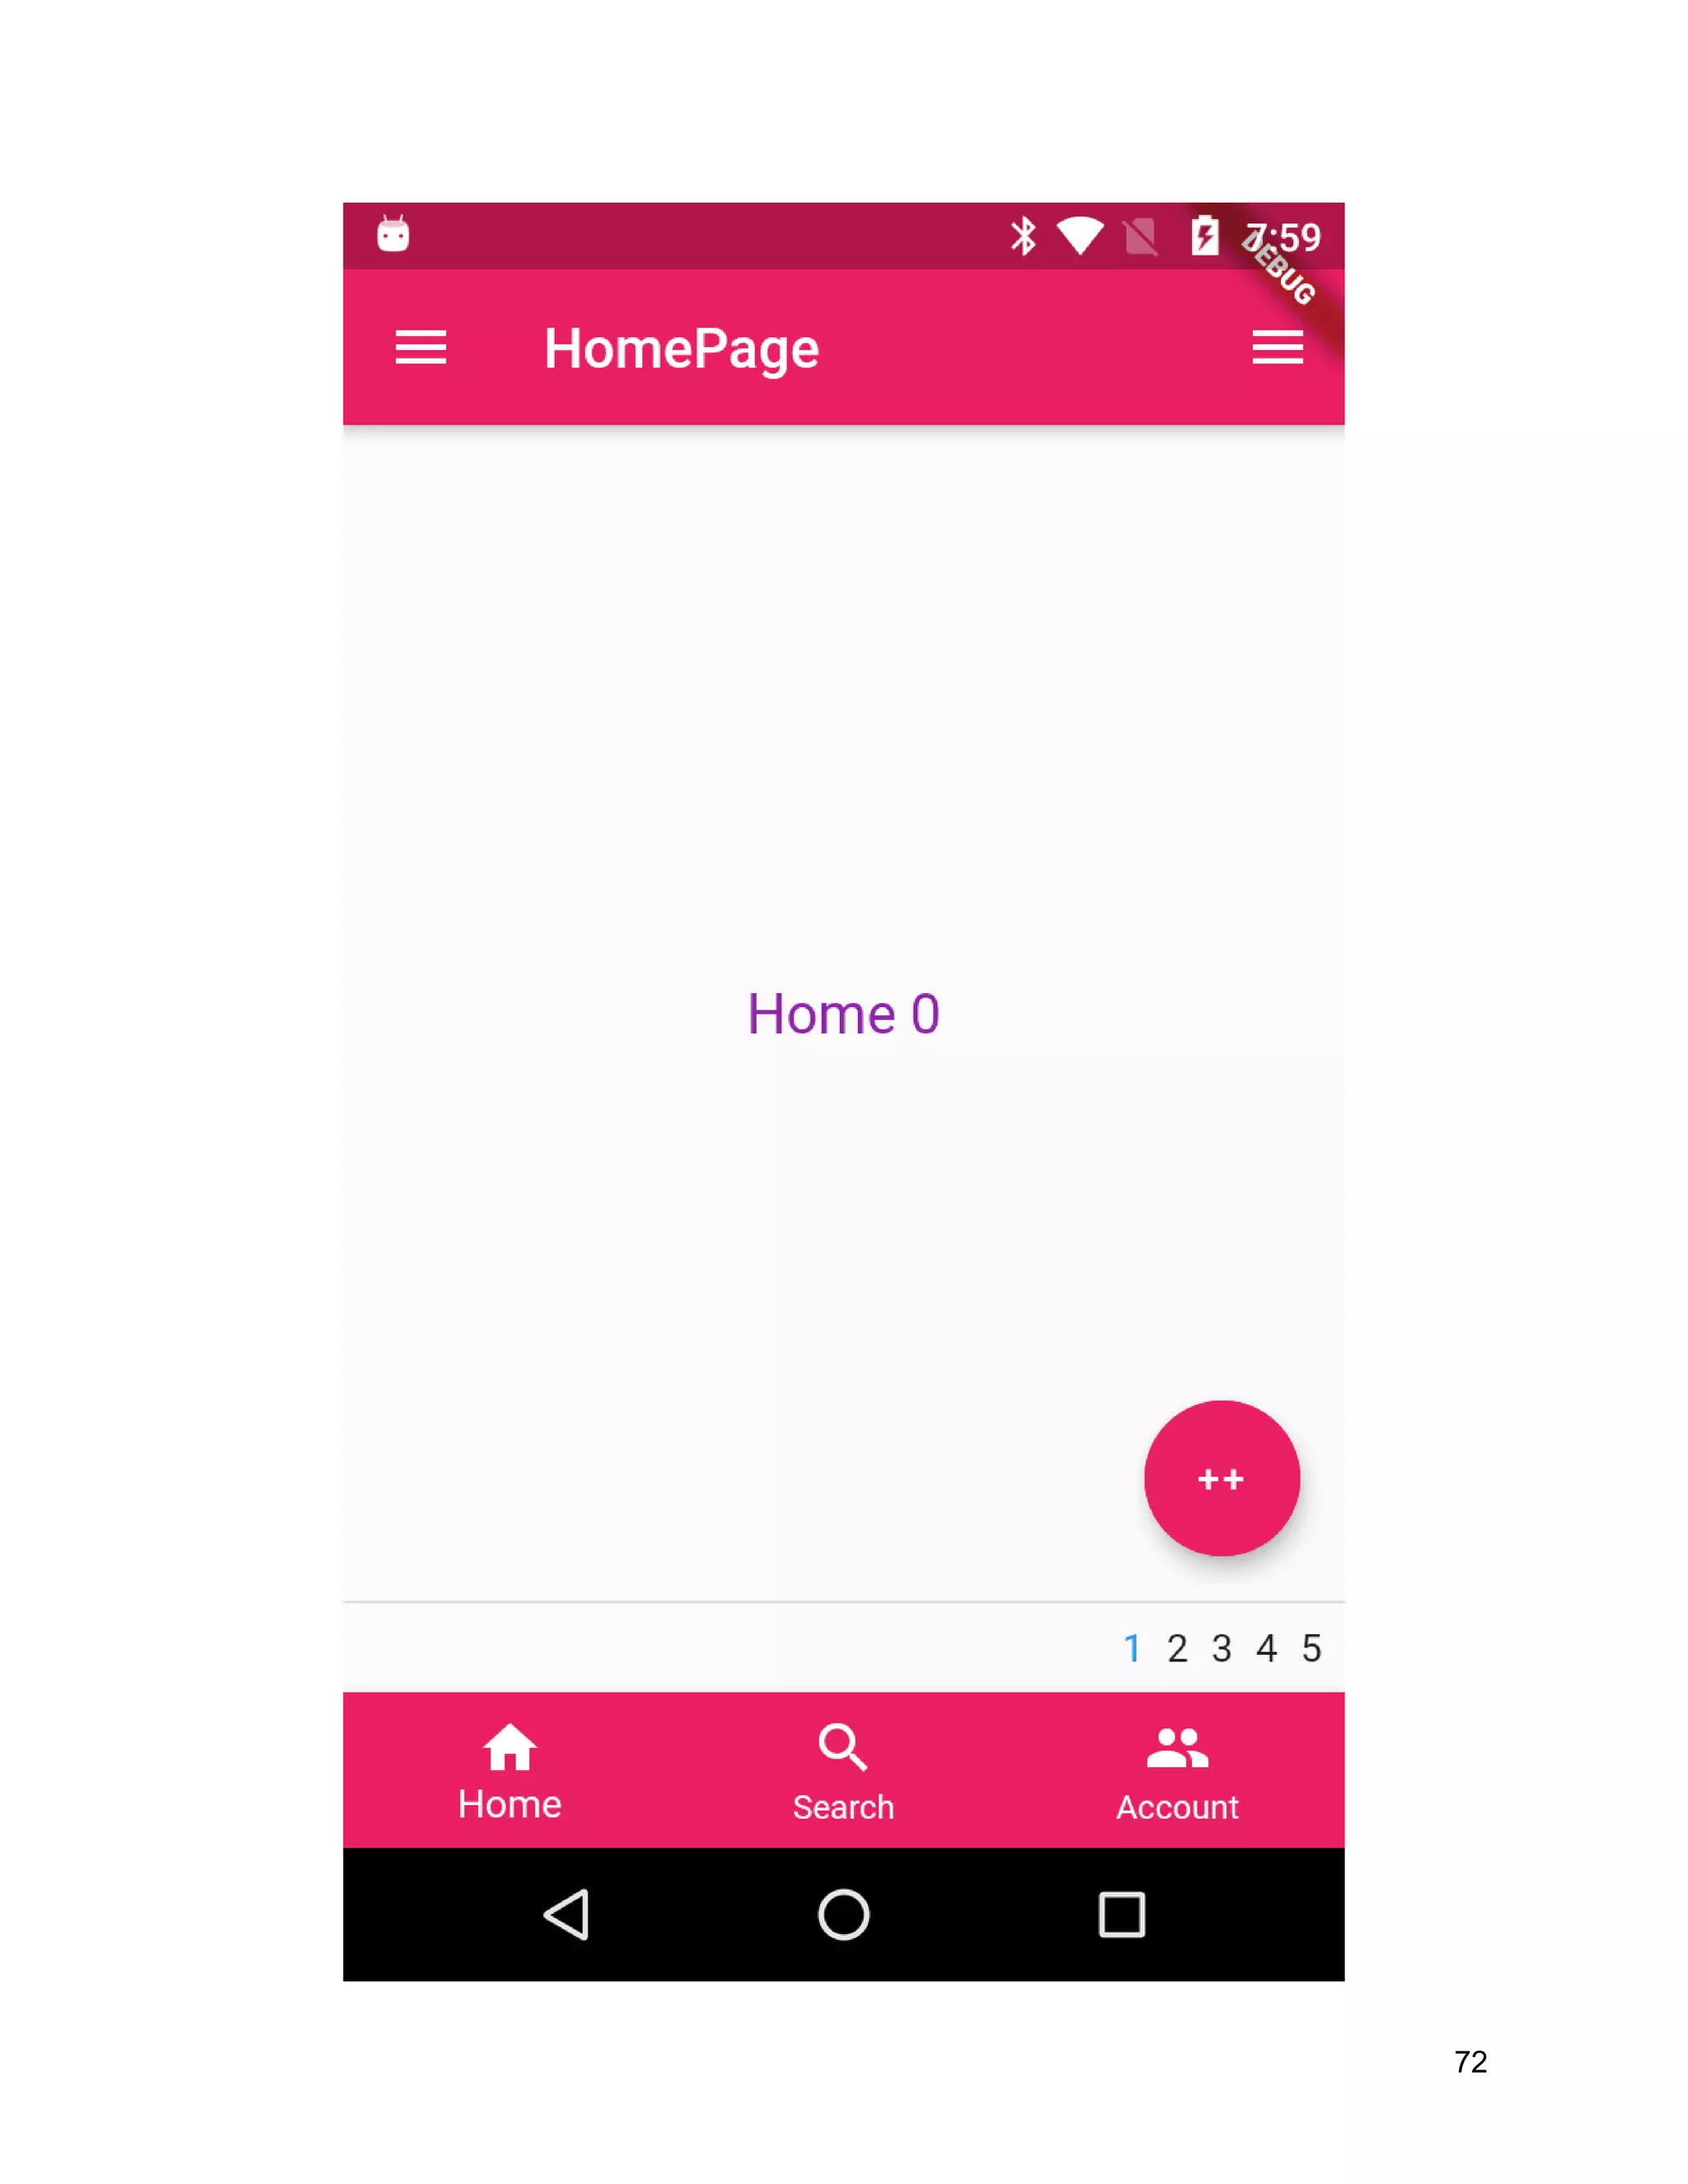
![Add buttons to Alert Dialogs This widget, there is a parameter called action. It accepts an array of widgets and we can provide multiple buttons to that. Those Buttons will appear in the bottom right corner of the dialog actions:[ FlatButton( child: Text("Close"), ) ] How to close Dialog We can close the Displayed Dialog by calling the Navigator.of(context).pop(); FlatButton( child: Text("Close"), onPressed: (){ Navigator.of(context).pop(); }, ) Example class MyDialog extends StatelessWidget { @override Widget build(BuildContext context) { return Scaffold( appBar: AppBar(title: Text("Dialog"),backgroundColor: Colors.pink,), body: Center( 74](https://image.slidesharecdn.com/fluttertutorial-201008182102/75/Flutter-tutorial-for-Beginner-Step-by-Step-74-2048.jpg)
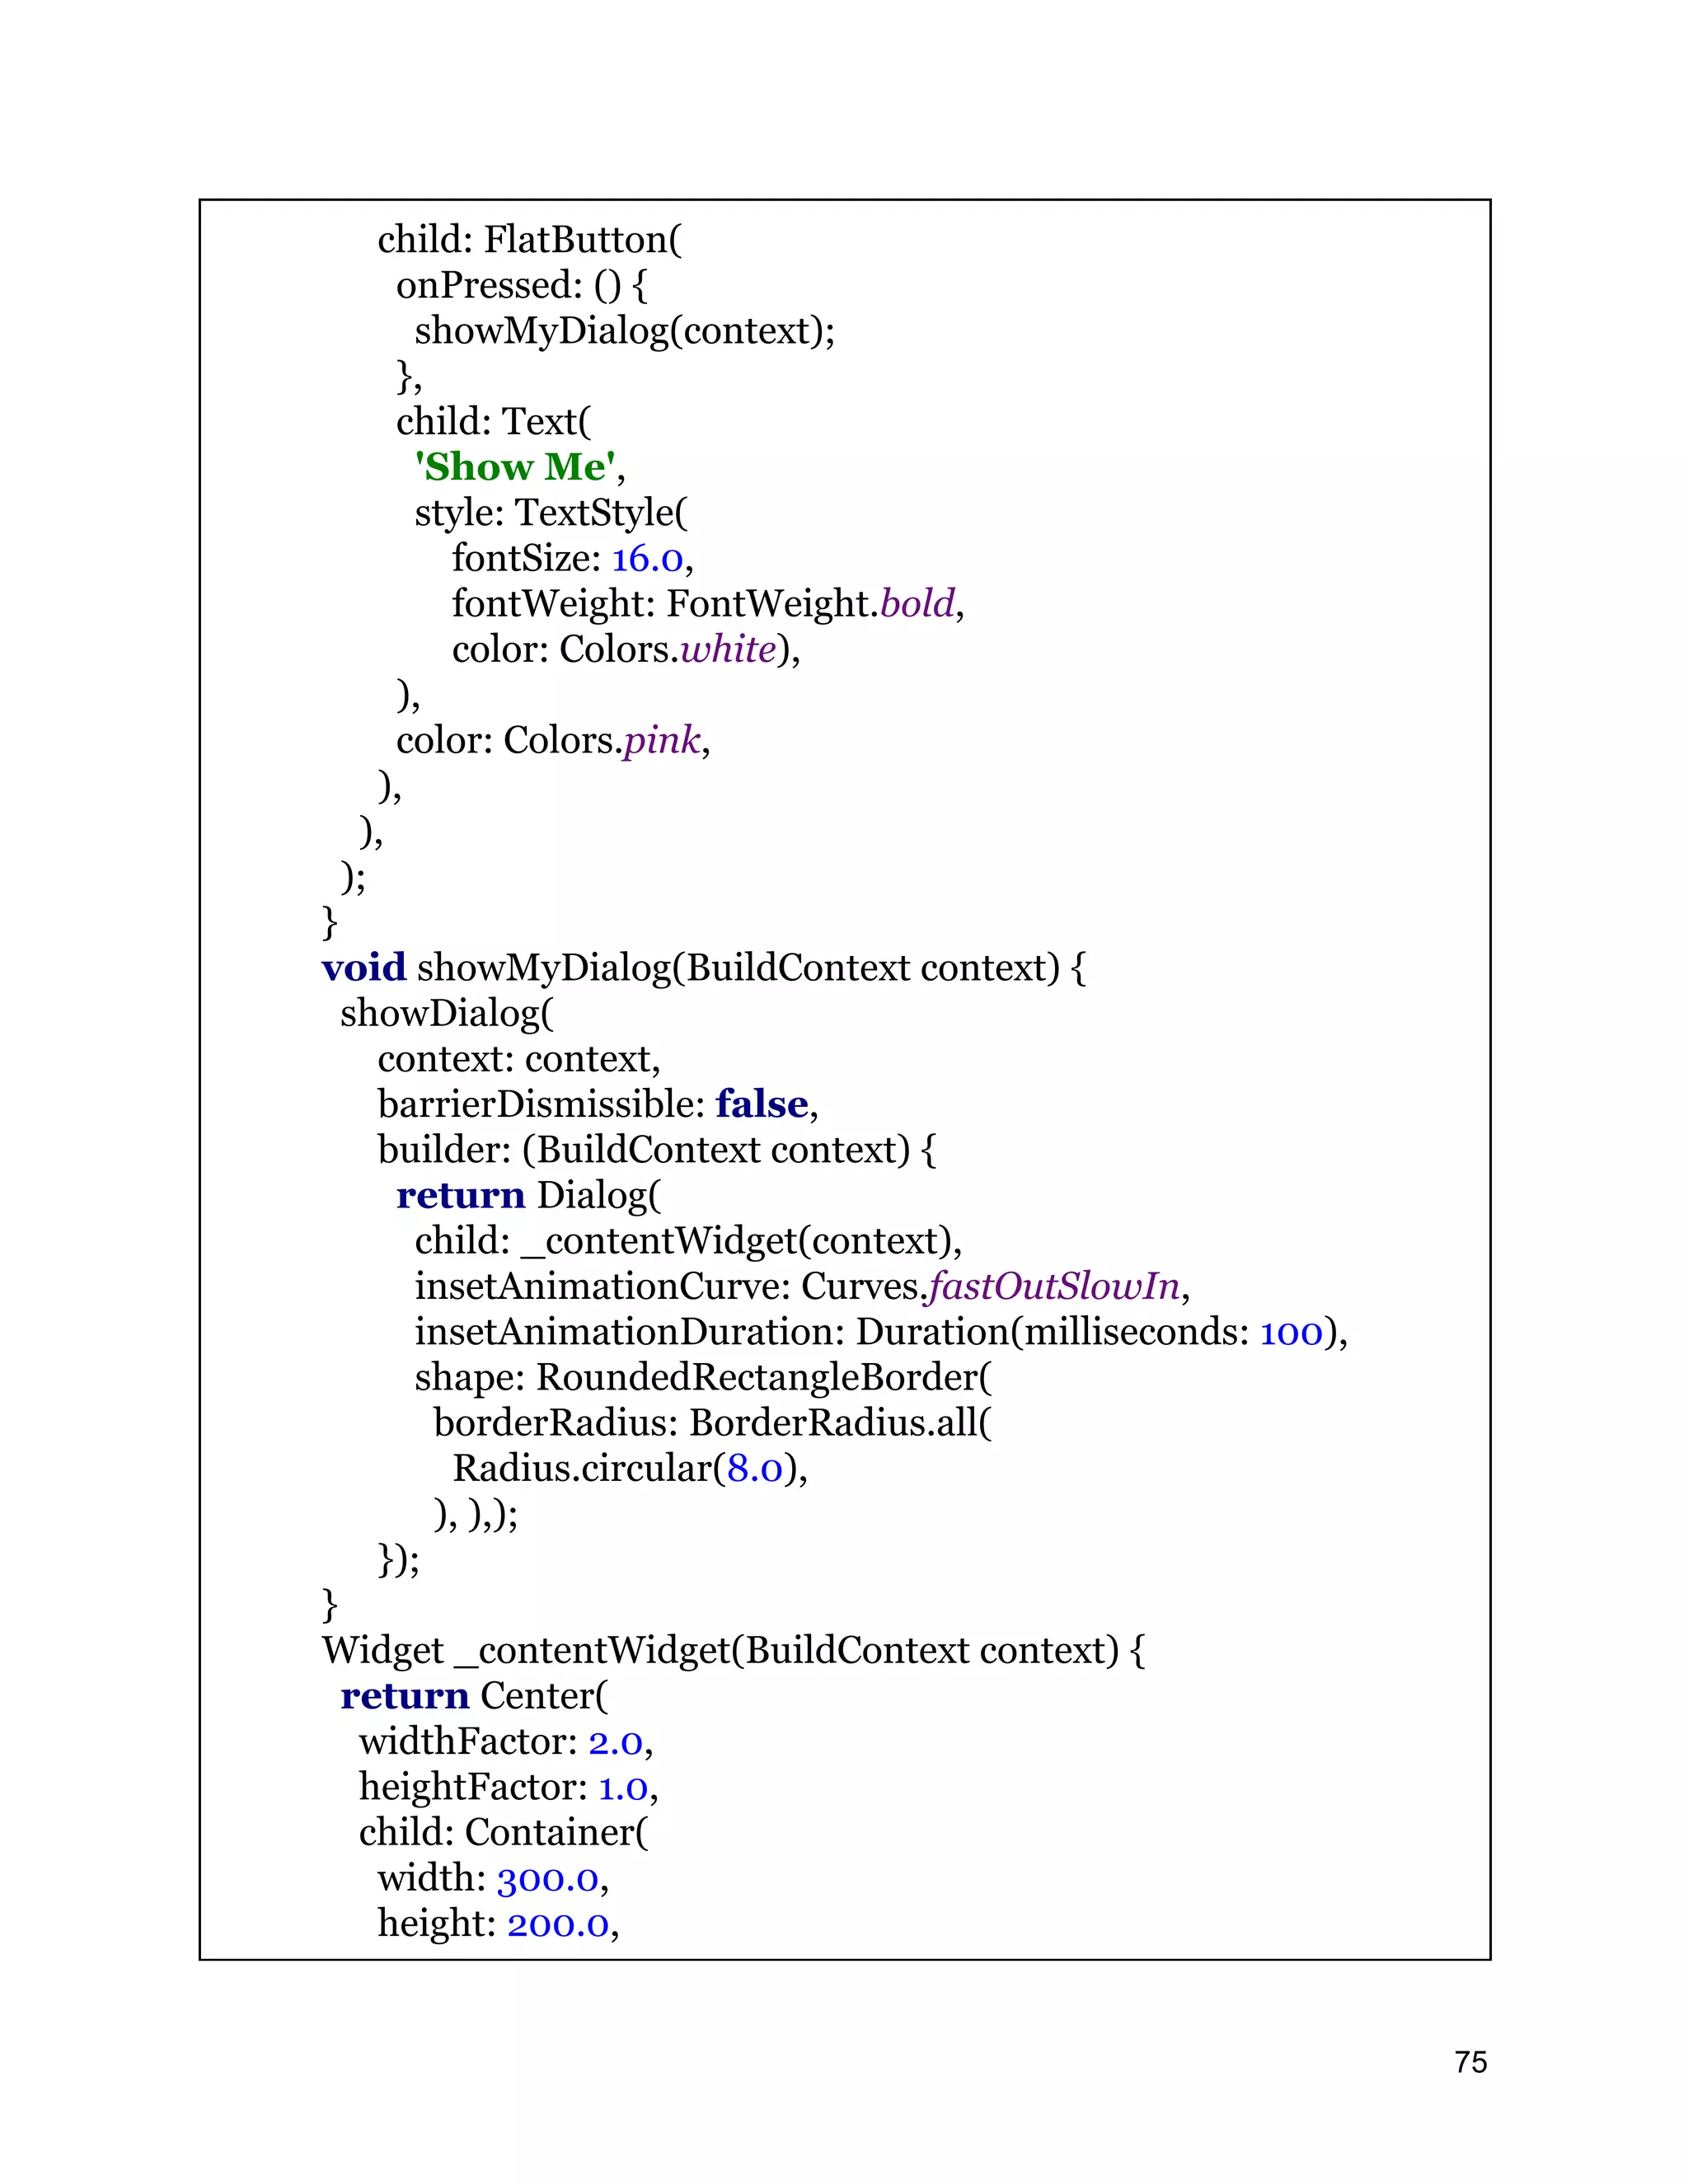
![color: Colors.white, child: Column( children: <Widget>[ Expanded( child: Container( padding: EdgeInsets.only(top: 5.0), child: Text('This is title',style: TextStyle(color: Colors.black,fontWeight: FontWeight.bold,fontSize: 22.0),),), flex: 1, ), Expanded( child: Container( alignment: Alignment.topLeft, margin: EdgeInsets.all(20.0), child: Text('Text Message to display the Dialog in Flutter',style: TextStyle(fontSize: 18.0,color: Colors.black),), ), flex: 3, ), Expanded( child: Row( mainAxisAlignment: MainAxisAlignment.spaceEvenly, children: <Widget>[ RaisedButton(onPressed: (){ Navigator.of(context).pop(); }, child: Text('Continue',style: TextStyle(color: Colors.white)),color: Colors.pink,), FlatButton(onPressed: (){ Navigator.of(context).pop(); }, child: Text('Cancel',style: TextStyle(color: Colors.pink),)), ], ), flex: 2, ), ], 76](https://image.slidesharecdn.com/fluttertutorial-201008182102/75/Flutter-tutorial-for-Beginner-Step-by-Step-76-2048.jpg)
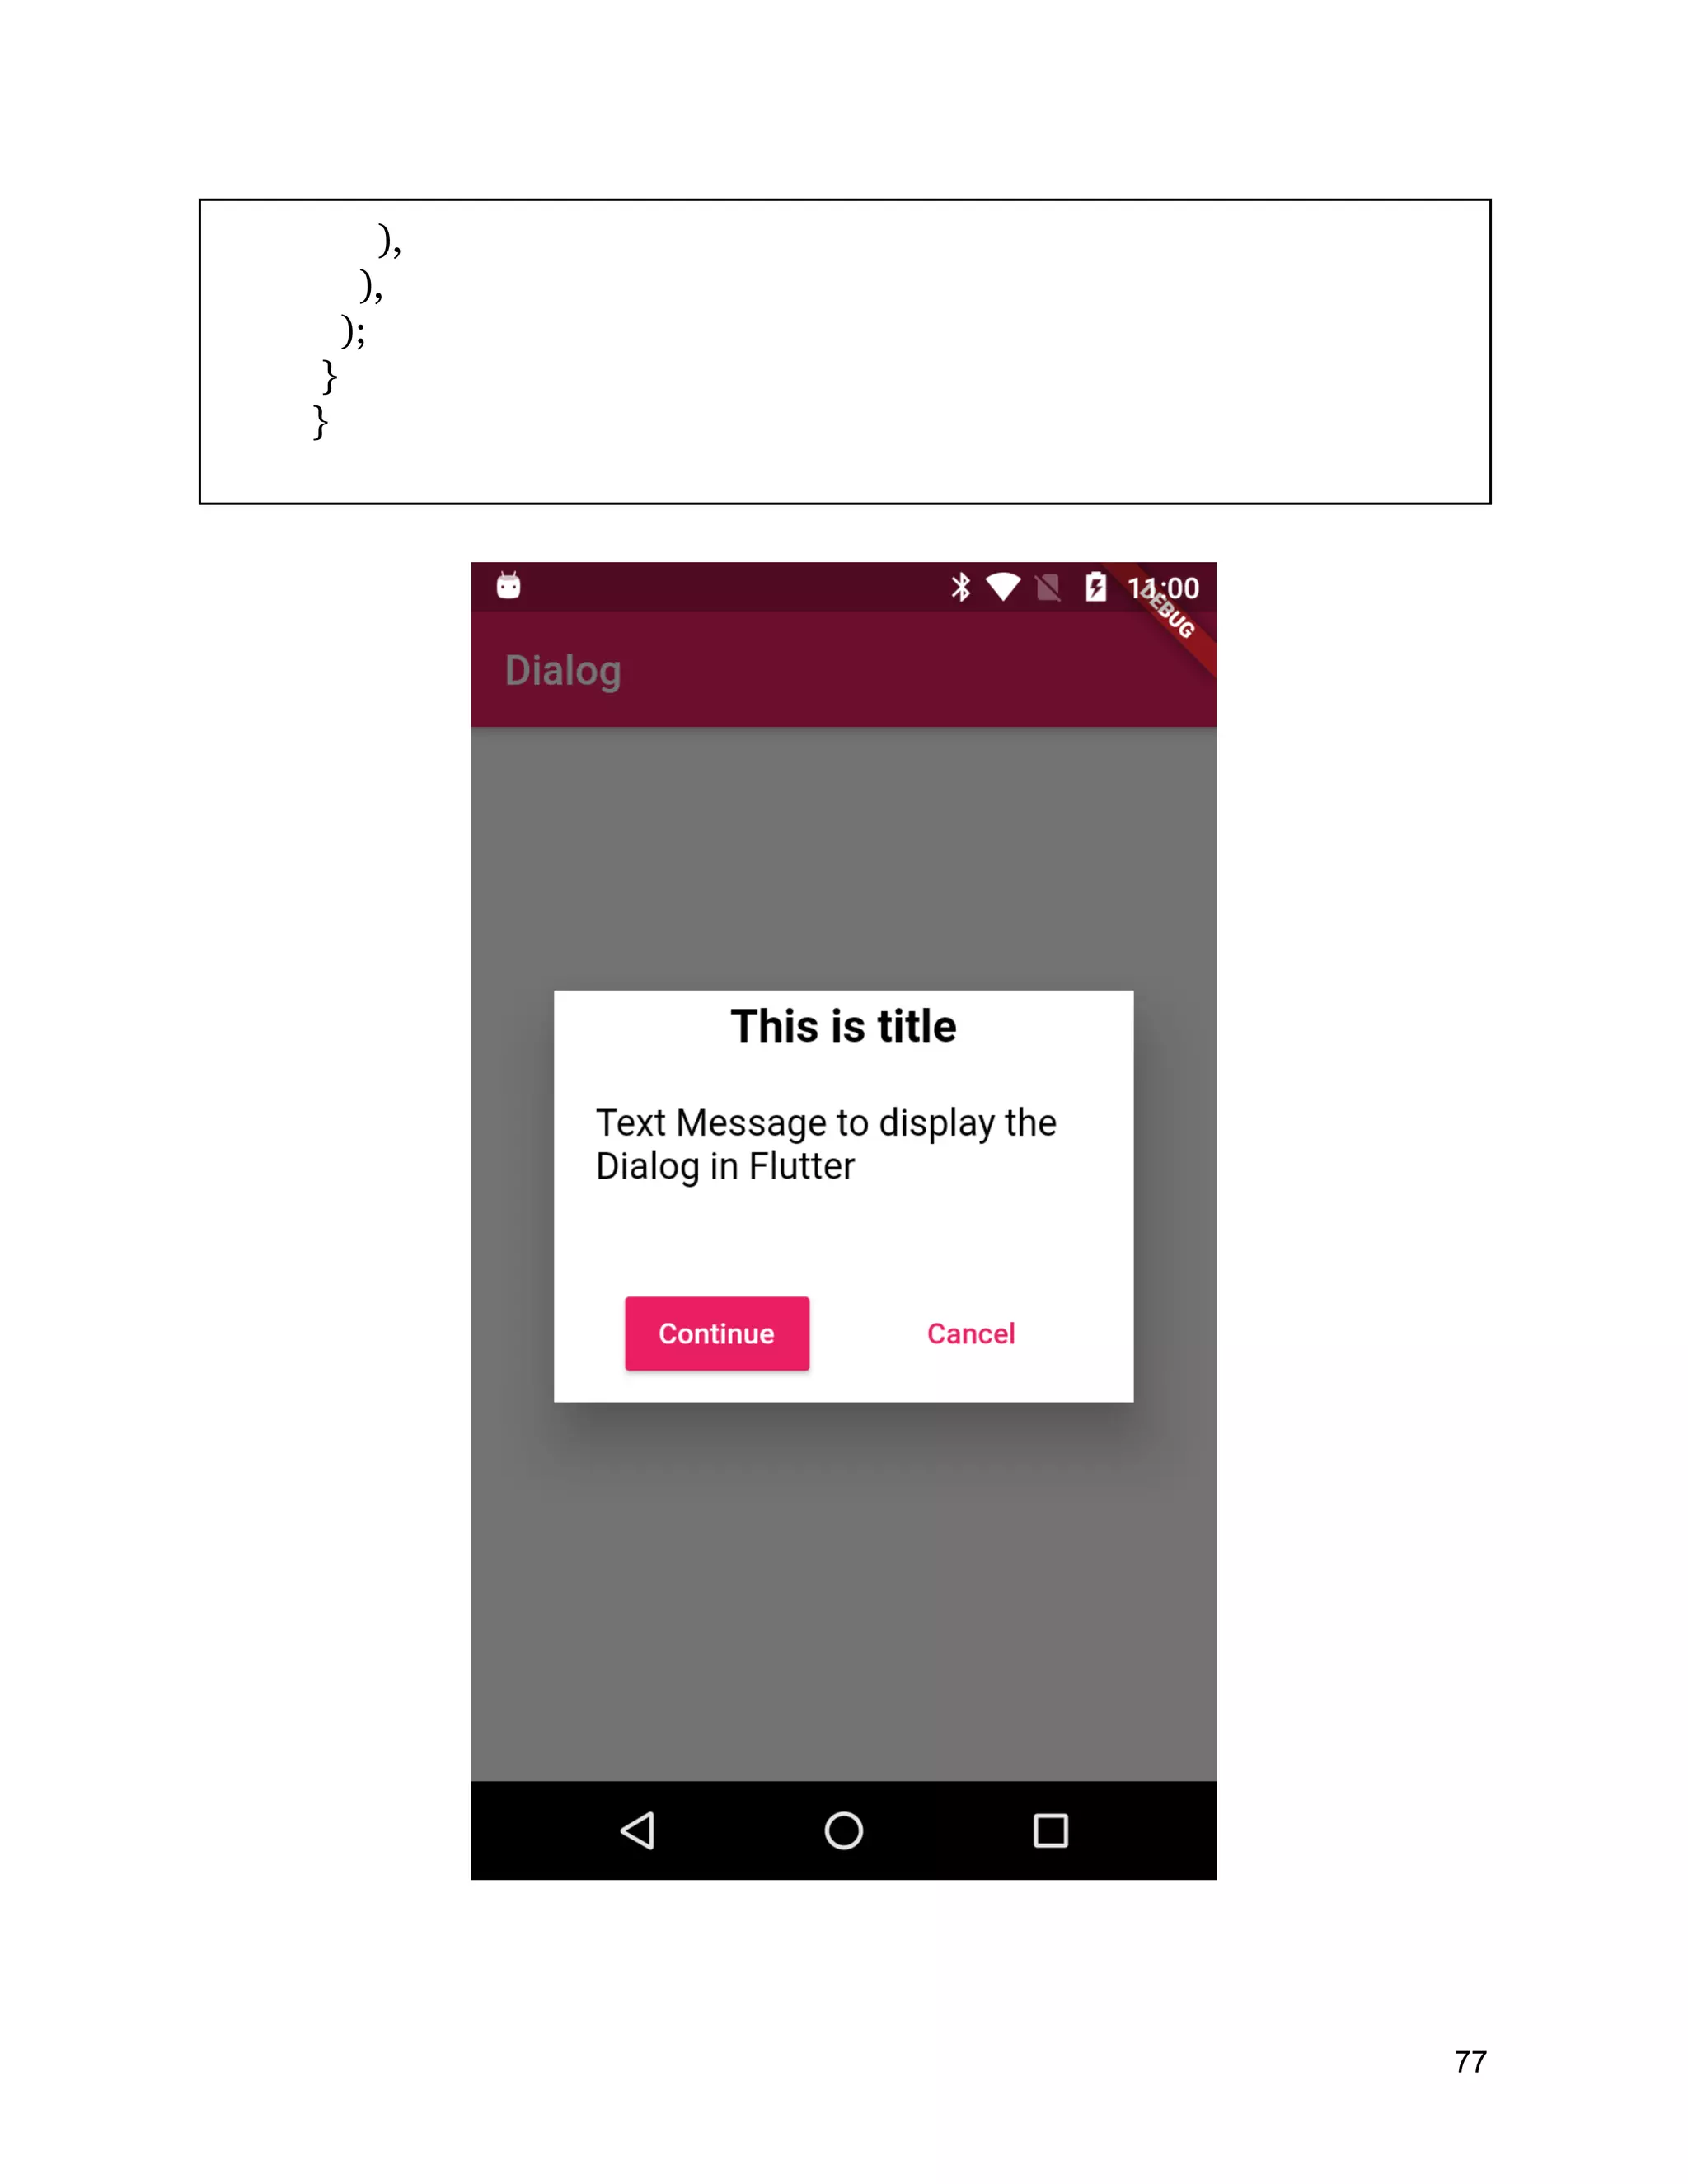
![ExpansionPanelList & ExpansionPanel These two widgets are designed to work together to present a list of expandable panels to the user We have to manage the state of what was expanded / collapsed and rebuild the ExpansionPanelList & ExpansionPanels everytime the state changes ExpansionPanel Shrink the panel. It has a title and a body that can be expanded or collapsed. The body of the panel is only visible when expanded. The shrink panel is only used as a child of ExpansionPanelList. Example implementation, please use ExpansionPanelList ExpansionPanel({ @required this.headerBuilder, @required this.body, this.isExpanded = false, this.canTapOnHeader = false, }) ExpansionPanelList A material expansion panel list that lays out its children and animates expansions Lays out the child ExpansionPanels const ExpansionPanelList({ Key key, this.children = const <ExpansionPanel>[], this.expansionCallback, this.animationDuration = kThemeAnimationDuration, }) 78](https://image.slidesharecdn.com/fluttertutorial-201008182102/75/Flutter-tutorial-for-Beginner-Step-by-Step-78-2048.jpg)
![child: Padding(padding: EdgeInsets.all(8),child: Text('Content 5'),), ), ], ), ), isExpanded: listExpans[0], canTapOnHeader: true, ), ExpansionPanel( headerBuilder:(context, isExpanded){ return ListTile( title: Text('Try Expansion 2 '), ); }, body: Padding( padding: EdgeInsets.fromLTRB(15, 0, 15, 15), child: ListBody( children: <Widget>[ Card( margin:EdgeInsets.fromLTRB(0, 0, 0, 10), child: Padding(padding: EdgeInsets.all(8),child: Text('Content 1'),), ), Card( margin:EdgeInsets.fromLTRB(0, 0, 0, 10), child: Padding(padding: EdgeInsets.all(8),child: Text('Content 2'),), ), Card( margin:EdgeInsets.fromLTRB(0, 0, 0, 10), child: Padding(padding: EdgeInsets.all(8),child: Text('Content 3'),), ), Card( margin:EdgeInsets.fromLTRB(0, 0, 0, 10), 81](https://image.slidesharecdn.com/fluttertutorial-201008182102/75/Flutter-tutorial-for-Beginner-Step-by-Step-81-2048.jpg)
![child: Padding(padding: EdgeInsets.all(8),child: Text('Content 4'),), ), Card( margin:EdgeInsets.fromLTRB(0, 0, 0, 10), child: Padding(padding: EdgeInsets.all(8),child: Text('Content 5'),), ), ], ), ), isExpanded: listExpans[1], canTapOnHeader: true, ), ], expansionCallback:(panelIndex, isExpanded){ setState(() { listExpans[panelIndex] = !isExpanded; }); }, animationDuration : kThemeAnimationDuration, ), ], ), ), ) ); } } 82](https://image.slidesharecdn.com/fluttertutorial-201008182102/75/Flutter-tutorial-for-Beginner-Step-by-Step-82-2048.jpg)
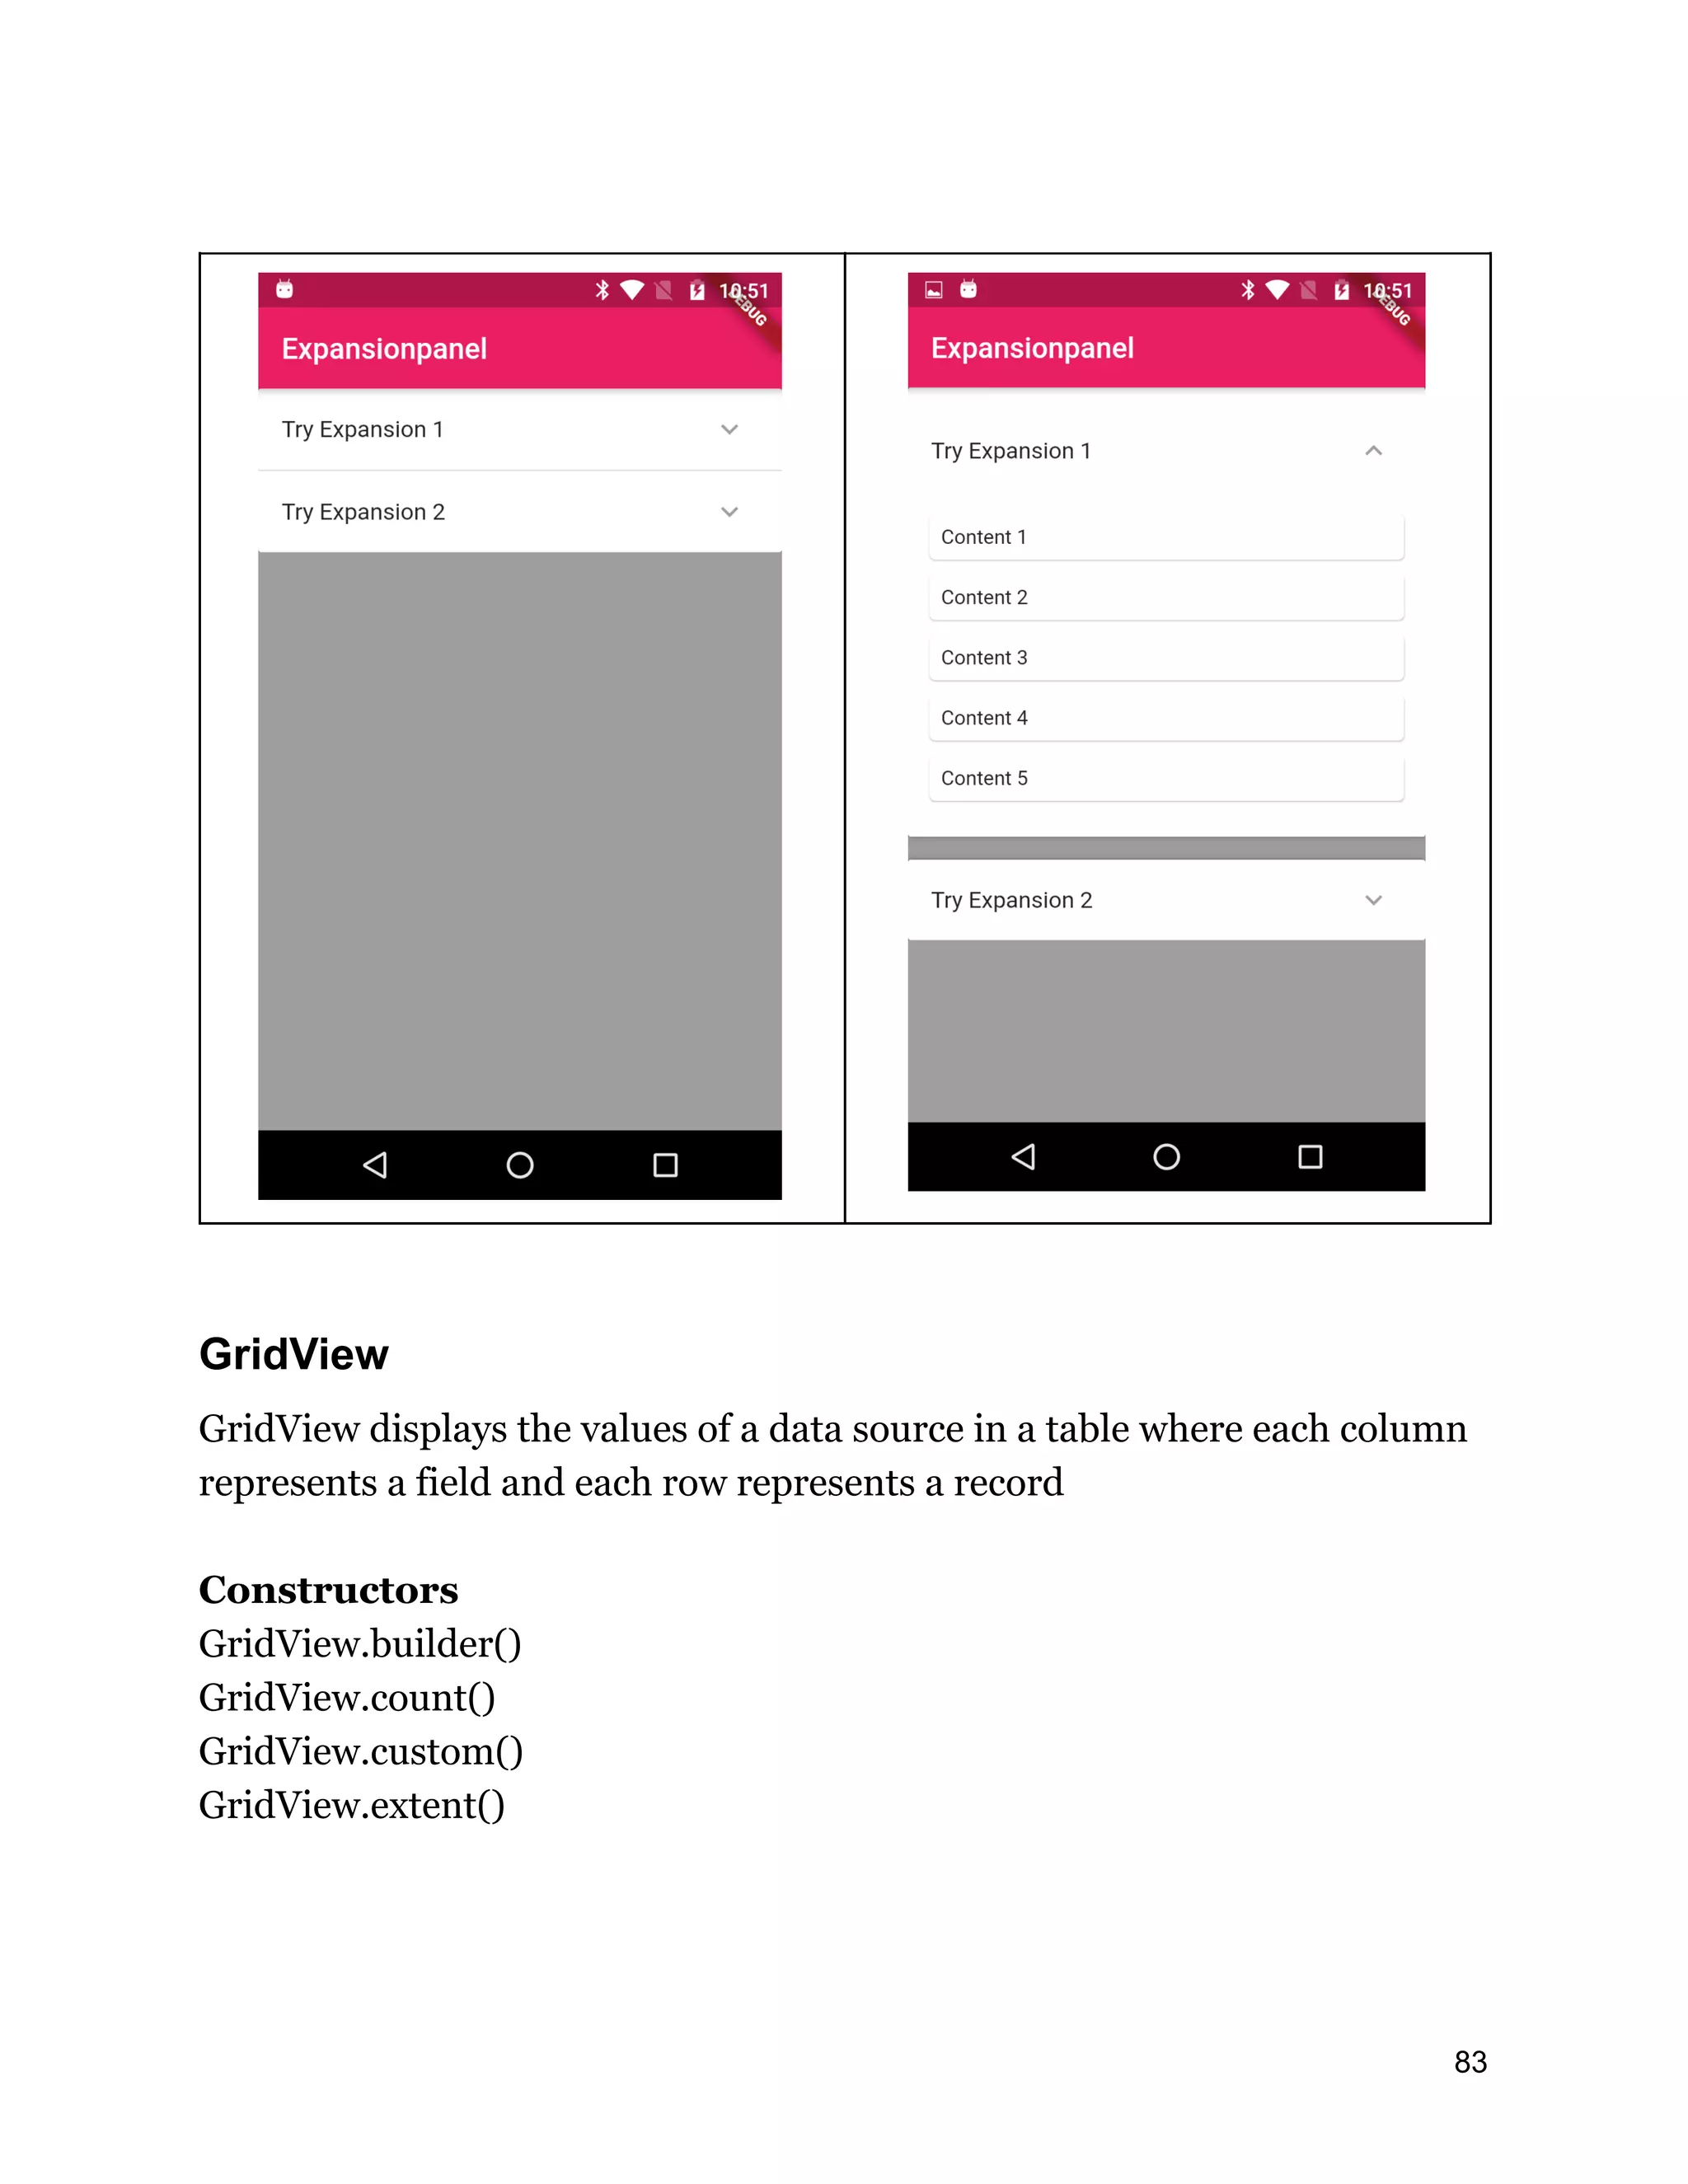
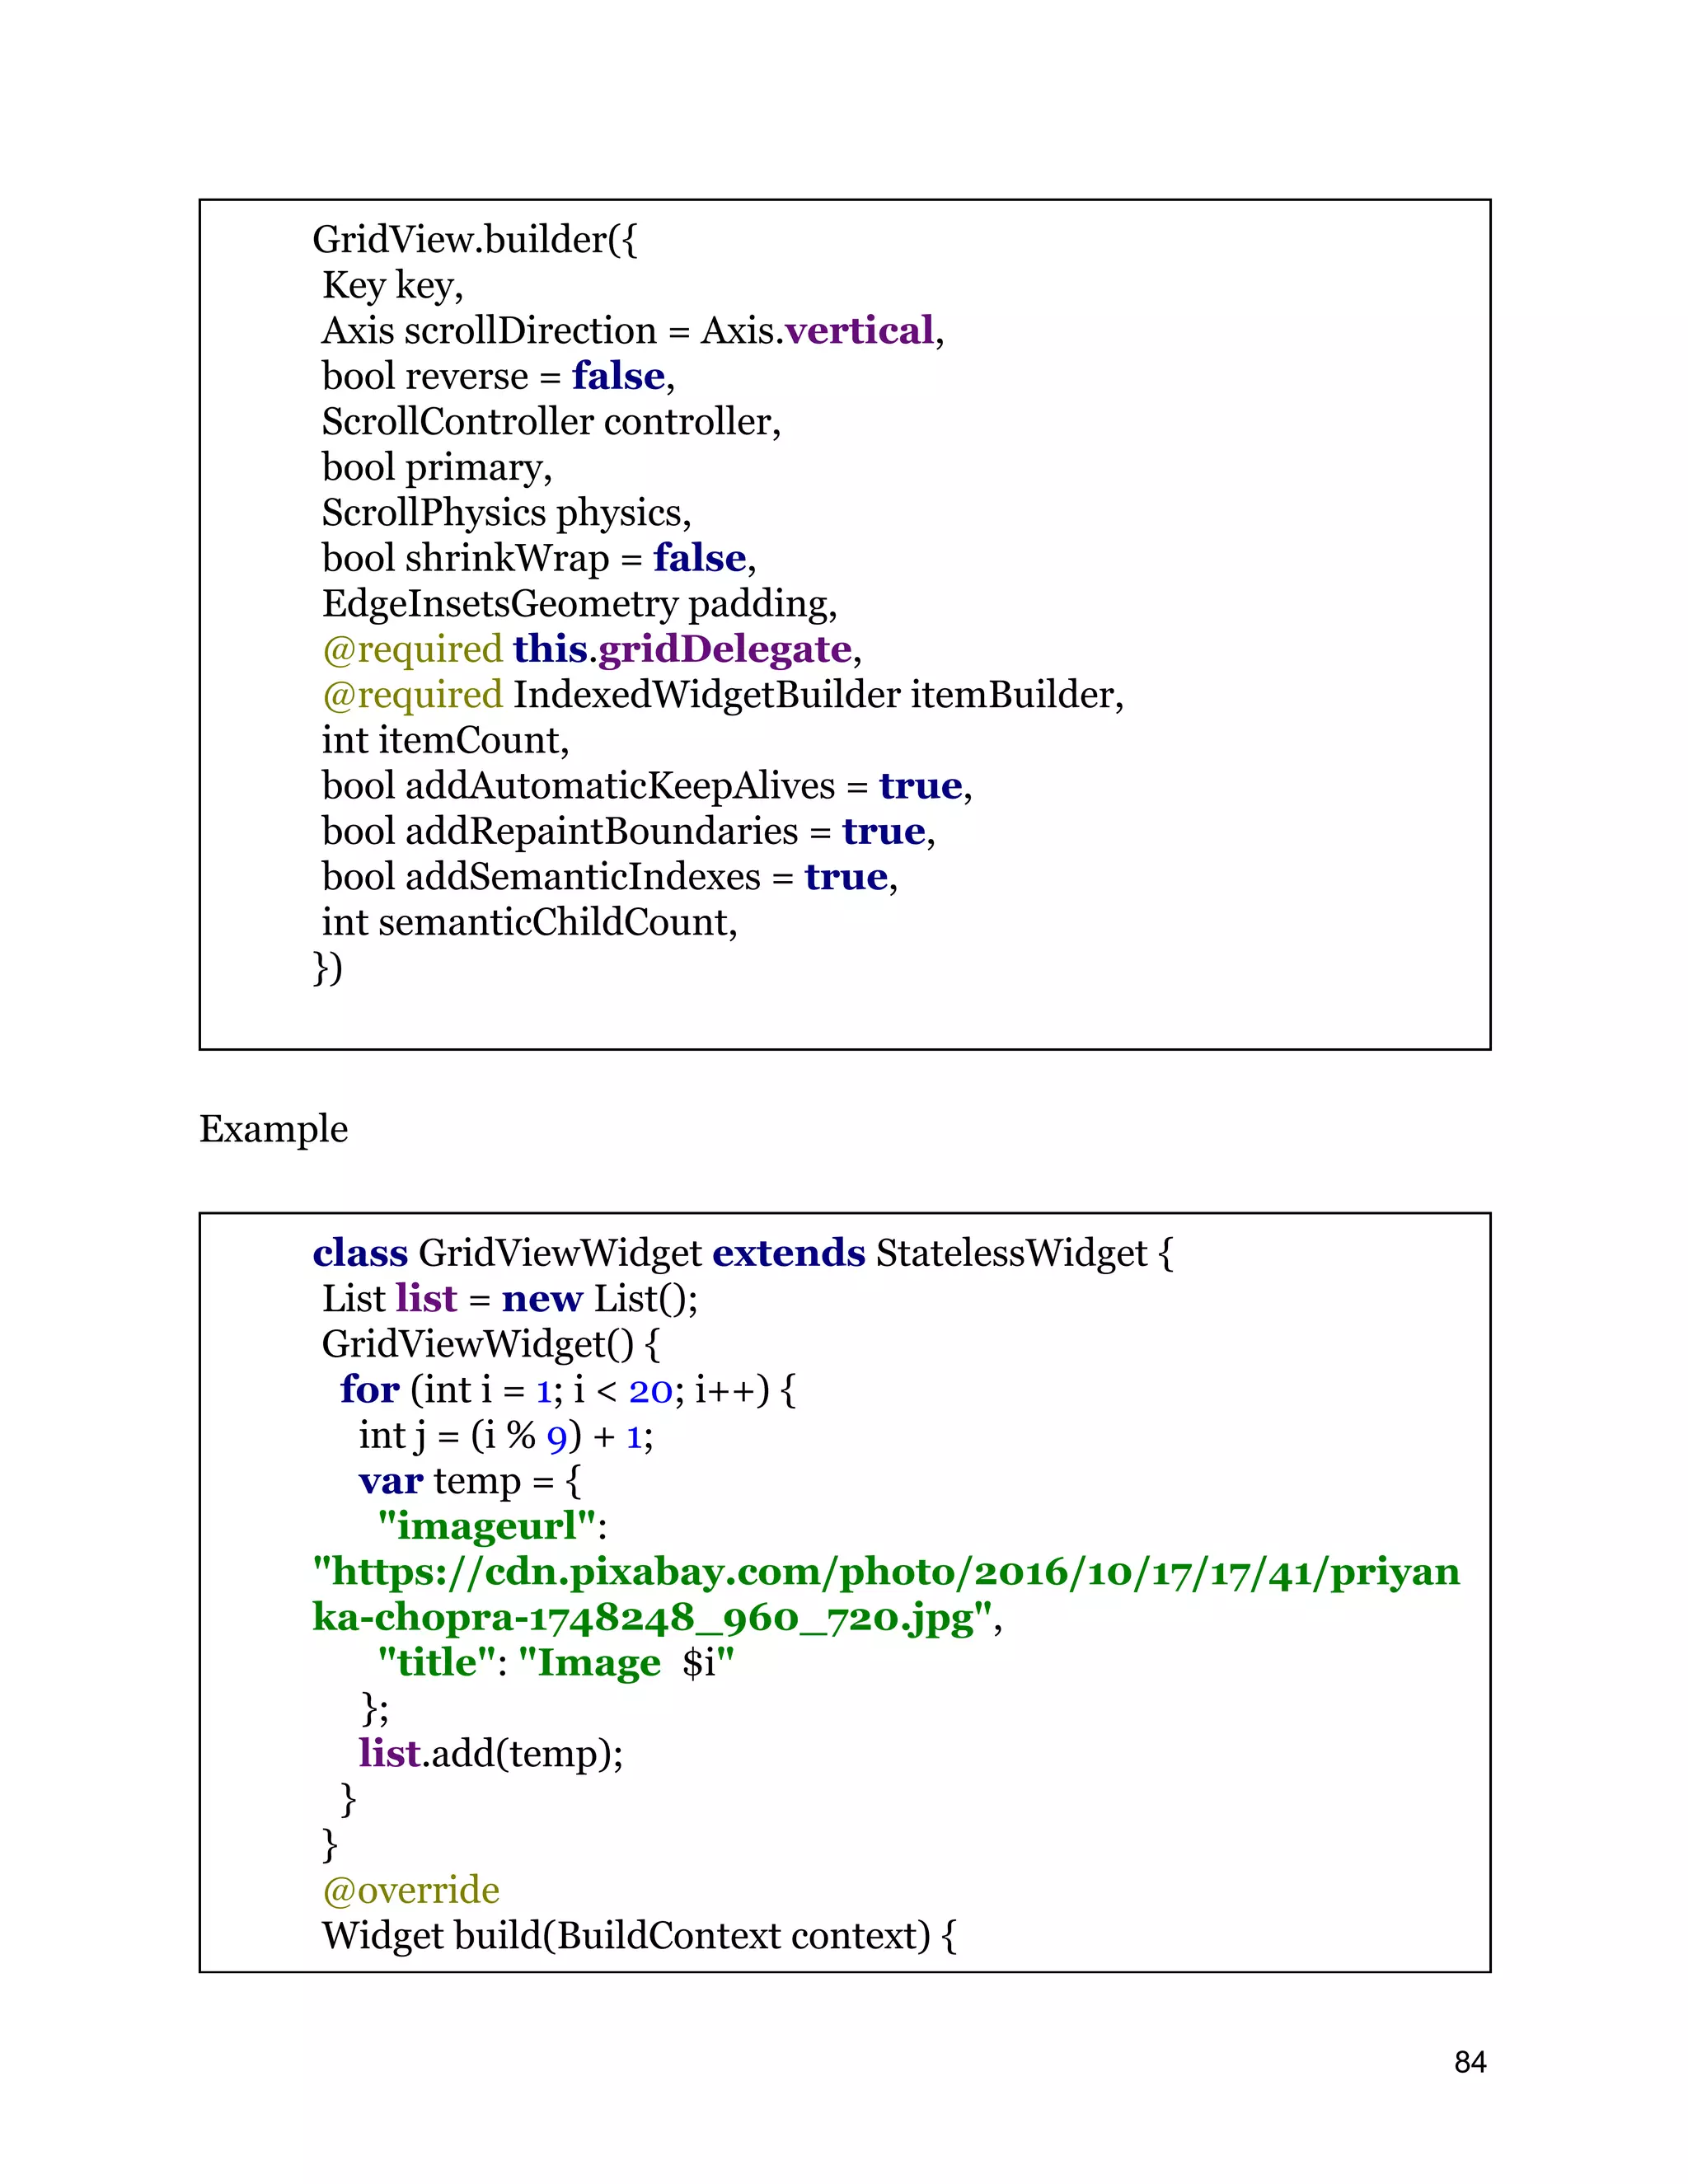
![// TODO: implement build return Scaffold( appBar: AppBar( title: Text("GridView"), backgroundColor: Colors.pink, ), body: GridView.builder( gridDelegate: SliverGridDelegateWithFixedCrossAxisCount( crossAxisCount: 3, mainAxisSpacing: 5, crossAxisSpacing: 5, ), itemCount: list.length, itemBuilder: (BuildContext context, int index) { return Container( decoration: BoxDecoration( border: Border.all( color: Colors.red, width: 2, )), child: Column( mainAxisSize: MainAxisSize.max, mainAxisAlignment: MainAxisAlignment.end, children: <Widget>[ Image.network( list[index]['imageurl'], fit: BoxFit.cover, ), Expanded(child: Text(list[index]['title'])), ], ), ); })); } } 85](https://image.slidesharecdn.com/fluttertutorial-201008182102/75/Flutter-tutorial-for-Beginner-Step-by-Step-85-2048.jpg)
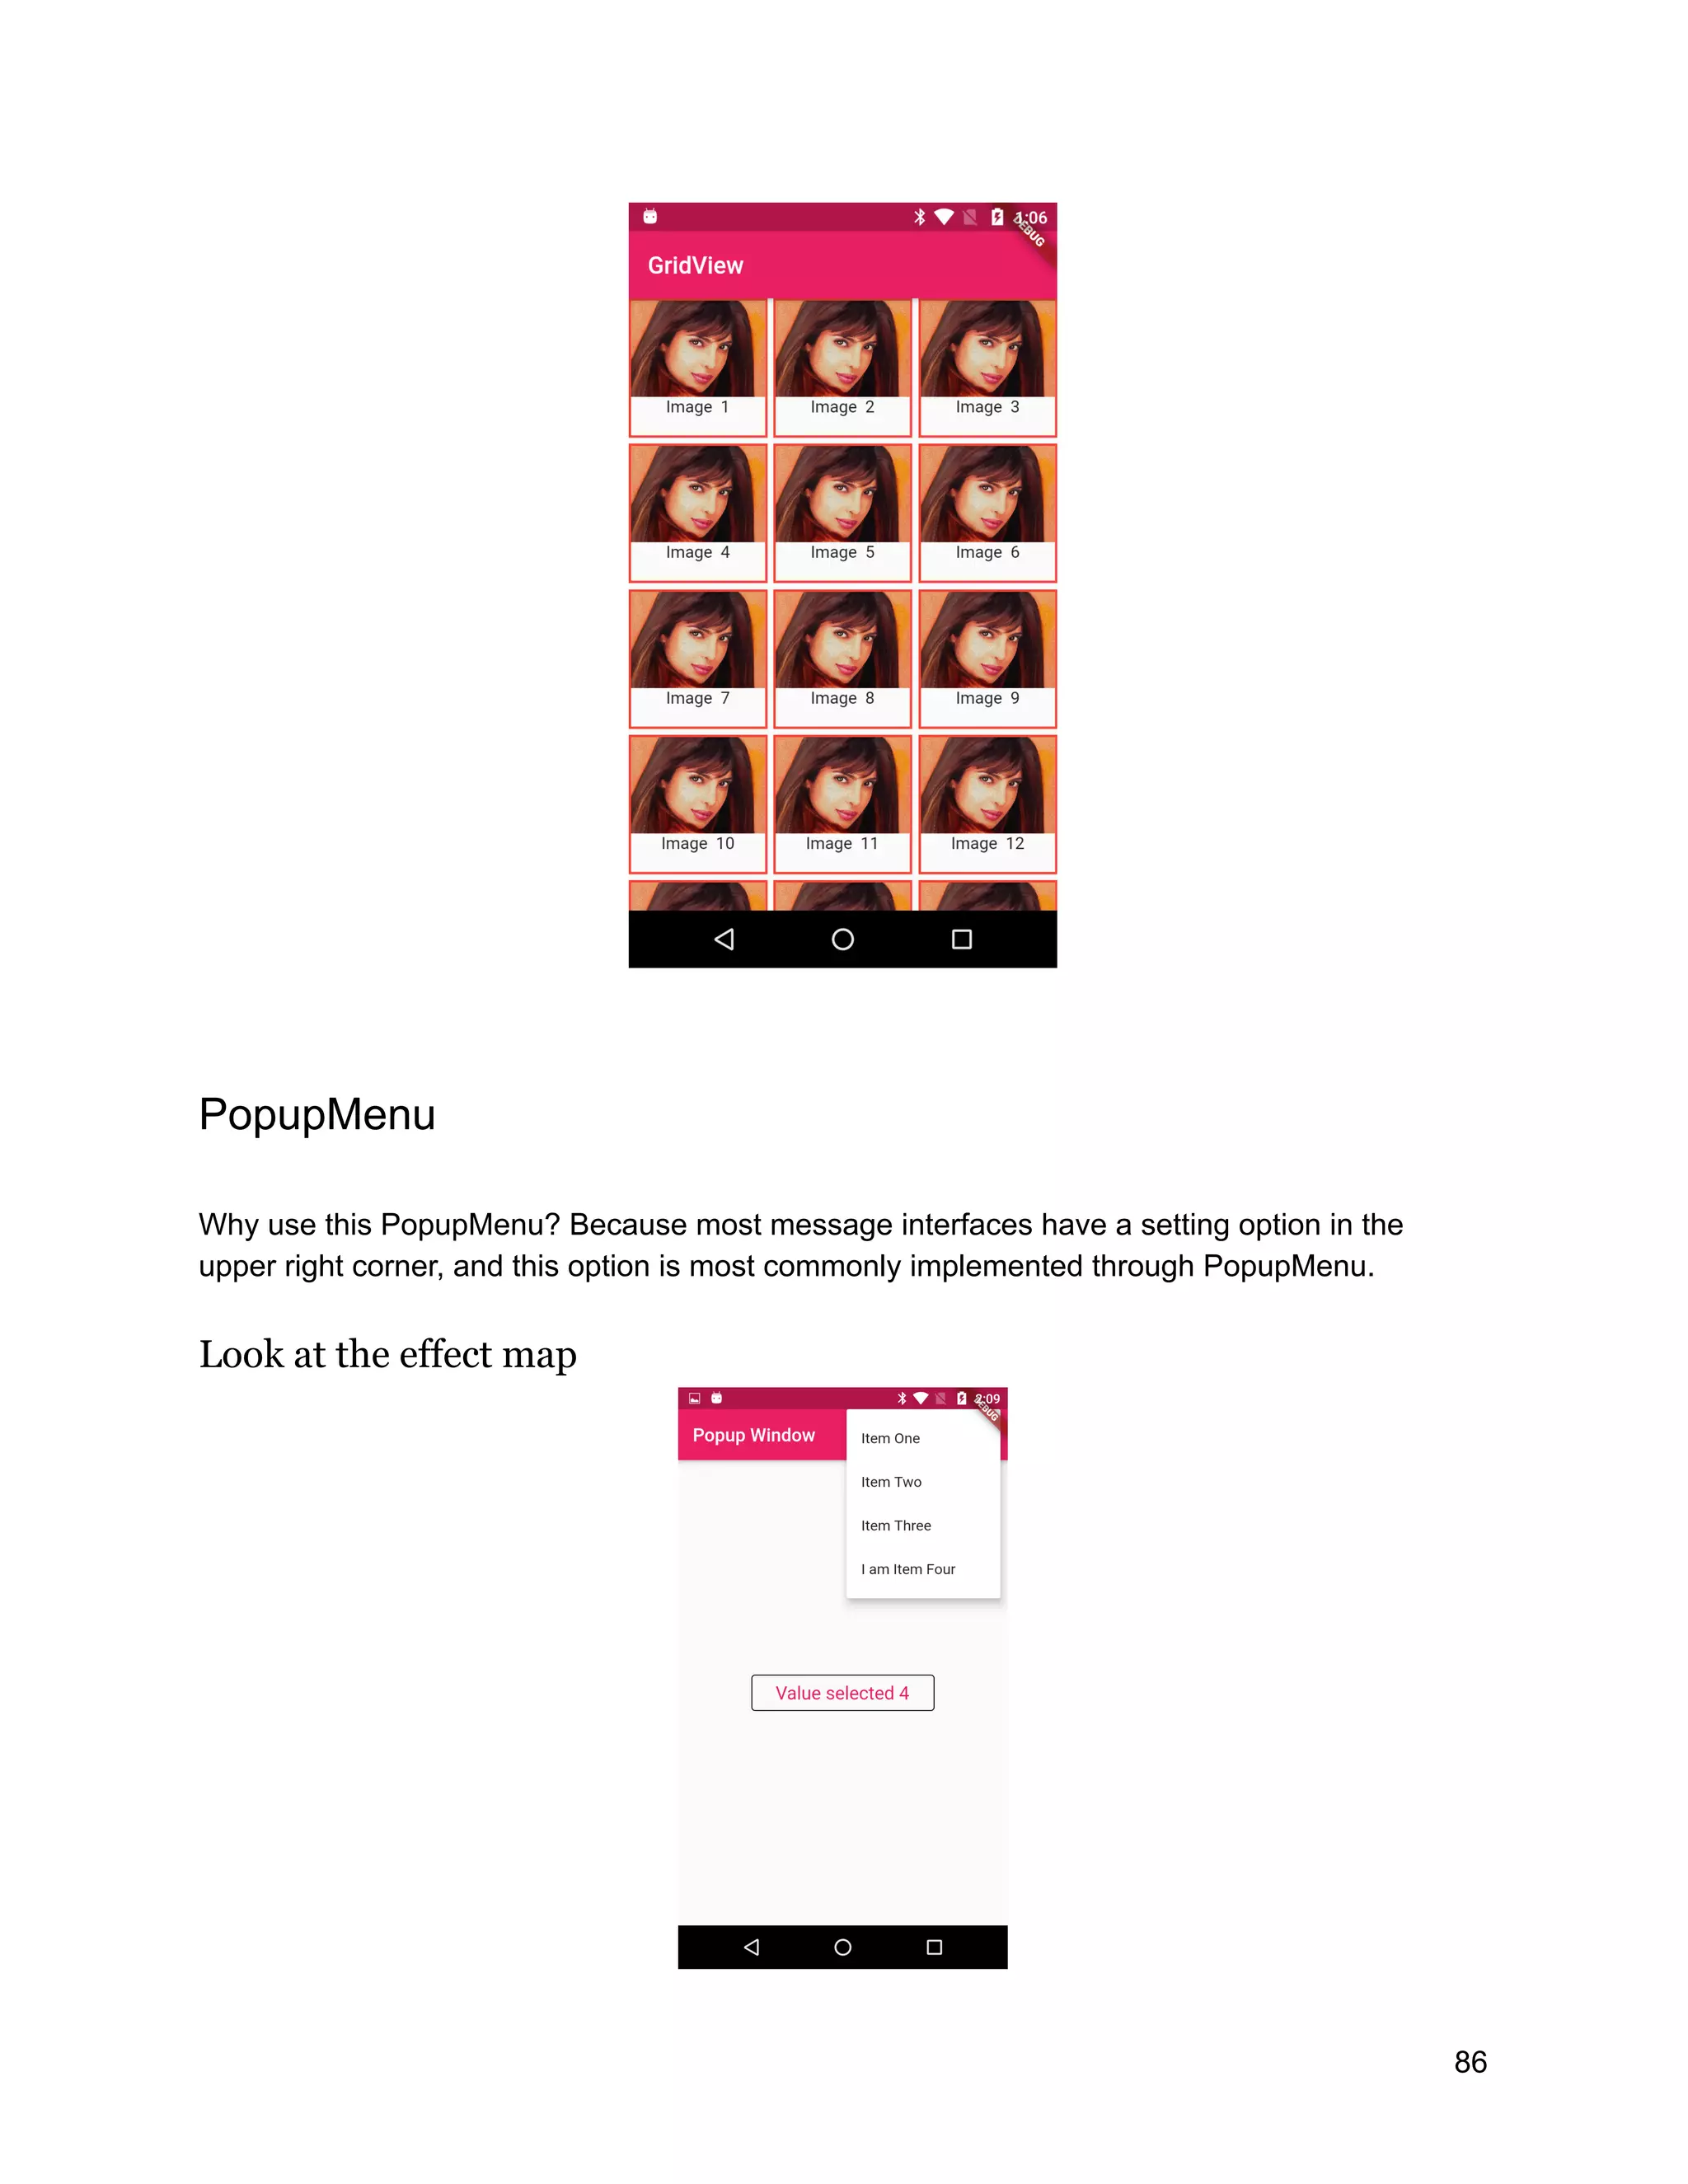
![class PopupWidget extends StatefulWidget{ @override State<StatefulWidget> createState() { // TODO: implement createState return PopupWidgetState(); } } class PopupWidgetState extends State<PopupWidget> { int _value=1; @override Widget build(BuildContext context) { // TODO: implement build return Scaffold( appBar: AppBar(title: Text("Popup Window"),backgroundColor: Colors.pink, actions: <Widget>[ _NomalPopMenu() ],), body: Container( child: Center( child: Container( decoration:ShapeDecoration(shape: OutlineInputBorder( )), width: 200, height: 40, child: Center(child: Text("Value selected $_value",style: TextStyle(color: Colors.pink,fontSize: 20),)), ), ), ), ); 87](https://image.slidesharecdn.com/fluttertutorial-201008182102/75/Flutter-tutorial-for-Beginner-Step-by-Step-87-2048.jpg)
![} Widget _NomalPopMenu() { return new PopupMenuButton<int>( itemBuilder: (BuildContext context) => <PopupMenuItem<int>>[ new PopupMenuItem<int>( value: 1, child: new Text('Item One')), new PopupMenuItem<int>( value: 2, child: new Text('Item Two')), new PopupMenuItem<int>( value: 3, child: new Text('Item Three')), new PopupMenuItem<int>( value: 4, child: new Text('I am Item Four')) ], onSelected: (int value) { setState(() { _value = value; }); }); } } Checked Widgets CheckBox Checkbox is a checkbox component, usually used for setting options Attributes ● activeColor : Color -the color when active. ● onChanged : ValueChanged -fired when changed. ● tristate: bool -If true, the value of the checkbox can be true, false or null. 88](https://image.slidesharecdn.com/fluttertutorial-201008182102/75/Flutter-tutorial-for-Beginner-Step-by-Step-88-2048.jpg)
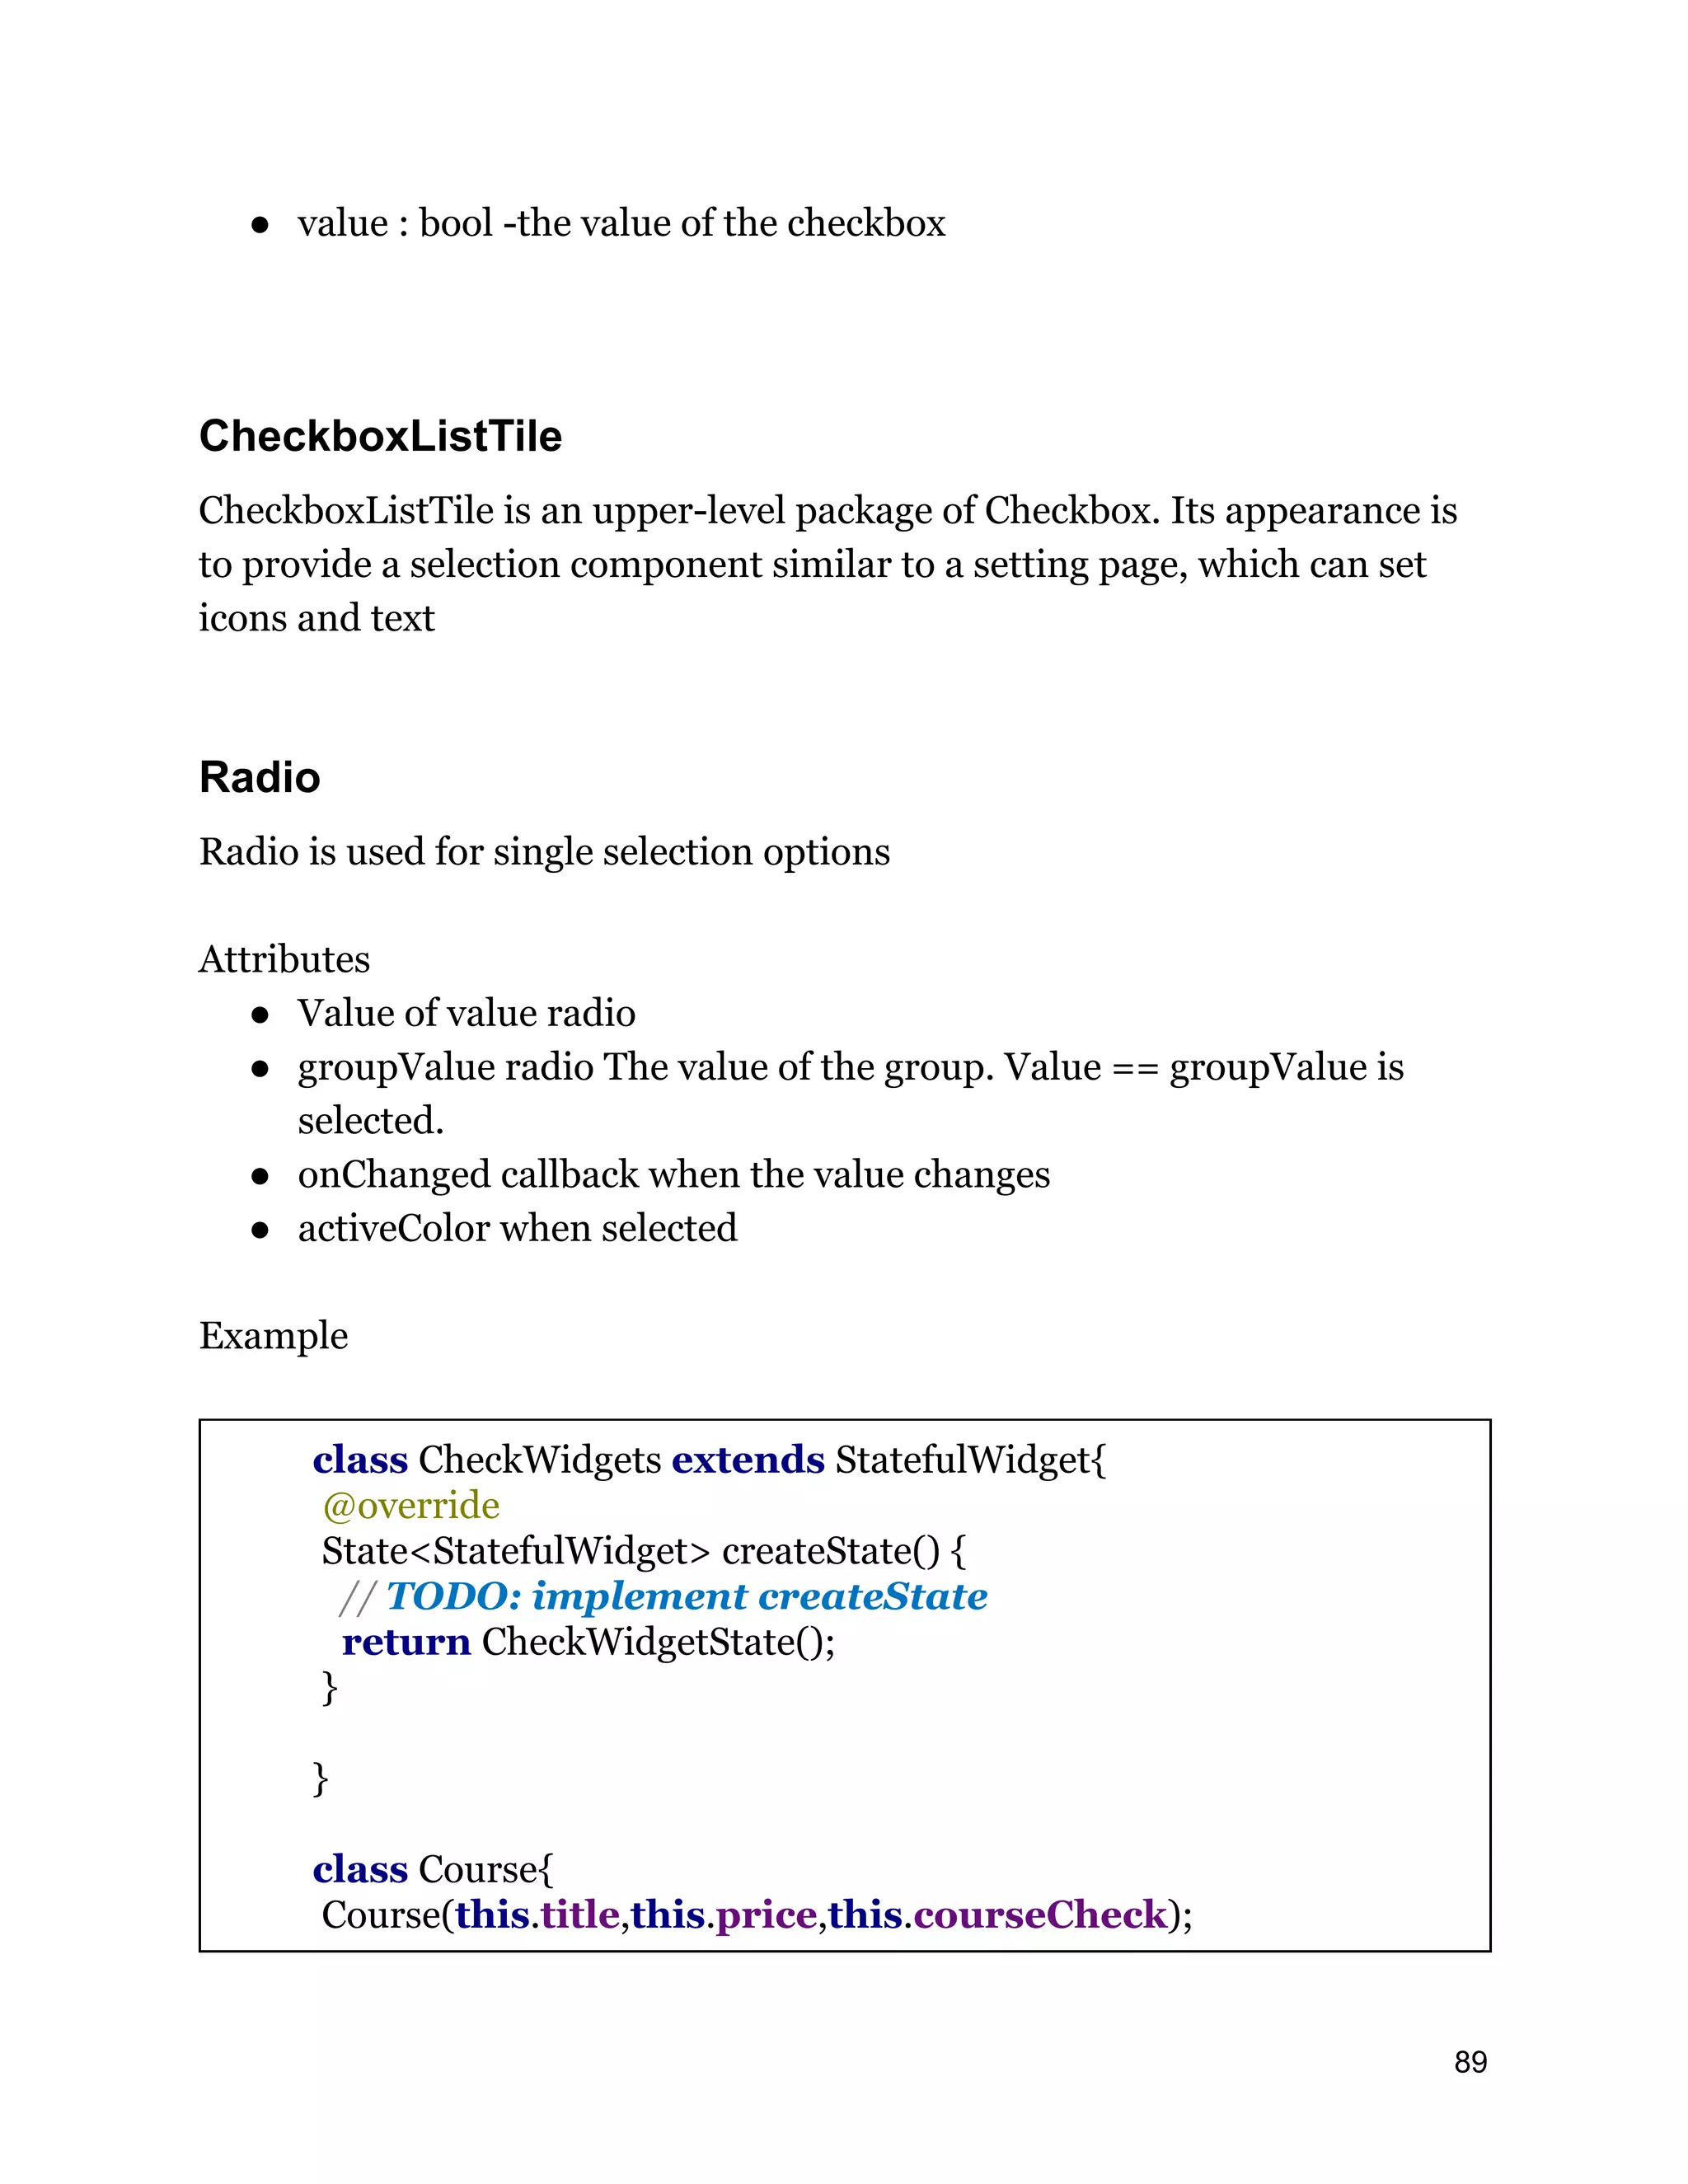
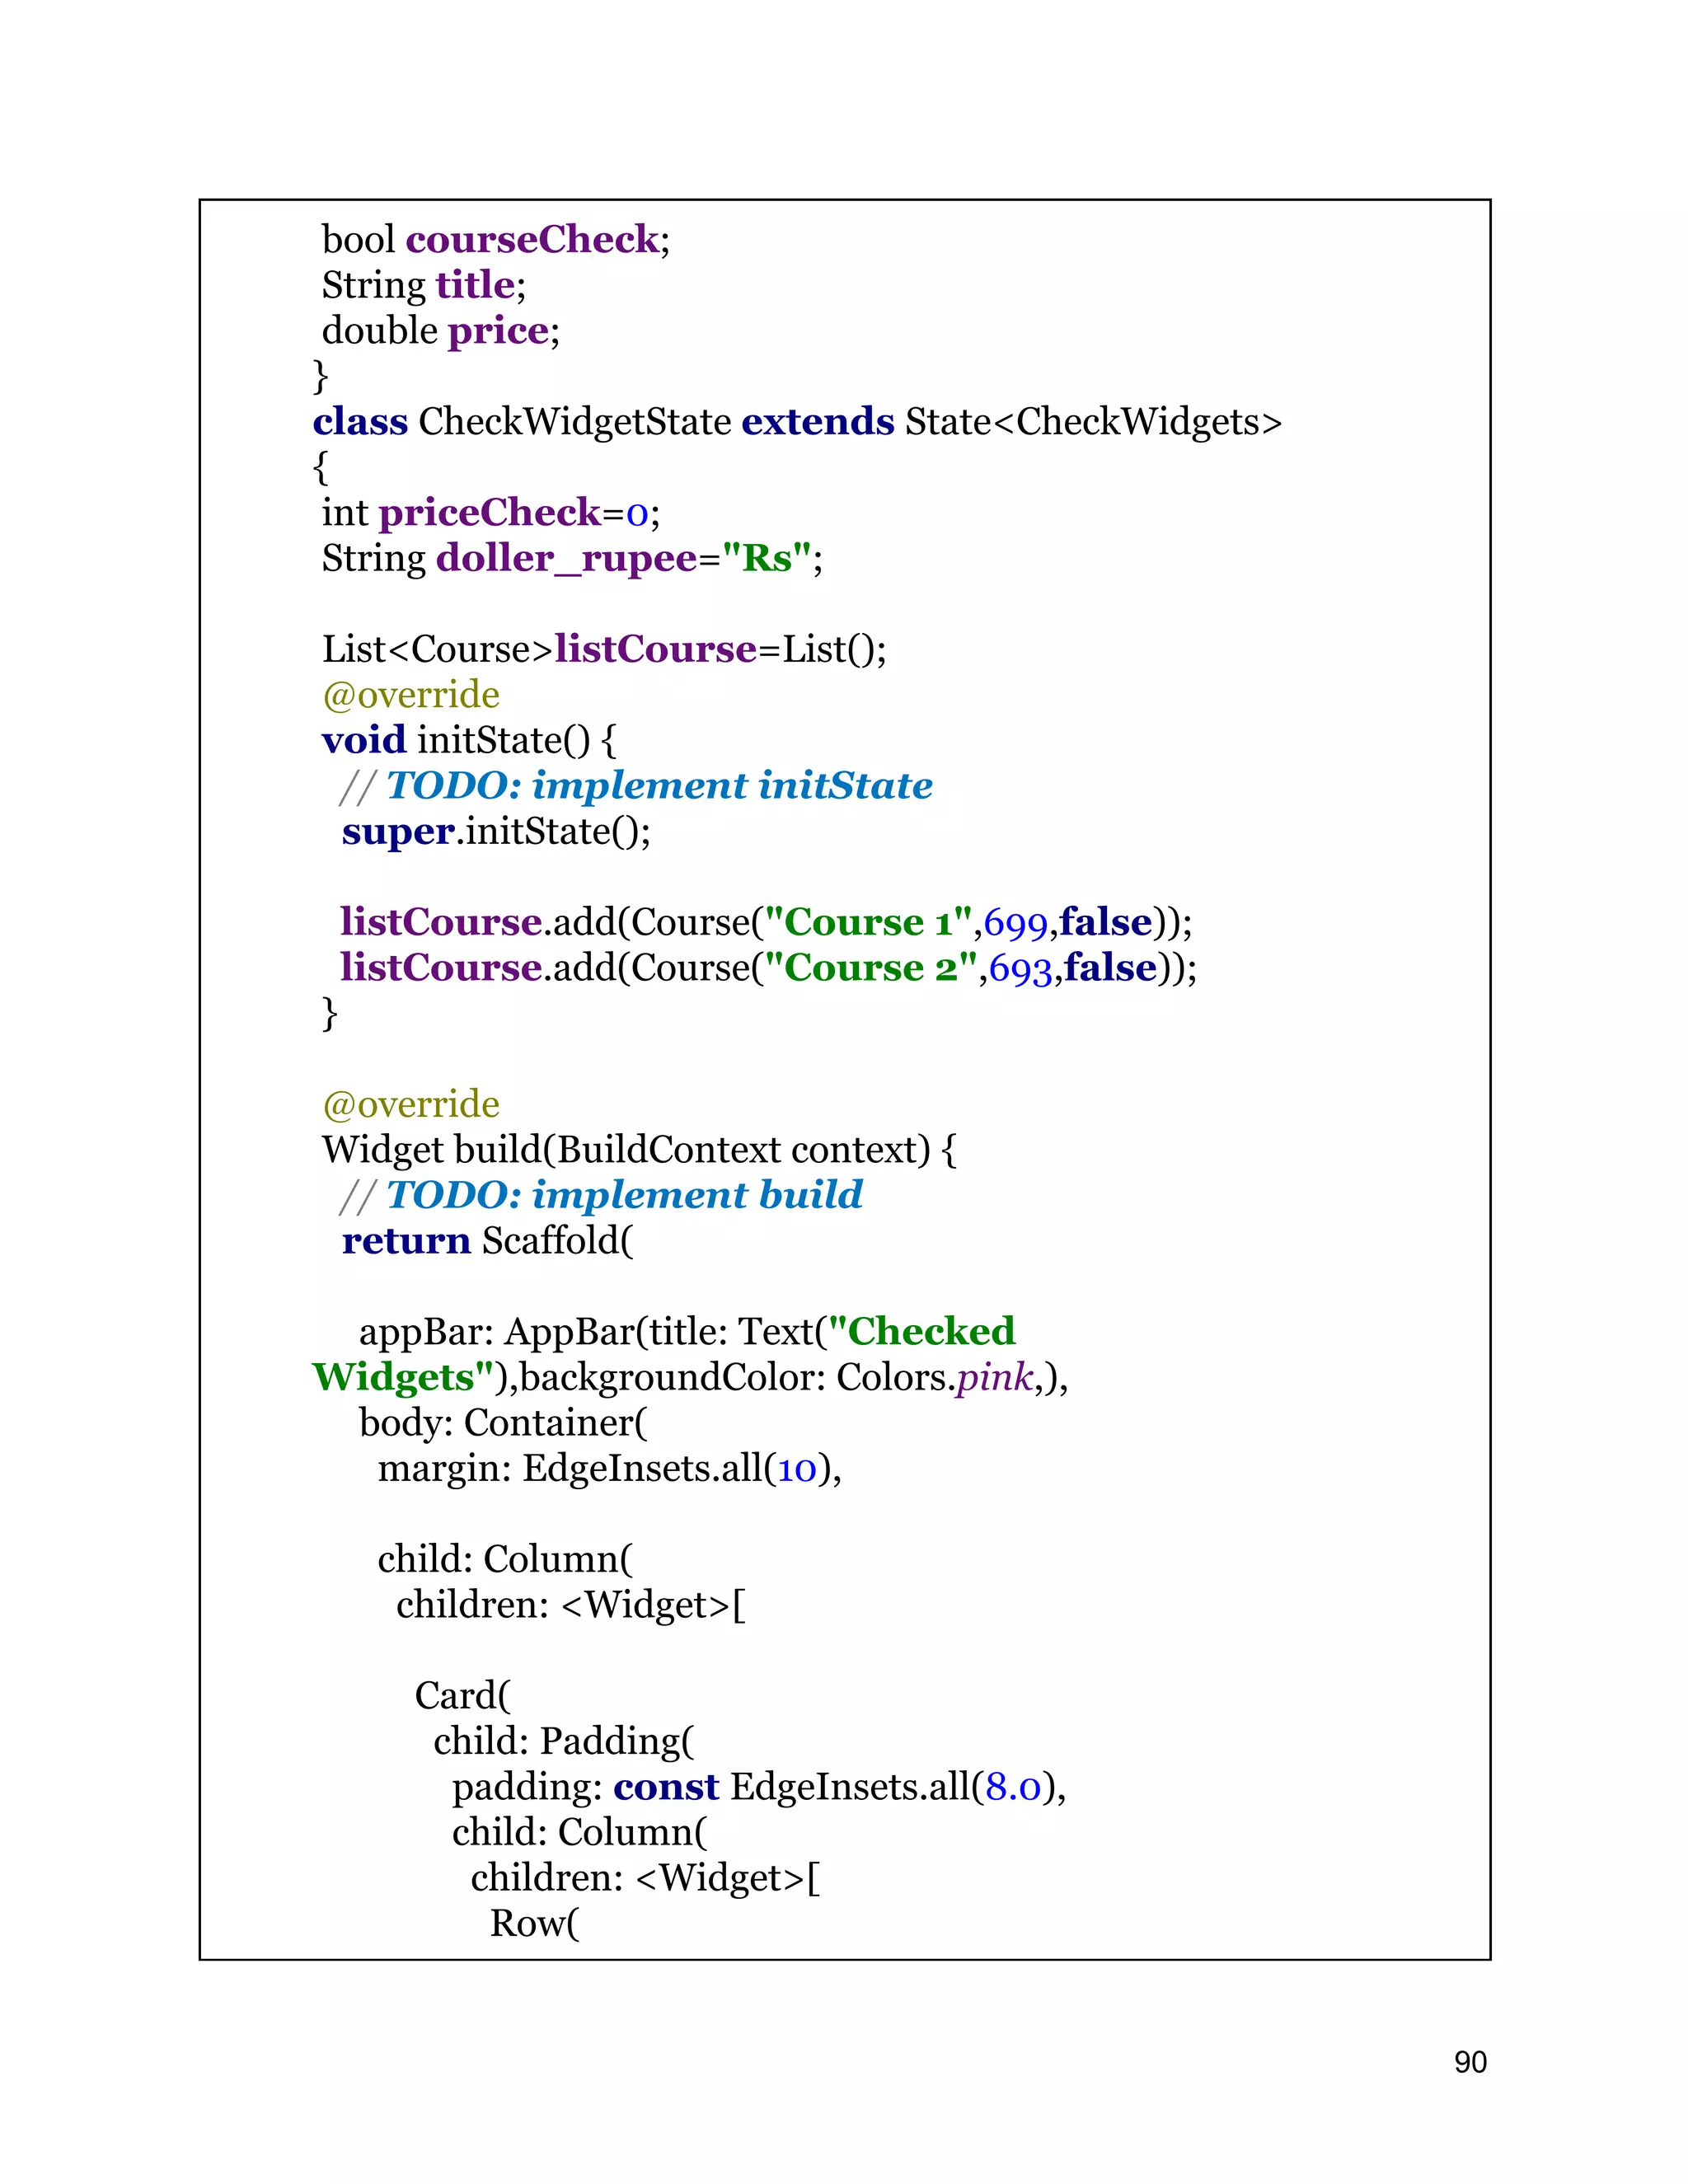
![children: <Widget>[ Text("Price in ",style: TextStyle(color: Colors.pink,fontSize: 22),), ], ), Row( children: <Widget>[ Row( children: <Widget>[ Radio( value: 0, activeColor: Colors.pink, groupValue: priceCheck, onChanged: (newValue) { setState(() { priceCheck = newValue; doller_rupee="Rs"; }); } ), Text('Rupee') ], ), Row( children: <Widget>[ Radio( value: 1, activeColor: Colors.pink, groupValue: priceCheck, onChanged: (newValue) { setState(() { priceCheck = newValue; doller_rupee="$"; }); } ), Text('Dollar') 91](https://image.slidesharecdn.com/fluttertutorial-201008182102/75/Flutter-tutorial-for-Beginner-Step-by-Step-91-2048.jpg)
![], ), ], ), ], ), ), ) , Card( child: Padding( padding: const EdgeInsets.all(8.0), child: Column( children: <Widget>[ Row( children: <Widget>[ Text("Select Course",style: TextStyle(color: Colors.pink,fontSize: 24),), ], ), ListView.builder( shrinkWrap: true, itemCount: listCourse.length, itemBuilder: (ctx,pos){ return Column( children: <Widget>[ CheckboxListTile( subtitle: Text(" $doller_rupee ${listCourse[pos].price}",style: TextStyle(fontSize: 16,color: Colors.green),), title: Text(listCourse[pos].title,style: TextStyle(fontSize: 22,color: Colors.black),), checkColor:Colors.white, activeColor:Colors.pink, value: this.listCourse[pos].courseCheck, onChanged: (bool value) { setState(() { listCourse[pos].courseCheck = 92](https://image.slidesharecdn.com/fluttertutorial-201008182102/75/Flutter-tutorial-for-Beginner-Step-by-Step-92-2048.jpg)
![!listCourse[pos].courseCheck; }); }, ), Divider(height: 2,color: Colors.pink,) ], ); }) ], ), ), ),], ), ), ); } } 93](https://image.slidesharecdn.com/fluttertutorial-201008182102/75/Flutter-tutorial-for-Beginner-Step-by-Step-93-2048.jpg)
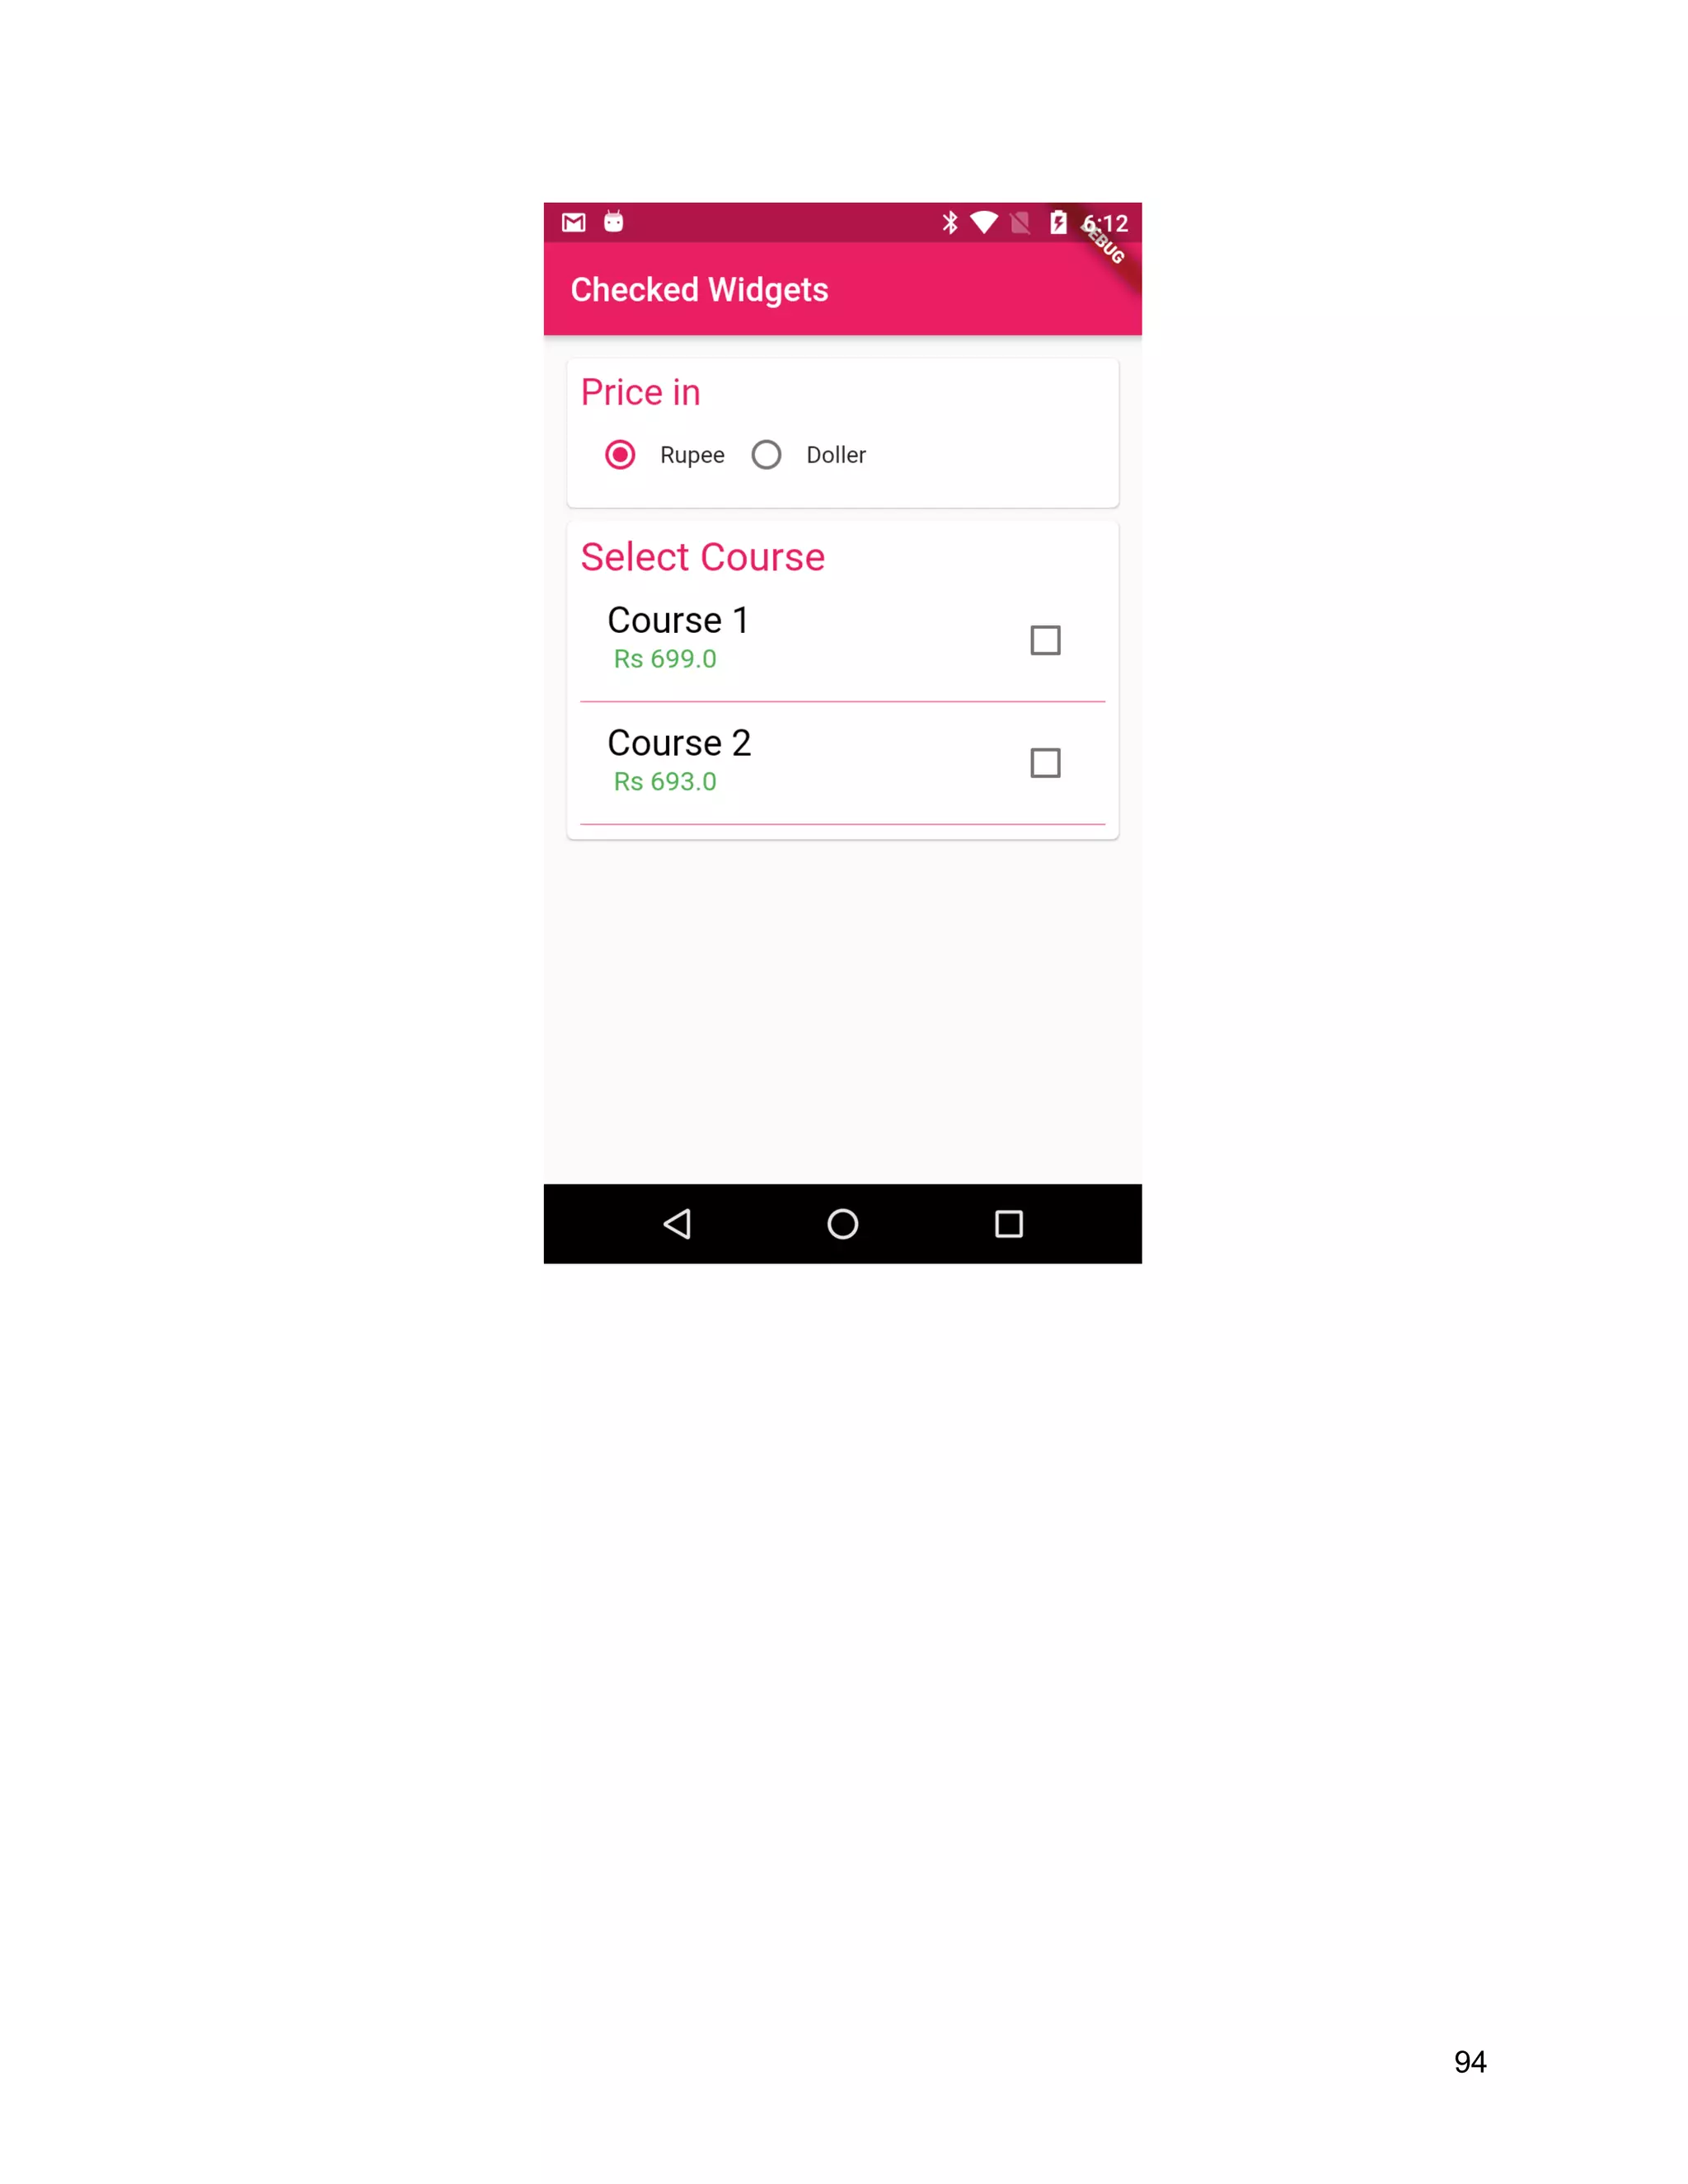
![TabBar TabBarView TabBar is a row of horizontal tabs, you can switch back and forth, the effect map TabBar is generally used together with TabBarView. TabBarView is used to select different TabBars. TabBarView displays the corresponding View TabBarView property description class TabBarDemo extends StatefulWidget { @override State<StatefulWidget> createState() => _TabBar(); } class _TabBar extends State<TabBarDemo> { final List<String> _tabValues = [ 'Tab1', 'Tab2', 'Tab3', 'Tab4', 'Tab5', 'Tab6', 'Tab7', 'Tab8', ]; TabController _controller; @override void initState() { super.initState(); _controller = TabController( length: _tabValues.length, 95](https://image.slidesharecdn.com/fluttertutorial-201008182102/75/Flutter-tutorial-for-Beginner-Step-by-Step-95-2048.jpg)
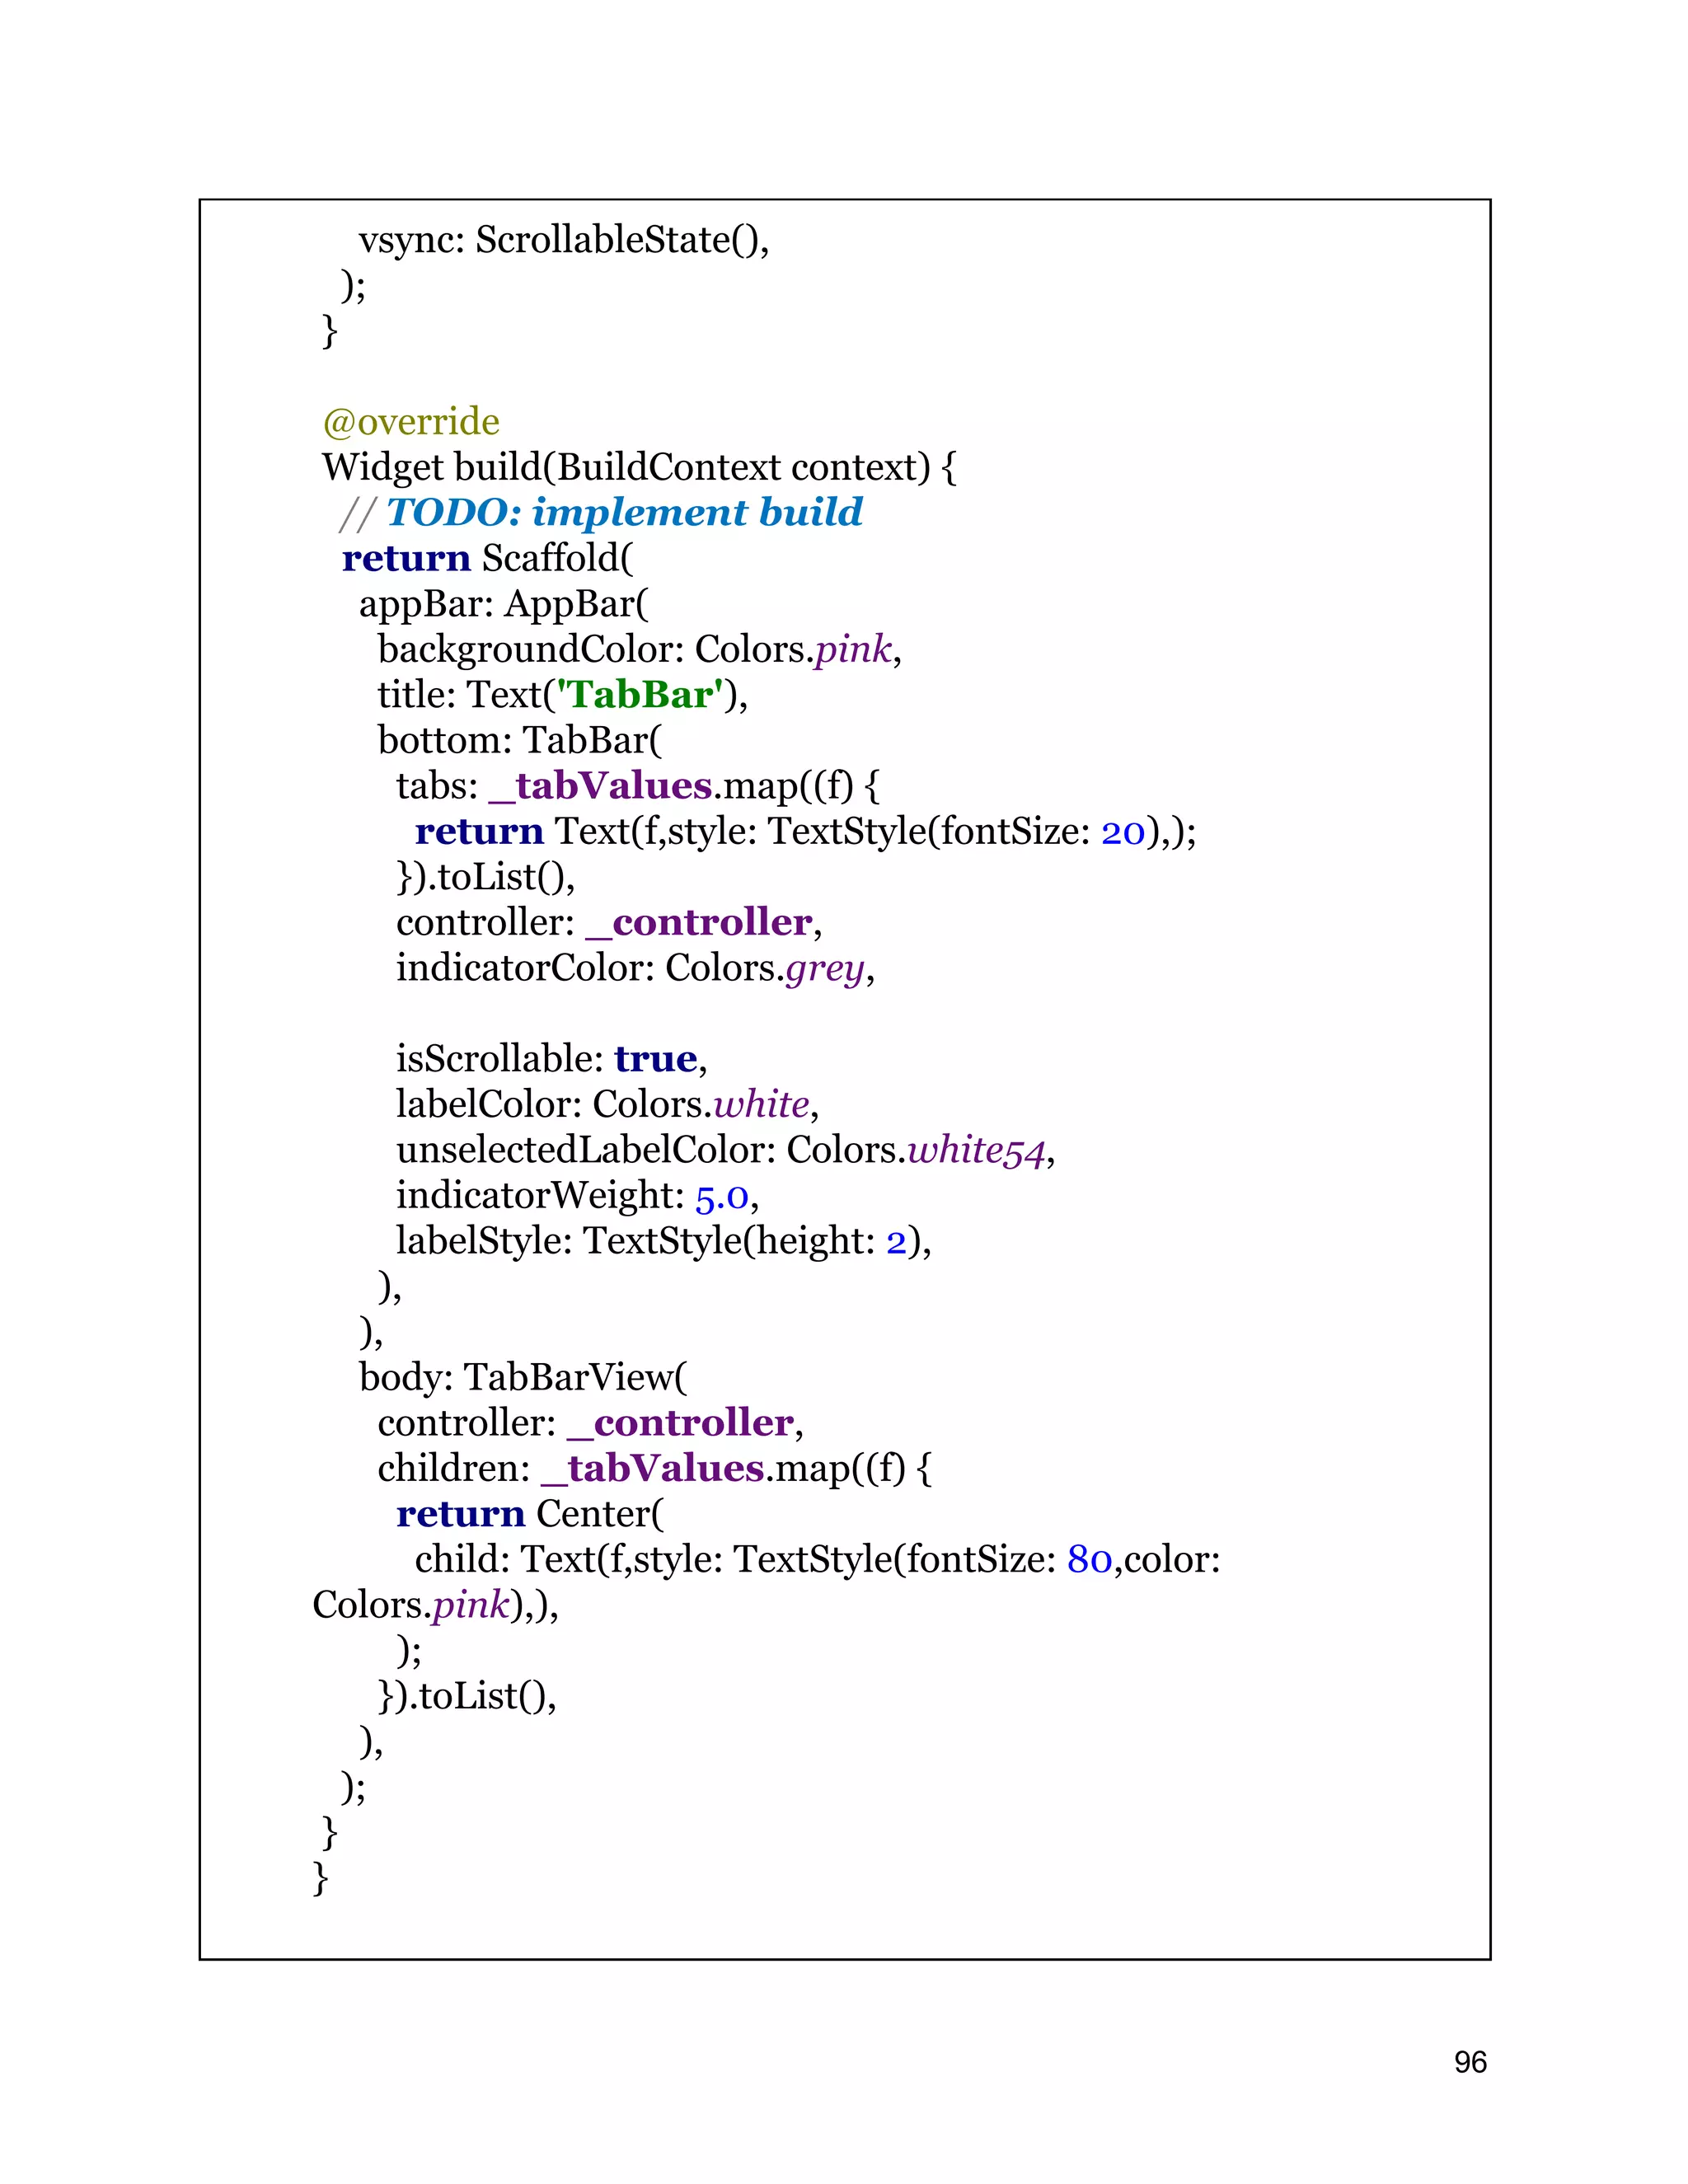
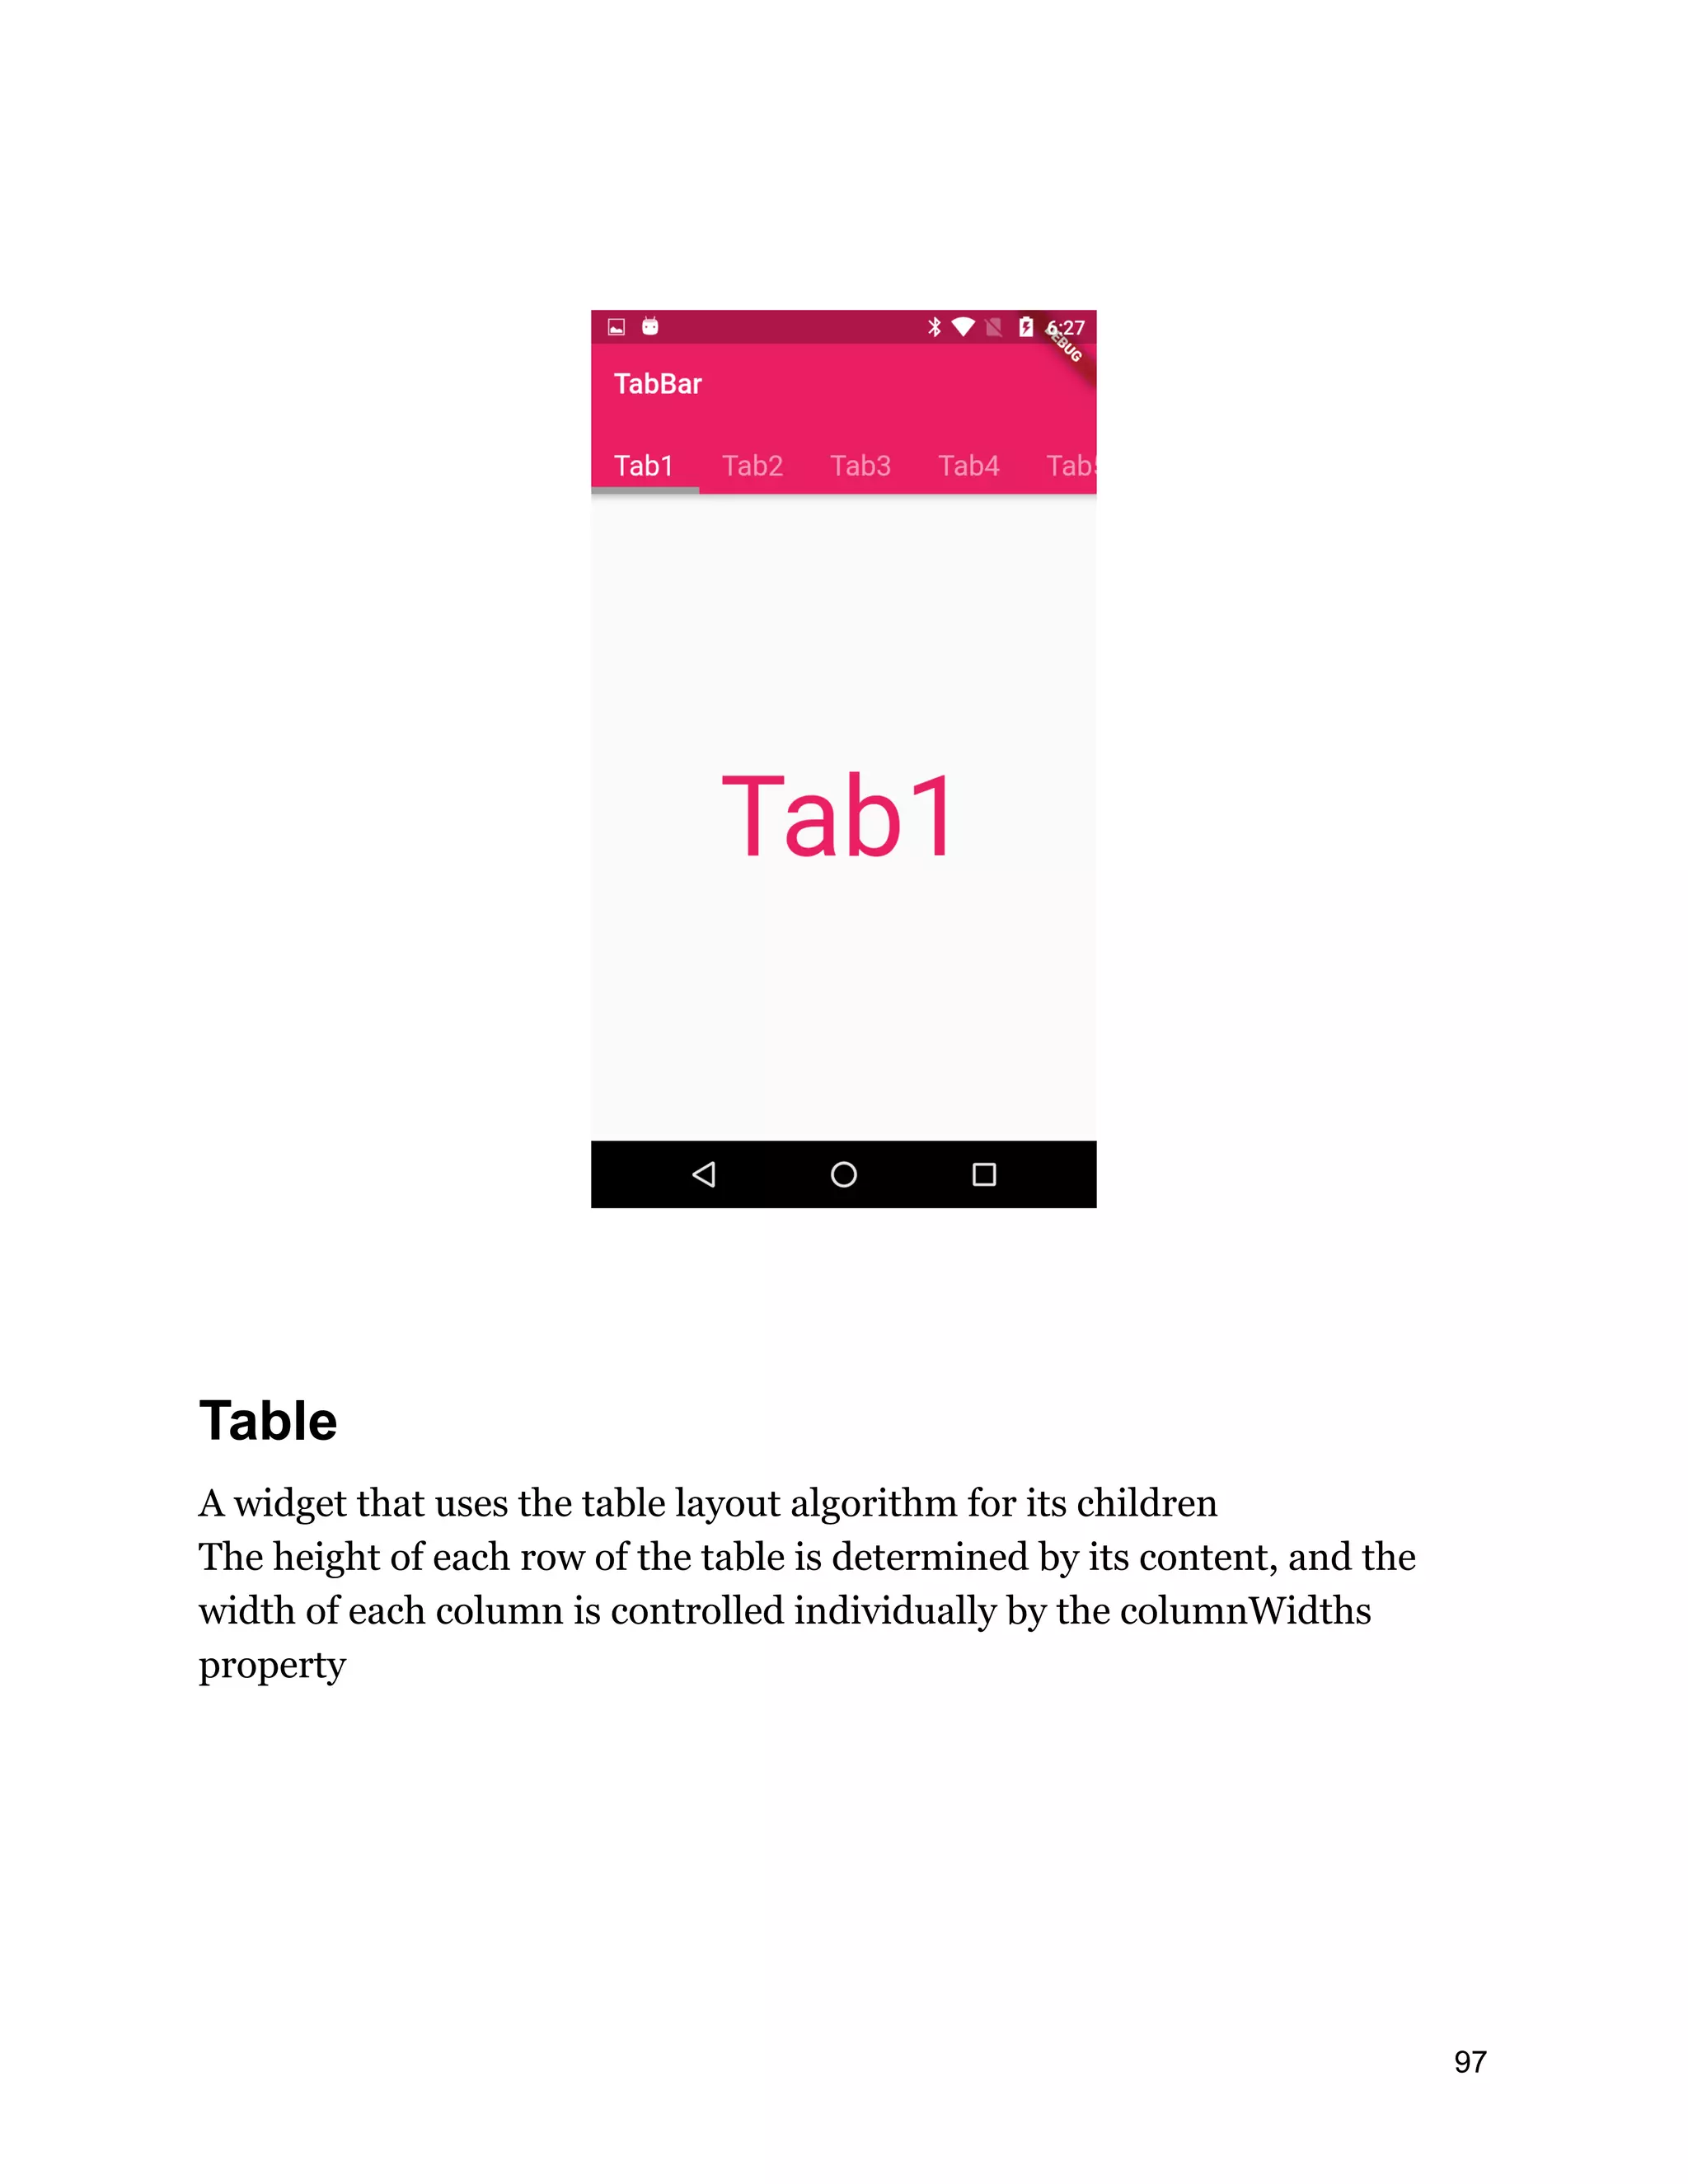
![class TableWidget extends StatelessWidget{ @override Widget build(BuildContext context) { // TODO: implement build return Scaffold( appBar: AppBar(title: Text("Table Widget"),backgroundColor: Colors.pink,), body: Container( child: Padding( padding: const EdgeInsets.all(8.0), child: Card( child: Table( columnWidths: const <int, TableColumnWidth>{ 0: FixedColumnWidth(50.0), 1: FixedColumnWidth(100.0), 2: FixedColumnWidth(50.0), 3: FixedColumnWidth(100.0), }, border: TableBorder.all(color: Colors.pink, width: 1.0, style: BorderStyle.solid), children: const <TableRow>[ TableRow( children: <Widget>[ Center(child: Text('A1',style: TextStyle(fontSize: 18),)), Center(child: Text('B1',style: TextStyle(fontSize: 18),)), Center(child: Text('C1',style: TextStyle(fontSize: 18),)), Center(child: Text('D1',style: TextStyle(fontSize: 18),)), ], ), TableRow( children: <Widget>[ Center(child: Text('A2',style: TextStyle(fontSize: 18),)), Center(child: Text('B2',style: TextStyle(fontSize: 18),)), Center(child: Text('C2',style: TextStyle(fontSize: 18),)), Center(child: Text('D2',style: TextStyle(fontSize: 18),)), ], 98](https://image.slidesharecdn.com/fluttertutorial-201008182102/75/Flutter-tutorial-for-Beginner-Step-by-Step-98-2048.jpg)
![), TableRow( children: <Widget>[ Center(child: Text('A3',style: TextStyle(fontSize: 18),)), Center(child: Text('B3',style: TextStyle(fontSize: 18),)), Center(child: Text('C3',style: TextStyle(fontSize: 18),)), Center(child: Text('D3',style: TextStyle(fontSize: 18),)), ], ), ], ), ), ) , ), ); } } 99](https://image.slidesharecdn.com/fluttertutorial-201008182102/75/Flutter-tutorial-for-Beginner-Step-by-Step-99-2048.jpg)
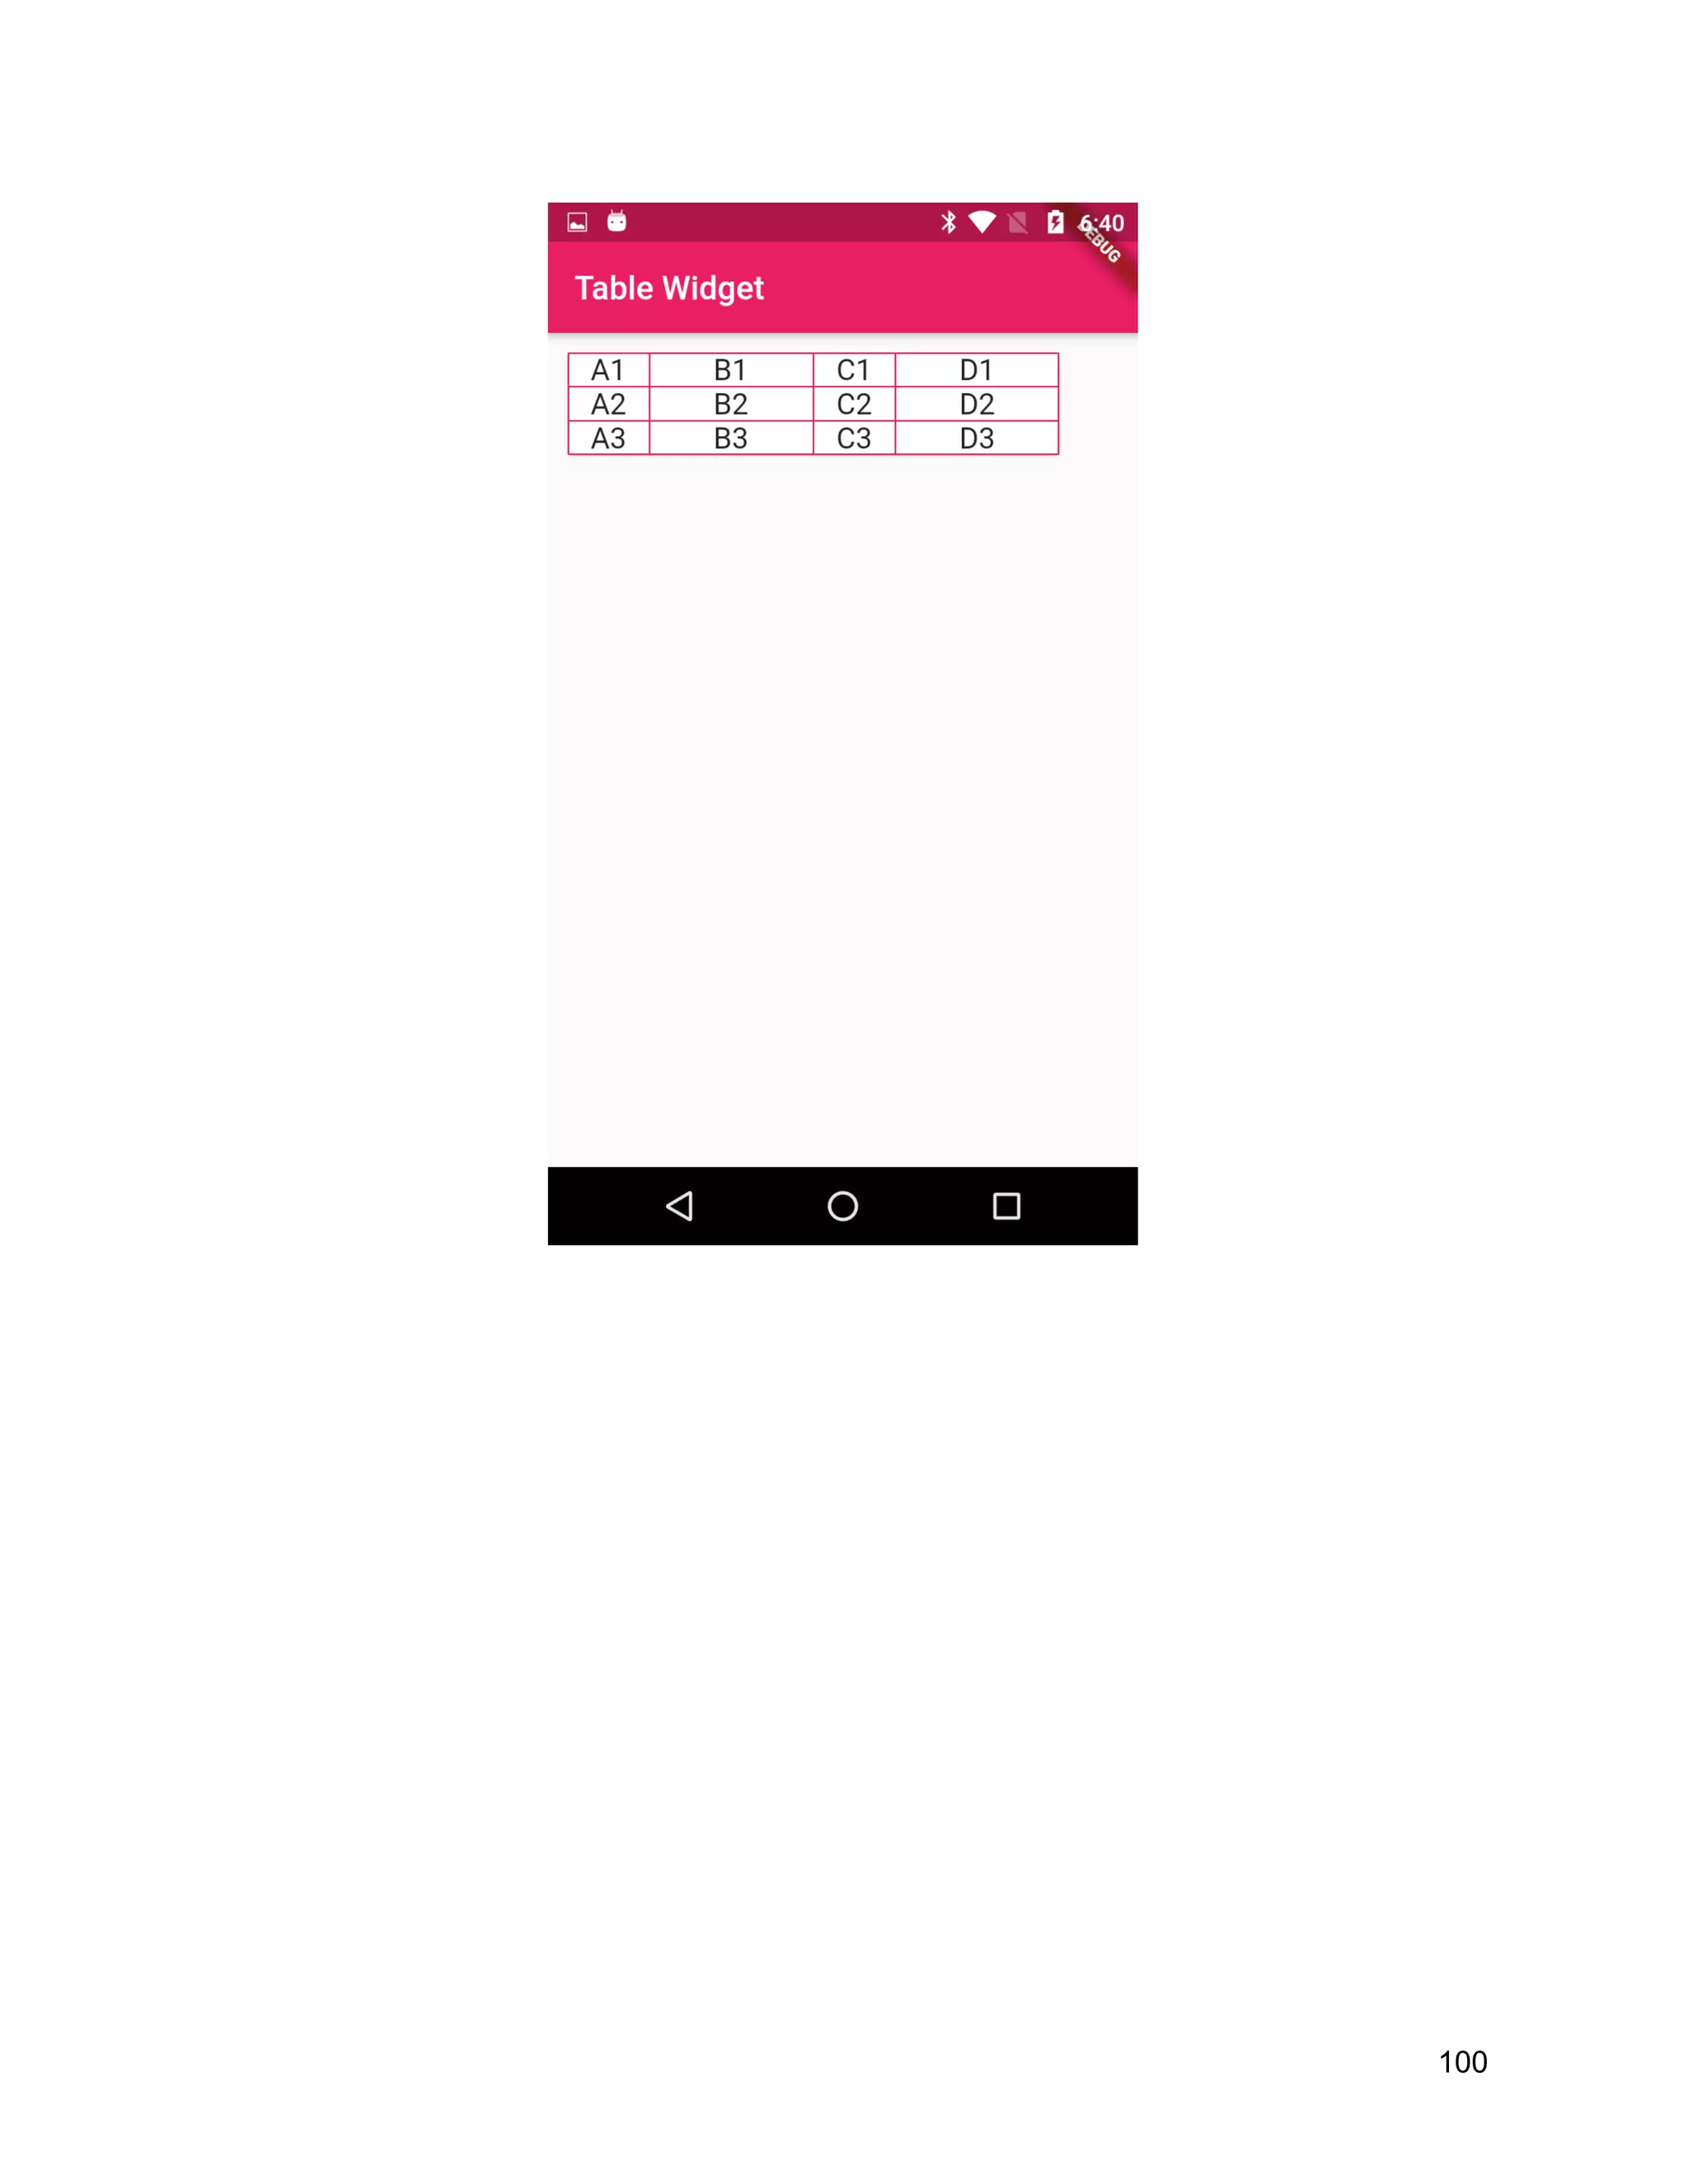
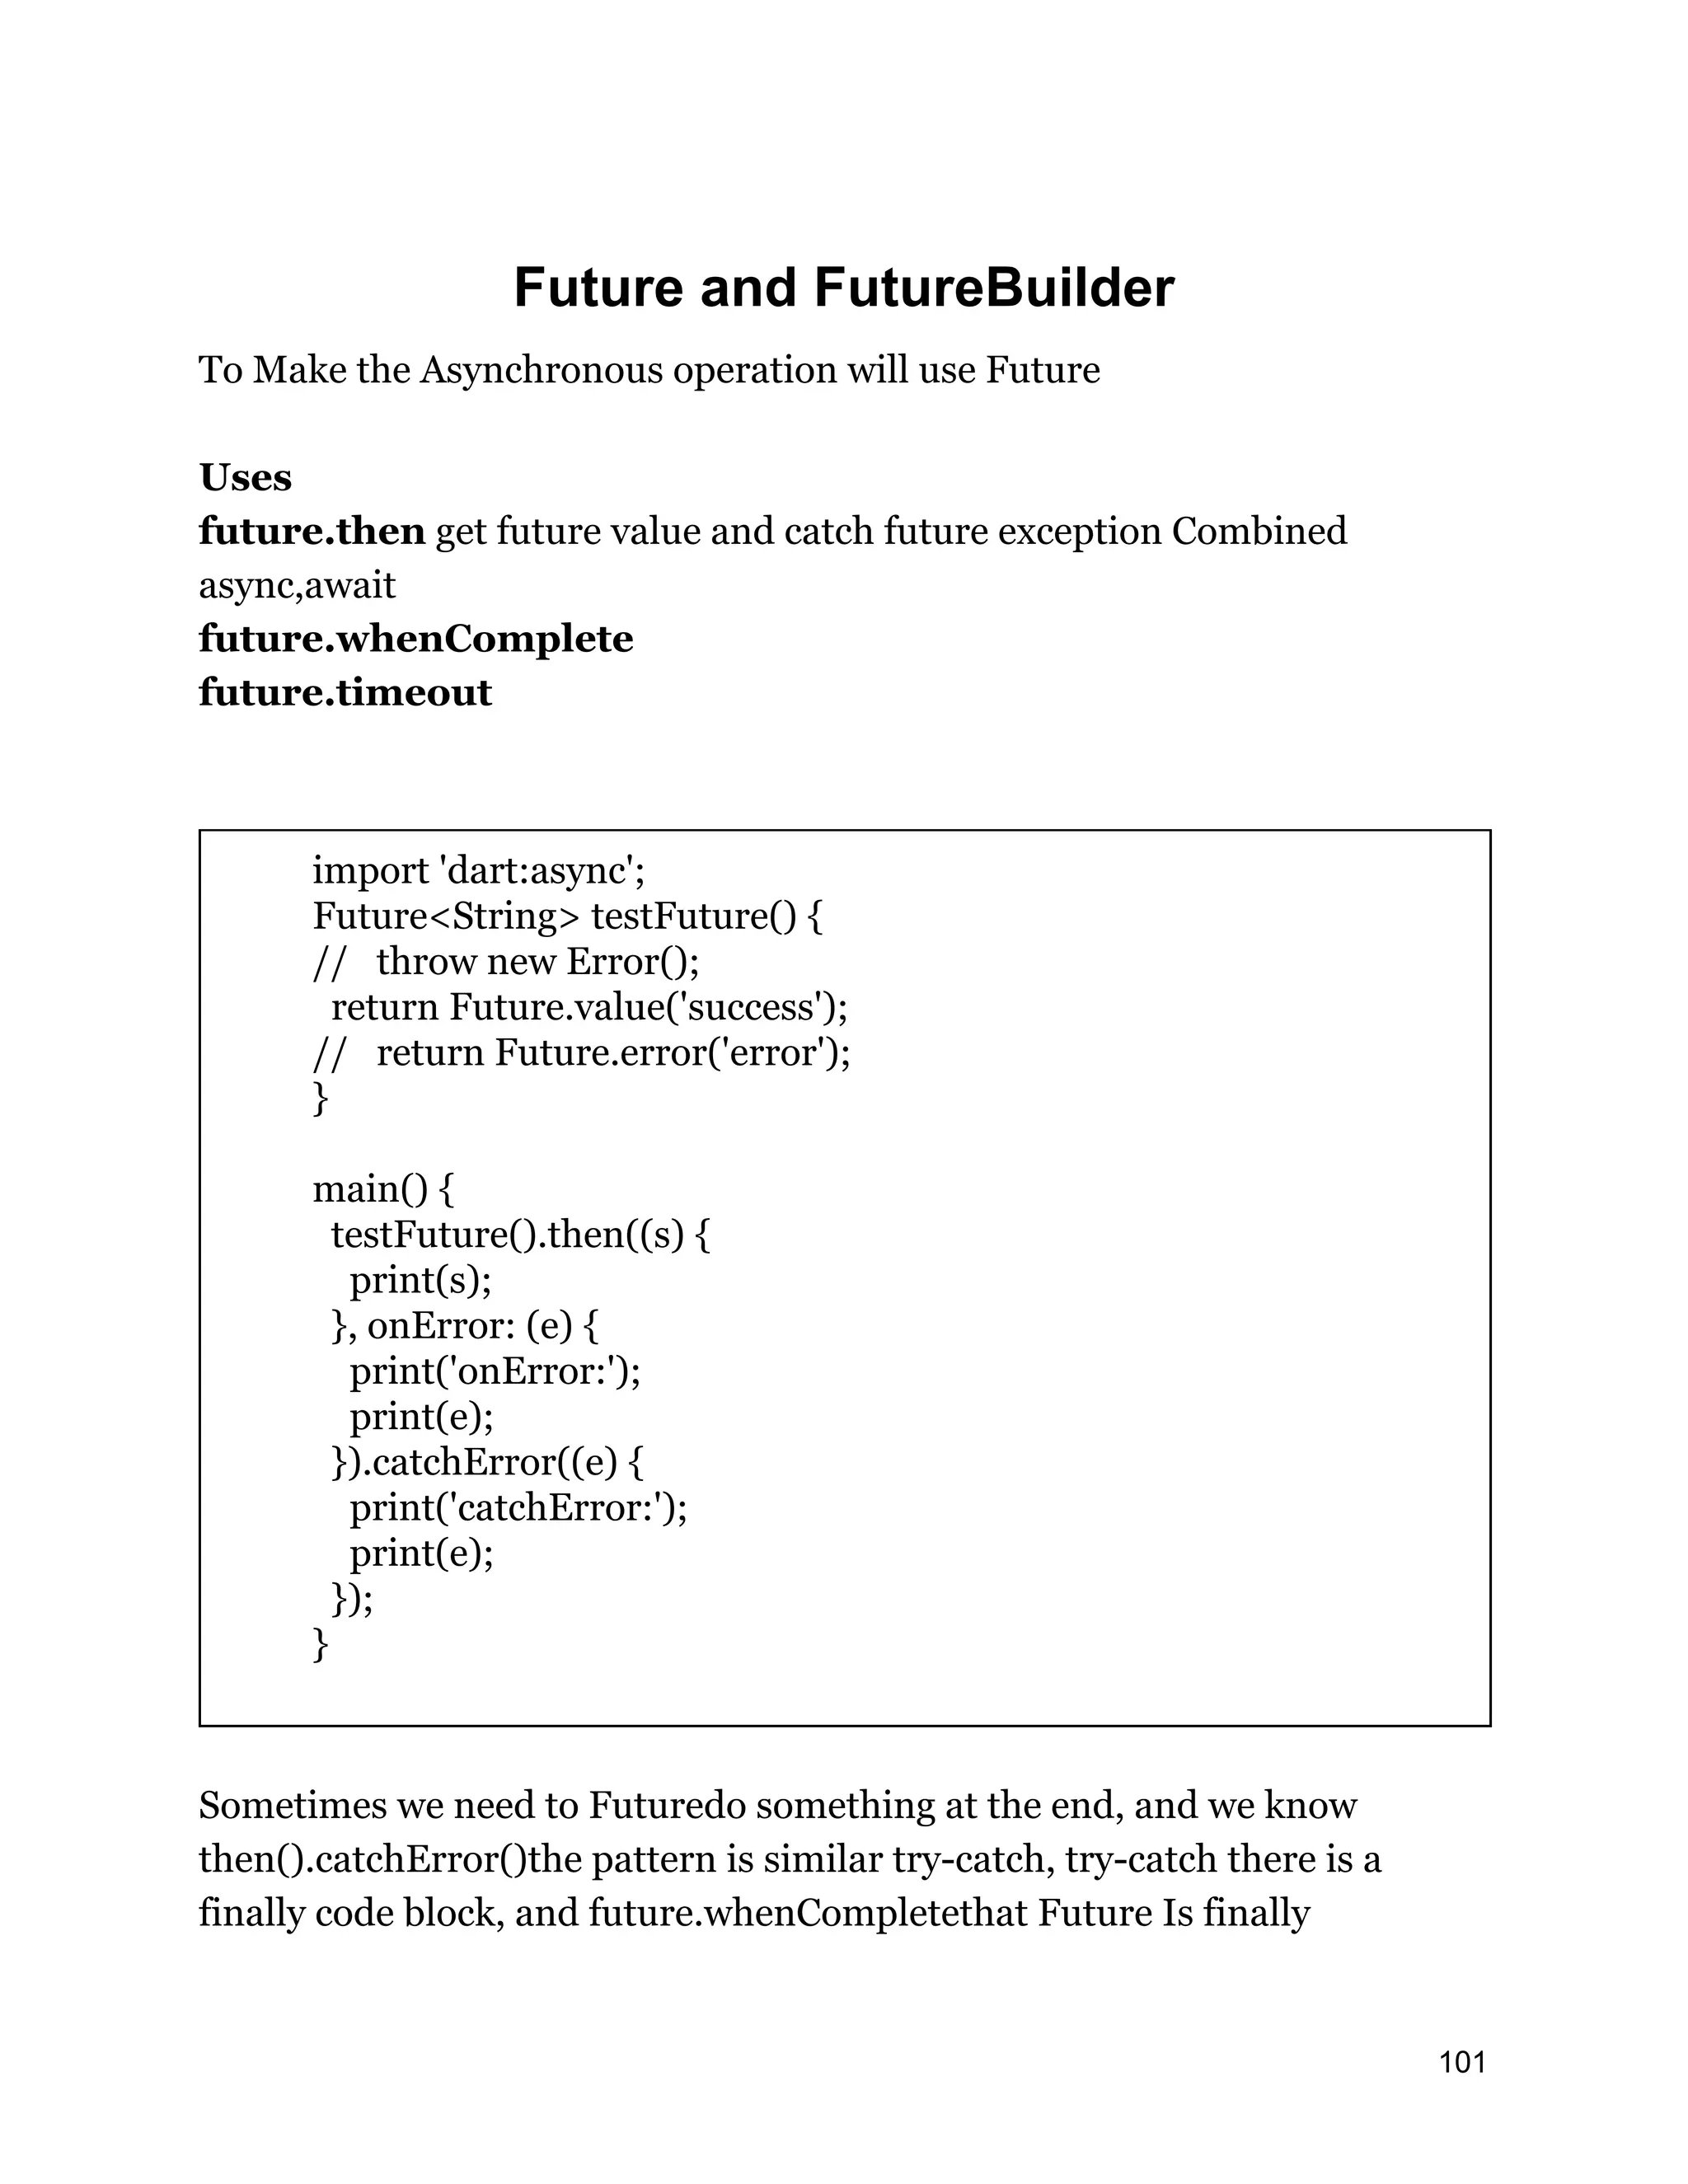
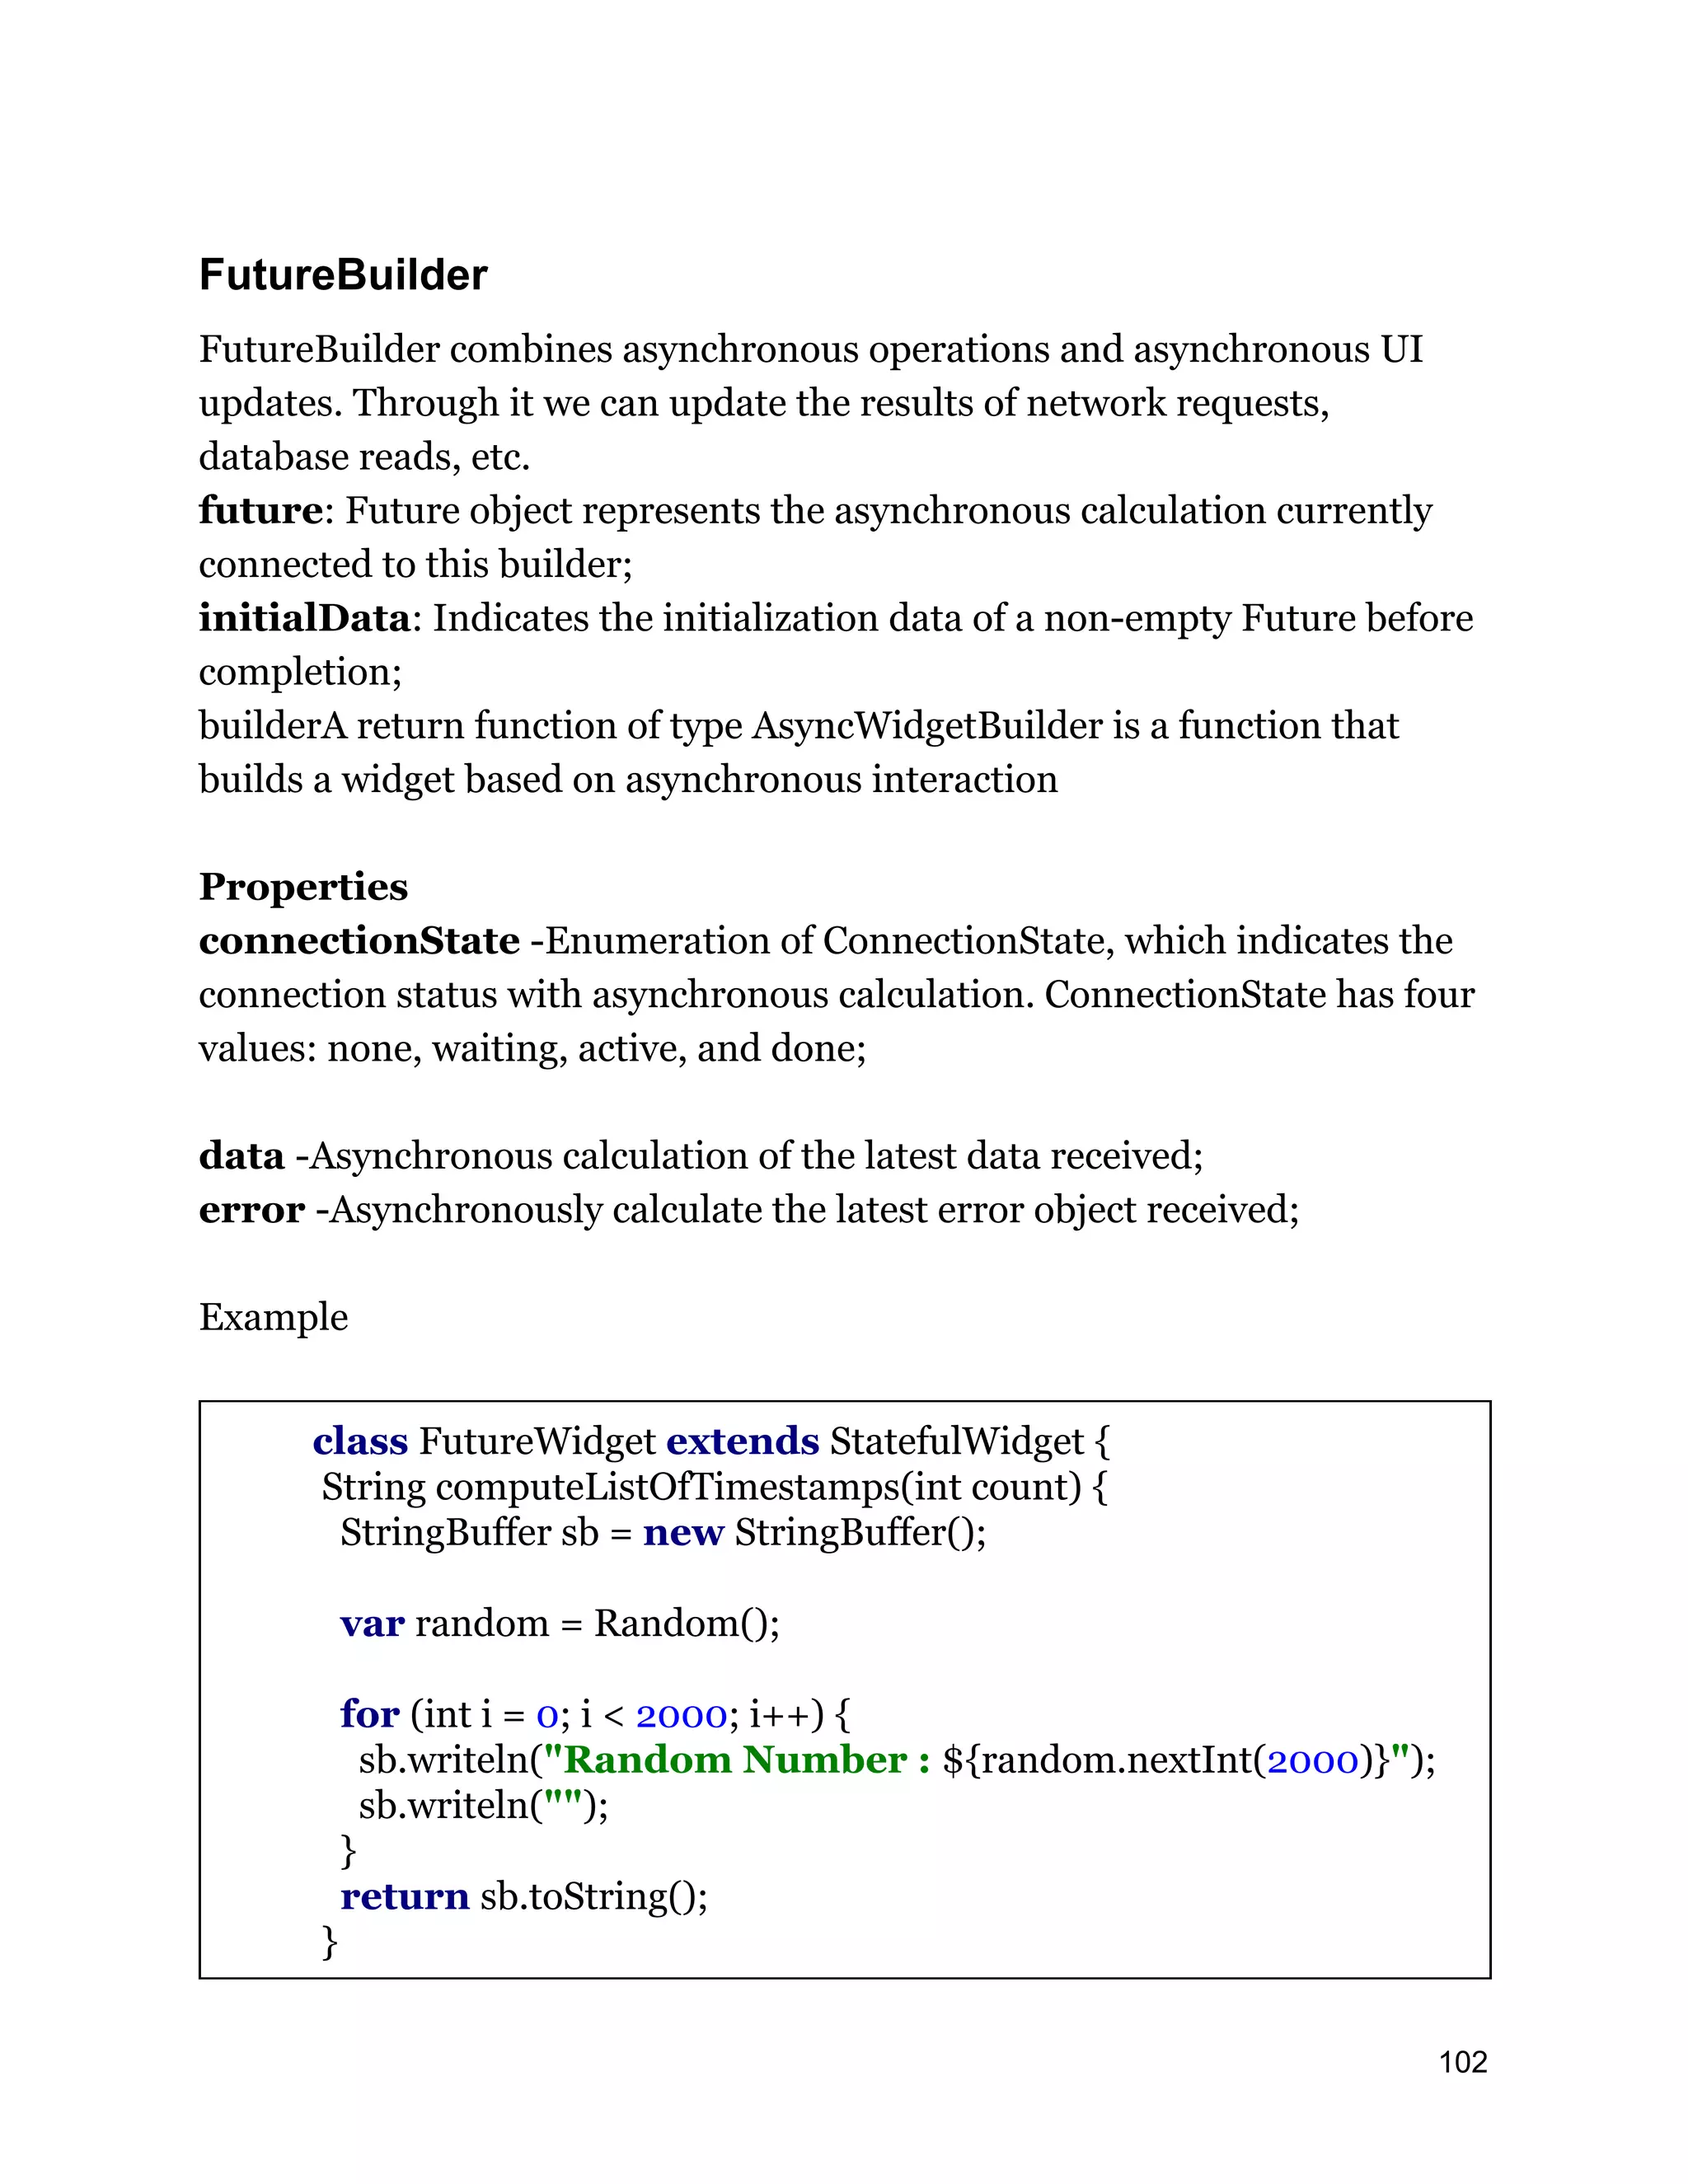
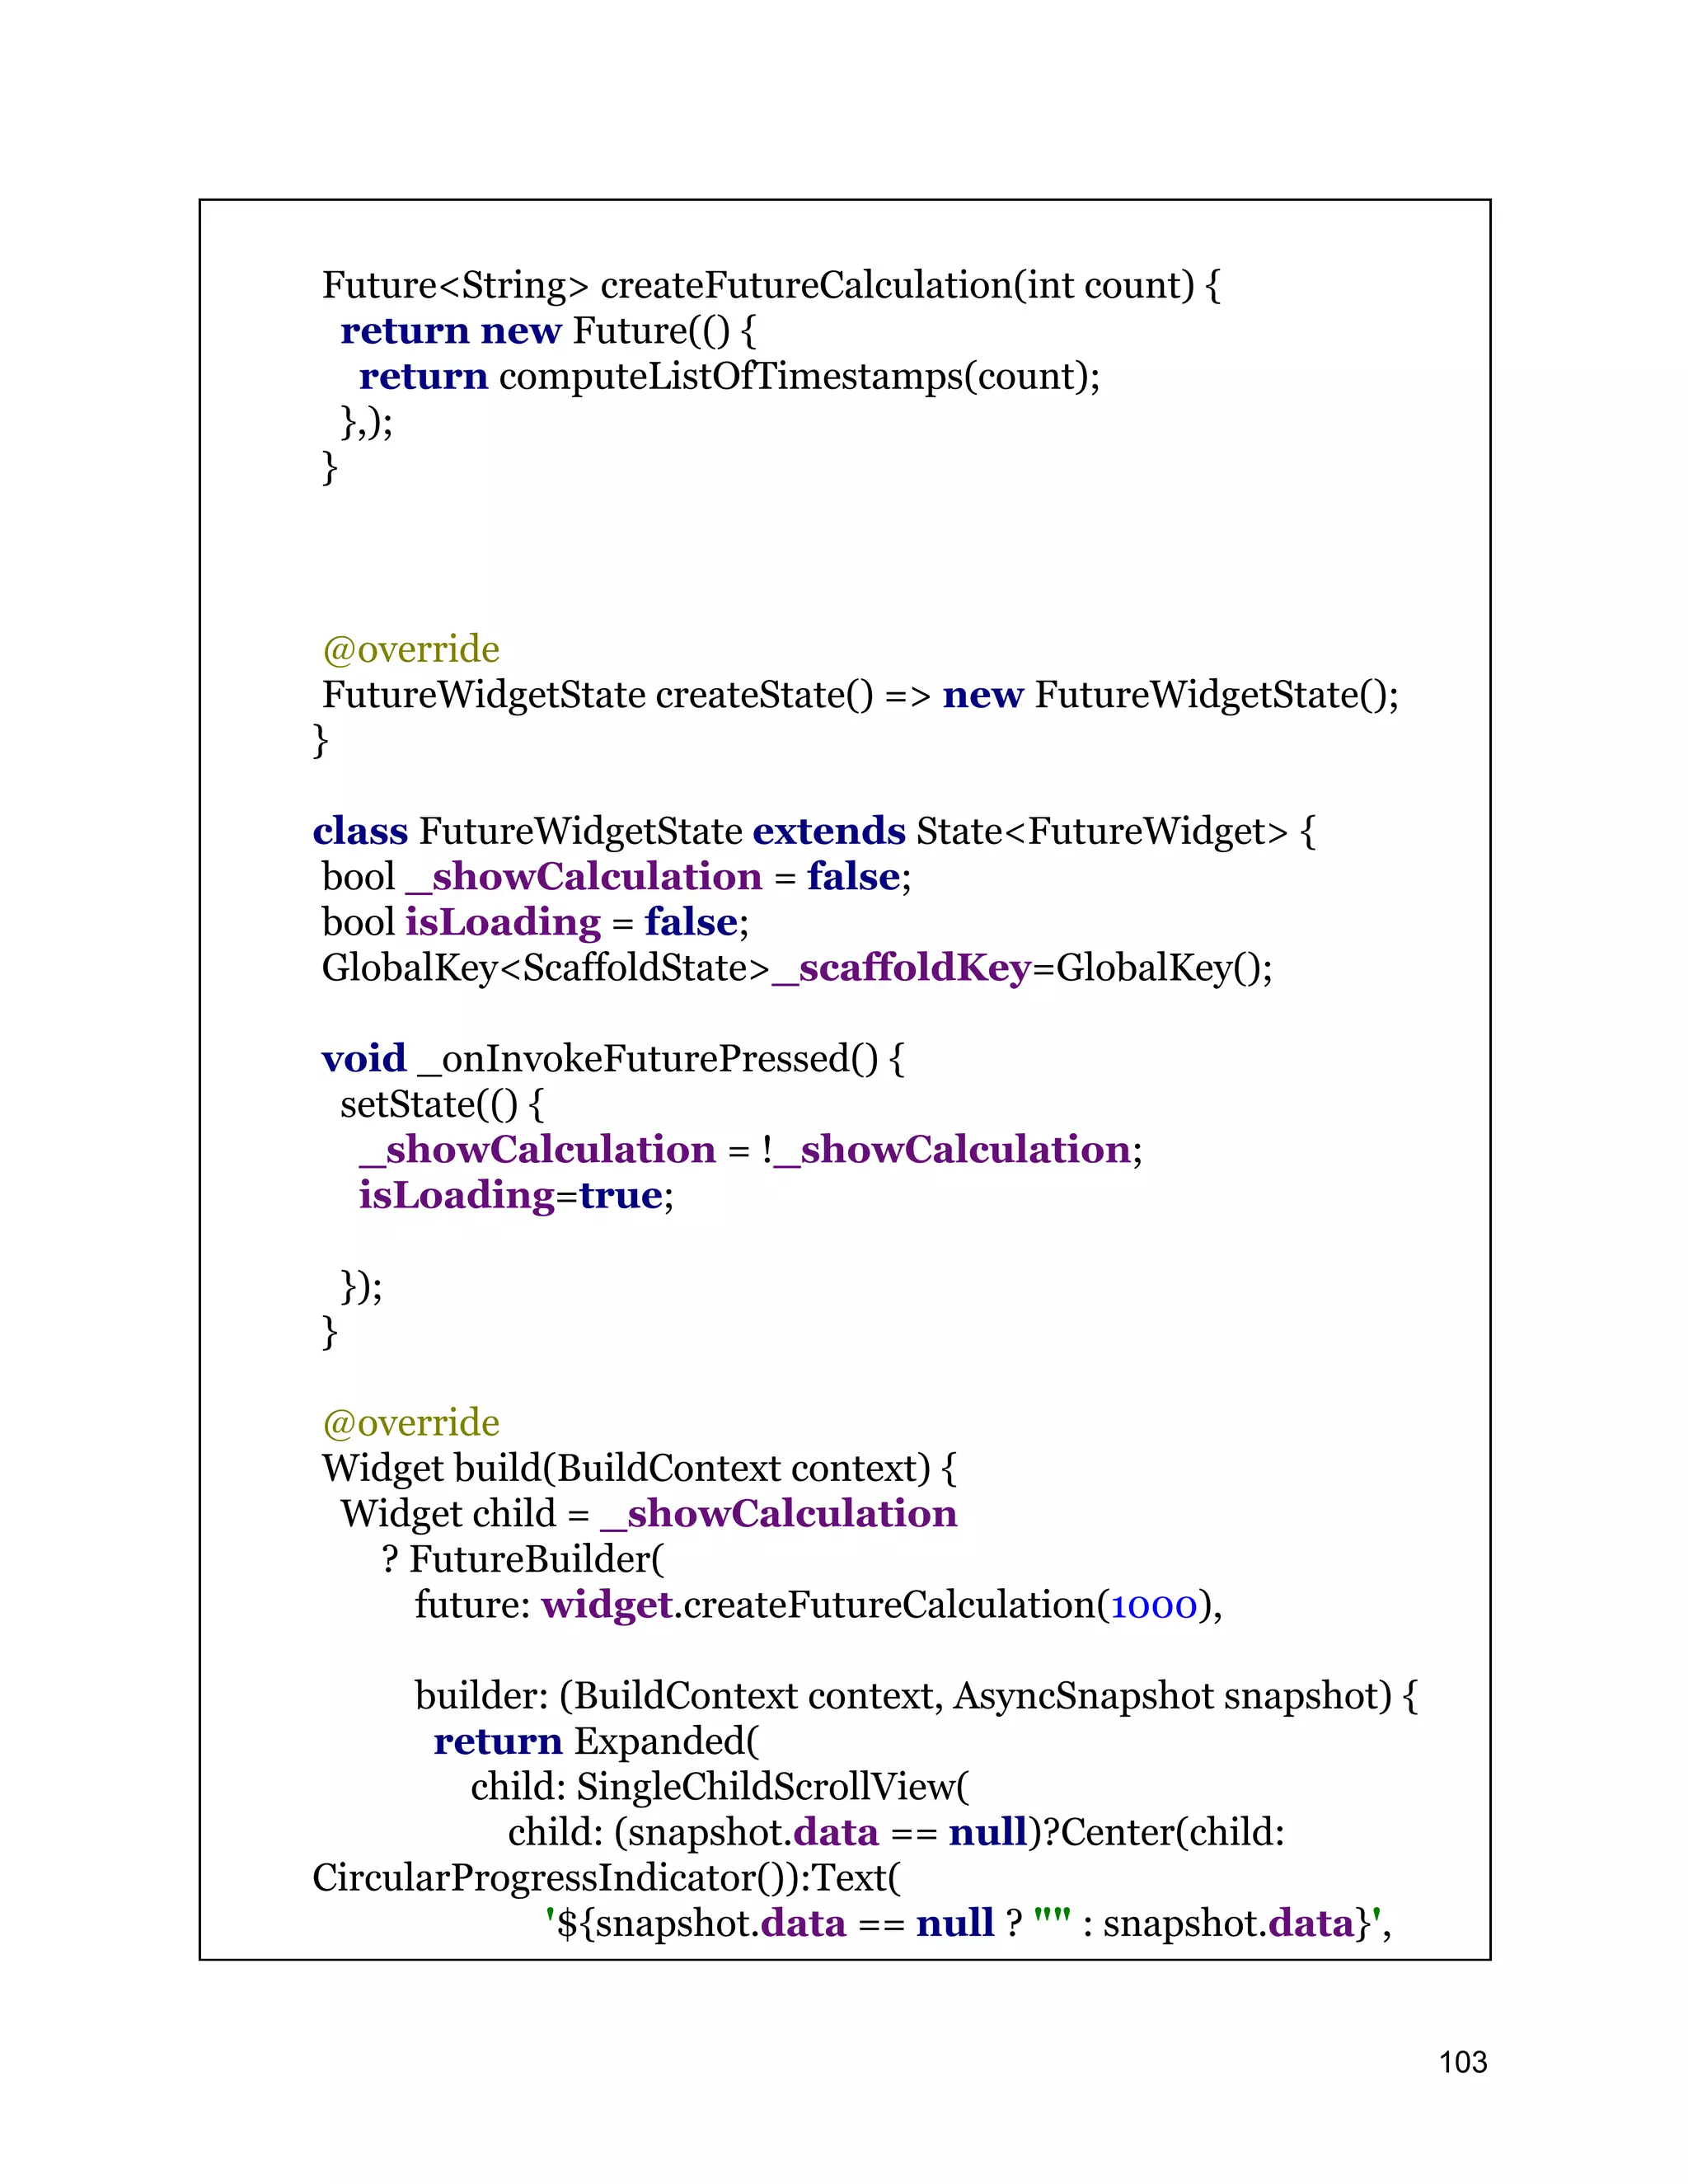
![style: TextStyle(fontSize: 20.0)))); }) : Text('Press Refresh to load Data'); return new Scaffold( key: _scaffoldKey, appBar: new AppBar( backgroundColor: Colors.pink, title: new Text("Future Builder "), ), body: new Center( child: new Column( mainAxisAlignment: MainAxisAlignment.center, children: <Widget>[child])), floatingActionButton: new FloatingActionButton( backgroundColor: Colors.pink, onPressed: _onInvokeFuturePressed, tooltip: 'Call Future', child: new Icon(Icons.refresh), ), // This trailing comma makes auto-formatting nicer for build ); } } 104](https://image.slidesharecdn.com/fluttertutorial-201008182102/75/Flutter-tutorial-for-Beginner-Step-by-Step-104-2048.jpg)
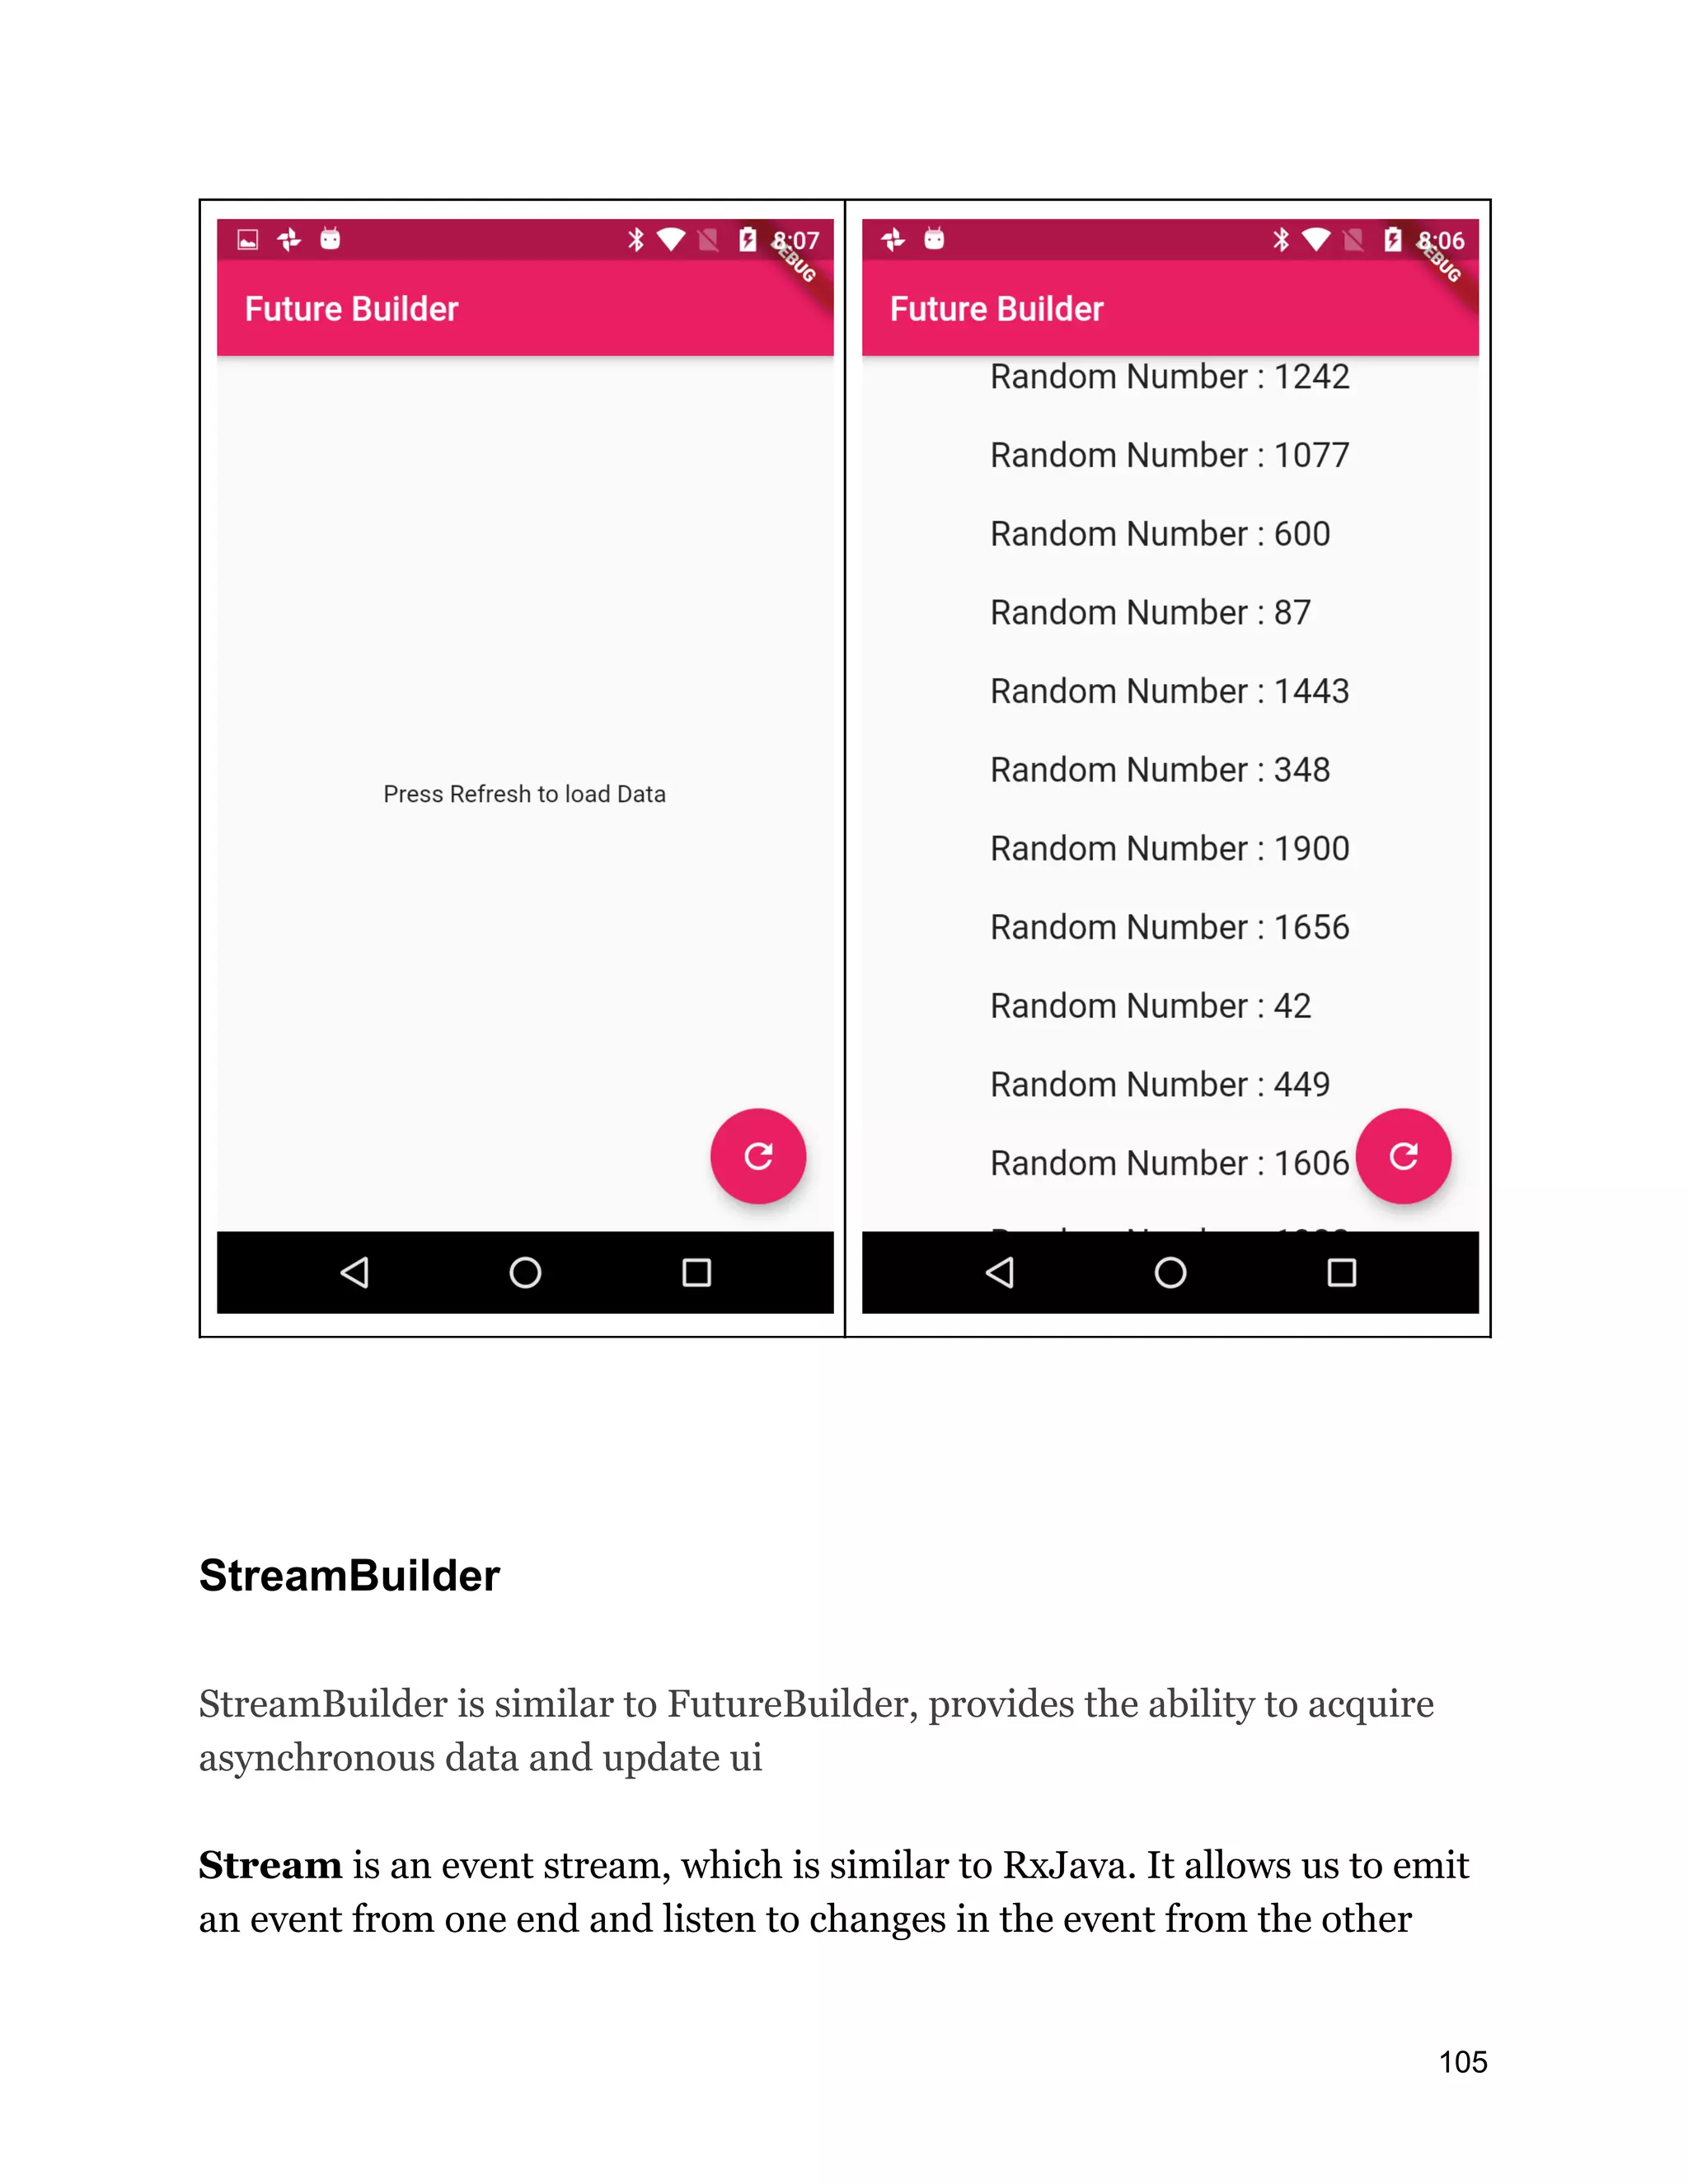
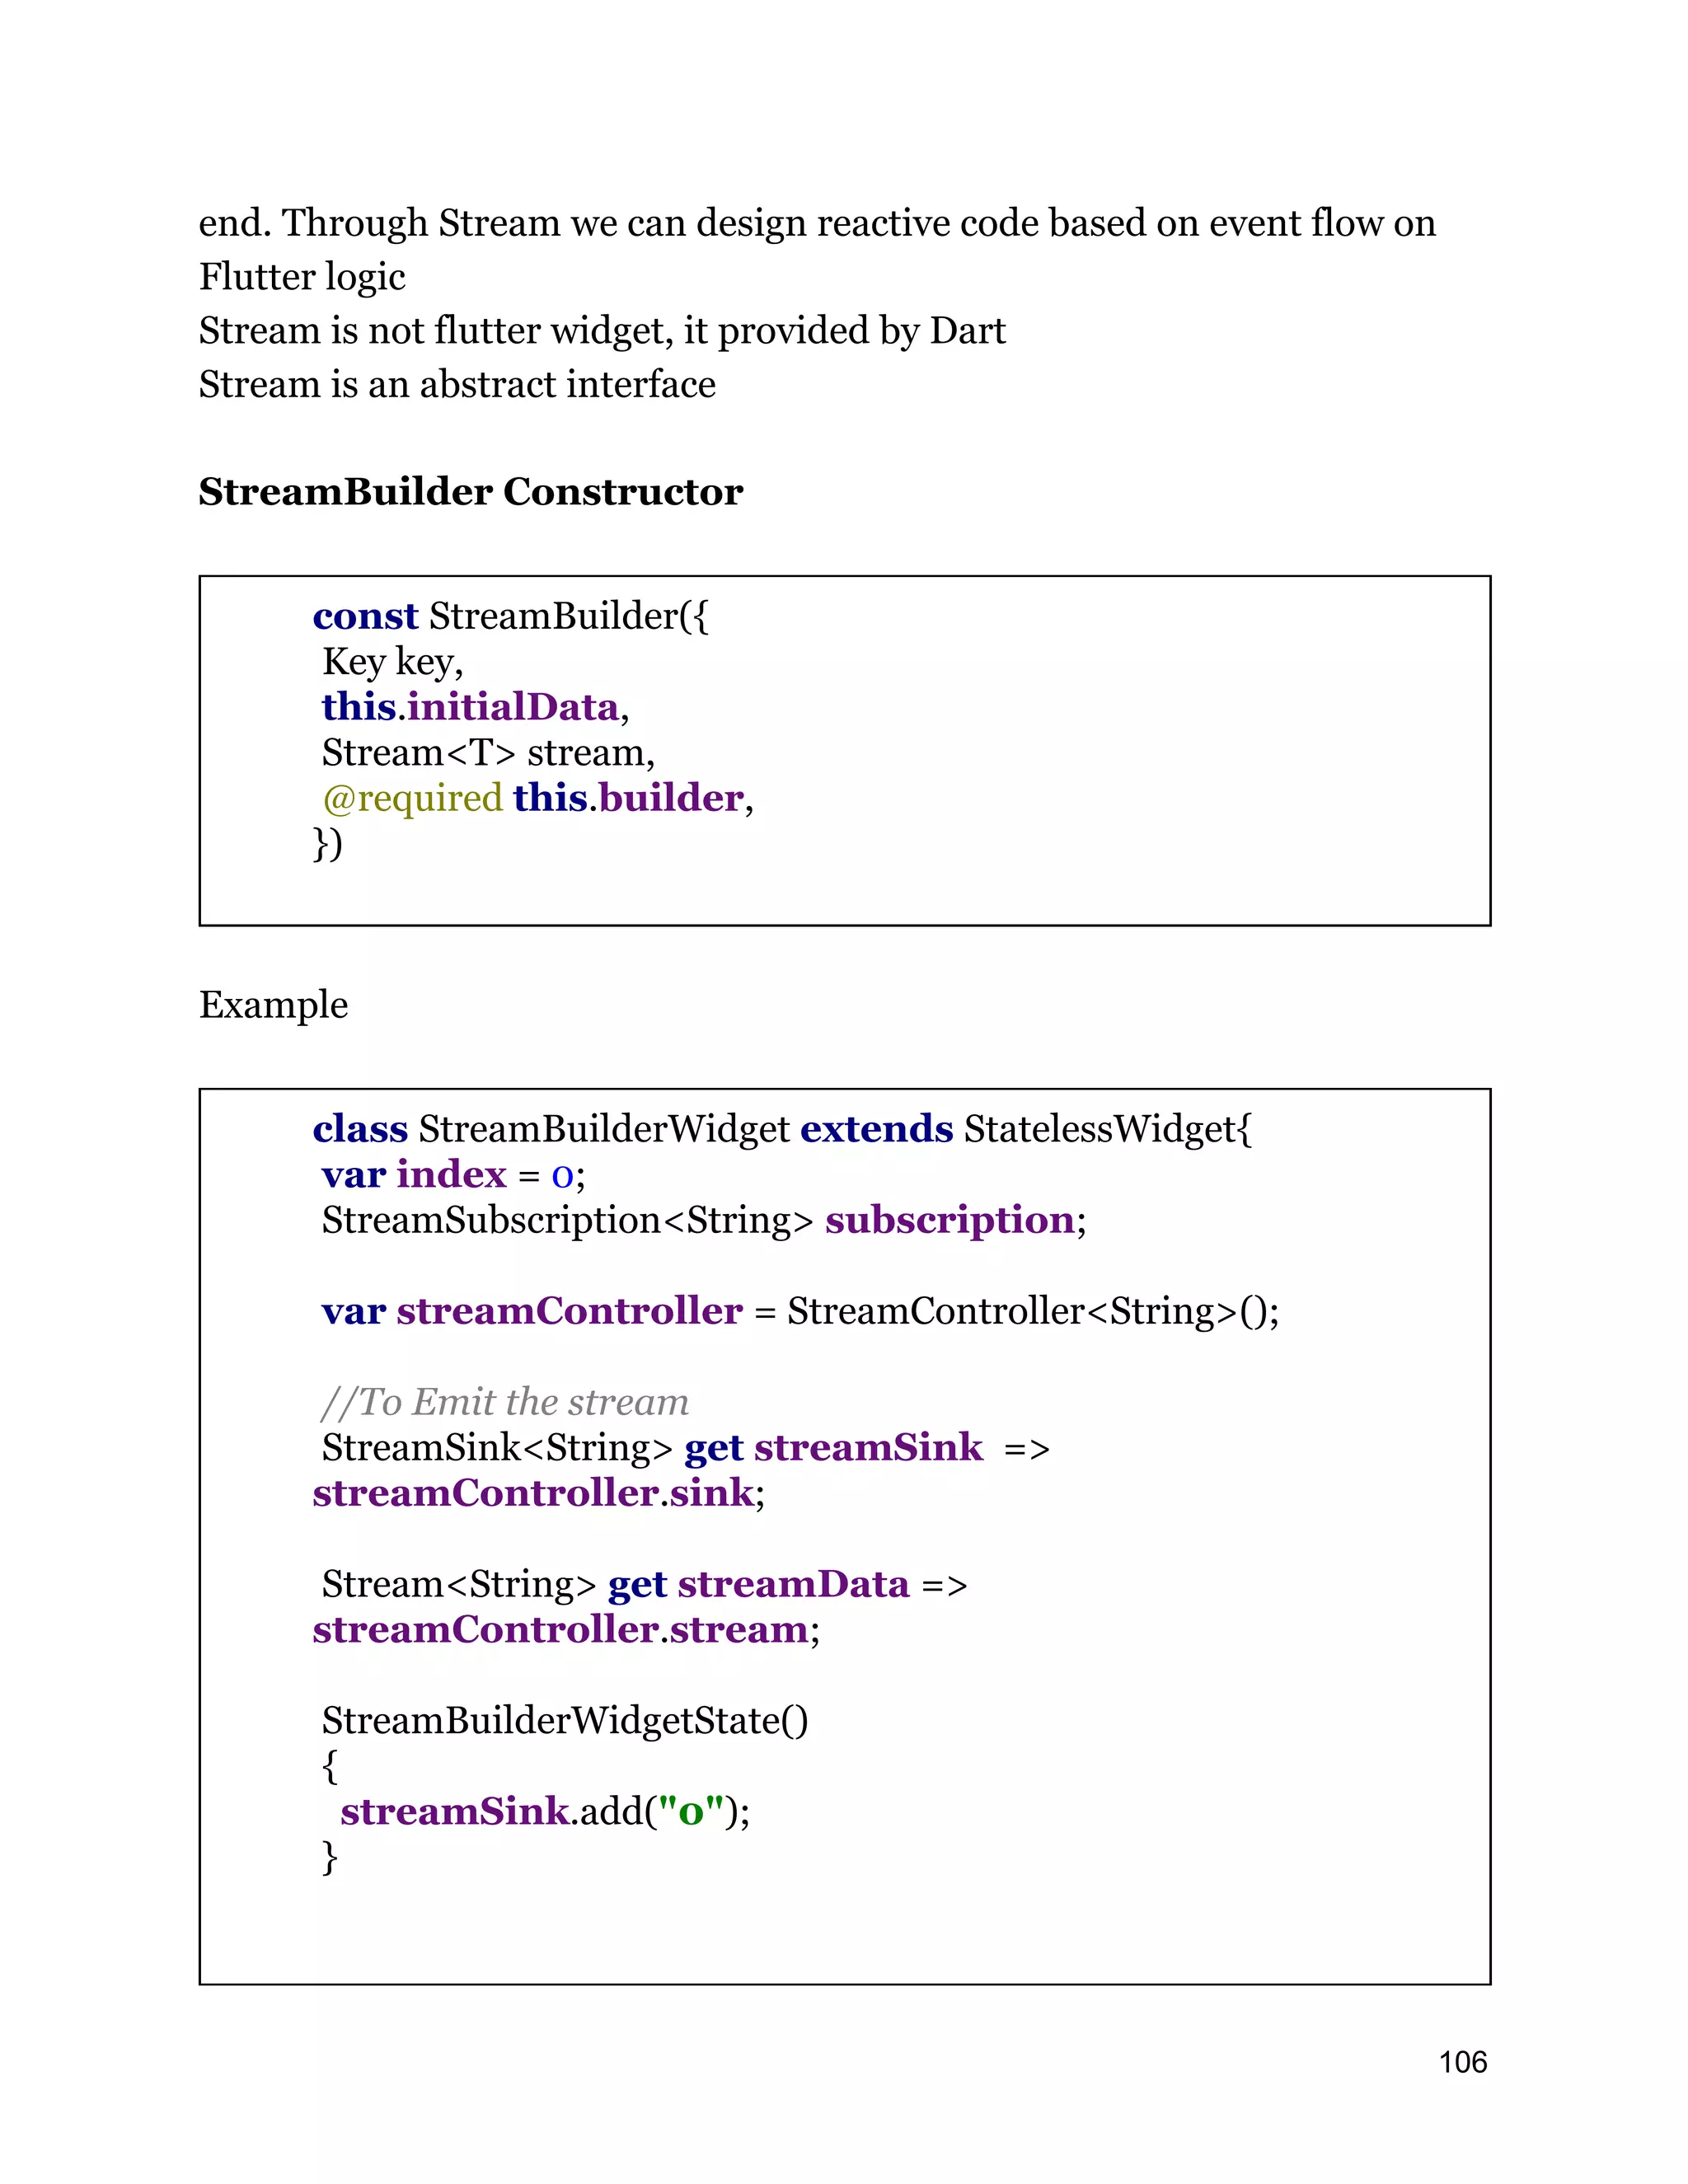
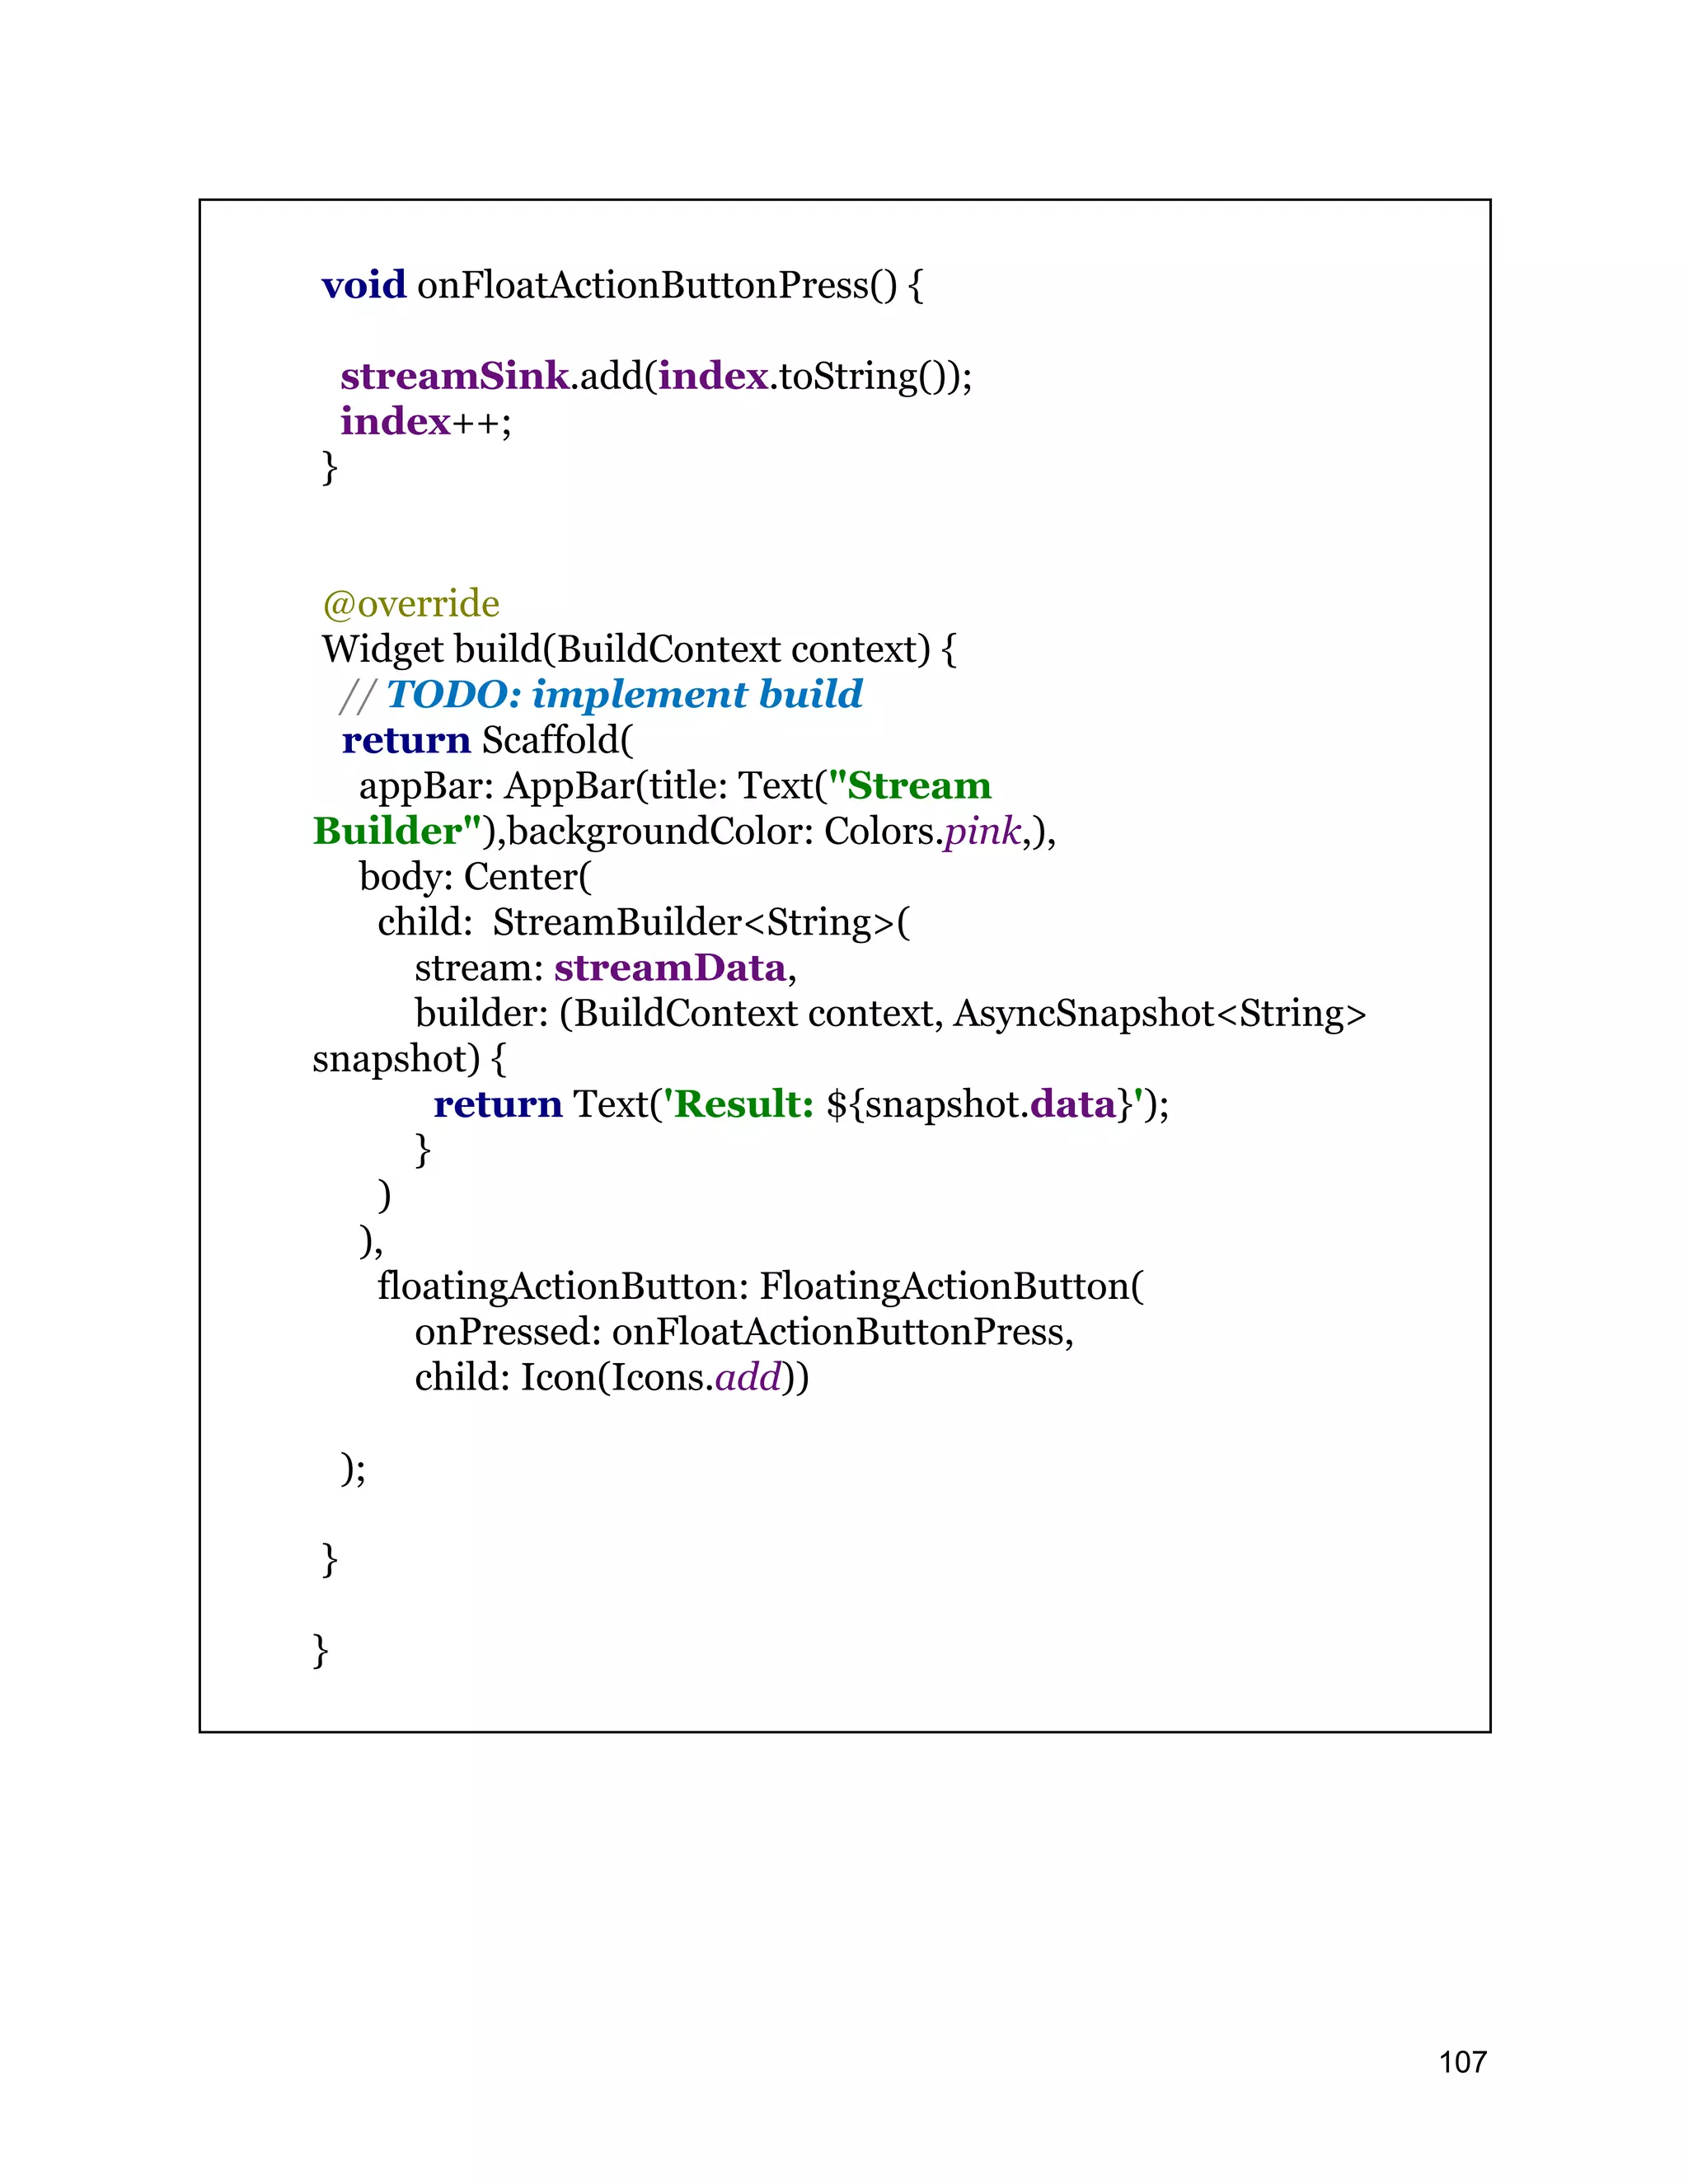
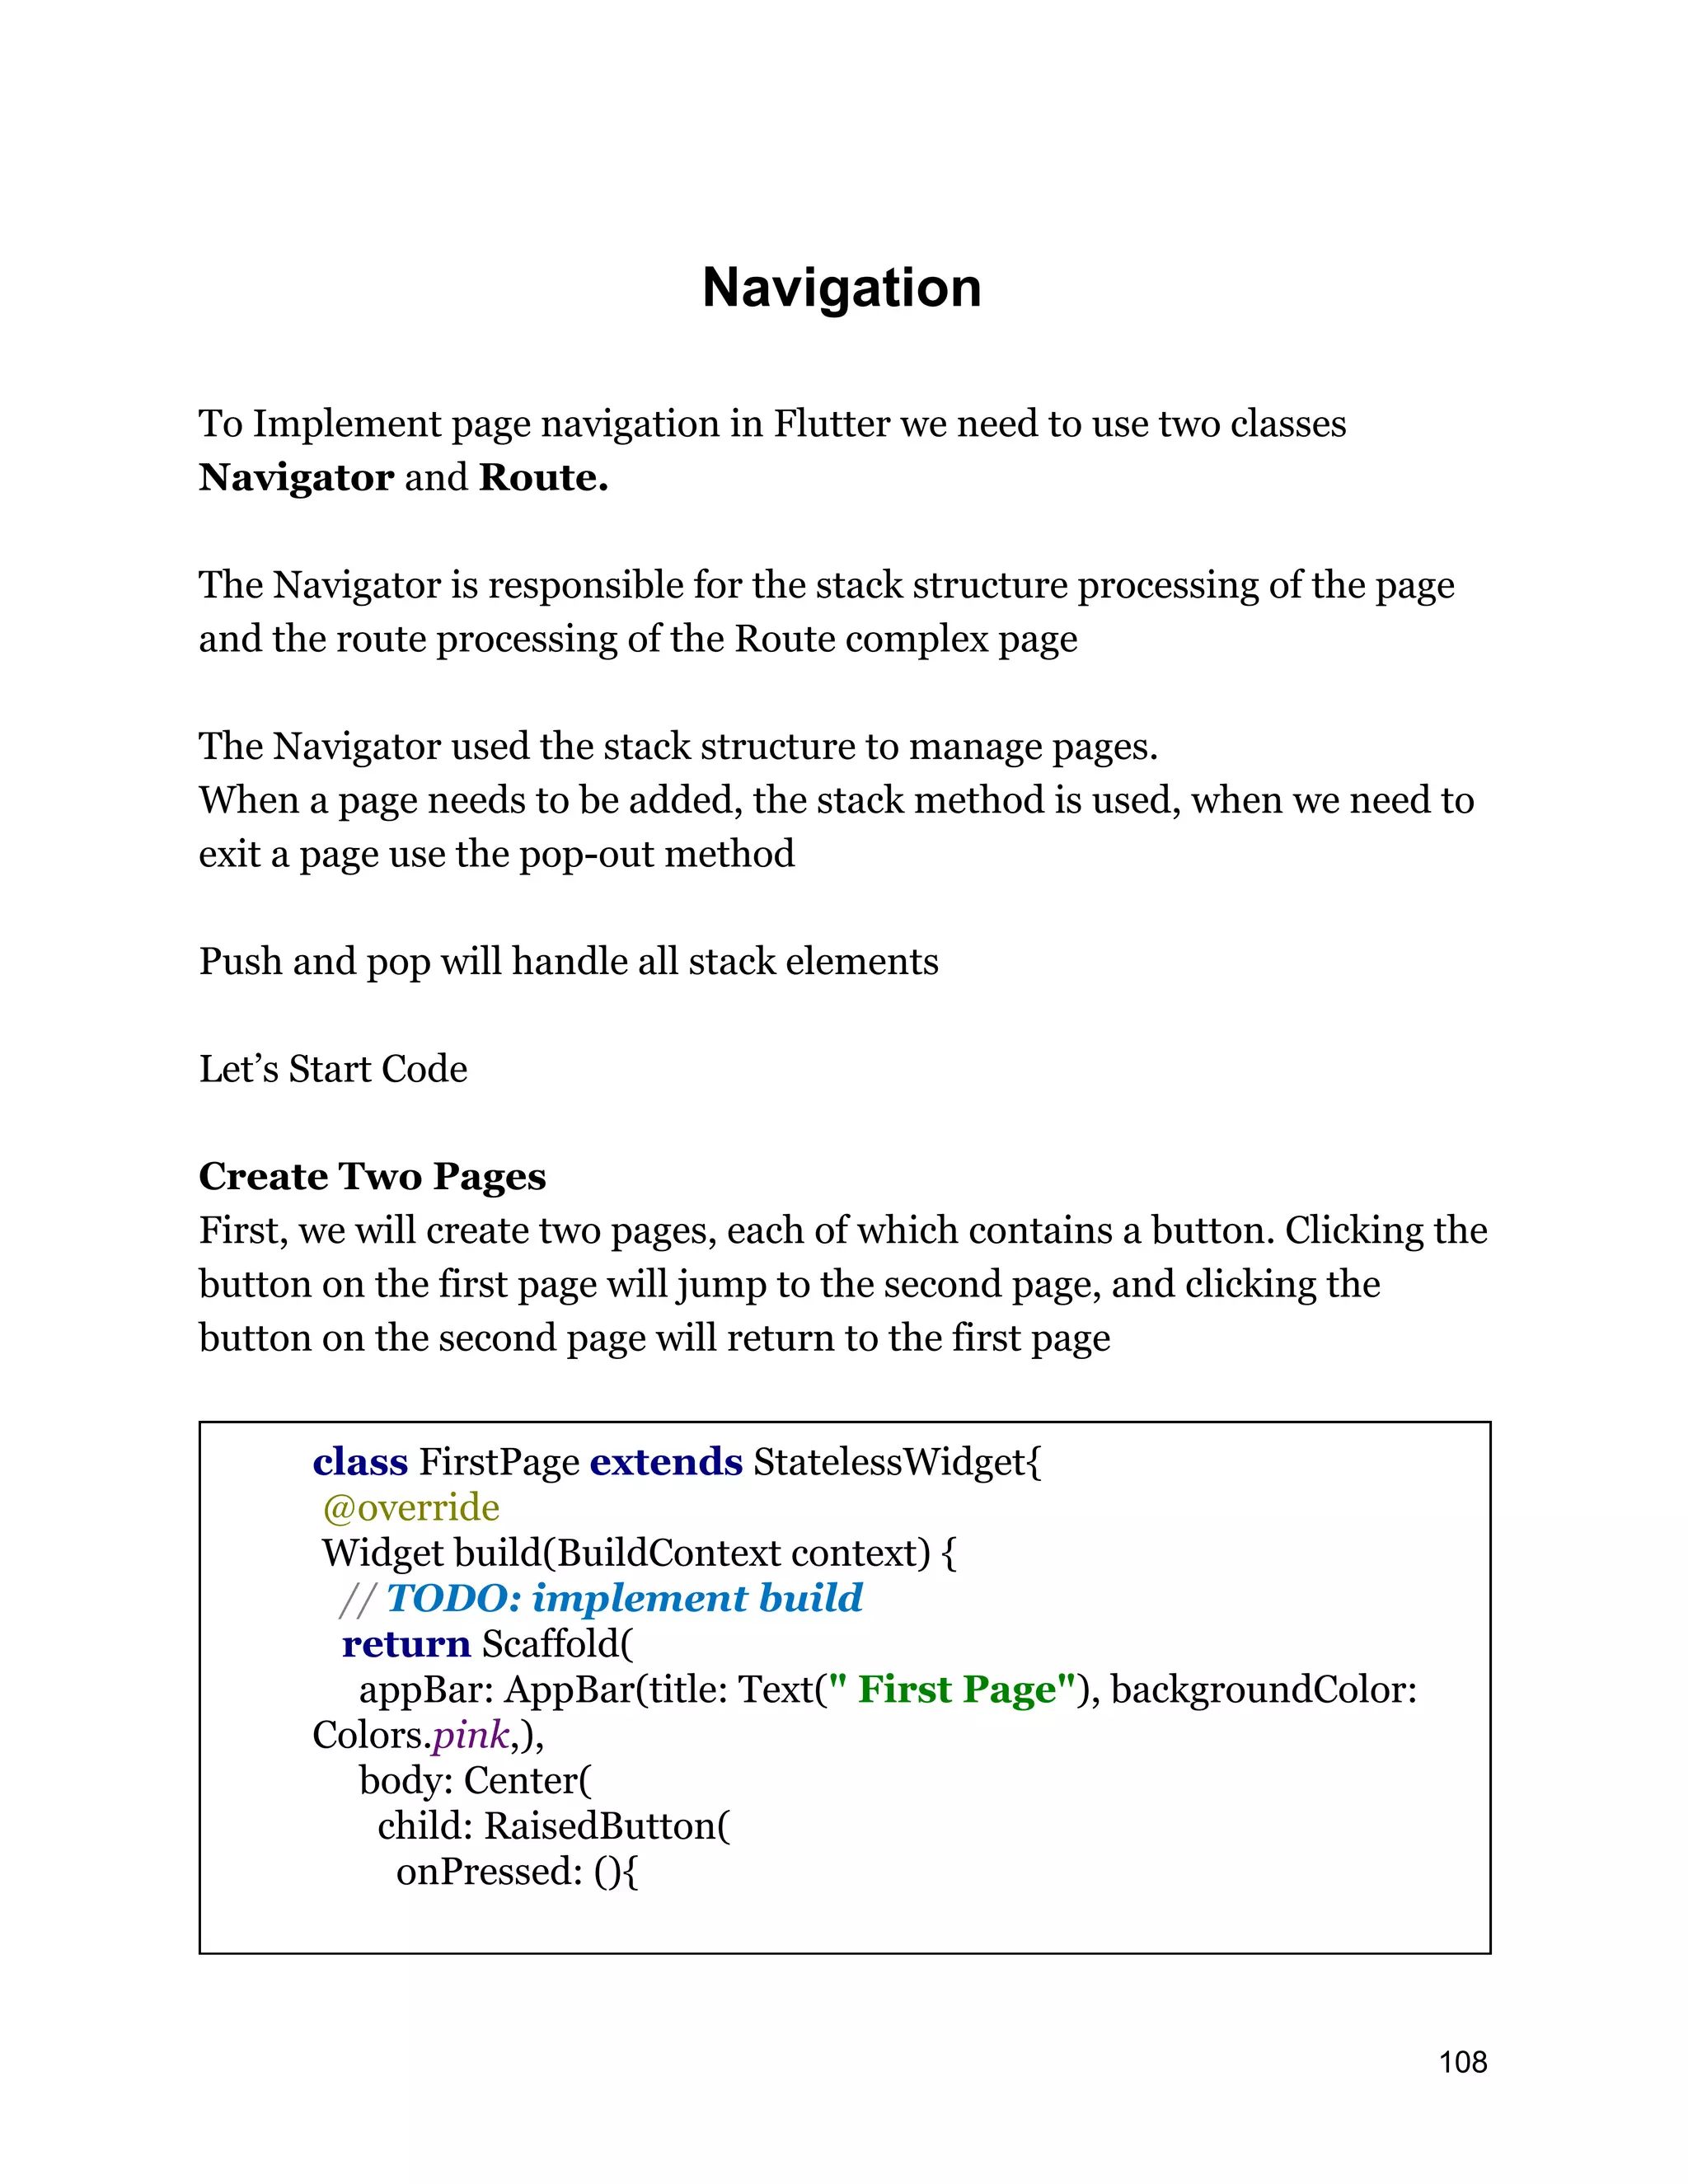
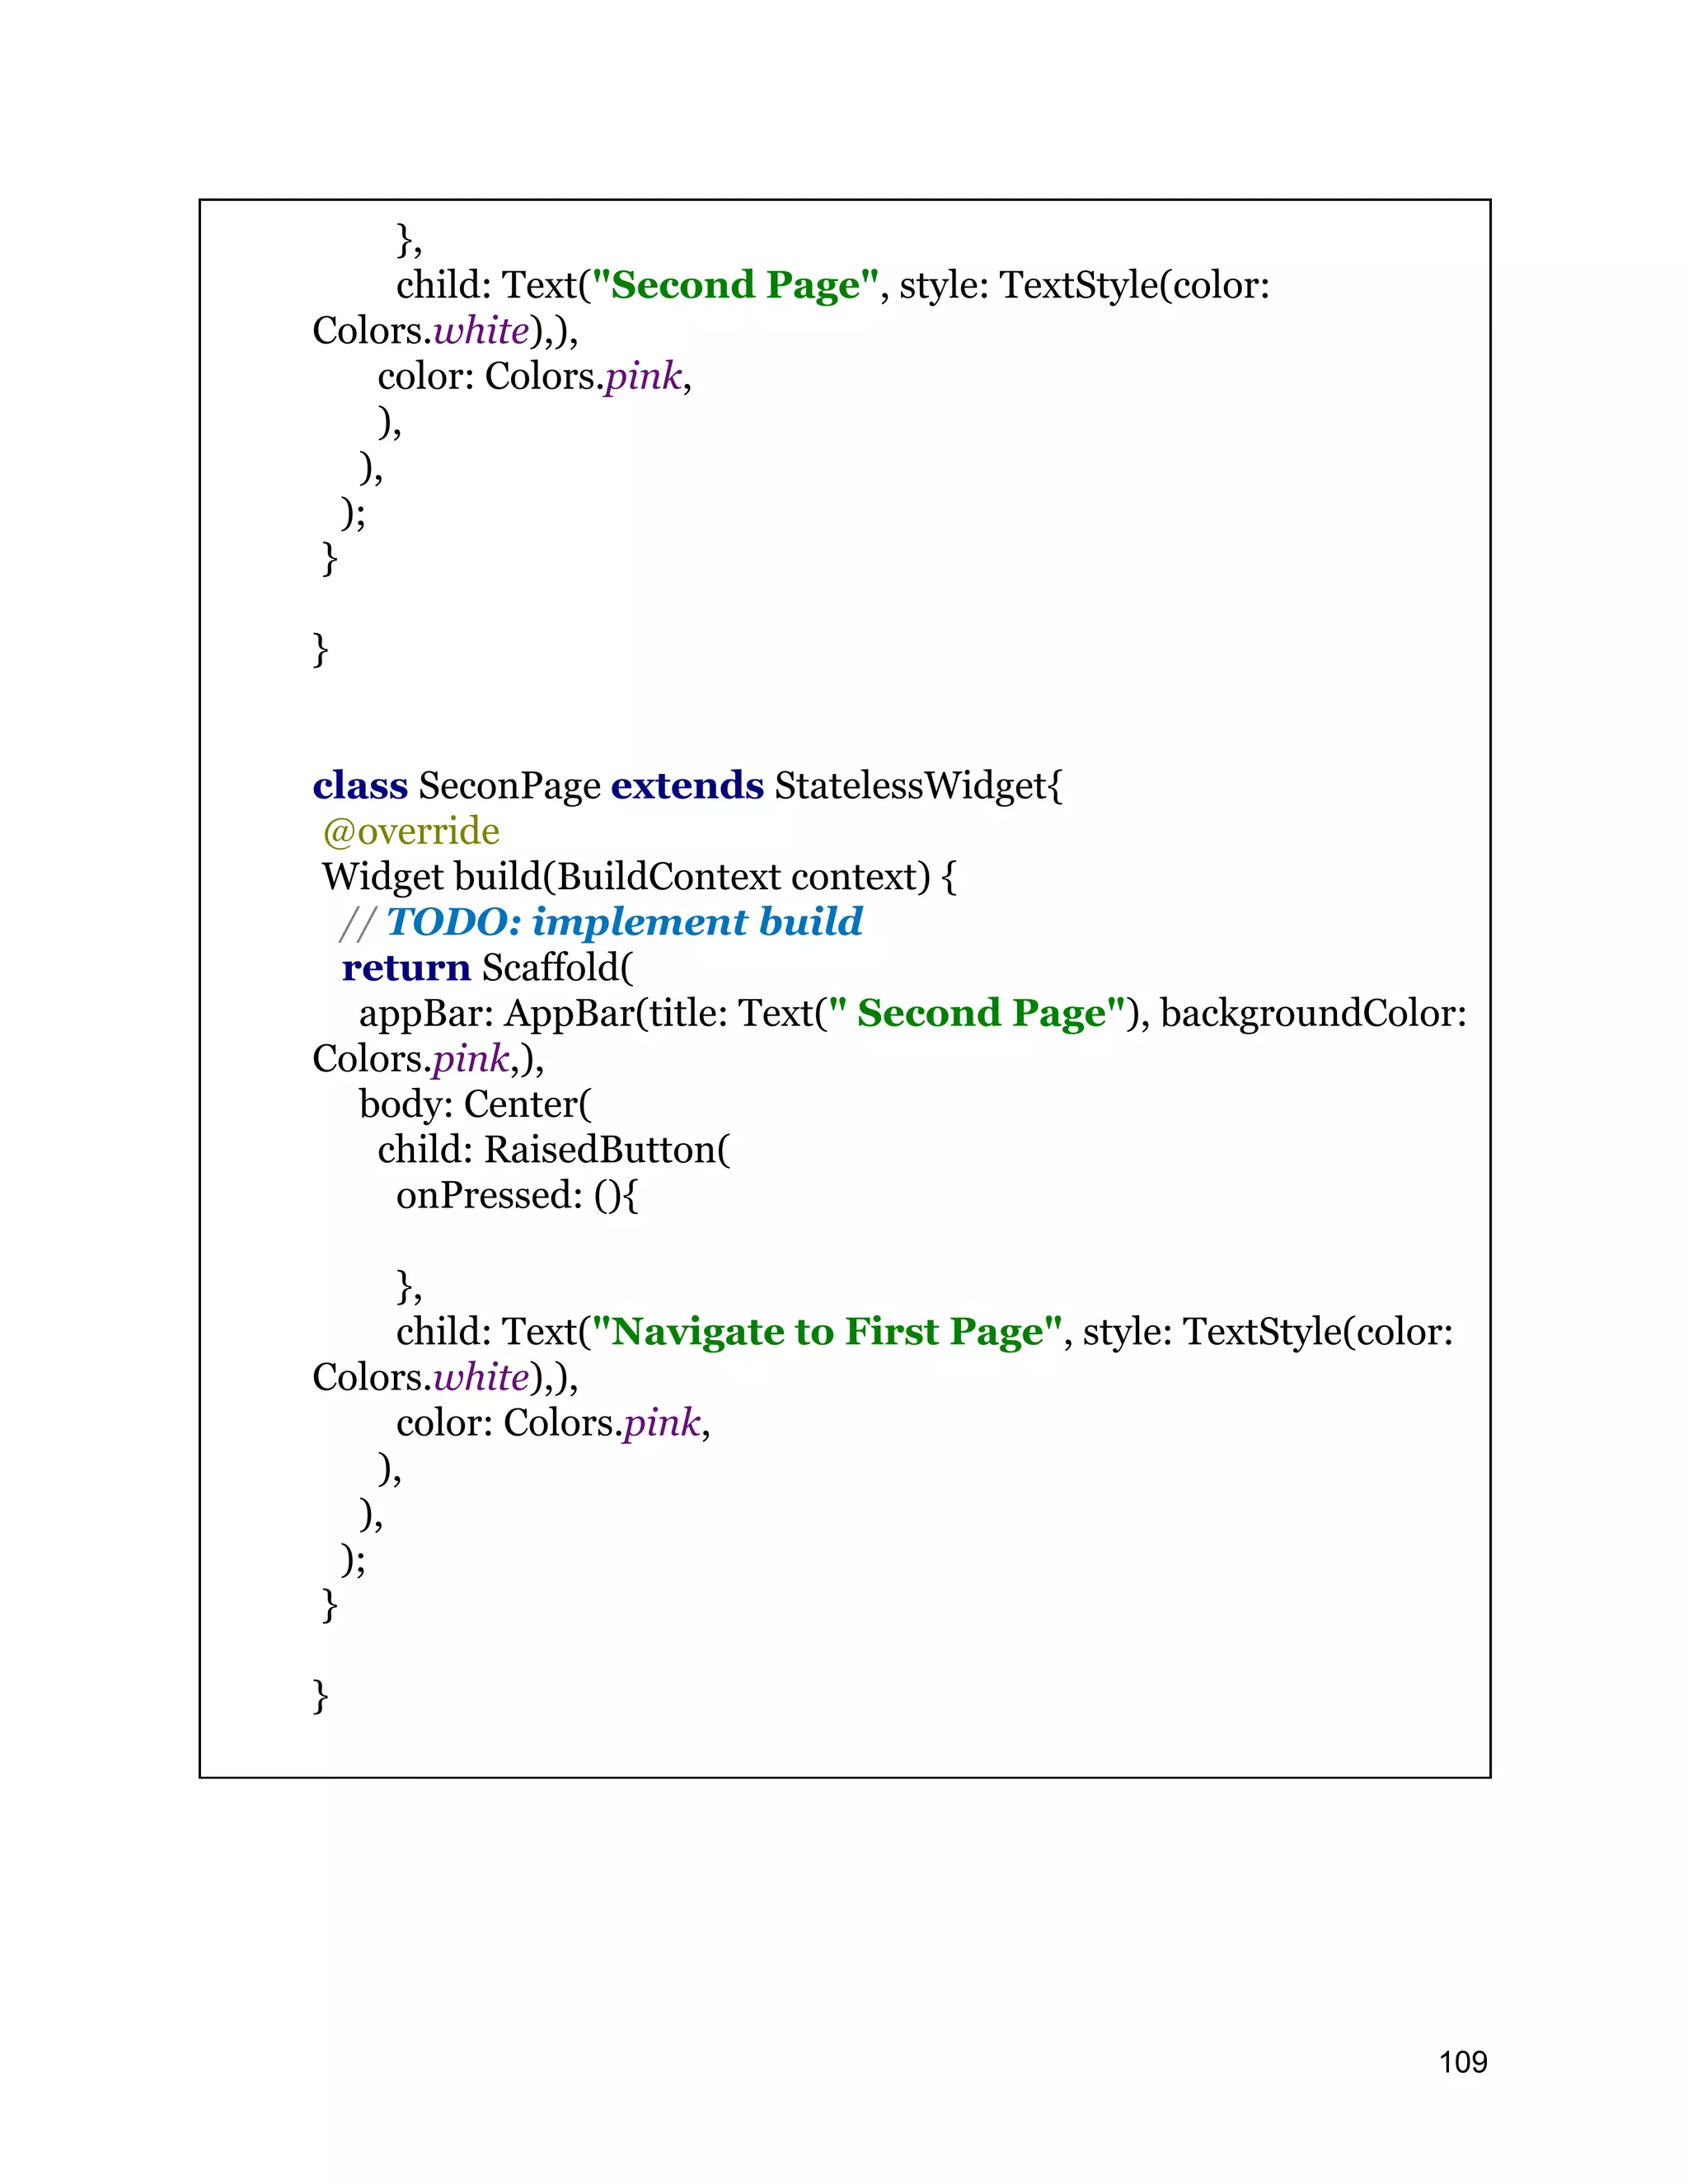
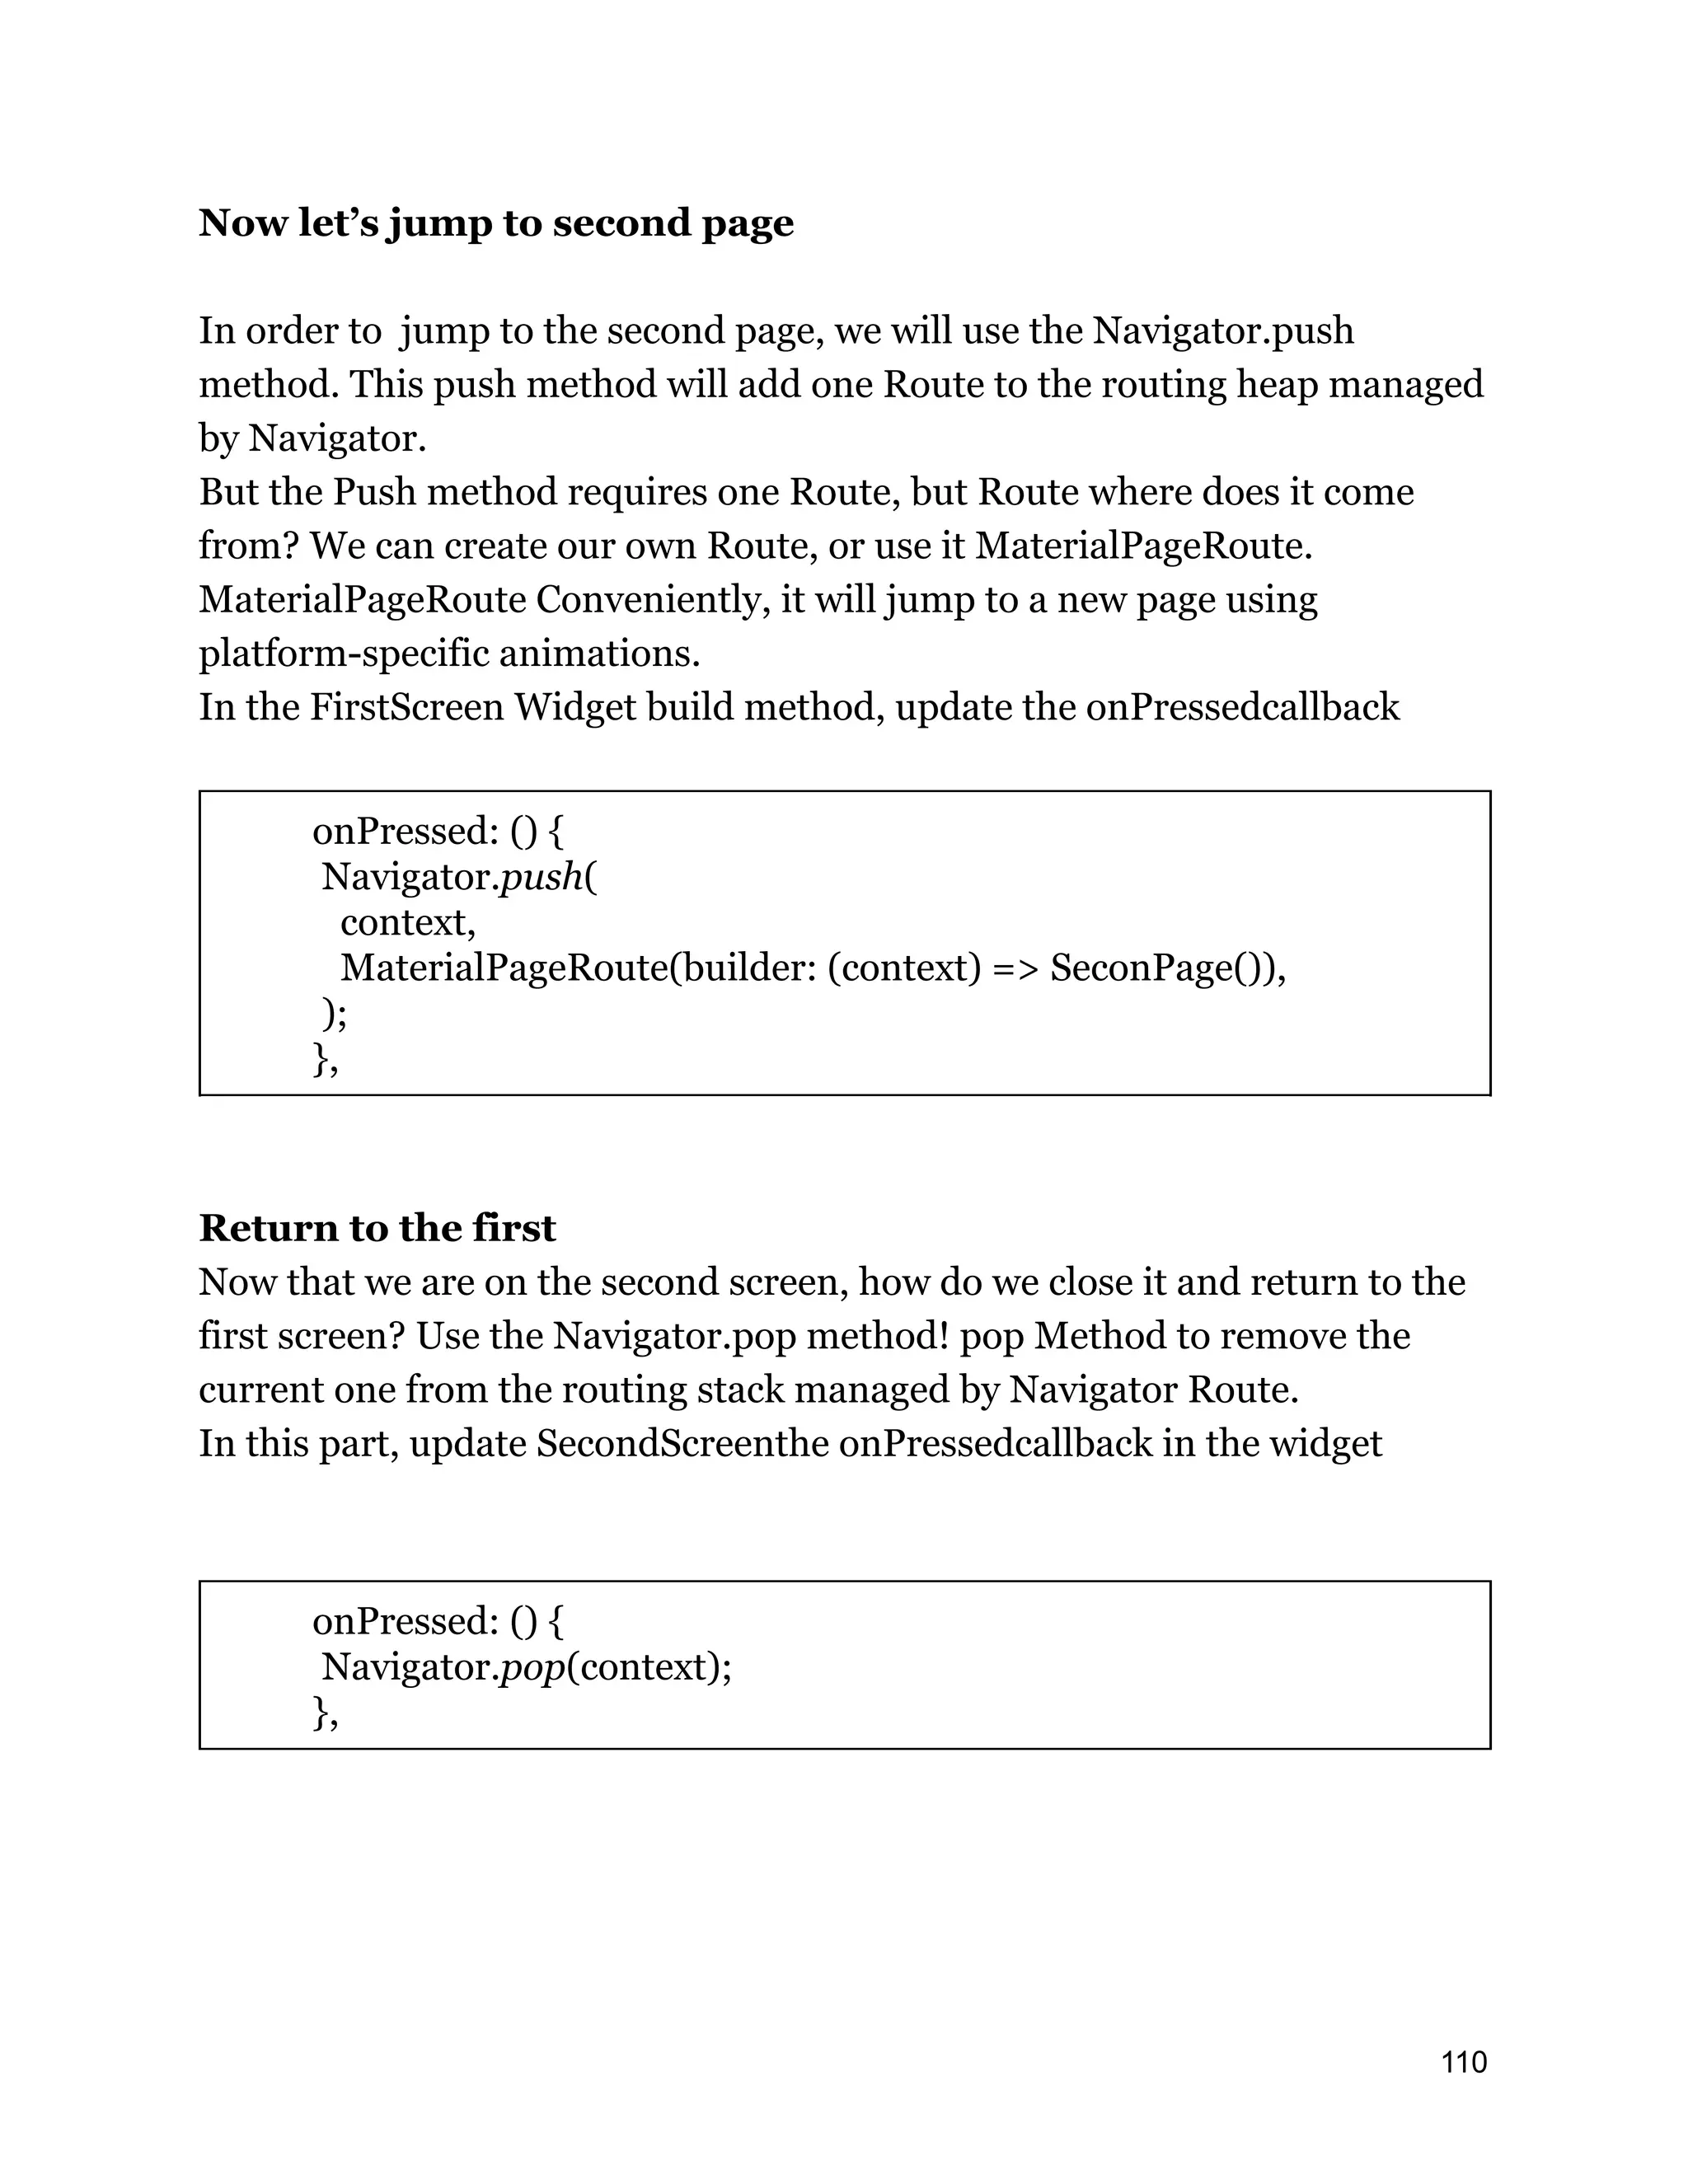

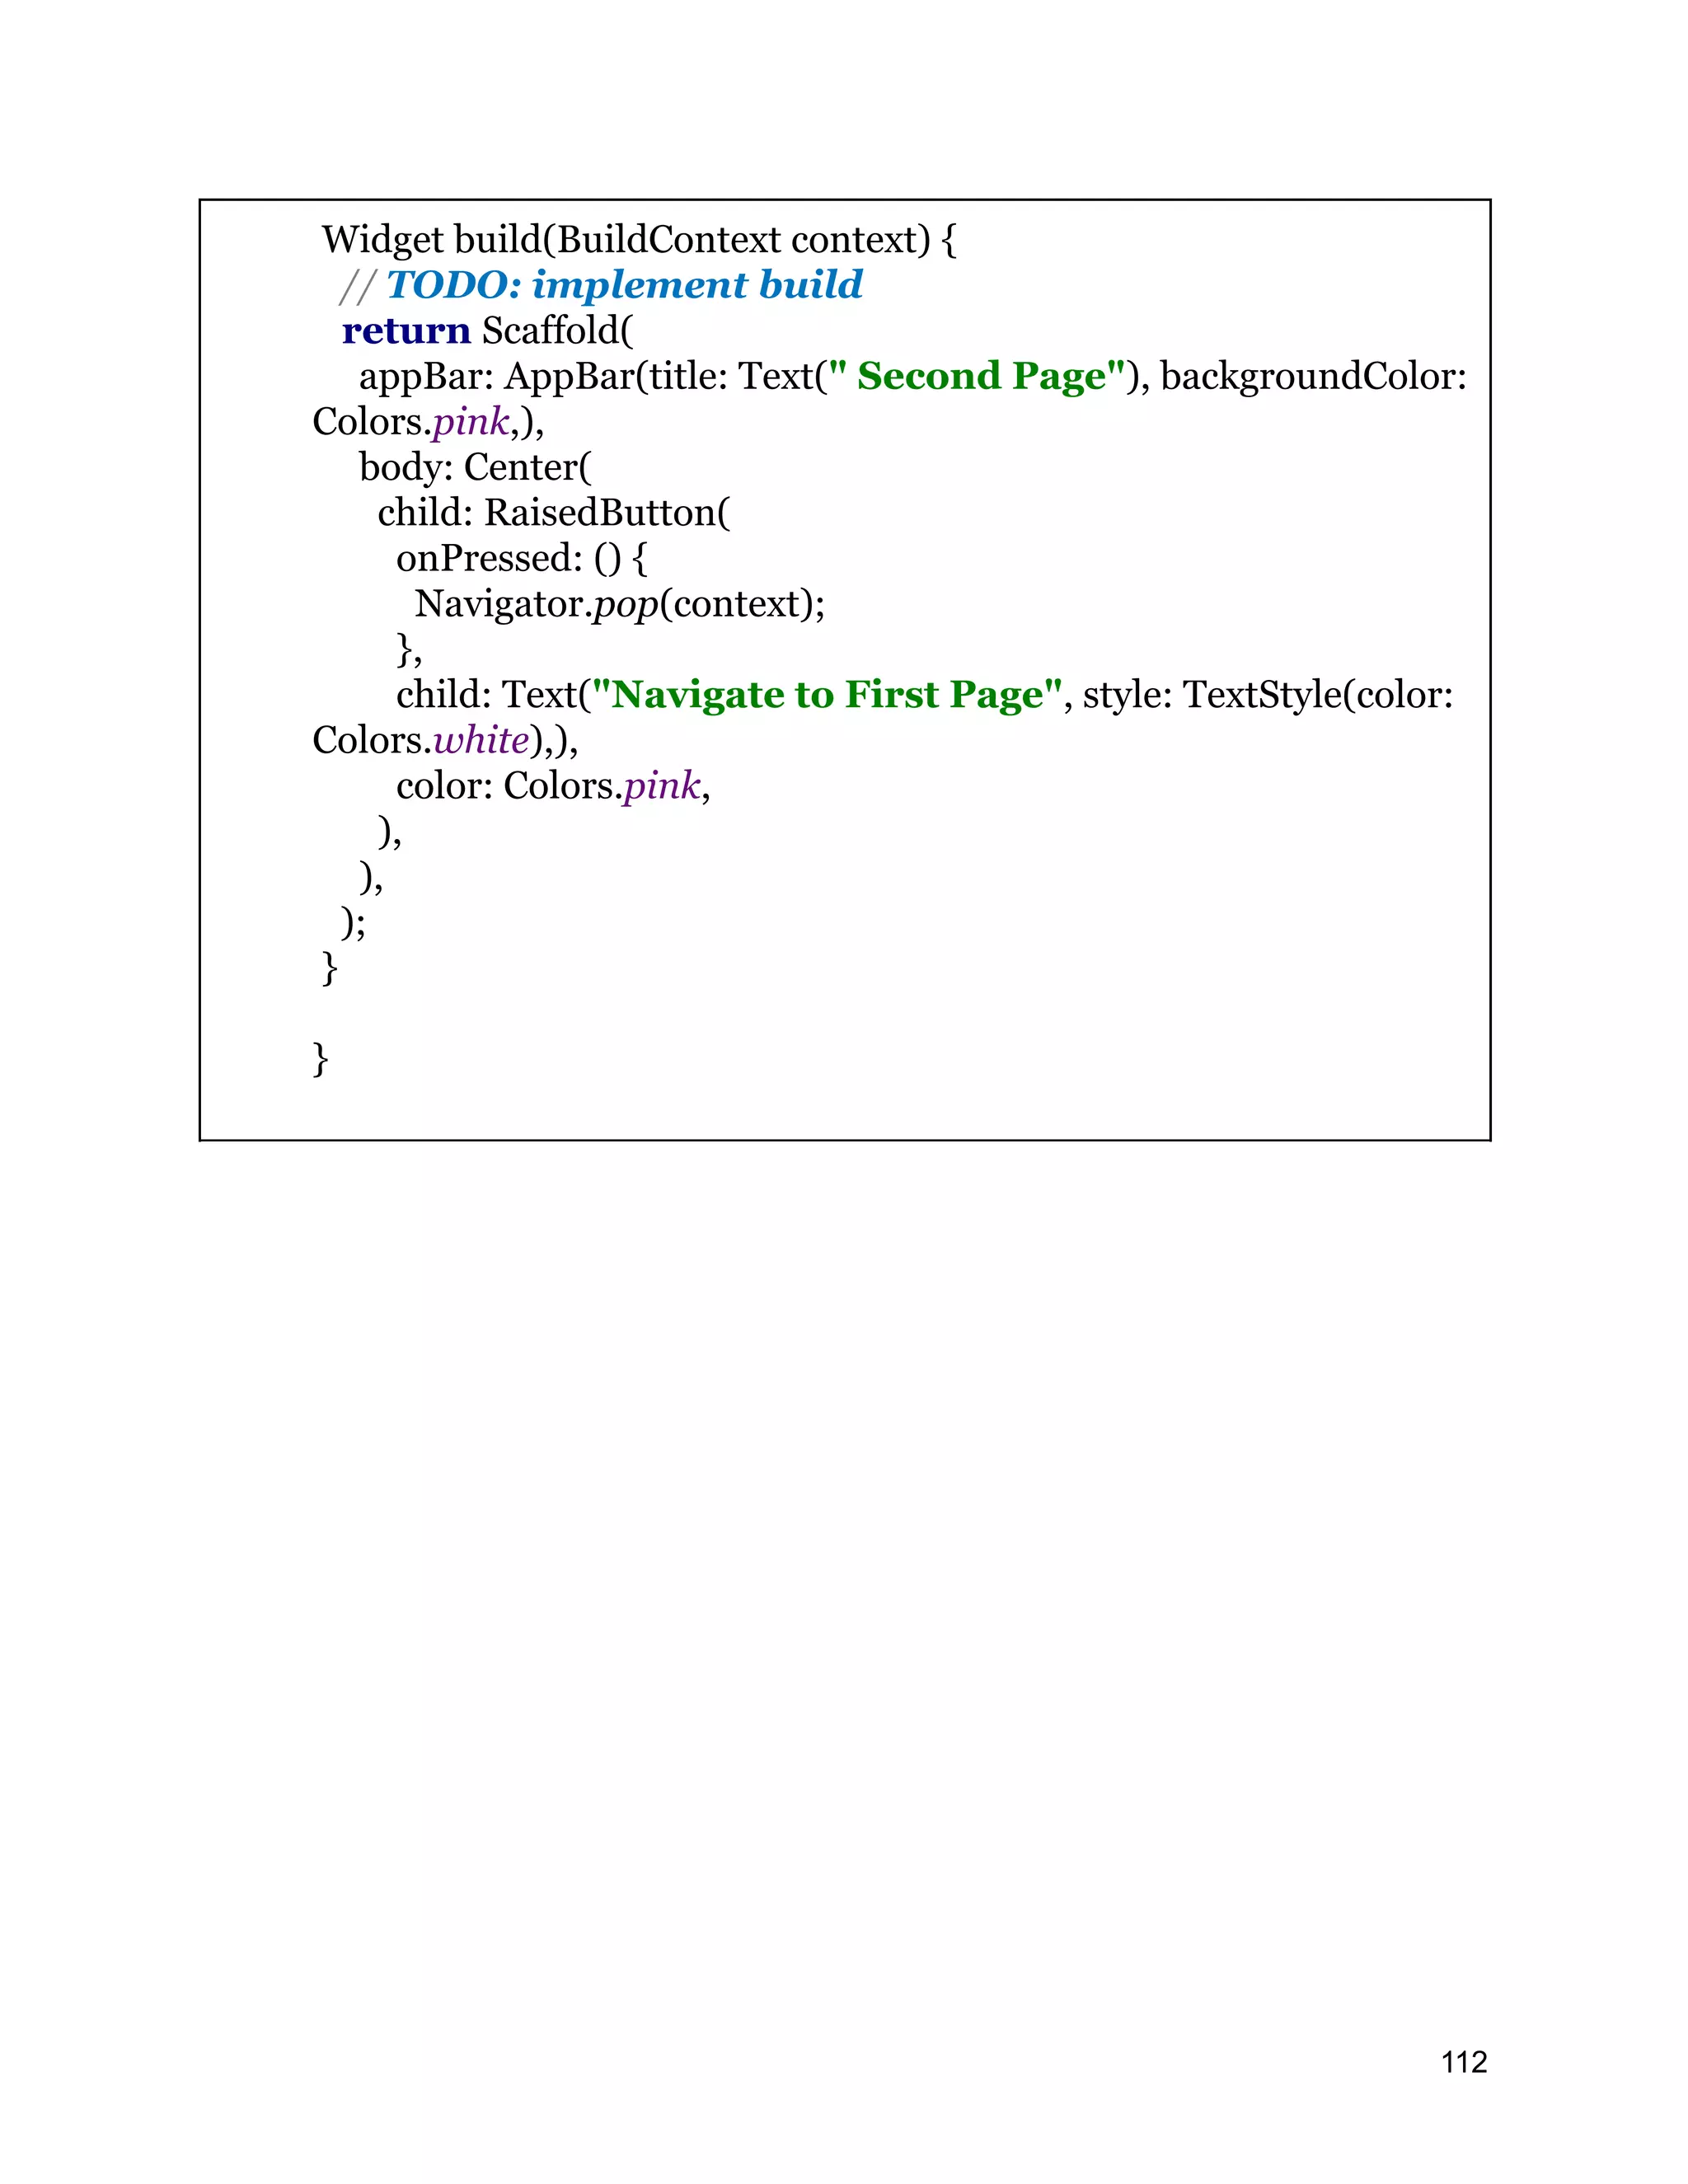
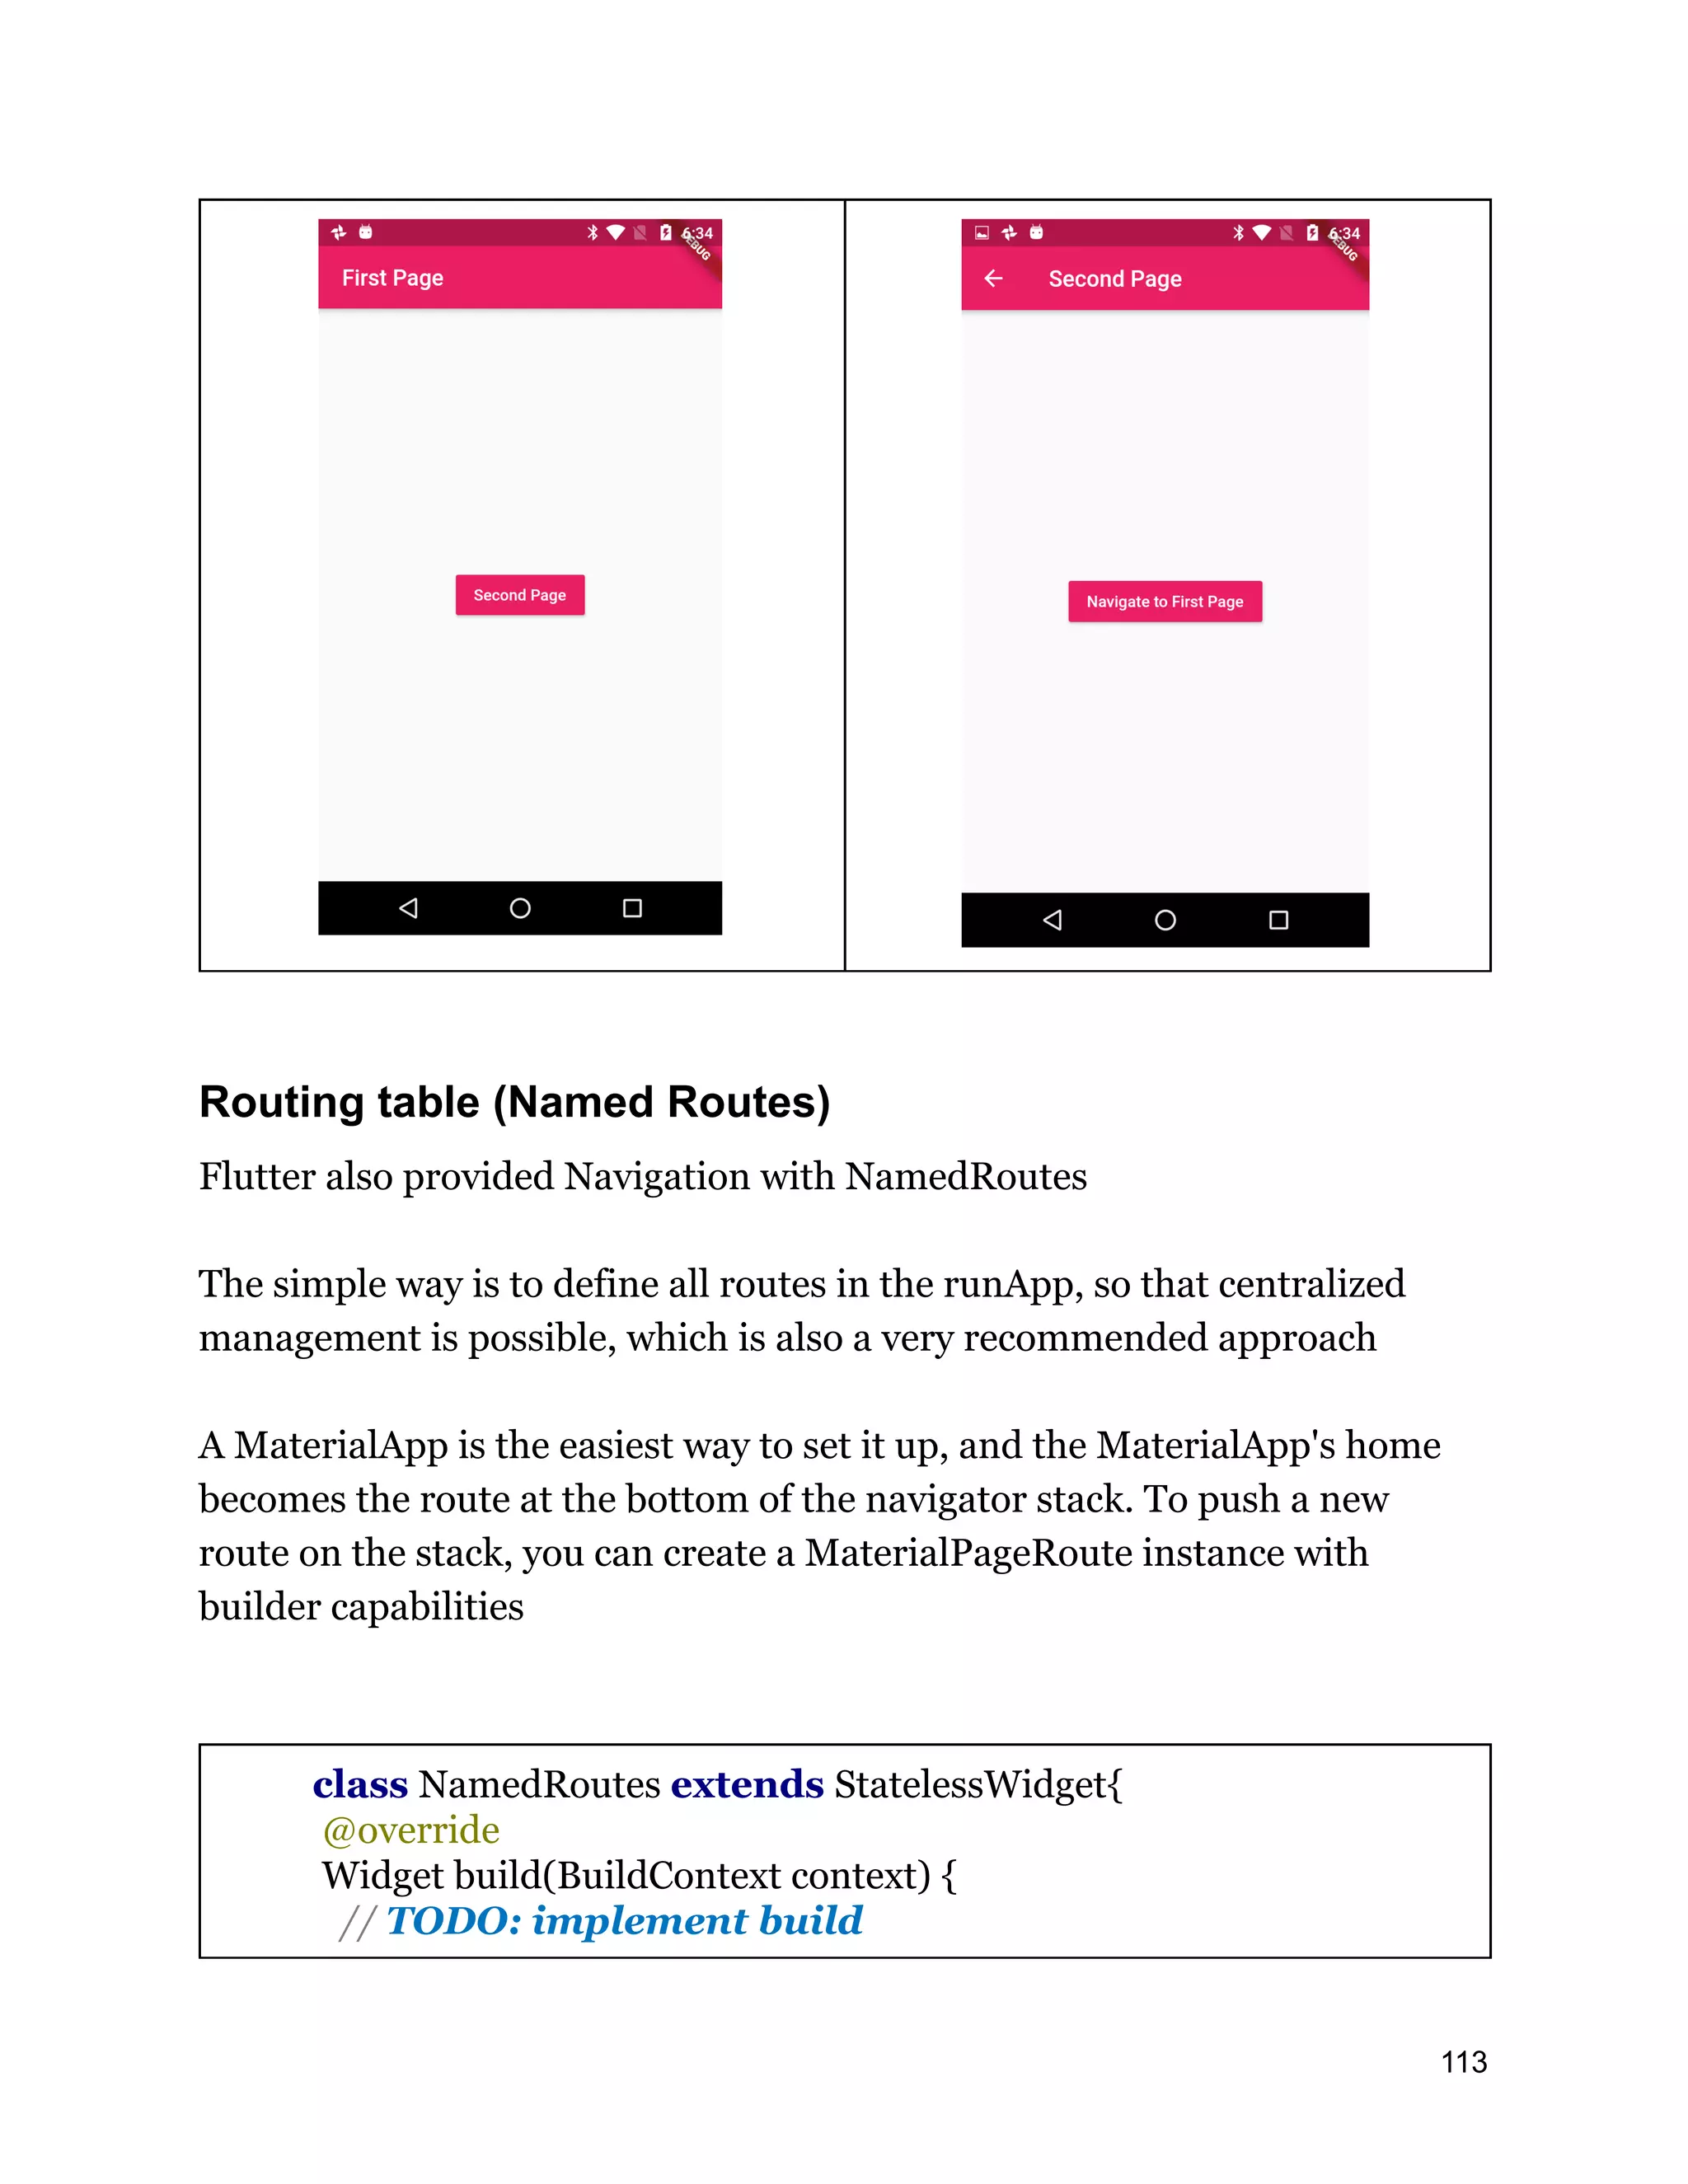

![RaisedButton( color: Colors.pink, onPressed: (){ Navigator.pushNamed(context, "/t"); },child: Text("ThirdPage",style: TextStyle(color: Colors.white),),), ], ), ), ); } } class FisrtPage extends StatelessWidget{ @override Widget build(BuildContext context) { // TODO: implement build return Scaffold( appBar: AppBar(title: Text("FirstPage"),backgroundColor: Colors.pink,), body: Center( child: Column( children: <Widget>[ RaisedButton(onPressed: (){Navigator.pop(context,"From First page");},child: Text("FirstPage"),) ], ), ), ); } } class SecondPage extends StatelessWidget{ @override Widget build(BuildContext context) { // TODO: implement build 115](https://image.slidesharecdn.com/fluttertutorial-201008182102/75/Flutter-tutorial-for-Beginner-Step-by-Step-115-2048.jpg)
![return Scaffold( appBar: AppBar(title: Text("SecondPage"),backgroundColor: Colors.pink,), body: Center( child: Column( children: <Widget>[ RaisedButton(onPressed: (){Navigator.pop(context);},child: Text("SecondPage"),) ], ), ), ); } } class ThirdPage extends StatelessWidget{ @override Widget build(BuildContext context) { // TODO: implement build return Scaffold( appBar: AppBar(title: Text("ThirdPage"),backgroundColor: Colors.pink,), body: Center( child: Column( children: <Widget>[ RaisedButton(onPressed: (){Navigator.pop(context);},child: Text("ThirdPage"),) ], ), ), ); } } To get the result from called page by 116](https://image.slidesharecdn.com/fluttertutorial-201008182102/75/Flutter-tutorial-for-Beginner-Step-by-Step-116-2048.jpg)
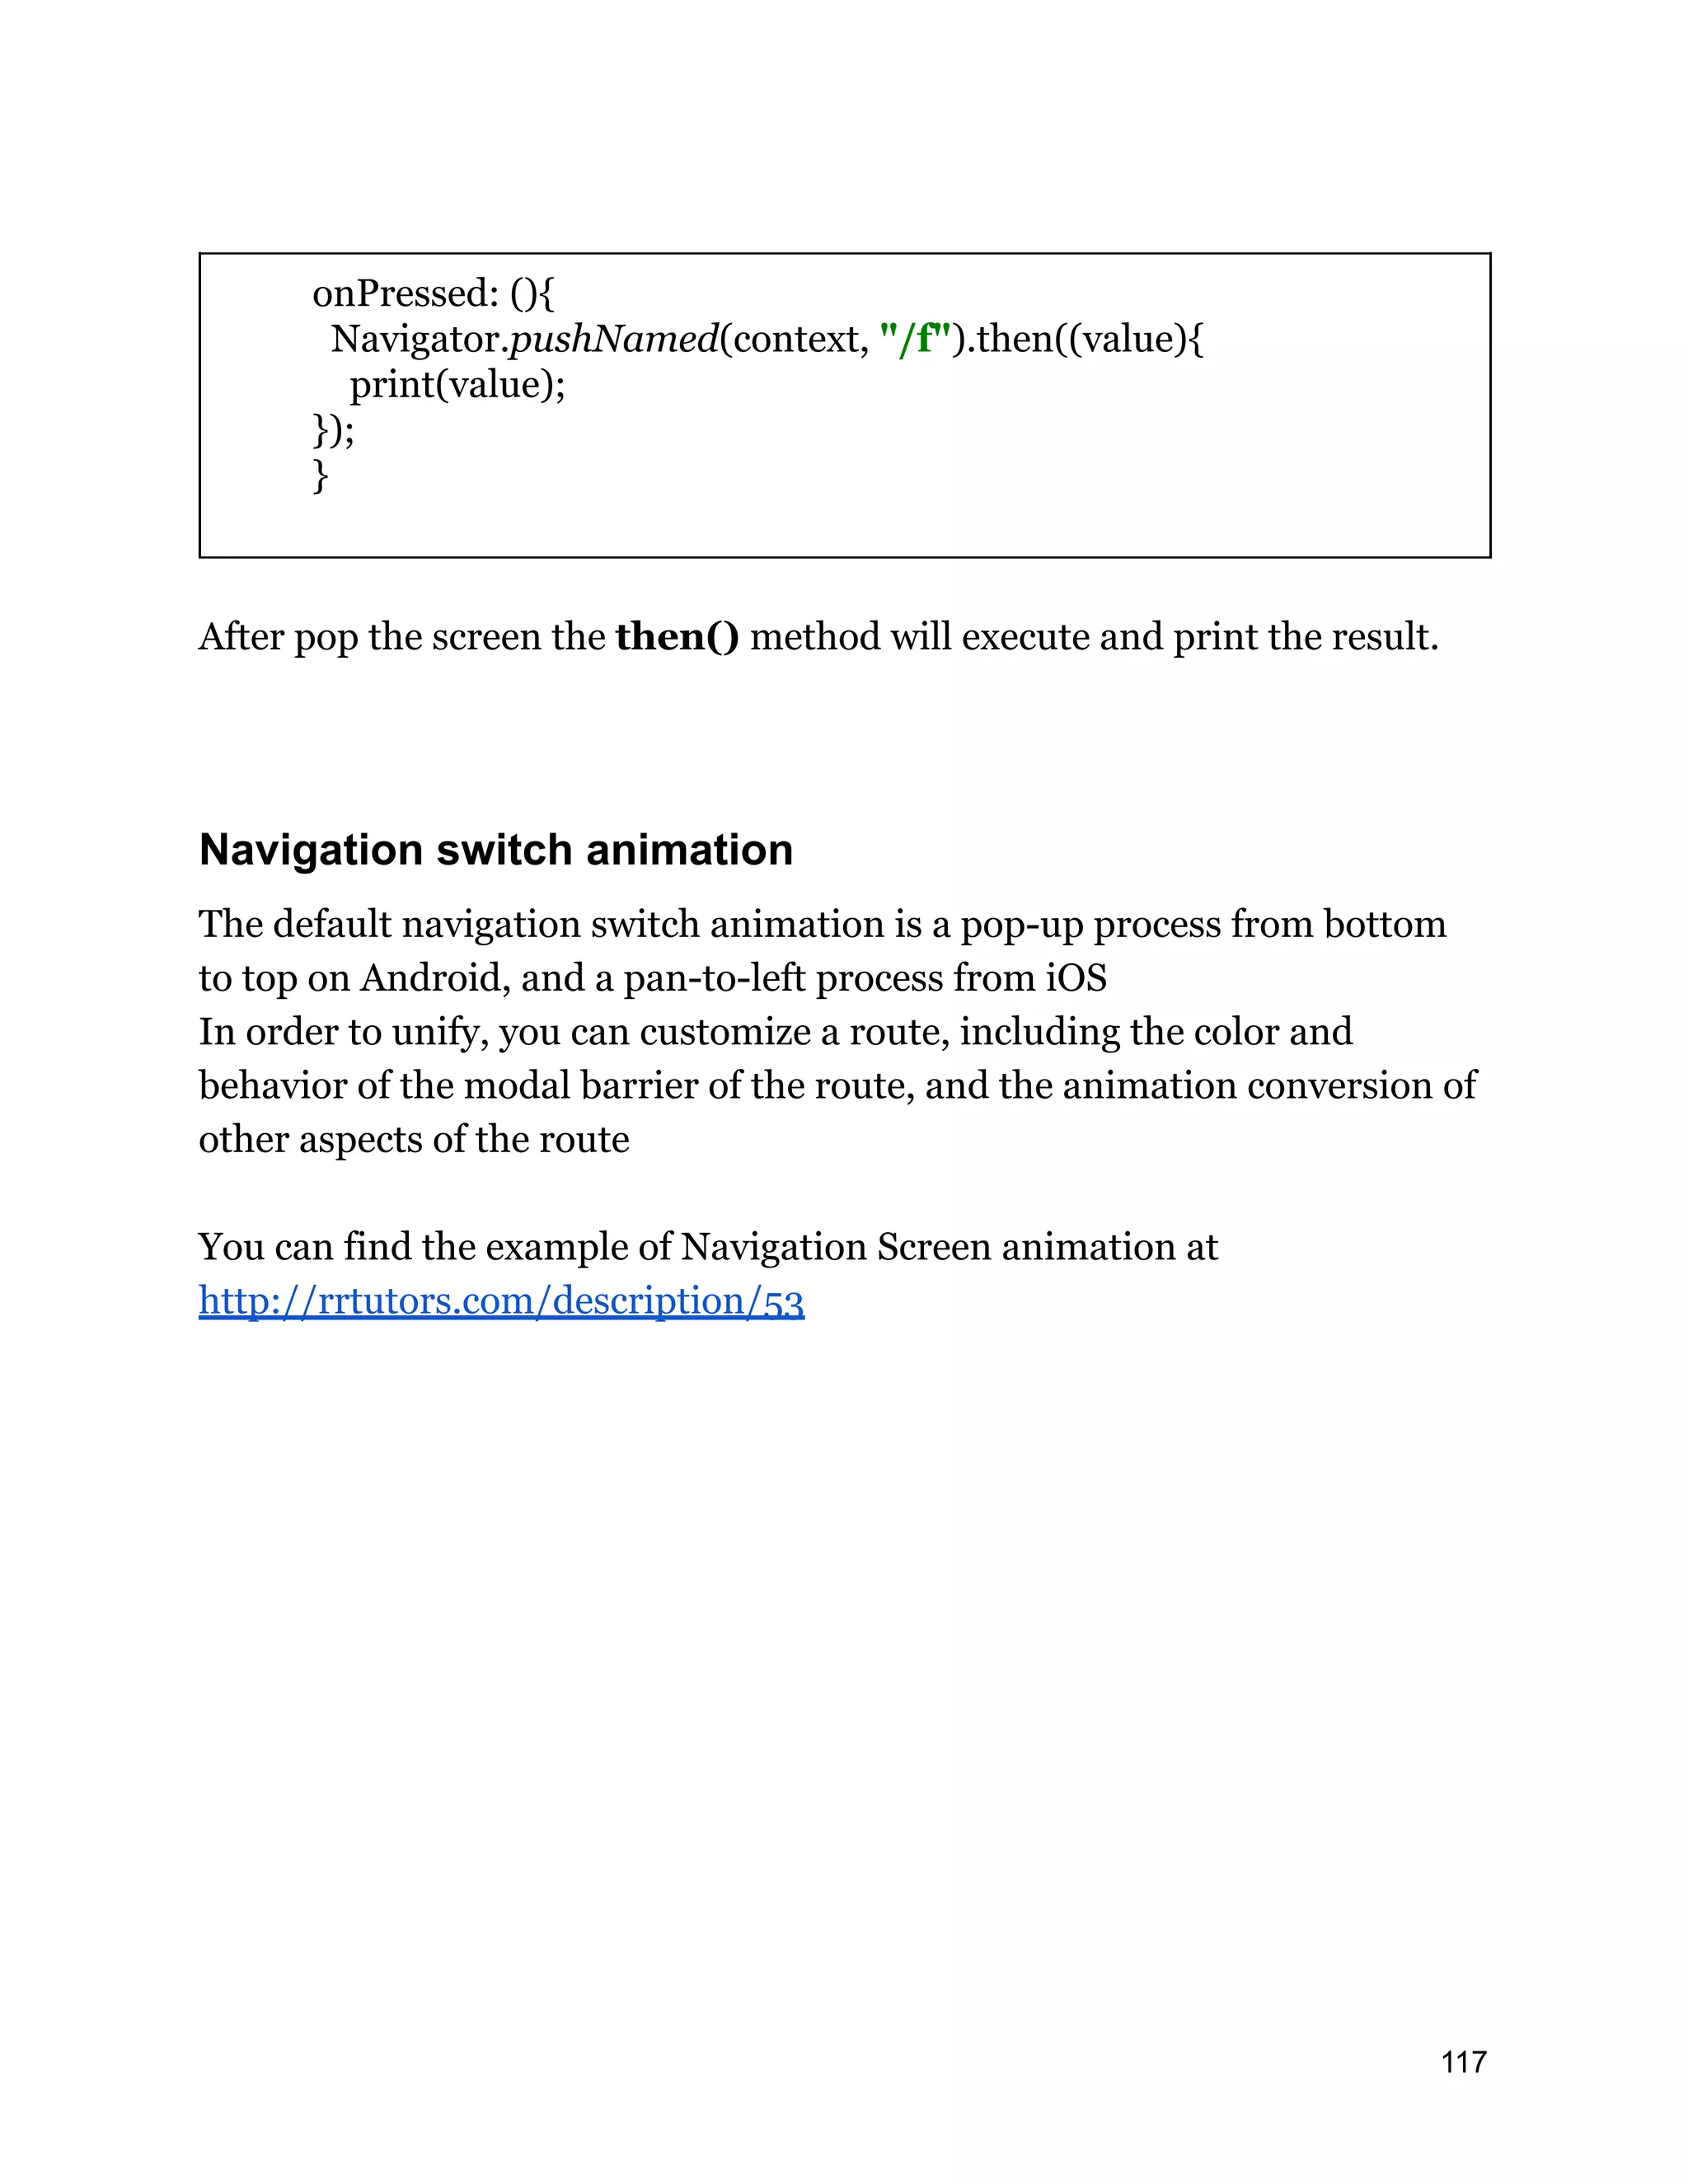
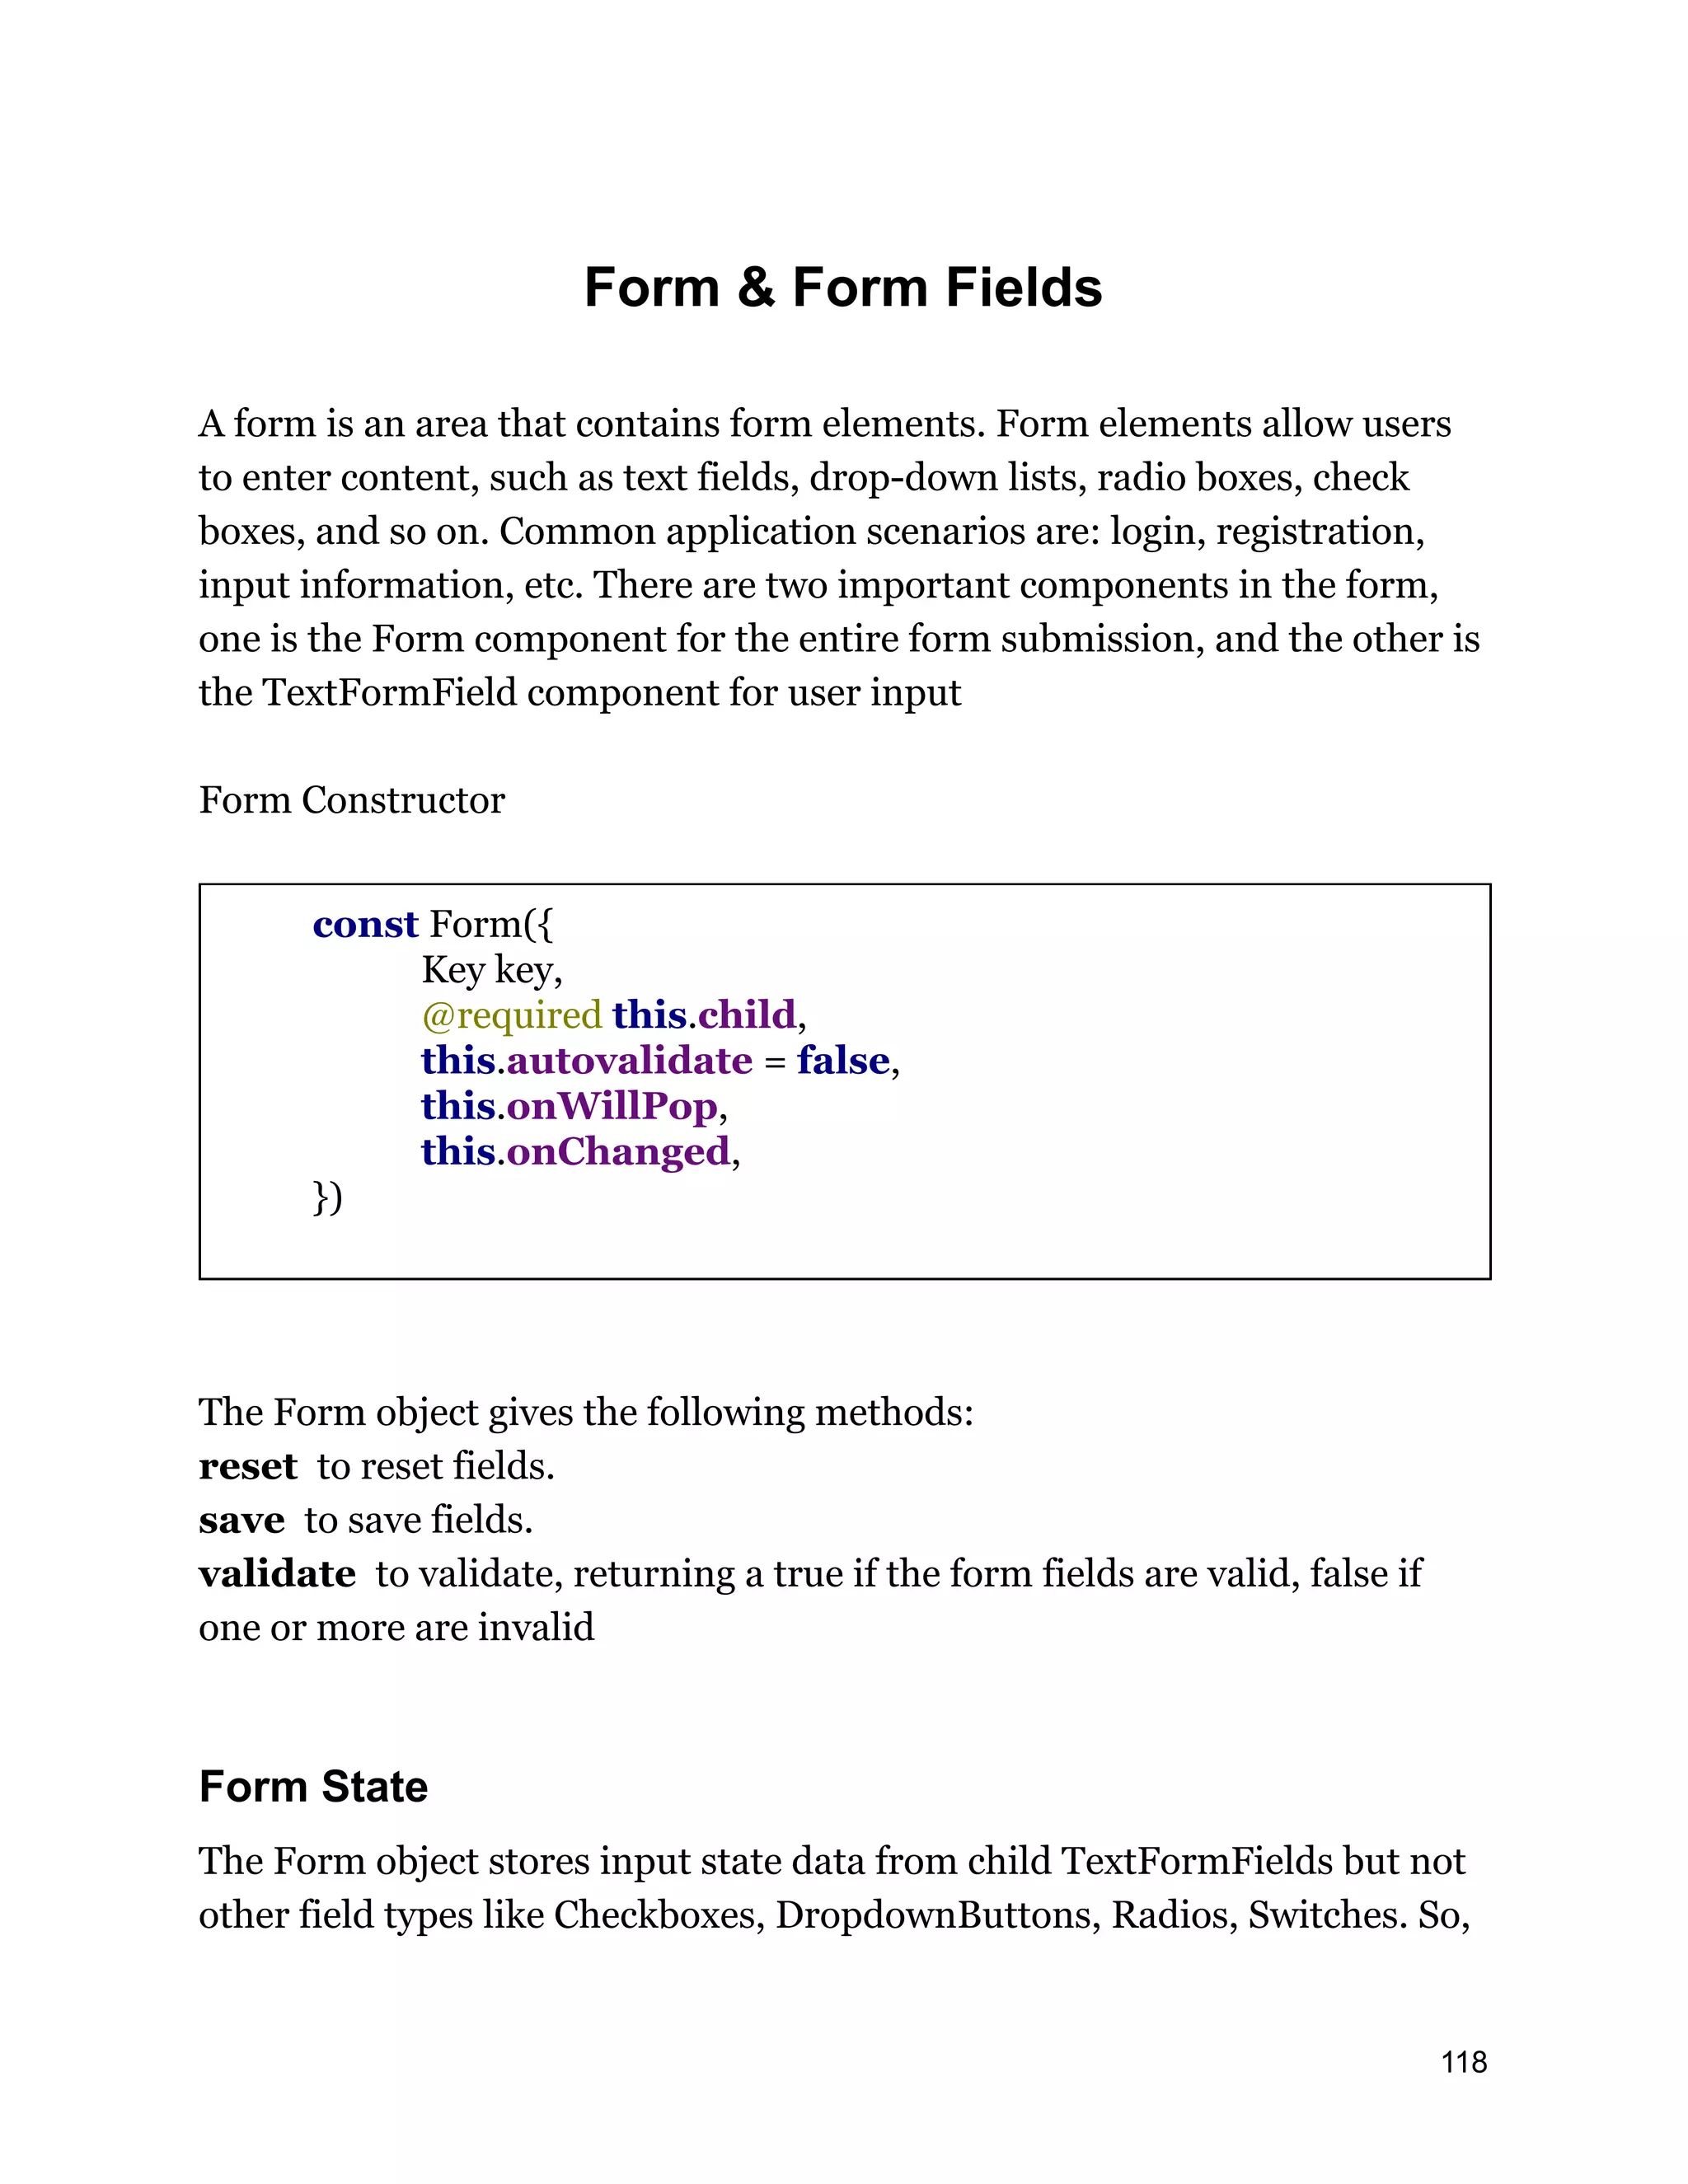
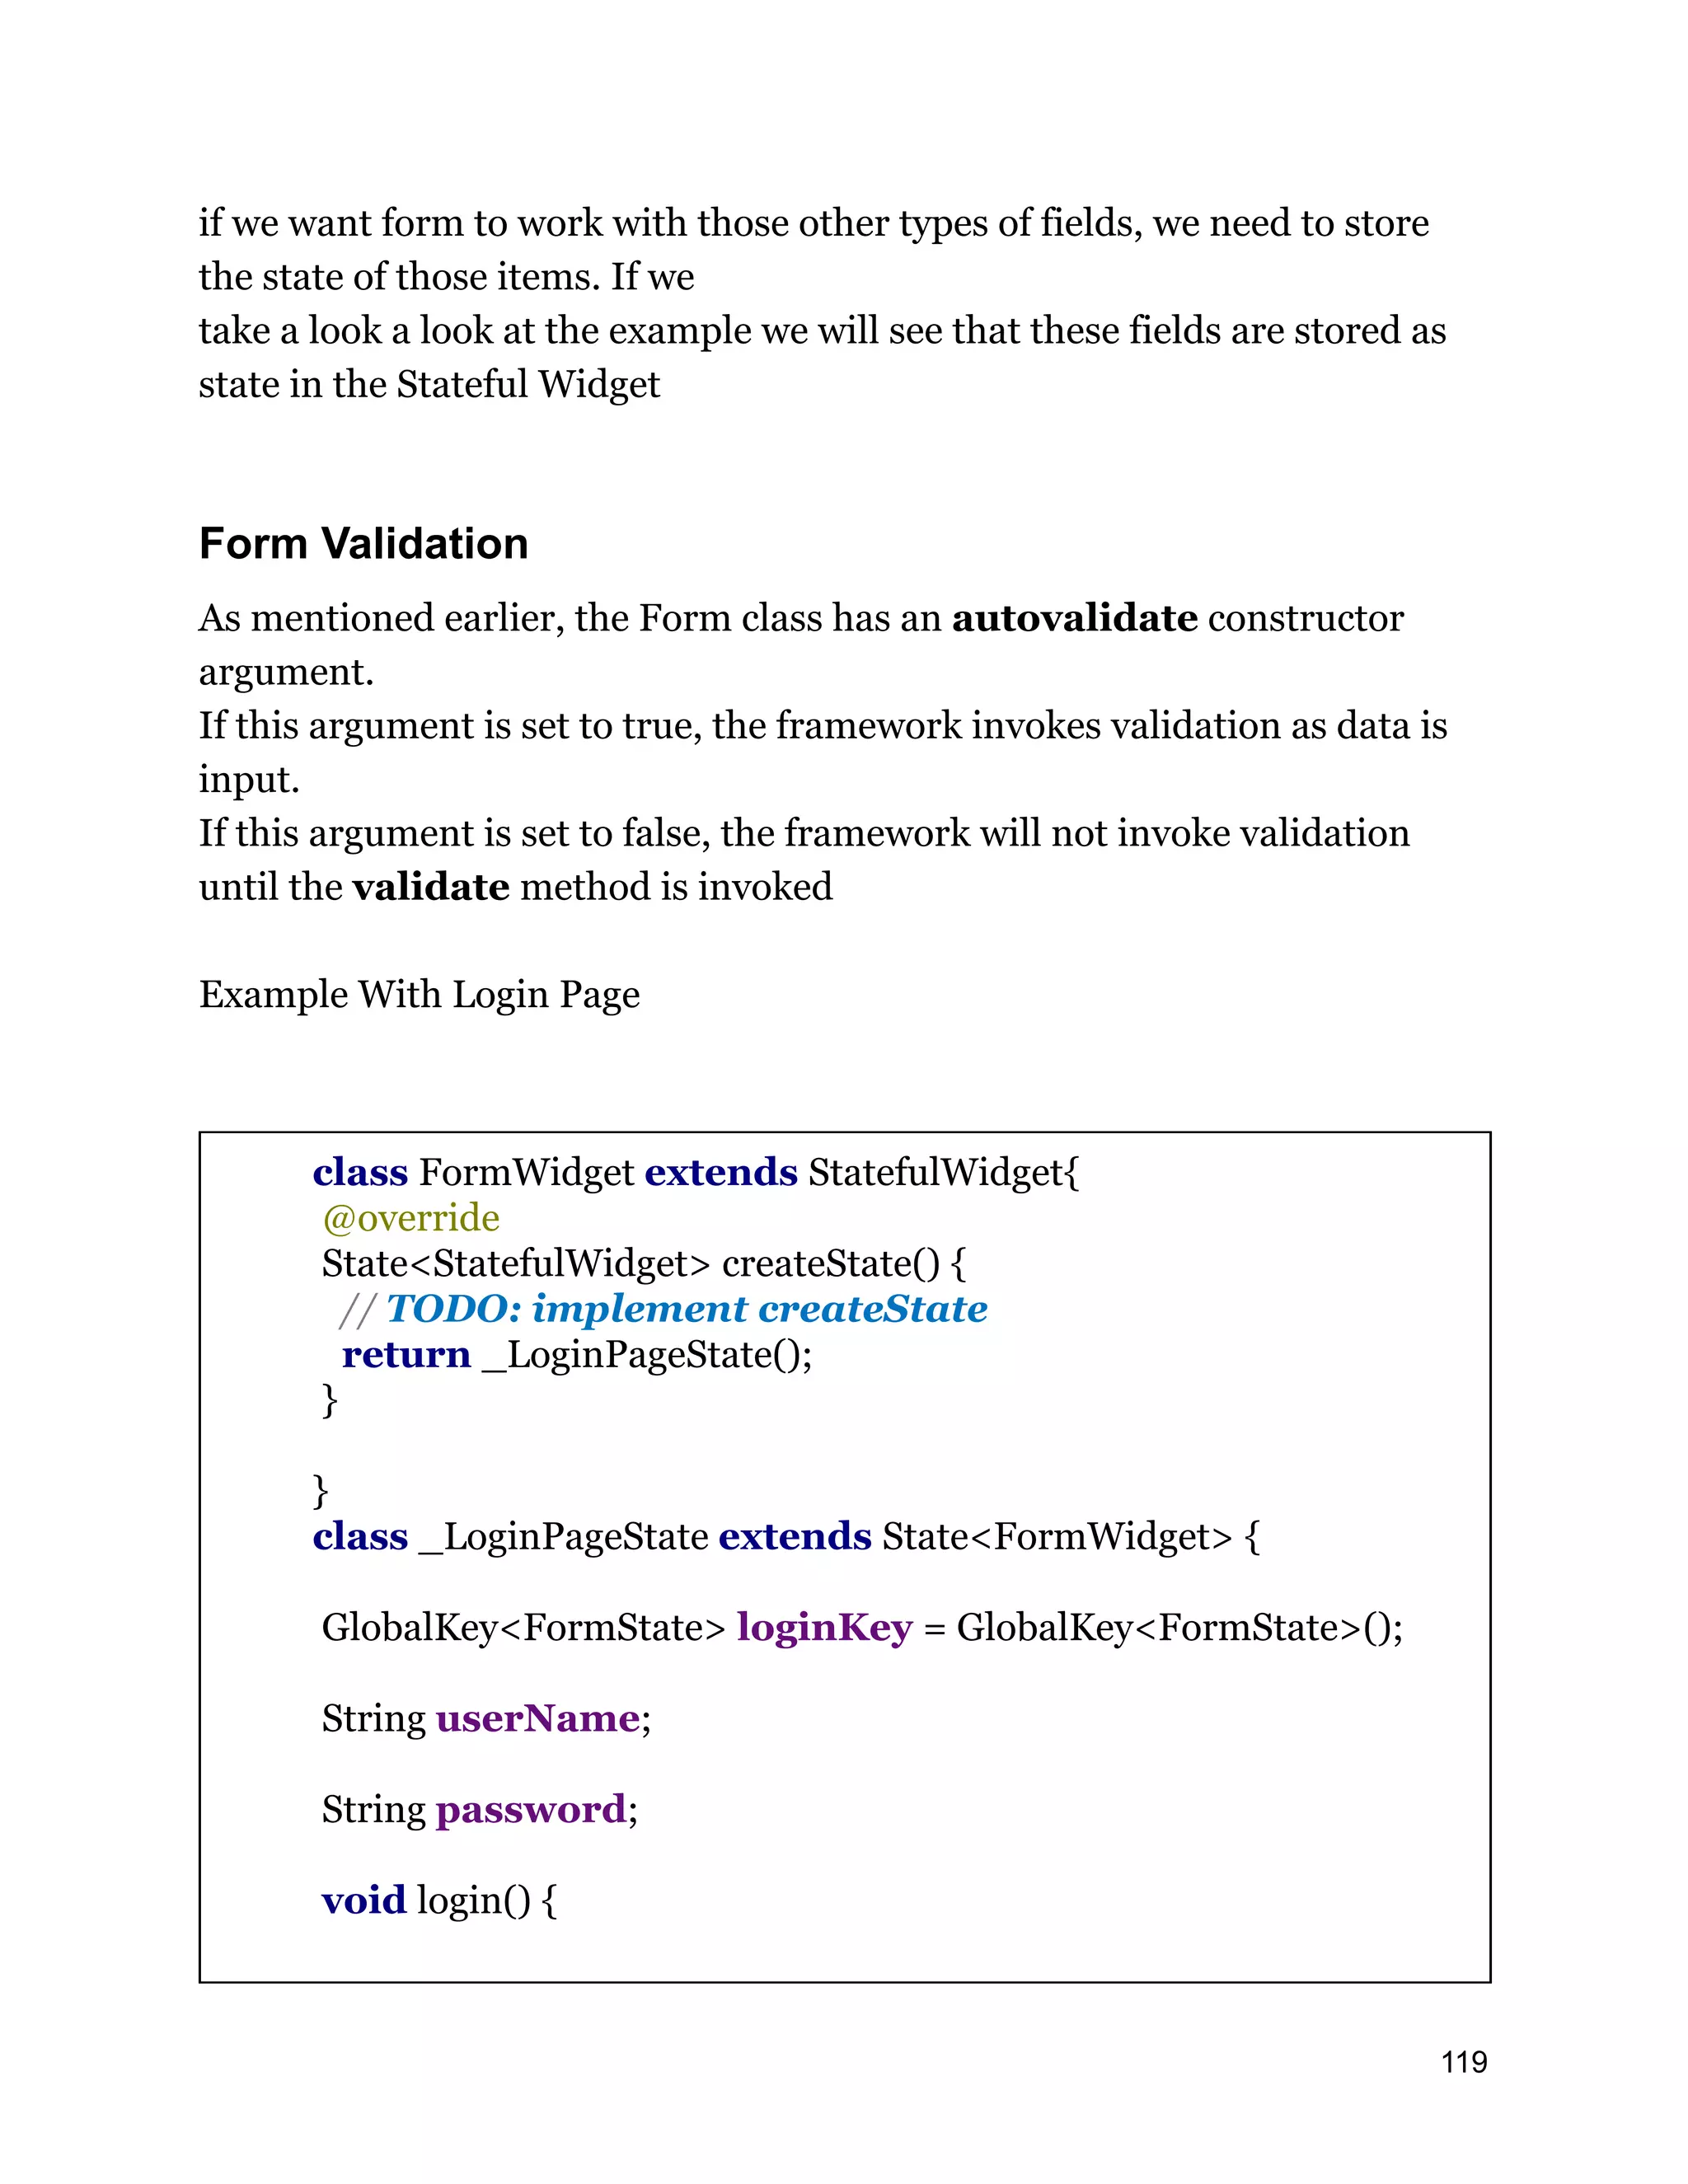

![), validator: (value) { return value.trim().length > 0 ? null : "Please enter valid user name"; }, onSaved: (value) { userName = value; }, onFieldSubmitted: (value) {}, ), TextFormField( decoration: InputDecoration( labelText: 'Password', hintText: 'Enter password', hintStyle: TextStyle( color: Colors.grey, fontSize: 13, ), prefixIcon: Icon(Icons.lock,color: Colors.pink), ), obscureText: true, validator: (value) { return value.length < 6 ? 'Password should be min 6 characters' : null; }, onSaved: (value) { password = value; }, ), ], ), 121](https://image.slidesharecdn.com/fluttertutorial-201008182102/75/Flutter-tutorial-for-Beginner-Step-by-Step-121-2048.jpg)
![onChanged: () { print("onChanged"); }, ), ), Container( padding: EdgeInsets.all(16), child: Row( children: <Widget>[ Expanded( child: RaisedButton( padding: EdgeInsets.all(15), child: Text( "Login", style: TextStyle(fontSize: 18), ), textColor: Colors.white, color: Colors.pink, onPressed: login, ), ), ], ), ) ], ), ), ); } } 122](https://image.slidesharecdn.com/fluttertutorial-201008182102/75/Flutter-tutorial-for-Beginner-Step-by-Step-122-2048.jpg)
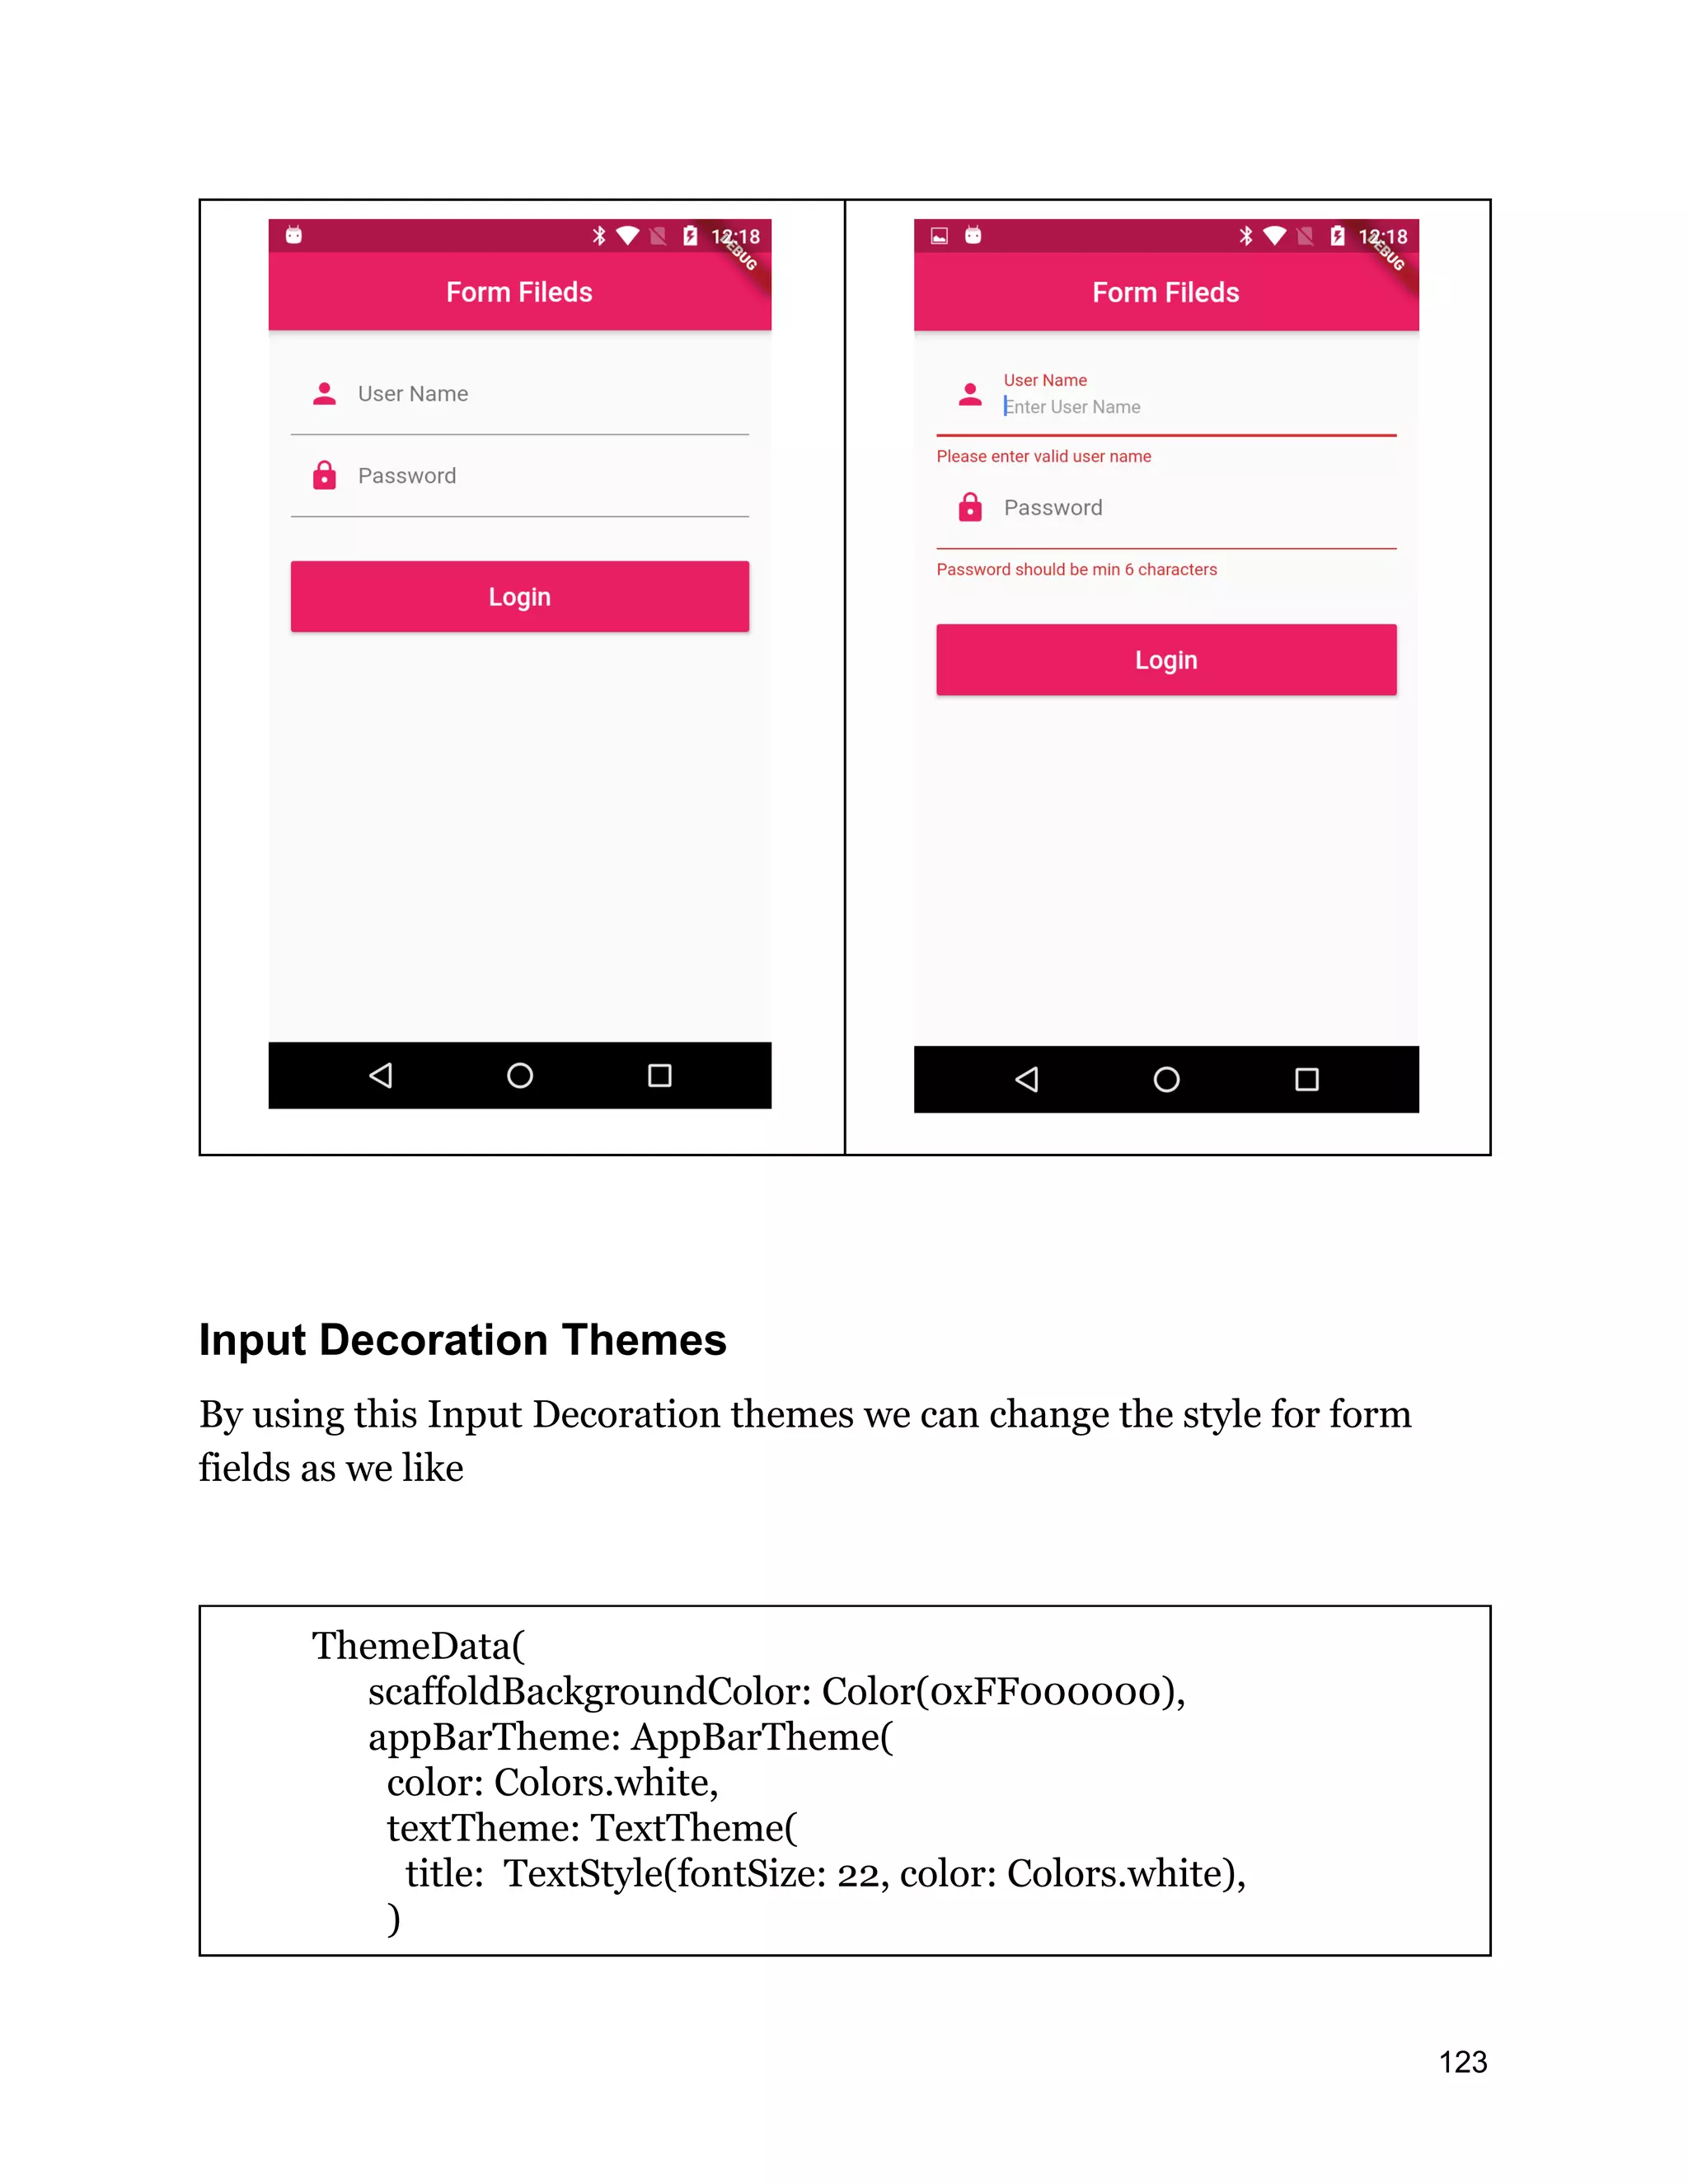
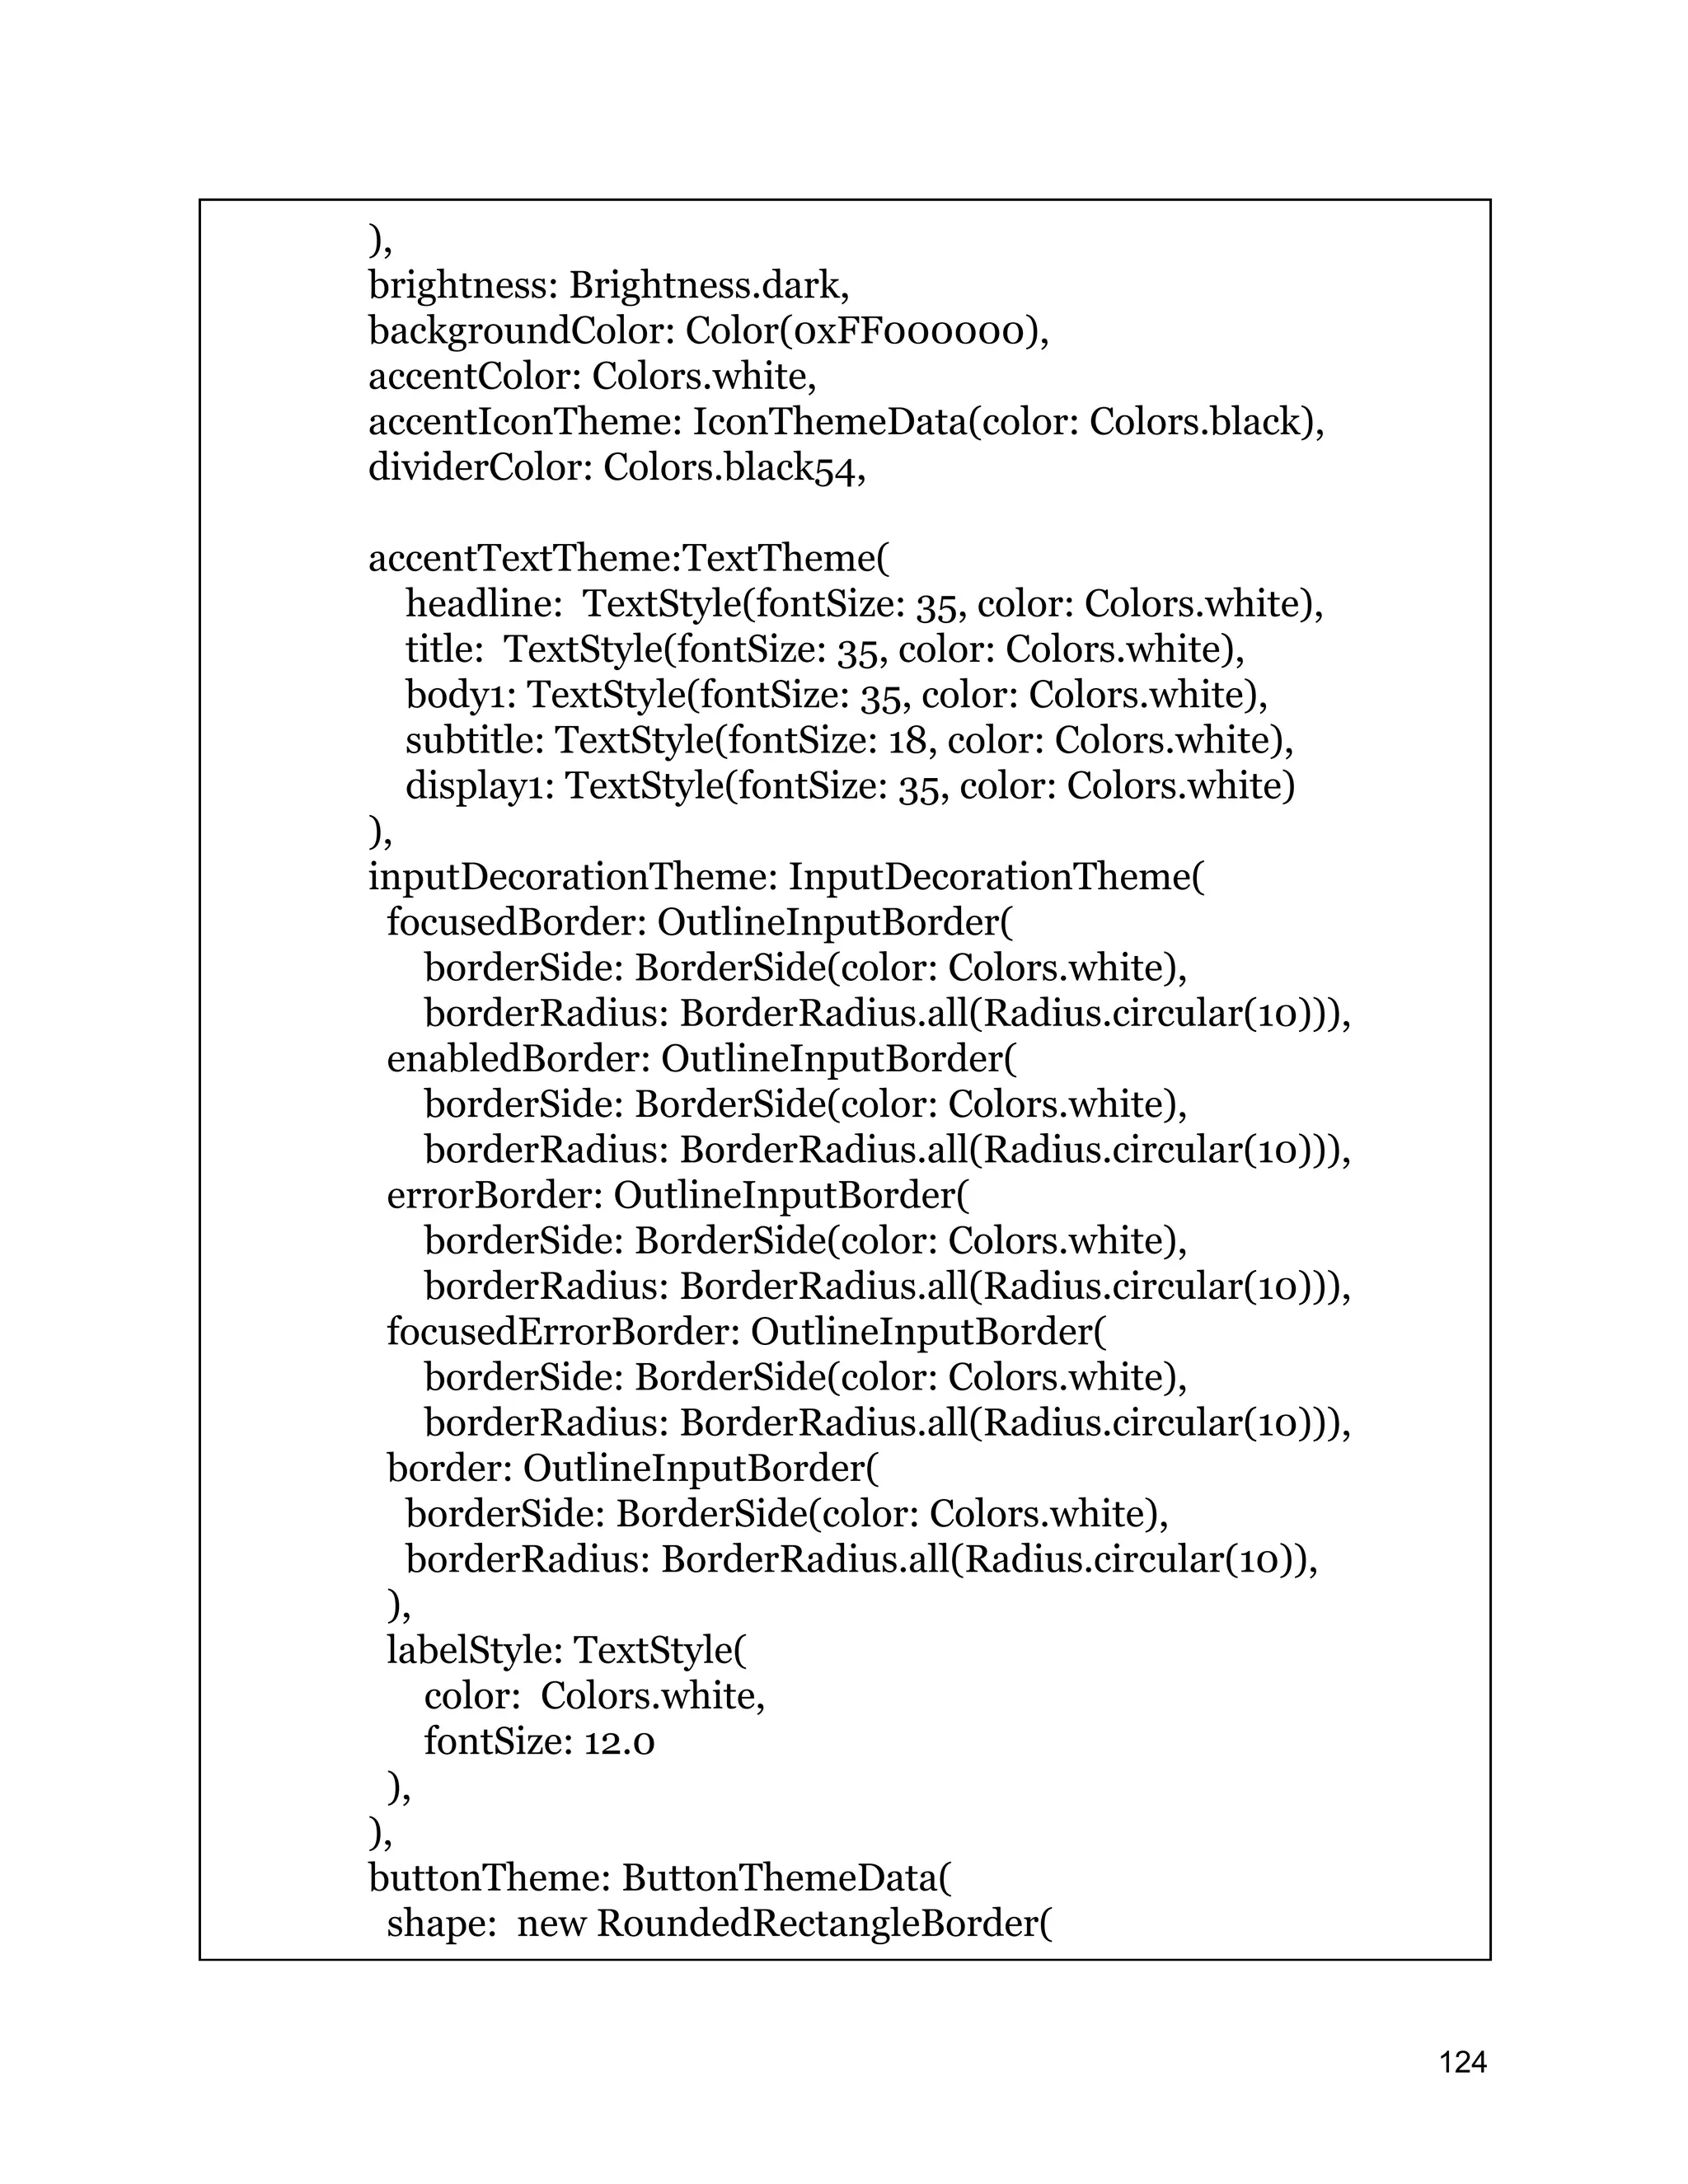
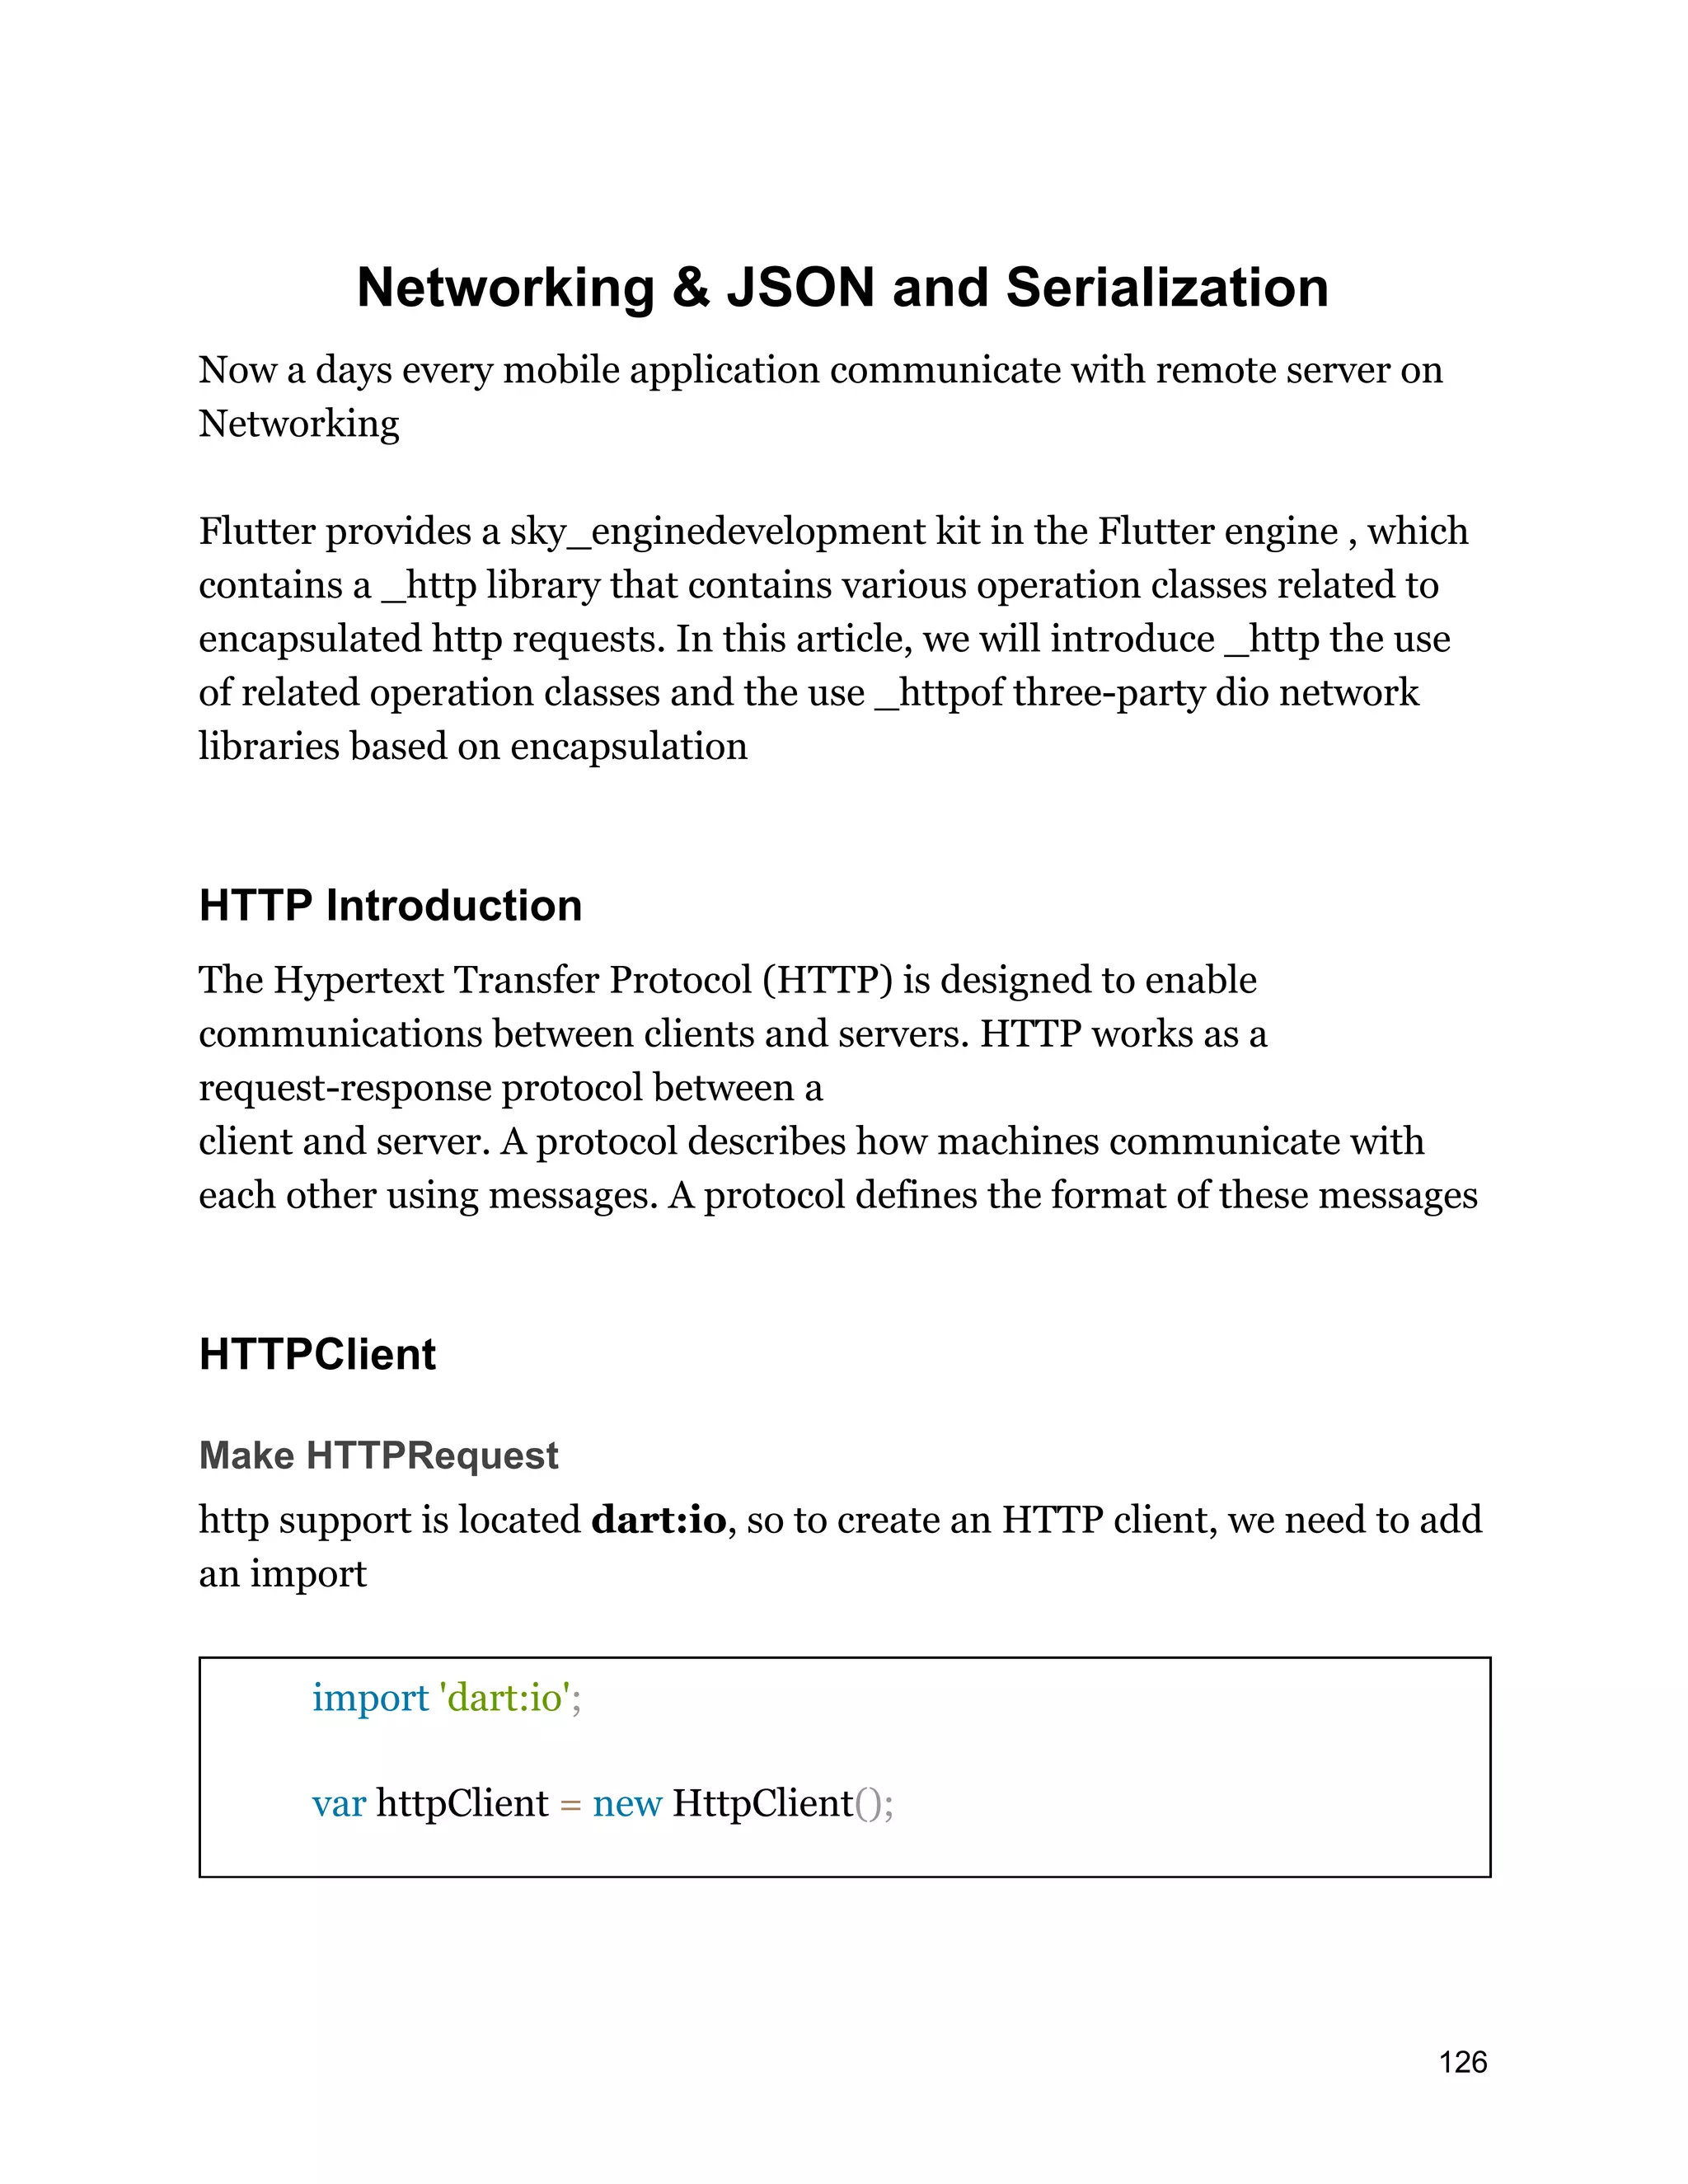
![HTTP API uses Dart Futures in the return value . We recommend using the async/ await syntax to call the AP Involve below steps to handle the HttpClient ● Create client ● Construct Uri ● Make a request, wait for a request, and you can also configure request headers and body ● Close the request and wait for a response ● Decode the content of the response get() async { var httpClient = new HttpClient(); var uri = new Uri.http( 'domain', 'path to api', params in map object); var request = await httpClient.getUrl(uri); var response = await request.close(); var responseBody = await response.transform(UTF8.decoder).join(); } Decode and encode JSON The dart:convertlibrary makes it easy to decode and encode JSON. Decode a simple JSON string and parse the response into a Map Map data = JSON.decode(responseBody); String name=mapNews[0]['name'] 127](https://image.slidesharecdn.com/fluttertutorial-201008182102/75/Flutter-tutorial-for-Beginner-Step-by-Step-127-2048.jpg)
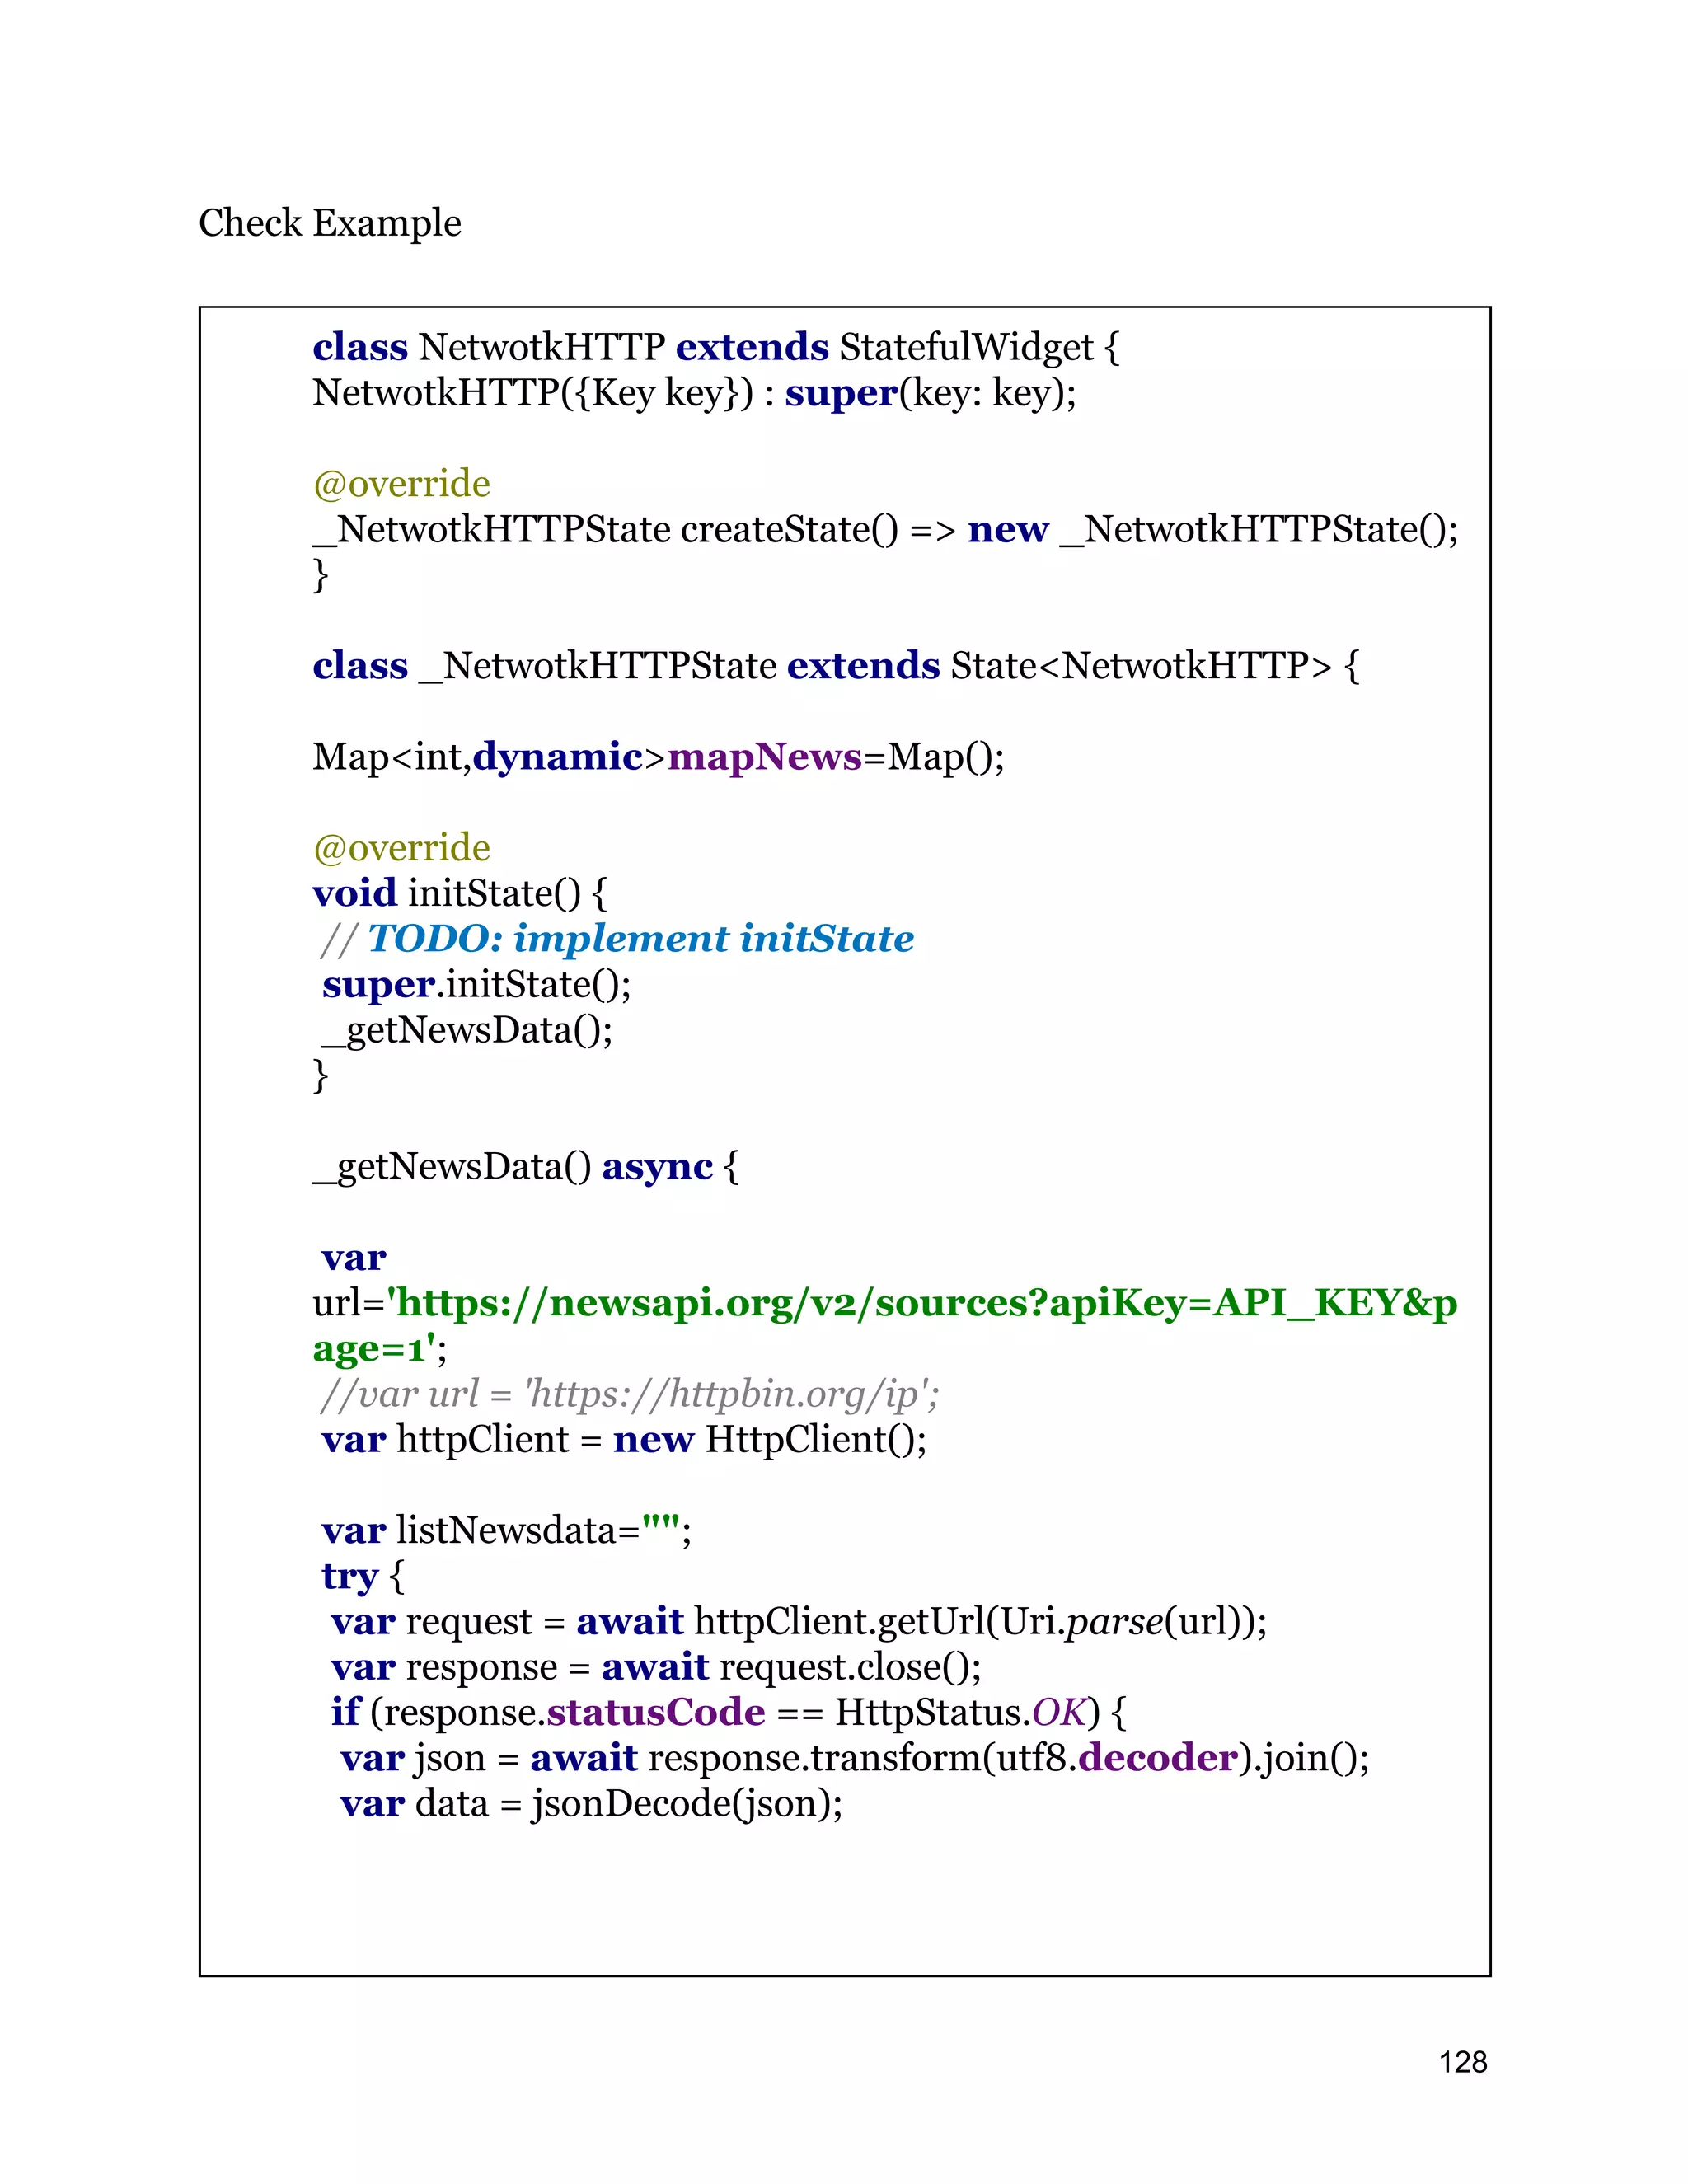
![List<dynamic>hm=data['sources'] as List; setState(() { mapNews=hm.asMap(); print("errorr SetState"+mapNews.toString()); }); } else { print("errorr "); listNewsdata = 'Error Resposne :nHttp status ${response.statusCode}'; } } catch (exception) { print("errorr $exception"); listNewsdata = 'Failed getting News Data $exception'; } // If the widget was removed from the tree while the message was in flight, // we want to discard the reply rather than calling setState to update our // non-existent appearance. if (!mounted) return; } @override Widget build(BuildContext context) { var spacer = new SizedBox(height: 32.0); return new Scaffold( appBar: AppBar(title: Text("News API WITH HTTP CLIENT"),backgroundColor: Colors.pink,), body: SingleChildScrollView( 129](https://image.slidesharecdn.com/fluttertutorial-201008182102/75/Flutter-tutorial-for-Beginner-Step-by-Step-129-2048.jpg)
![child: new Center( child: new Column( mainAxisAlignment: MainAxisAlignment.center, children: <Widget>[ (mapNews.length==0)?CircularProgressIndicator():Text(""), ListView.builder( shrinkWrap: true, primary: false, itemCount: mapNews.length, itemBuilder: (ctx,pos){ return Card( elevation: 5, child: Container( margin: EdgeInsets.all(5), padding: EdgeInsets.all(5), child: InkWell( onTap: (){}, child: Row( children: <Widget>[ Container( height: 50, width: 50, decoration: ShapeDecoration(shape: CircleBorder(),color: Colors.pink), child: Center(child: Text(mapNews[pos]['name'].substring(0,1).toUpperCase(),style: TextStyle(fontSize: 30,color: Colors.white),)), ), SizedBox(width:15,), Expanded( child: Column( crossAxisAlignment: CrossAxisAlignment.start, children: <Widget>[ Text(mapNews[pos]['name'],style: TextStyle(fontSize: 18,color: Colors.black),), SizedBox(height:5,), Text(mapNews[pos]['description'],style: 130](https://image.slidesharecdn.com/fluttertutorial-201008182102/75/Flutter-tutorial-for-Beginner-Step-by-Step-130-2048.jpg)
![TextStyle(fontSize: 12,color: Colors.grey[800]),maxLines: 3,), ], ), ) ], ), ), ) ); }) ], ), ), ), ); } } HTTP Library http Library http.dartfile package HttpClientclass is our common network requests the operation class, which is an abstract class, the specific operation by the http_impl.dart document _HttpClient class that implements the class encapsulates http request various methods, including get, post, put, delete, patchAnd head wait for the request Let's look at the usage method through the following example 131](https://image.slidesharecdn.com/fluttertutorial-201008182102/75/Flutter-tutorial-for-Beginner-Step-by-Step-131-2048.jpg)
![In this example using the NewsAPI to fetch the news headlines. News API is a simple HTTP REST API for searching and retrieving live articles from all over the web To call api in Flutter we need to add http: ^0.12.0+2 dependencies in the pubspec.yaml file The above same example with http library static Future callNewsCAtegory() async{ var url="API_KEY"; return get('https://newsapi.org/v2/sources?apiKey=$url&page=1') ; } The above method will return the response data, that we are handle in below code fetchNews(){ var callNews = NewsCategoryModel.callNewsCAtegory(); callNews.then((data){ var response=json.decode(data.body ); print(response); var listNewsdata=response['sources']as List; setState(() { listNews=listNewsdata.map<NewsCategoryModel>((model) =>NewsCategoryModel.fromJson(model)).toList(); listNewsAll.clear(); listNewsAll.addAll(listNews); }); 132](https://image.slidesharecdn.com/fluttertutorial-201008182102/75/Flutter-tutorial-for-Beginner-Step-by-Step-132-2048.jpg)
![},onError: (error){ print("Result Error $error"); } ); } POST Method Map<String, String> queryParameters = {'key': 'value', 'key': 'value'}; Map<String, String> header = {'key': 'value'}; post("API_URL",body: queryParameters,headers: header); JSON Parsing After getting the response from the API we need to parse the data, for this we are using the import 'dart:convert' library var callNews = NewsCategoryModel.callNewsCAtegory(); callNews.then((data){ var response=json.decode(data.body ); print(response); var listNewsdata=response['sources']as List Var listNews=listNewsdata.map<NewsCategoryModel>((model)=>Ne wsCategoryModel.fromJson(model)).toList(); The NewsCategoryModel class like below 133](https://image.slidesharecdn.com/fluttertutorial-201008182102/75/Flutter-tutorial-for-Beginner-Step-by-Step-133-2048.jpg)
![class NewsCategoryModel { String id; String name; String description; String url; String category; String language; String country; NewsCategoryModel(this.id,this.name,this.description,this.u rl,this.category,this.language,this.country); NewsCategoryModel.fromJson(Map<String,dynamic>parseModel ) { id=parseModel['id']; name=parseModel['name']; description=parseModel['description']; url=parseModel['url']; category=parseModel['category']; language=parseModel['language']; country=parseModel['country']; } static Future callNewsCAtegory() async{ var url="API_KEY"; return get('https://newsapi.org/v2/sources?apiKey=$url&page=1') ; } } 134](https://image.slidesharecdn.com/fluttertutorial-201008182102/75/Flutter-tutorial-for-Beginner-Step-by-Step-134-2048.jpg)
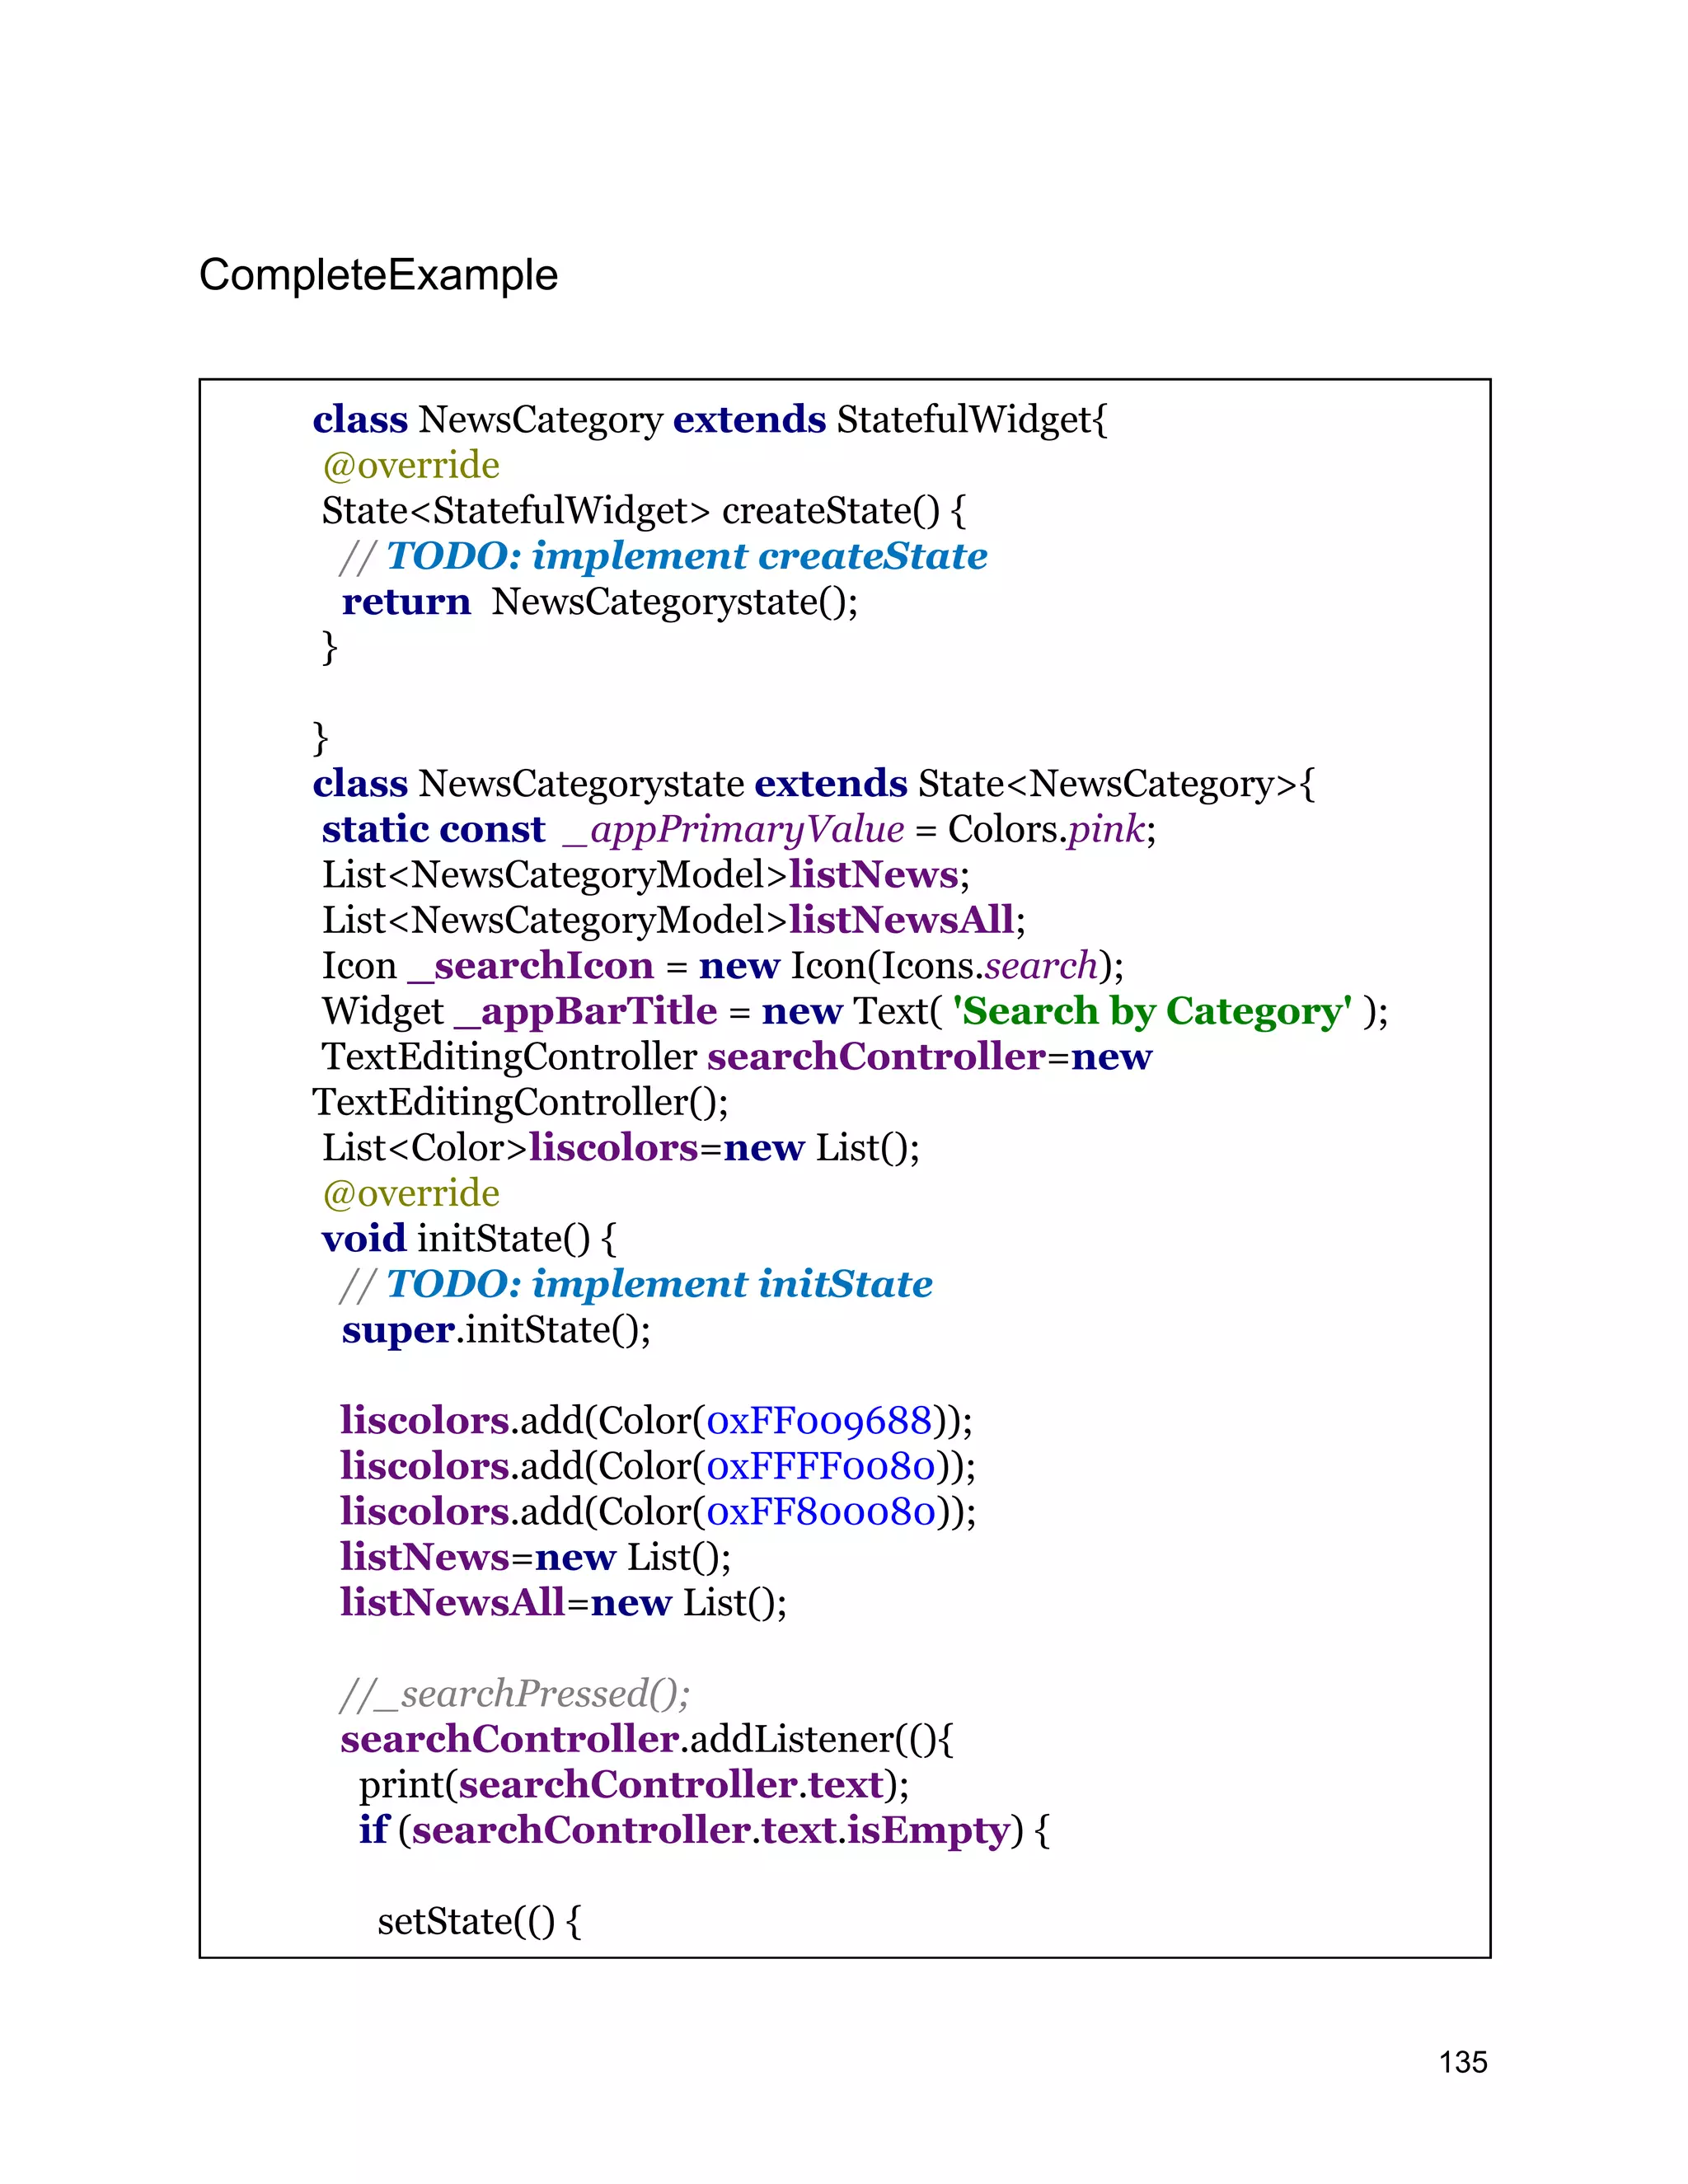
![listNews.clear(); listNews.addAll(listNewsAll); }); } else { setState(() { listNews.clear(); for(int k=0;k<listNewsAll.length;k++) { print(listNewsAll[k].name+" names "); if(listNewsAll[k].name.toLowerCase().contains(searchControl ler.text.toLowerCase())) { print(listNewsAll[k].name+" names inside"); listNews.add(listNewsAll[k]); } } }); } }); fetchNews(); } @override Widget build(BuildContext context) { // TODO: implement build return Scaffold( appBar: AppBar( backgroundColor: _appPrimaryValue, title: _appBarTitle, leading: IconButton(icon: this._searchIcon, onPressed: (){ _searchPressed(); }), ), body:(listNews.length>0)?ListView.builder( itemCount: listNews.length, itemBuilder: (ctx,index){ return setNewsItem(listNews[index],index); 136](https://image.slidesharecdn.com/fluttertutorial-201008182102/75/Flutter-tutorial-for-Beginner-Step-by-Step-136-2048.jpg)
![}):Center(child: CircularProgressIndicator(),), ); } setNewsItem(NewsCategoryModel newsModel,index) { Color color=Colors.green[700]; if(index==0||index==5||index==11) color=liscolors[0]; else if(index%2==0) color=liscolors[1]; else color=liscolors[2]; return Card( elevation: 5, child: Container( margin: EdgeInsets.all(5), padding: EdgeInsets.all(5), child: InkWell( onTap: (){ HashMap<String,String>hm=new HashMap(); hm['category']=newsModel.category; Navigator.pushNamed(context, "/news",arguments: hm); }, child: Row( children: <Widget>[ Container( height: 50, width: 50, decoration: ShapeDecoration(shape: CircleBorder(),color: color), child: Center(child: Text(newsModel.name.substring(0,1).toUpperCase(),style: TextStyle(fontSize: 30,color: Colors.white),)), ), SizedBox(width:15,), 137](https://image.slidesharecdn.com/fluttertutorial-201008182102/75/Flutter-tutorial-for-Beginner-Step-by-Step-137-2048.jpg)
![Expanded( child: Column( crossAxisAlignment: CrossAxisAlignment.start, children: <Widget>[ Text(newsModel.name,style: TextStyle(fontSize: 18,color: Colors.black),), SizedBox(height:5,), Text(newsModel.description,style: TextStyle(fontSize: 12,color: Colors.grey[800]),maxLines: 3,), ], ), ) ],), ),), ); } fetchNews(){ var callNews = NewsCategoryModel.callNewsCAtegory(); callNews.then((data){ var response=json.decode(data.body ); print(response); var listNewsdata=response['sources']as List; setState(() { listNews=listNewsdata.map<NewsCategoryModel>((model)=>Ne wsCategoryModel.fromJson(model)).toList(); listNewsAll.clear(); listNewsAll.addAll(listNews); }); },onError: (error){ print("Result Error $error"); } ); 138](https://image.slidesharecdn.com/fluttertutorial-201008182102/75/Flutter-tutorial-for-Beginner-Step-by-Step-138-2048.jpg)
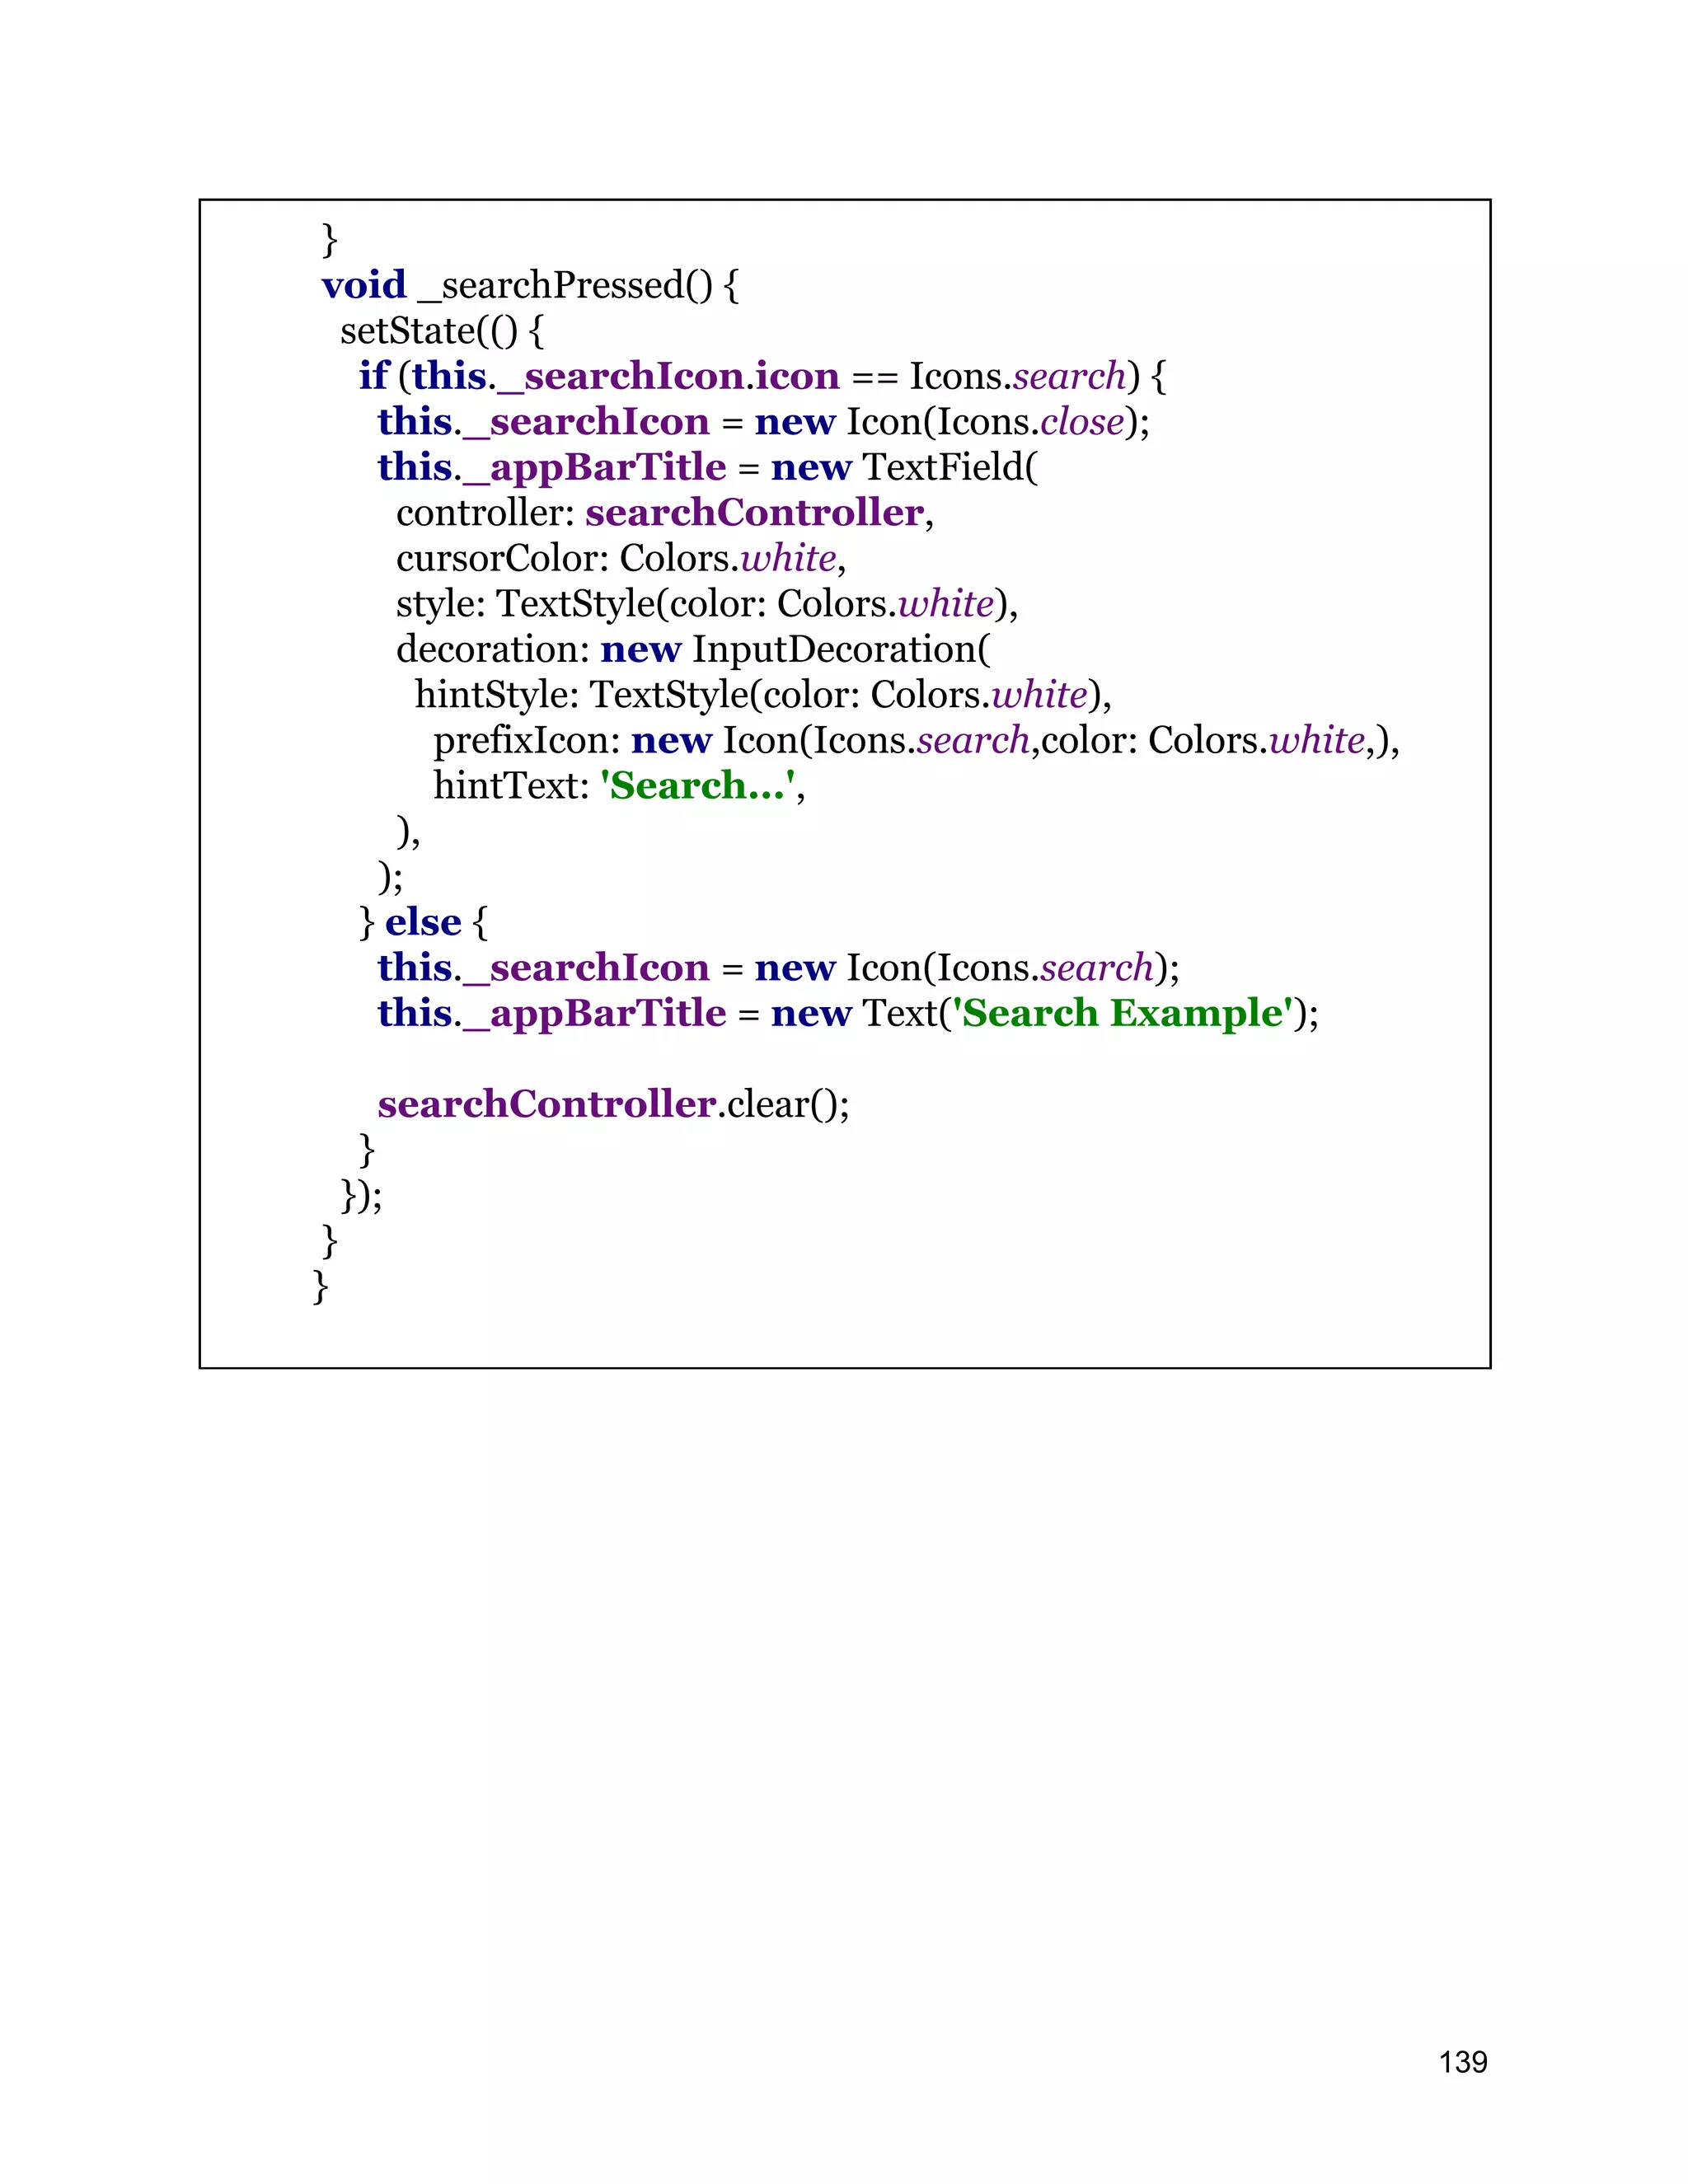
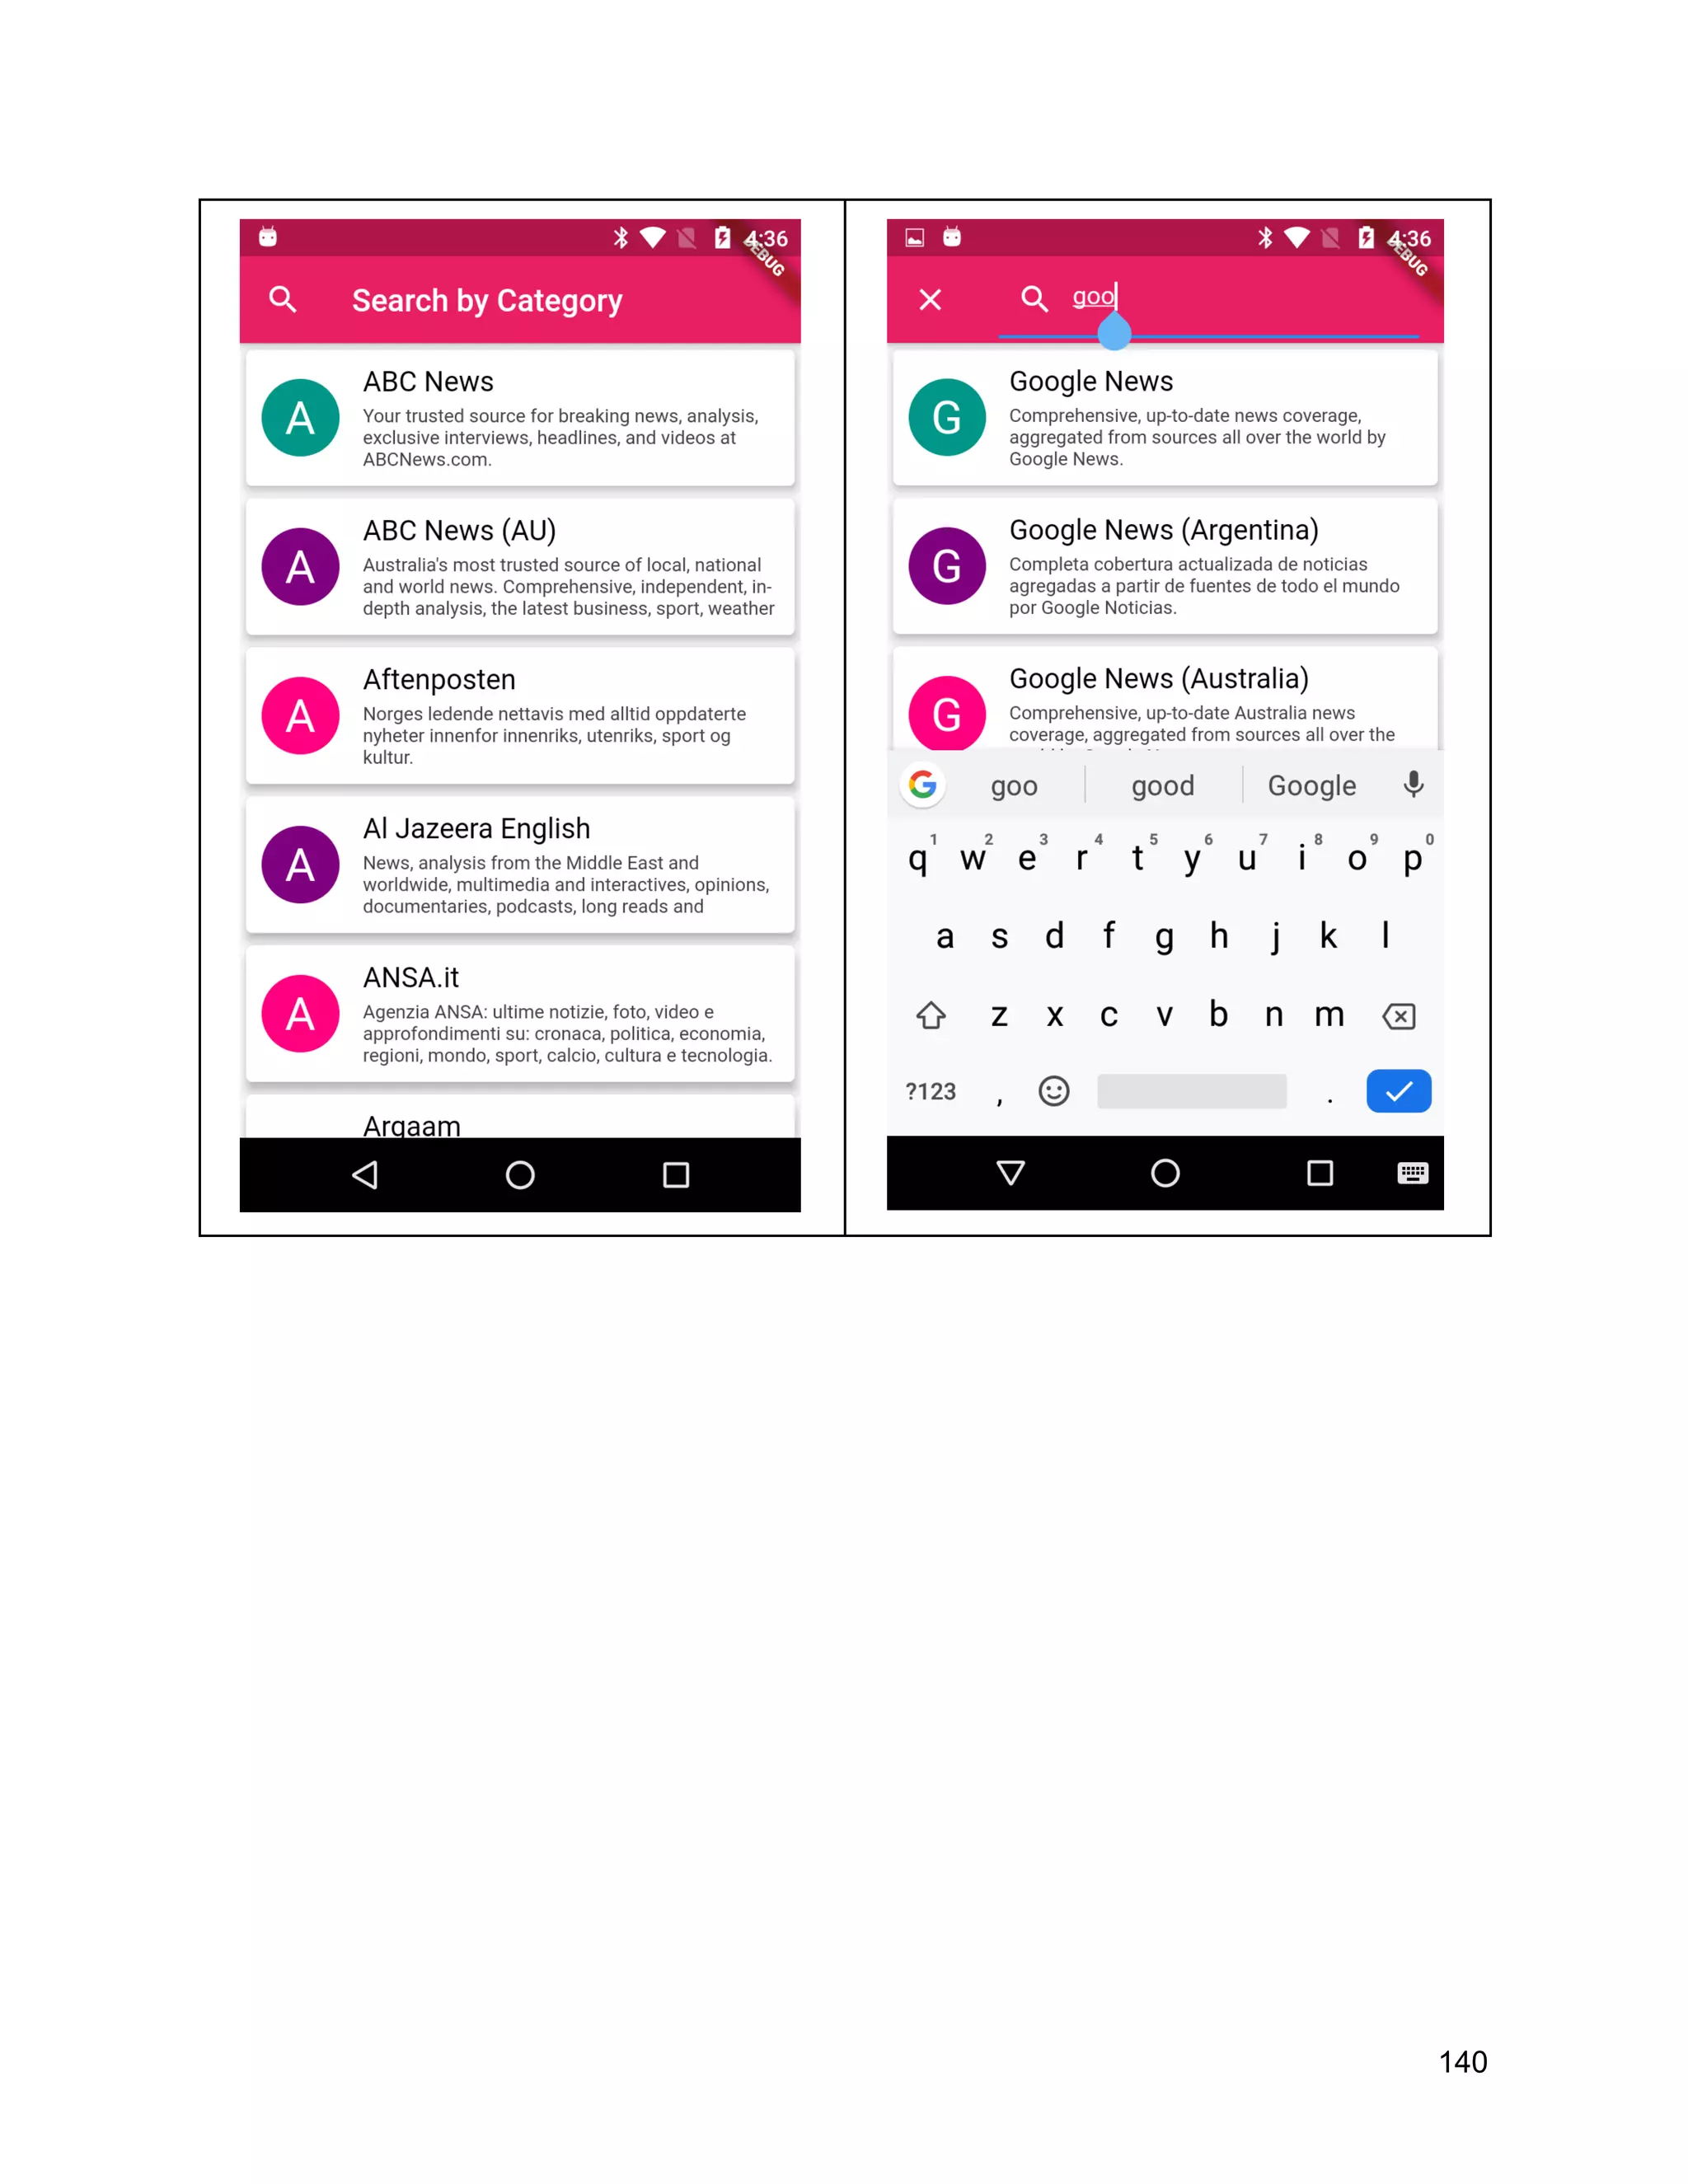
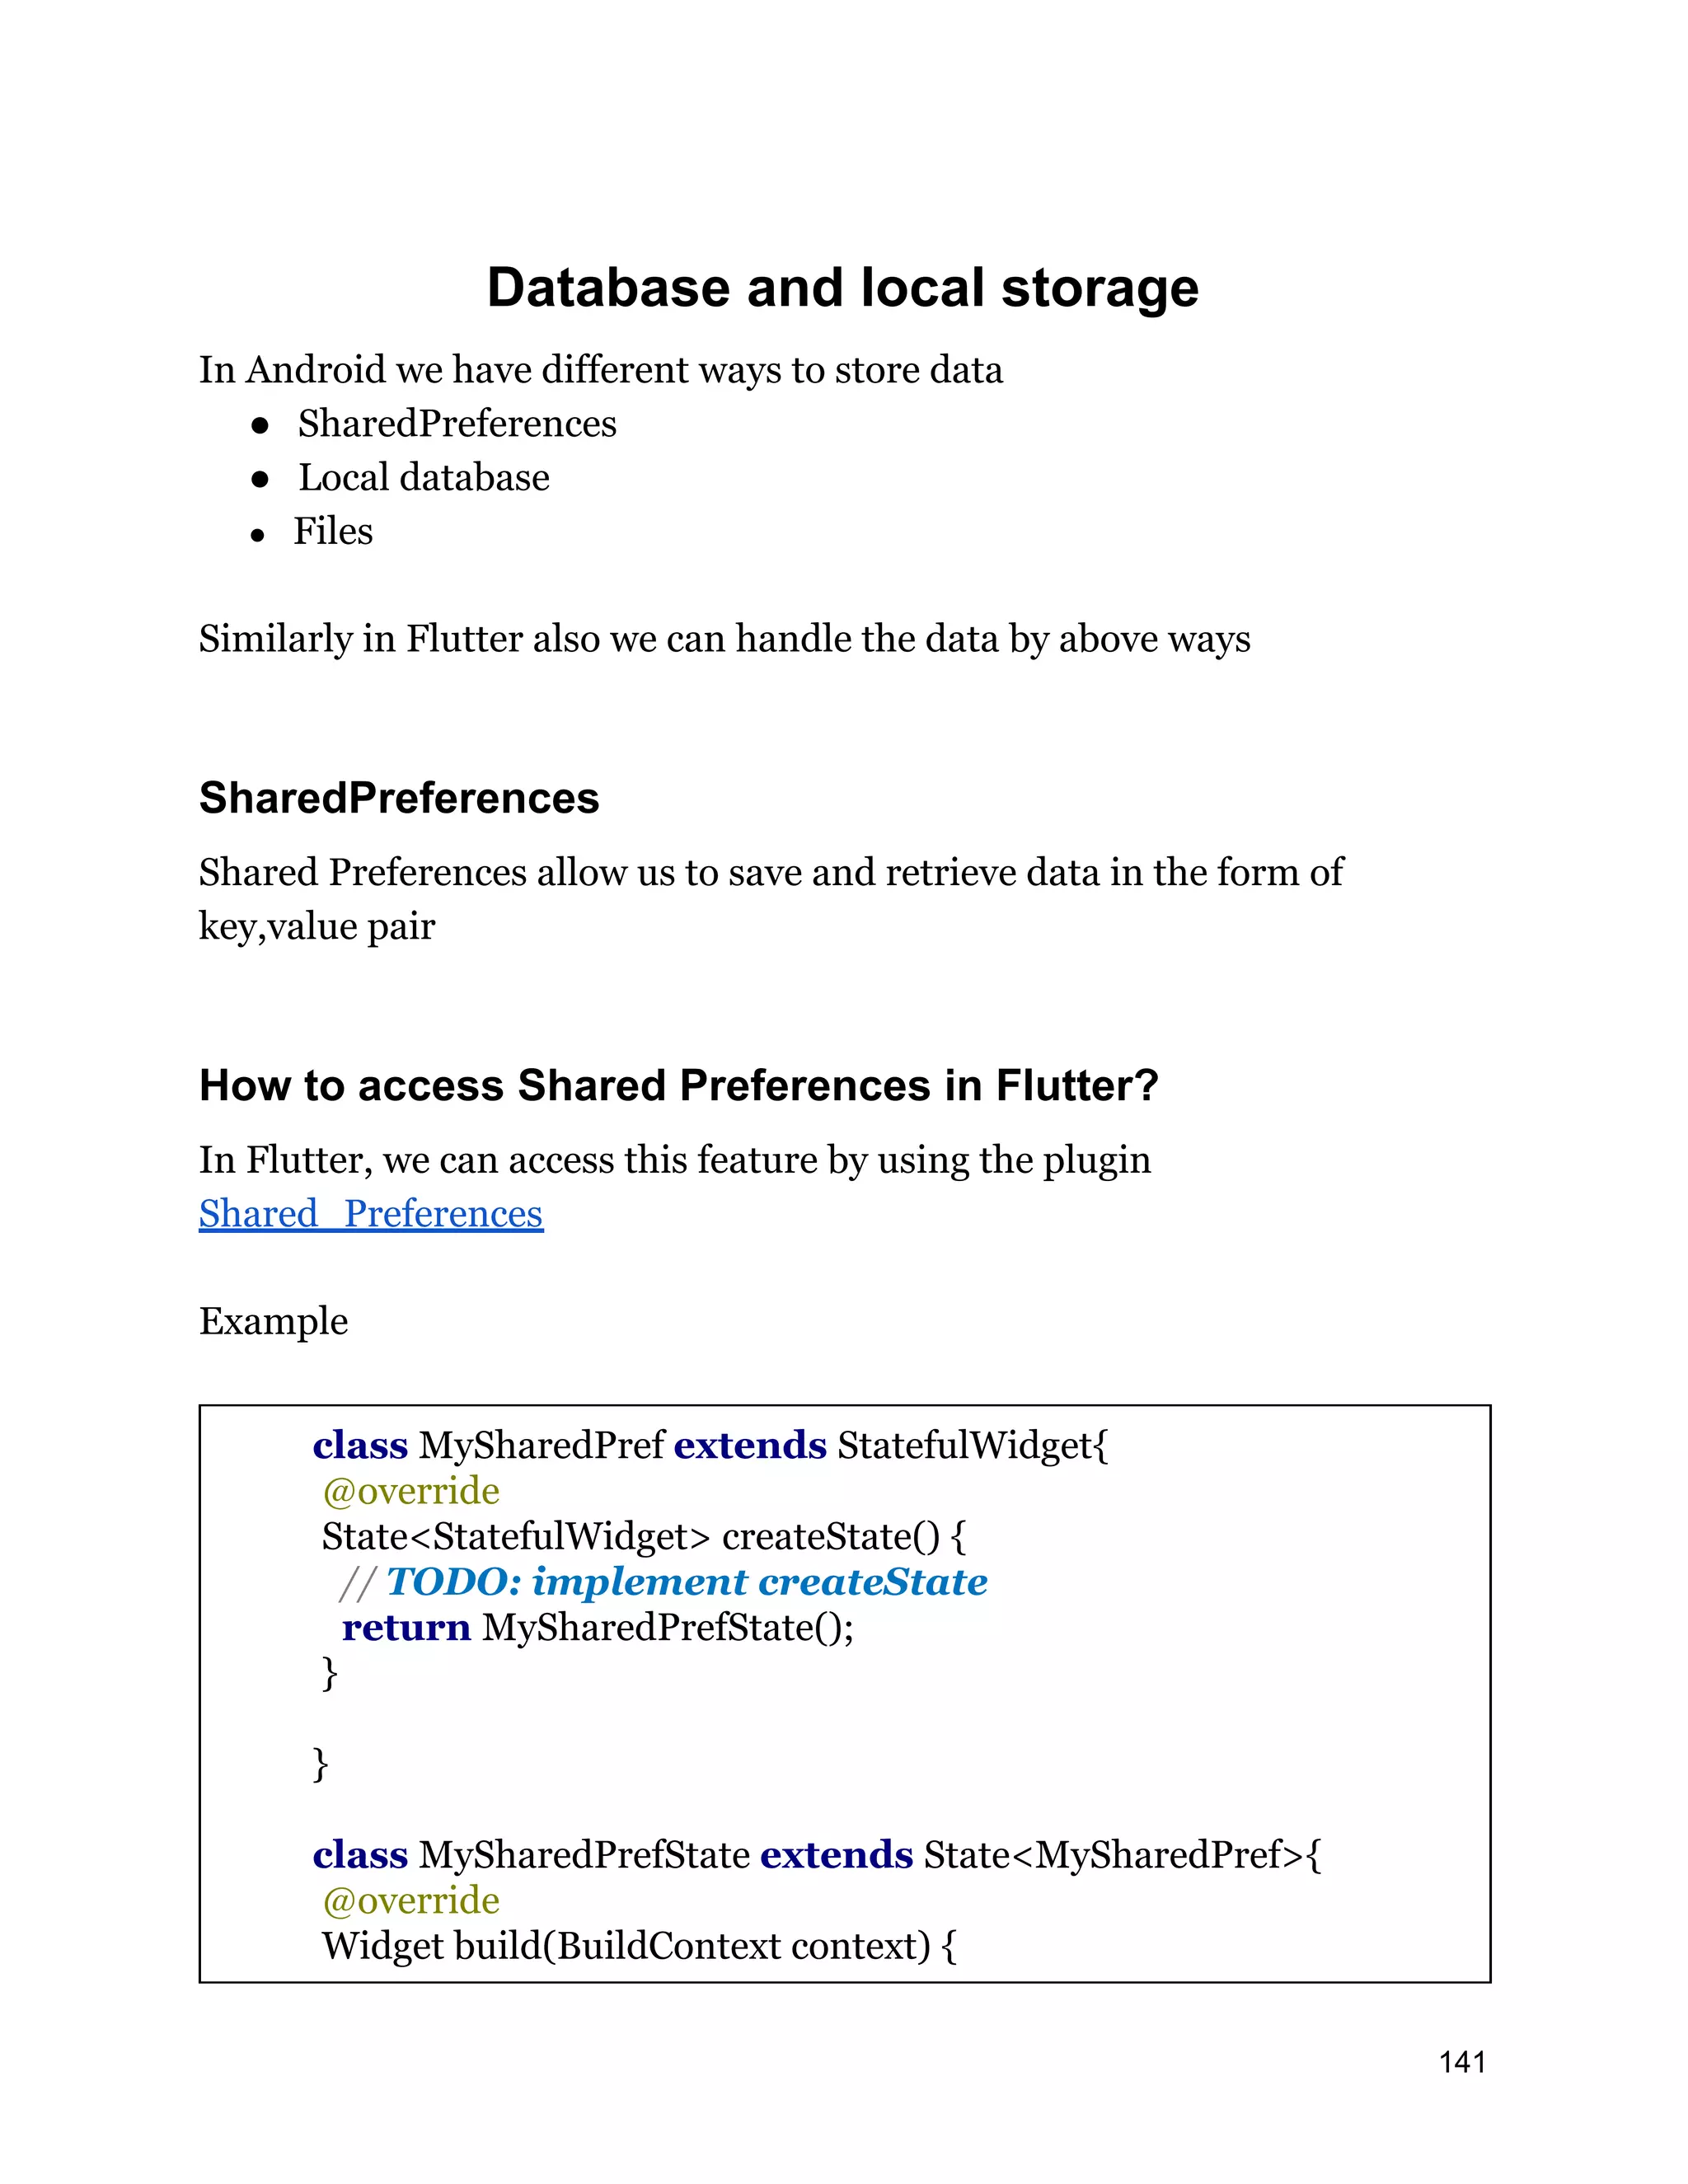
![// TODO: implement build return Scaffold( appBar: AppBar(title: Text("SharedPreference"),backgroundColor: Colors.pink,), floatingActionButton: FloatingActionButton( backgroundColor: Colors.pink, child: Icon(Icons.add), onPressed: (){ _incrementCounter(); }), body: Center( child: FutureBuilder( future: _getIncrementCounter(), builder:(BuildContext context, AsyncSnapshot snapshot) { return Column( mainAxisSize: MainAxisSize.min, children: <Widget>[ Text("The Incremented Value is ",style: TextStyle(color: Colors.pink,fontSize: 20),), SizedBox(height: 20,), Text((snapshot.data==null)?"":snapshot.data.toString(),style: TextStyle(color: Colors.pink,fontSize: 20),), ], ); }, ), ), ); } _incrementCounter() async { SharedPreferences prefs = await SharedPreferences.getInstance(); int counter = (prefs.getInt('counter') ?? 0) + 1; setState(() { prefs.setInt('counter', counter); 142](https://image.slidesharecdn.com/fluttertutorial-201008182102/75/Flutter-tutorial-for-Beginner-Step-by-Step-142-2048.jpg)
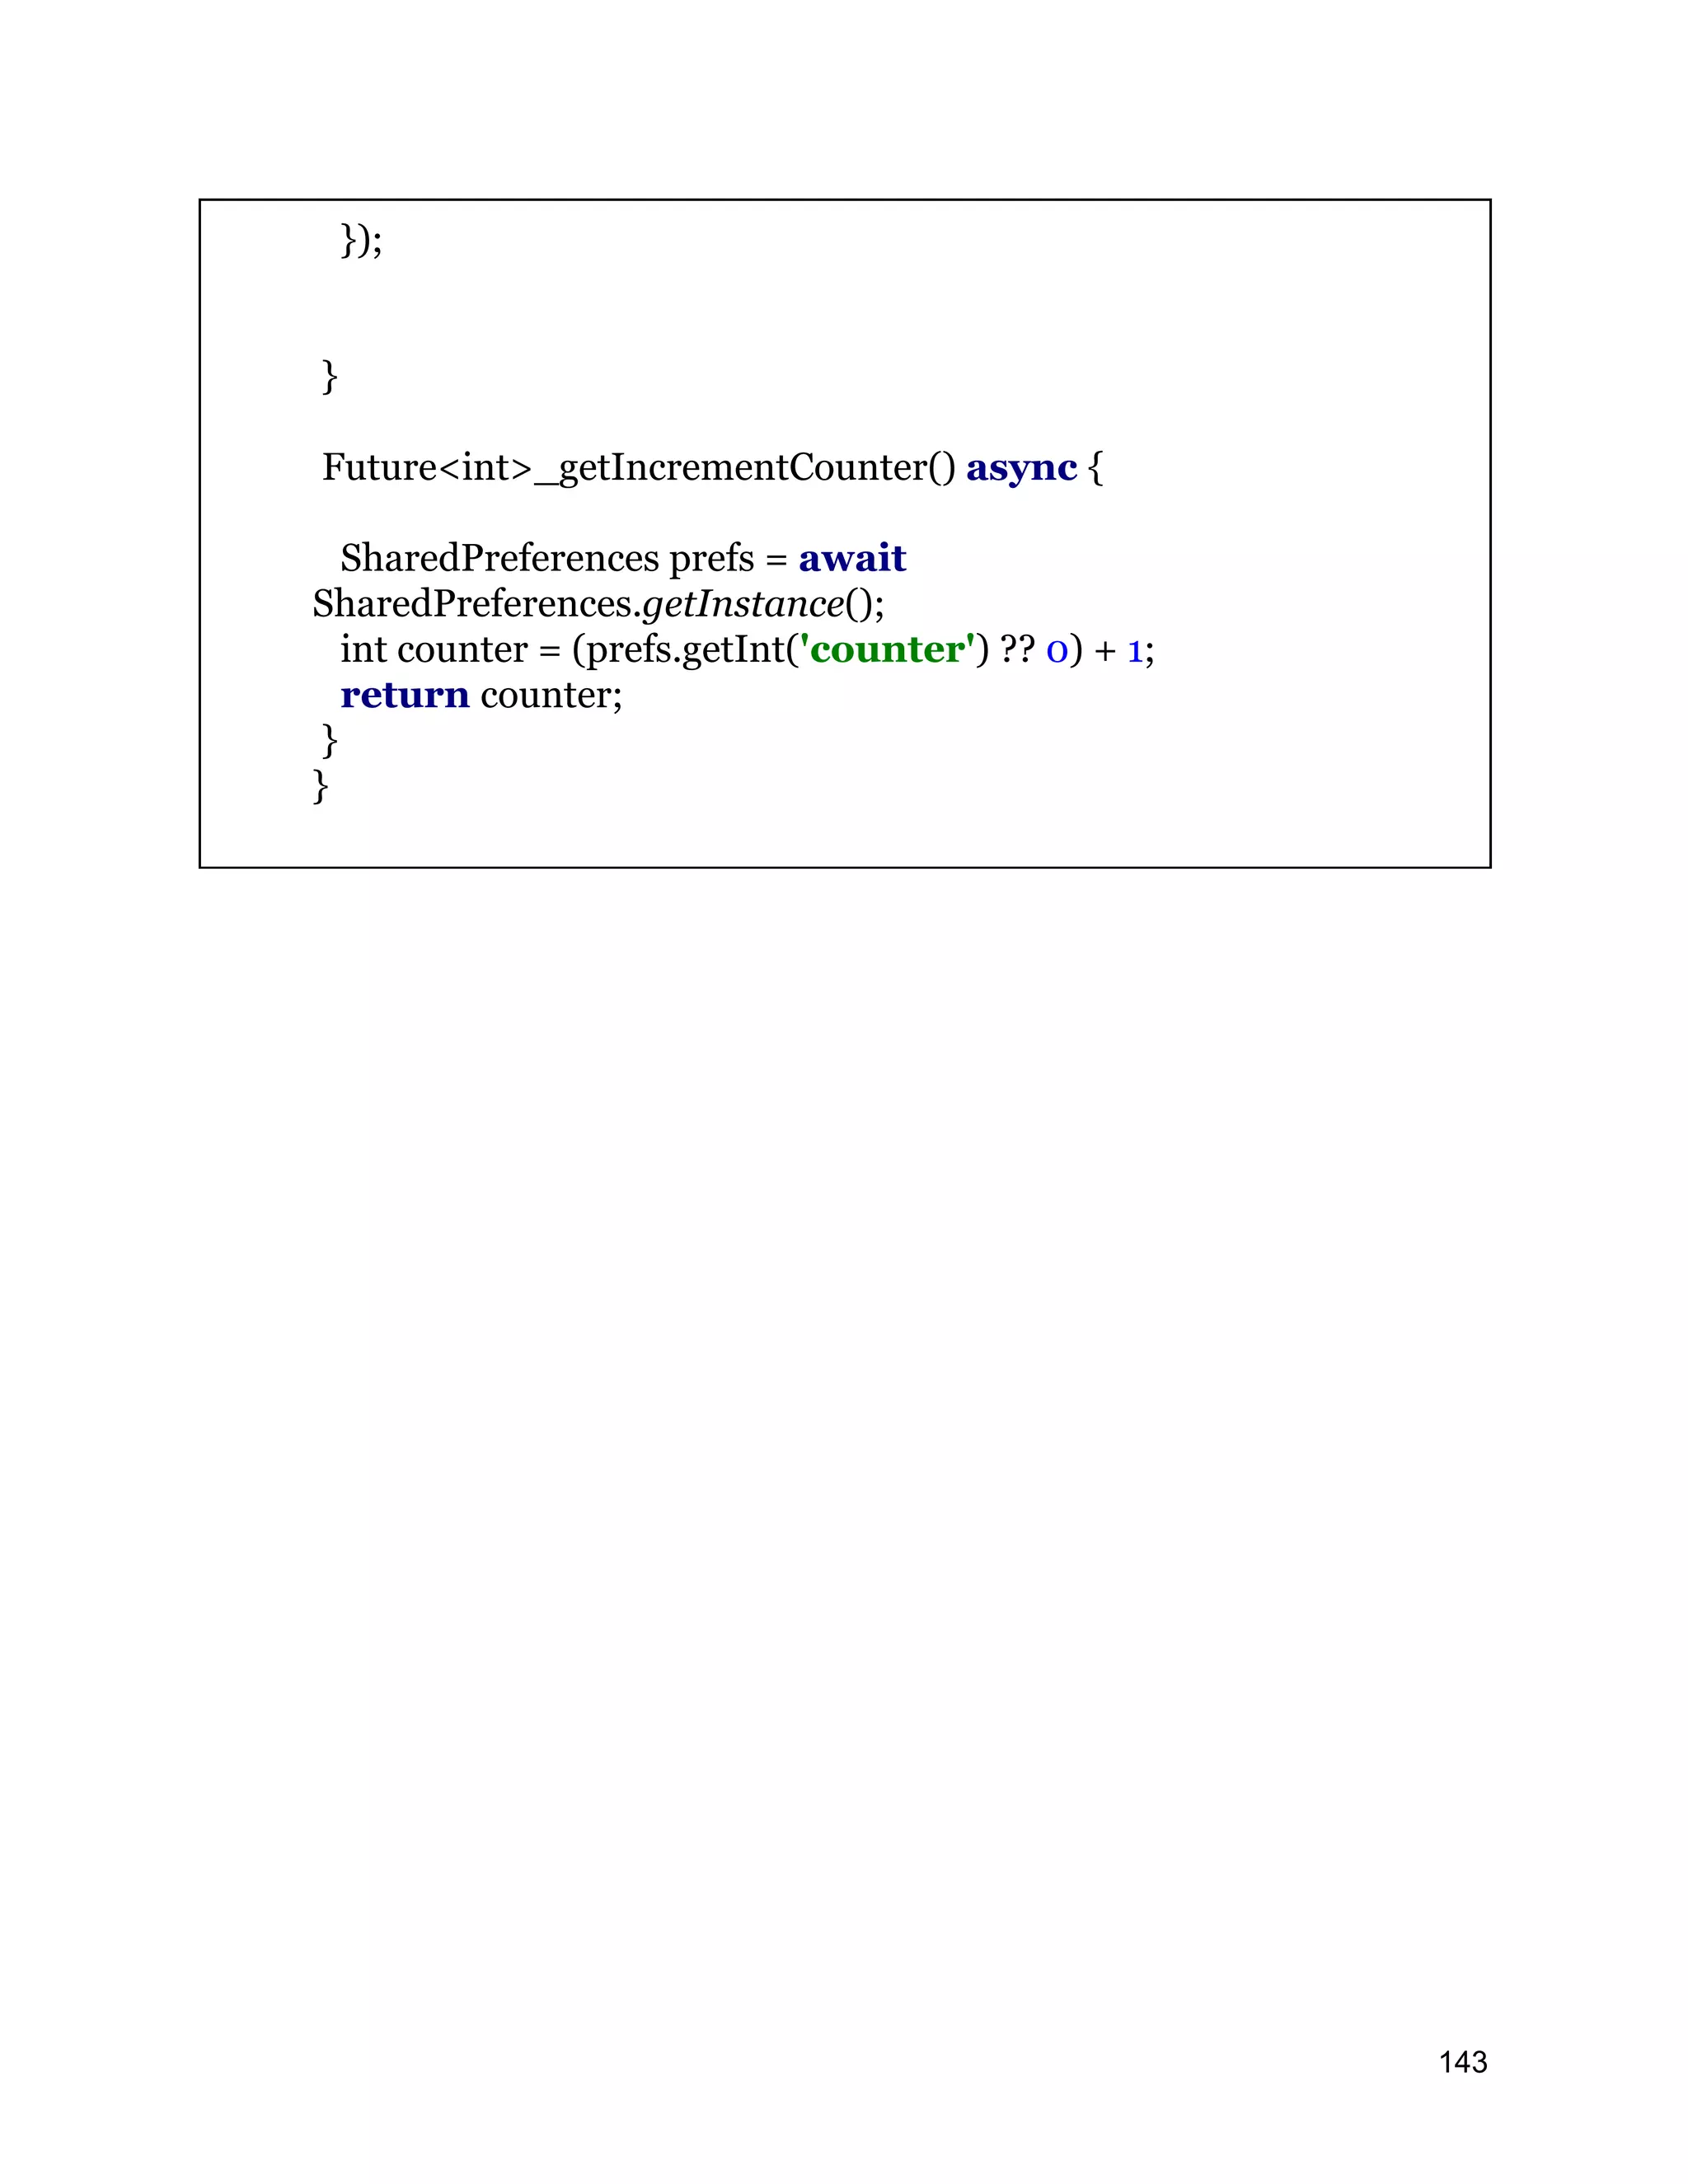
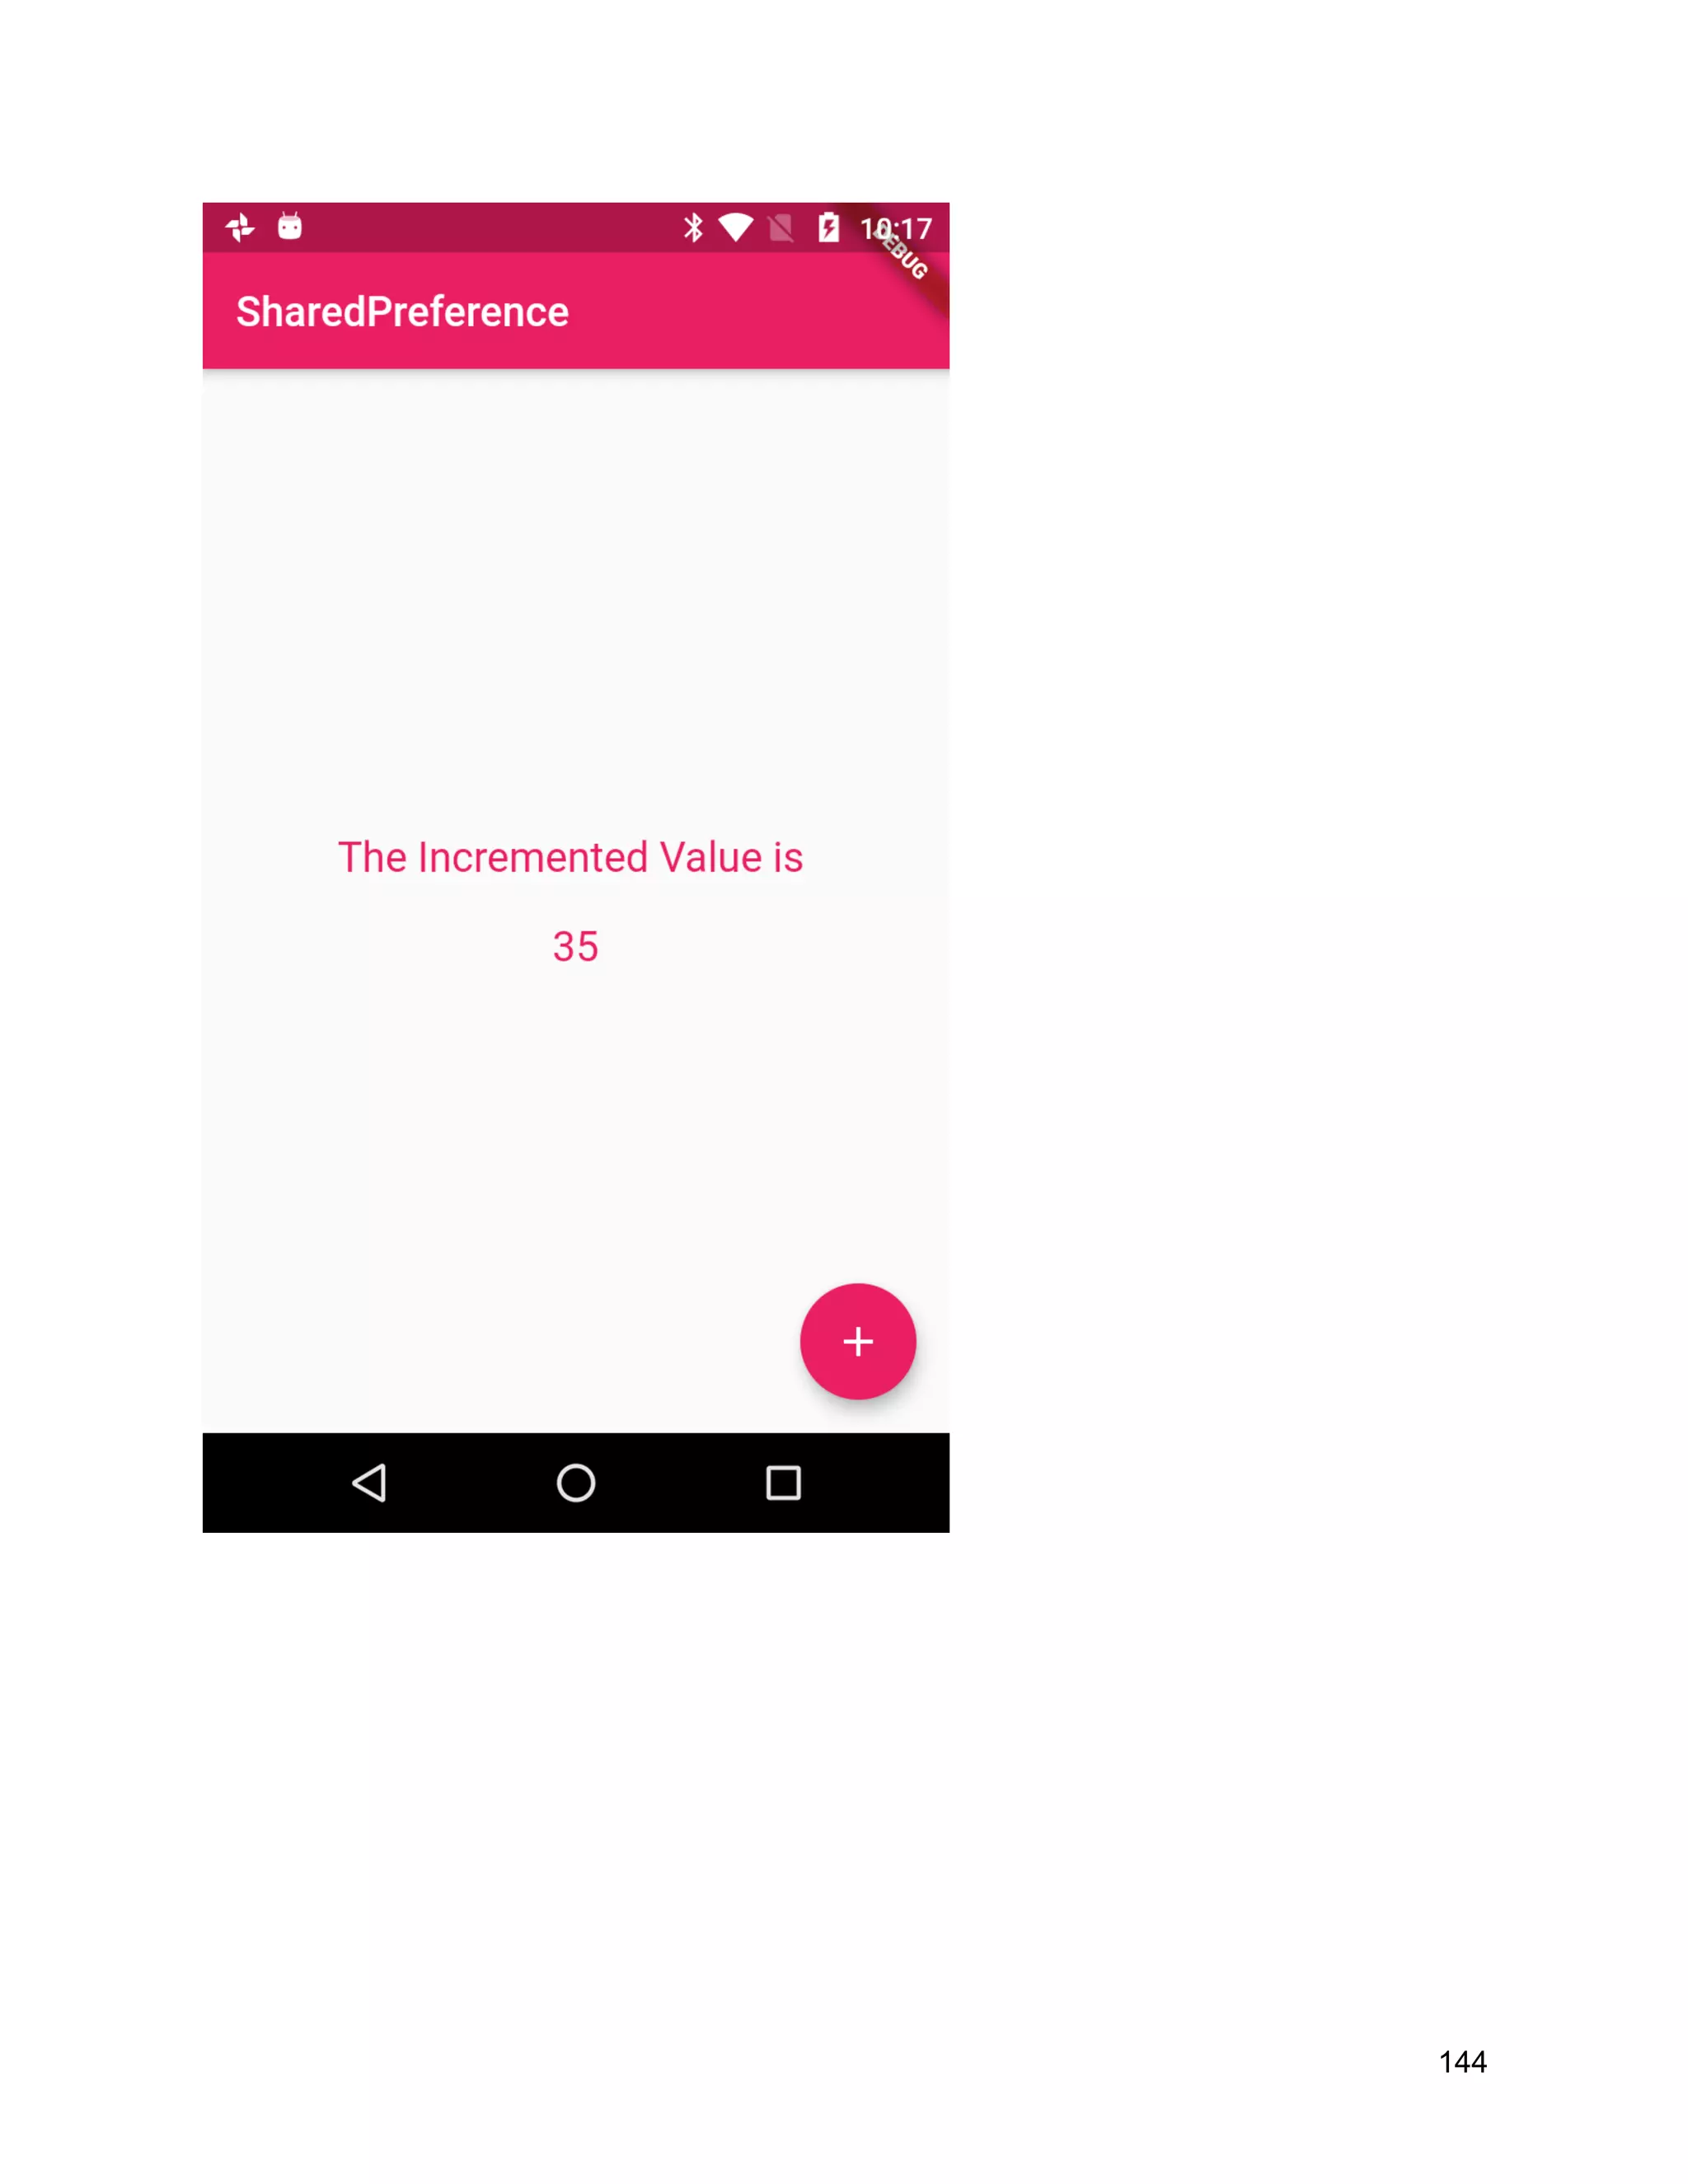
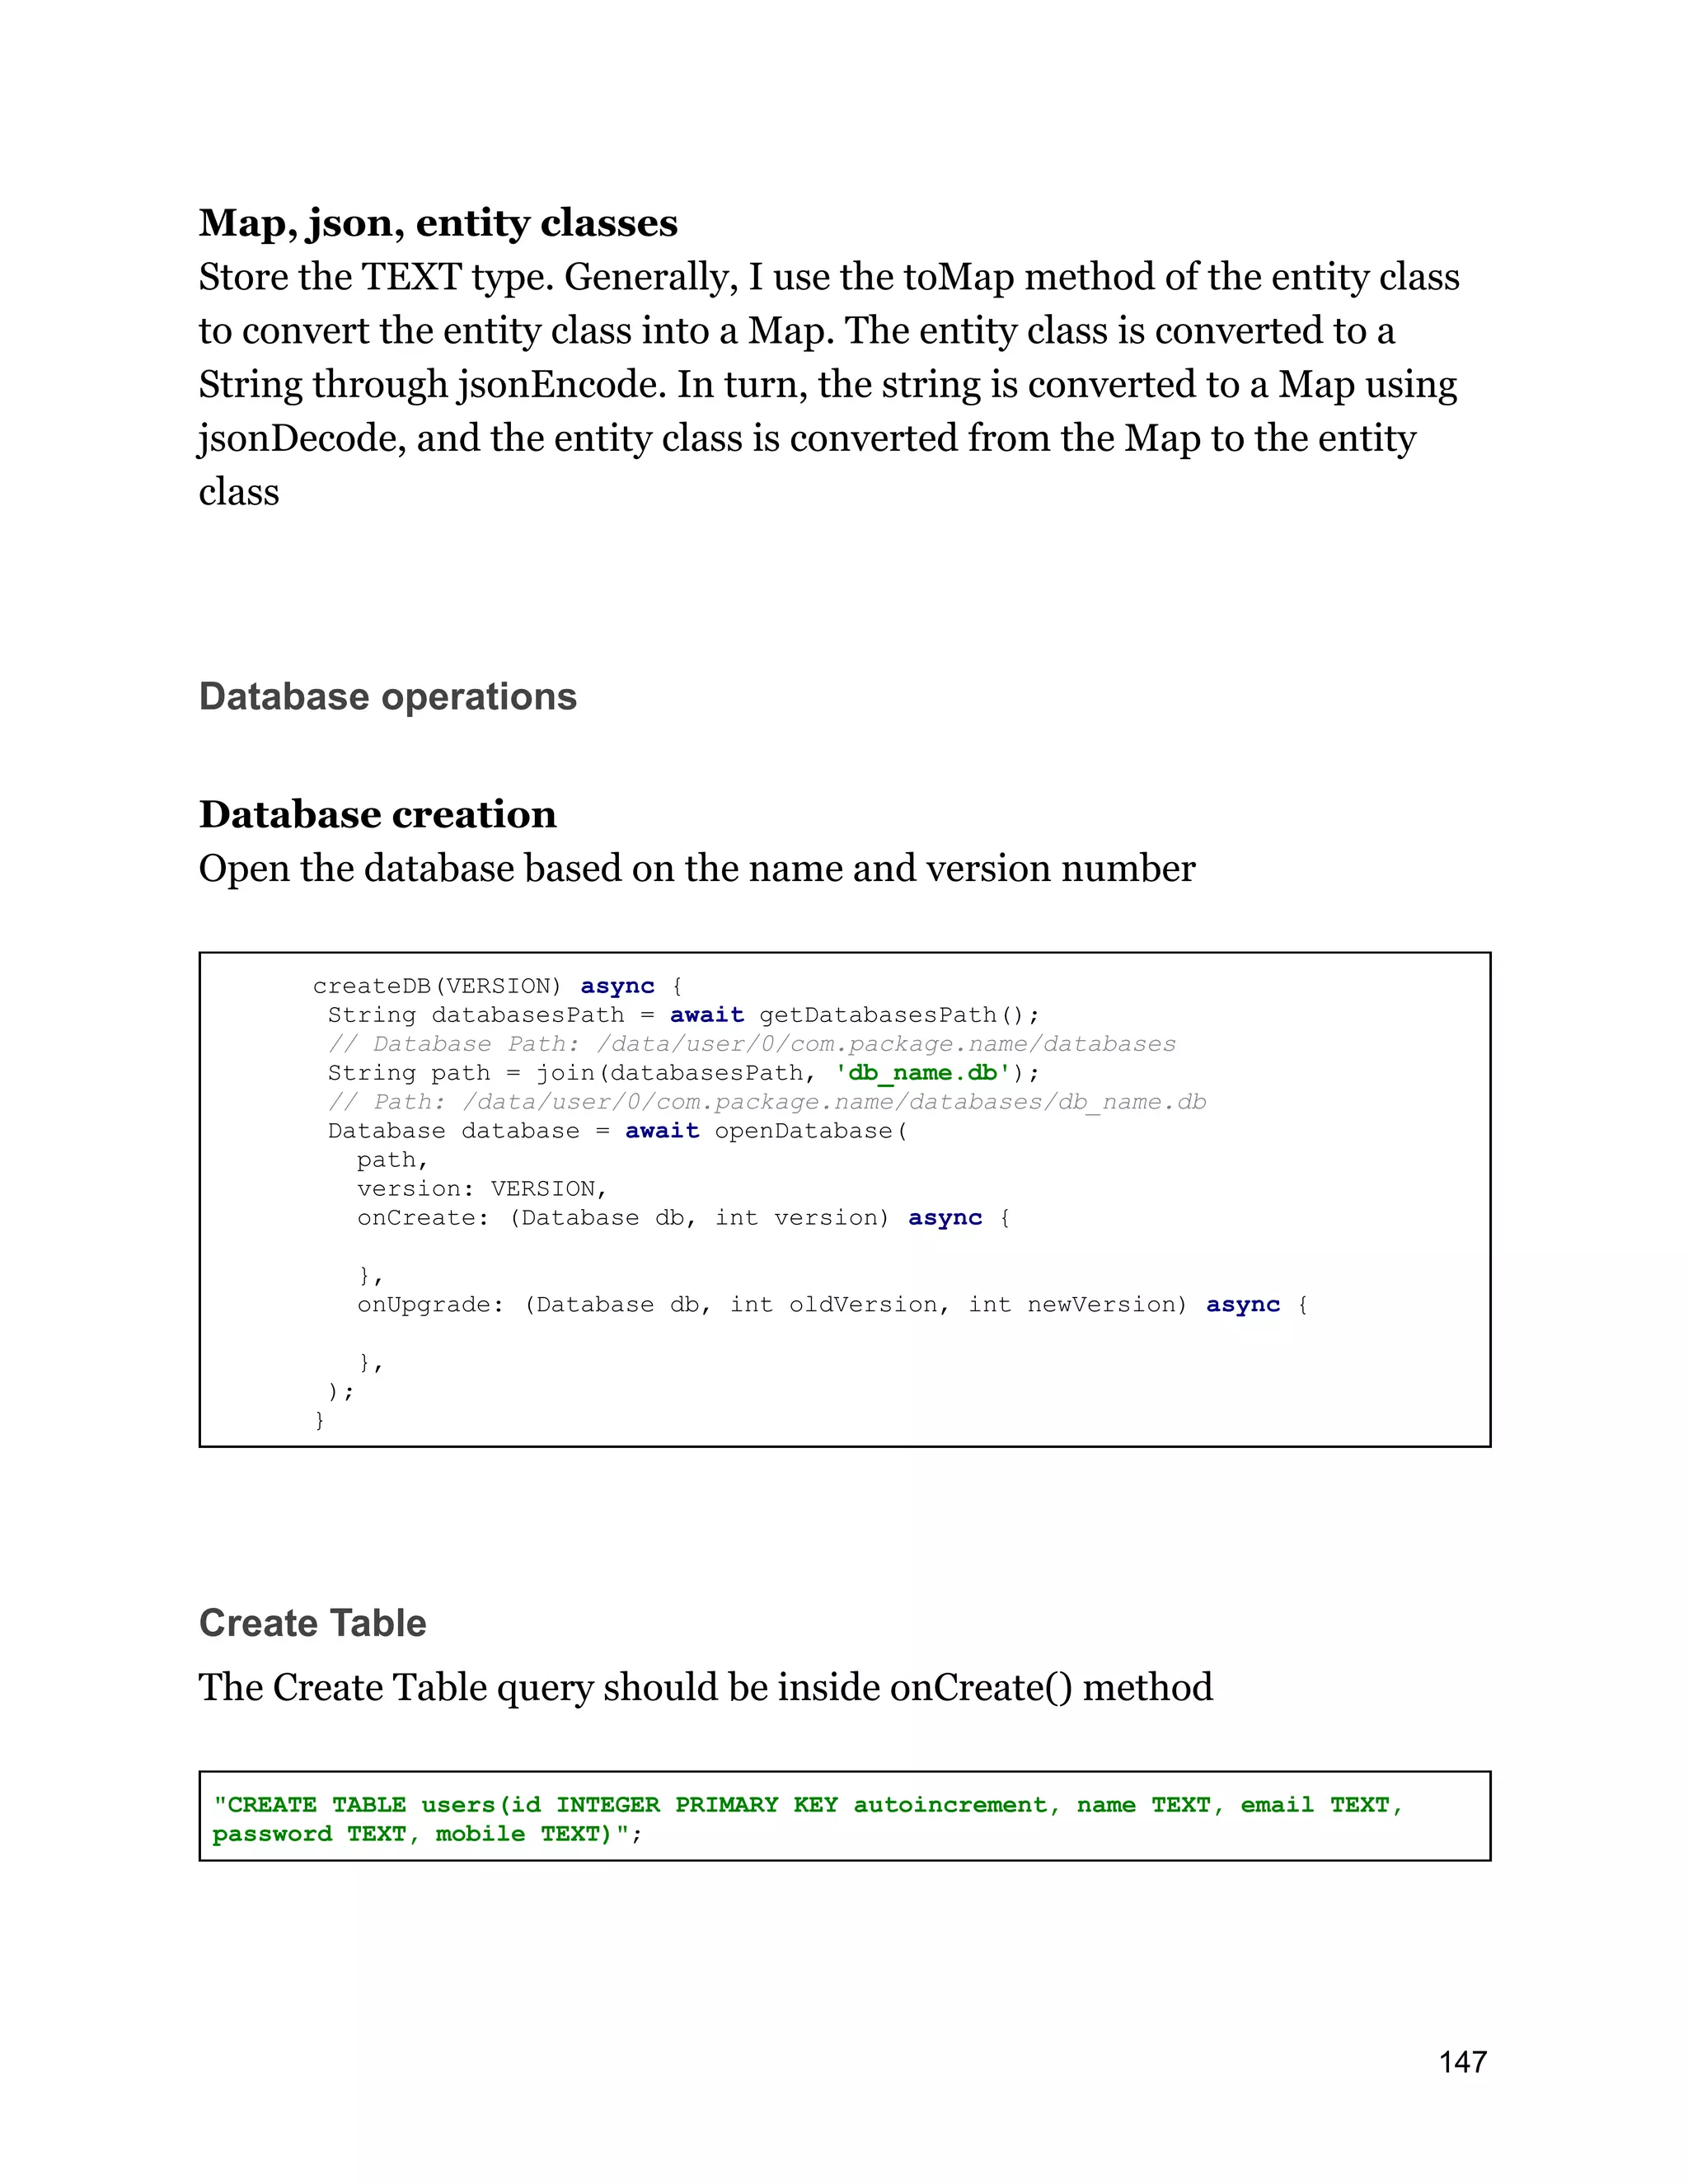
![Delete Table db.execute('DROP table users'); Clear Table db.execute('DELETE FROM users'); Rename Table db.execute('ALTER TABLE users RENAME TO users_1'); Add Field db.execute('ALTER TABLE users ADD gender TEXT'); Delete Field db.execute('ALTER TABLE users DROP COLUMN gender'); Modify Field Type db.execute('ALTER TABLE users ALTER COLUMN value integer'); Insert Insert will returns the last inserted record id int id = await database.rawInsert('INSERT INTO user(name, email, password, mobile) VALUES("shiva", "test@tes.com", "1234#","1234567899")'); Delete returns the number of records affected int count = await database.rawDelete('DELETE FROM user WHERE email = ?', ['test@test.com']); 148](https://image.slidesharecdn.com/fluttertutorial-201008182102/75/Flutter-tutorial-for-Beginner-Step-by-Step-148-2048.jpg)
![Update int count = await database.update( 'user', {'name': 'Name 2'} where: 'email = ?', whereArgs: ['test@test.com'] Query Query is the most complicated one in SQL statements. The keywords include distinct, where, group by, having, count, order by asc / desc, limit, offset, in, join, as, union and so on List<Map<String, dynamic>> result = await database.query( 'user', distinct: true, columns: ['name','mobile'], where: 'email = ?', whereArgs: ['test@test.com'], groupBy: 'name', limit: 5, offset: 2, ); List<Map<String, dynamic>> result = await database.rawQuery( 'SELECT * FROM user WHERE email=test@test.com order by name asc limit 5 offset 2', [16], ); Example Add Plugins Add below plugins to pubspec.yaml file sqflite: path: path_provider: ^0.4.1 Create User Model class class User{ int id; String name; String email; 149](https://image.slidesharecdn.com/fluttertutorial-201008182102/75/Flutter-tutorial-for-Beginner-Step-by-Step-149-2048.jpg)
![String pasword; String mobile; User(this.name,this.email,this.pasword,this.mobile); Map<String,dynamic>toUserMap(){ return { 'name':name, 'email':email, 'password':pasword, 'mobile':mobile, }; } static fromMap(Map<String, dynamic> c) { return User(c['name'],c['email'],c['passowrd'],c['mobile']); } } Create Database import 'dart:io'; import 'package:flutter_firebase_app/models/user.dart'; import 'package:path/path.dart'; import 'package:sqflite/sqflite.dart'; import 'package:path_provider/path_provider.dart'; class UserDatabase{ static String path; static final _databaseName = "mydb.db"; static final _databaseVersion = 1; static final _table_user = 'users'; static final _table_logins = 'logins'; UserDatabase._privateConstructor(); static final UserDatabase instance = UserDatabase._privateConstructor(); // only have a single app-wide reference to the database static Database _database; Future<Database> get database async { if (_database != null) return _database; // lazily instantiate the db the first time it is accessed _database = await _initDatabase(); return _database; } // this opens the database (and creates it if it doesn't exist) _initDatabase() async { Directory documentsDirectory = await getApplicationDocumentsDirectory(); String path = join(documentsDirectory.path, _databaseName); 150](https://image.slidesharecdn.com/fluttertutorial-201008182102/75/Flutter-tutorial-for-Beginner-Step-by-Step-150-2048.jpg)
![return await openDatabase(path, version: _databaseVersion, onCreate: _onCreate); } // SQL code to create the database table Future _onCreate(Database db, int version) async { await db.execute( "CREATE TABLE users(id INTEGER PRIMARY KEY autoincrement, name TEXT, email TEXT, password TEXT, mobile TEXT)", ); await db.execute( "CREATE TABLE logins(name TEXT, email TEXT, mobile TEXT,password TEXT)", ); } static Future<String> getFileData() async { return getDatabasesPath().then((s){ return path=s; }); } Future<int> insertUser(User user) async{ Database db = await instance.database; var users=await db.rawQuery("select * from users where mobile = "+user.mobile); if(users.length>0) { return -1; } return await db.insert("users",user.toUserMap(),conflictAlgorithm: ConflictAlgorithm.ignore ); } Future<User> checkUserLogin(String mobile, String password) async { Database db = await instance.database; var res=await db.rawQuery("select * from users where mobile = '$mobile' and password = '$password'"); if(res.length>0) { List<dynamic> list = res.toList().map((c) => User.fromMap(c)).toList() ; print("Data "+list.toString()); await db.insert("logins",list[0].toUserMap()); return list[0]; } return null; } Future<int> getUser() async{ Database db = await instance.database; var logins=await db.rawQuery("select * from logins"); if(logins==null) 151](https://image.slidesharecdn.com/fluttertutorial-201008182102/75/Flutter-tutorial-for-Beginner-Step-by-Step-151-2048.jpg)
![return 0; return logins.length; } Future<User> getUserData() async{ Database db = await instance.database; var res=await db.rawQuery("select * from logins"); print("result user data $res"); print("result user data "+res.toString()); List<dynamic> list = res.toList().map((c) => User.fromMap(c)).toList() ; return list[0]; } Future<int> deleteUser(String mobile) async{ Database db = await instance.database; var logins= db.delete(_table_logins, where: "mobile = ?", whereArgs: [mobile]); return logins; } } Signup Page import 'package:flutter/material.dart'; import 'package:flutter_firebase_app/databases/UserDatabase.dart'; import 'package:flutter_firebase_app/models/user.dart'; class SignupPage extends StatefulWidget{ @override State<StatefulWidget> createState() { // TODO: implement createState return SignUpState(); } } class SignUpState extends State<SignupPage>{ final _formKey = GlobalKey<FormState>(); final _scafoldKey = GlobalKey<ScaffoldState>(); final _nameEditController=TextEditingController(); final _emailEditController=TextEditingController(); final _mobileEditController=TextEditingController(); final _passwordEditController=TextEditingController(); String email_pattern = r'^(([^<>()[].,;:s@"]+(.[^<>()[].,;:s@"]+)*)|(".+"))@(([[0-9]{1, 3}.[0-9]{1,3}.[0-9]{1,3}.[0-9]{1,3}])|(([a-zA-Z-0-9]+.)+[a-zA-Z]{2,}))$' ; String password_pattern = r'^[a-zA-Z0-9]{6,}$'; String mobile_pattern = r'^(?([0-9]{3}))?[-. ]?([0-9]{3})[-. ]?([0-9]{4})$'; Size size; 152](https://image.slidesharecdn.com/fluttertutorial-201008182102/75/Flutter-tutorial-for-Beginner-Step-by-Step-152-2048.jpg)
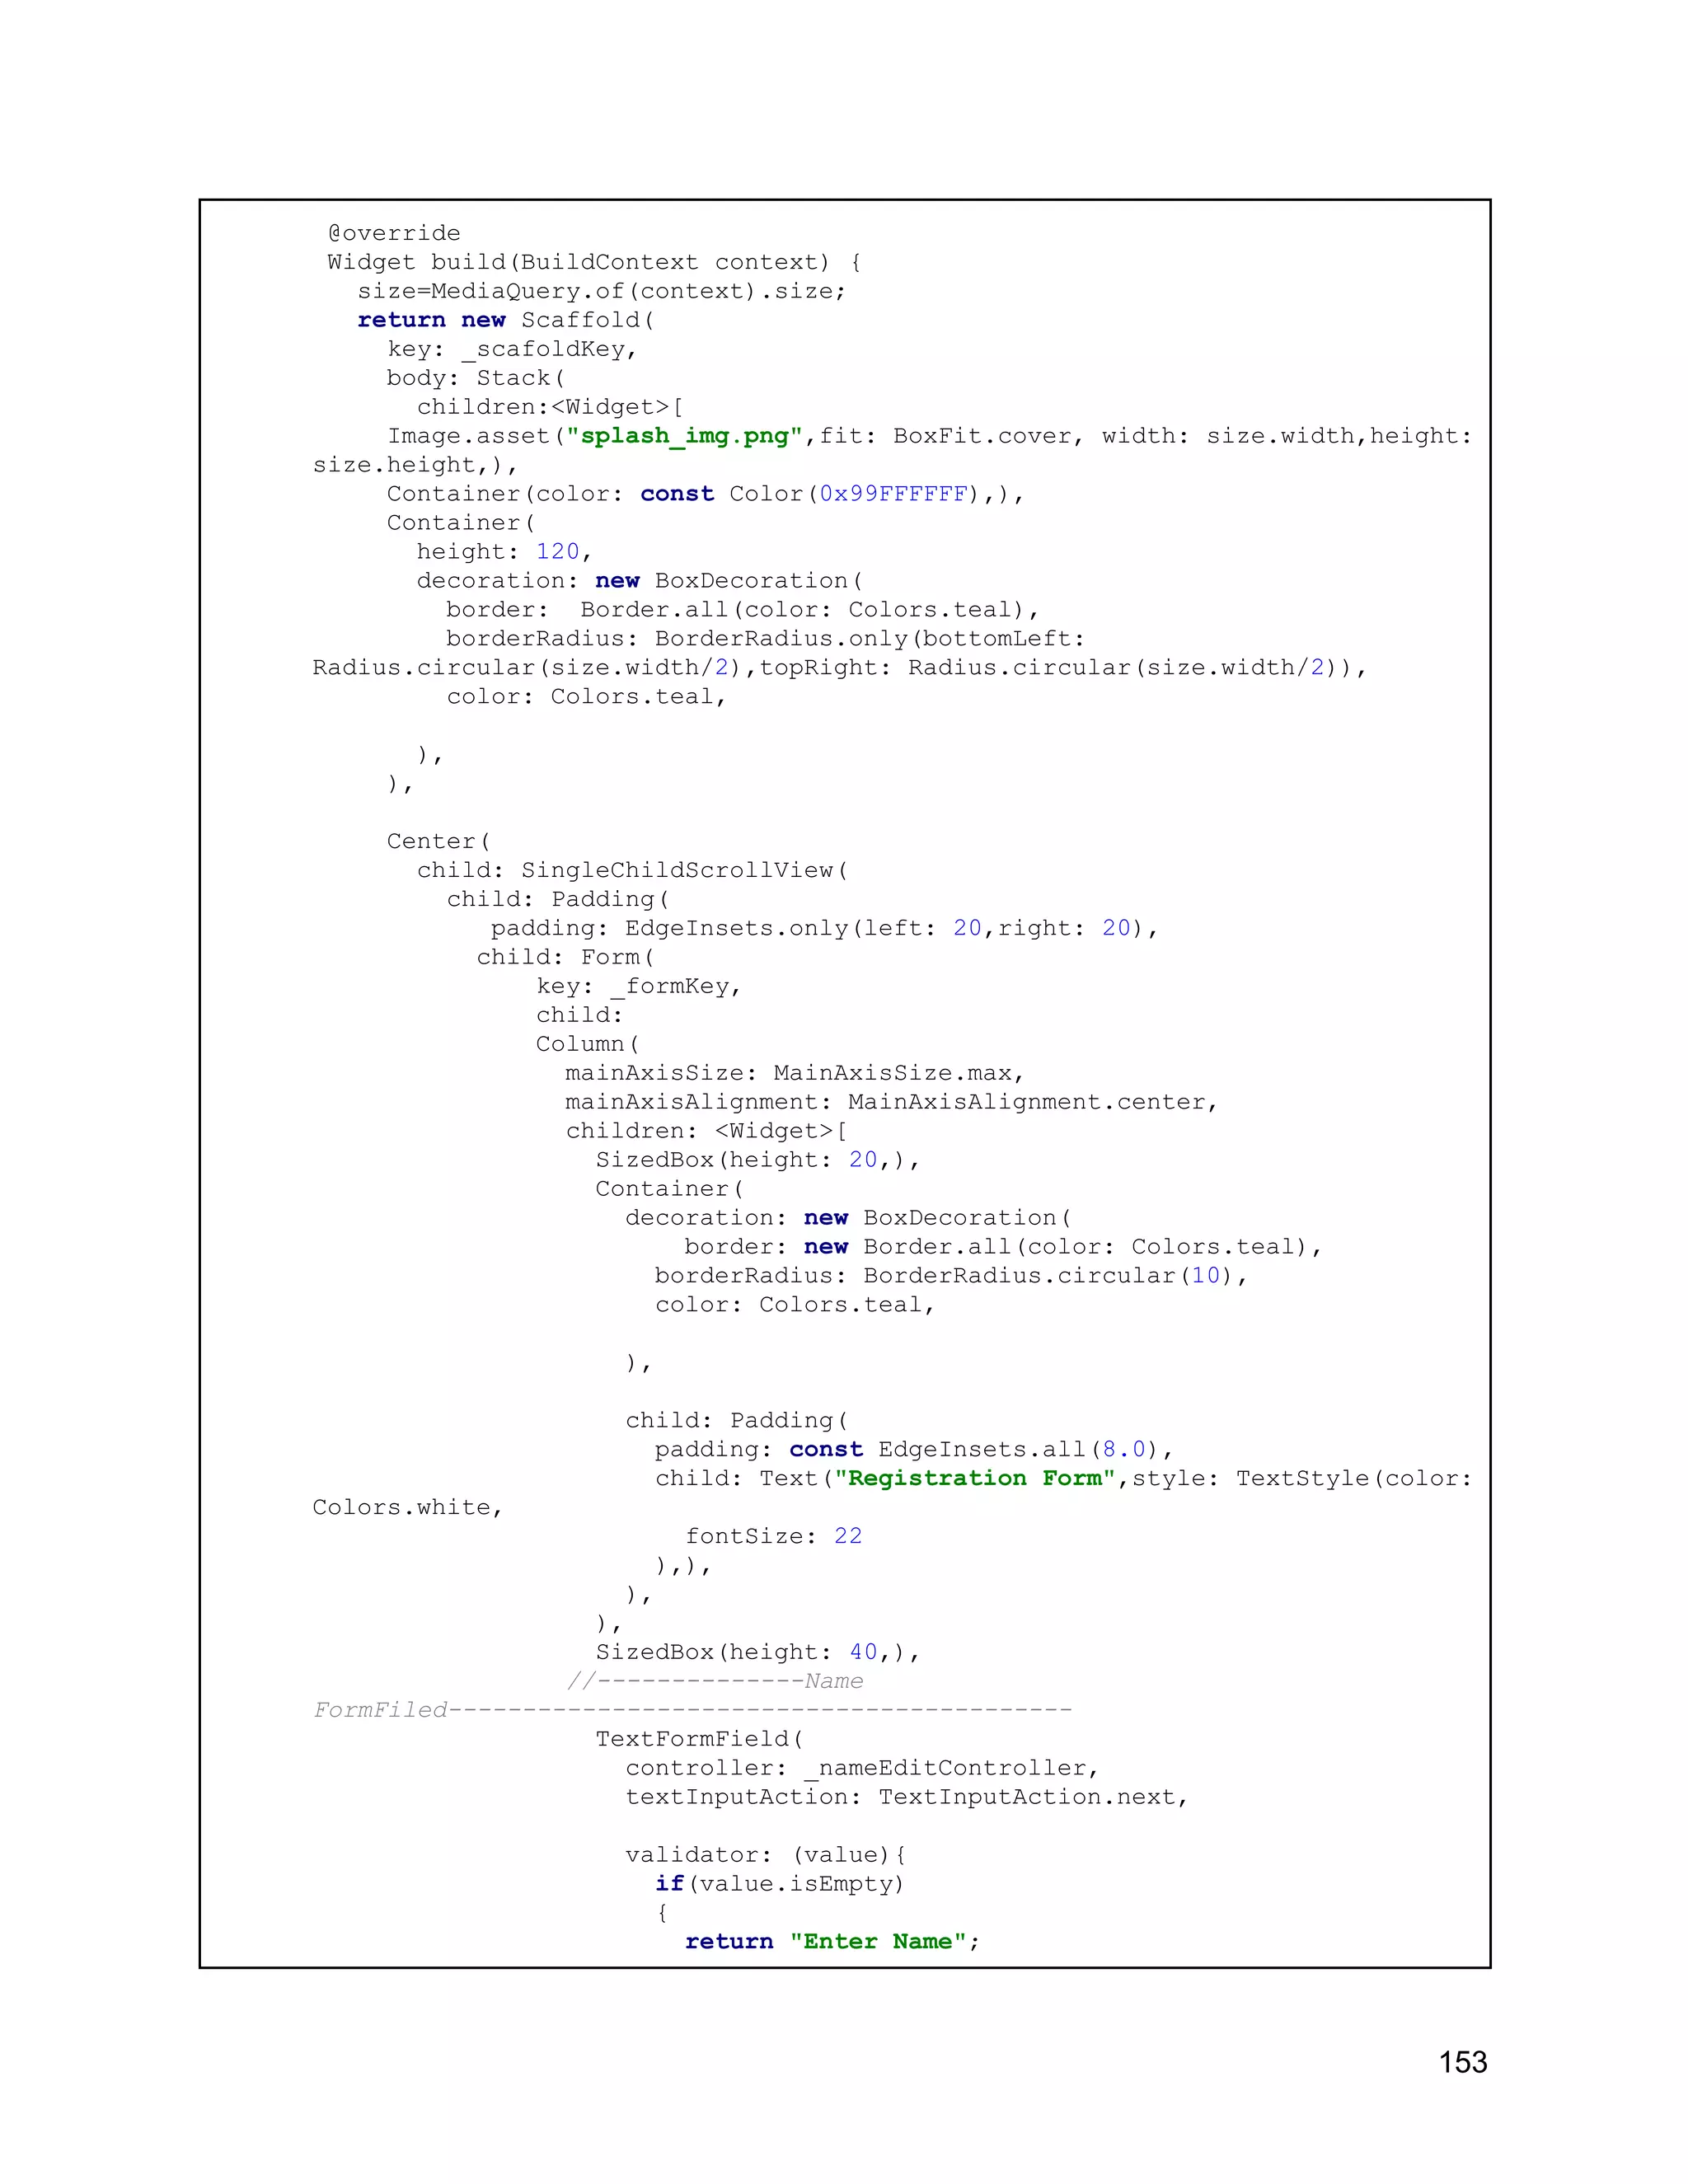
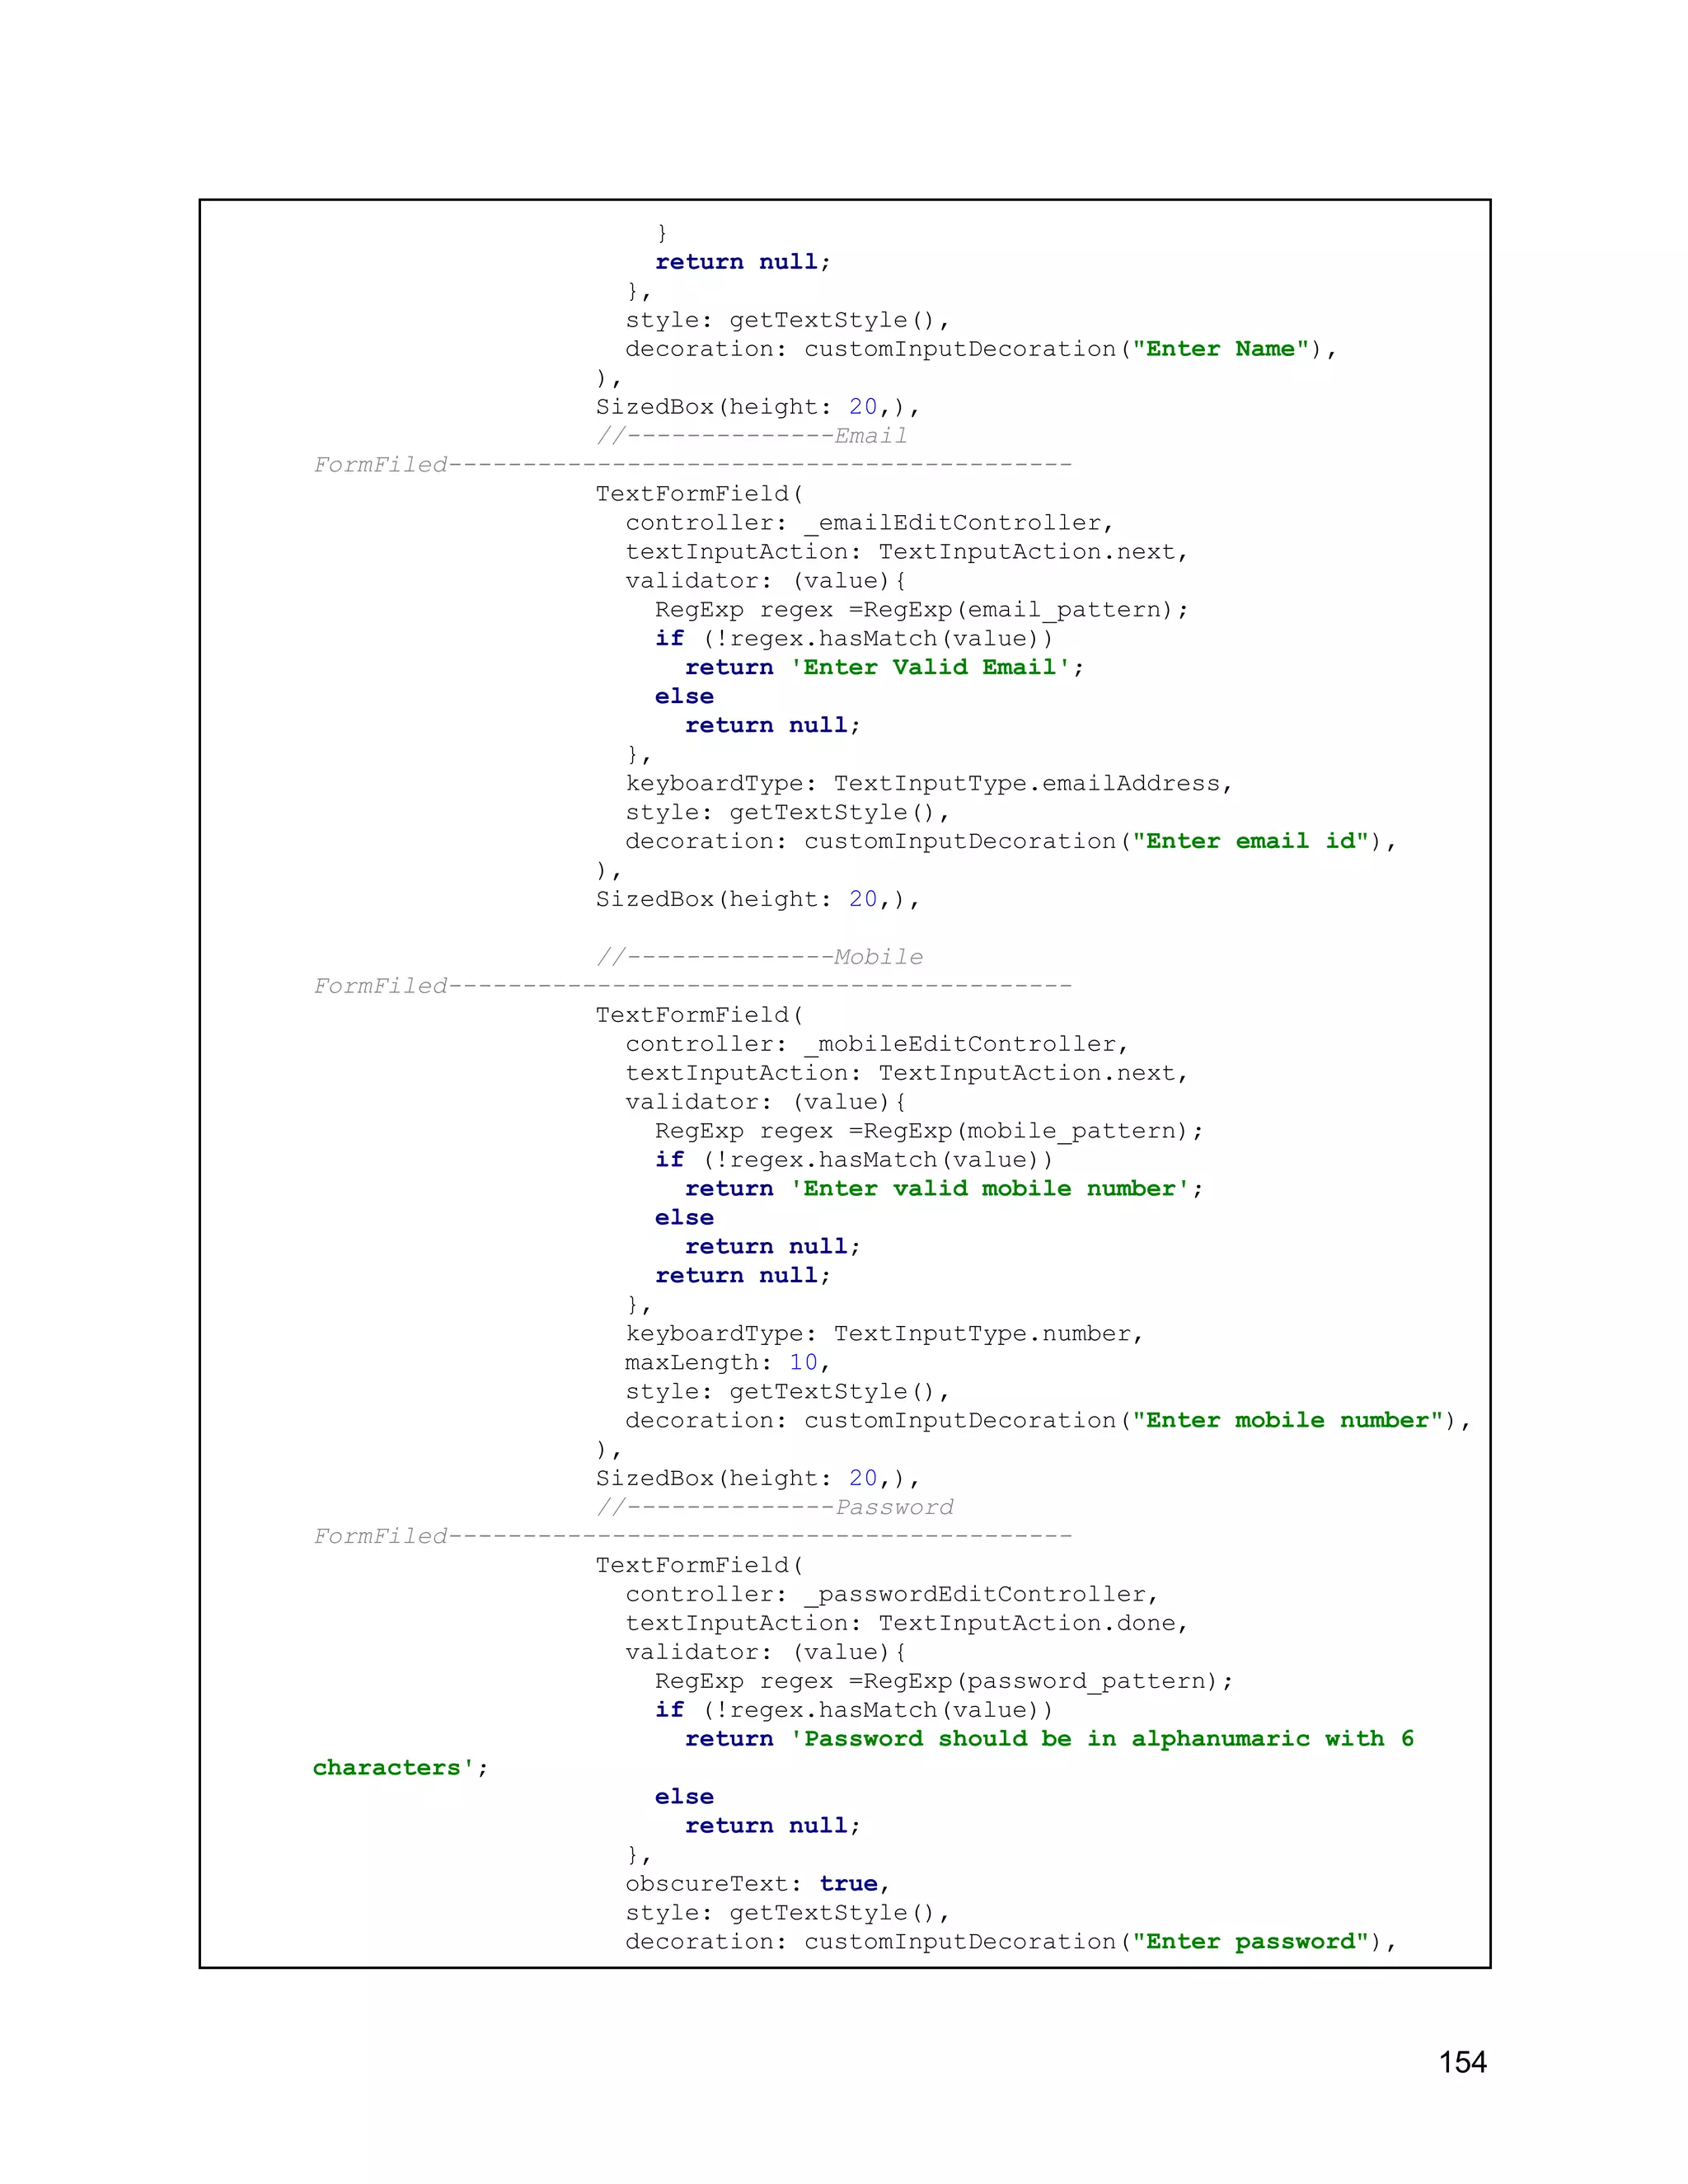
![), SizedBox(height: 20,), RaisedButton(onPressed: (){ if(_formKey.currentState.validate()) { UserDatabase.instance.insertUser(User(_nameEditController.text,_emailEditContr oller.text,_passwordEditController.text,_mobileEditController.text)).then((res ult){ if(result==-1) { _scafoldKey.currentState .showSnackBar(SnackBar(content: Text('User with same number already existed $result'))); }else { _scafoldKey.currentState .showSnackBar(SnackBar(content: Text('User Registered Succesfully $result'))); Navigator.pushReplacementNamed(context, "/login"); } }) ; } }, shape: RoundedRectangleBorder( borderRadius: BorderRadius.circular(18), ), color: Colors.pink, child: Text("Signup", style: TextStyle(color: Colors.white,fontSize: 20),), ), FlatButton( child: Text("Already have account, Sign In?"), onPressed: (){ Navigator.pushReplacementNamed(context, "/login"); }, ) ], ) ), ), ), ) ], ), );; } TextStyle getTextStyle(){ return TextStyle( fontSize: 18, color: Colors.pink 155](https://image.slidesharecdn.com/fluttertutorial-201008182102/75/Flutter-tutorial-for-Beginner-Step-by-Step-155-2048.jpg)
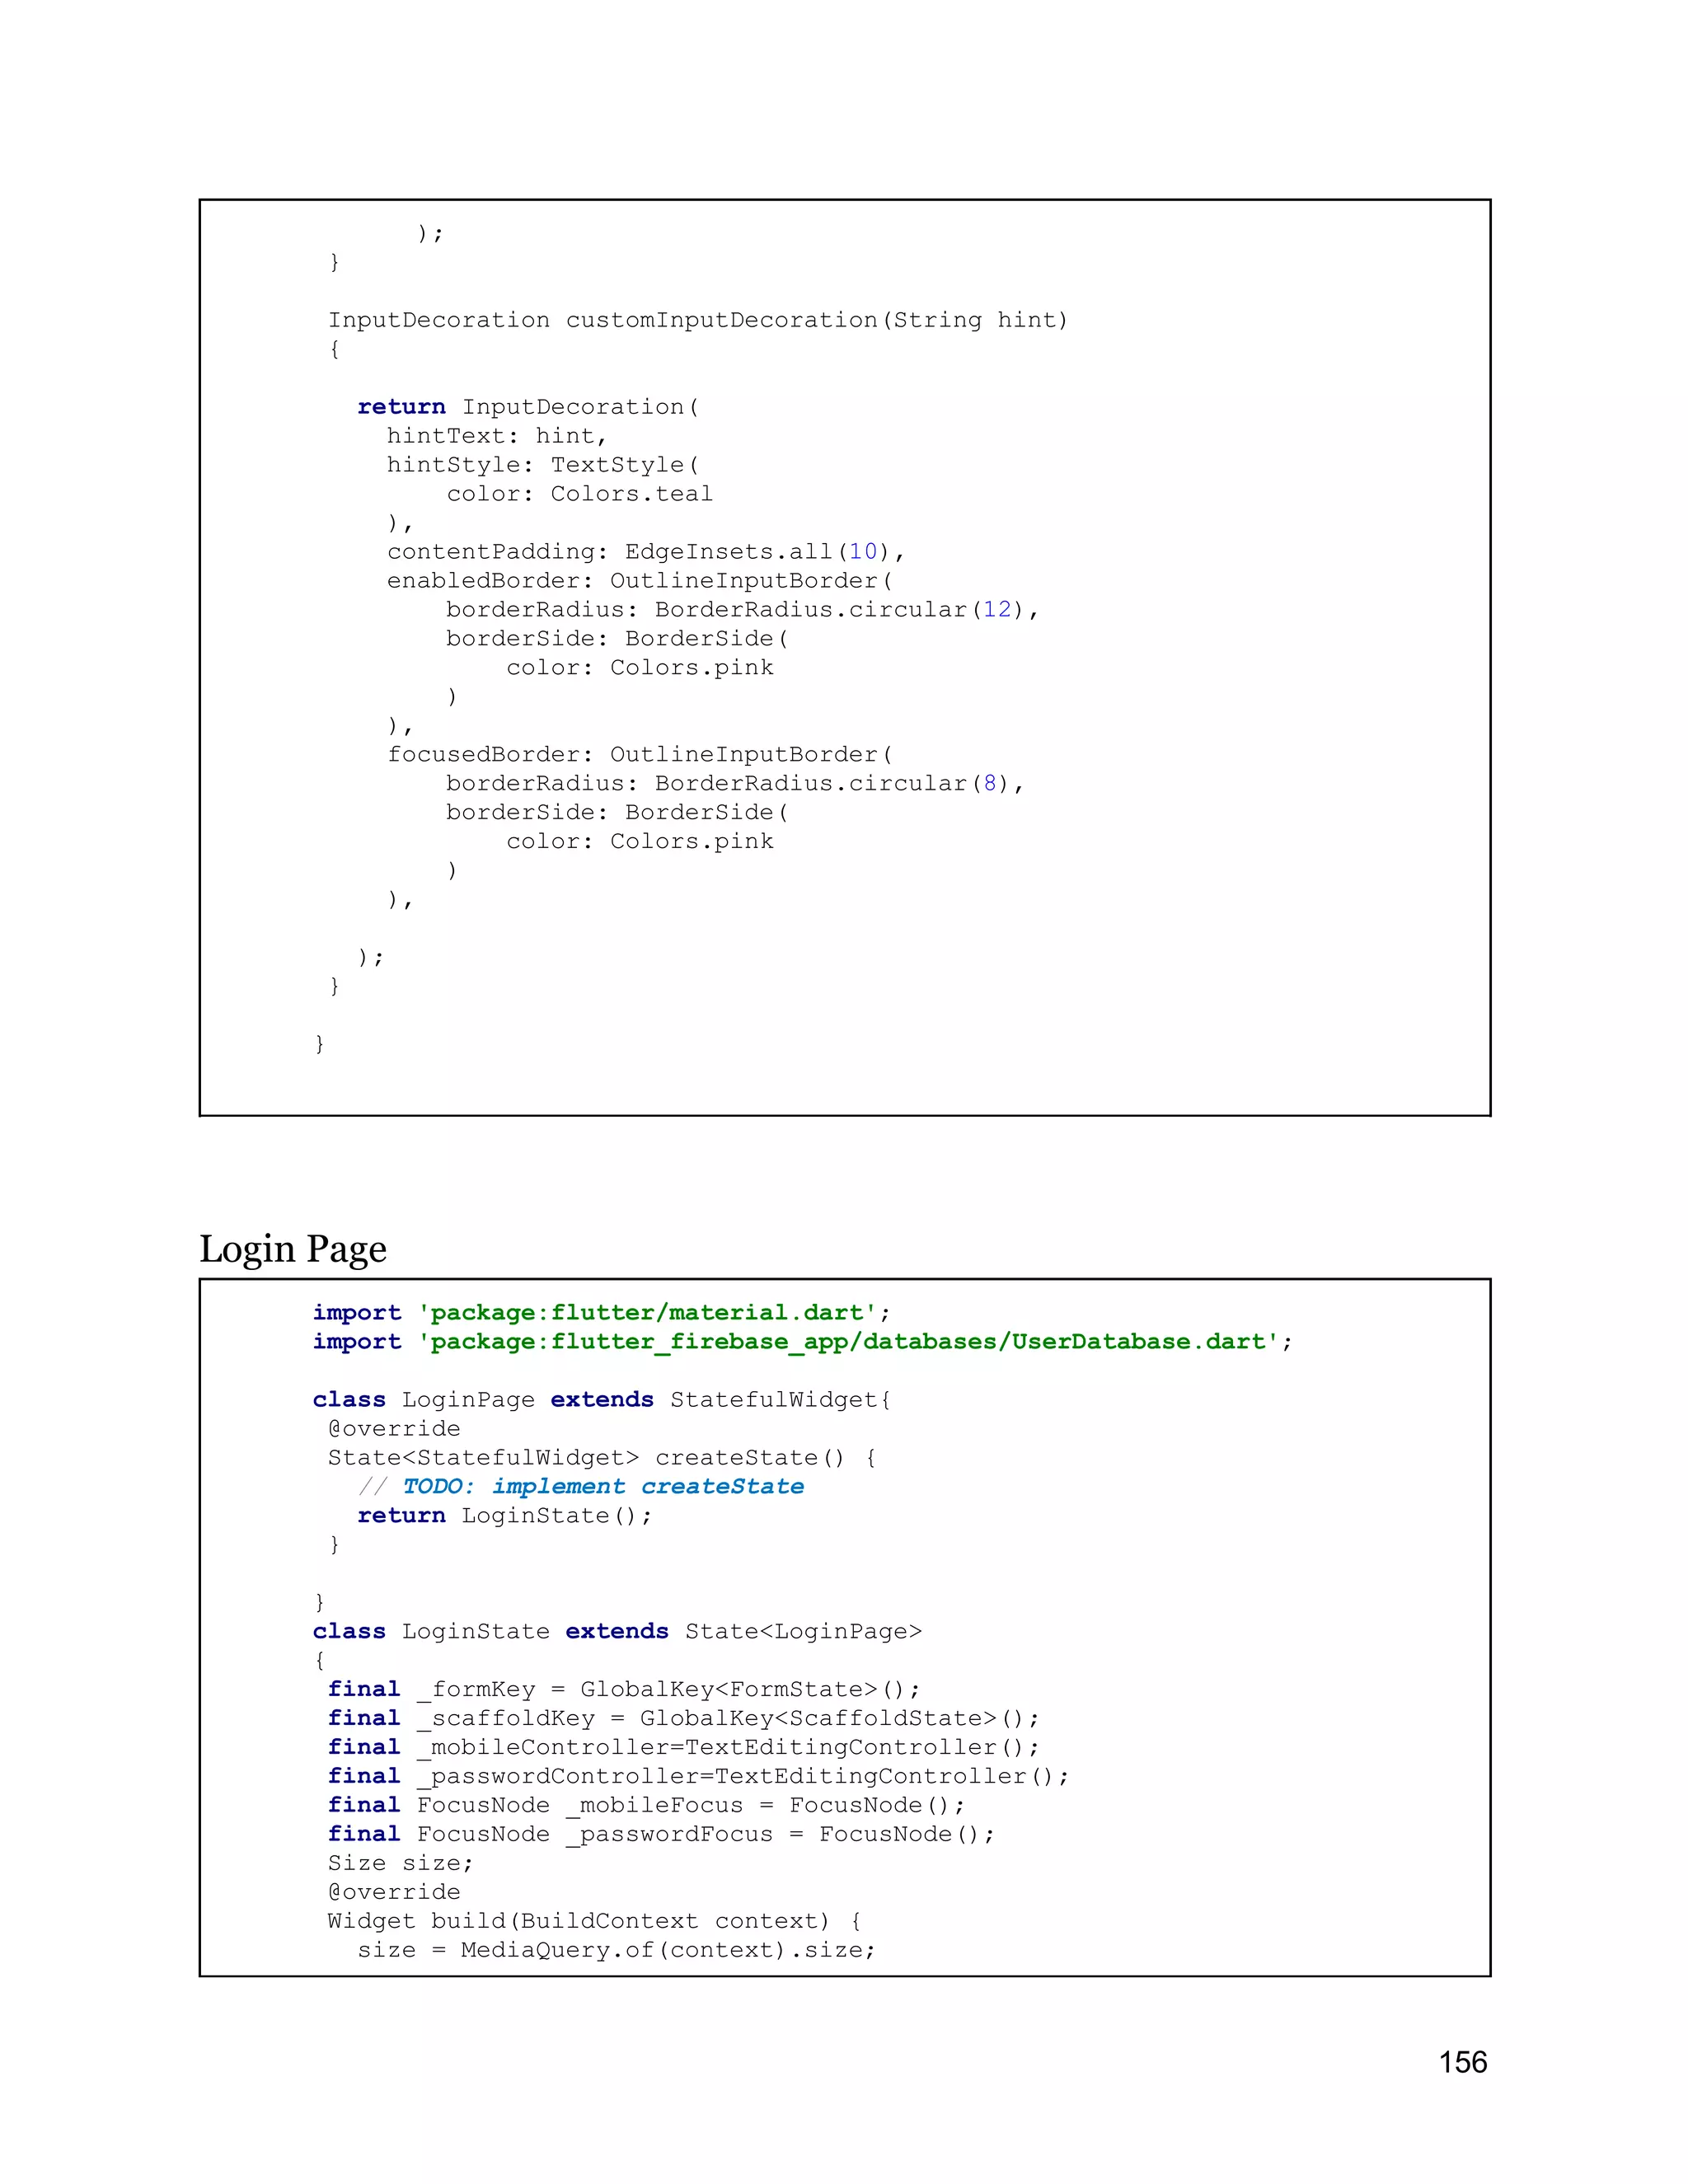
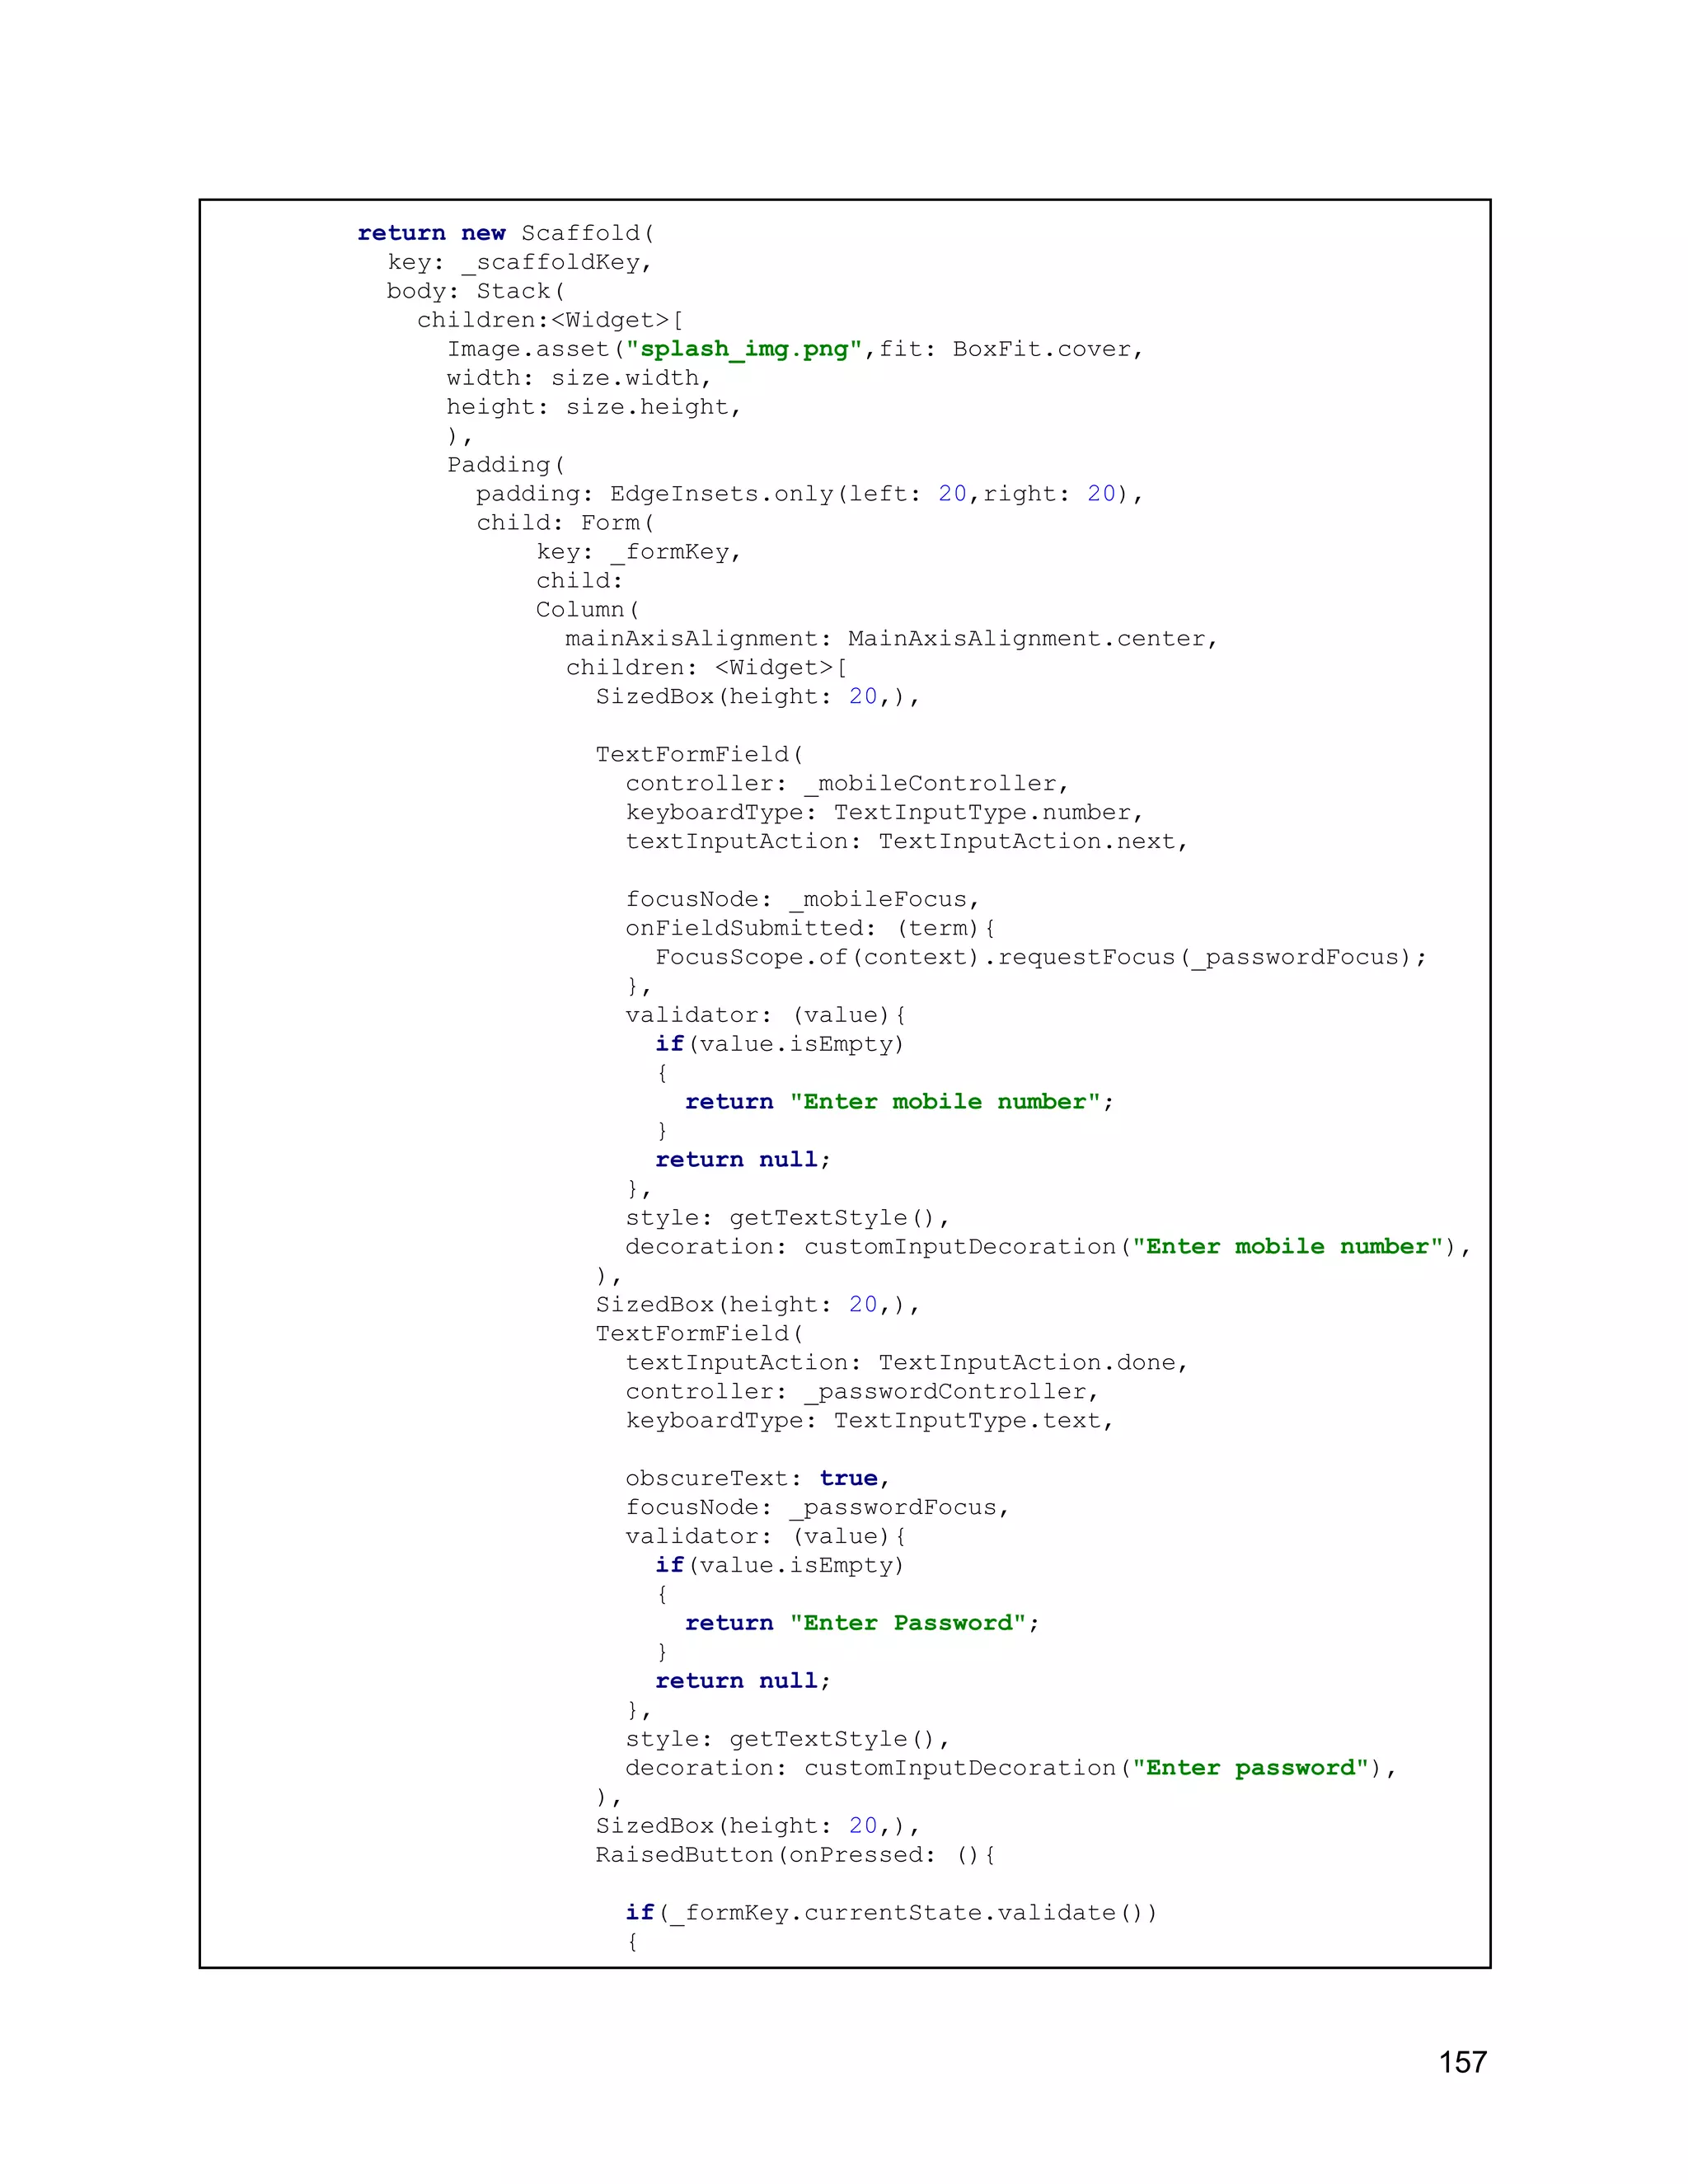
![UserDatabase.instance.checkUserLogin(_mobileController.text,_passwordControlle r.text).then((result){ if(result==null) { _scaffoldKey.currentState.showSnackBar(SnackBar(content: Text("Please enter valid details"))); } else { Navigator.pushReplacementNamed(context, "/home"); } }); } }, shape: RoundedRectangleBorder( borderRadius: BorderRadius.circular(18), ), color: Colors.pink, child: Text("Login", style: TextStyle(color: Colors.white,fontSize: 20),), ), FlatButton( child: Text("Don't have account, Signup?"), onPressed: (){ Navigator.pushReplacementNamed(context, "/signup"); }, ) ], ) ), ) ] , ), ); } TextStyle getTextStyle(){ return TextStyle( fontSize: 18, color: Colors.pink ); } InputDecoration customInputDecoration(String hint) { return InputDecoration( hintText: hint, hintStyle: TextStyle( color: Colors.teal ), contentPadding: EdgeInsets.all(10), enabledBorder: OutlineInputBorder( borderRadius: BorderRadius.circular(12), borderSide: BorderSide( color: Colors.pink ) 158](https://image.slidesharecdn.com/fluttertutorial-201008182102/75/Flutter-tutorial-for-Beginner-Step-by-Step-158-2048.jpg)
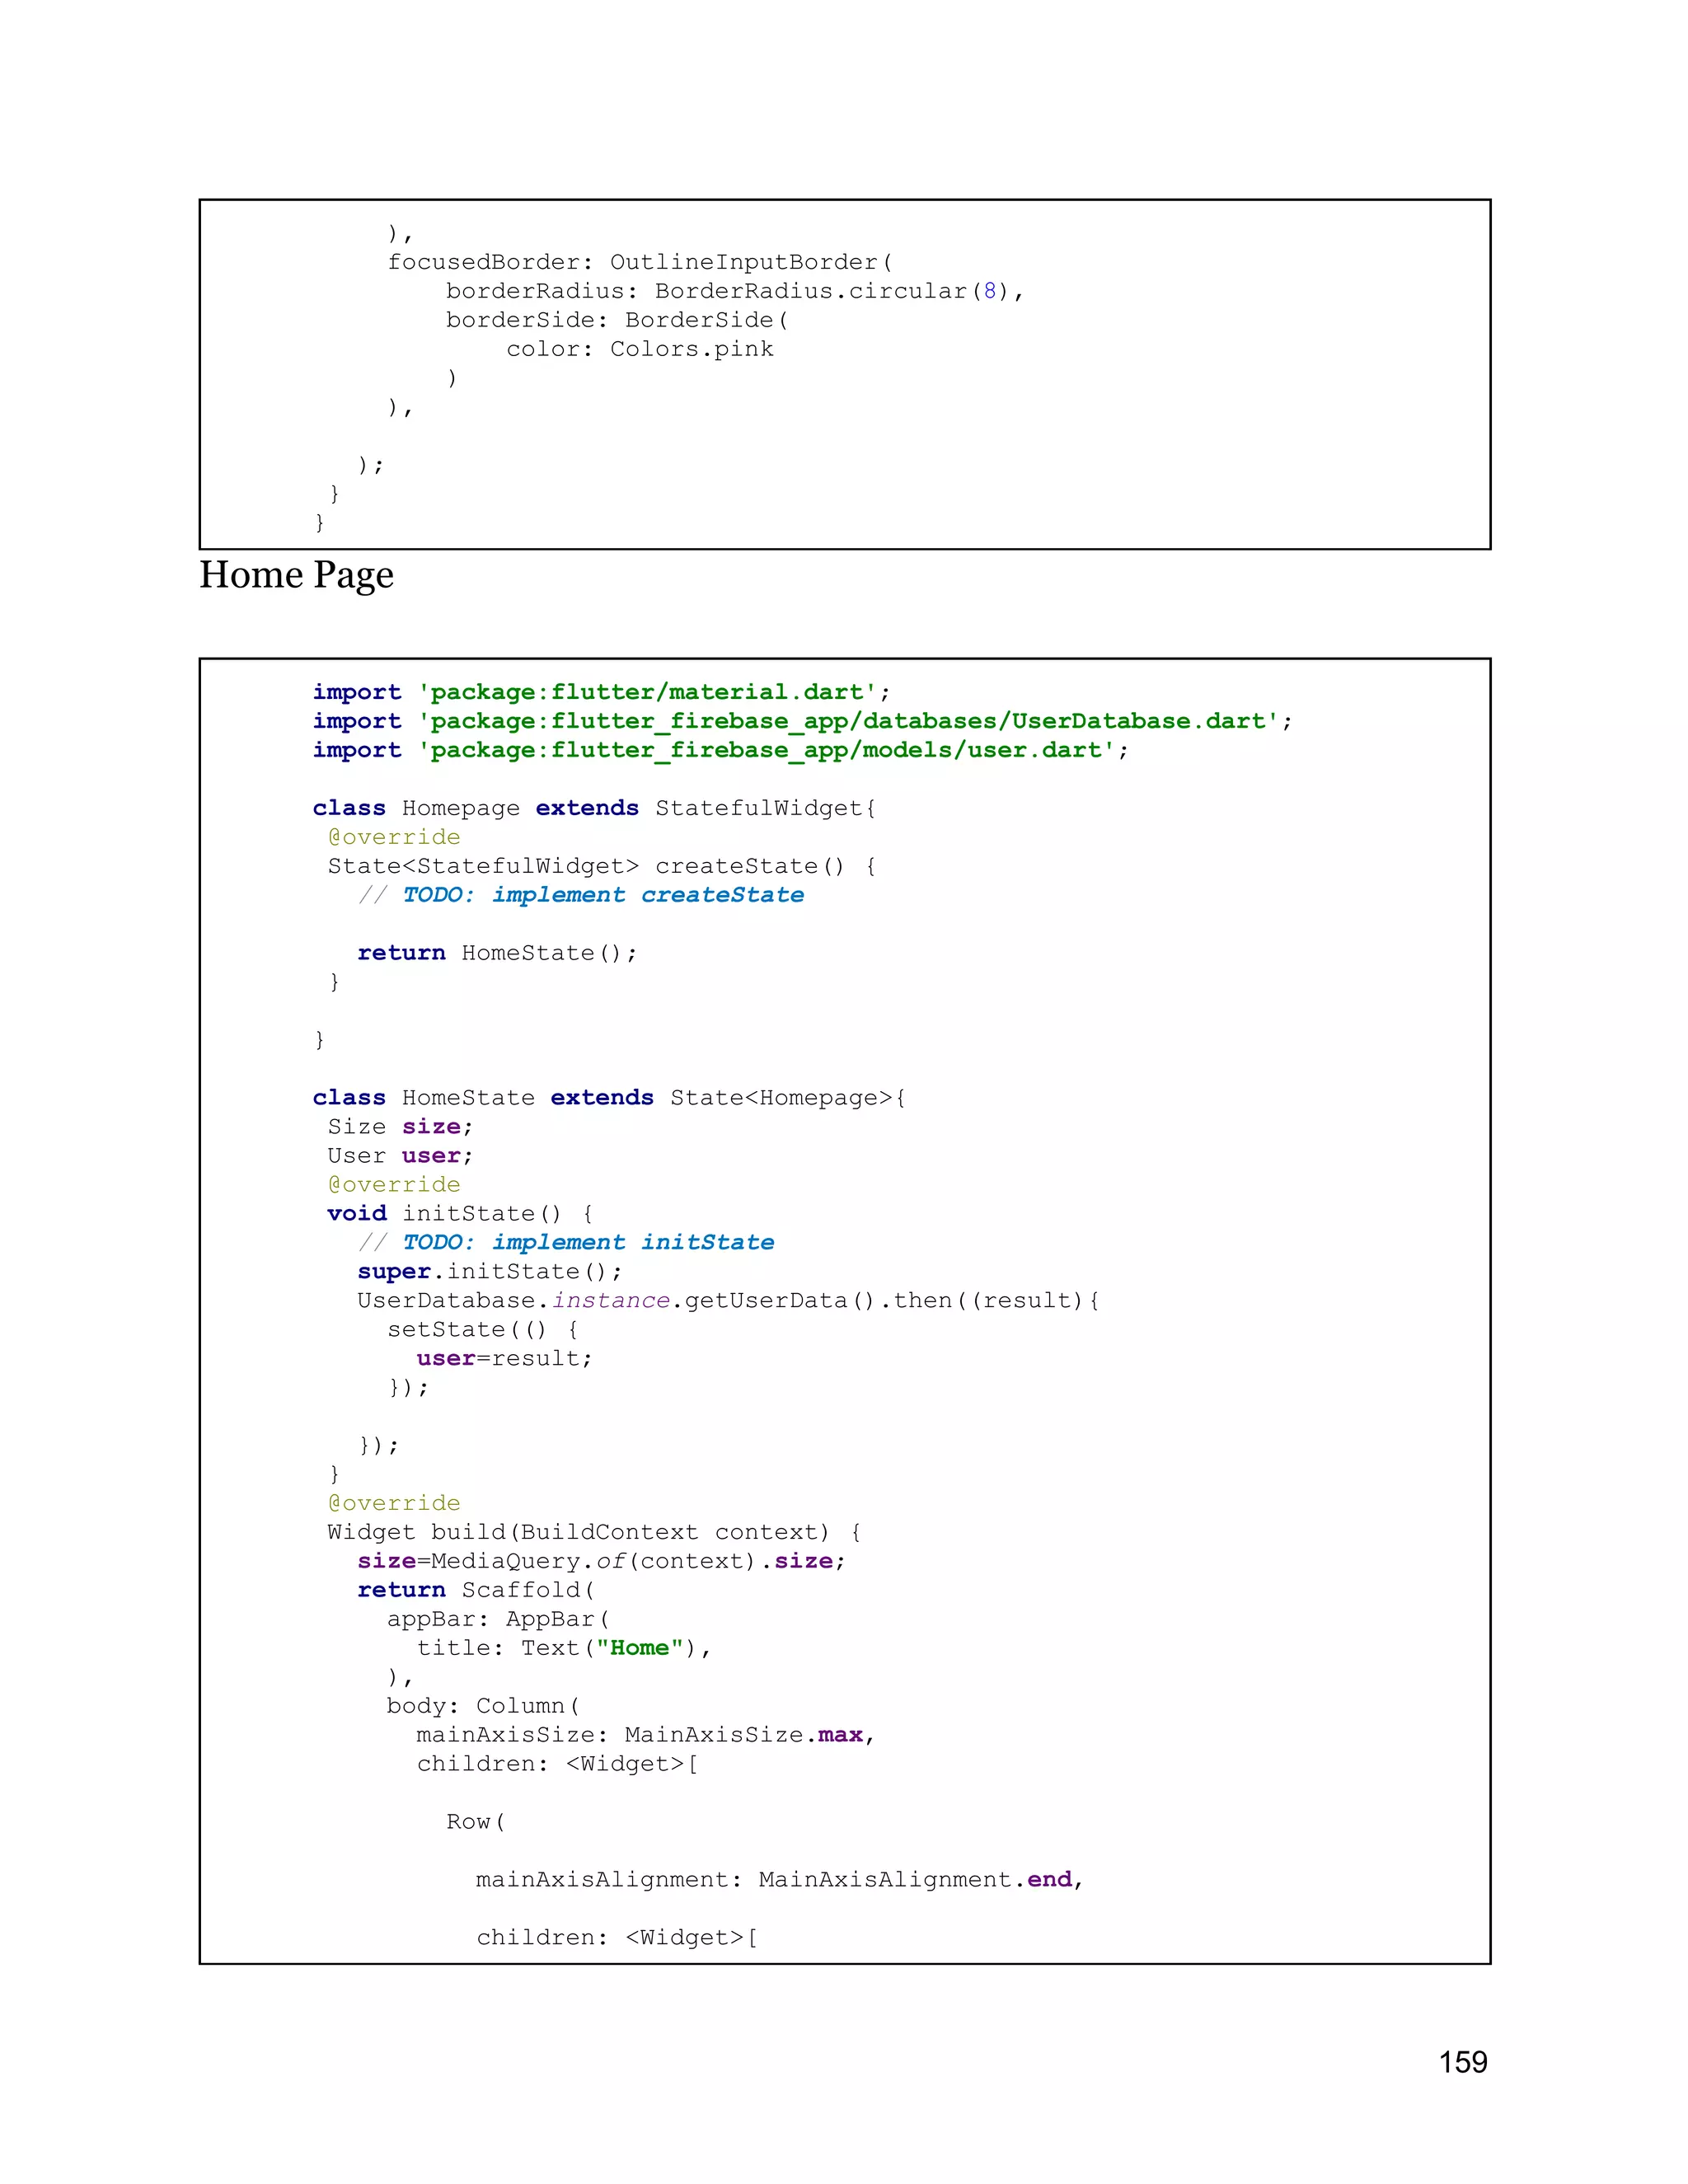
![Padding( padding: const EdgeInsets.all(12.0), child: RaisedButton( onPressed: (){ UserDatabase.instance.deleteUser(user.mobile).then((res){ if(res==1) { Navigator.pushReplacementNamed(context, "/login"); } }); }, shape: RoundedRectangleBorder( borderRadius: BorderRadius.circular(15), ), color:Colors.pink, child: Text("Logout", style: TextStyle(color: Colors.white ),) ), ) ], ), Container( height:size.height-200 , child: Center( child: (user==null)?null:Text("Welcome User "+user.name), ), ), ], ) ); } } Check sample at http://rrtutors.com/description/8 160](https://image.slidesharecdn.com/fluttertutorial-201008182102/75/Flutter-tutorial-for-Beginner-Step-by-Step-160-2048.jpg)
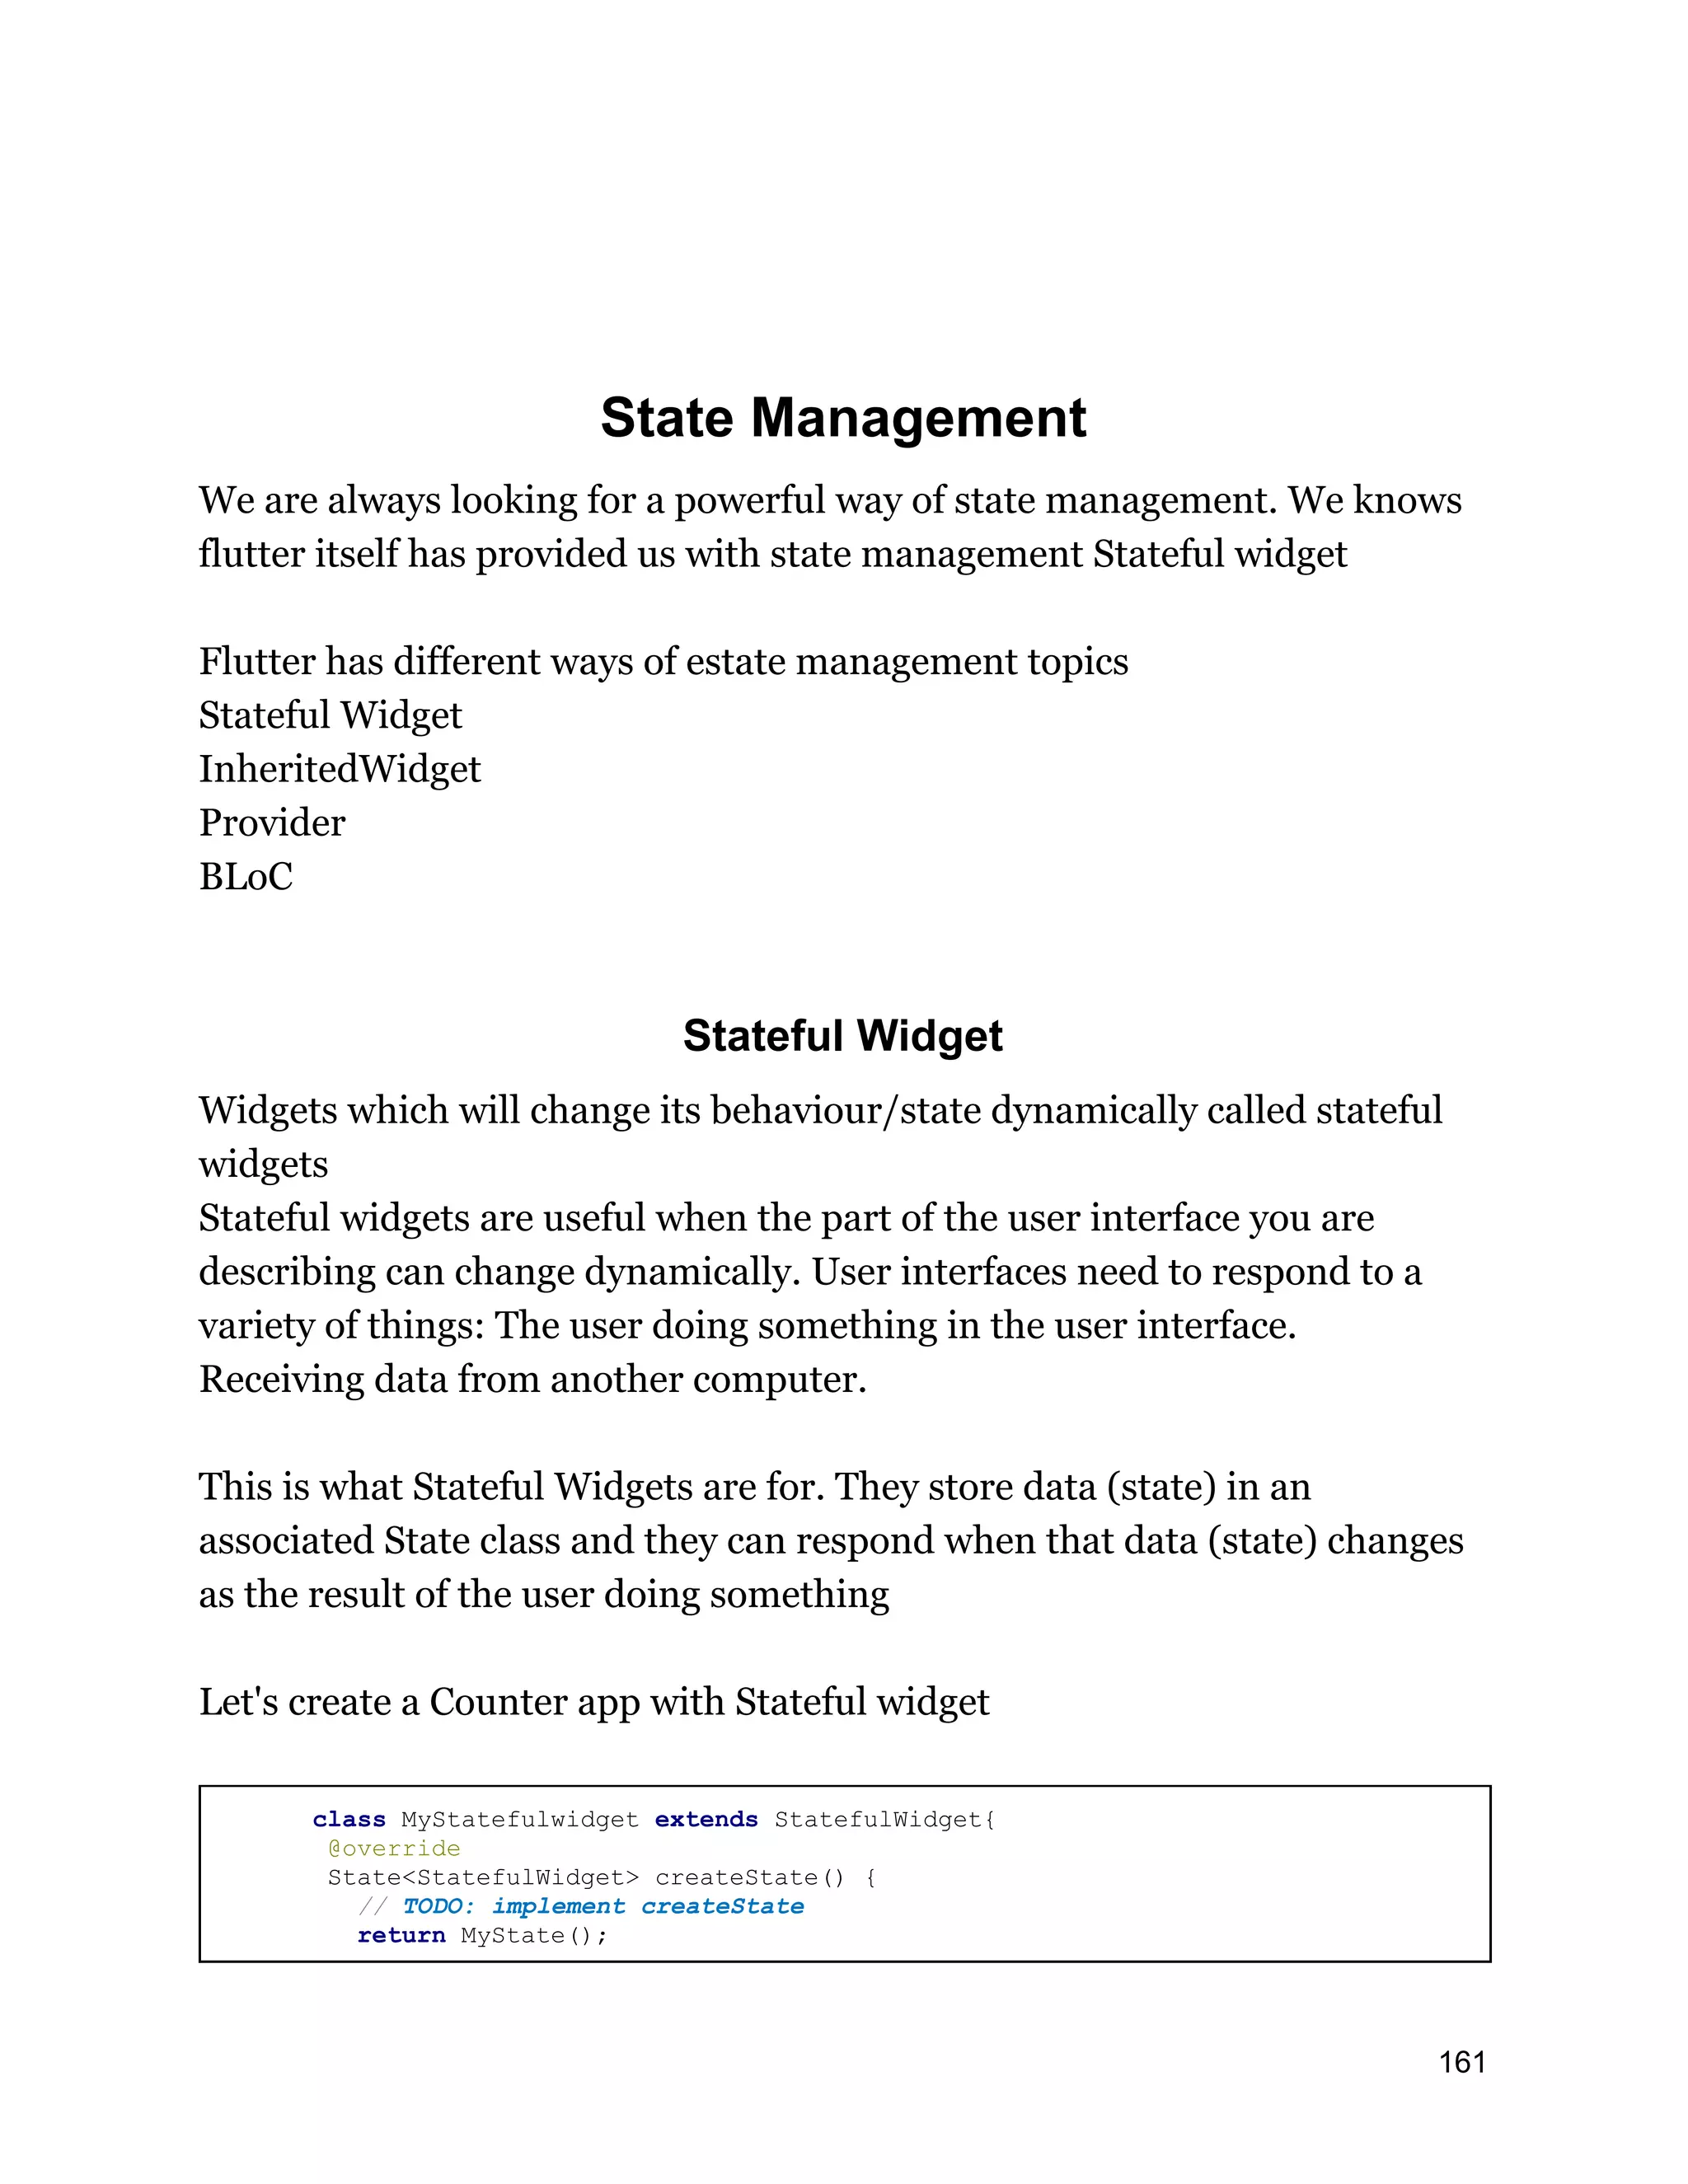
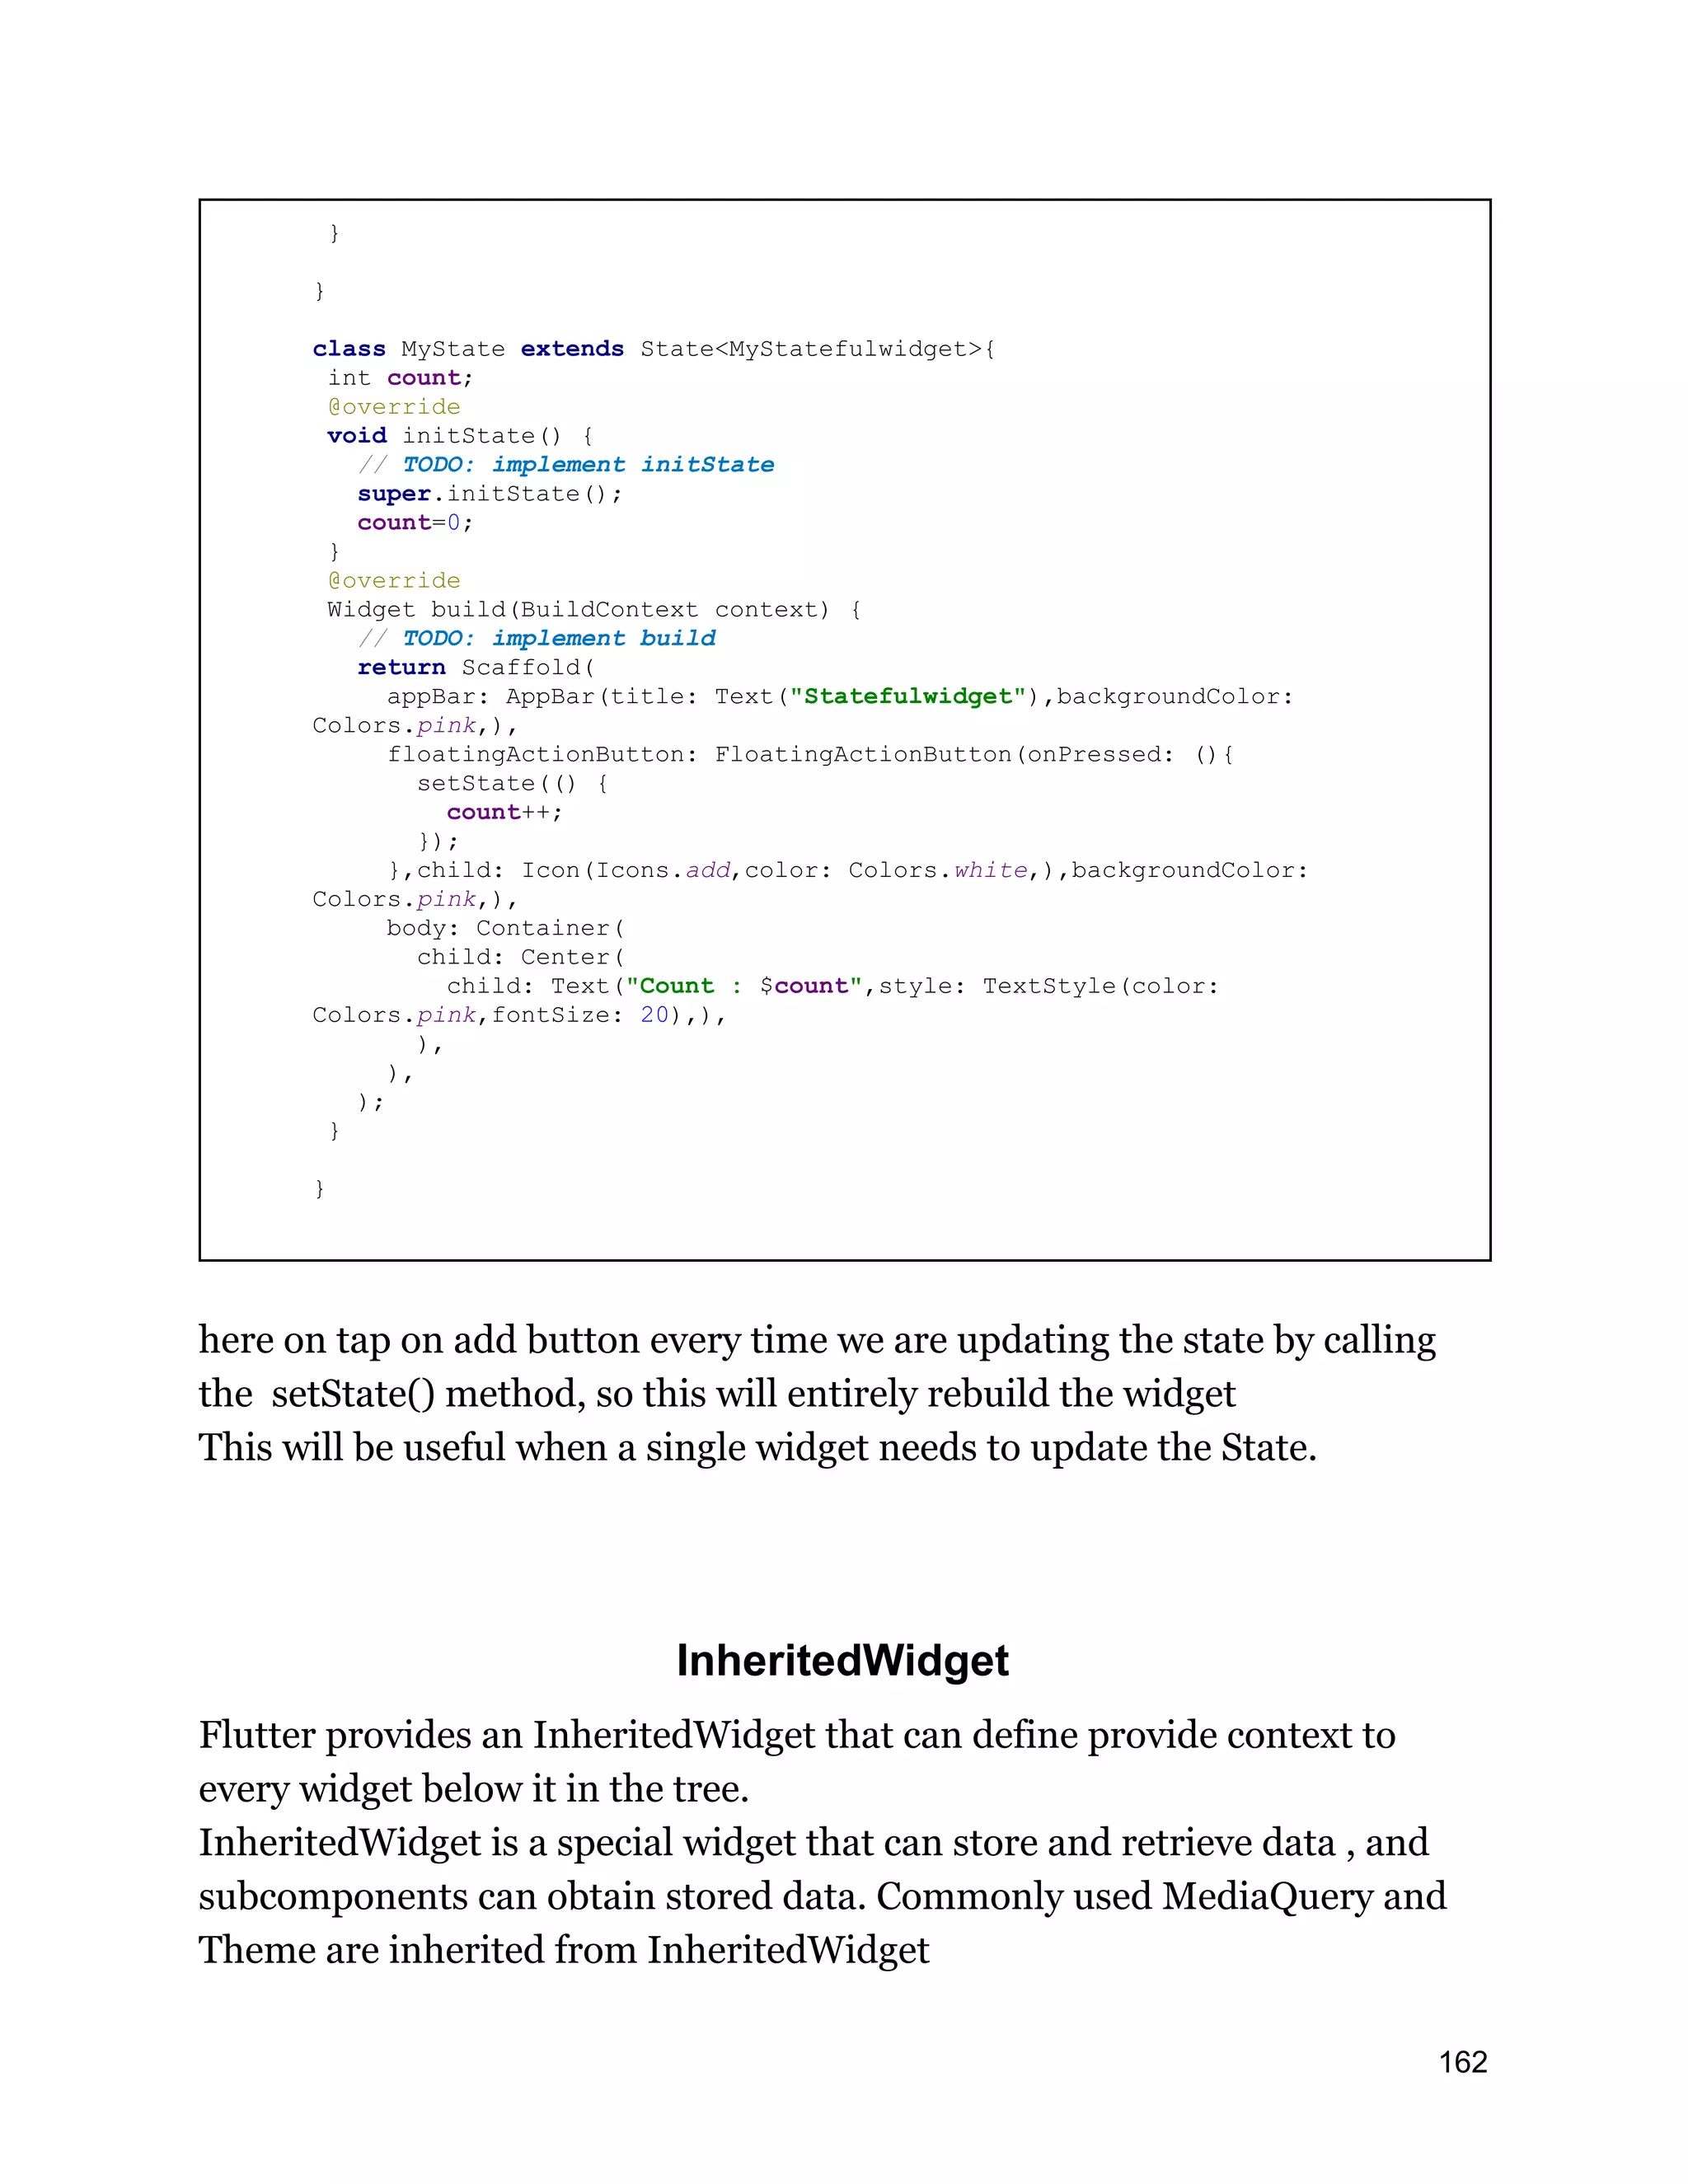
![While this is nice in theory, we can see that it takes quite a lot of code to get a basic example wired up. Fortunately, there are libraries like Bloc, Redux, and Scoped Model abstract this complexity away Let's check the counter app with InheritedWidget Create InheritedWidget class CounterInherited extends InheritedWidget{ final Map _counter={'count':0}; Widget child; CounterInherited ({@required Widget this. child}):super(child:child); get counter=>_counter['count']; increment() { _counter['count']++; } @override bool updateShouldNotify(InheritedWidget oldWidget) { // TODO: implement updateShouldNotify return true; } static CounterInherited of(BuildContext ctx)=> ctx.inheritFromWidgetOfExactType(CounterInherited); } Here we are extending the class with InheritedWidget, which have override method will tell the widget to need to update state or not @override bool updateShouldNotify(InheritedWidget oldWidget) { // TODO: implement updateShouldNotify return true; } Create Child widget Child widget will have the counter increment UI 163](https://image.slidesharecdn.com/fluttertutorial-201008182102/75/Flutter-tutorial-for-Beginner-Step-by-Step-163-2048.jpg)
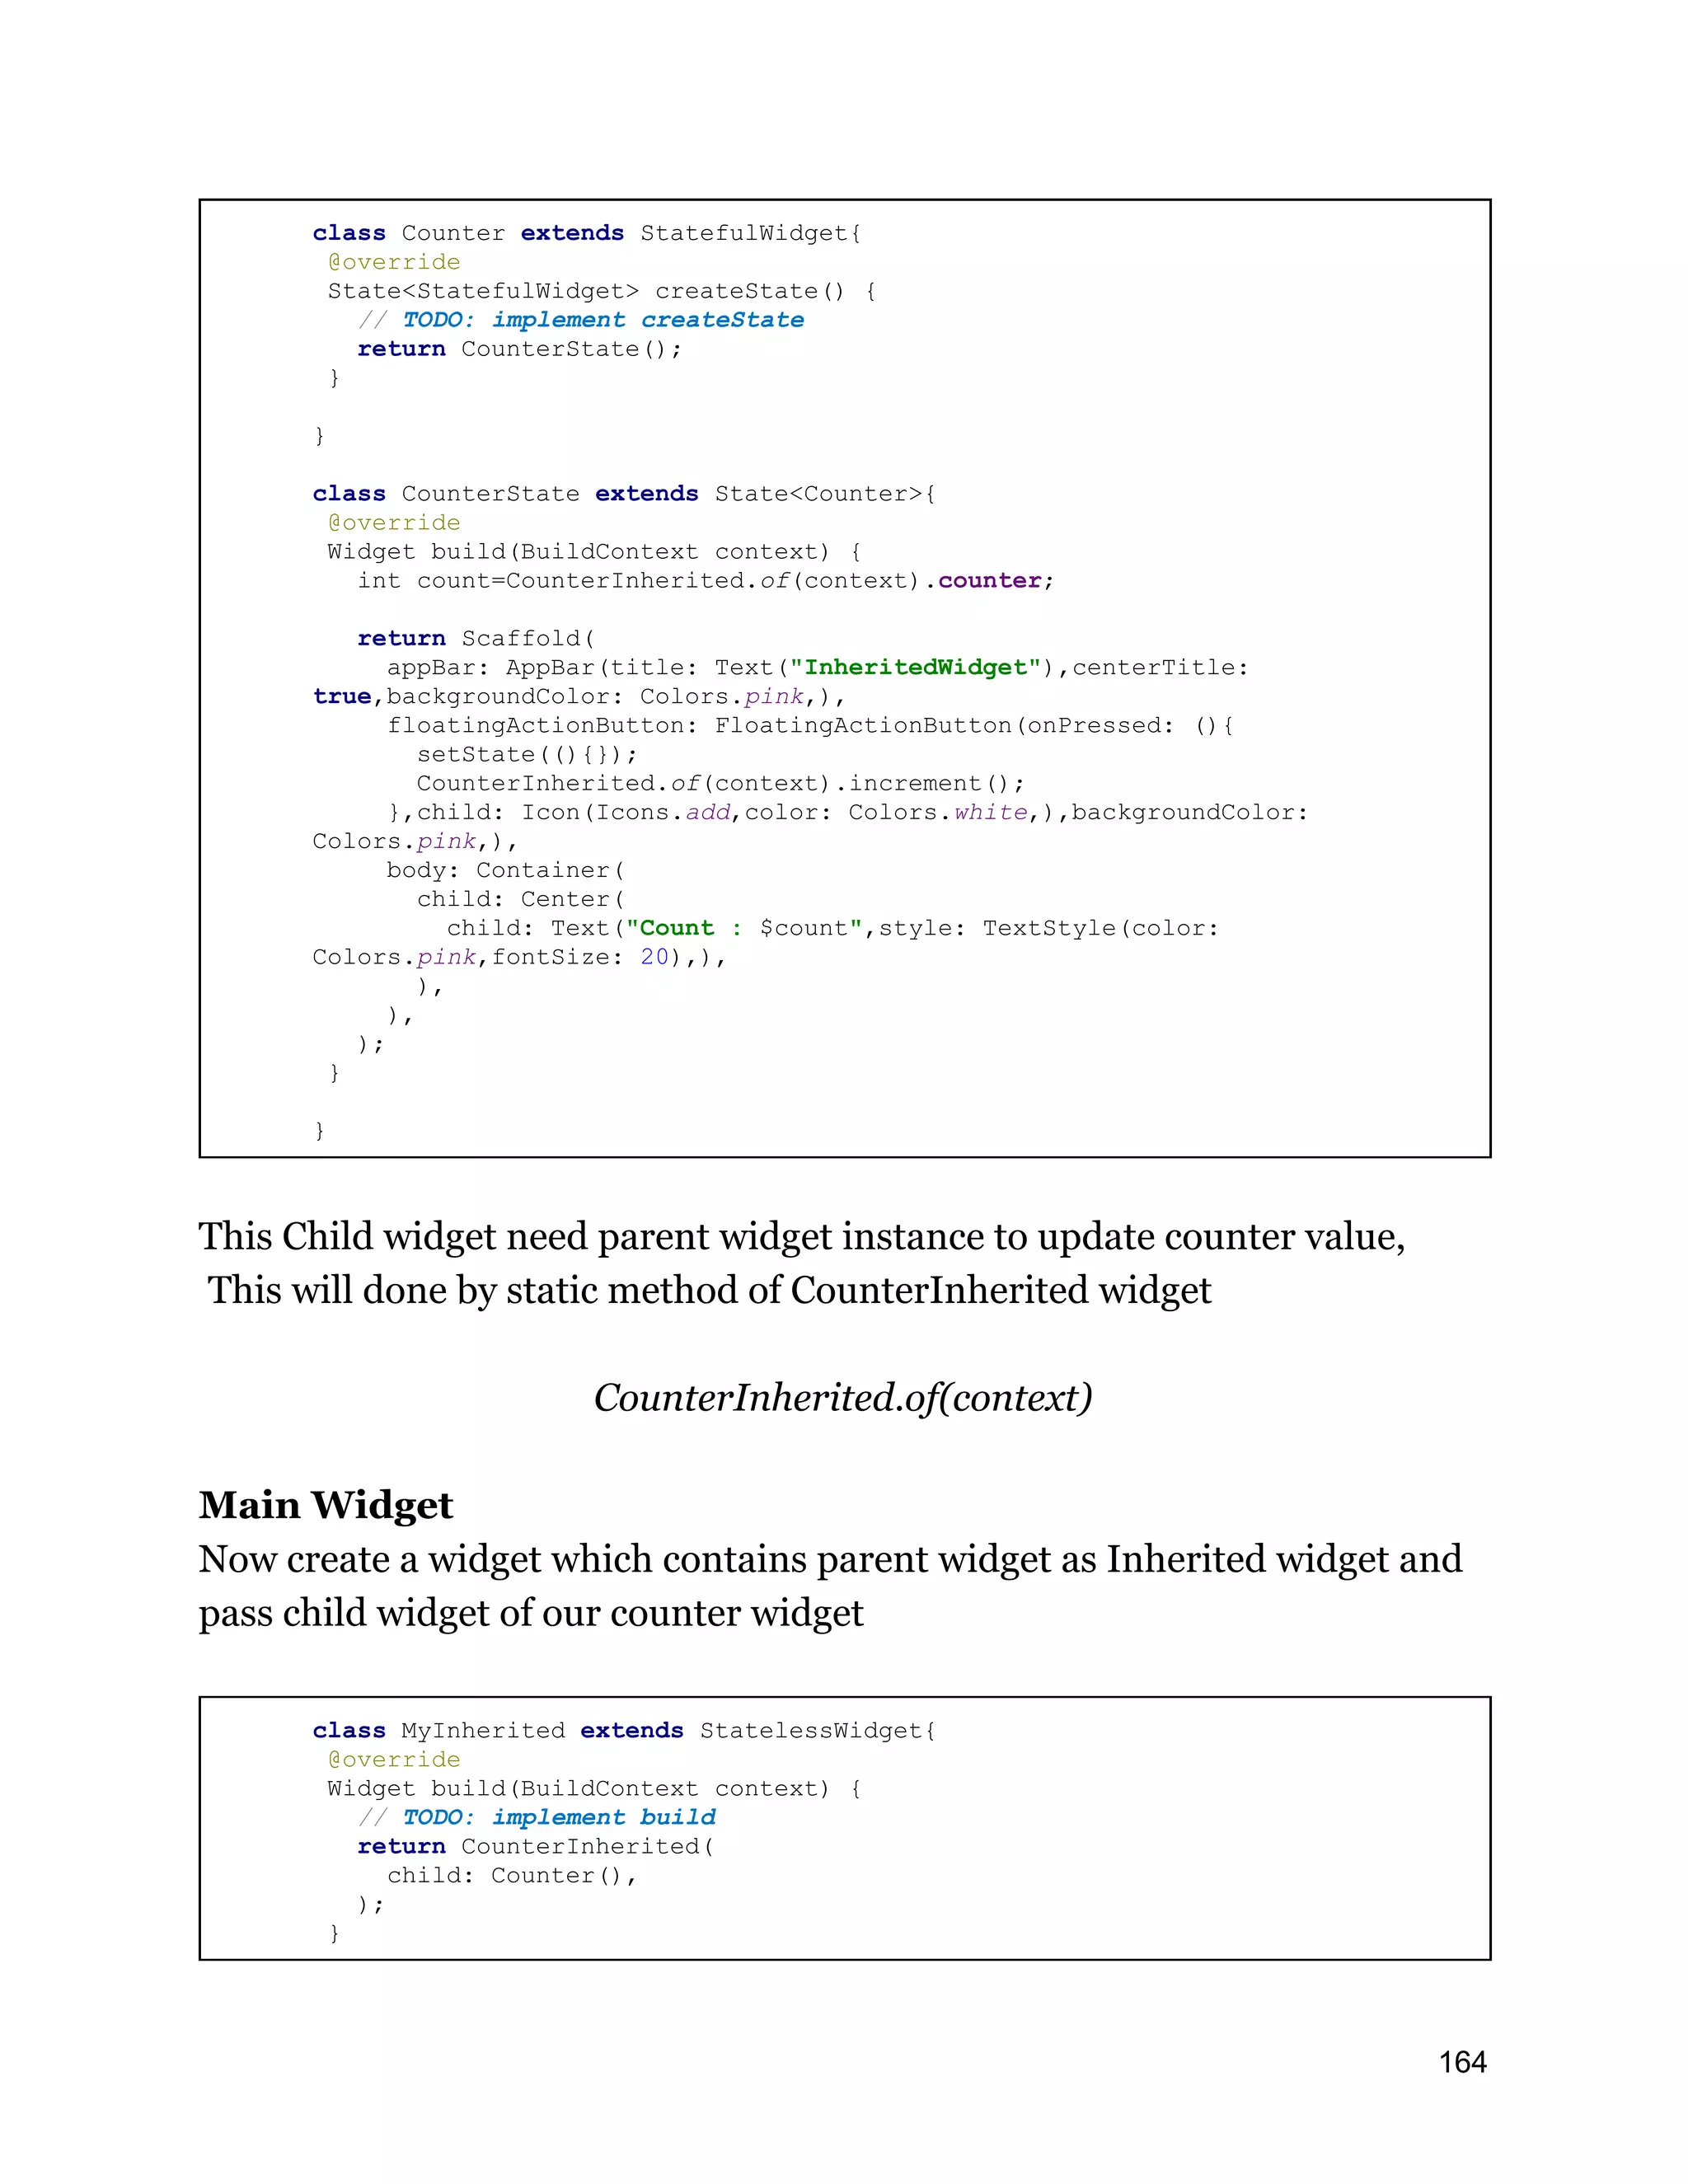
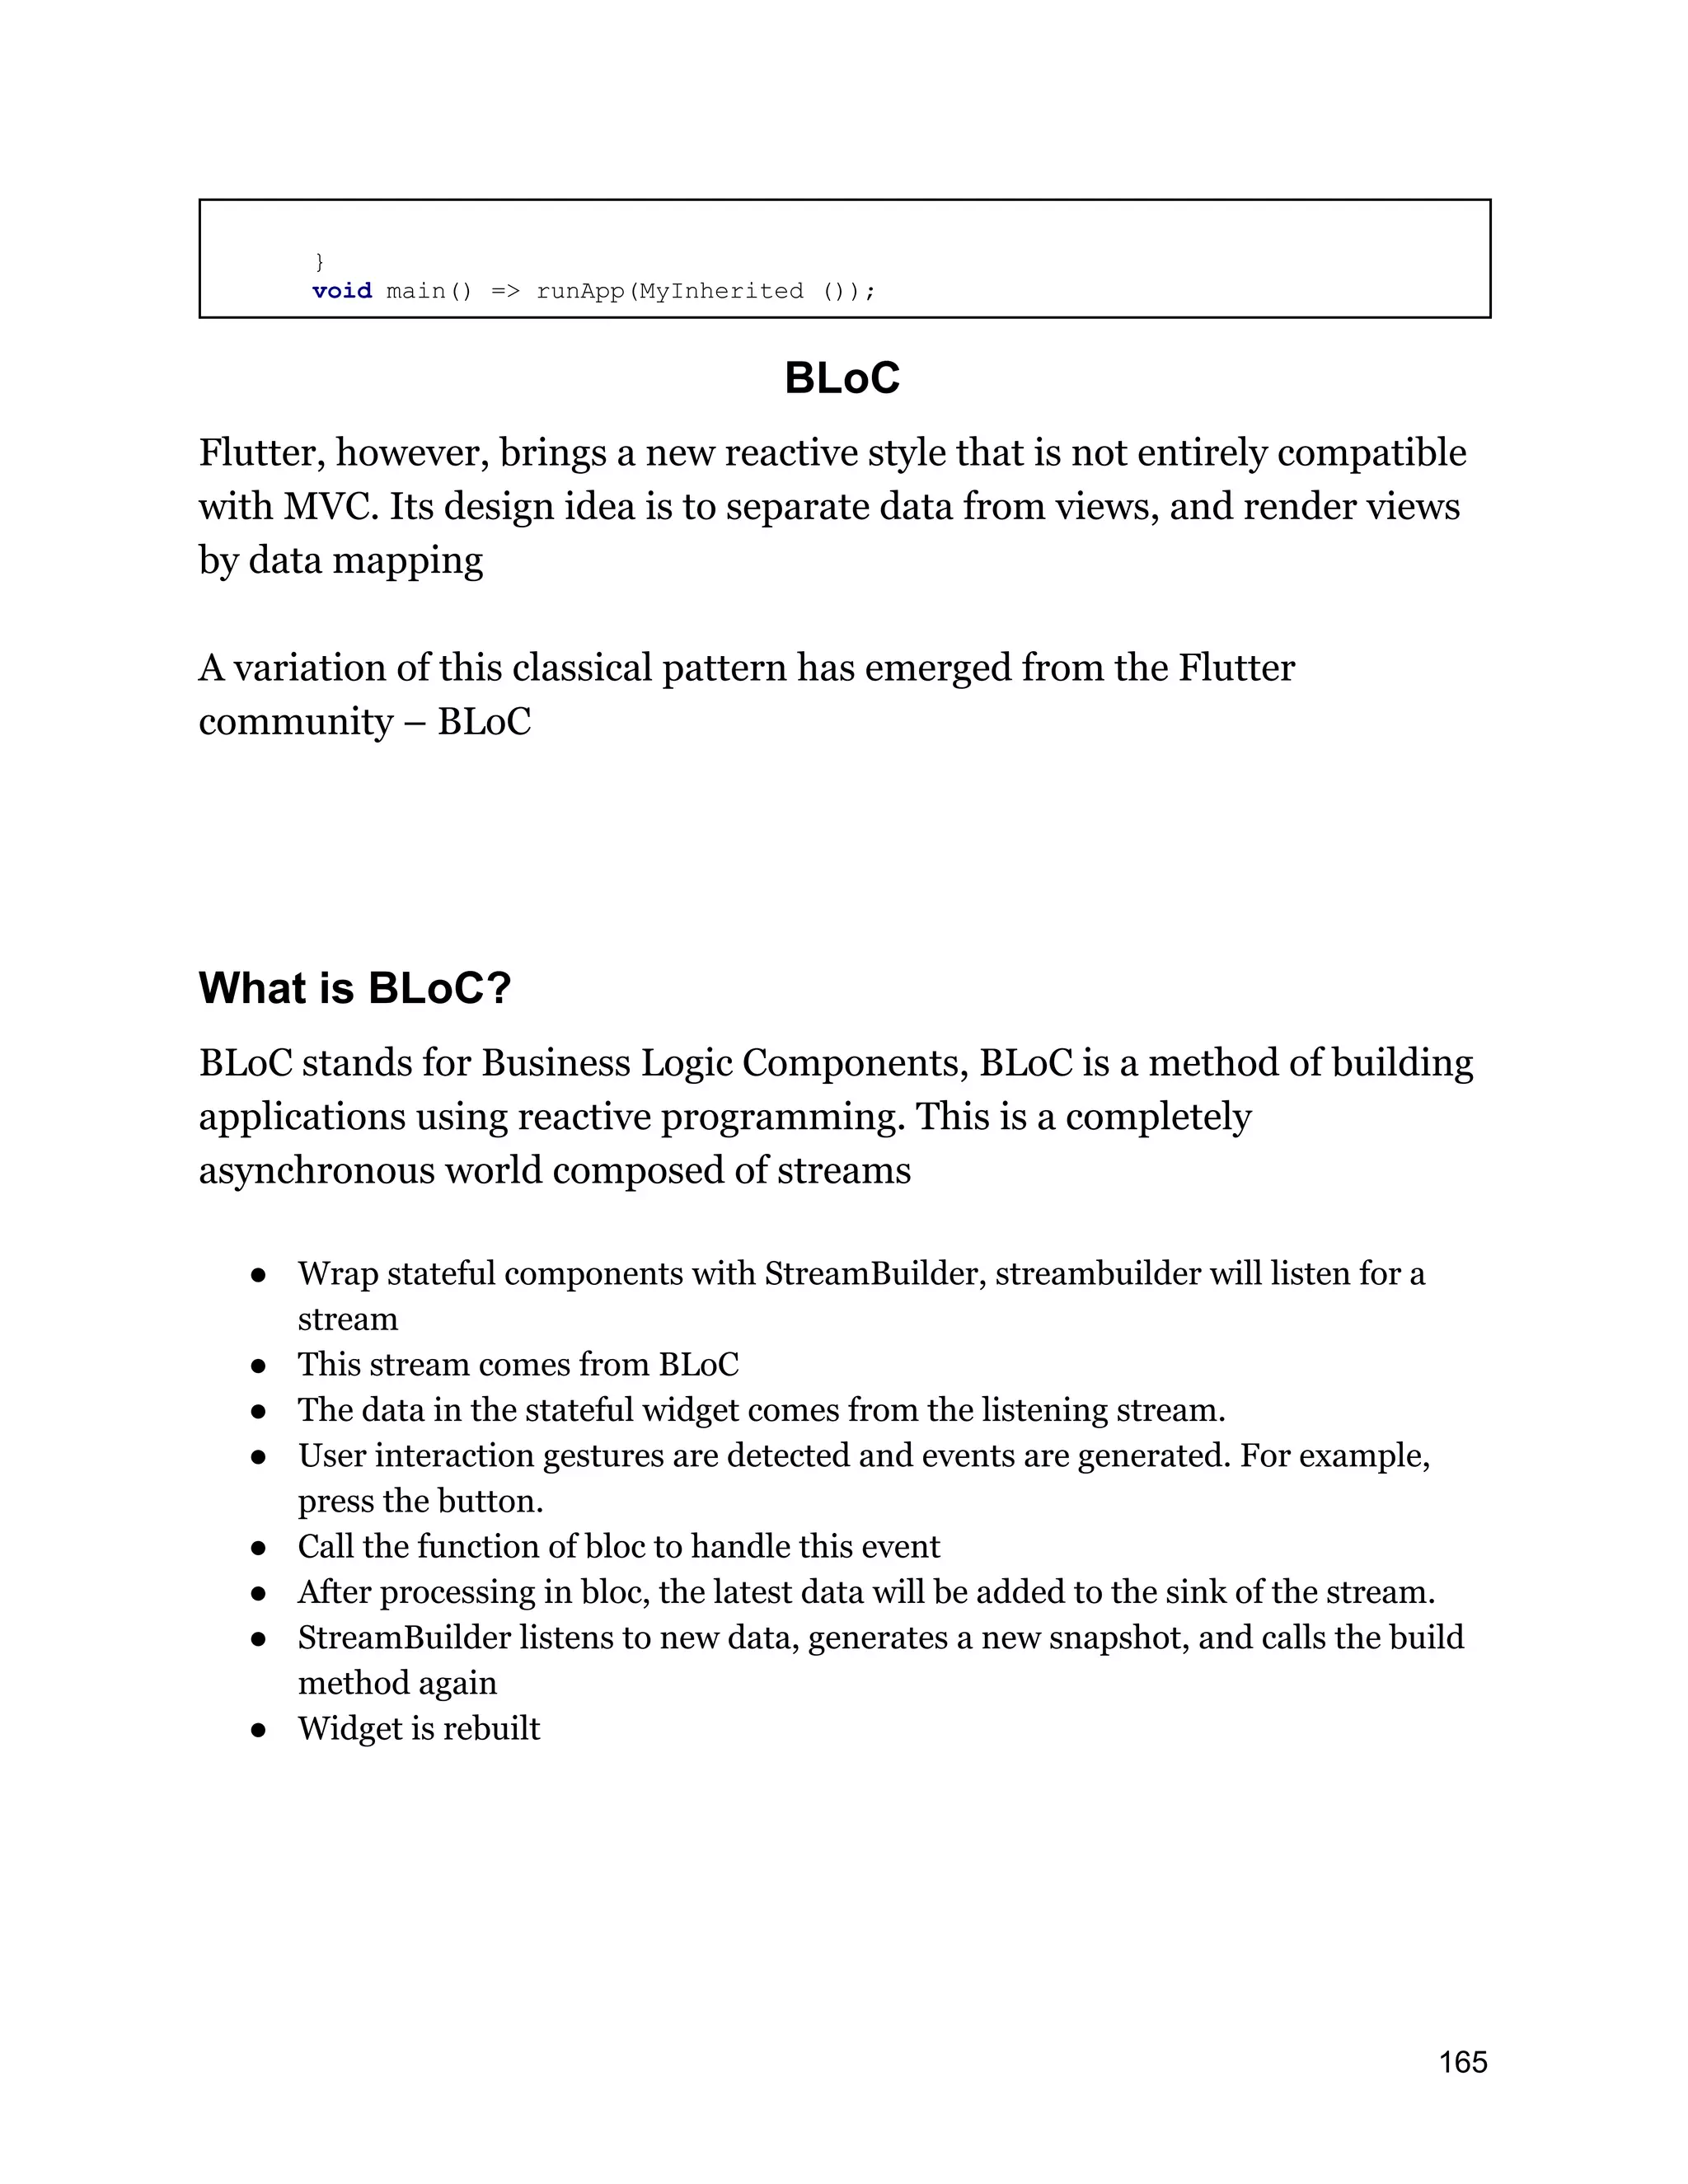

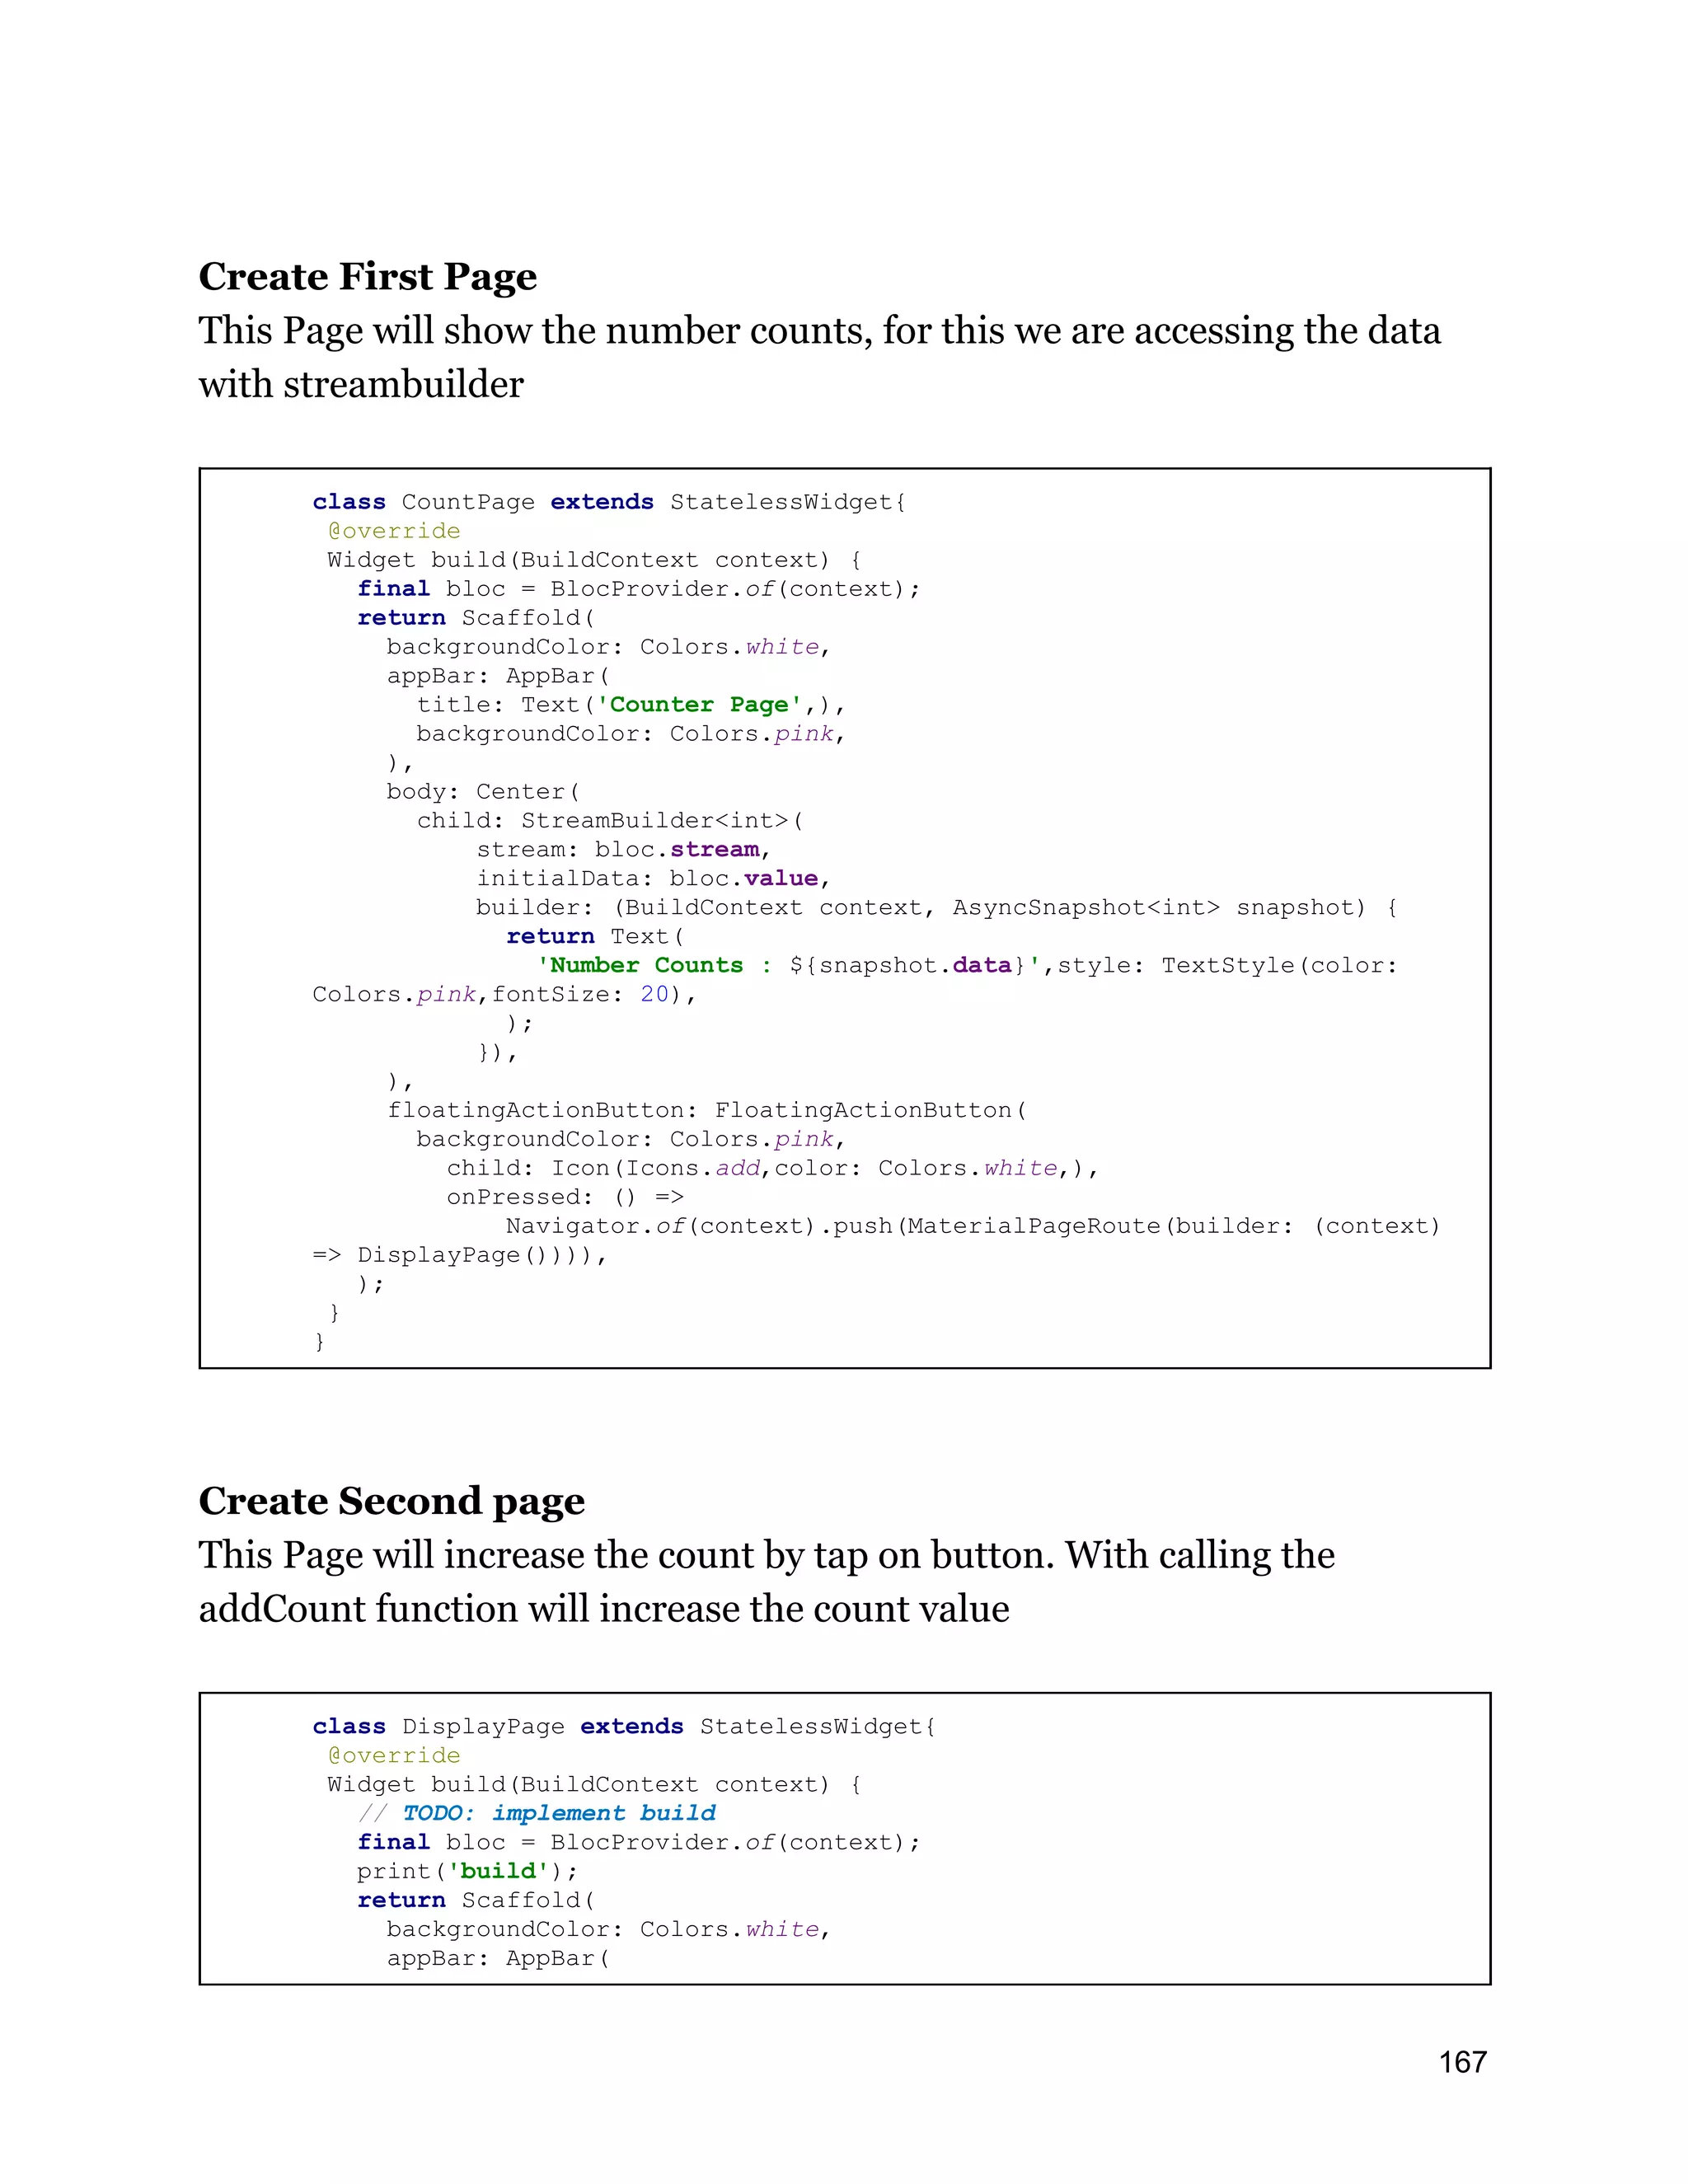
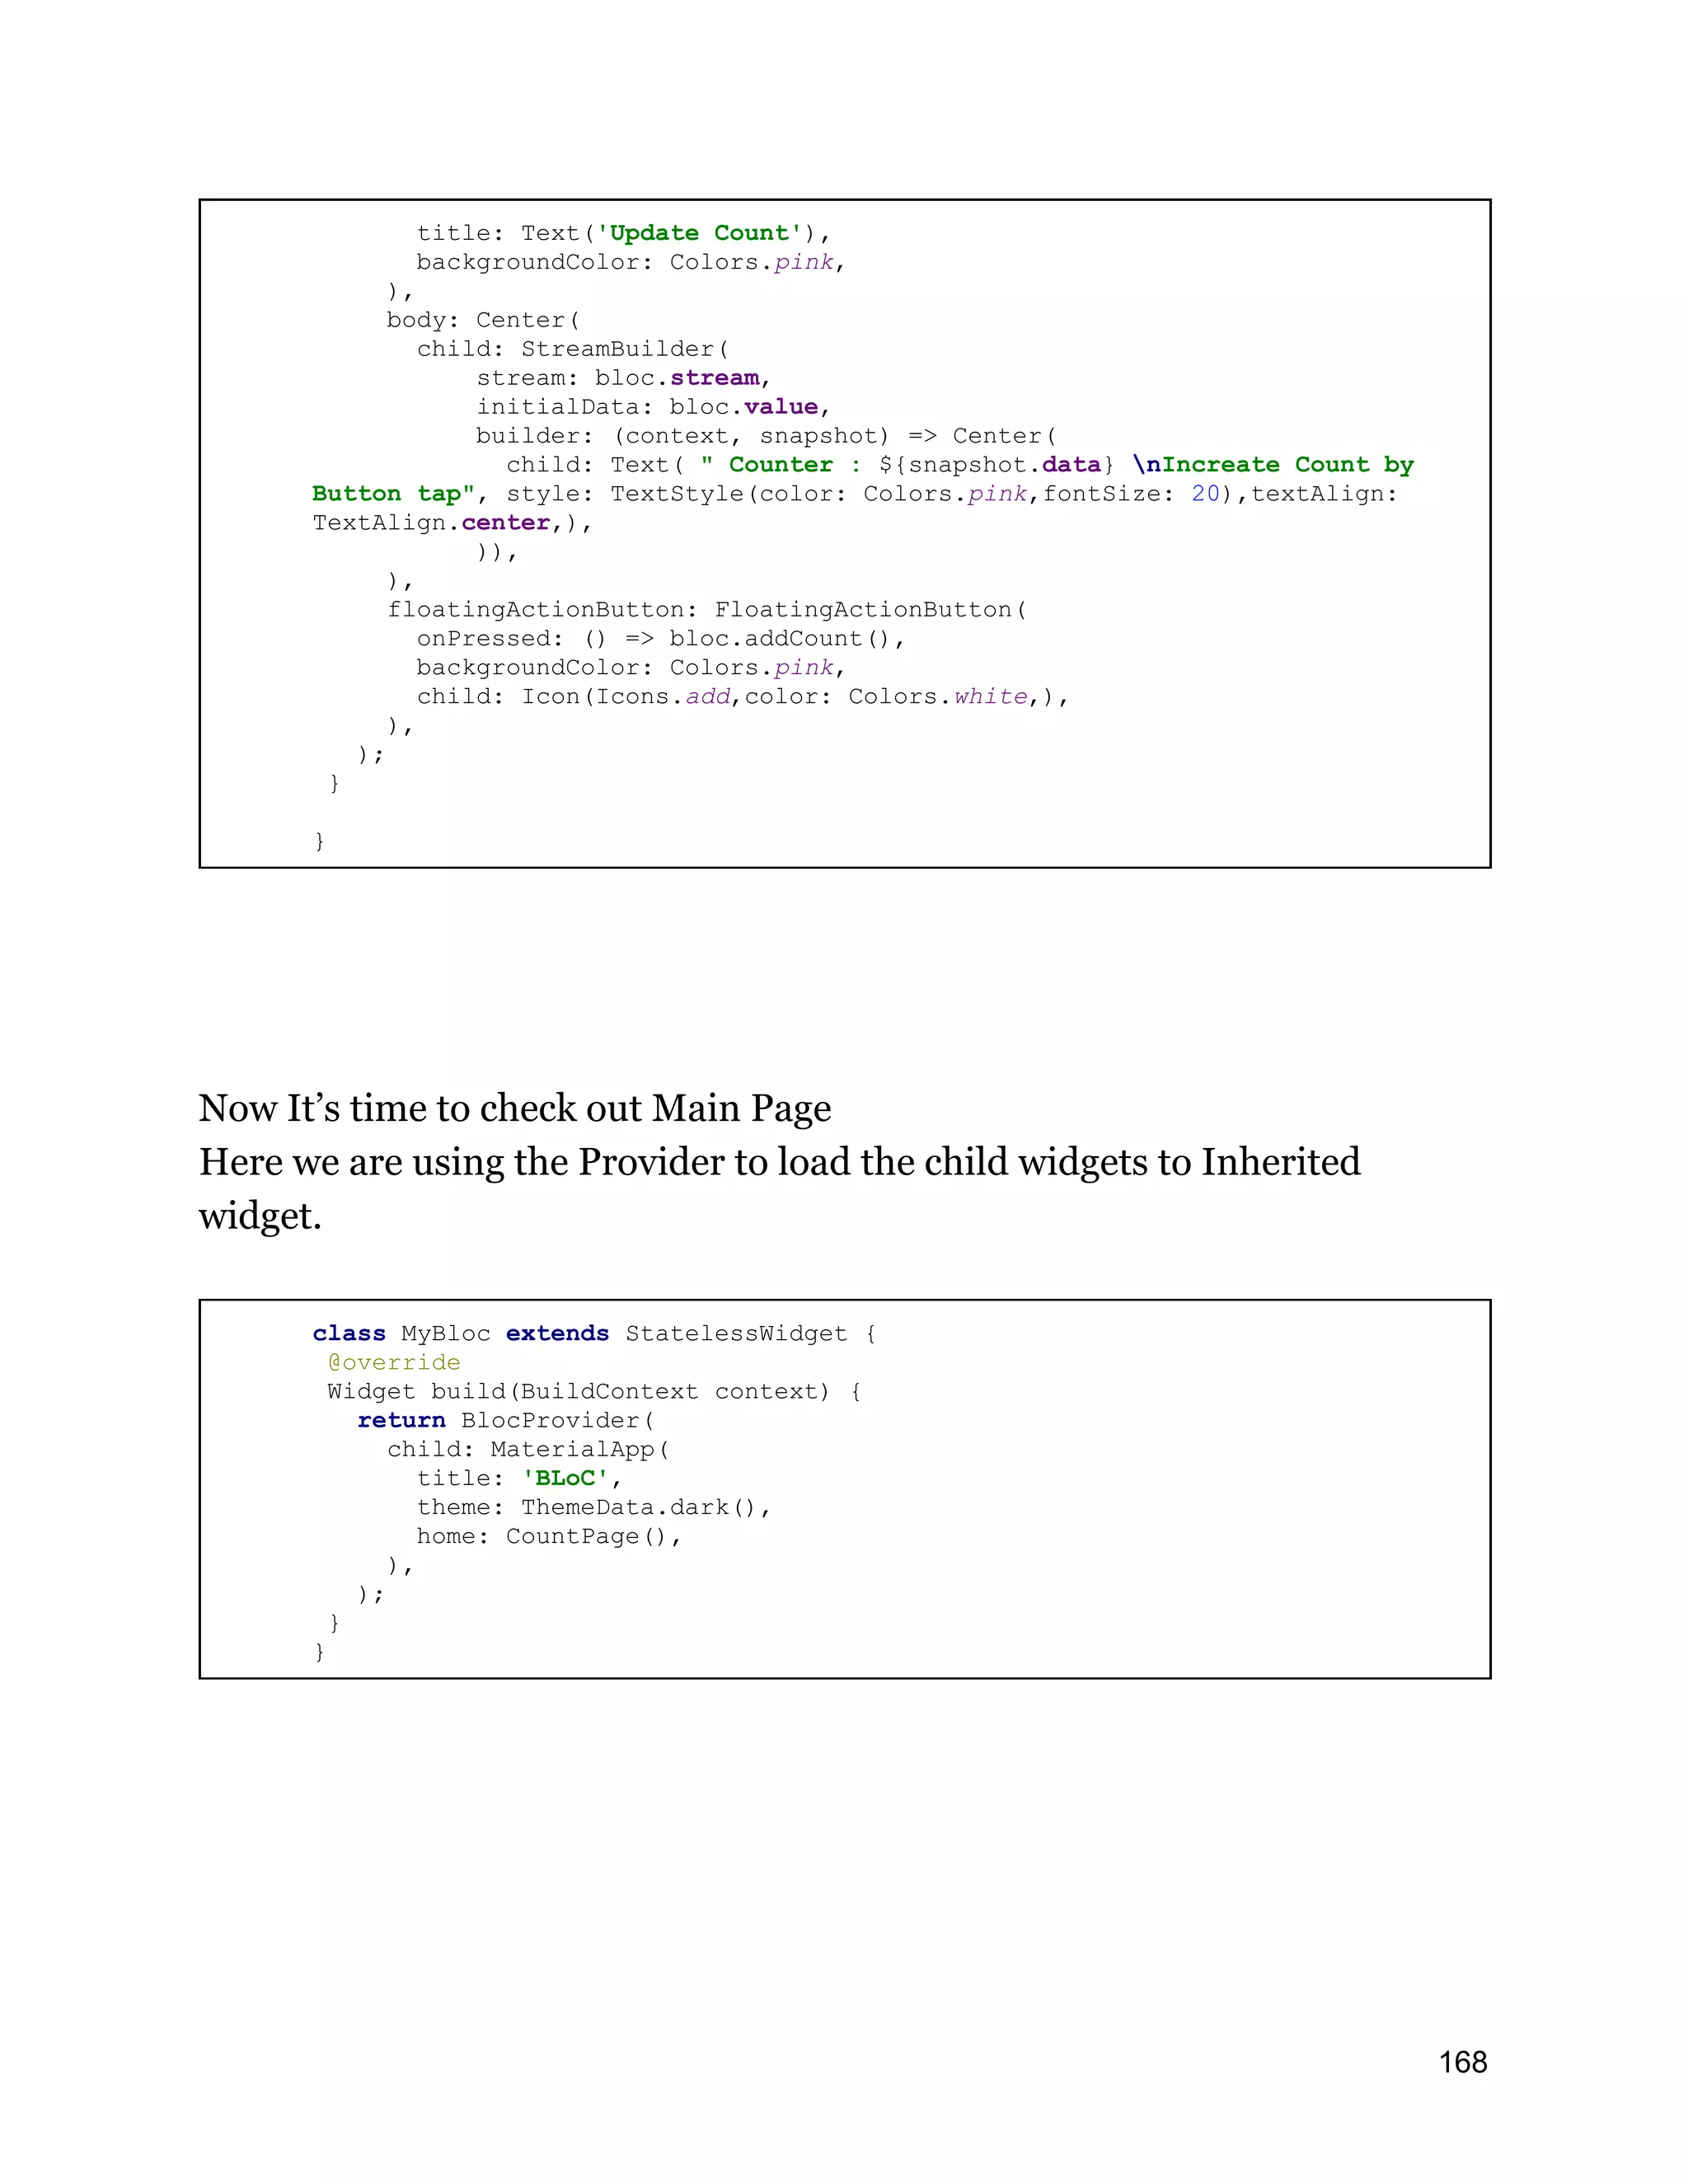
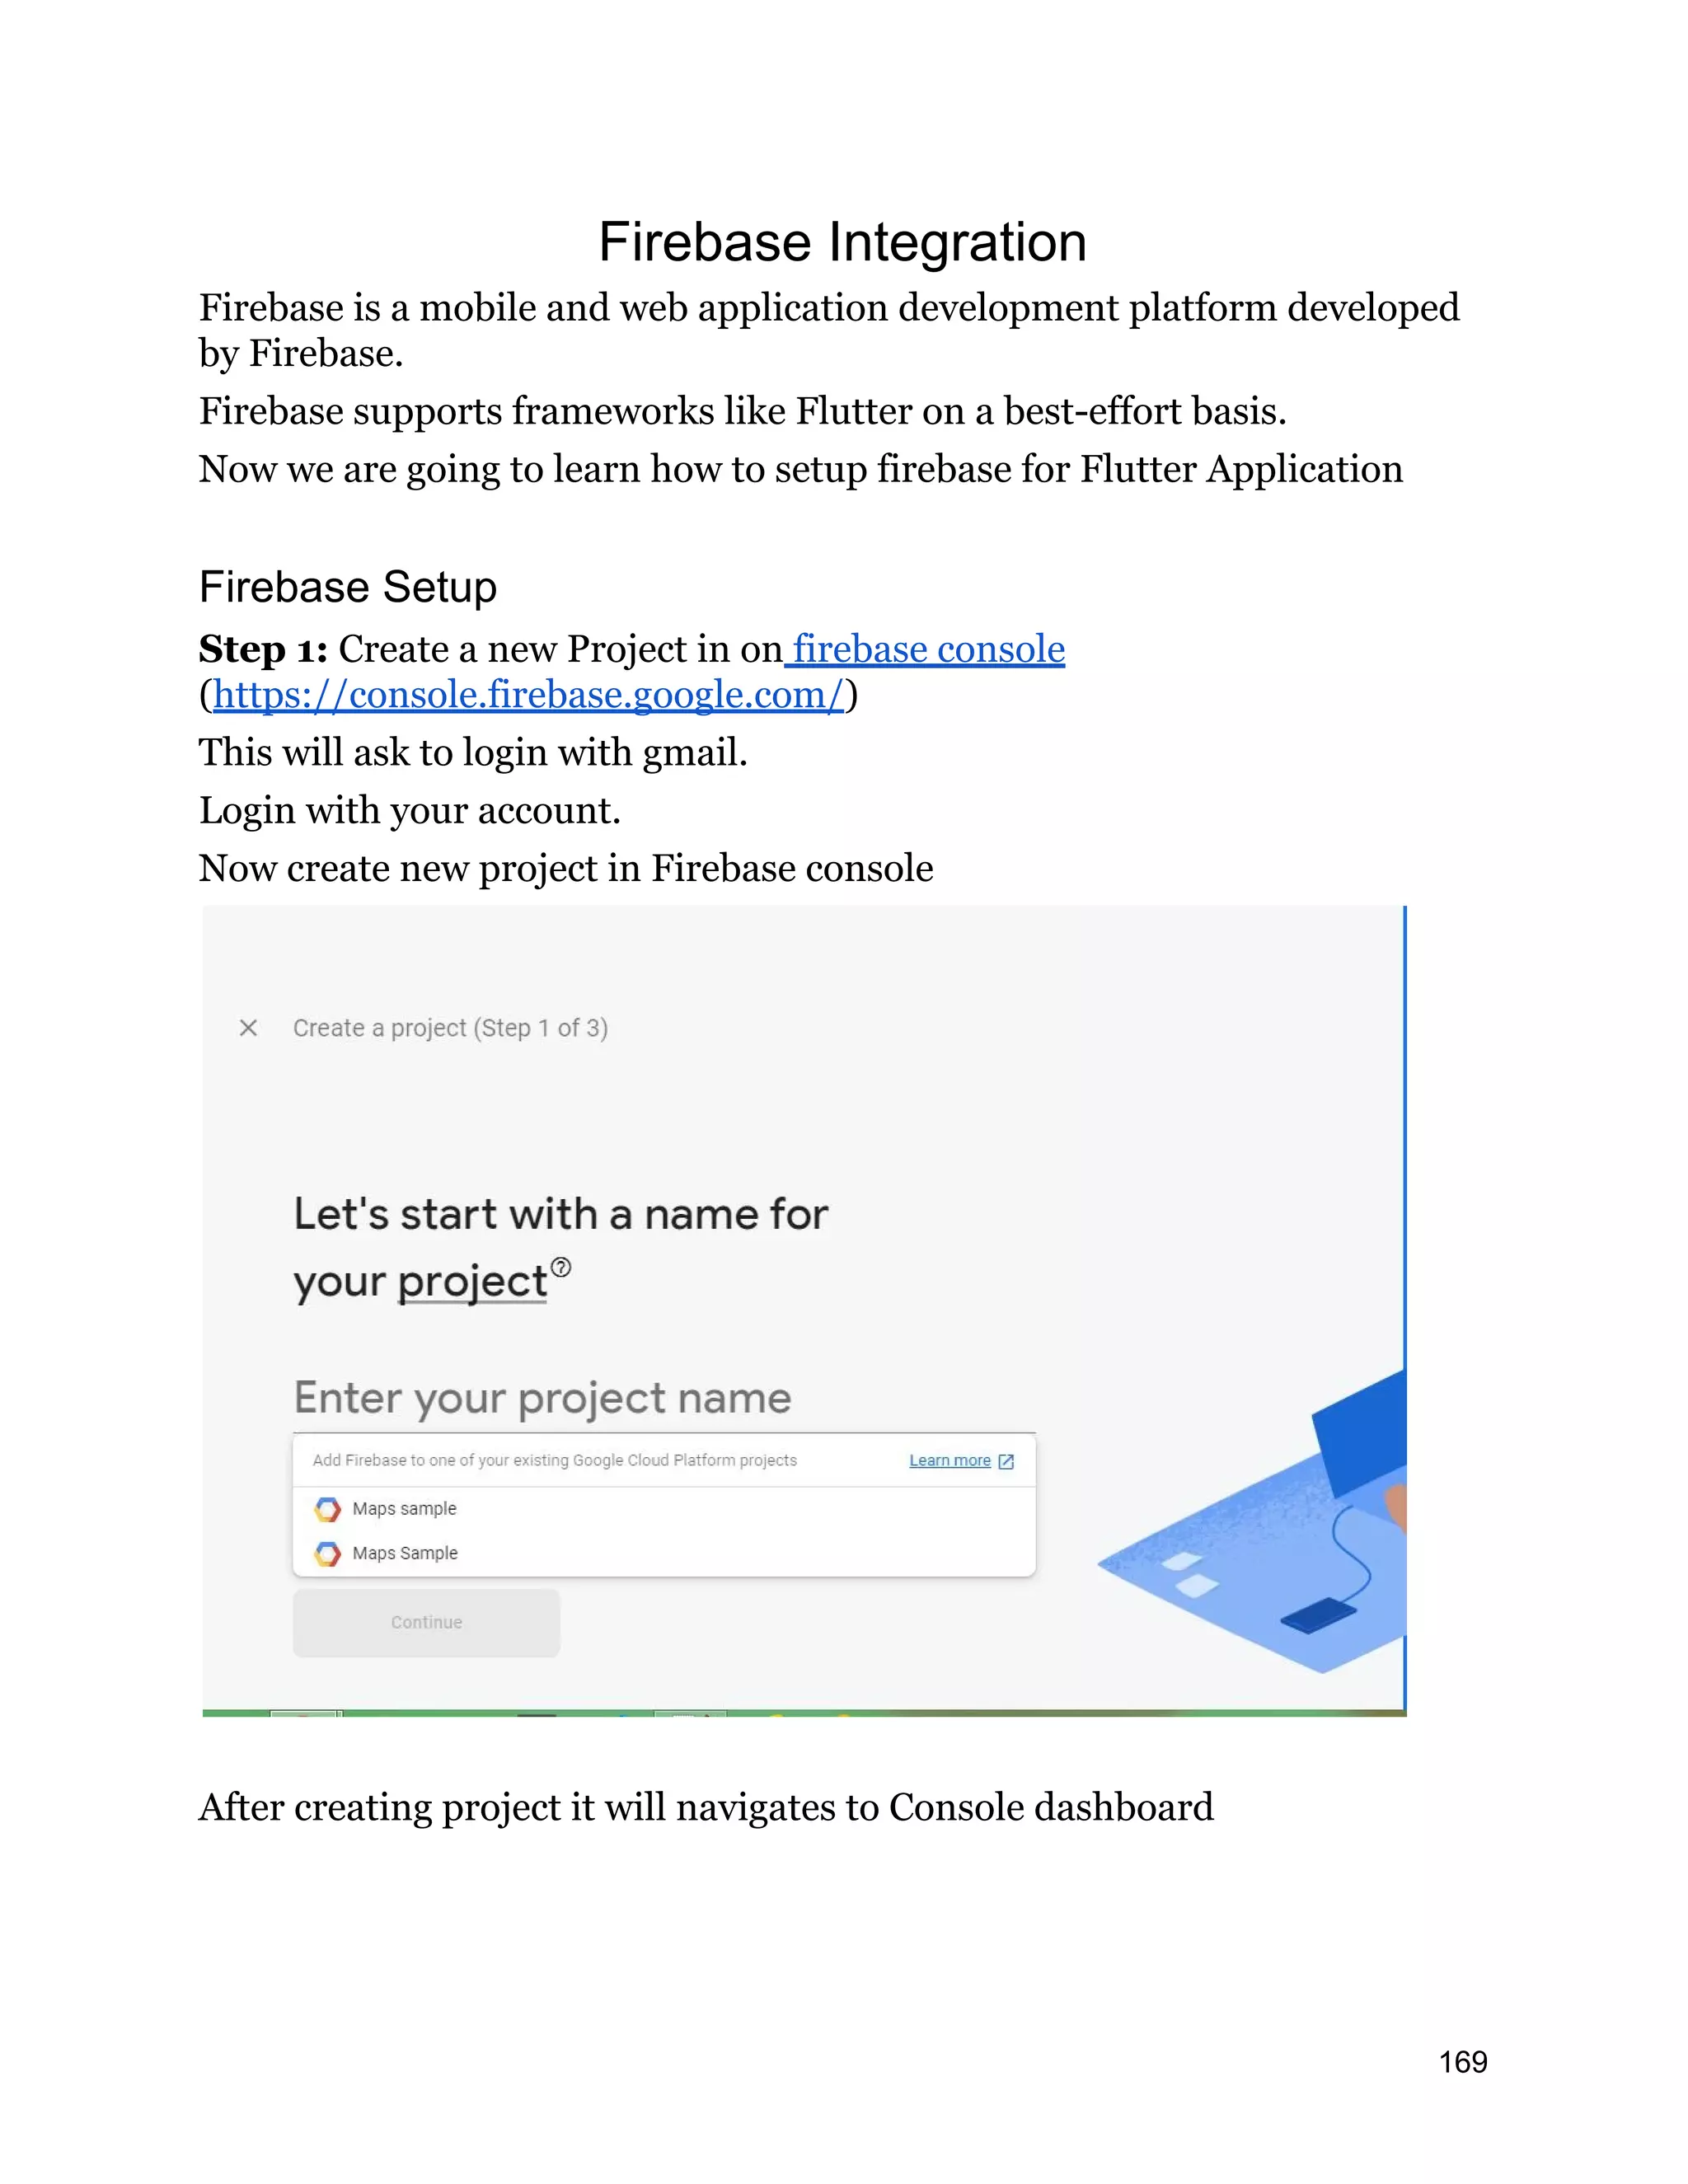
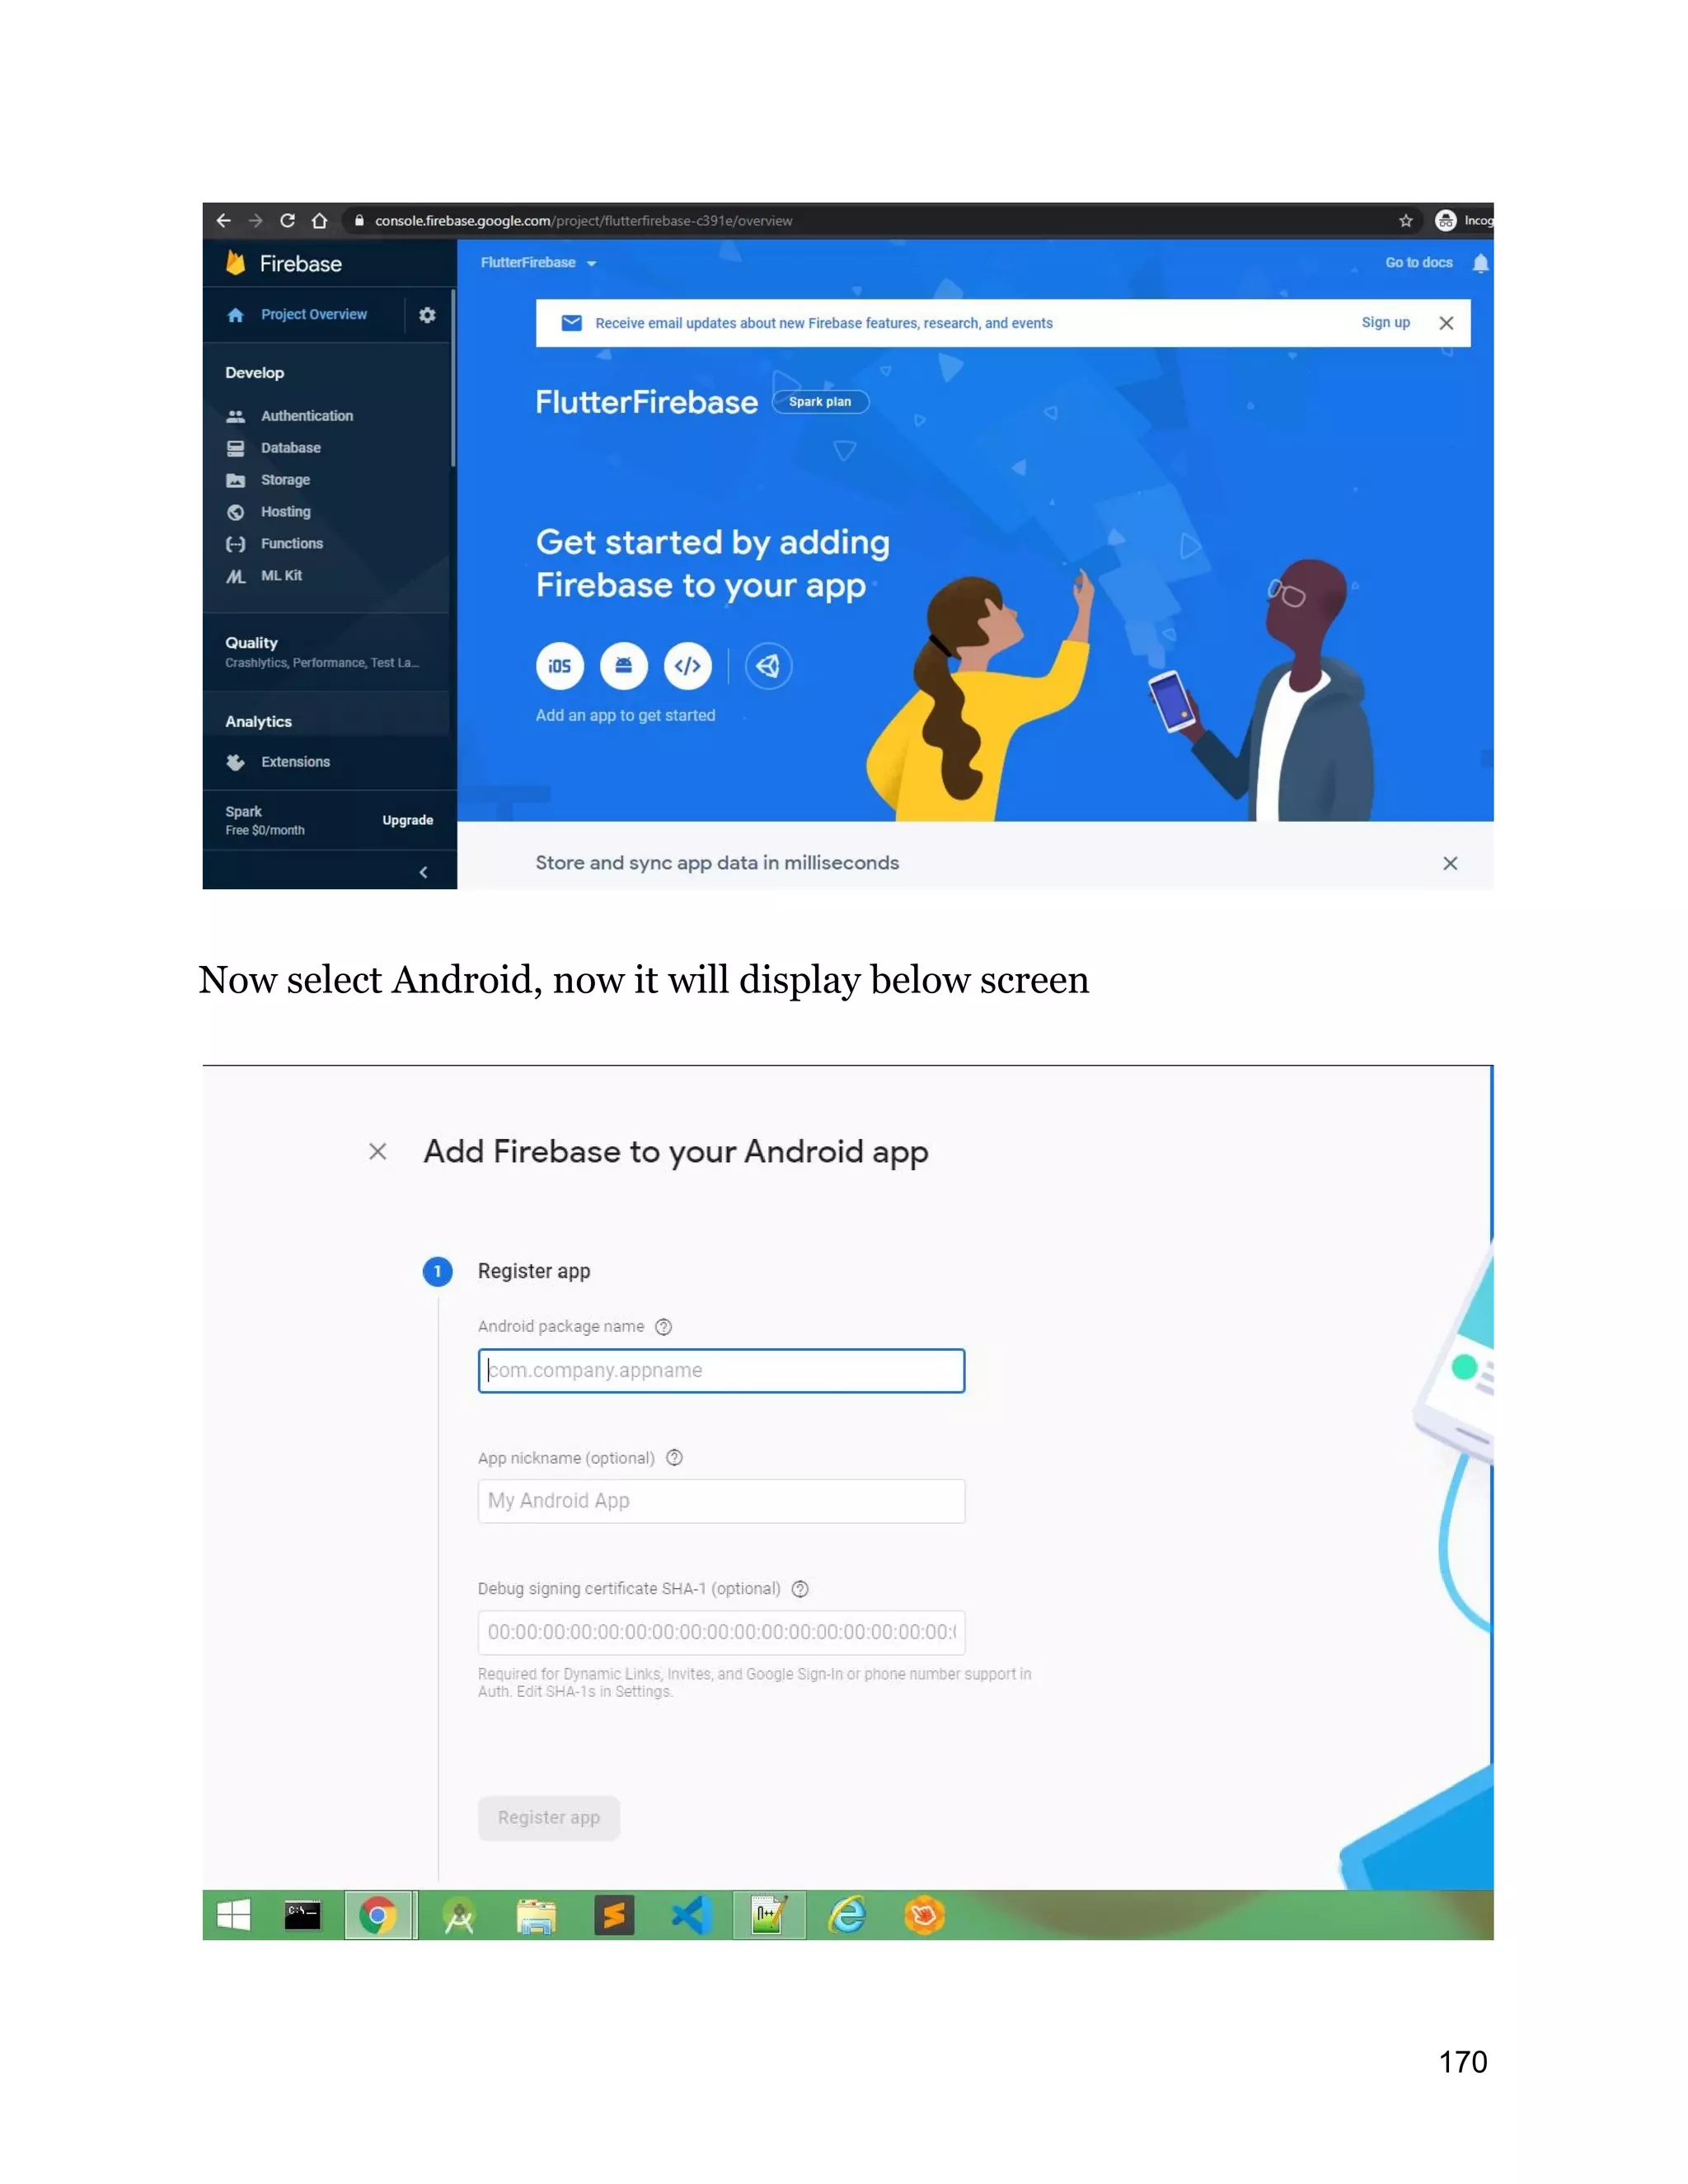
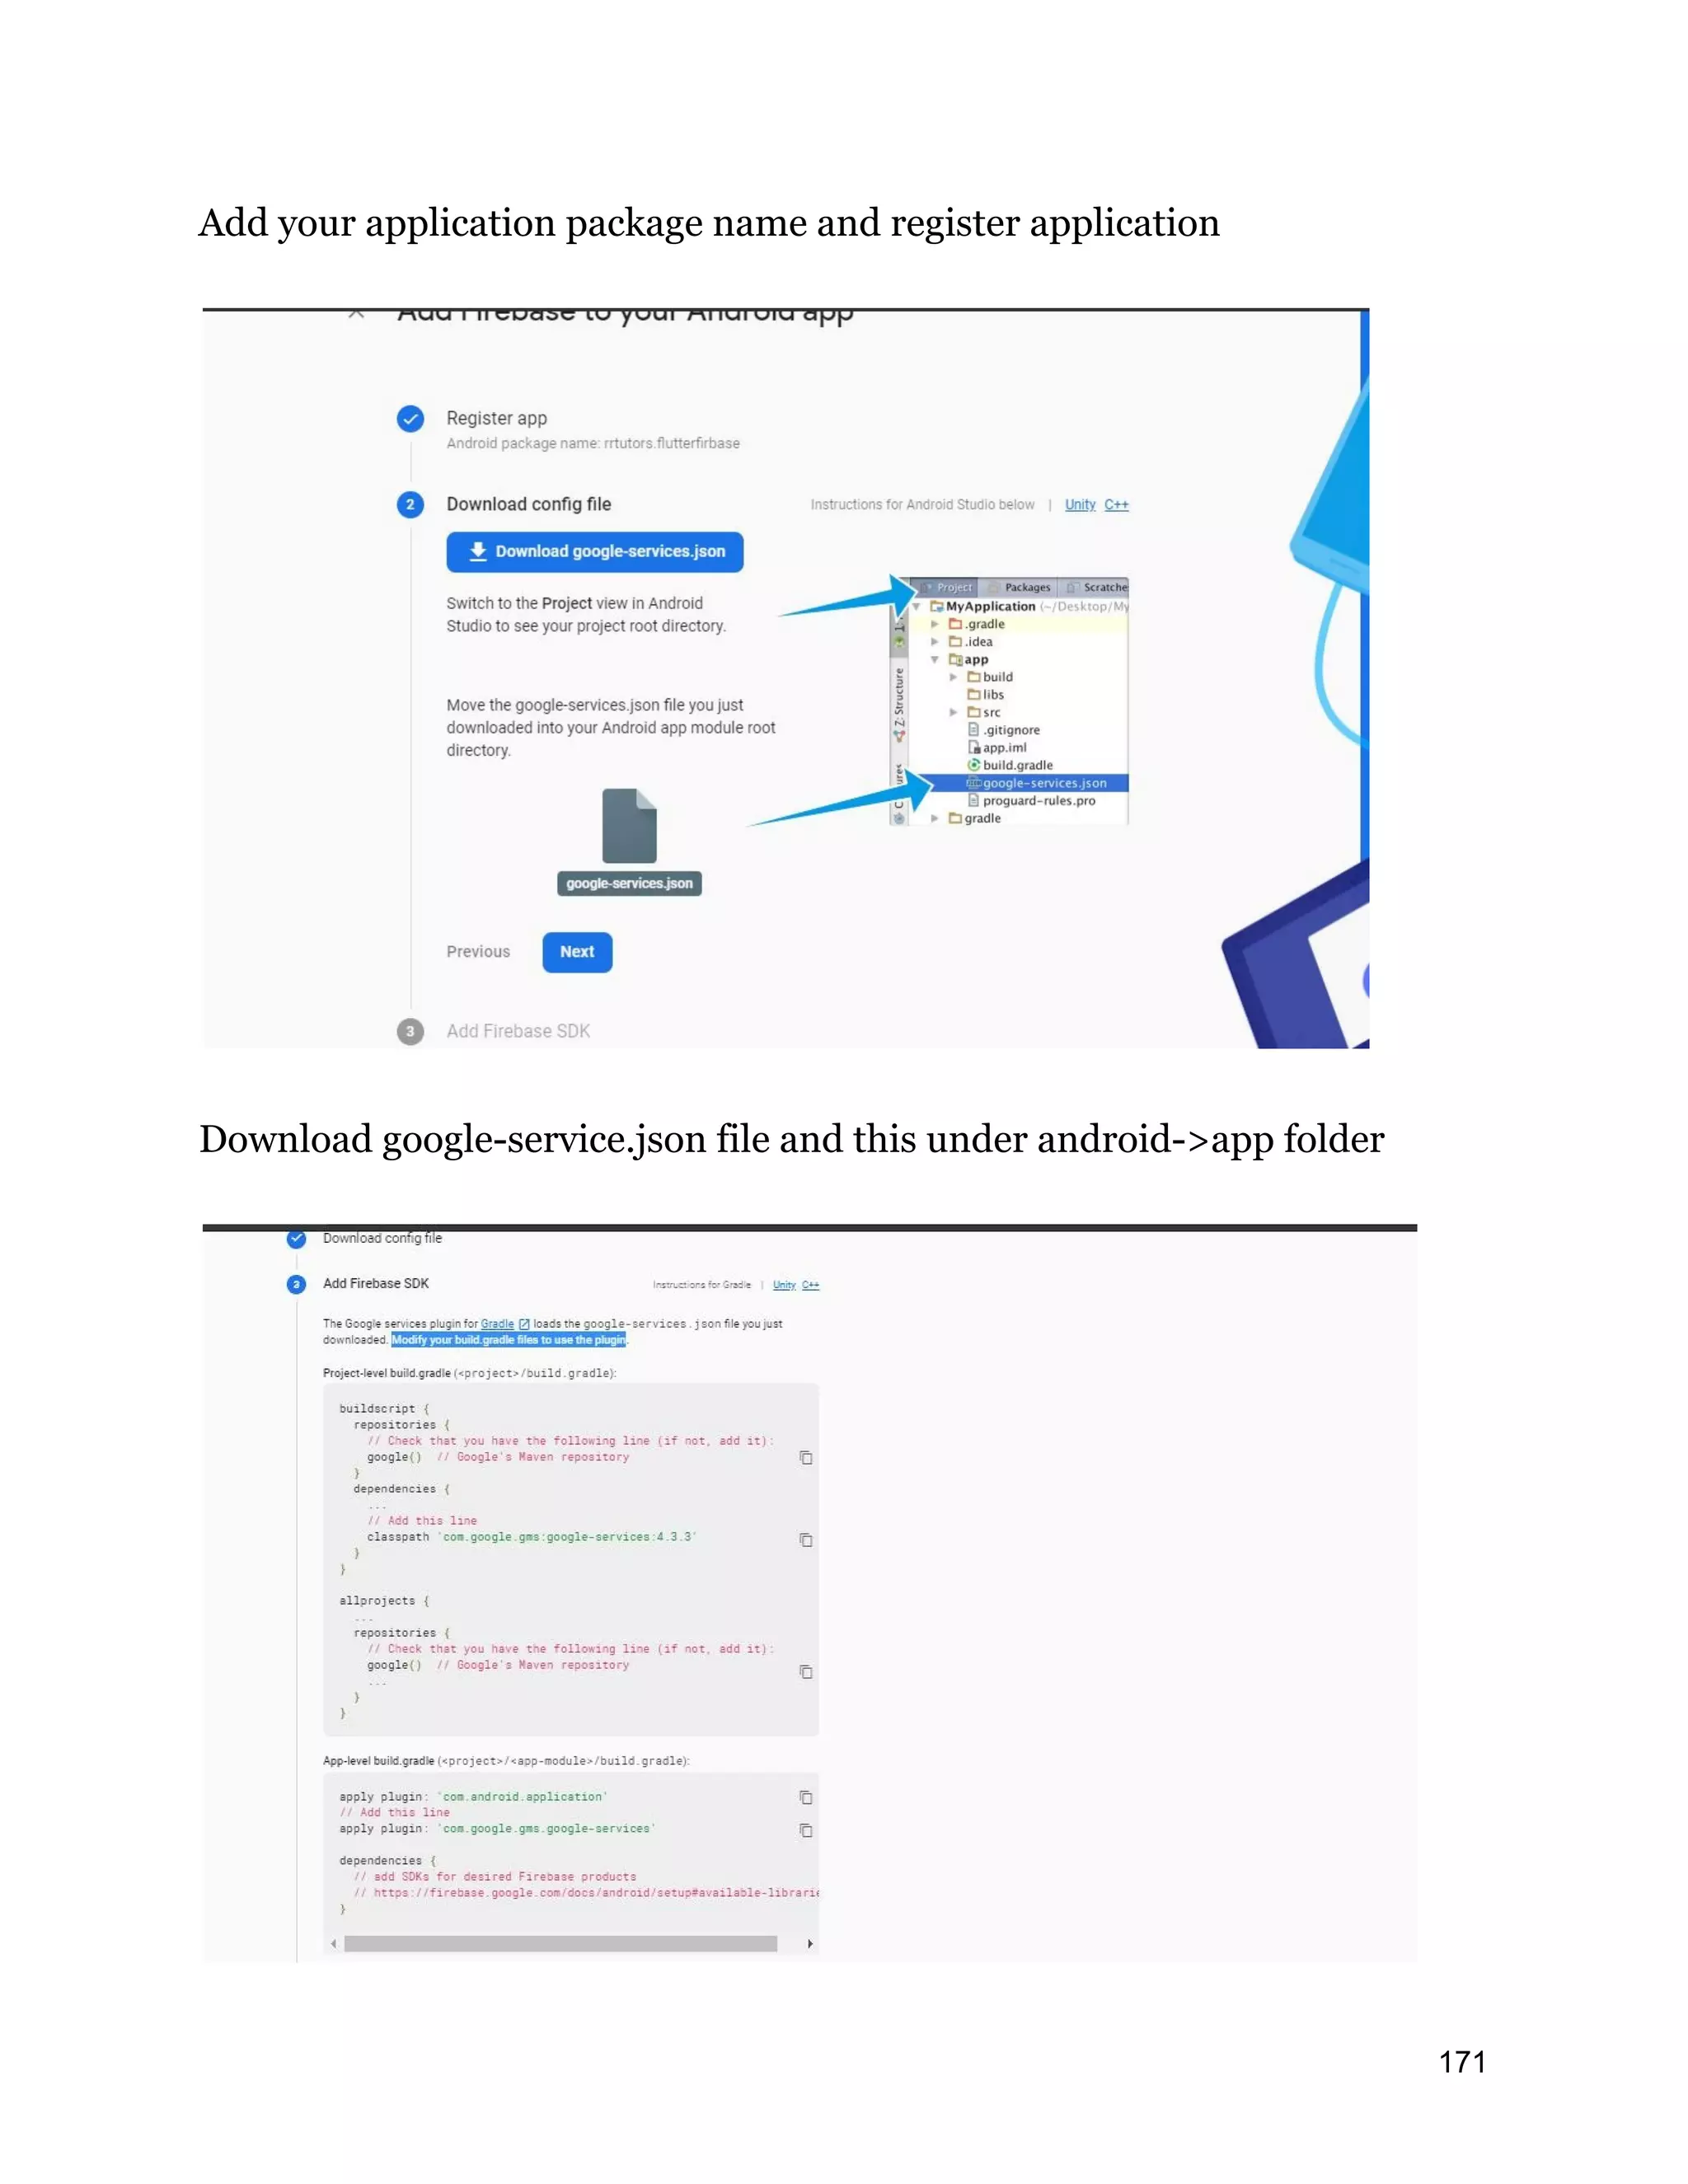
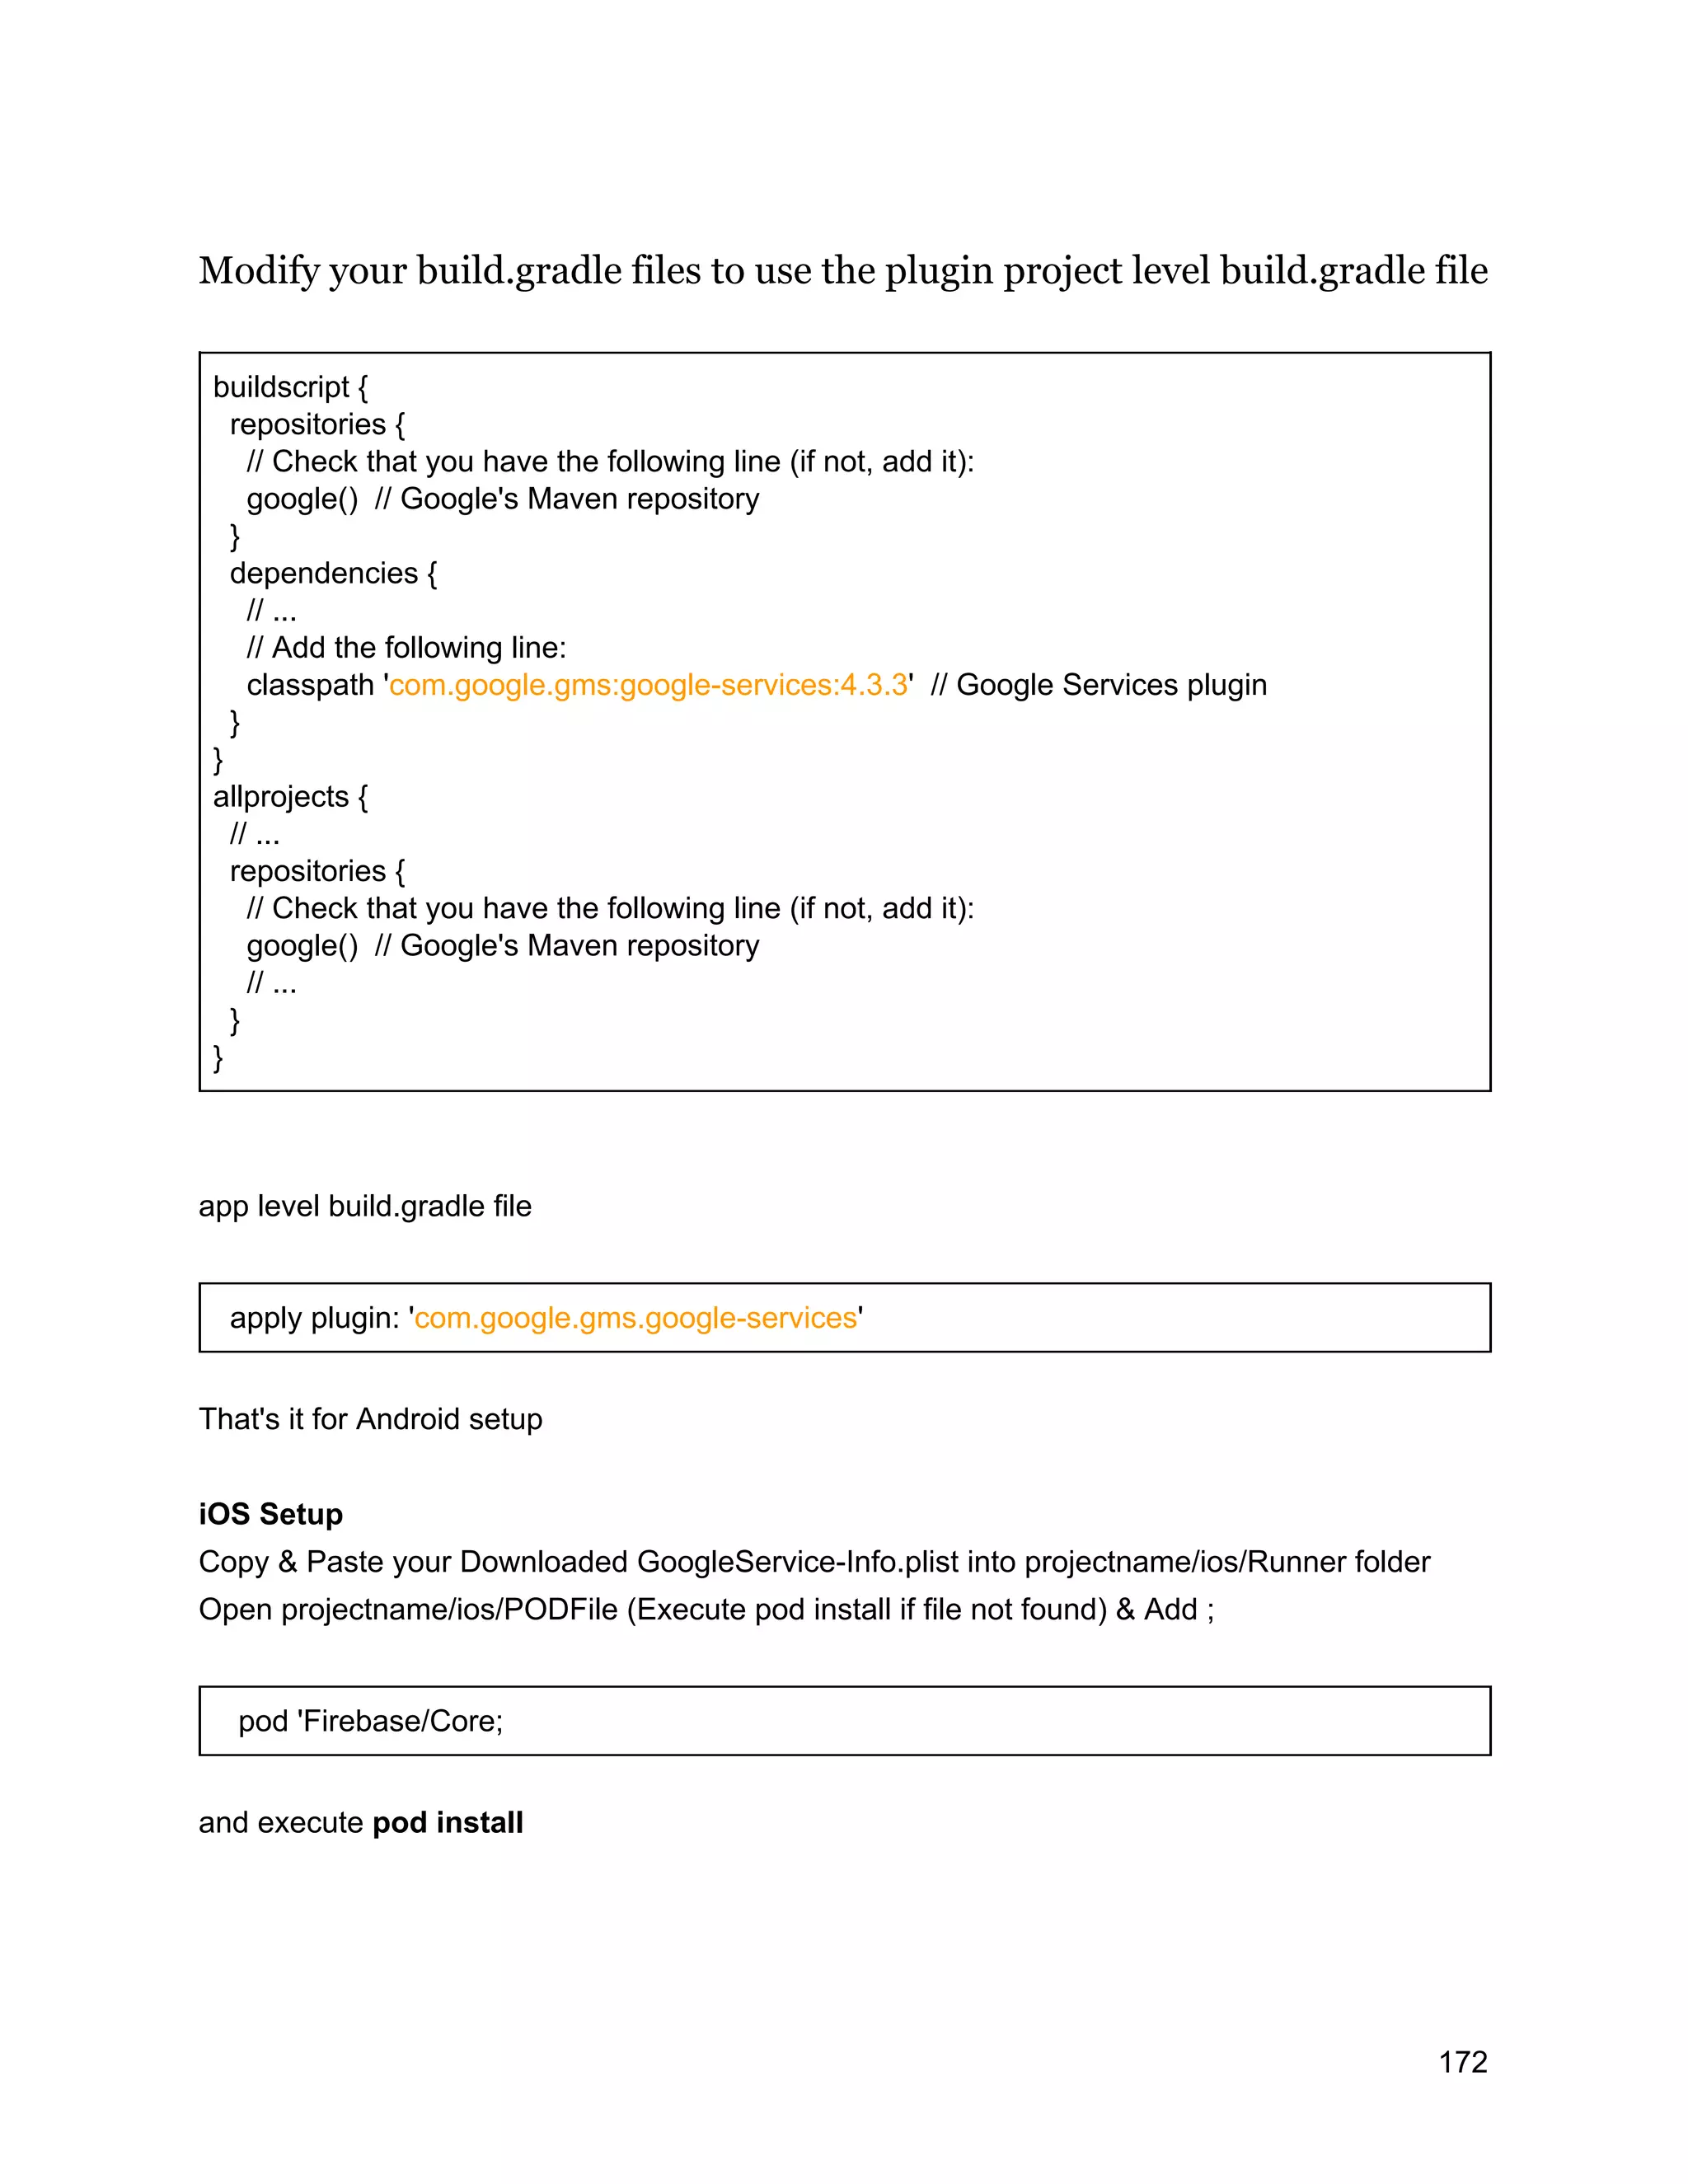
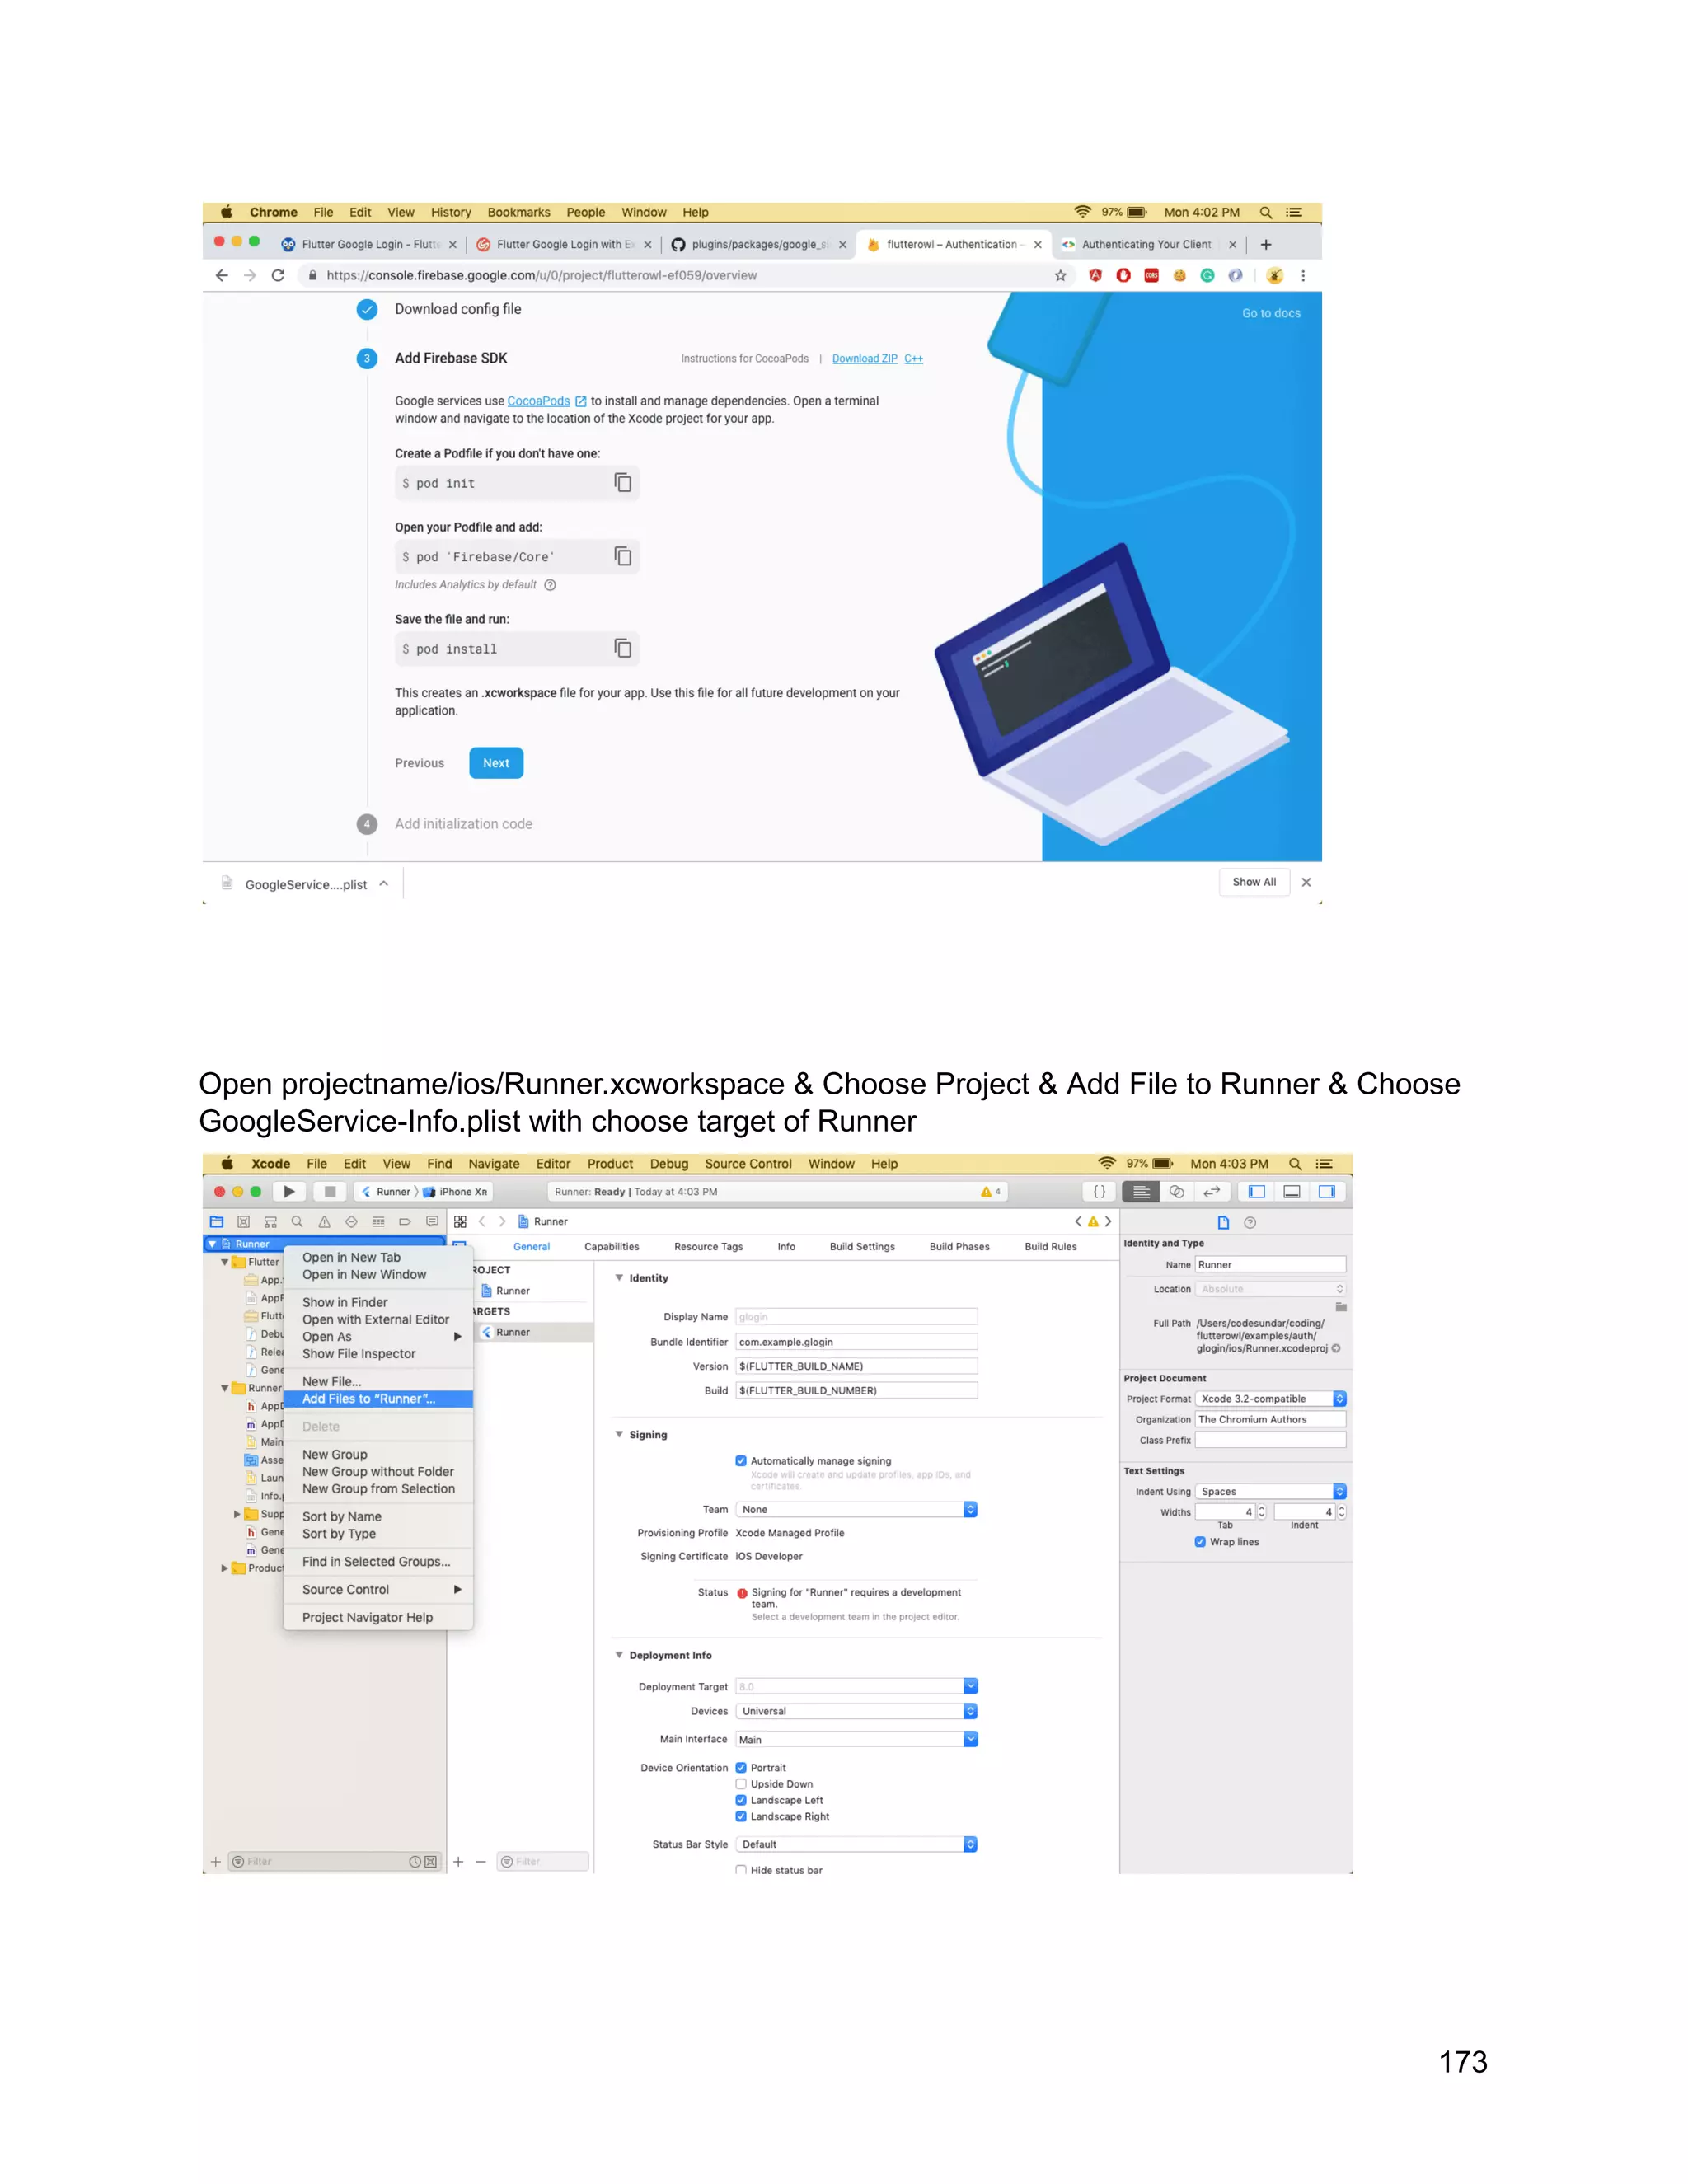
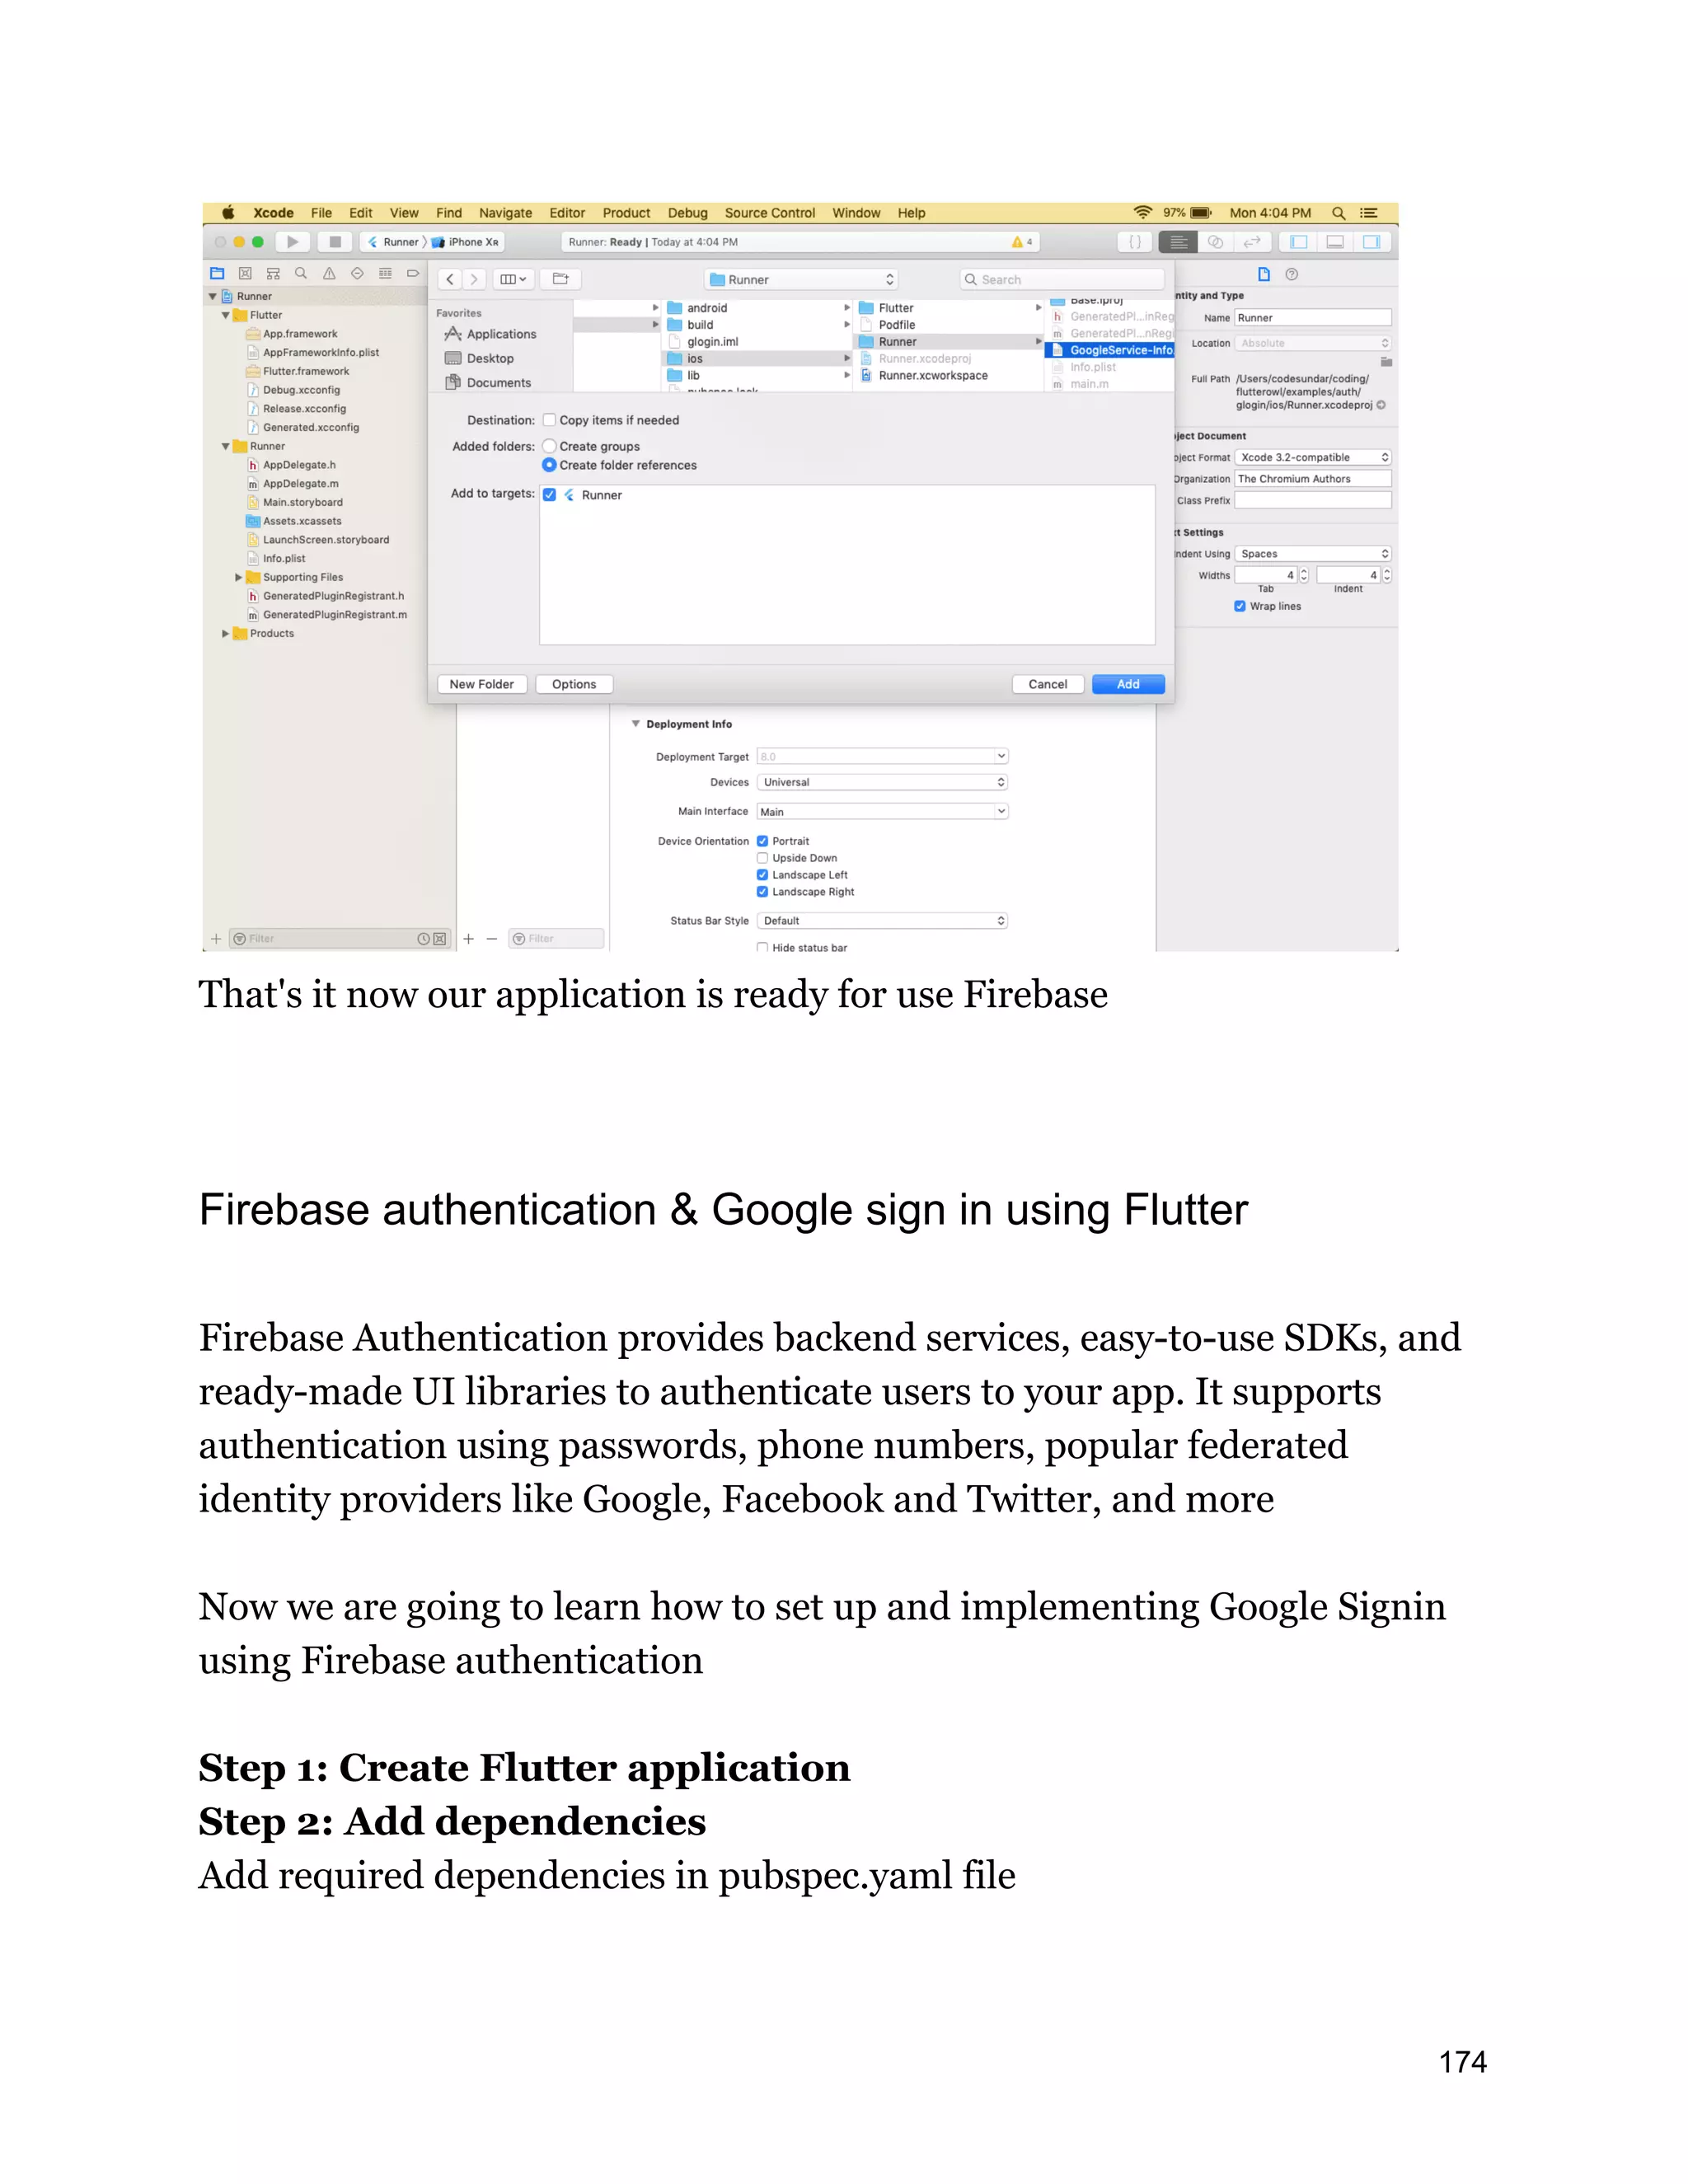
![dependencies: firebase_auth: ^0.15.4 google_sign_in: ^4.1.4 and run flutter packages get in terminal Step 3: import required packages in to the main file import 'package:firebase_auth/firebase_auth.dart'; import 'package:google_sign_in/google_sign_in.dart'; Step 4: Design Login Screen import 'package:flutter/material.dart'; class LoginPage extends StatefulWidget { @override _LoginPageState createState() => _LoginPageState(); } class _LoginPageState extends State<LoginPage> { @override Widget build(BuildContext context) { return Scaffold( body: Container( color: Colors.white, child: Center( child: Column( mainAxisSize: MainAxisSize.max, mainAxisAlignment: MainAxisAlignment.center, children: <Widget>[ FlutterLogo(size: 150), SizedBox(height: 50), _signInButton(), ], ), ), ), ); } Widget _signInButton() { return OutlineButton( 175](https://image.slidesharecdn.com/fluttertutorial-201008182102/75/Flutter-tutorial-for-Beginner-Step-by-Step-175-2048.jpg)
![splashColor: Colors.grey, onPressed: () {}, shape: RoundedRectangleBorder(borderRadius: BorderRadius.circular(40)), highlightElevation: 0, borderSide: BorderSide(color: Colors.grey), child: Padding( padding: const EdgeInsets.fromLTRB(0, 10, 0, 10), child: Row( mainAxisSize: MainAxisSize.min, mainAxisAlignment: MainAxisAlignment.center, children: <Widget>[ Image(image: AssetImage("assets/google_logo.jpg"), height: 35.0), Padding( padding: const EdgeInsets.only(left: 10), child: Text( 'Sign in with Google', style: TextStyle( fontSize: 20, color: Colors.pink, ), ), ) ], ), ), ); } } Step 5: Authentication Now, we will need to create an instance of FirebaseAuth & GoogleSignIn final FirebaseAuth _auth = FirebaseAuth.instance; final GoogleSignIn googleSignIn = GoogleSignIn(); Future<String> signInWithGoogle() async { final GoogleSignInAccount googleSignInAccount = await googleSignIn.signIn(); final GoogleSignInAuthentication googleSignInAuthentication = await googleSignInAccount.authentication; final AuthCredential credential = GoogleAuthProvider.getCredential( accessToken: googleSignInAuthentication.accessToken, idToken: googleSignInAuthentication.idToken, ); final AuthResult authResult = await _auth.signInWithCredential(credential); final FirebaseUser user = authResult.user; assert(!user.isAnonymous); assert(await user.getIdToken() != null); final FirebaseUser currentUser = await _auth.currentUser(); assert(user.uid == currentUser.uid); 176](https://image.slidesharecdn.com/fluttertutorial-201008182102/75/Flutter-tutorial-for-Beginner-Step-by-Step-176-2048.jpg)
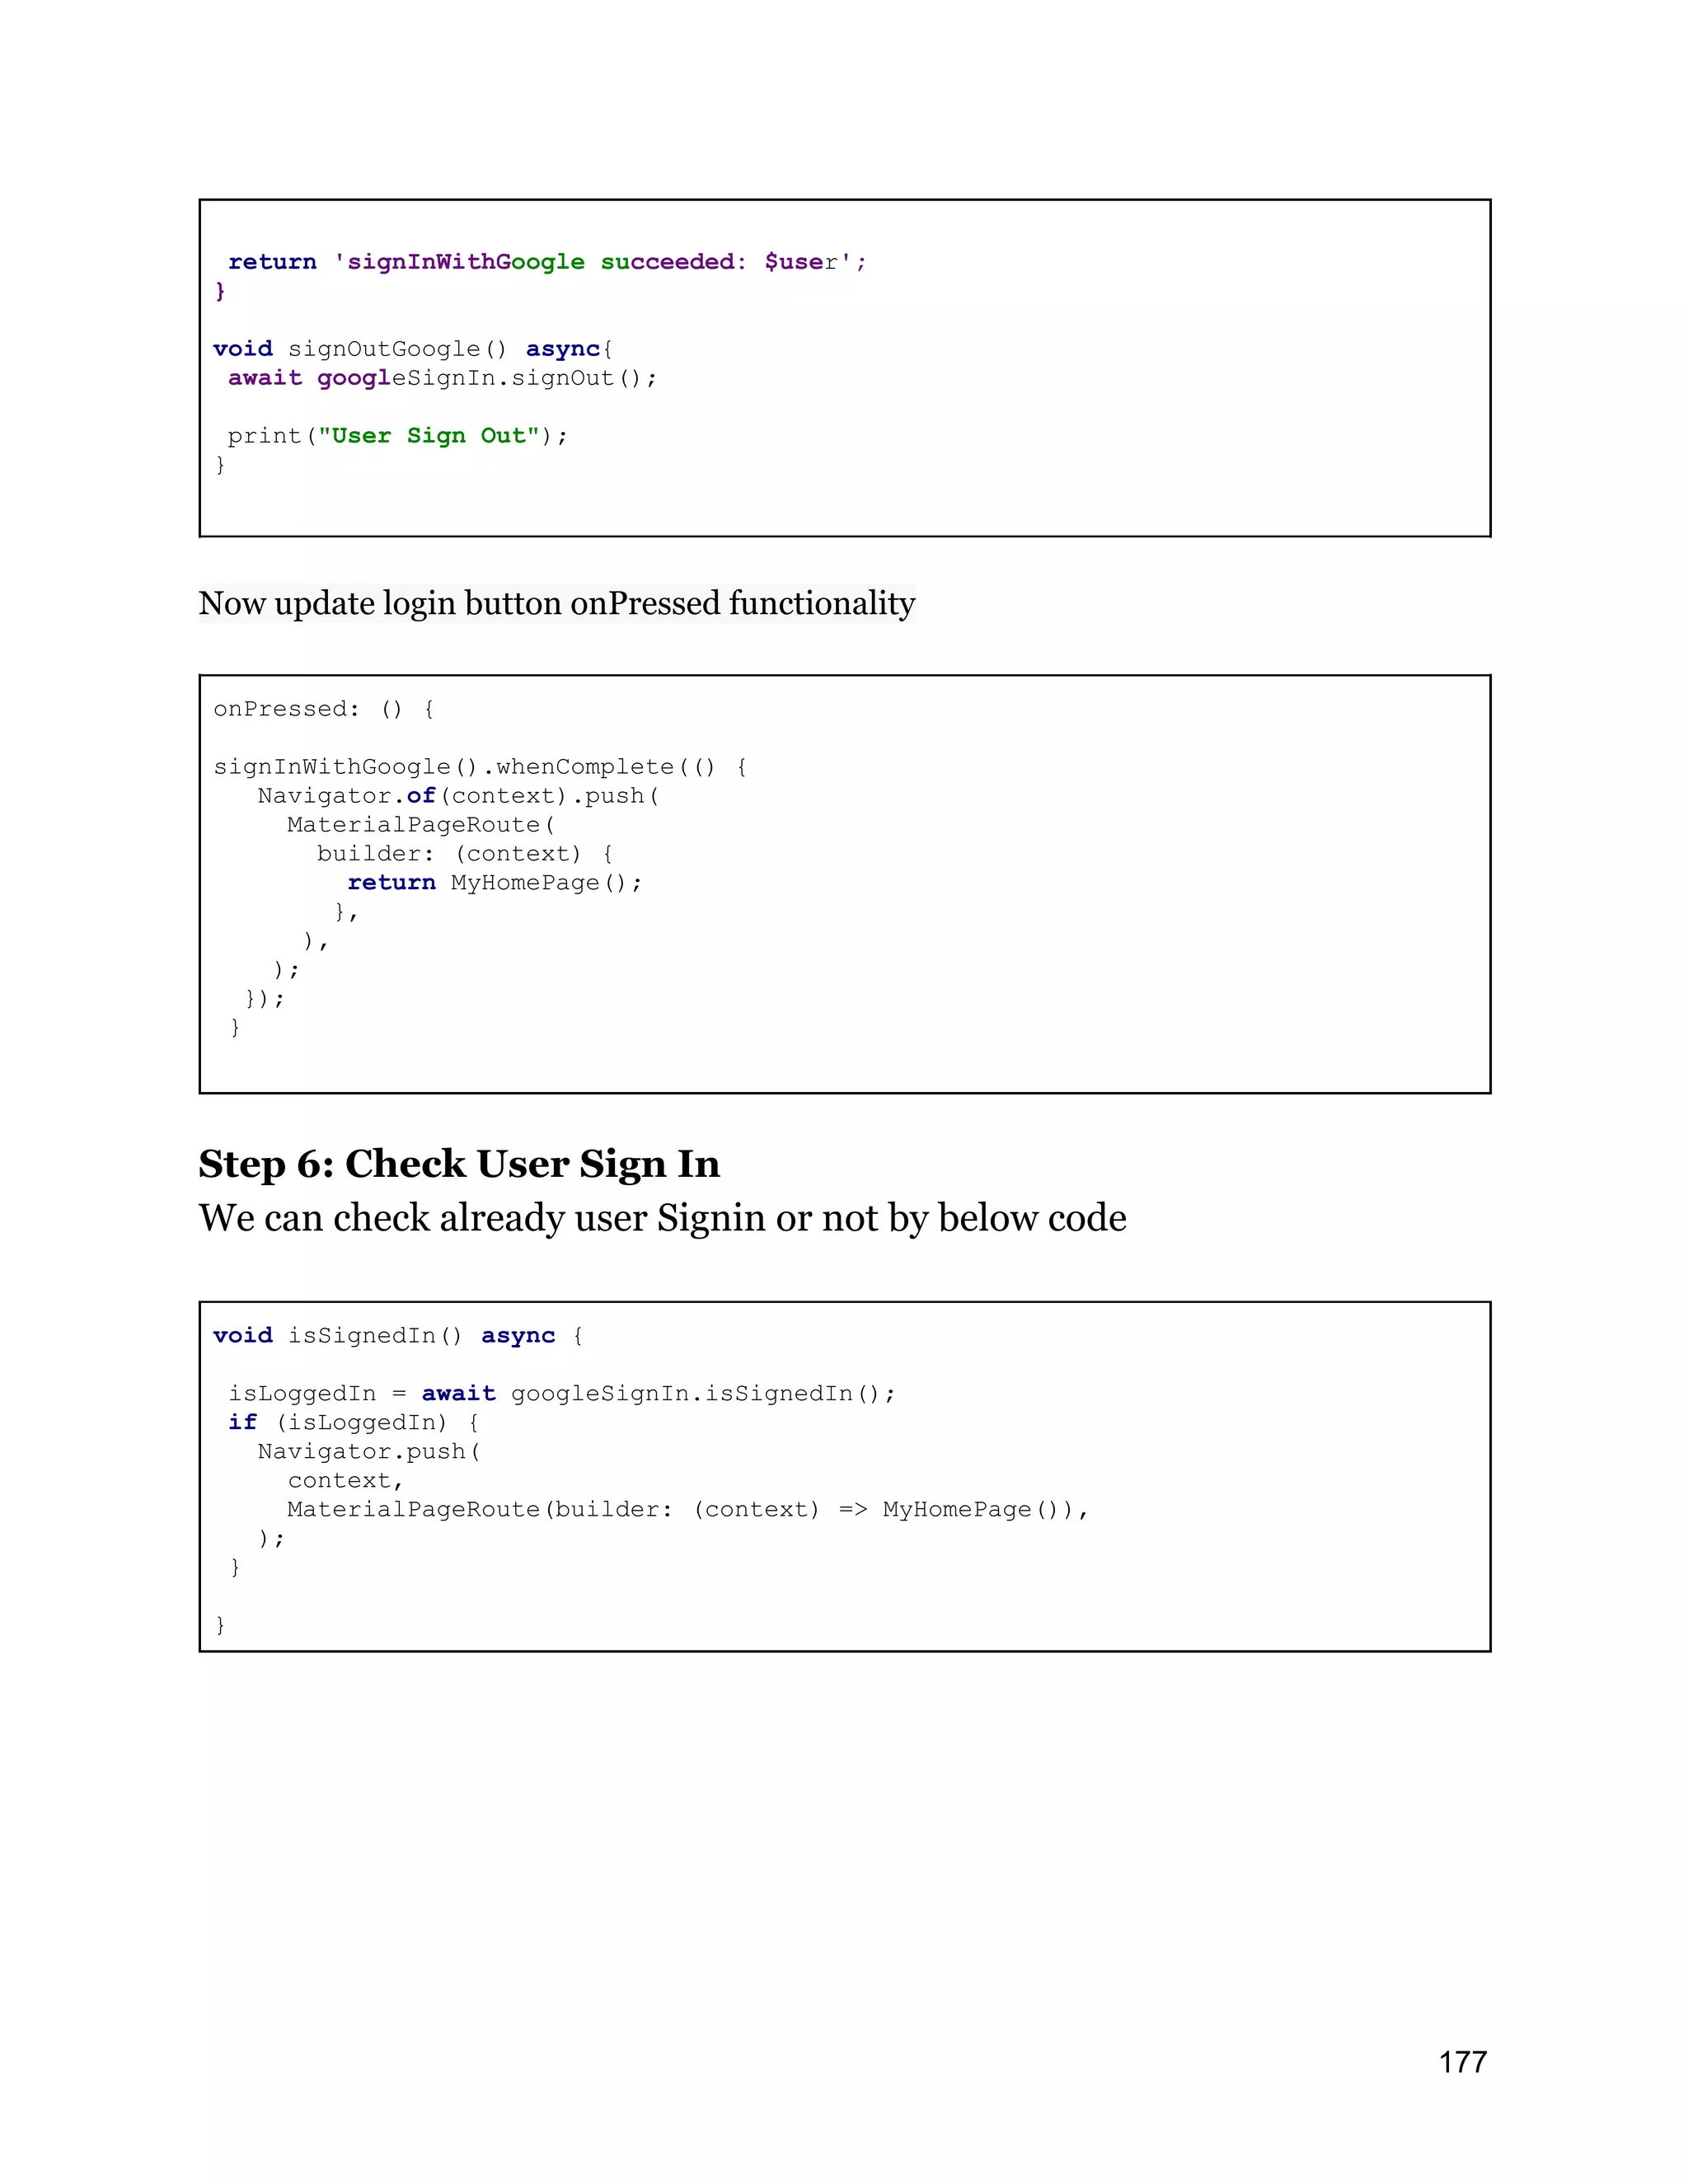
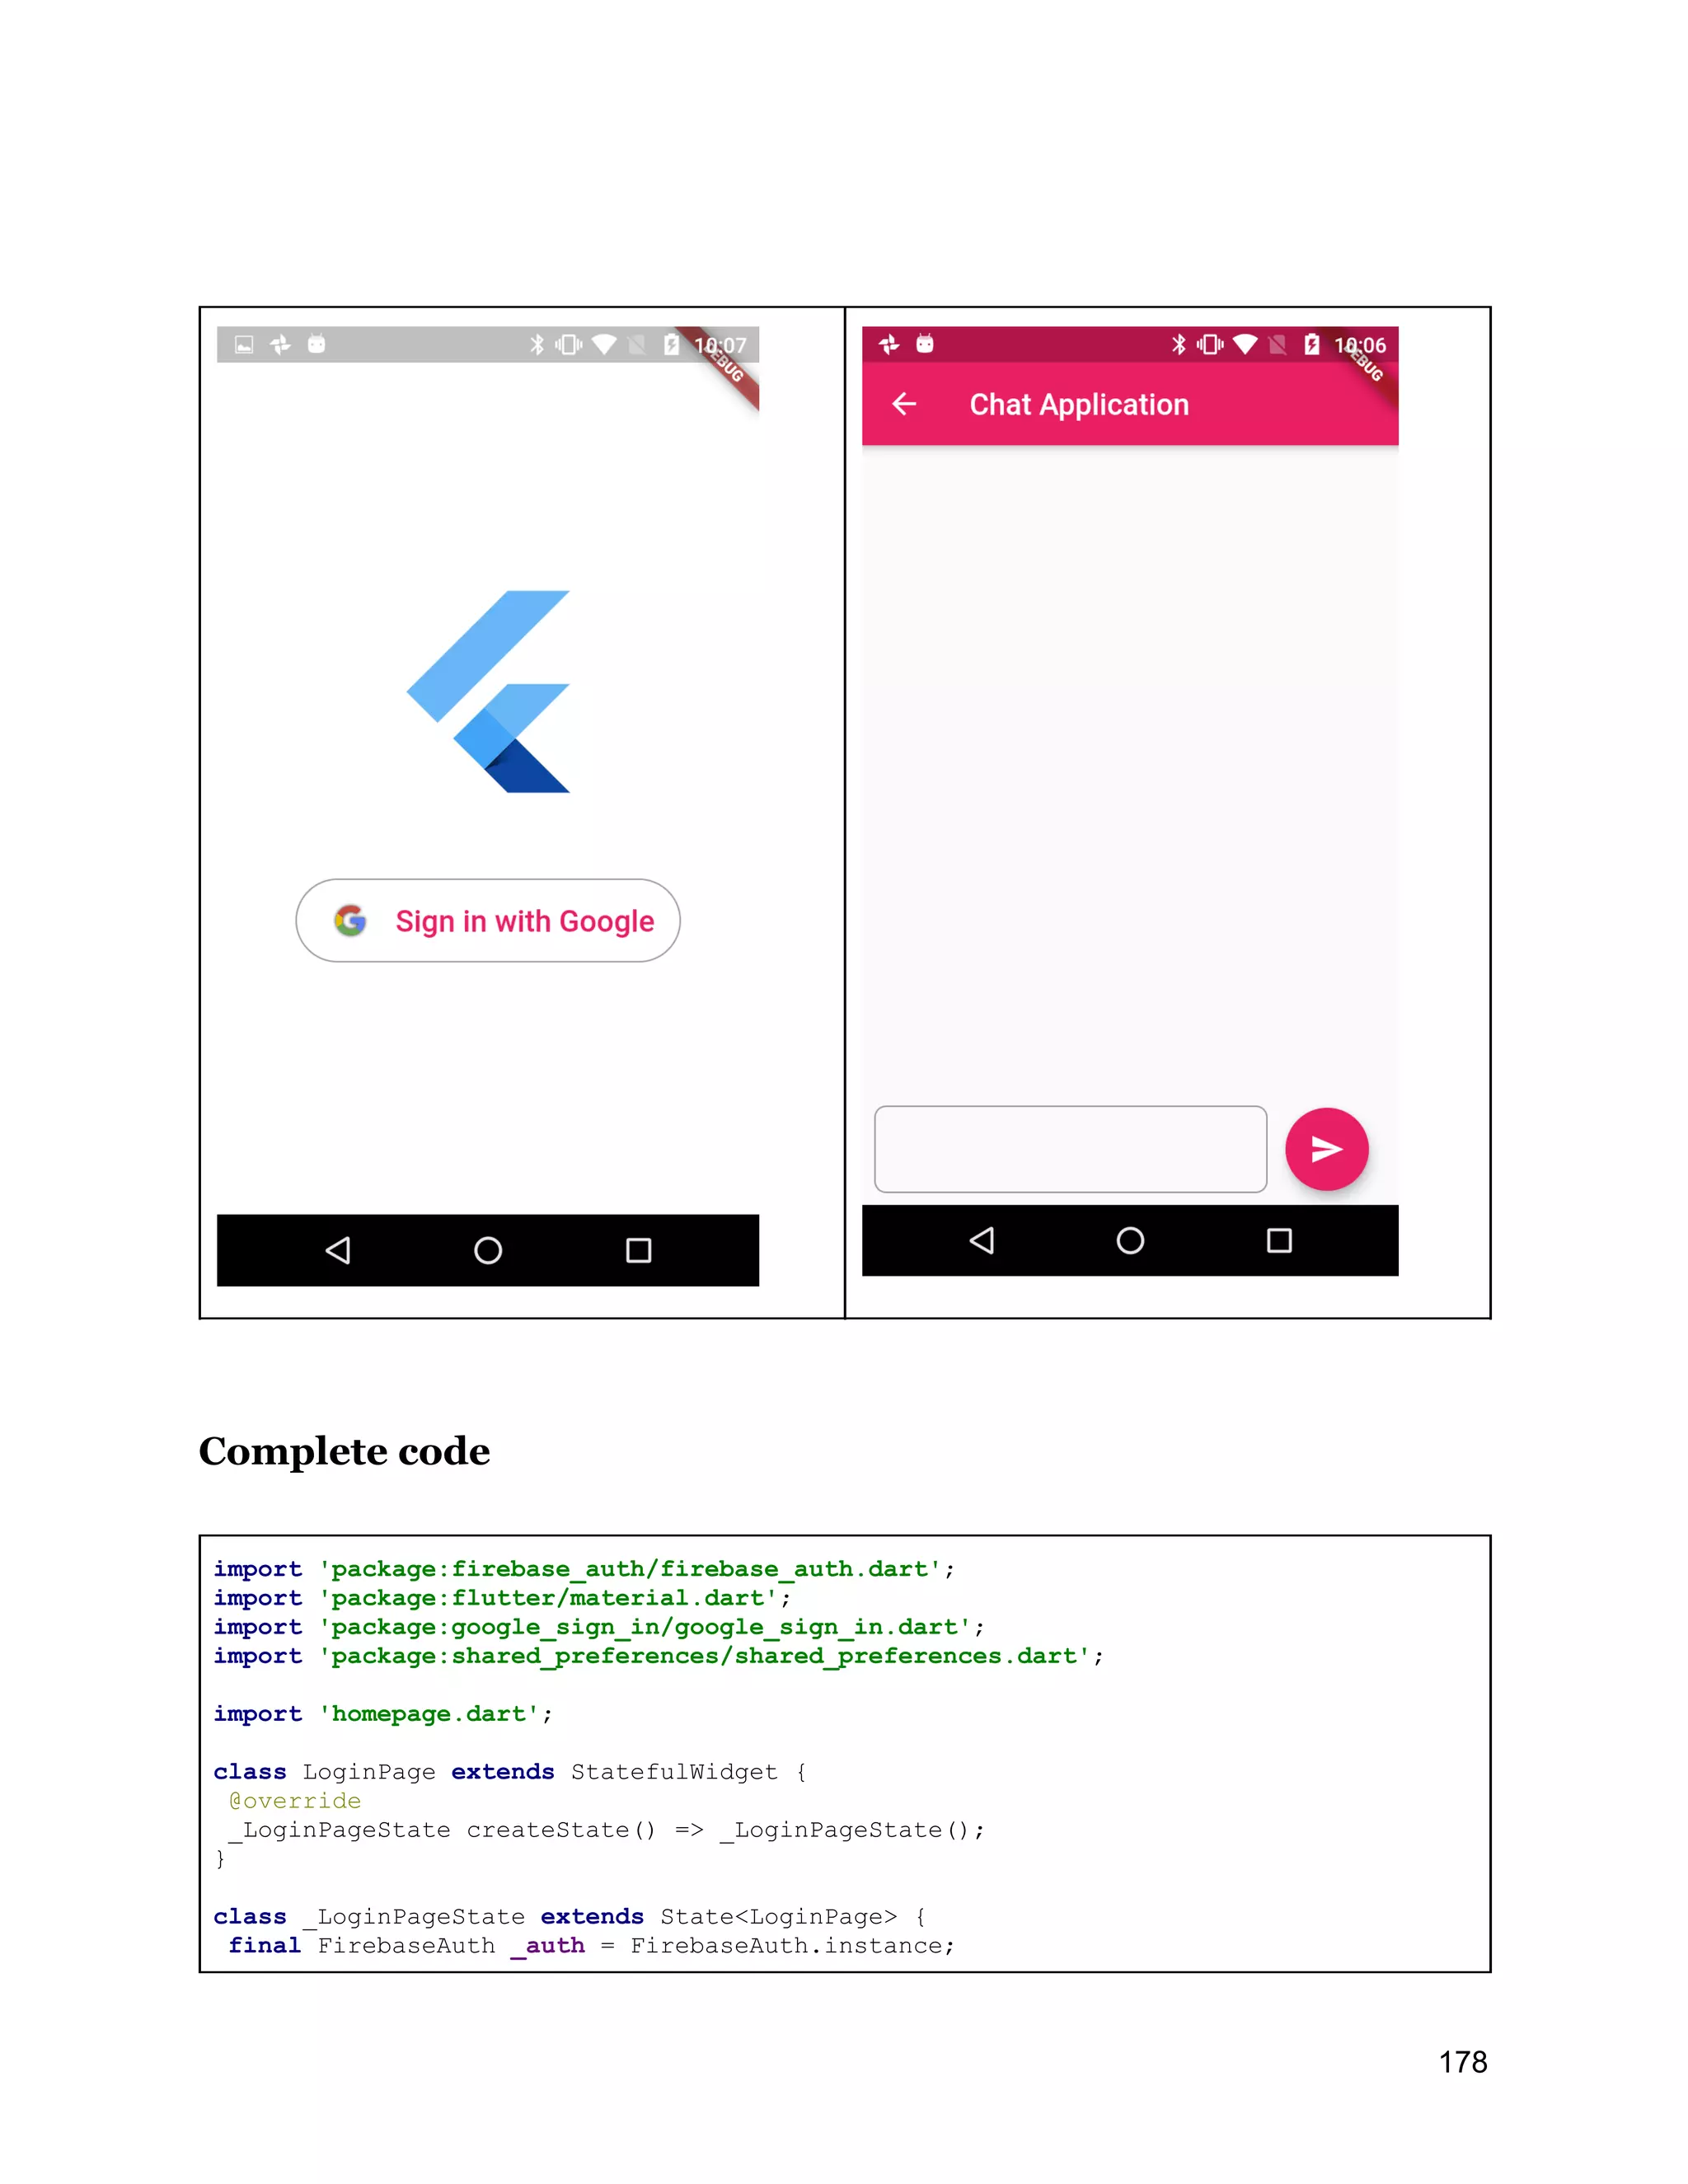
![final GoogleSignIn googleSignIn = GoogleSignIn(); bool isLoggedIn=false; @override void initState() { // TODO: implement initState super.initState(); isSignedIn(); } @override Widget build(BuildContext context) { return Scaffold( body: Container( color: Colors.white, child: Center( child: Column( mainAxisSize: MainAxisSize.max, mainAxisAlignment: MainAxisAlignment.center, children: <Widget>[ FlutterLogo(size: 150), SizedBox(height: 50), _signInButton(), ], ), ), ), ); } Widget _signInButton() { return OutlineButton( splashColor: Colors.grey, onPressed: () { signInWithGoogle().whenComplete(() { Navigator.of(context).pushReplacement( MaterialPageRoute( builder: (context) { return MyHomePage(); }, ), ); }); }, shape: RoundedRectangleBorder(borderRadius: BorderRadius.circular(40)), highlightElevation: 0, borderSide: BorderSide(color: Colors.grey), child: Padding( padding: const EdgeInsets.fromLTRB(0, 10, 0, 10), child: Row( mainAxisSize: MainAxisSize.min, mainAxisAlignment: MainAxisAlignment.center, children: <Widget>[ Image(image: AssetImage("assets/google_logo.jpg"), height: 35.0,width: 40,), Padding( padding: const EdgeInsets.only(left: 10), child: Text( 'Sign in with Google', style: TextStyle( 179](https://image.slidesharecdn.com/fluttertutorial-201008182102/75/Flutter-tutorial-for-Beginner-Step-by-Step-179-2048.jpg)
![fontSize: 20, color: Colors.pink, ), ), ) ], ), ), ); } Future<String> signInWithGoogle() async { final GoogleSignInAccount googleSignInAccount = await googleSignIn.signIn(); final GoogleSignInAuthentication googleSignInAuthentication = await googleSignInAccount.authentication; final AuthCredential credential = GoogleAuthProvider.getCredential( accessToken: googleSignInAuthentication.accessToken, idToken: googleSignInAuthentication.idToken, ); final AuthResult authResult = await _auth.signInWithCredential(credential); final FirebaseUser user = authResult.user; assert(!user.isAnonymous); assert(await user.getIdToken() != null); final FirebaseUser currentUser = await _auth.currentUser(); assert(user.uid == currentUser.uid); return 'signInWithGoogle succeeded: $user'; } void signOutGoogle() async{ await googleSignIn.signOut(); print("User Sign Out"); } void isSignedIn() async { isLoggedIn = await googleSignIn.isSignedIn(); if (isLoggedIn) { Navigator.pushReplacement( context, MaterialPageRoute(builder: (context) => MyHomePage()), ); } } } 180](https://image.slidesharecdn.com/fluttertutorial-201008182102/75/Flutter-tutorial-for-Beginner-Step-by-Step-180-2048.jpg)
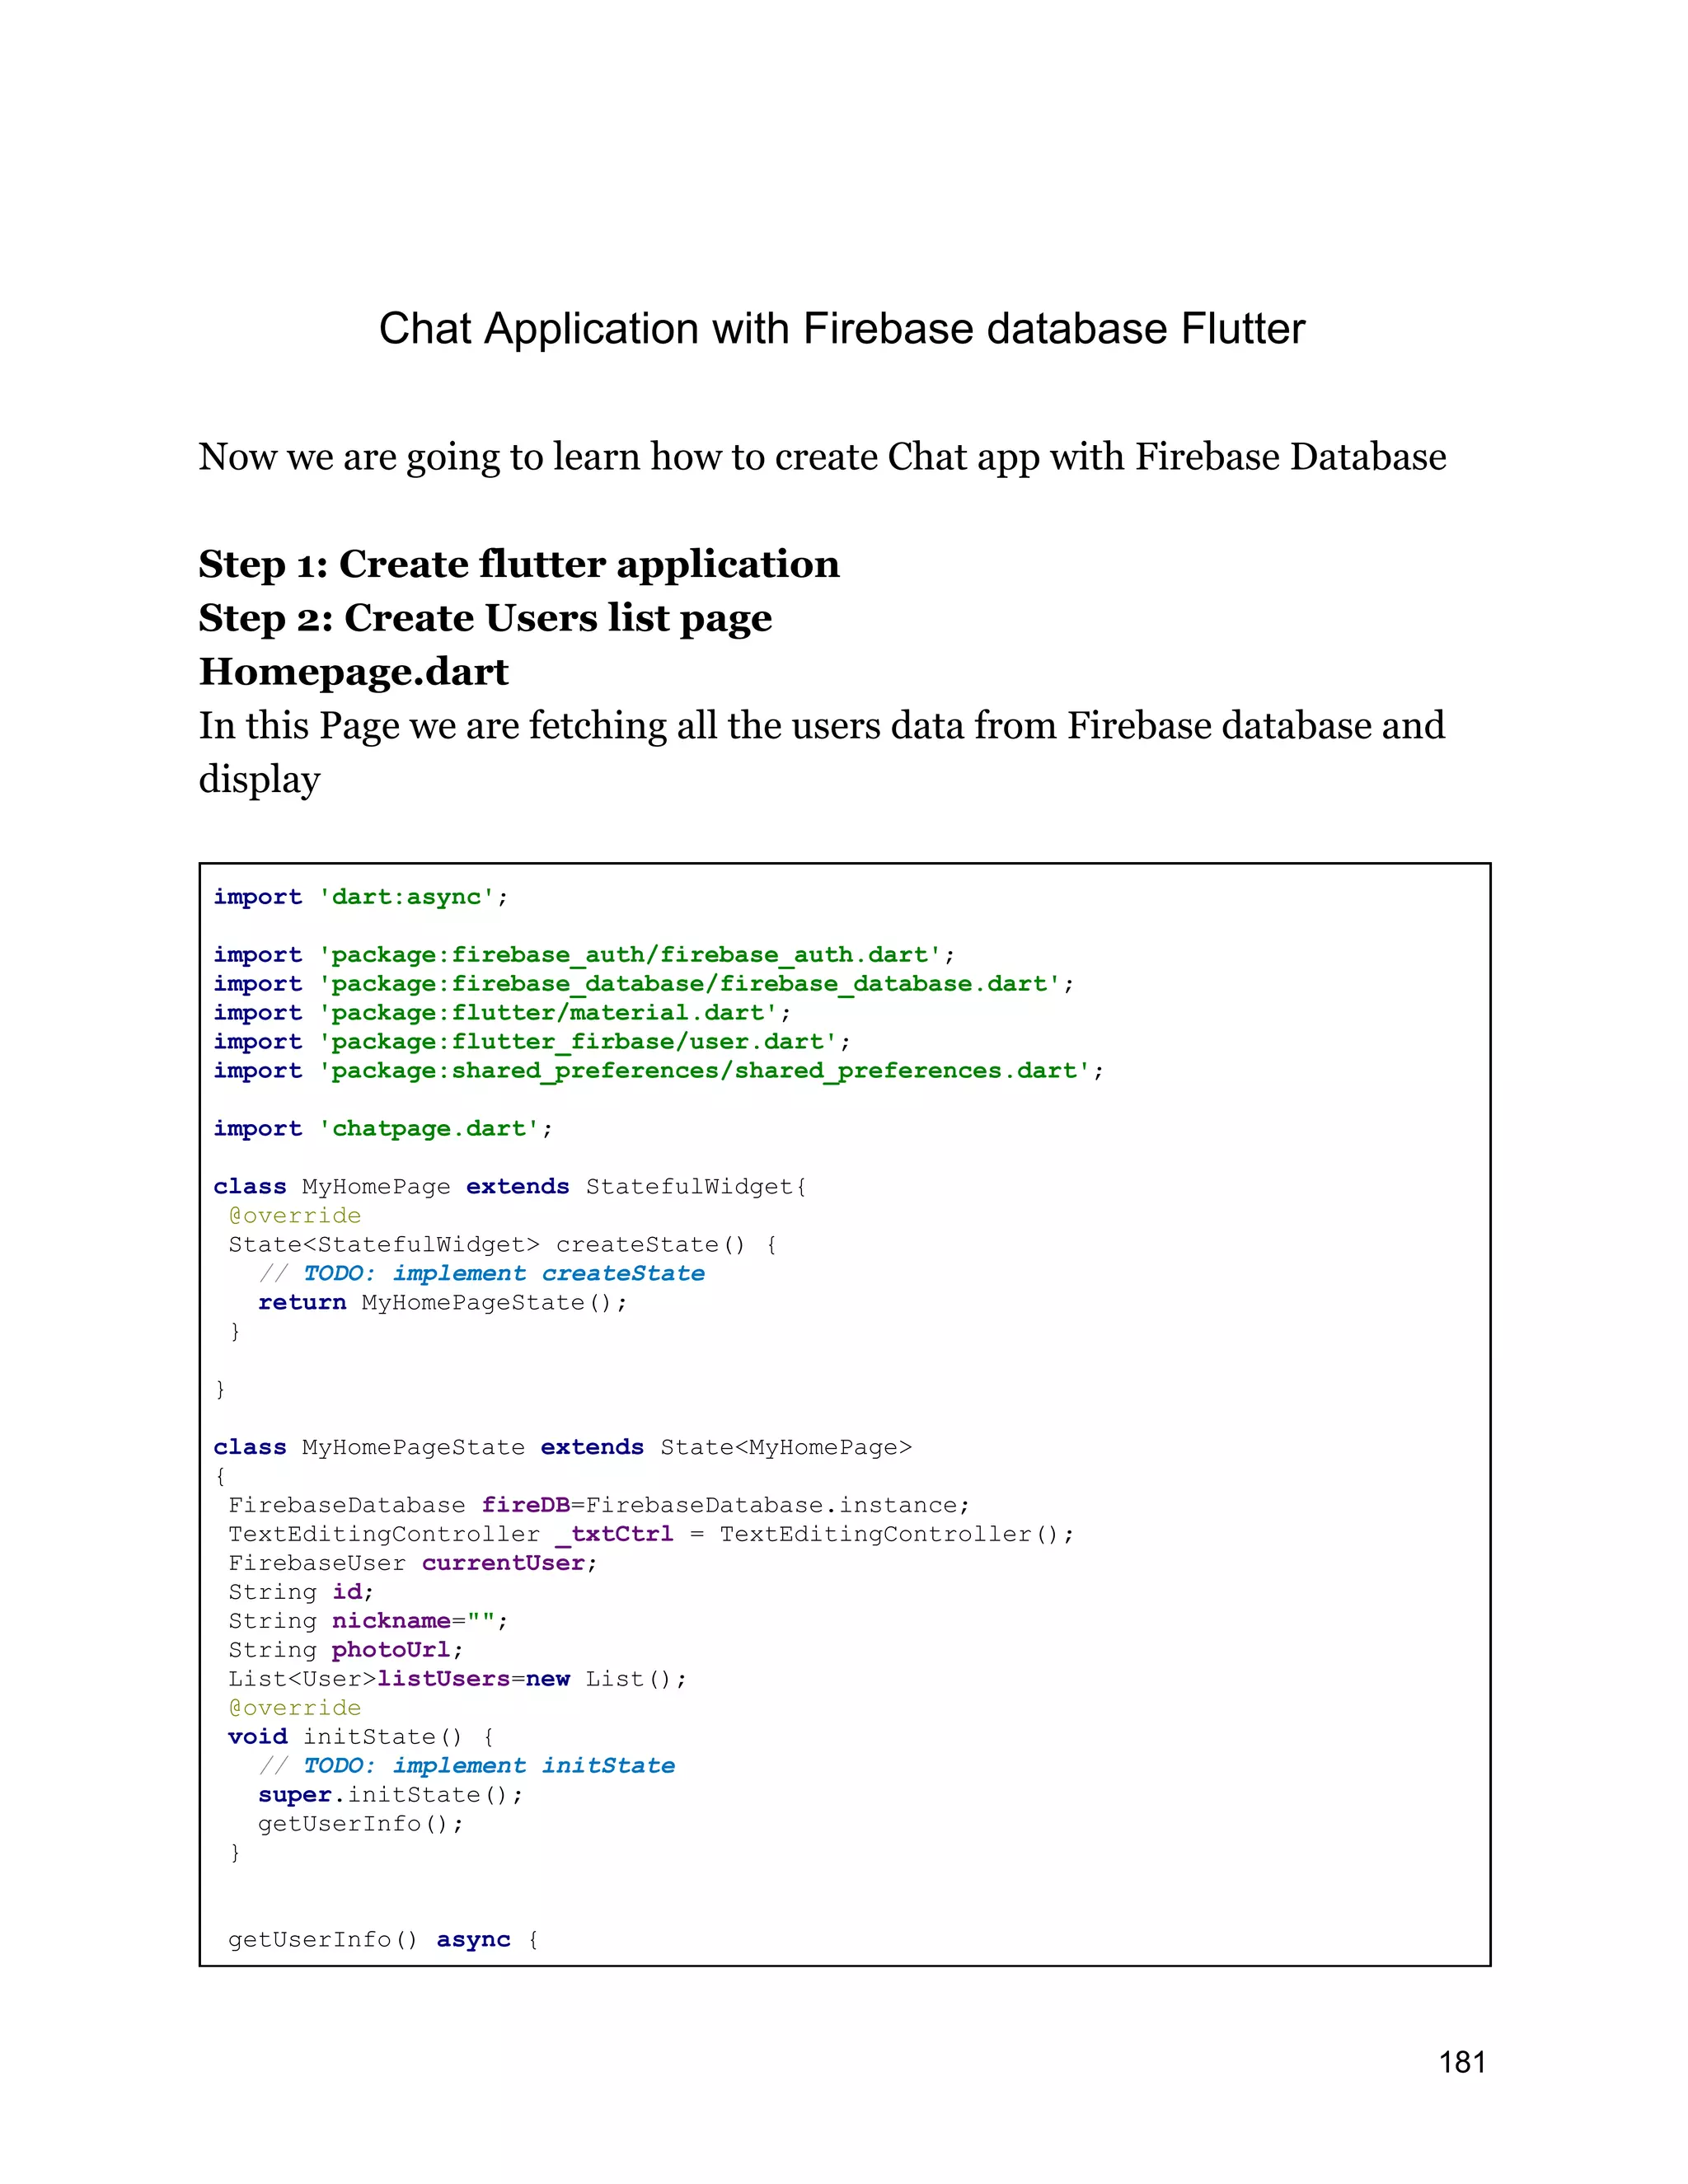
![SharedPreferences prefs = await SharedPreferences.getInstance(); setState(() { id=prefs.getString("id"); nickname=prefs.getString("nickname"); photoUrl=prefs.getString("photoUrl"); }); FirebaseDatabase.instance.reference().child('users/-M1ZPGcD23x7uAUew5fF') .orderByChild("created_at") .onValue .listen((event) { print("data user"); Map<dynamic,dynamic>hm=event.snapshot.value; if(hm!=null) { hm.forEach((key, value) { print(hm[key]); }); } }); print("Fetching datad 0 "); StreamSubscription<Event> subscription =fireDB .reference() .child("users") .onValue .listen((Event event) { print("Fetching datad 1 "); print( event.snapshot.value); Map<dynamic,dynamic>hm=event.snapshot.value; hm.forEach((key, value) { Map<dynamic,dynamic>users=value; setState(() { if(users['id']!=id) listUsers.add(new User(users['name'],users['id'],users['photoUrl'])); }); }); },onError: (errror){ print("Error ${errror.toString()}"); }); } @override Widget build(BuildContext context) { // TODO: implement build return Scaffold( appBar: AppBar(title: Text("Chat $nickname"),), body: Column( mainAxisAlignment: MainAxisAlignment.start, children: <Widget>[ Expanded( child:(listUsers.length>0)? ListView.separated( separatorBuilder: (context, index) { return Divider( color: Colors.black, 182](https://image.slidesharecdn.com/fluttertutorial-201008182102/75/Flutter-tutorial-for-Beginner-Step-by-Step-182-2048.jpg)
![); }, itemCount: listUsers.length, itemBuilder: (context,index){ return ListTile( title: Text(listUsers[index].name), leading: Material(child: Image.network(listUsers[index].img,),borderRadius: BorderRadius.all( Radius.circular(32.0), ), clipBehavior: Clip.hardEdge,), onTap: (){ Navigator.push(context, MaterialPageRoute(builder: (context){ return ChatPage(myid: id,uid:listUsers[index].id ,myImg: photoUrl,uImg: listUsers[index].img,myName: nickname,uName:listUsers[index].name ,); })); }, ); }):Center(child: CircularProgressIndicator(),) ), Container( margin: EdgeInsets.all(8), ) ]), ); } String peerId="1"; String peerAvatar; var listMessage; String groupChatId="1"; SharedPreferences prefs; } Step 3: Create Chat page chatpage.dart In this page we are sending the Messages to selected user and display list of messages between two users import 'dart:async'; import 'dart:convert'; import 'package:firebase_database/firebase_database.dart'; import 'package:flutter/material.dart'; import 'package:intl/intl.dart'; import 'message.dart'; class ChatPage extends StatefulWidget{ 183](https://image.slidesharecdn.com/fluttertutorial-201008182102/75/Flutter-tutorial-for-Beginner-Step-by-Step-183-2048.jpg)
![const ChatPage({@required this.myid,@required this.uid,@required this.myName,@required this.uName,@required this.myImg,@required this.uImg}); final String myid; final String uid; final String myName; final String uName; final String myImg; final String uImg; @override State<StatefulWidget> createState() { // TODO: implement createState return ChatPageState(myid,uid,myName,uName,myImg,uImg); } } class ChatPageState extends State{ final String myid; final String uid; final String myName; final String uName; final String myImg; final String uImg; TextEditingController _txtCtrl=new TextEditingController(); FirebaseDatabase fireDB=FirebaseDatabase.instance; ChatPageState( this.myid, this.uid,this.myName, this.uName,this.myImg,this.uImg); List<Messages>list; @override void initState() { // TODO: implement initState super.initState(); list=new List(); fetchMessages(); /*FirebaseDatabase().reference() .child("messages") .child(myid+"_"+uid) .limitToLast(1) .orderByChild("created_at") .onChildAdded .listen((event) { Map<dynamic,dynamic>hm=event.snapshot.value; print("Event ${hm.length}"); int k=0; hm.forEach((key, value) { print("Fetching Msgs "); print(key); if(k==hm.length) { setState(() { Map map=hm[key]; list.add(Messages.fromMap(value,key)); }); } k++; }); 184](https://image.slidesharecdn.com/fluttertutorial-201008182102/75/Flutter-tutorial-for-Beginner-Step-by-Step-184-2048.jpg)
![});*/ } @override Widget build(BuildContext context) { // TODO: implement build return Scaffold( appBar: AppBar( leading: Material(child: Image.network(uImg,width: 10,height: 10,),borderRadius: BorderRadius.all( Radius.circular(32.0), ), clipBehavior: Clip.hardEdge,), title: Text(uName), backgroundColor: Colors.pink, ), body: Container( child: Column( children: <Widget>[ Expanded( child: (list.length>0)?ListView.separated( separatorBuilder: ( context, index) => Divider(color: Colors.grey,), itemCount: list.length, reverse: false, itemBuilder: (context, index) { return buildItem(index,list[index]); } ,):Center(child: CircularProgressIndicator(), ), ), Container( margin: EdgeInsets.all(8), child: Row(children: <Widget>[ Expanded(child: TextField( controller: _txtCtrl,decoration: InputDecoration( hintText: "Write your Message", border: OutlineInputBorder( borderRadius: BorderRadius.circular(8), borderSide: BorderSide(color: Colors.pink) )),)), SizedBox( width: 80, child: FloatingActionButton( onPressed: () => sendMessage(), child: Icon(Icons.send), )) ])) ], ), ), ); } sendMessage() { fireDB .reference() .child("messages") .child(getUniqueId(myid,uid)) .child(DateTime.now().toUtc().millisecondsSinceEpoch.toString()) .push().set({ 185](https://image.slidesharecdn.com/fluttertutorial-201008182102/75/Flutter-tutorial-for-Beginner-Step-by-Step-185-2048.jpg)
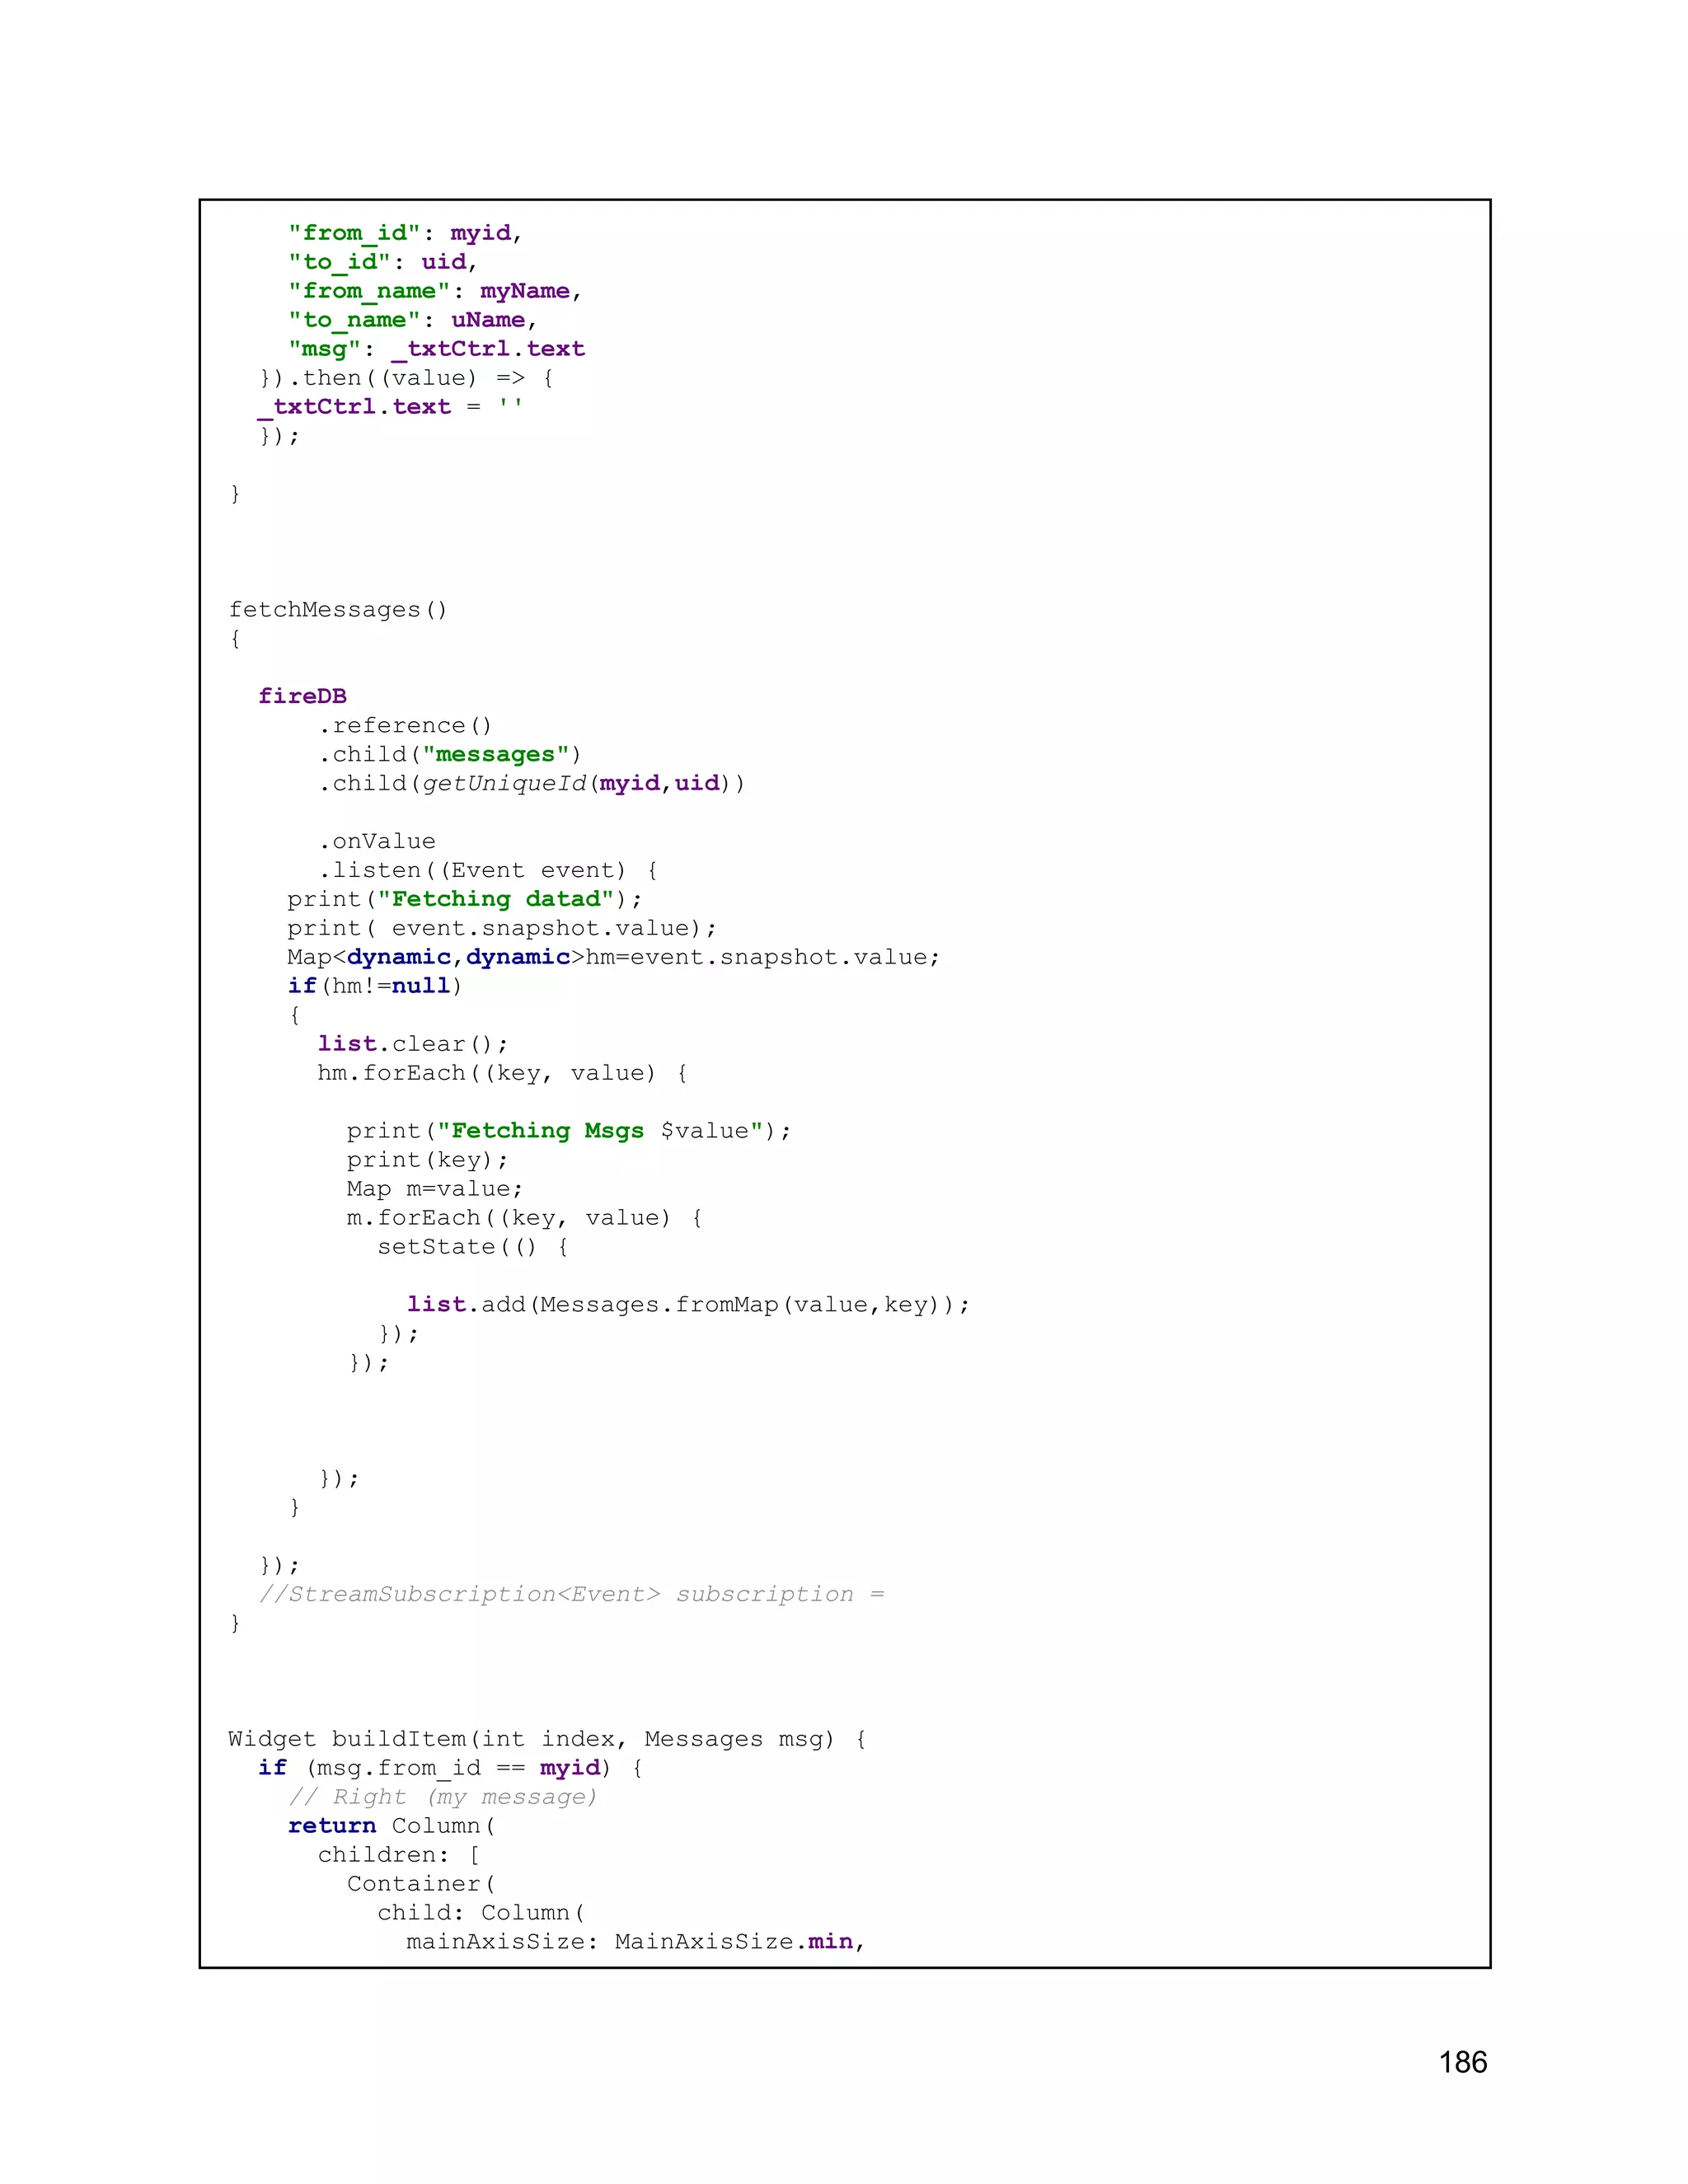
![crossAxisAlignment: CrossAxisAlignment.end, children: <Widget>[ Text( msg.msg, style: TextStyle(color: Colors.black), ), /*SizedBox(height: 10,), (msg.created_at!=null)? Text( "${readTimestamp(msg.created_at )}", style: TextStyle(color: Colors.black,fontSize: 8), ):Text("")*/ ], ), padding: EdgeInsets.fromLTRB(15.0, 10.0, 15.0, 10.0), width: 200.0, decoration: ShapeDecoration(shape: OutlineInputBorder(borderRadius: BorderRadius.circular(8),borderSide: BorderSide(color: Colors.pink))), margin: EdgeInsets.only(bottom: 10.0, right: 10.0), ) ], mainAxisAlignment: MainAxisAlignment.end, crossAxisAlignment: CrossAxisAlignment.end, ); } else { // Left (peer message) return Container( child: Column( children: <Widget>[ Container( child: Column( crossAxisAlignment: CrossAxisAlignment.start, mainAxisSize: MainAxisSize.min, children: <Widget>[ Text( msg.msg, style: TextStyle(color: Colors.black), ), /*SizedBox(height: 10,), (msg.created_at!=null)? Text( ("${readTimestamp(msg.created_at )}"), style: TextStyle(color: Colors.black,fontSize: 8), ):Text("")*/ ], ), padding: EdgeInsets.fromLTRB(15.0, 10.0, 15.0, 10.0), width: 200.0, decoration: ShapeDecoration(shape: OutlineInputBorder(borderRadius: BorderRadius.circular(8))), margin: EdgeInsets.only(left: 10.0), ) ], crossAxisAlignment: CrossAxisAlignment.start, ), margin: EdgeInsets.only(bottom: 10.0), ); } } 187](https://image.slidesharecdn.com/fluttertutorial-201008182102/75/Flutter-tutorial-for-Beginner-Step-by-Step-187-2048.jpg)