Downloaded 20 times

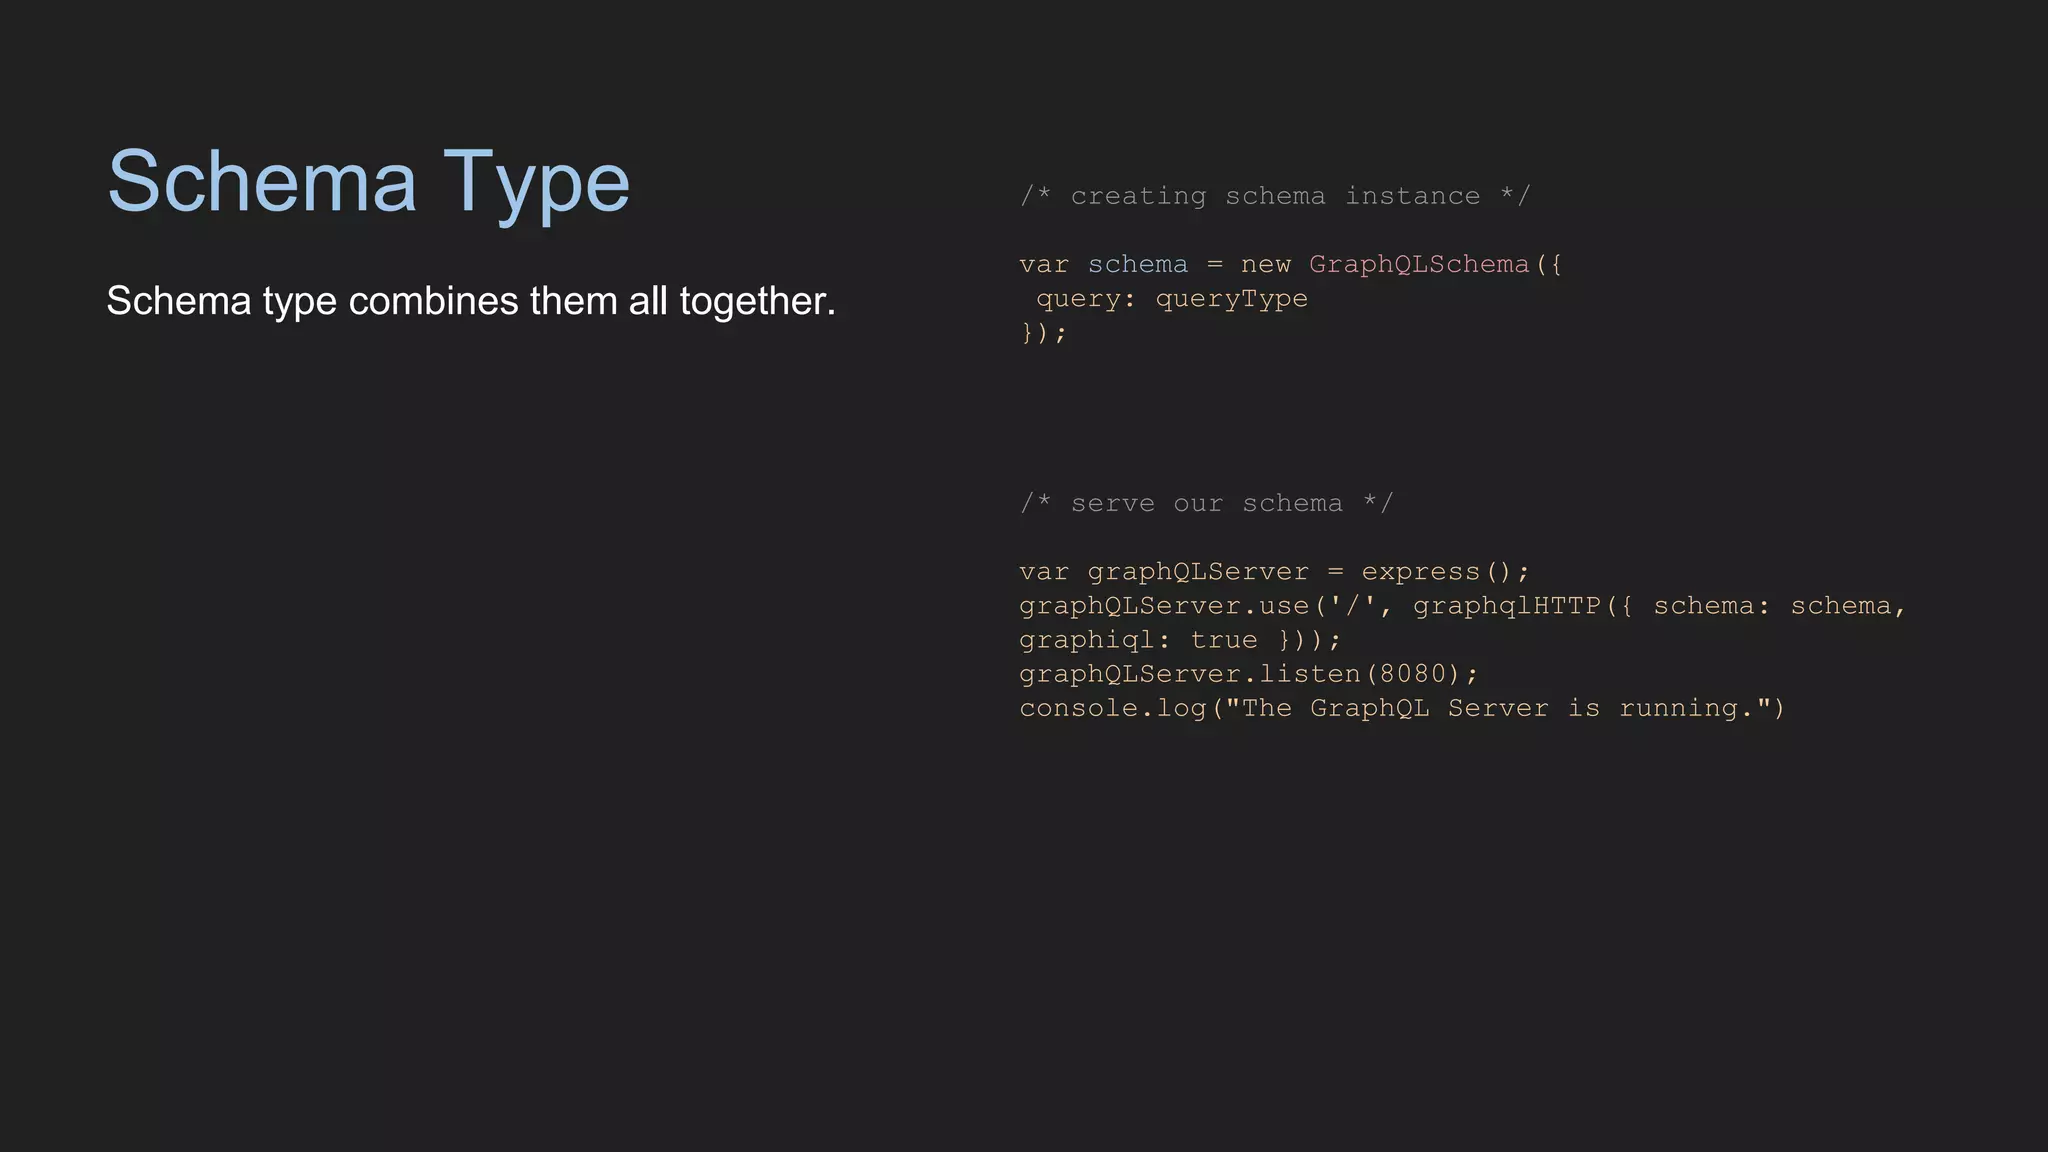
![Query Type The query type tells how we will query our data var queryType = new GraphQLObjectType({ name: "query", description: "Goldberg query", fields: { goldberg: { type: goldbergType, args: { id: { type: GraphQLInt } }, resolve: function(_, args){ return getGoldberg(args.id) } } } }); function getGoldberg(id) { return goldbergs[id] } 1. Query Type is an instance of GraphQLObjectType, it just serves a different purpose. 2. Create a new query field called goldberg and set its “type” to the goldbergType we created earlier. Our new goldberg field will accept an id as an assignment. 3. When we resolve our query we return the output of a function getGoldberg()](https://image.slidesharecdn.com/graphql-160325195142/75/GraphQL-Redux-and-React-13-2048.jpg)

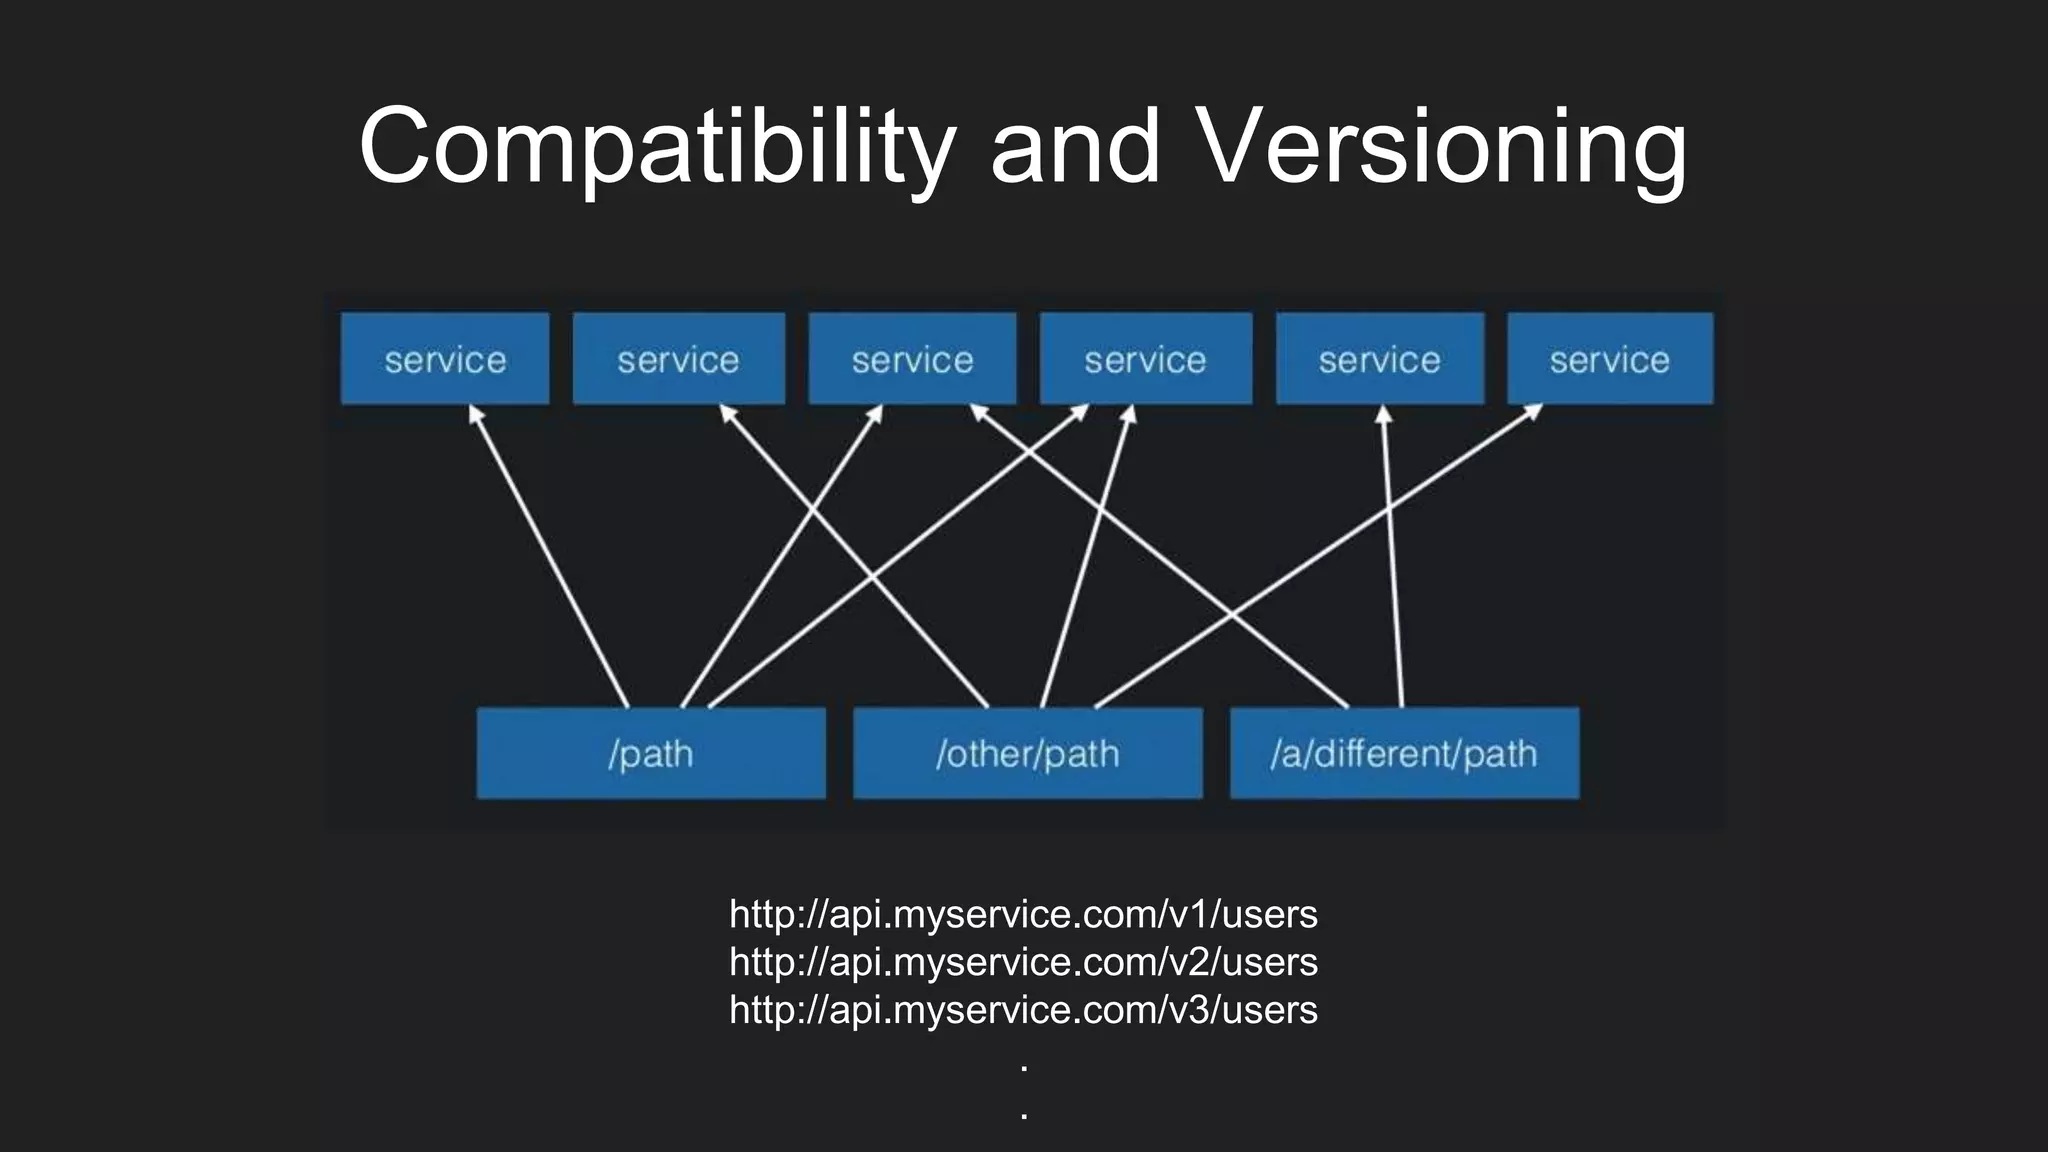
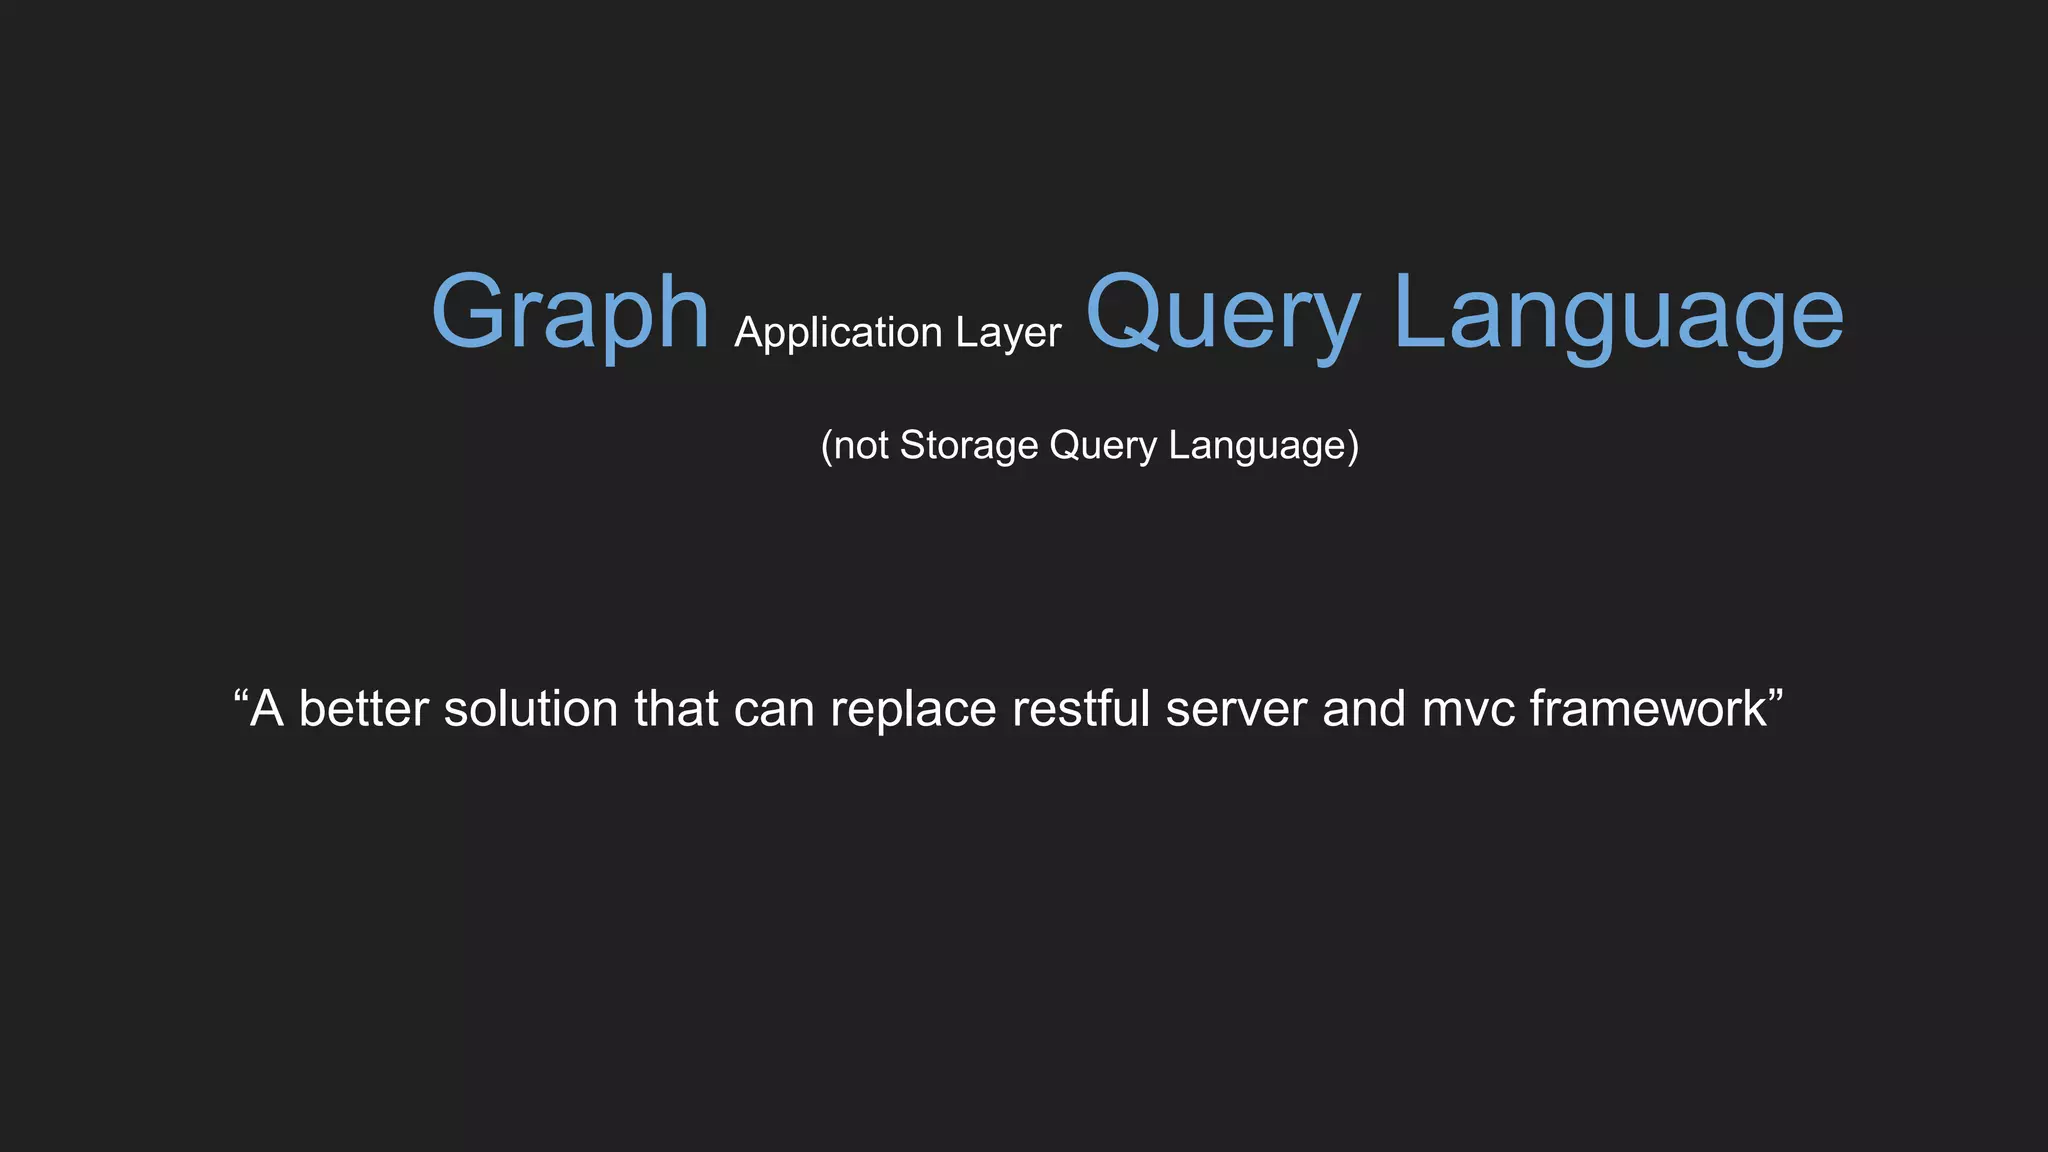
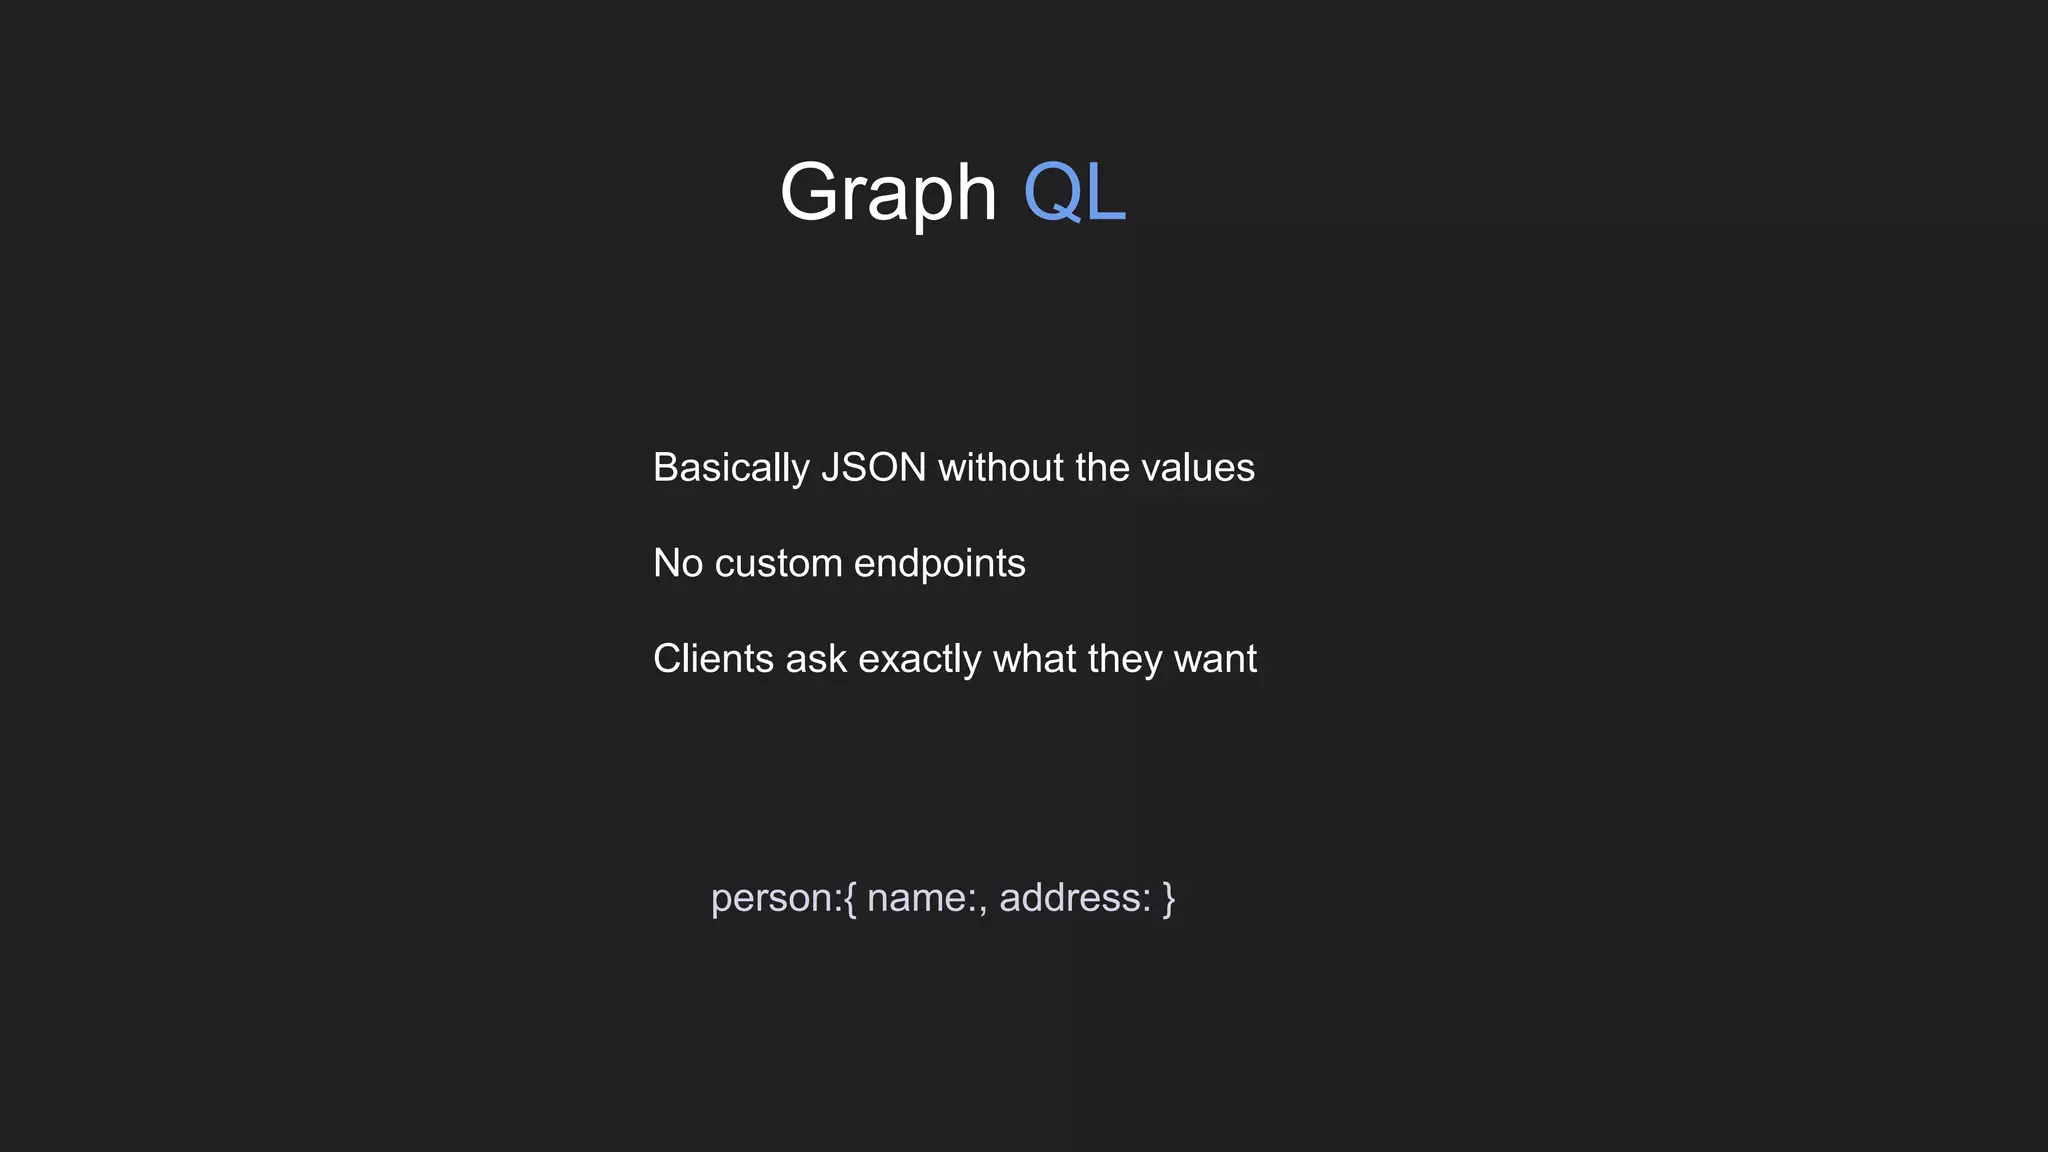
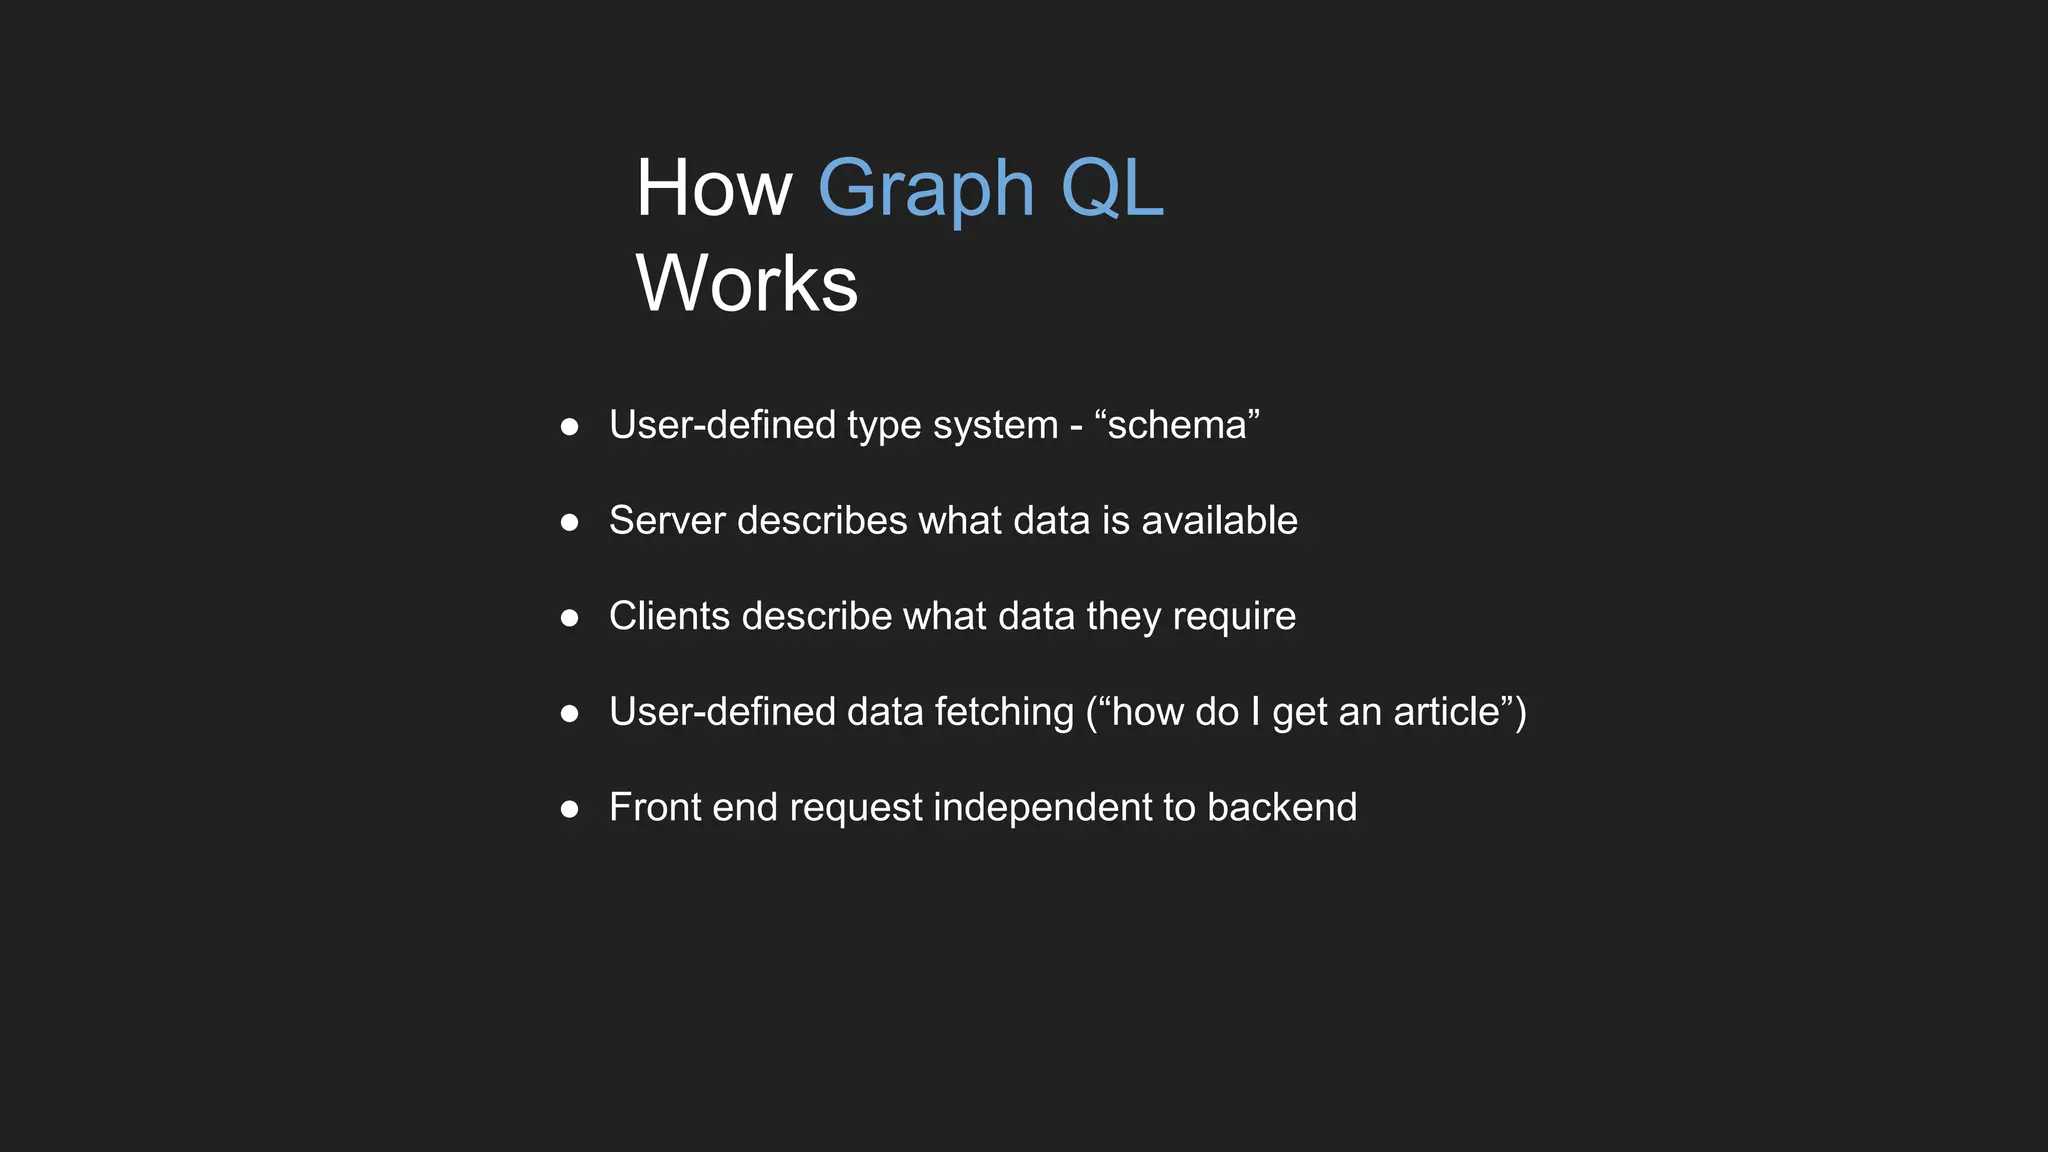
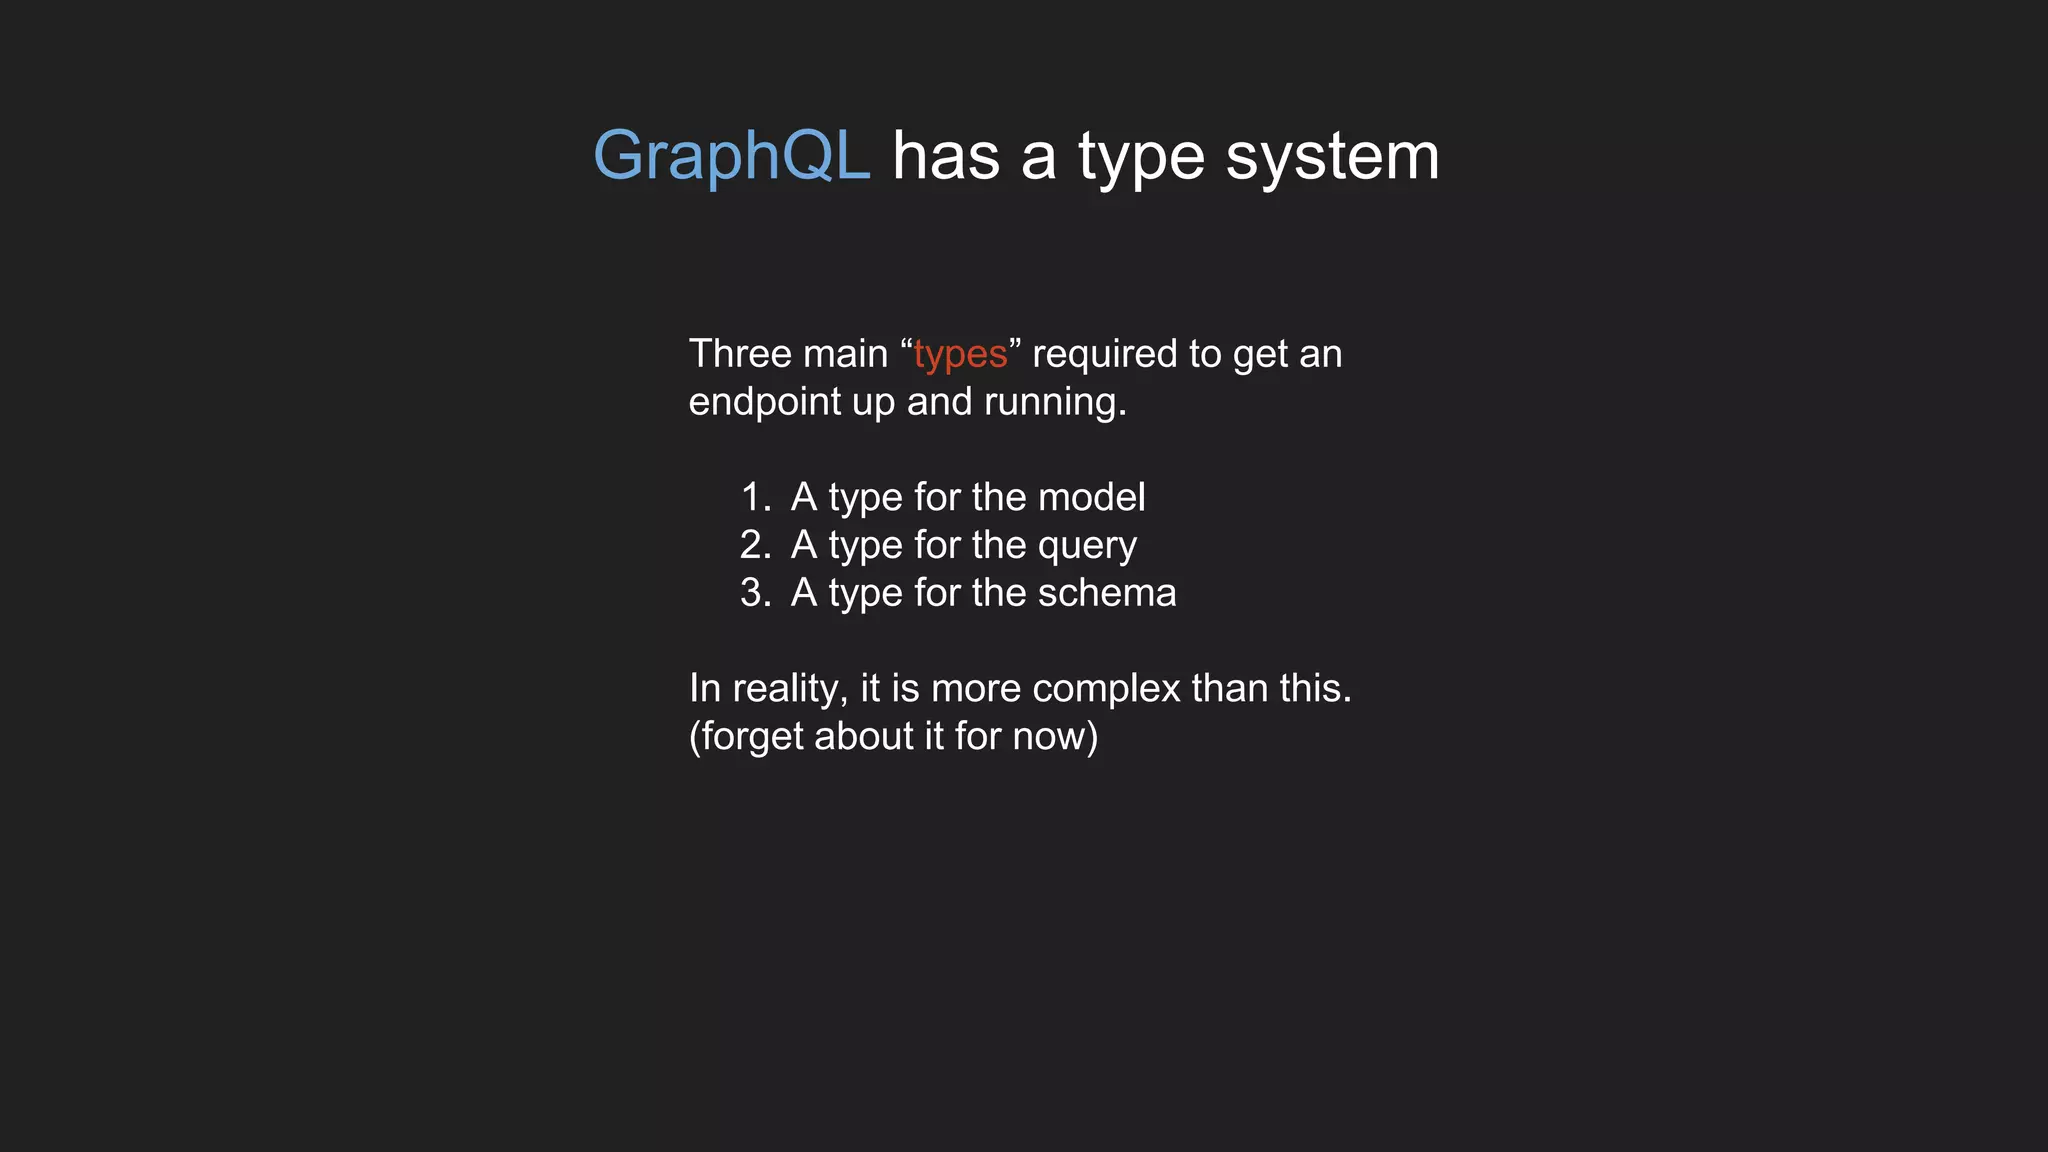
The document discusses the advantages of GraphQL over traditional REST APIs, highlighting the ability to fetch precise data without redundant requests, which is essential for mobile environments. It details the structure of a GraphQL server, including the creation of model, query, and schema types, and explains how to set up a React and Redux application to integrate with GraphQL. Additionally, it includes code snippets demonstrating the implementation of queries, reducers, and actions to manage application state while interacting with the GraphQL server.