PHP-MySQL Database Connectivity Using XAMPP Server
This document provides a step-by-step guide for connecting PHP to MySQL using XAMPP server. It describes downloading and installing XAMPP, creating a database and table in MySQL, and writing PHP code to insert data into the MySQL table from an HTML form.
What we Require? 1.XAMPP Server(32 bit/64 bit) 2. Editor(Notepad++/Netbeans) 3. Any Latest Browser(Internet Explorer/Chrome/Mozila Firefox)
4.
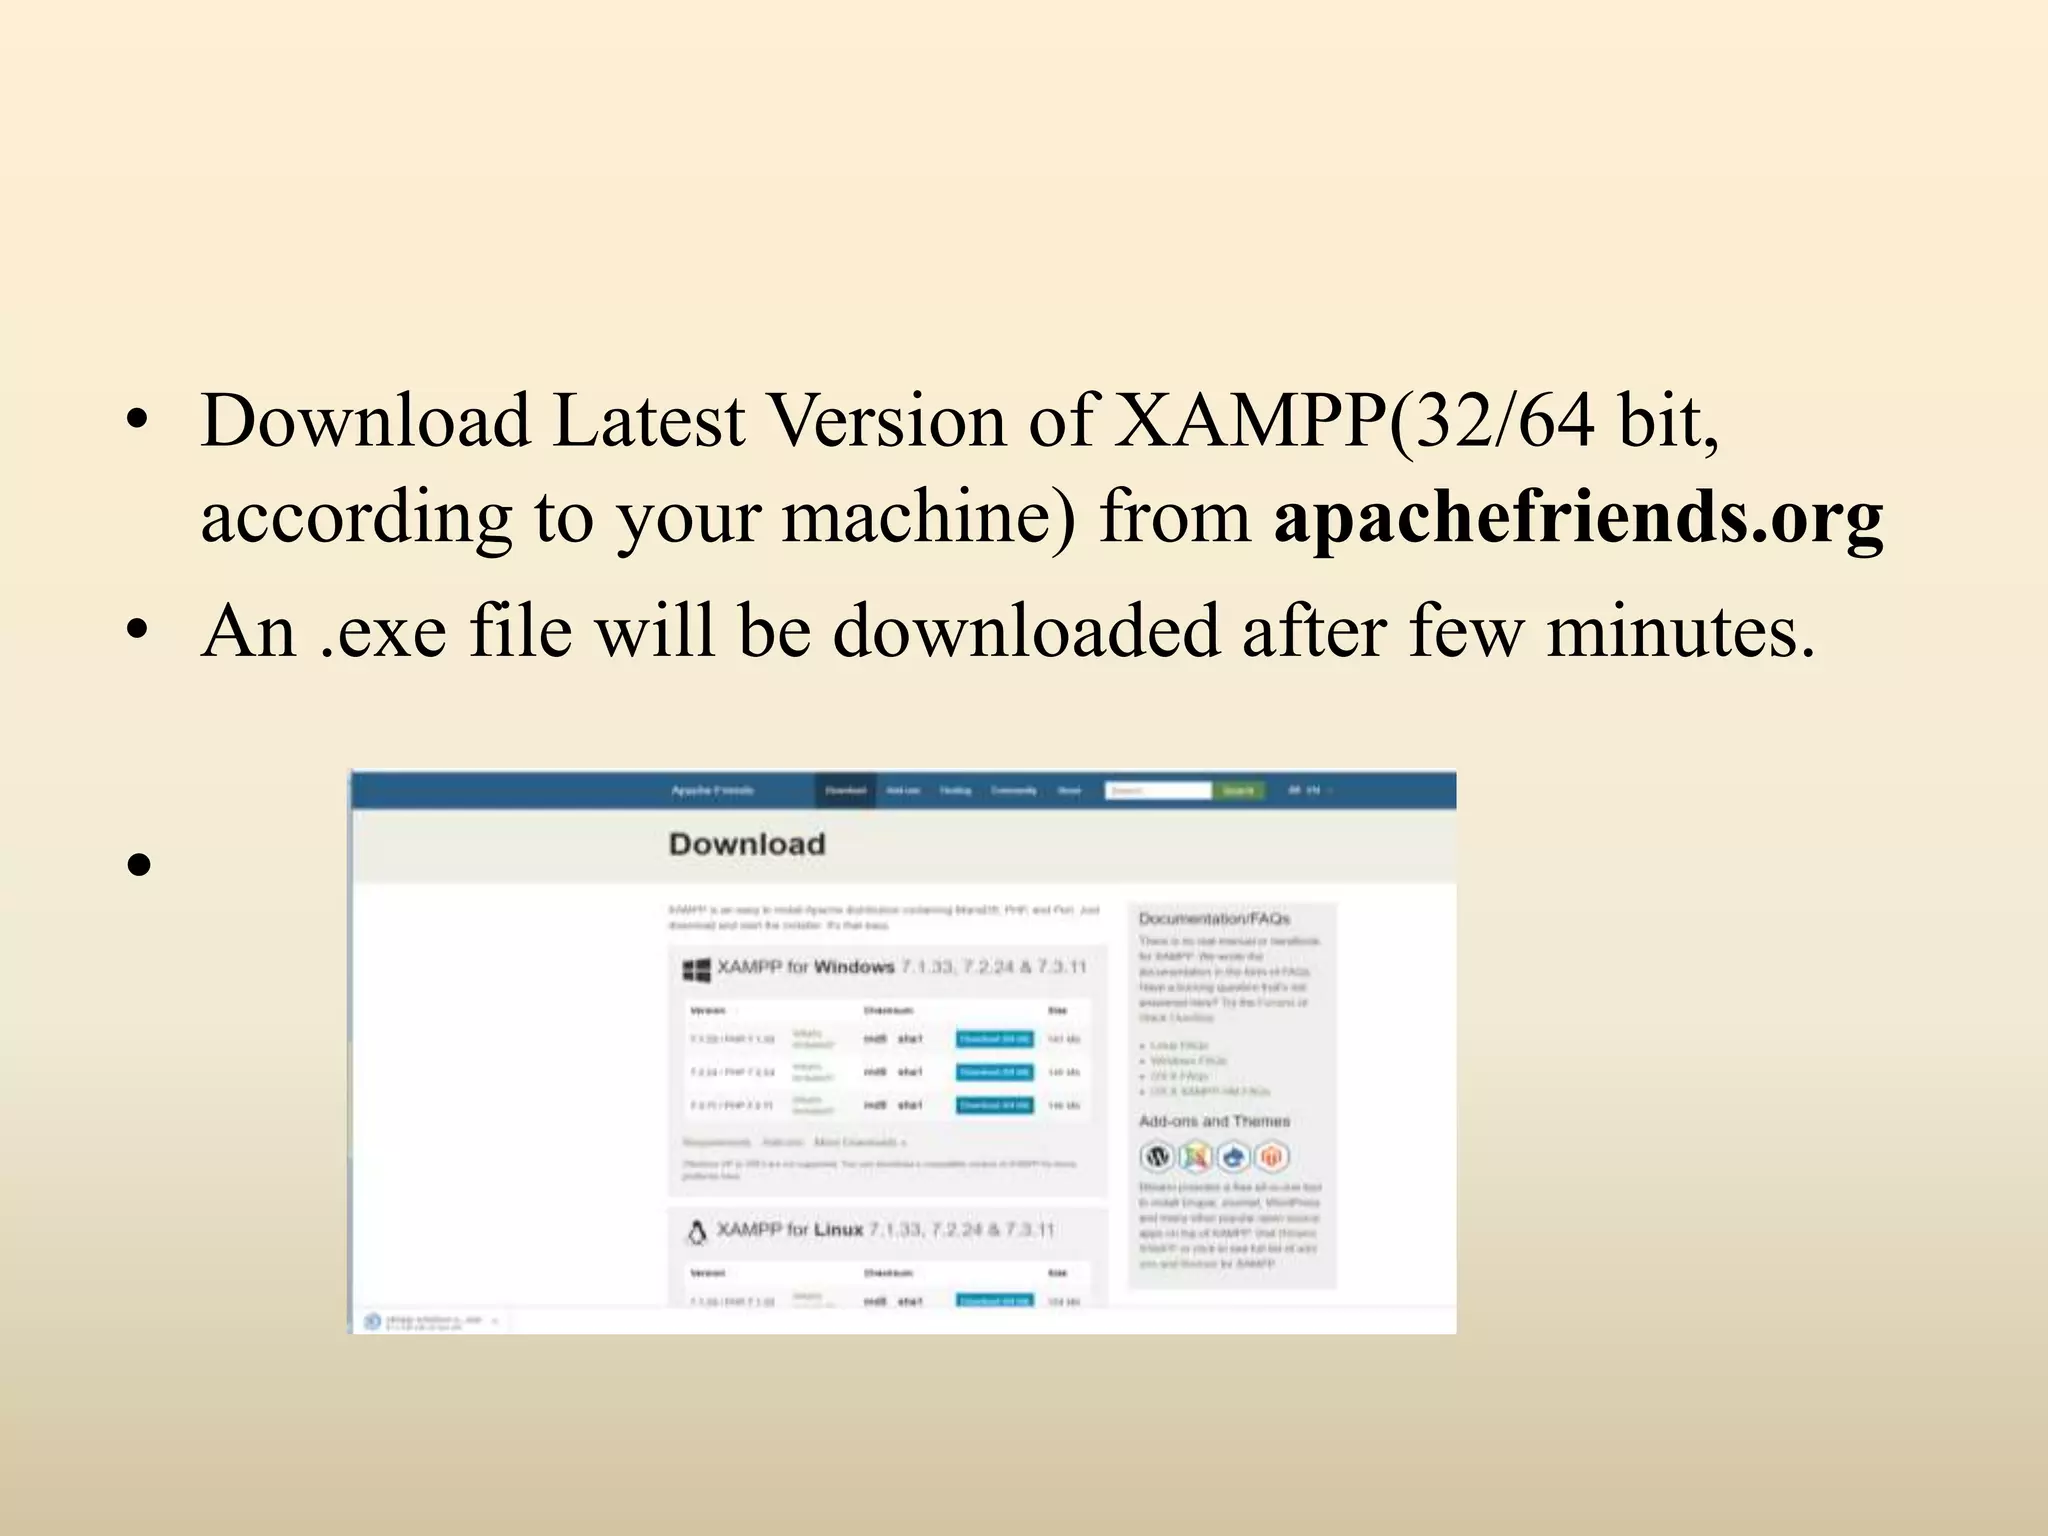
• Download LatestVersion of XAMPP(32/64 bit, according to your machine) from apachefriends.org • An .exe file will be downloaded after few minutes. •
5.
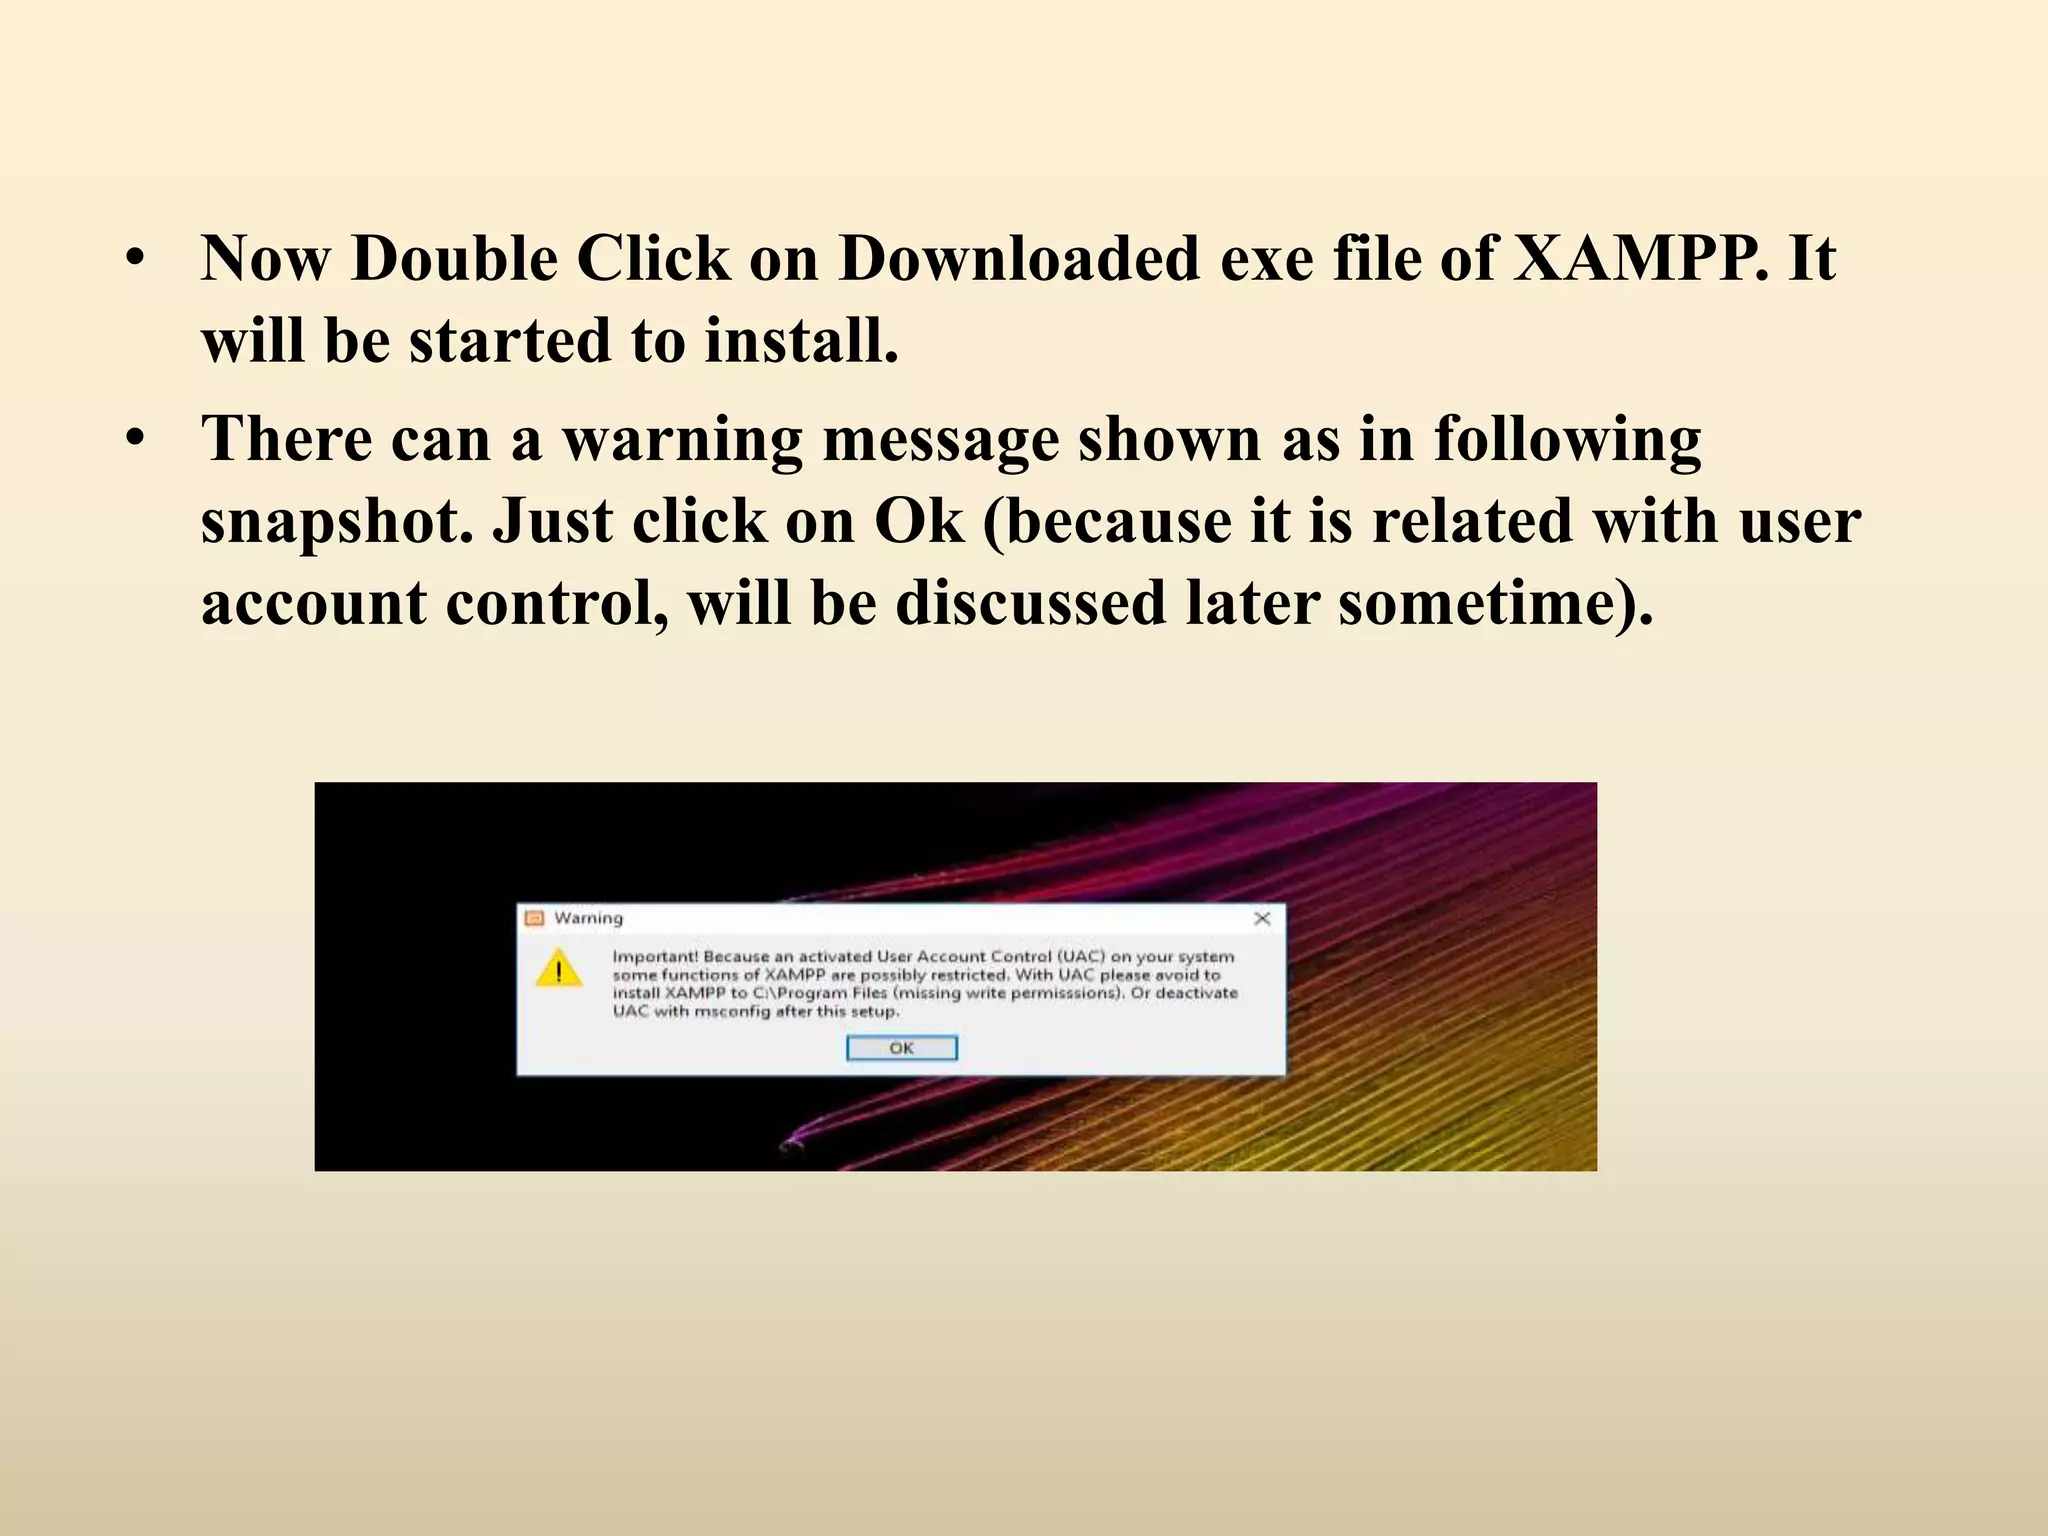
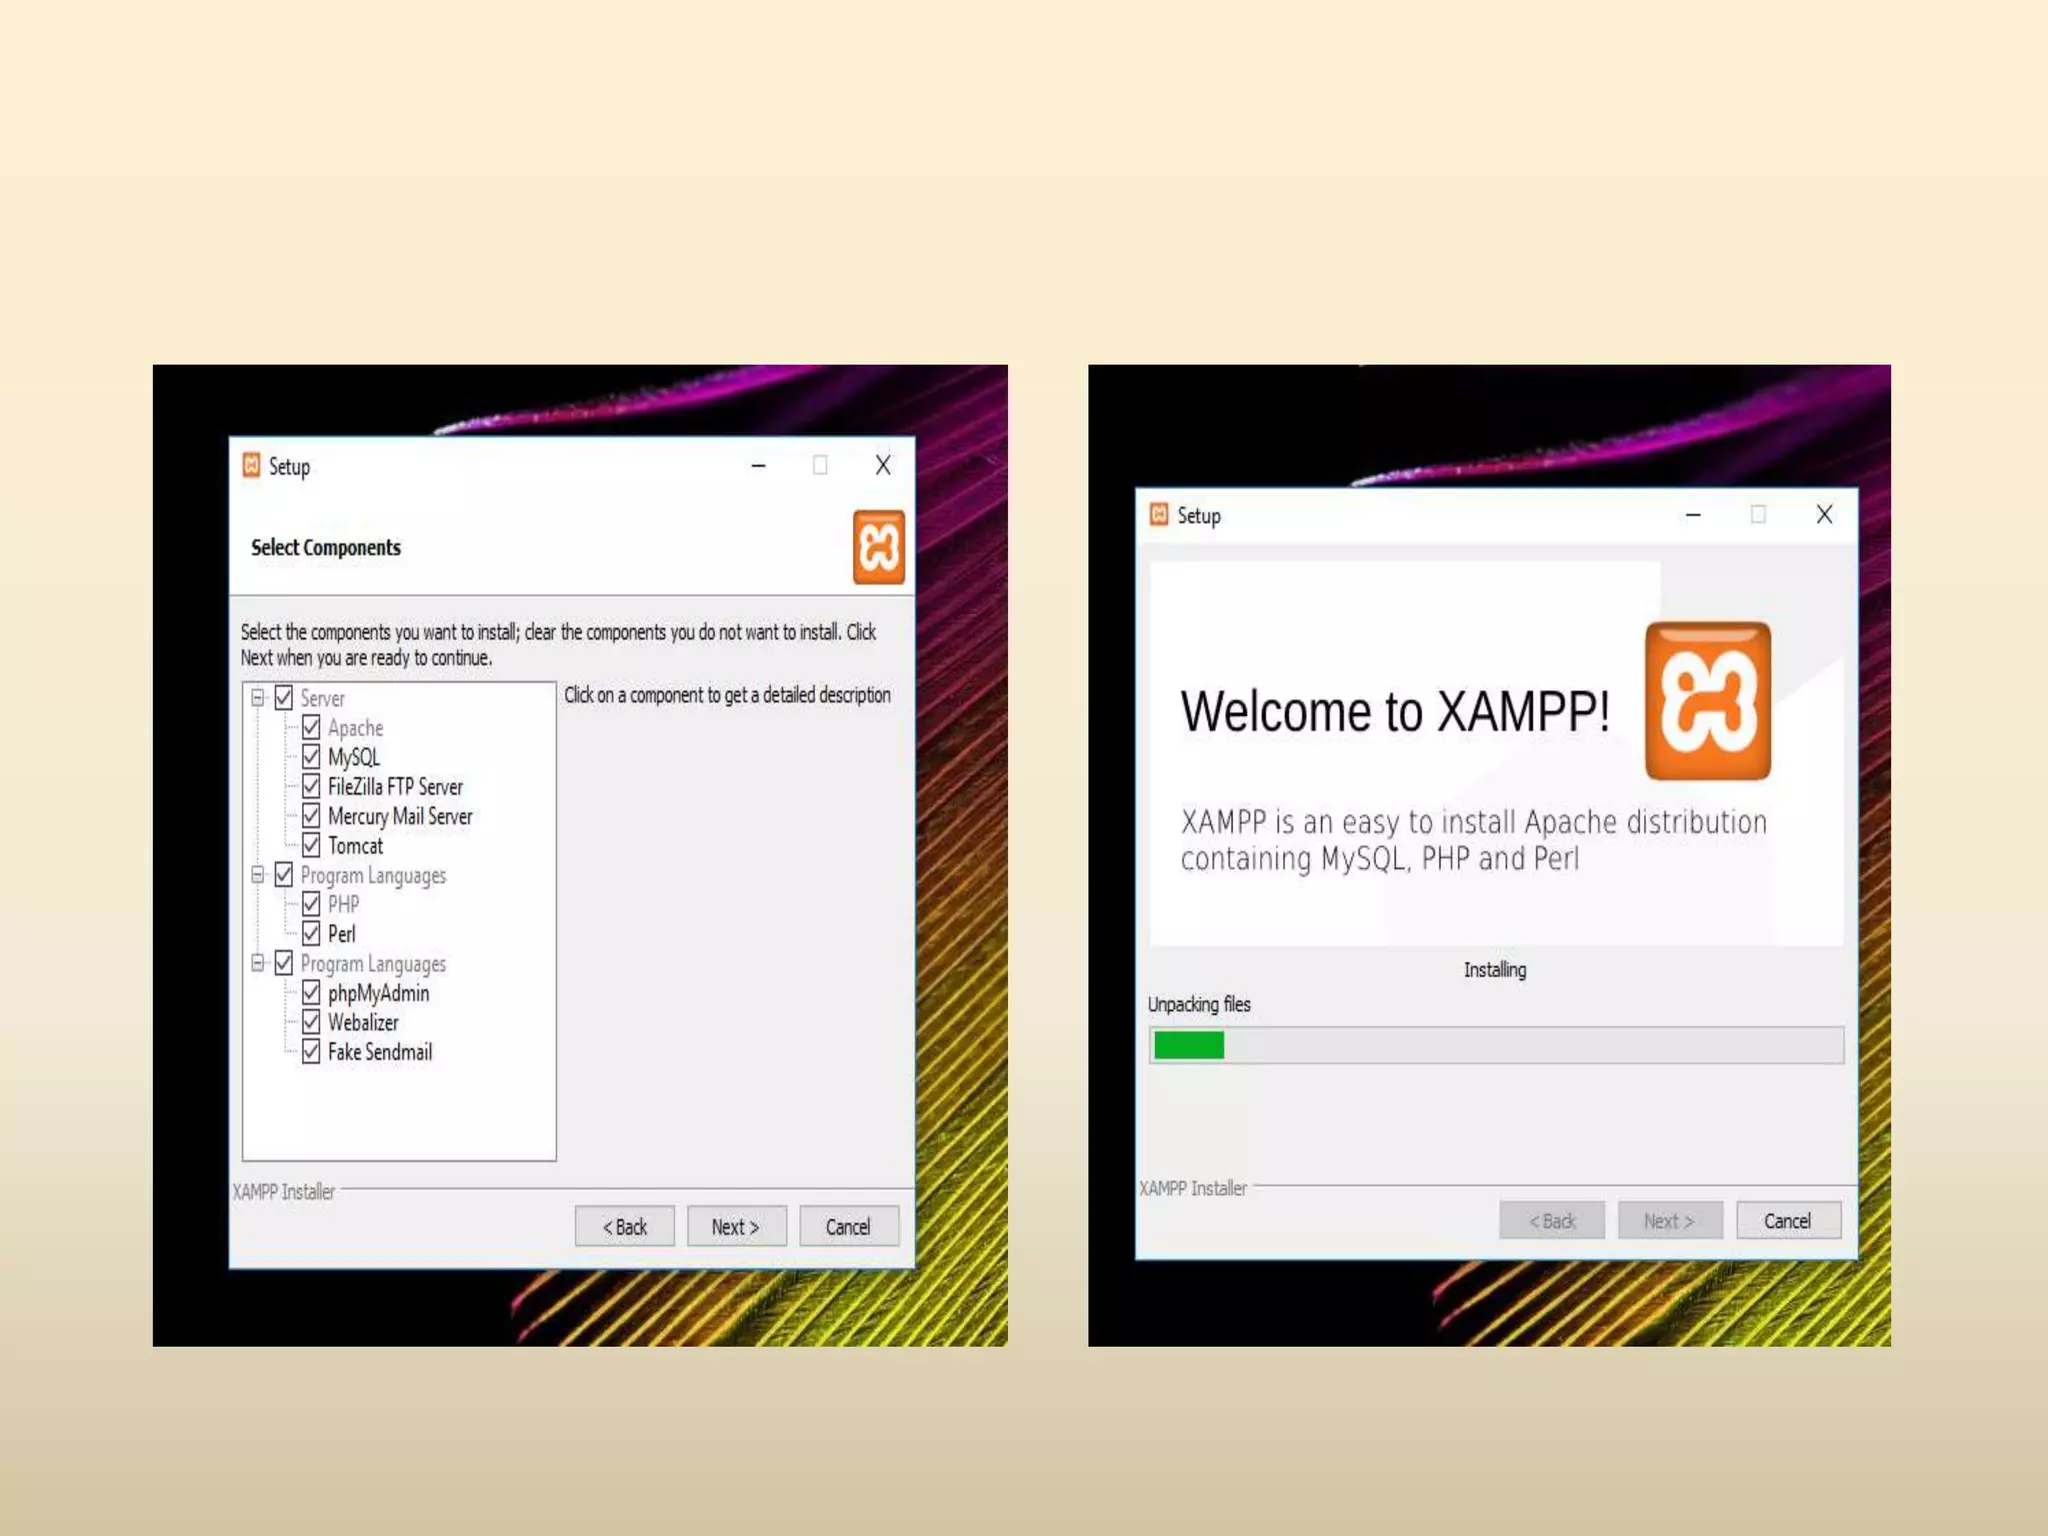
• Now DoubleClick on Downloaded exe file of XAMPP. It will be started to install. • There can a warning message shown as in following snapshot. Just click on Ok (because it is related with user account control, will be discussed later sometime).
7.
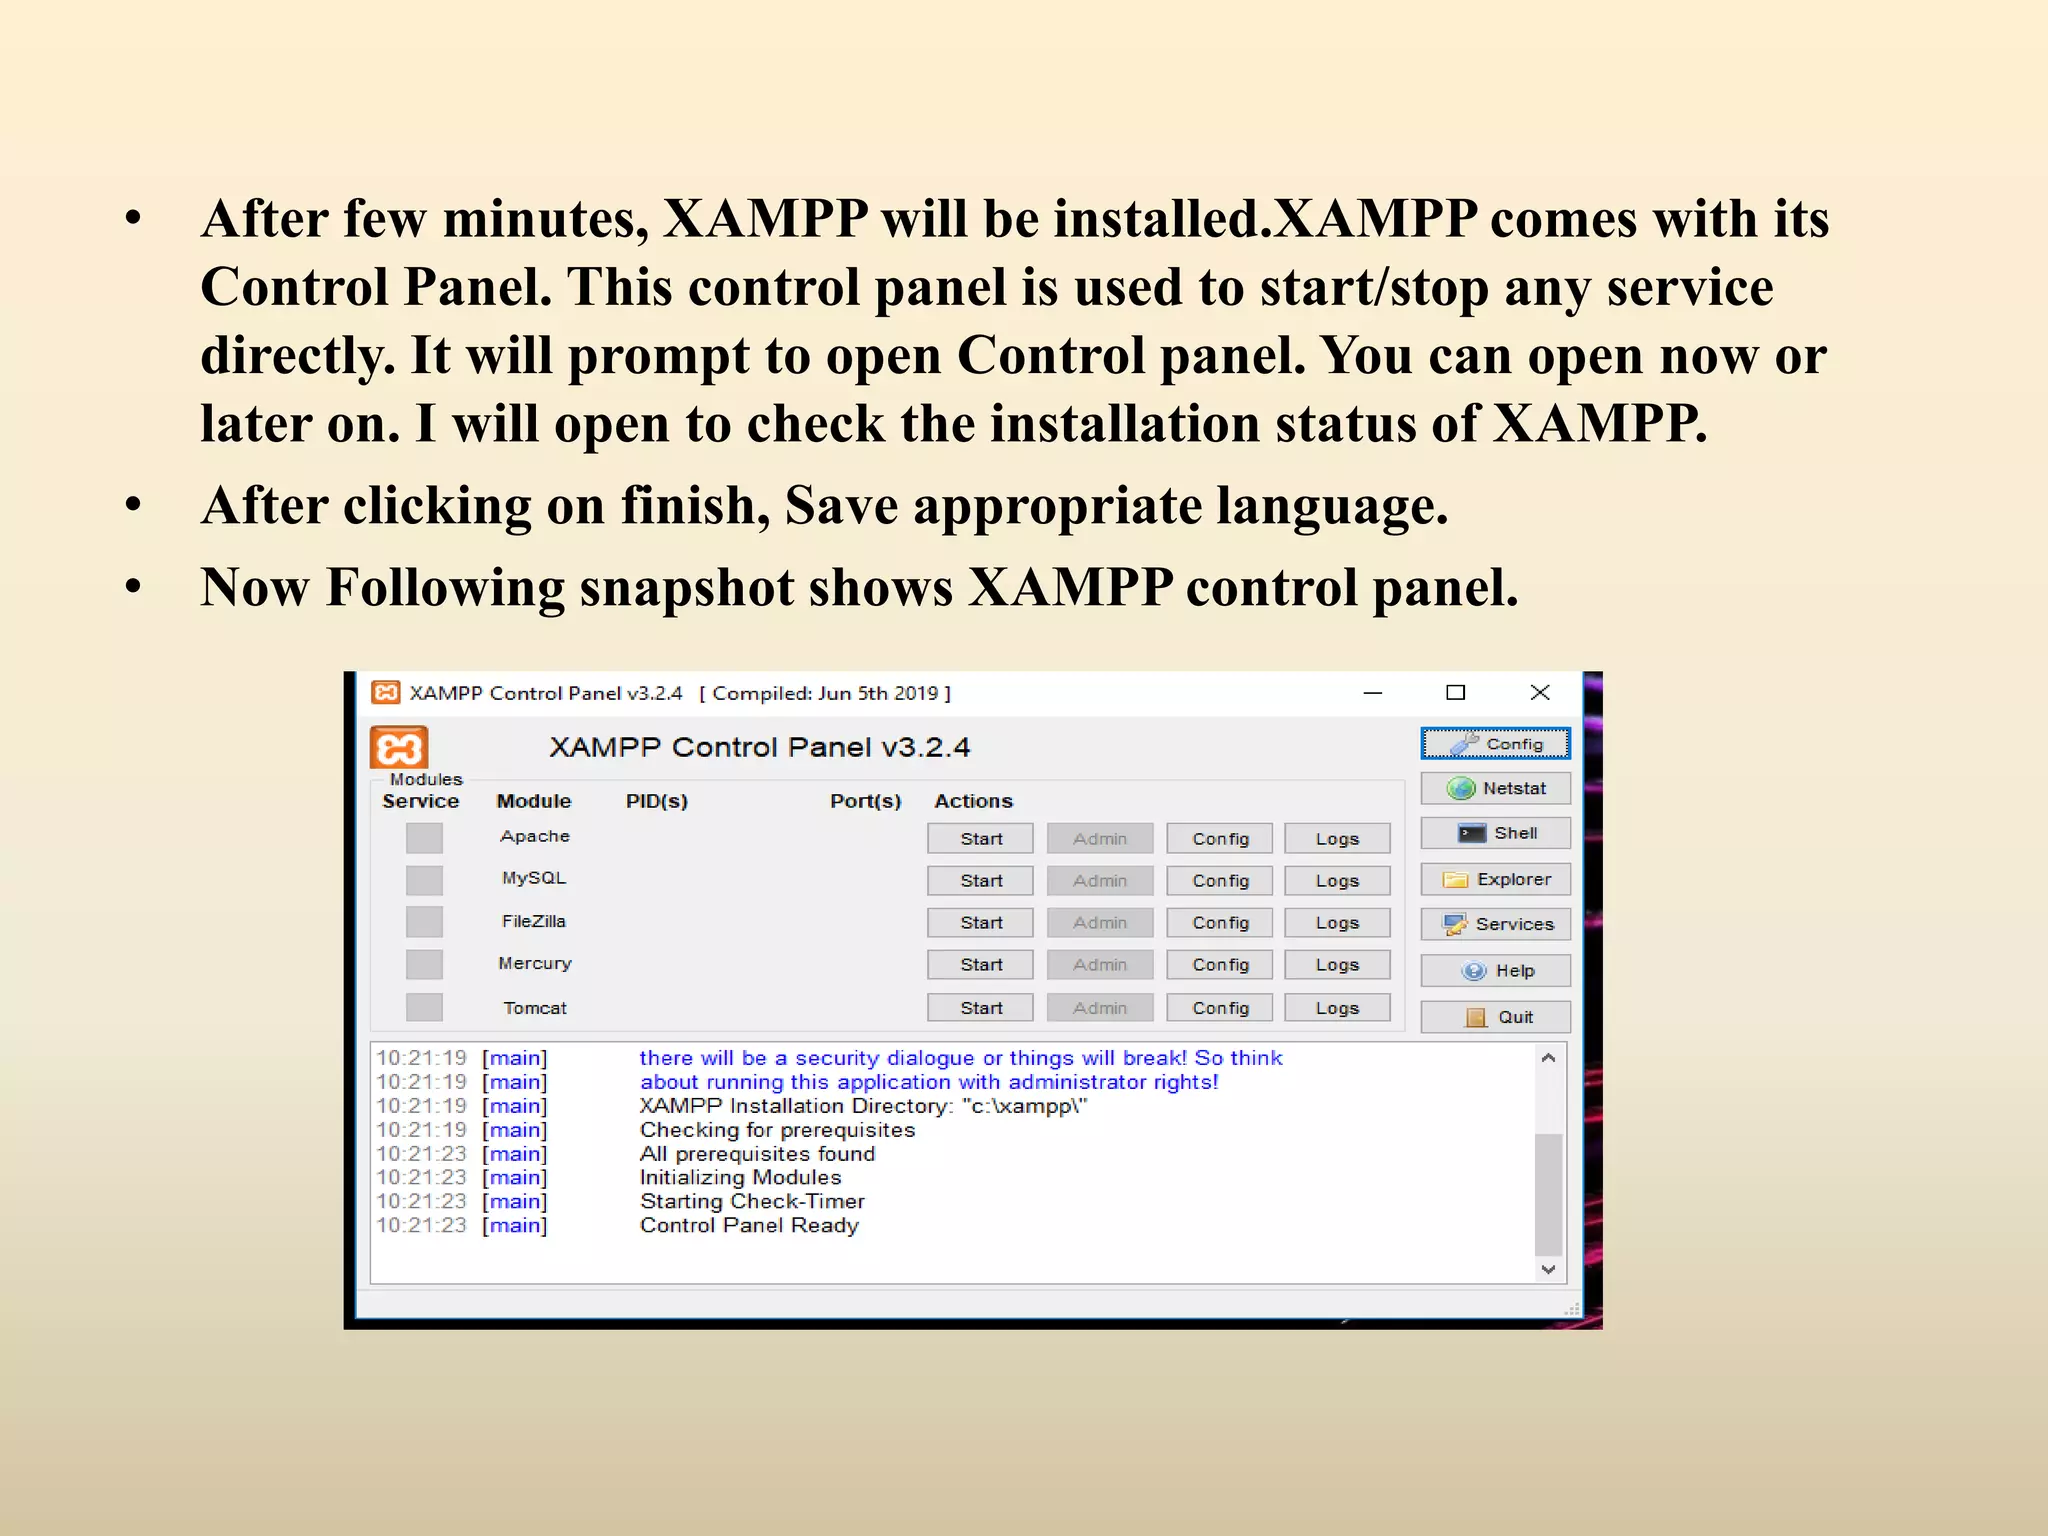
• After fewminutes, XAMPP will be installed.XAMPP comes with its Control Panel. This control panel is used to start/stop any service directly. It will prompt to open Control panel. You can open now or later on. I will open to check the installation status of XAMPP. • After clicking on finish, Save appropriate language. • Now Following snapshot shows XAMPP control panel.
8.
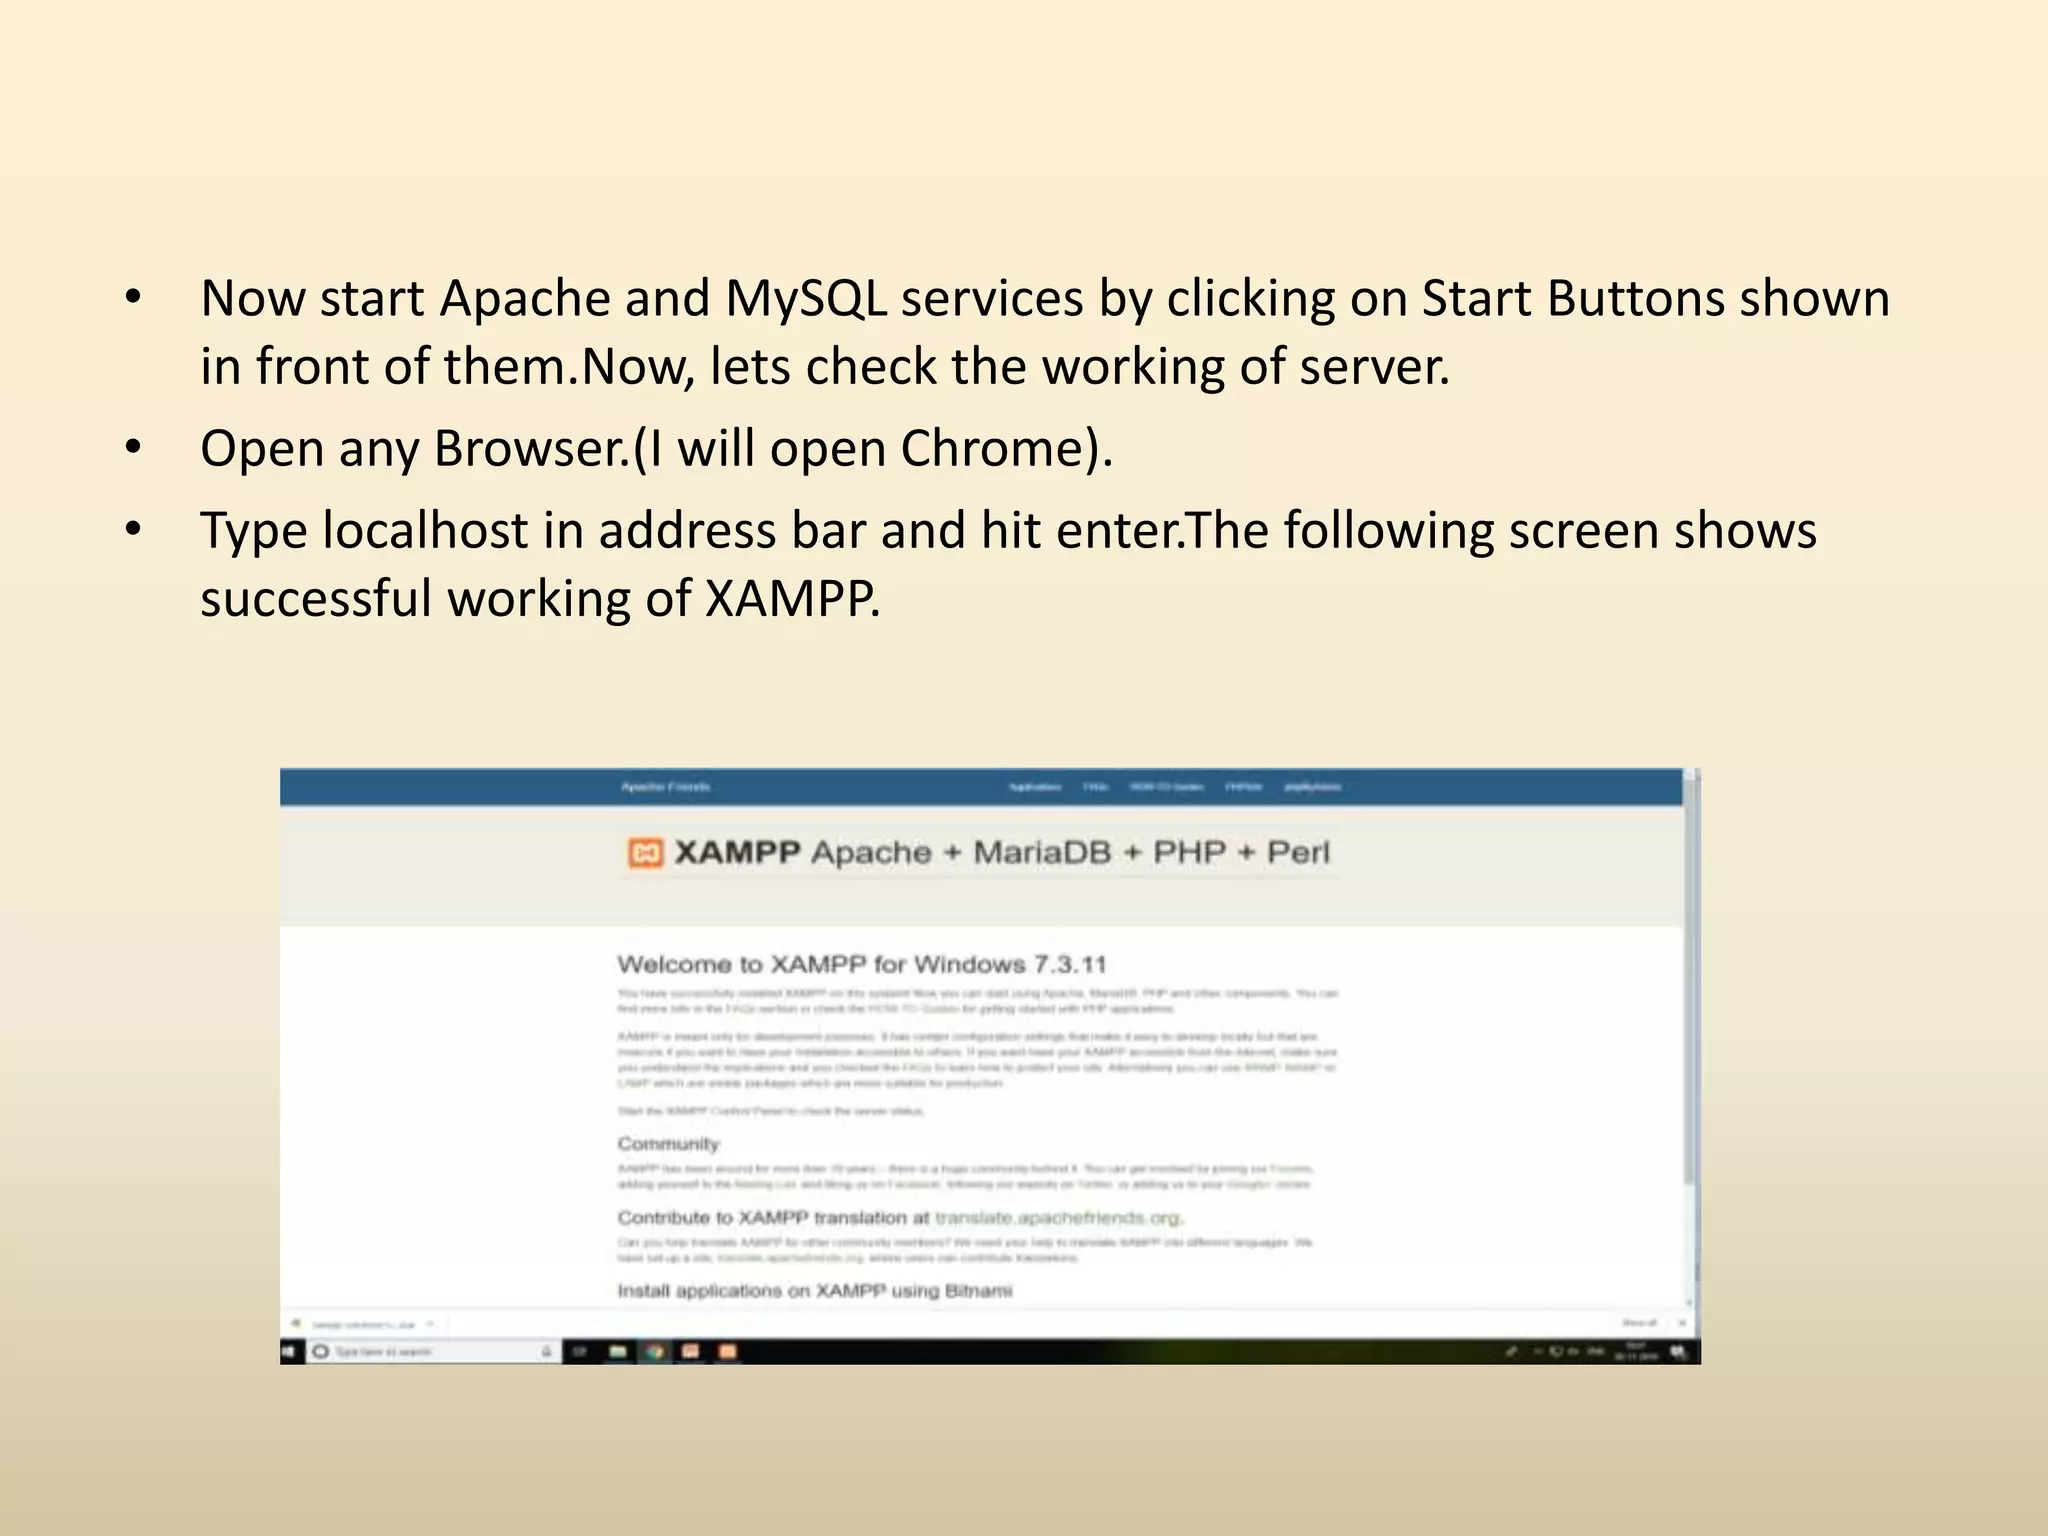
• Now startApache and MySQL services by clicking on Start Buttons shown in front of them.Now, lets check the working of server. • Open any Browser.(I will open Chrome). • Type localhost in address bar and hit enter.The following screen shows successful working of XAMPP.
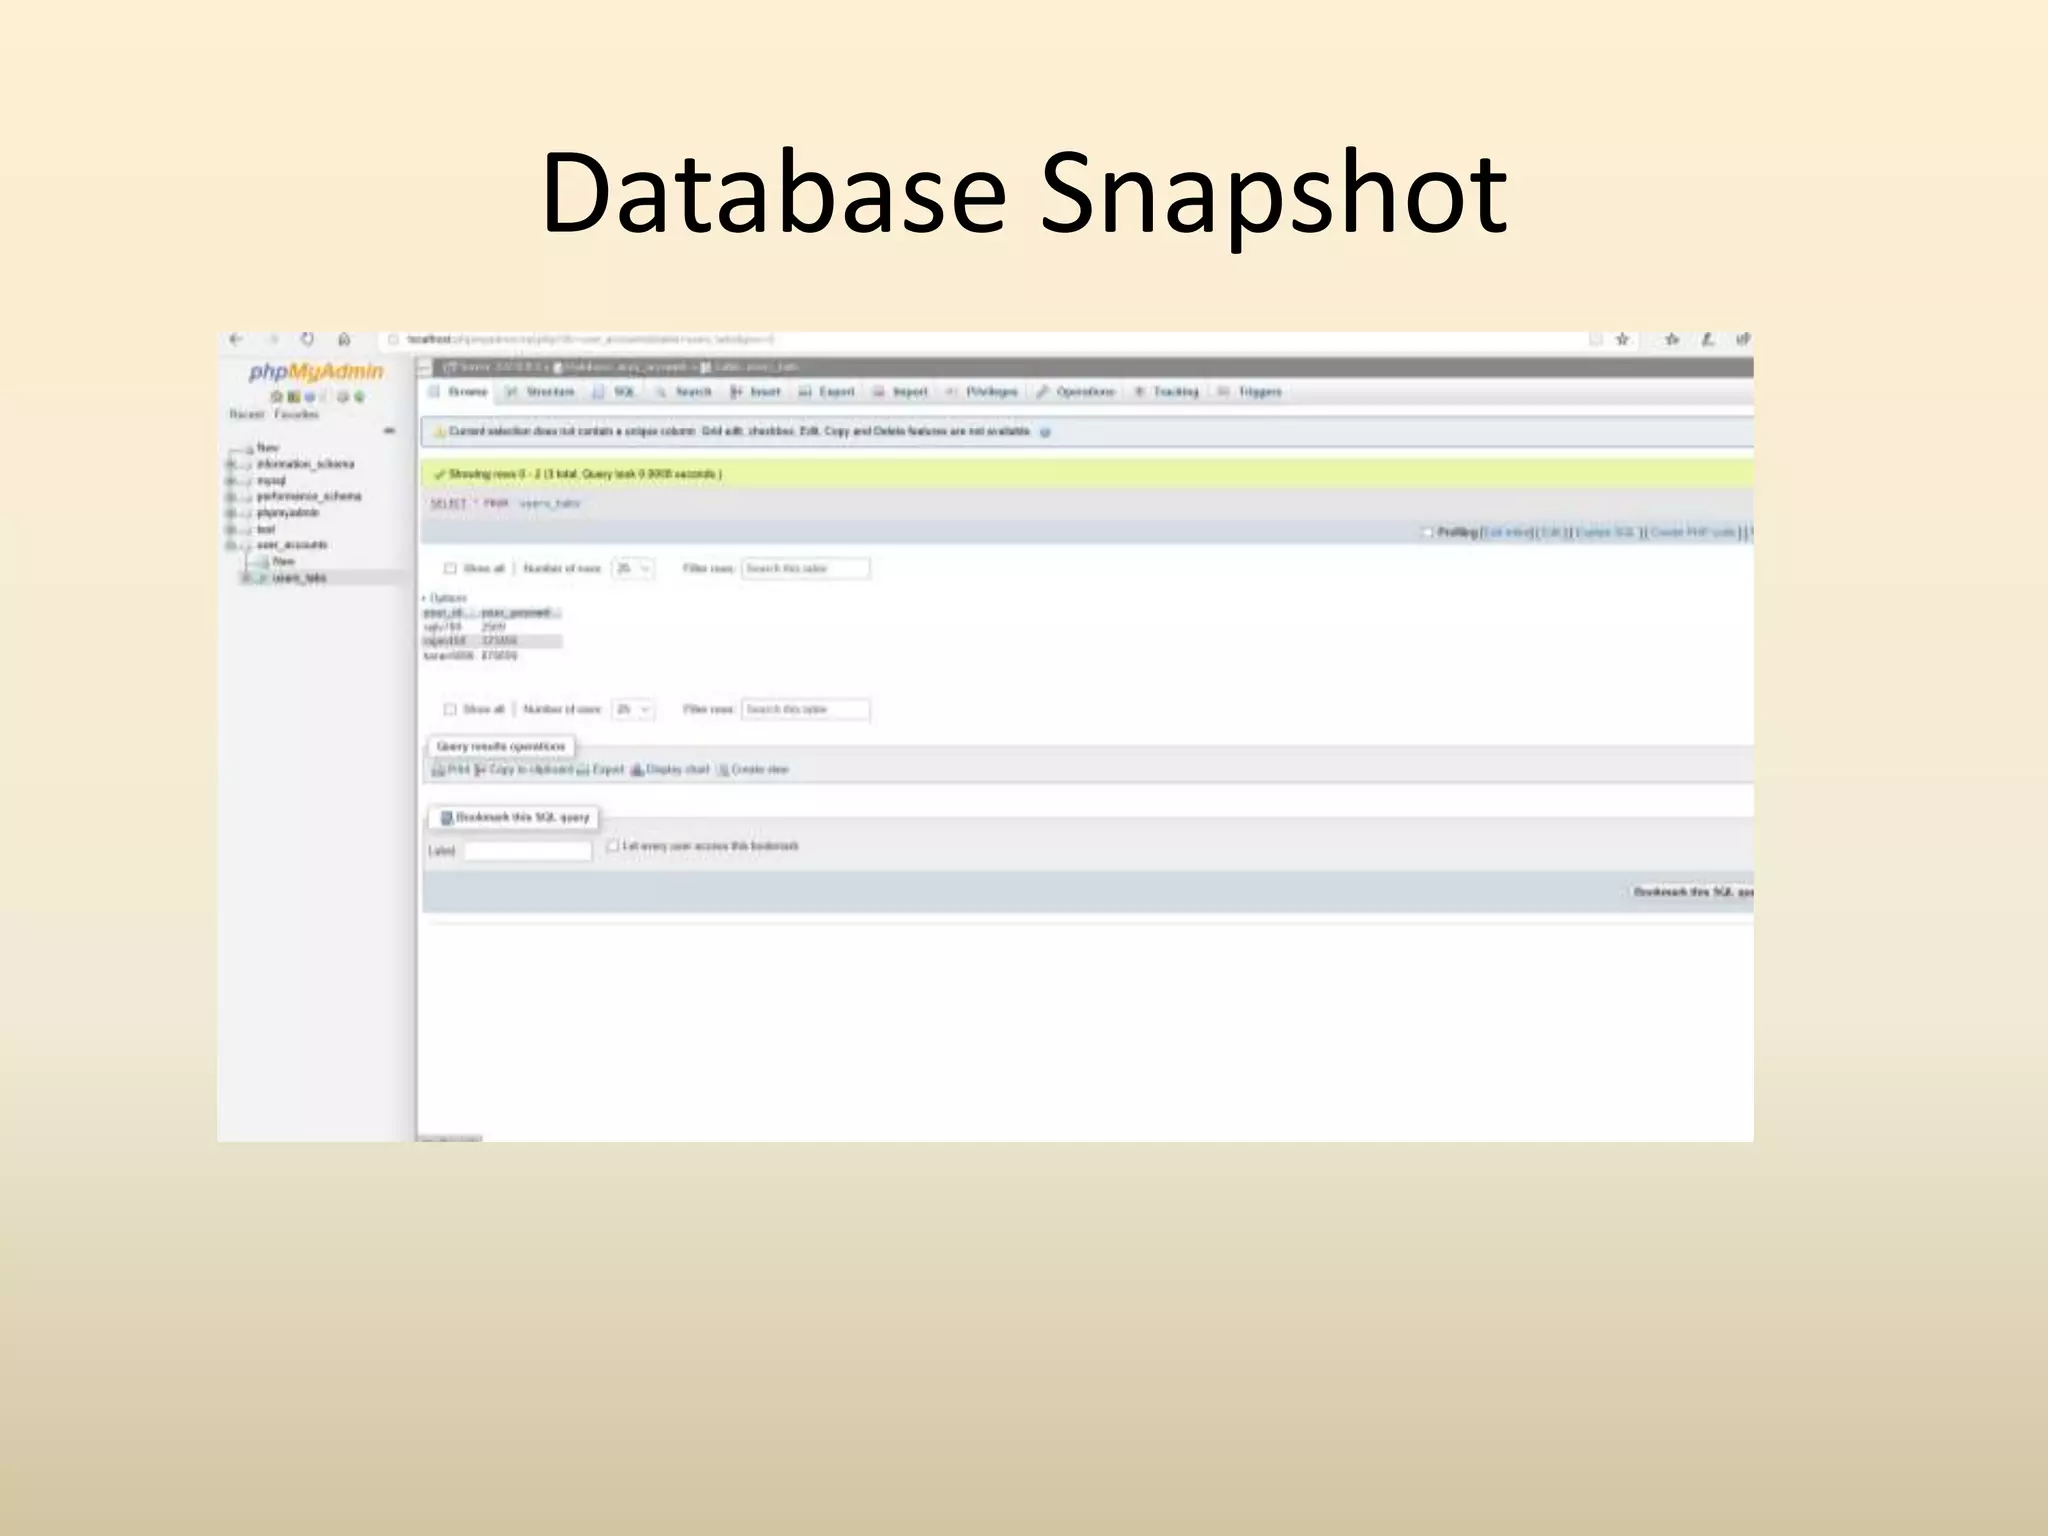
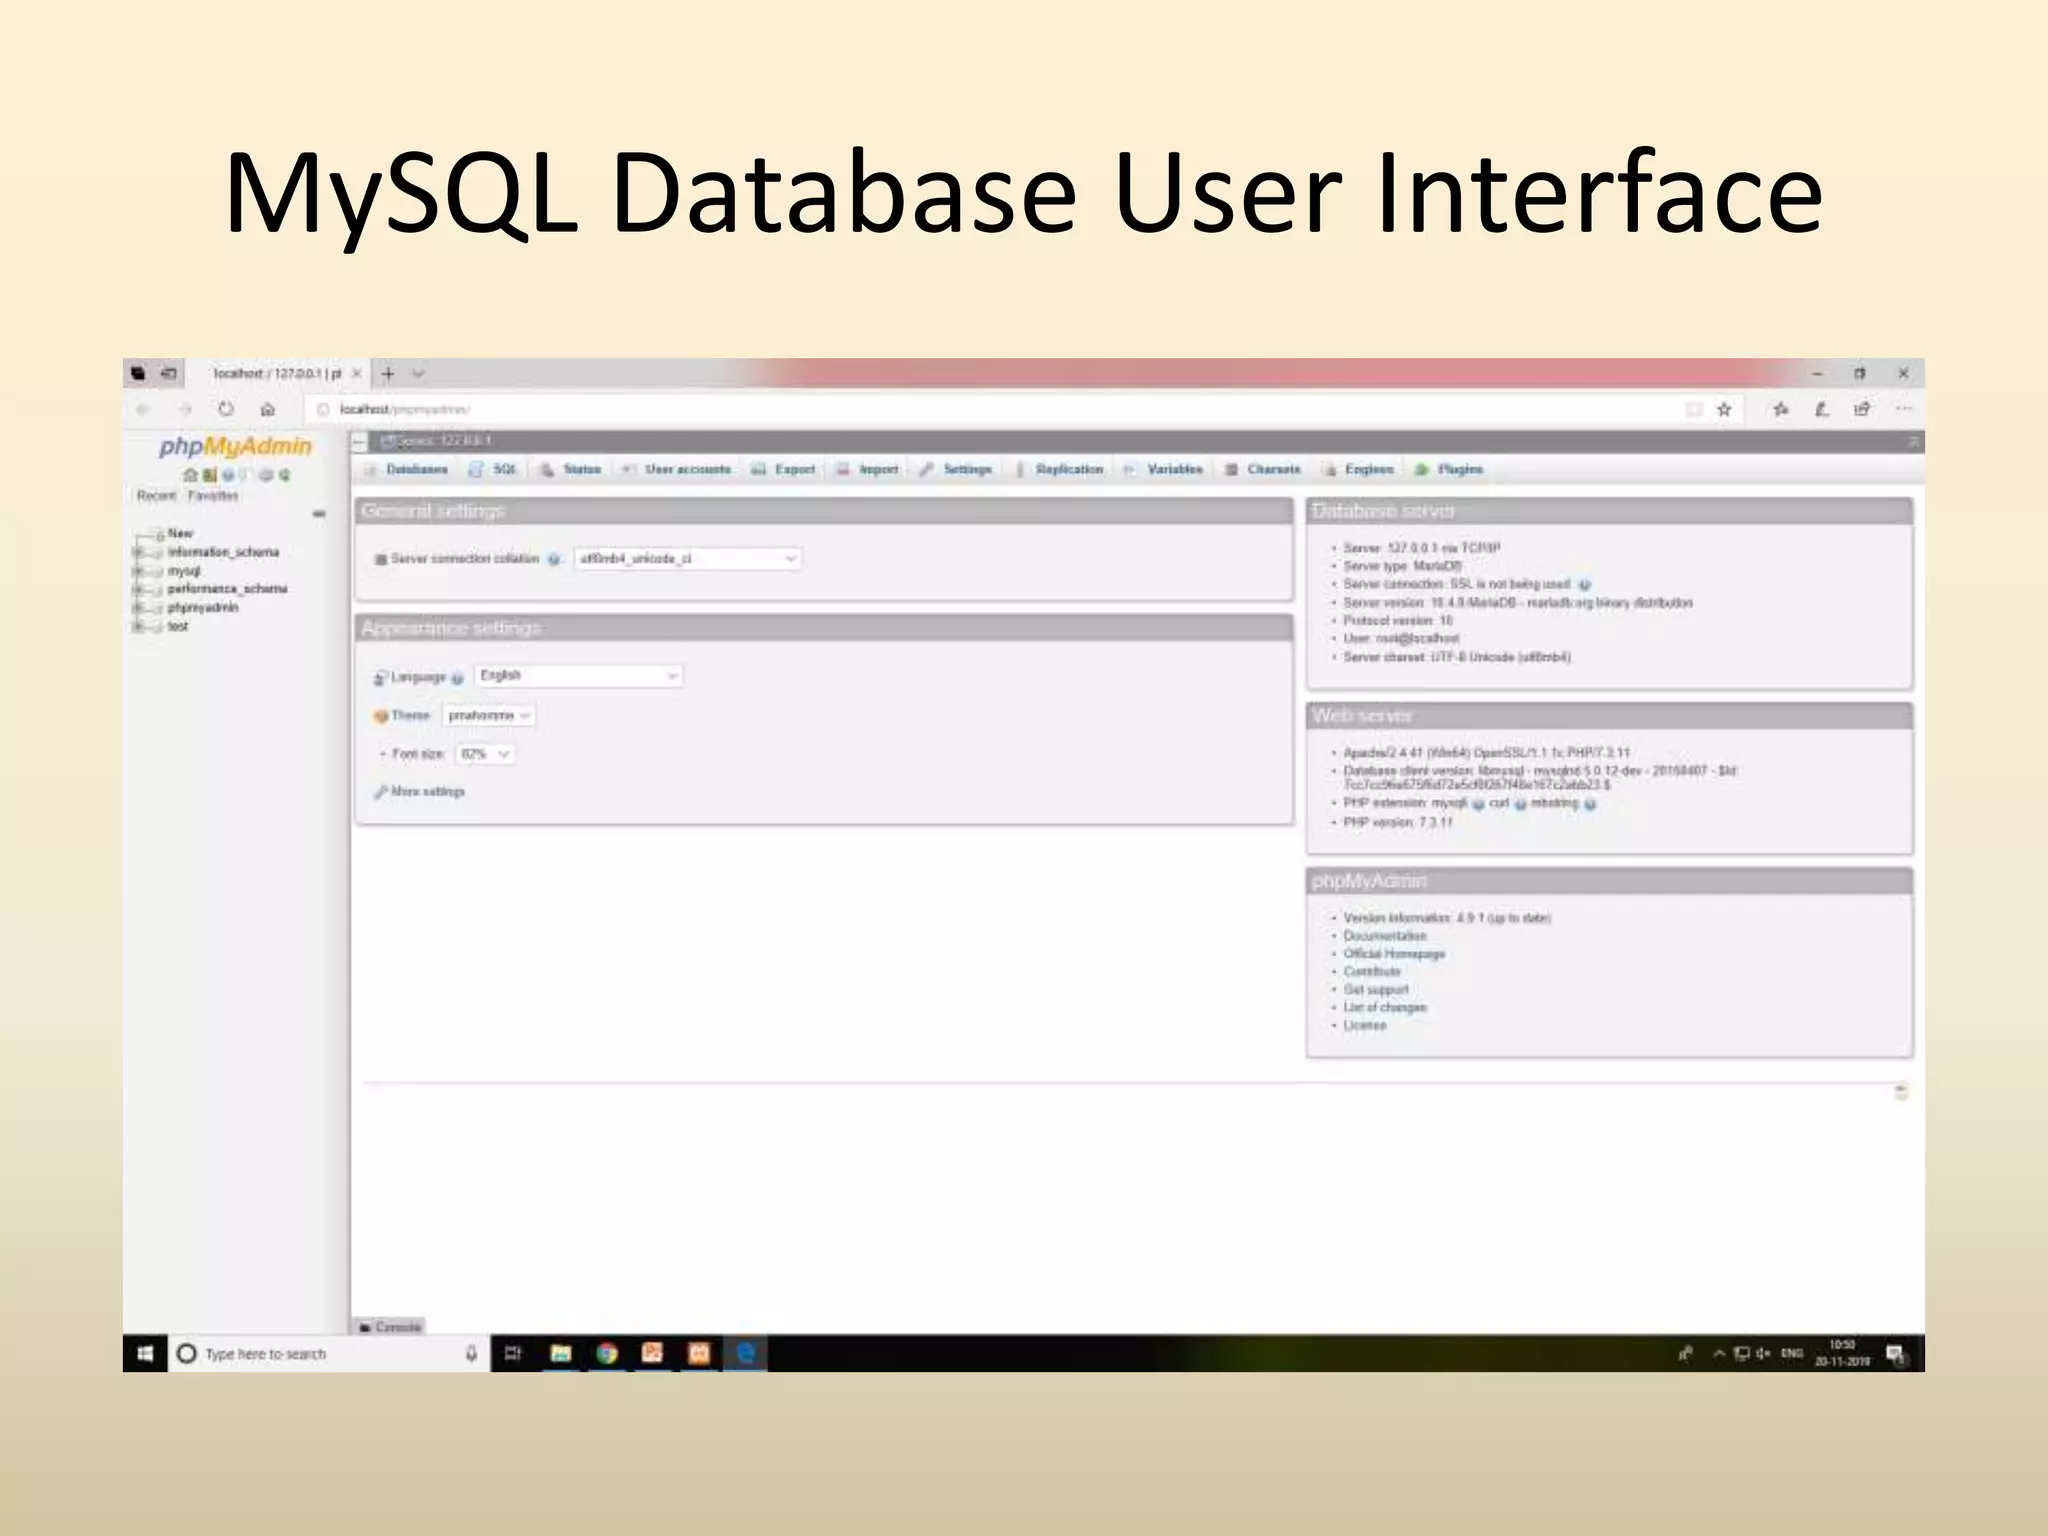
• Open XAMPPControl Panel.It can be opened by moving to C:xampp directory.Serach xampp-control file and click on it. • Now click on Admin button in front of MySQL Module.It will open MySQL database user interface in default browser as shown. • You can create and manage databases in this interface. It can be also openend by typing http://localhost/phpmyadmin/ in address bar.
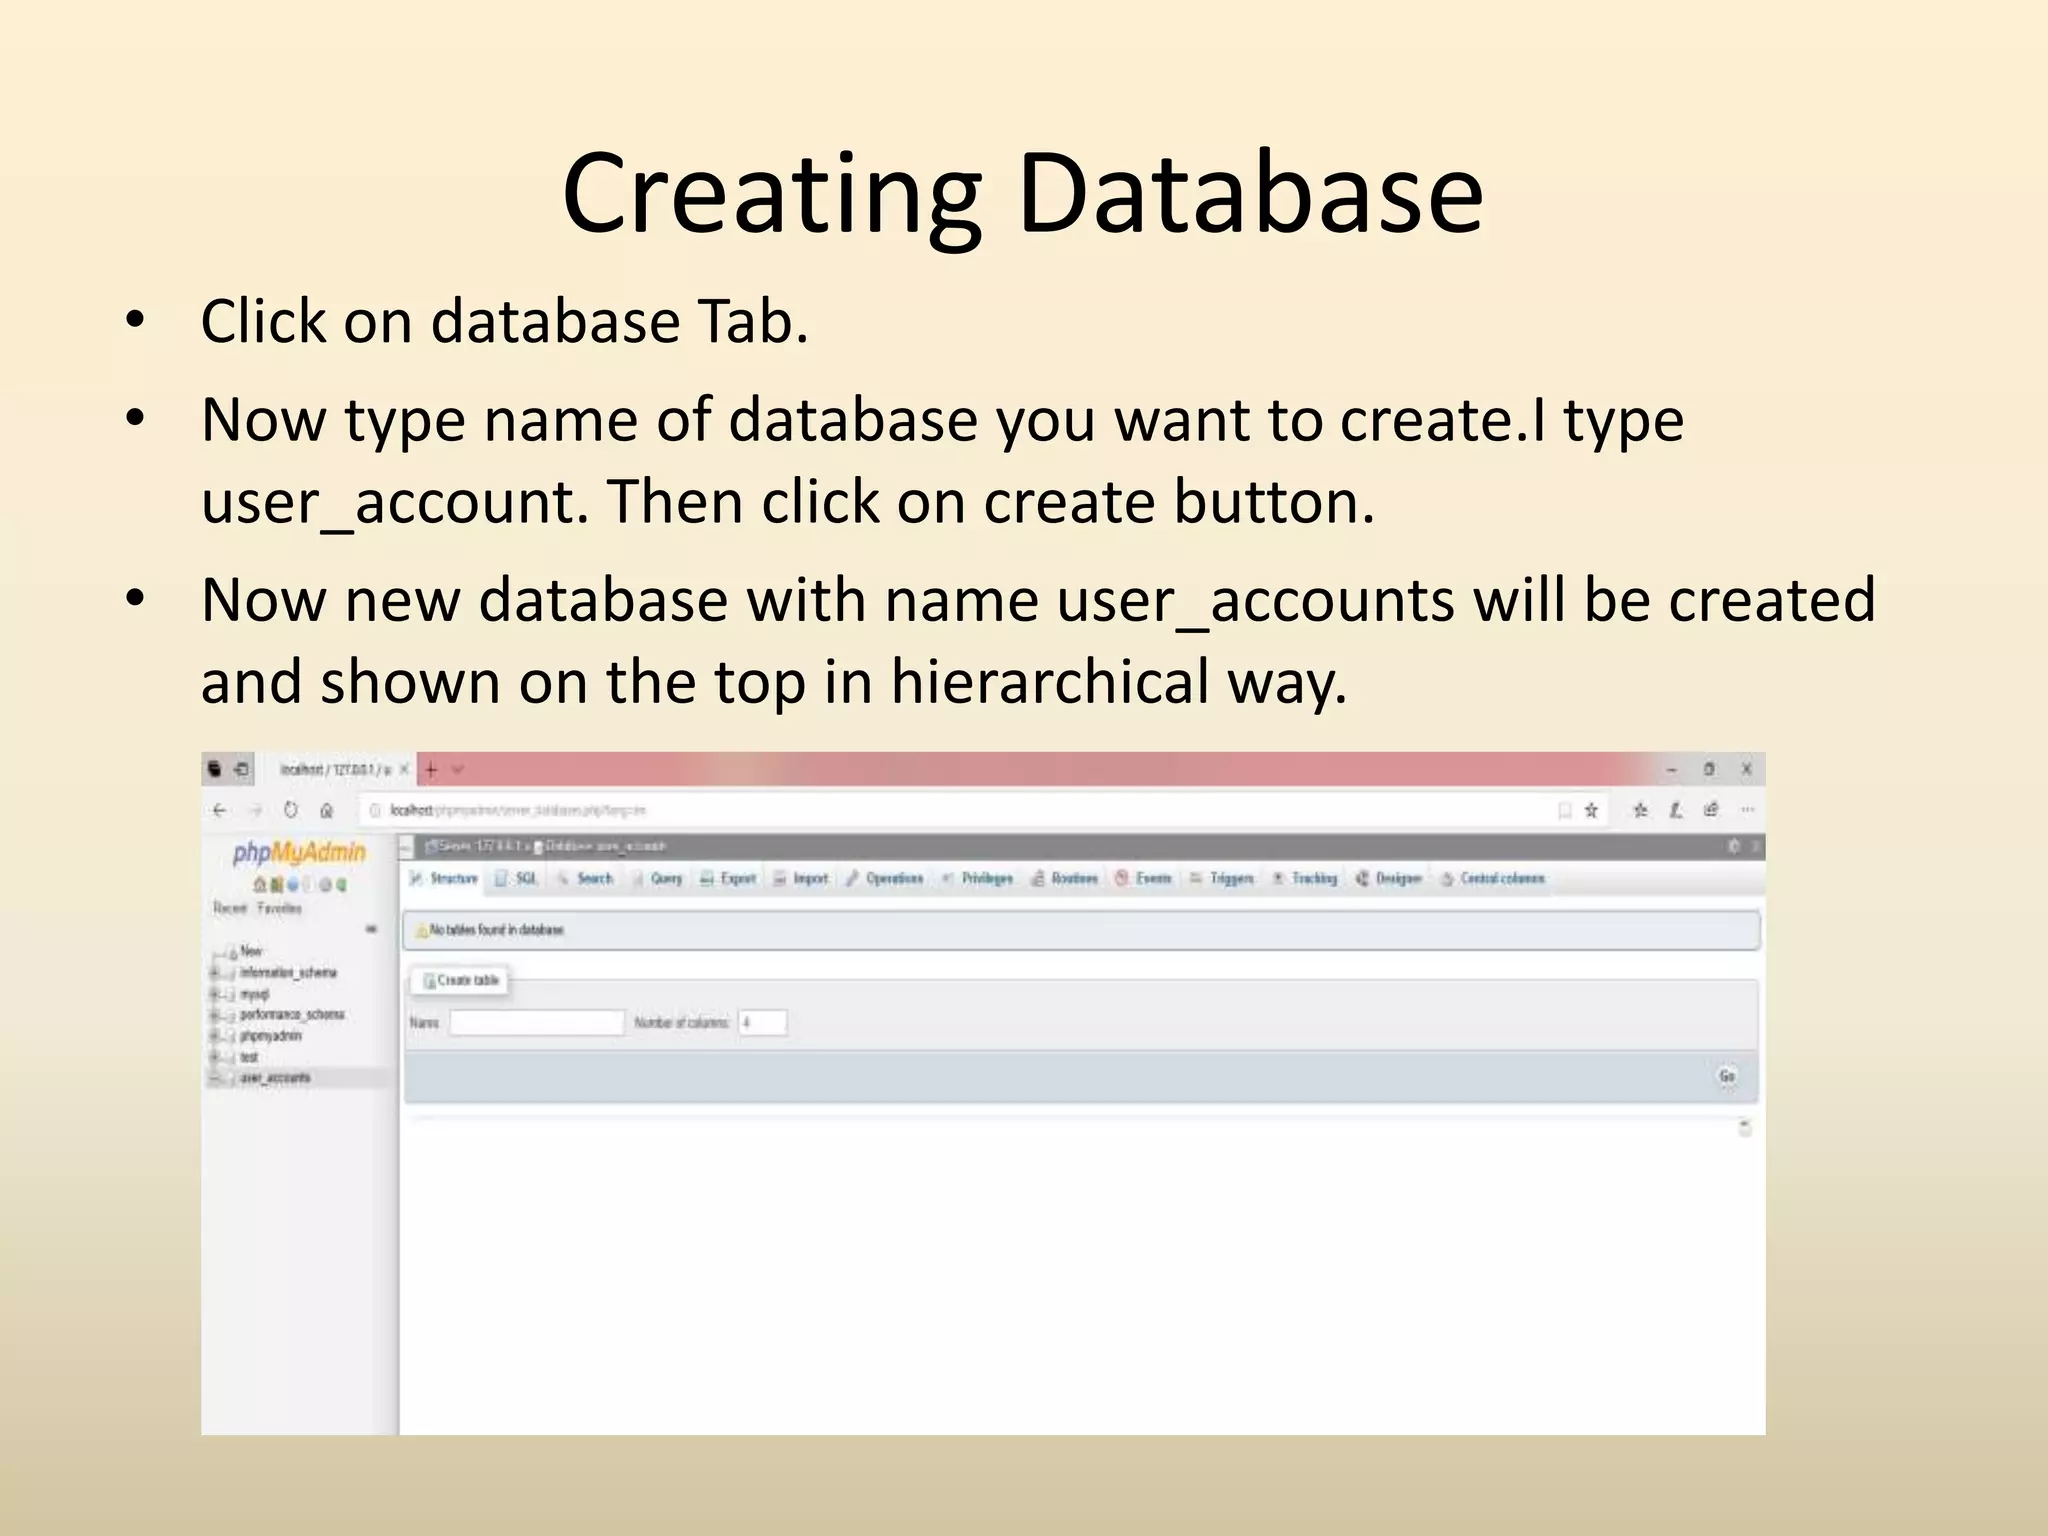
Creating Database • Clickon database Tab. • Now type name of database you want to create.I type user_account. Then click on create button. • Now new database with name user_accounts will be created and shown on the top in hierarchical way.
13.
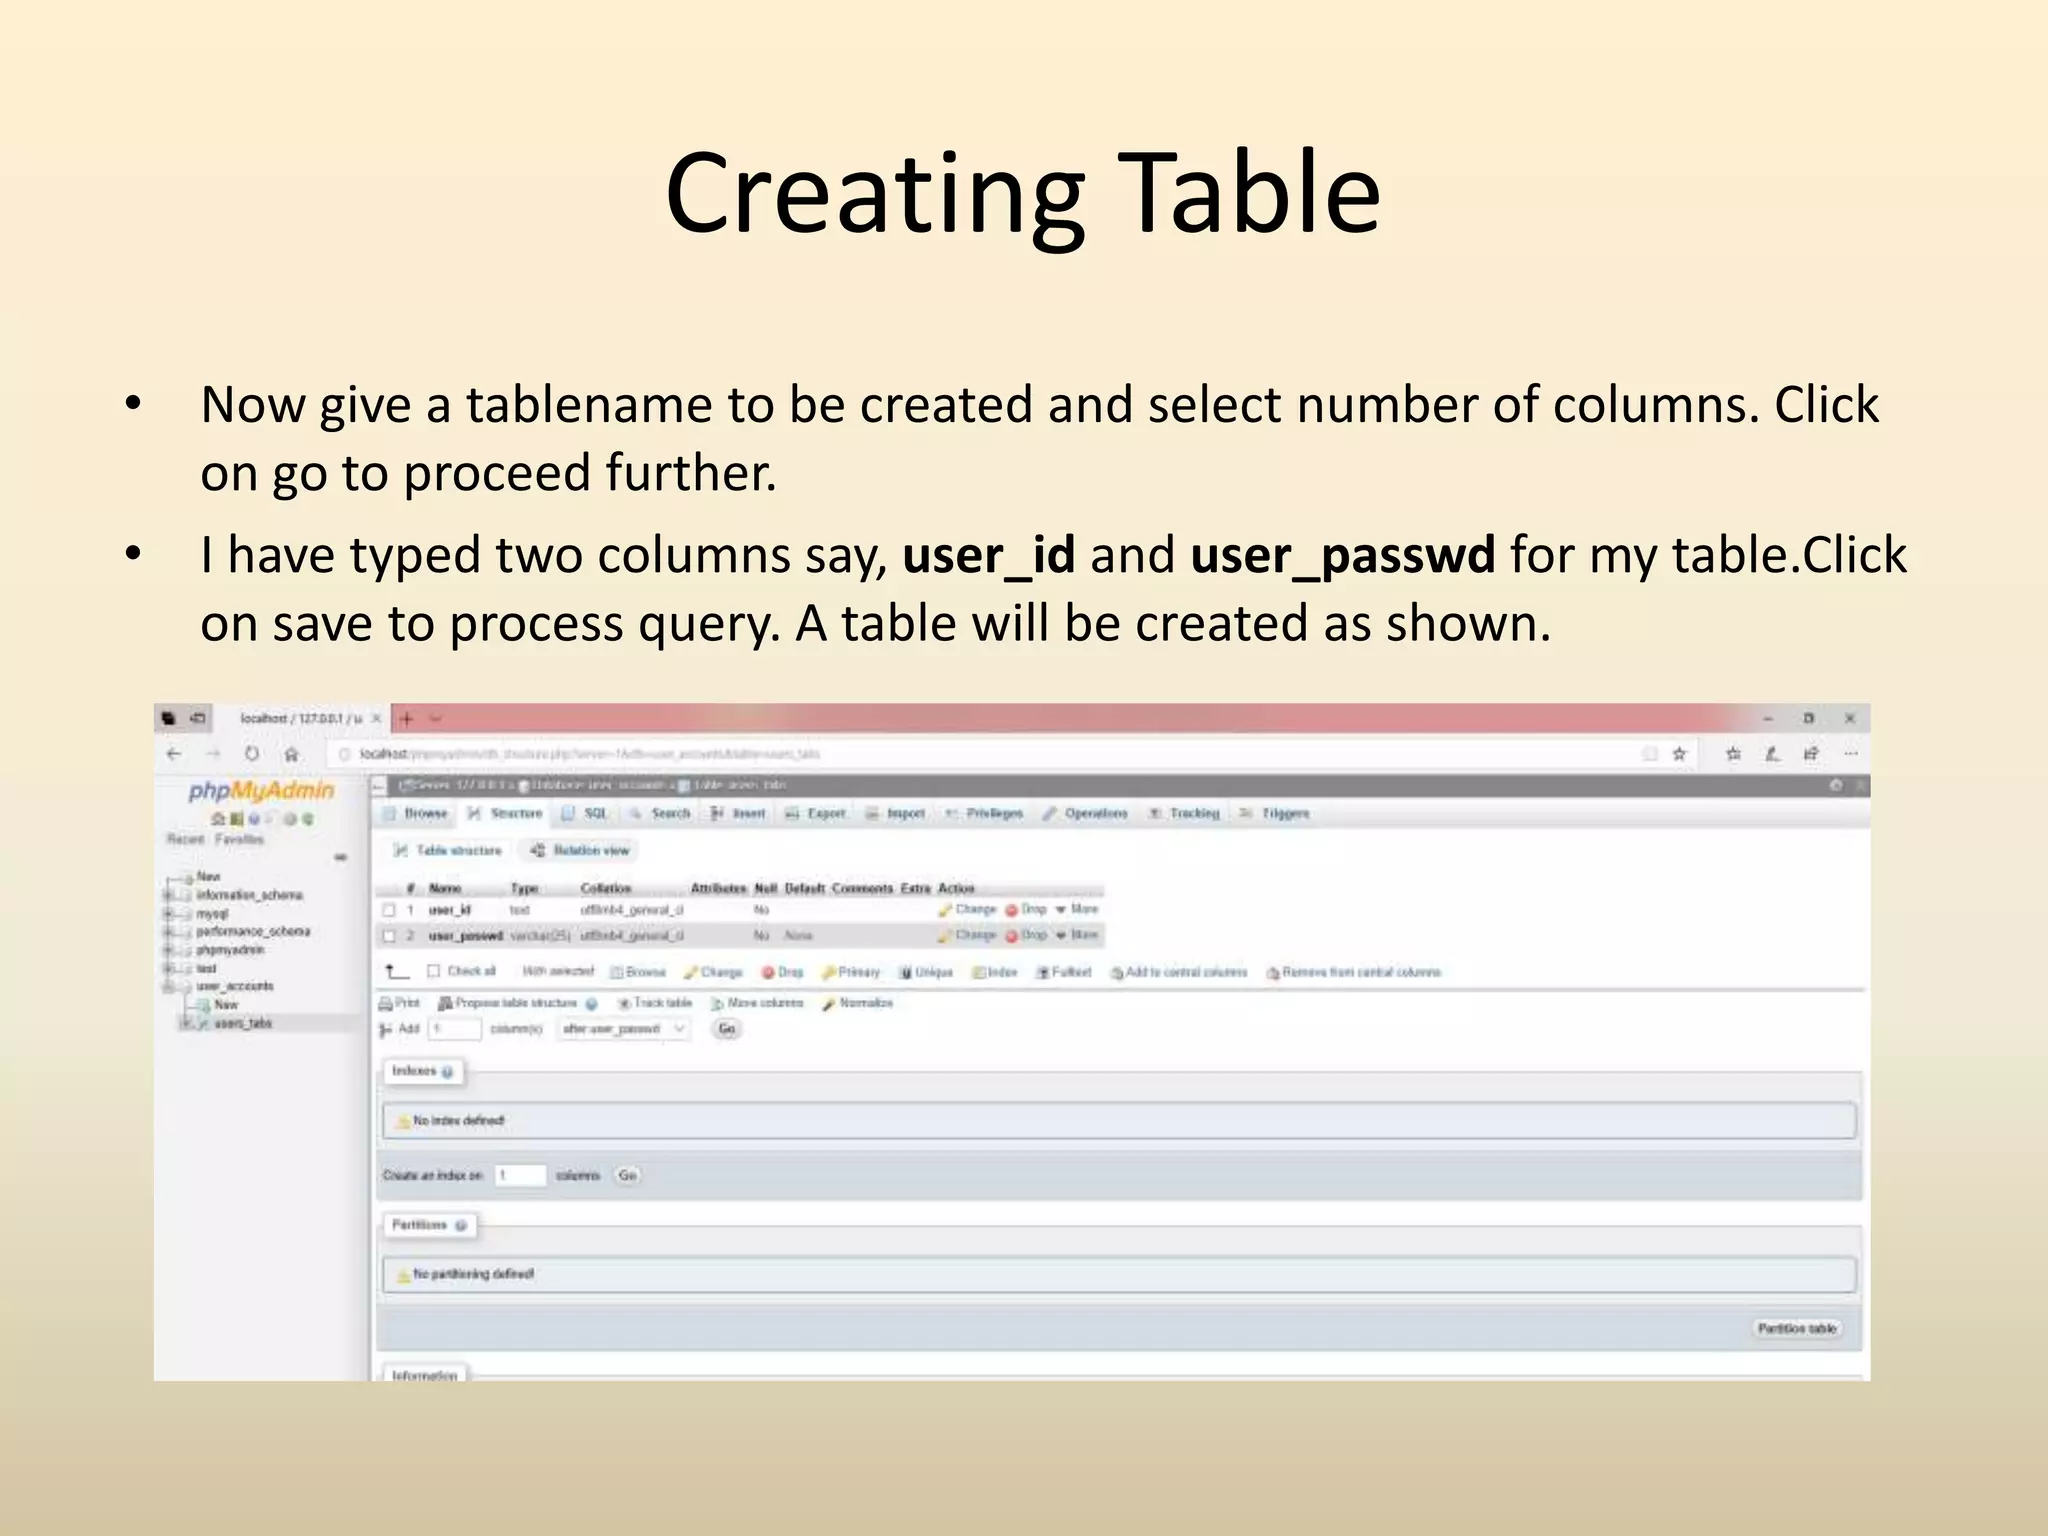
Creating Table • Nowgive a tablename to be created and select number of columns. Click on go to proceed further. • I have typed two columns say, user_id and user_passwd for my table.Click on save to process query. A table will be created as shown.
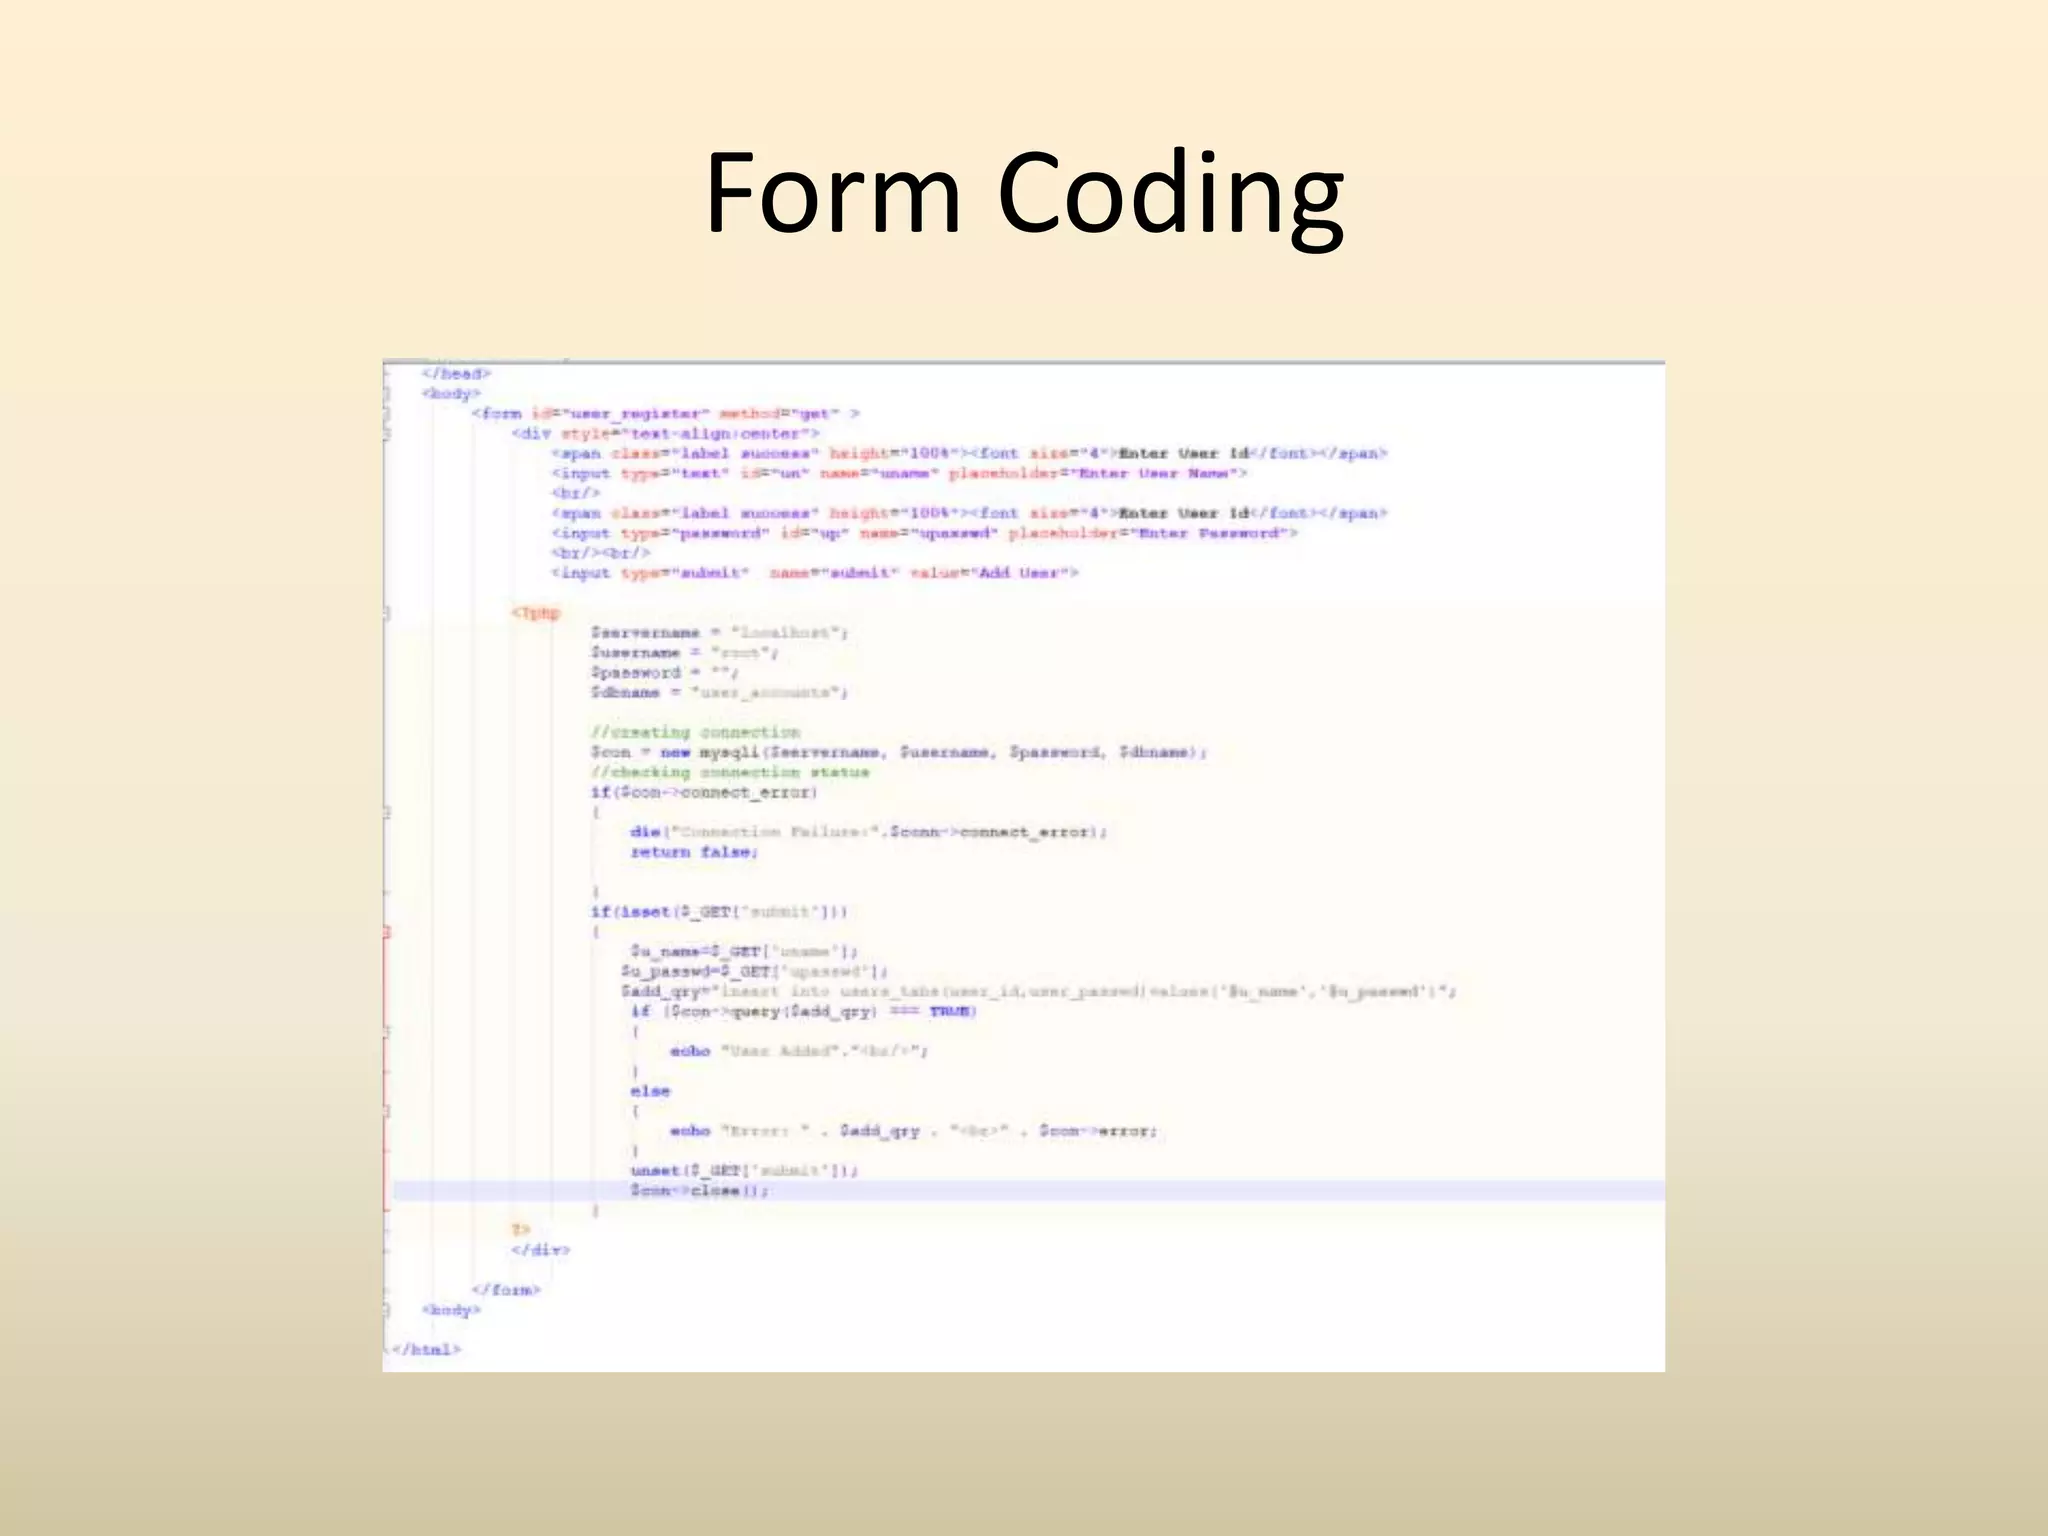
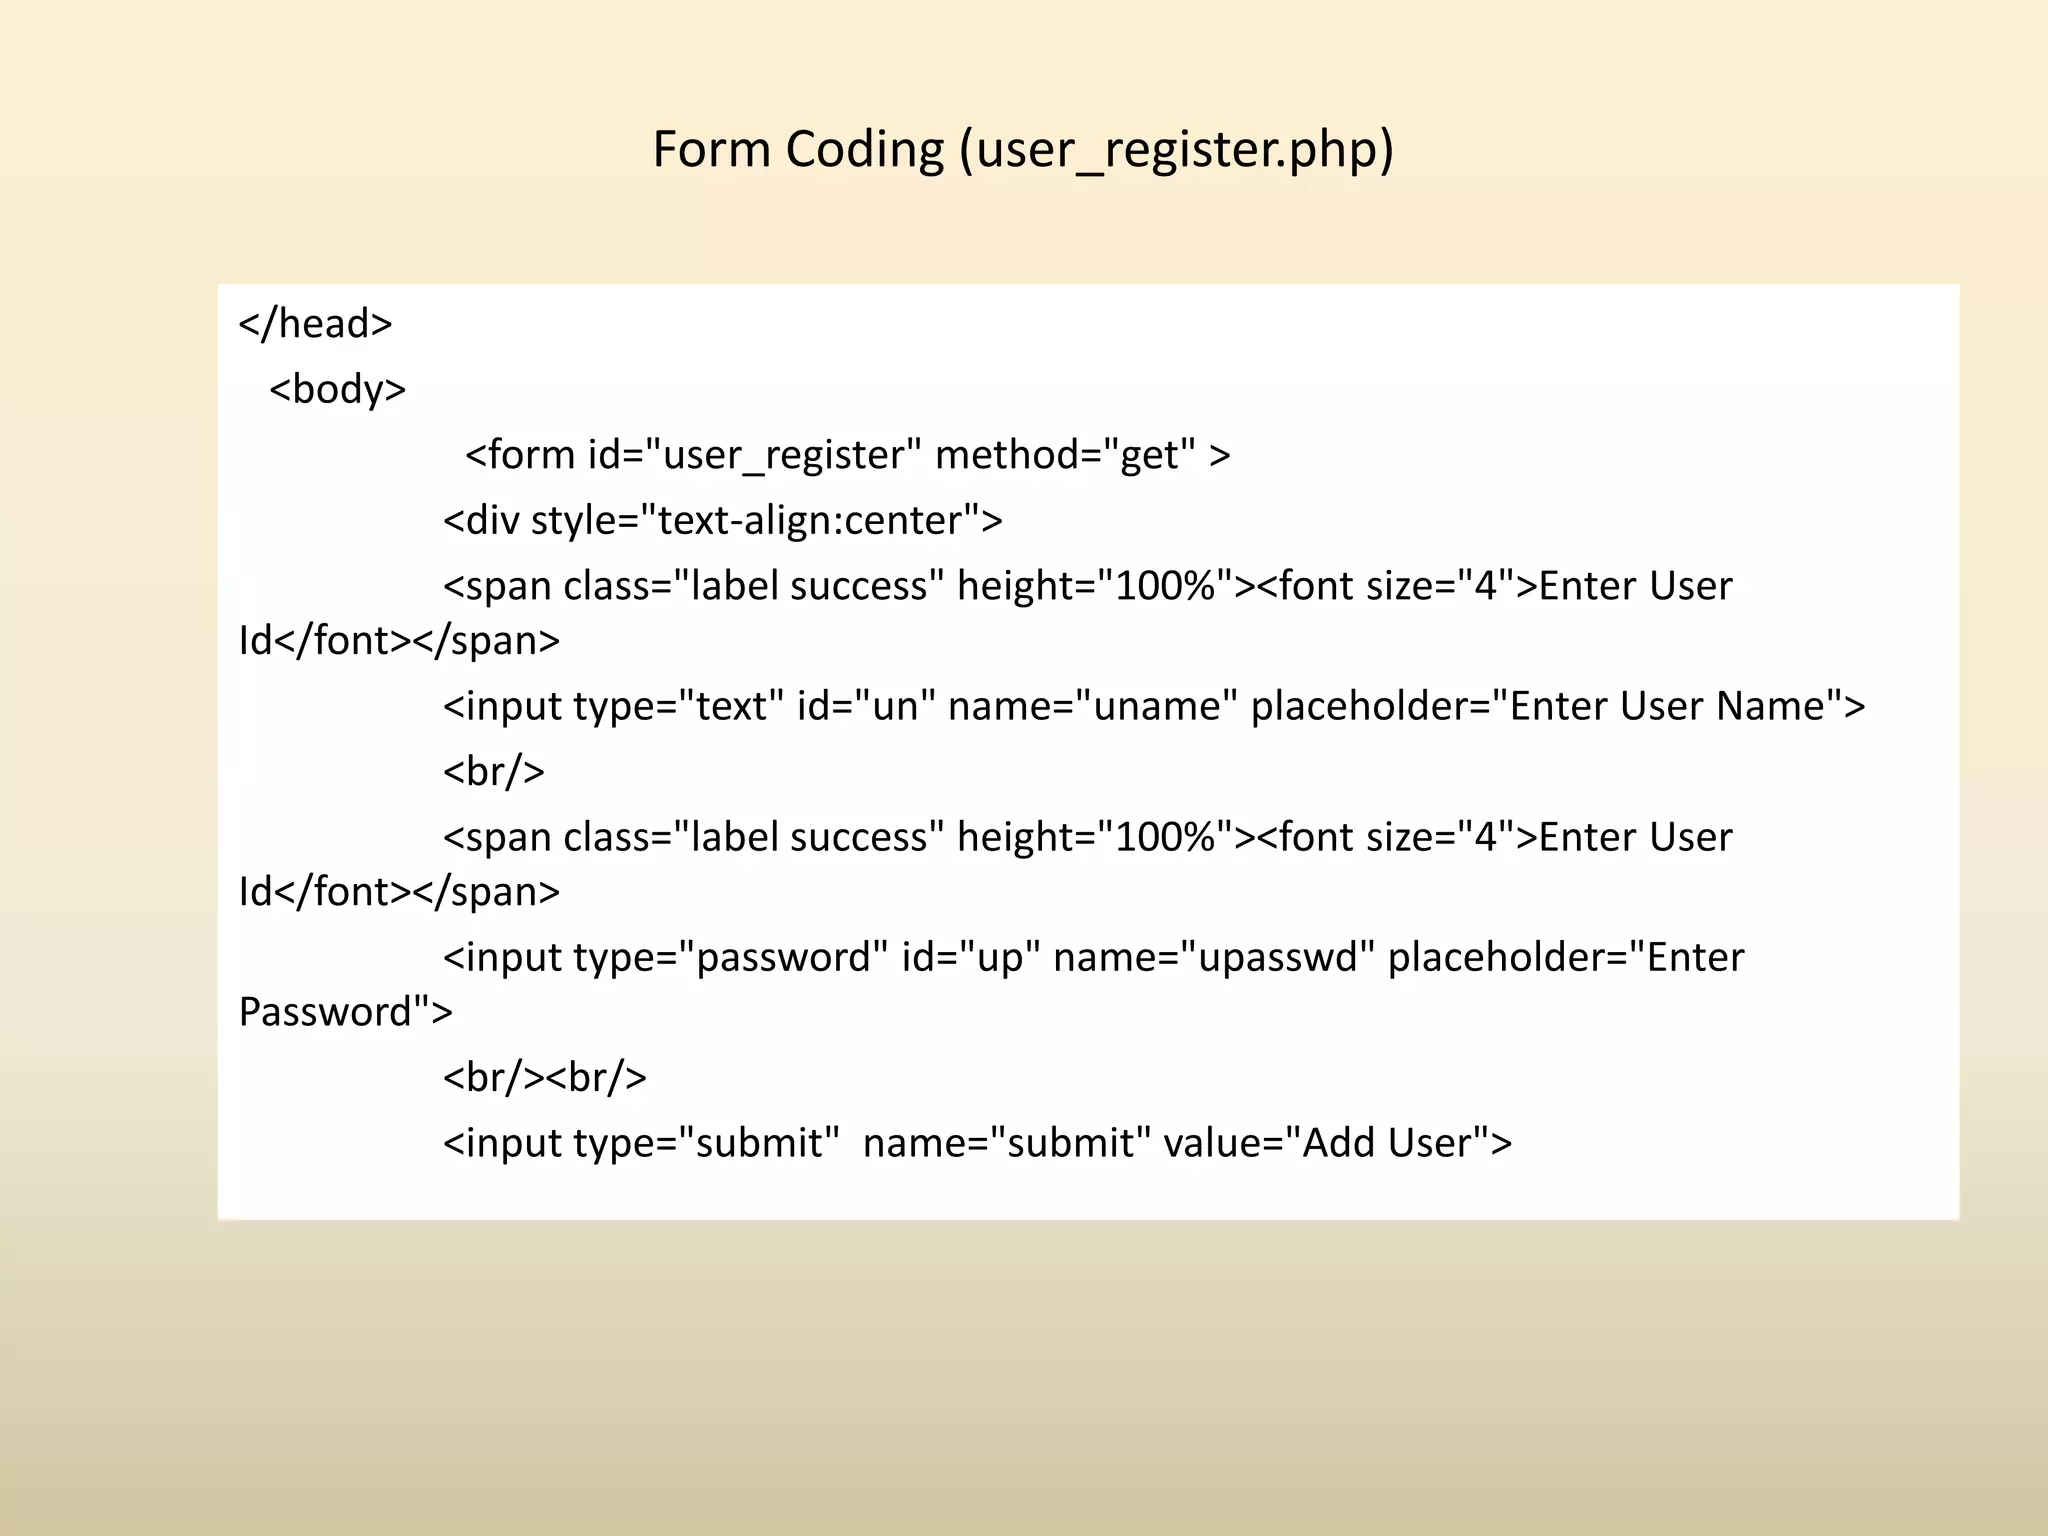
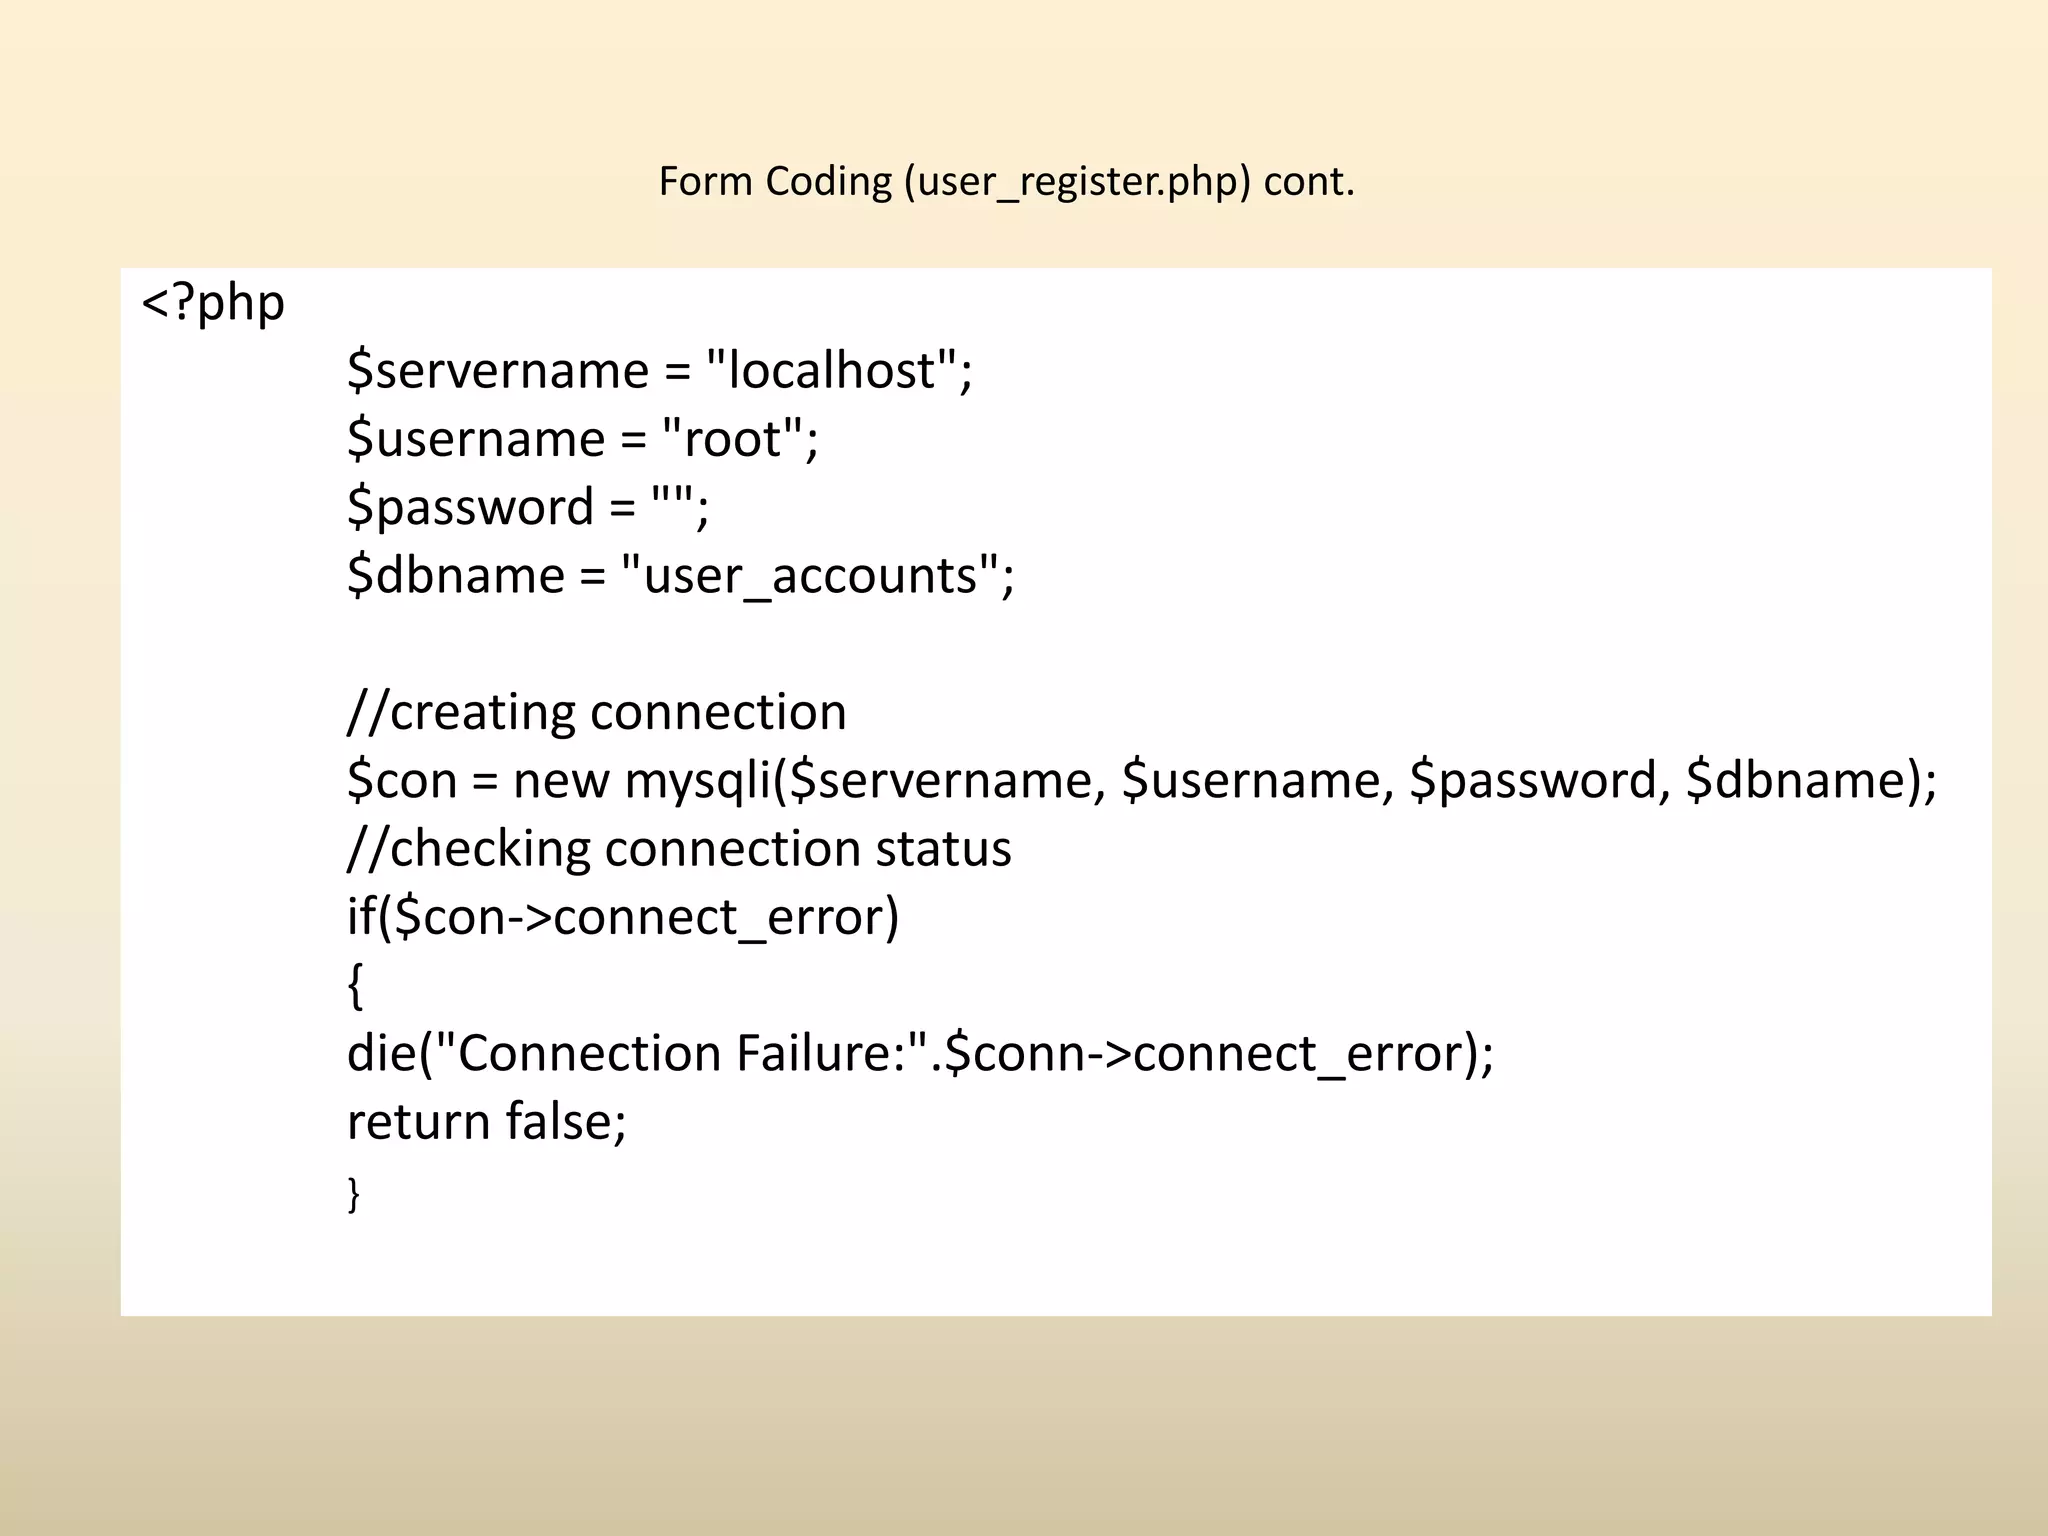
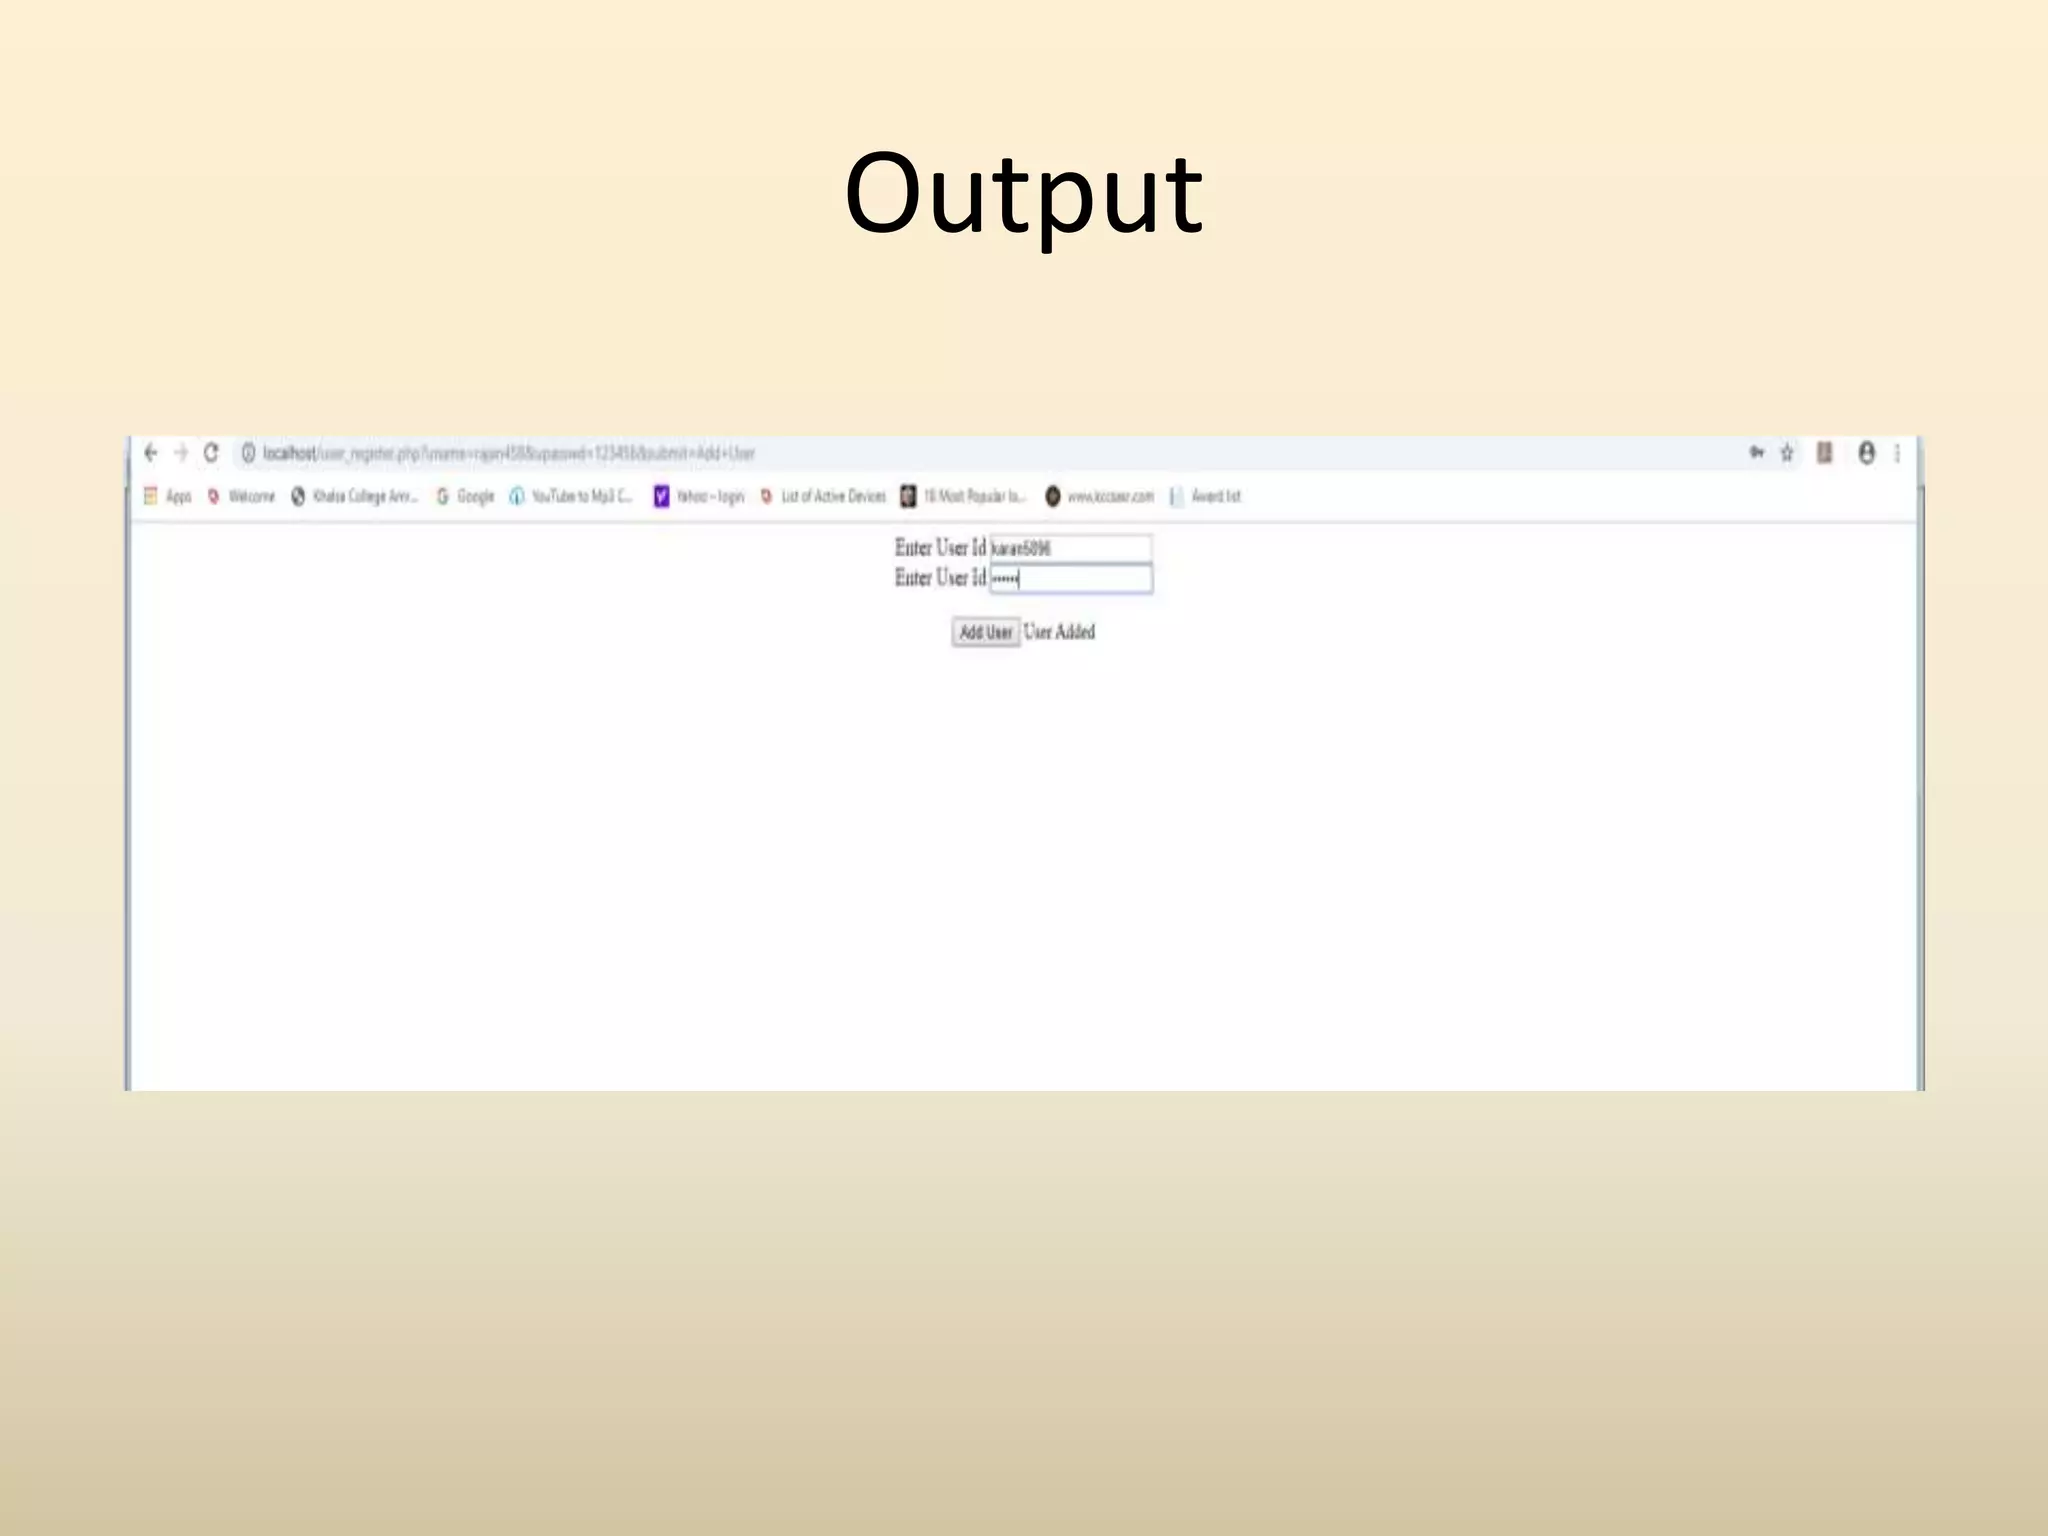
![Form Coding (user_register.php) cont. if(isset($_GET['submit'])) { $u_name=$_GET['uname']; $u_passwd=$_GET['upasswd']; $add_qry="insert into users_tabs(user_id,user_passwd)values('$u_name','$u_passwd')"; if ($con->query($add_qry) === TRUE) { echo "User Added"."<br/>"; } else {echo "Error: " . $add_qry . "<br>" . $con->error;} unset($_GET['submit']); $con->close(); } ?> </div></form><body></html>](https://image.slidesharecdn.com/php-mysqlconnectivityusingxamppserver-191123043045/75/PHP-MySQL-Database-Connectivity-Using-XAMPP-Server-19-2048.jpg)