I want to create a set of designs to print on some CDs. The CDs should have similar design in the sense, that there should be a title, some lines of text and an image. I wanted to create a template version that I would copy for each CD I need to create.
My problem is the cropping of the whole document in non-regular shape (and the hub in the middle). Let me explan a bit. I have a set of images one per CD design. These images are rectangular and or various aspect ratios etc. So I need to adopt to the needs for each CD individually.
I could of course shift the image to the desired location and then adopt the shape of the image frame. However this is quite intensive from the perspective of workload.
I just clicked together a minimal example of the issue with a small image from pixabay: 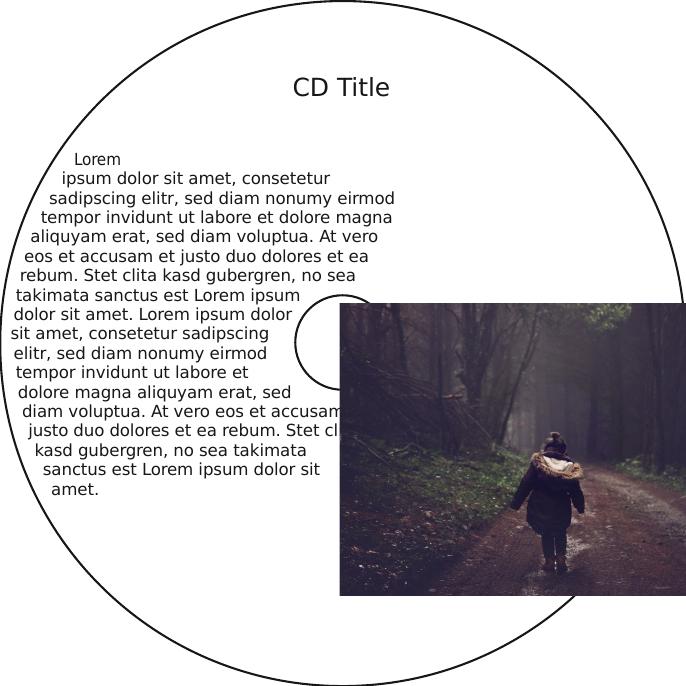 The outlines are on a separate layer and I enabled it to descibe my problem a bit more clearly. In the lower right corner the image overruns the borders (as well as at the hub). I want to make this white in order to avoid wasting ink on these areas while printing (and making a mess in my printer by the way).
So I want everything to be white except for the area beteween the two circles.
Ideally this should be done in scribus as I can see the final result in the preview then. One alternative is loading the exported file into GIMP and put a mask on it. This will work but I thought it might be better done in scribus. Also this should be done automatically as already states as the text and the image(s) must be exchanged to generate a set of different layouts for different CDs.
Can you give me a hint, how I can achive this desired effect? Thank you.