Downloaded 12 times


This document is an introduction to Git, covering objectives such as installation, creating repositories, and managing branches. It explains version control systems, specifically detailing the usage of Git for tracking changes, staging files, and conducting commits. Additionally, it outlines the process of creating a GitHub repository and pushing changes from a local repo to GitHub for collaboration purposes.
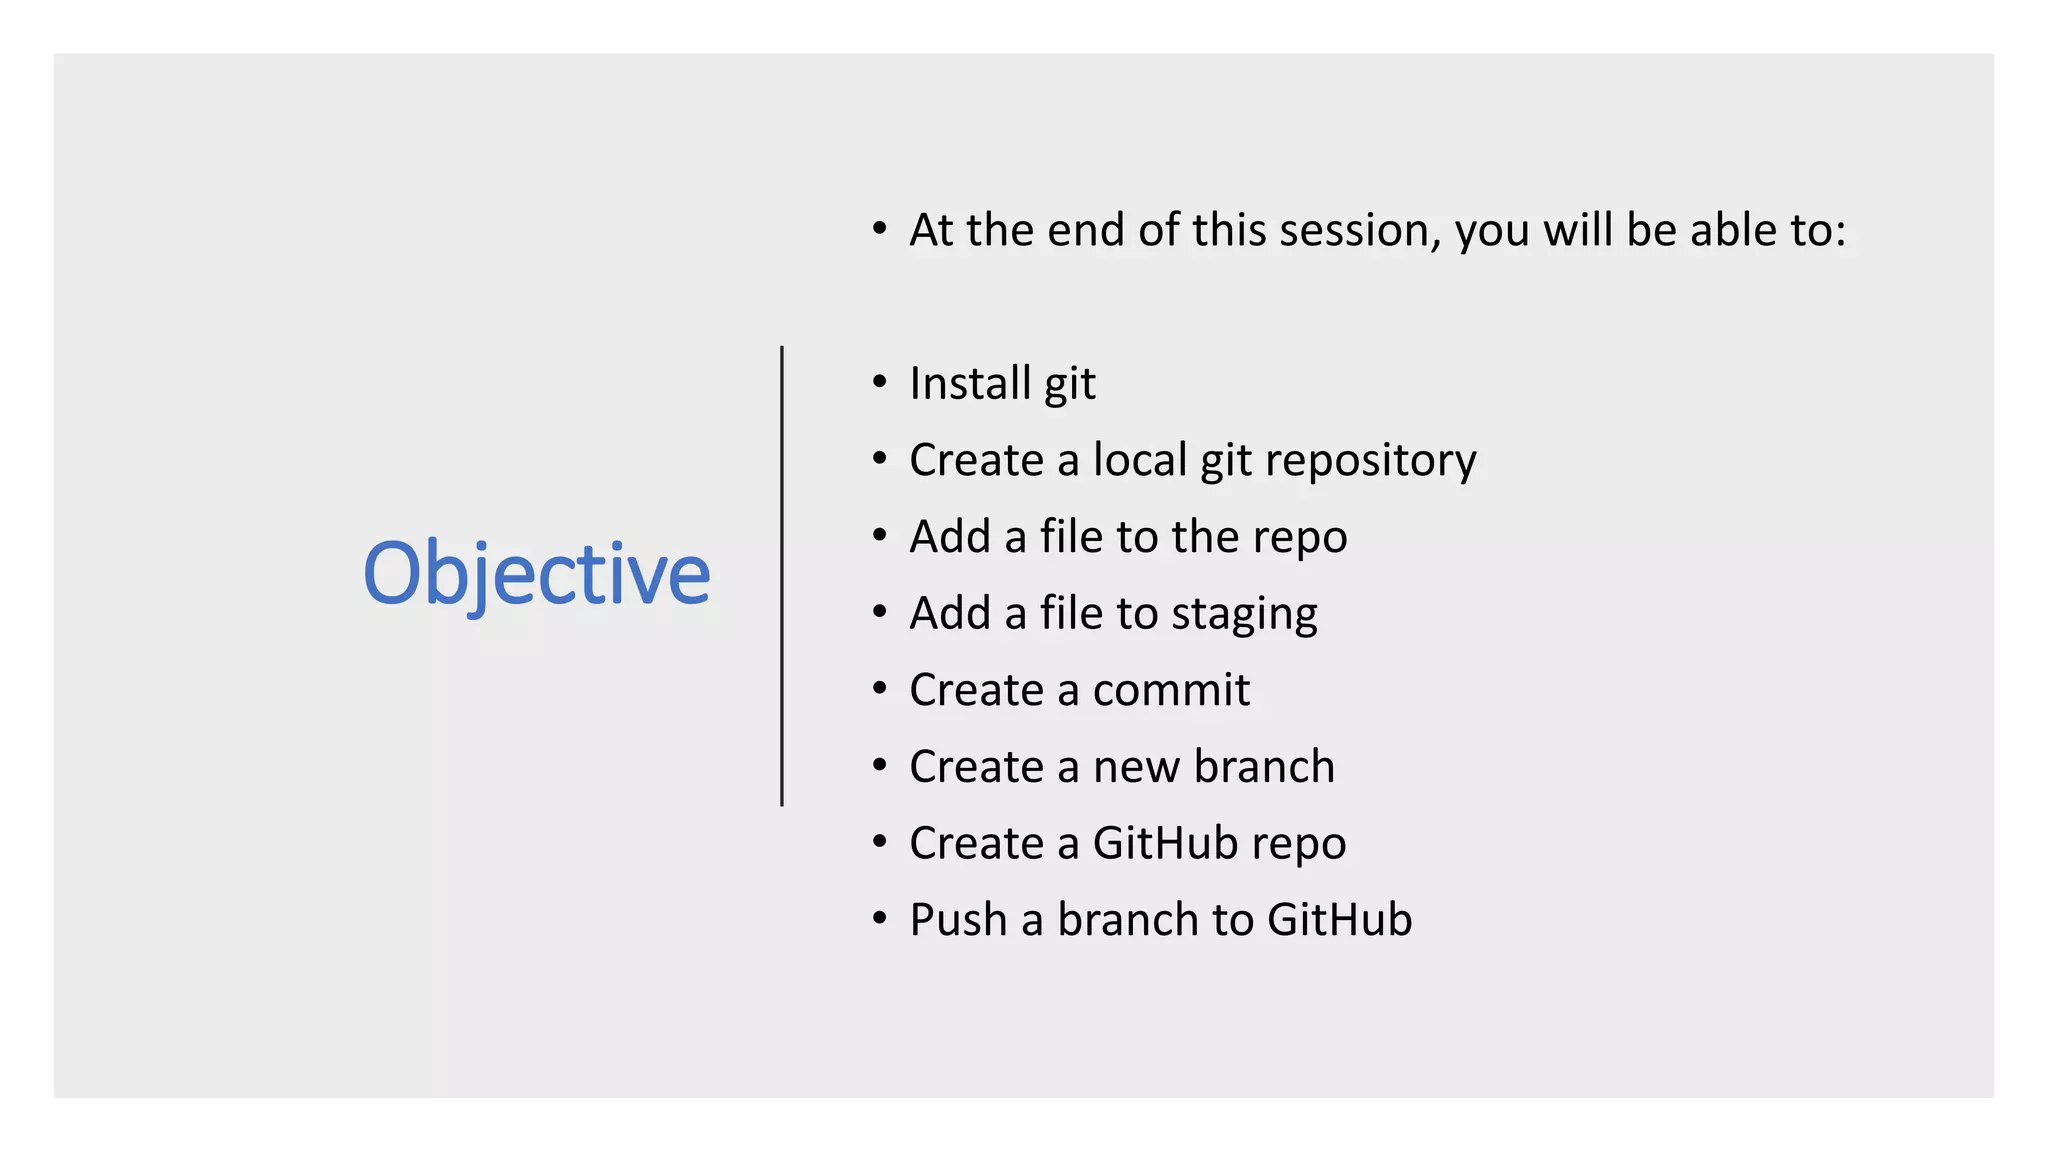
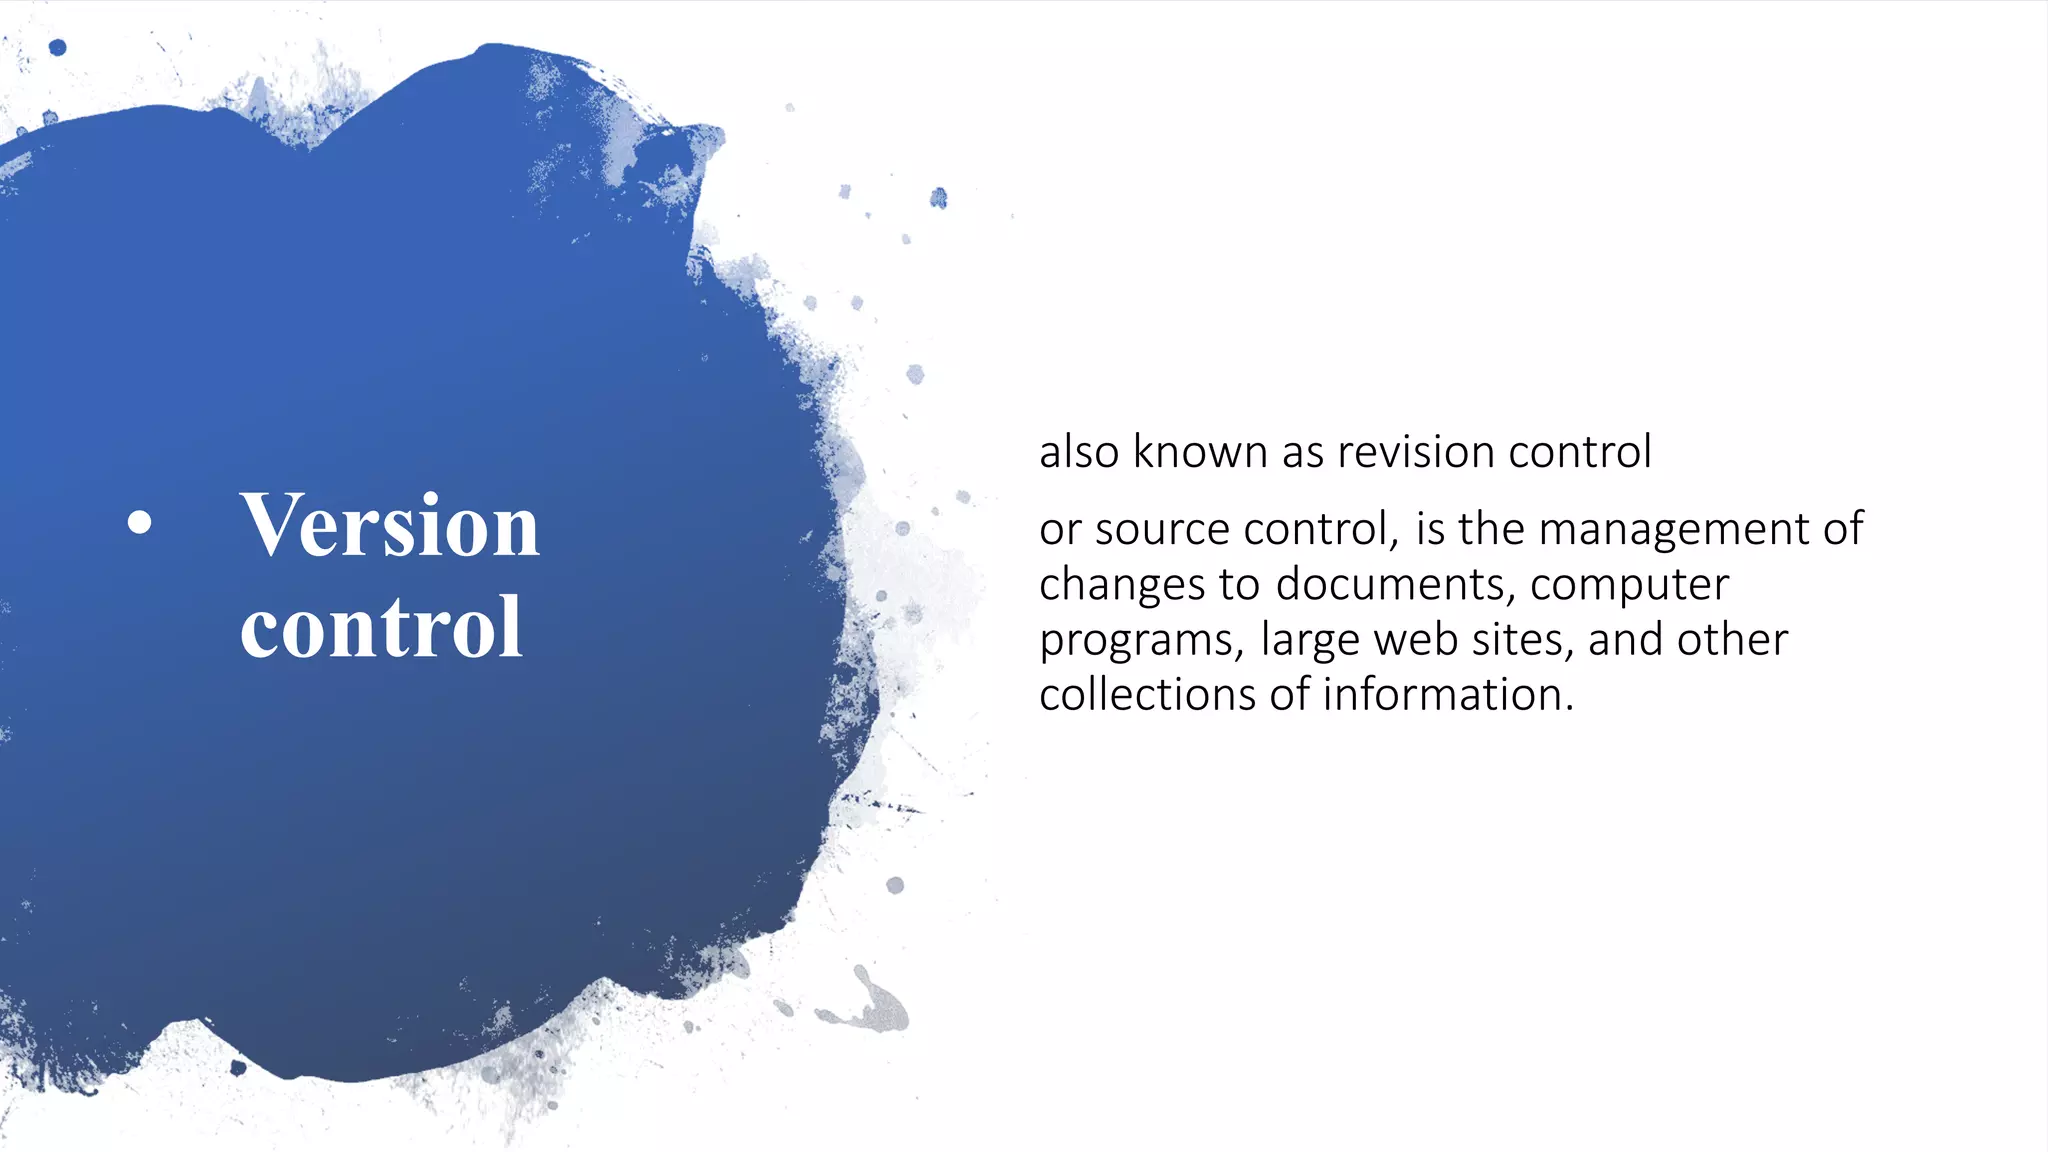
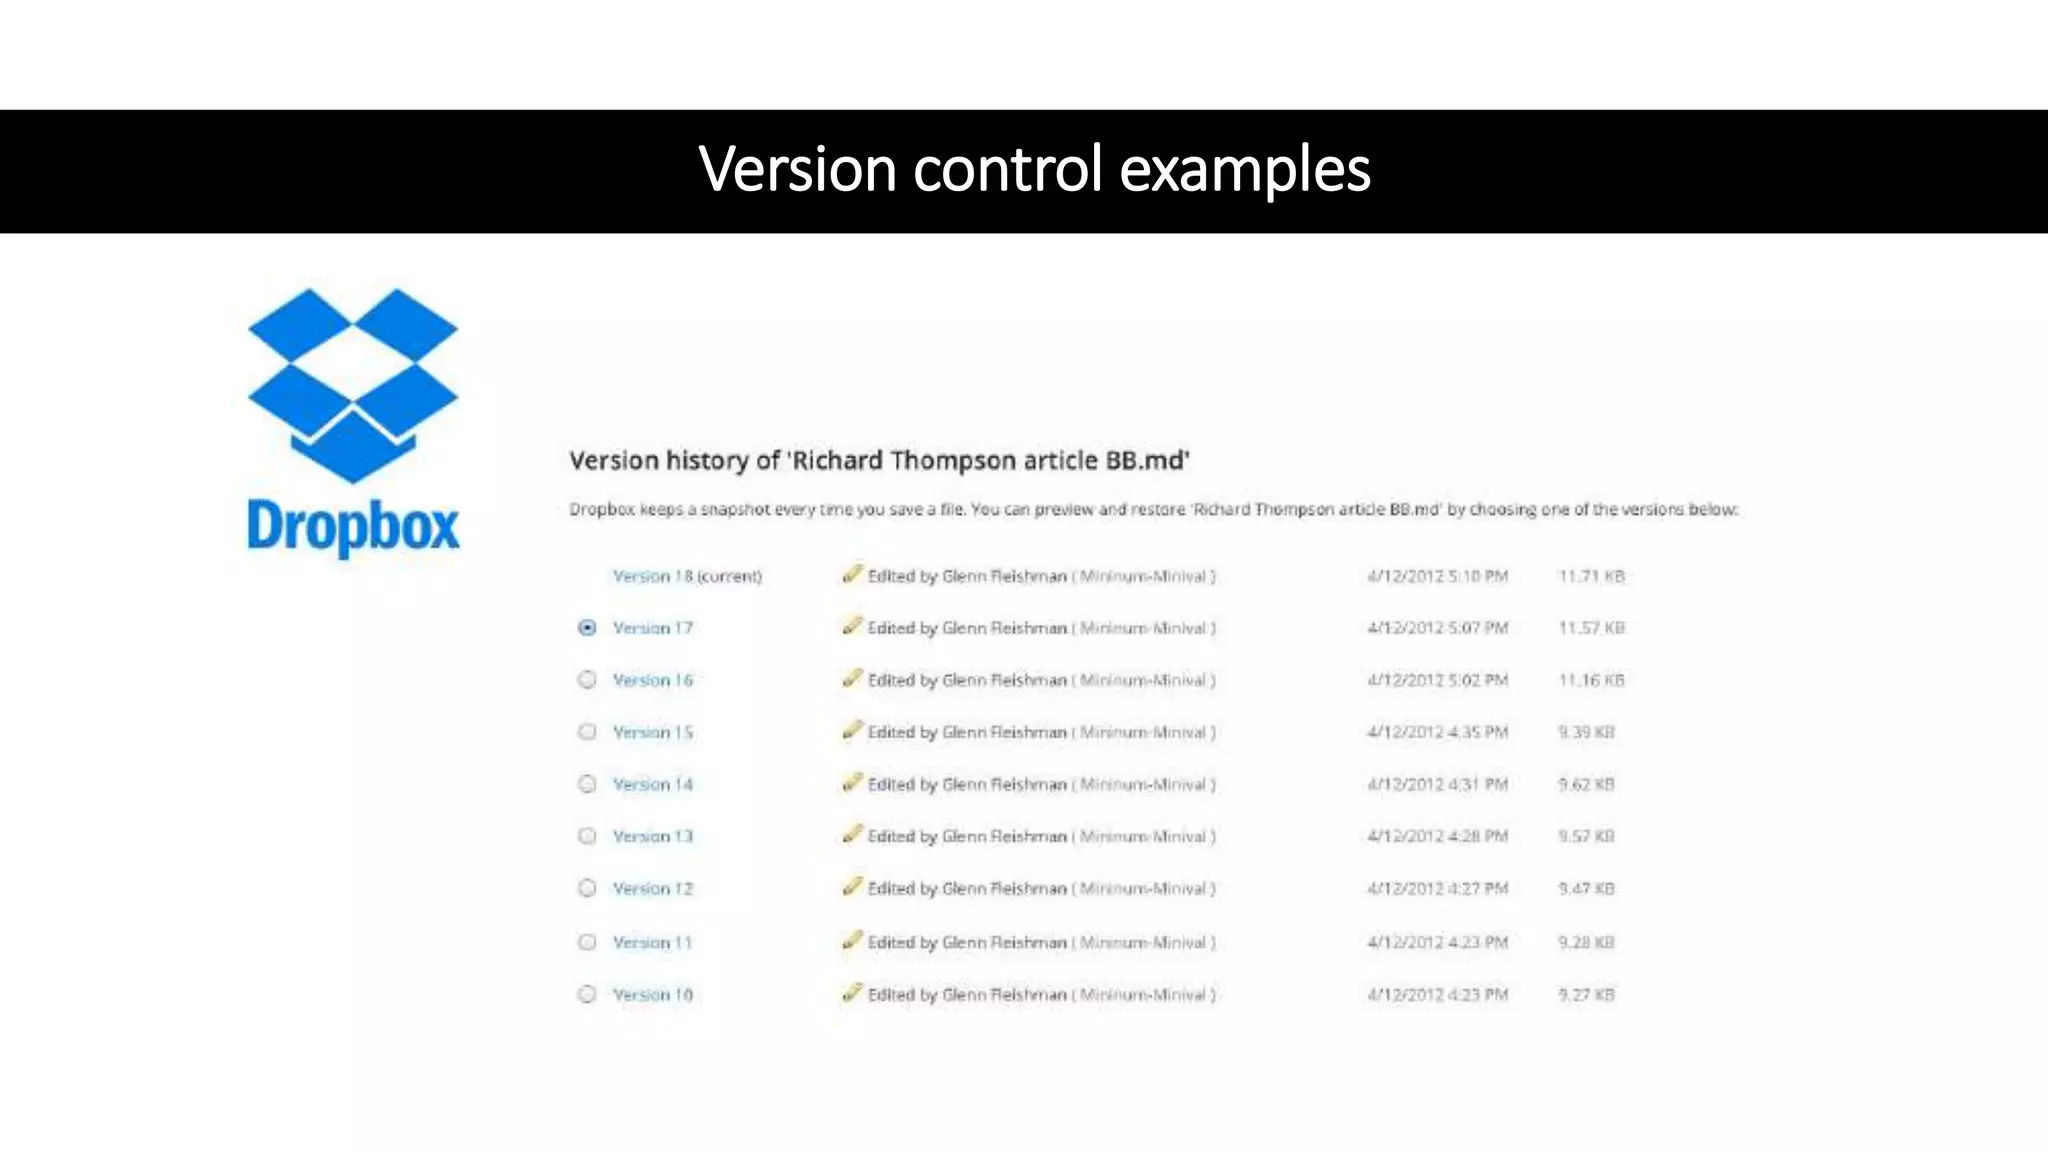
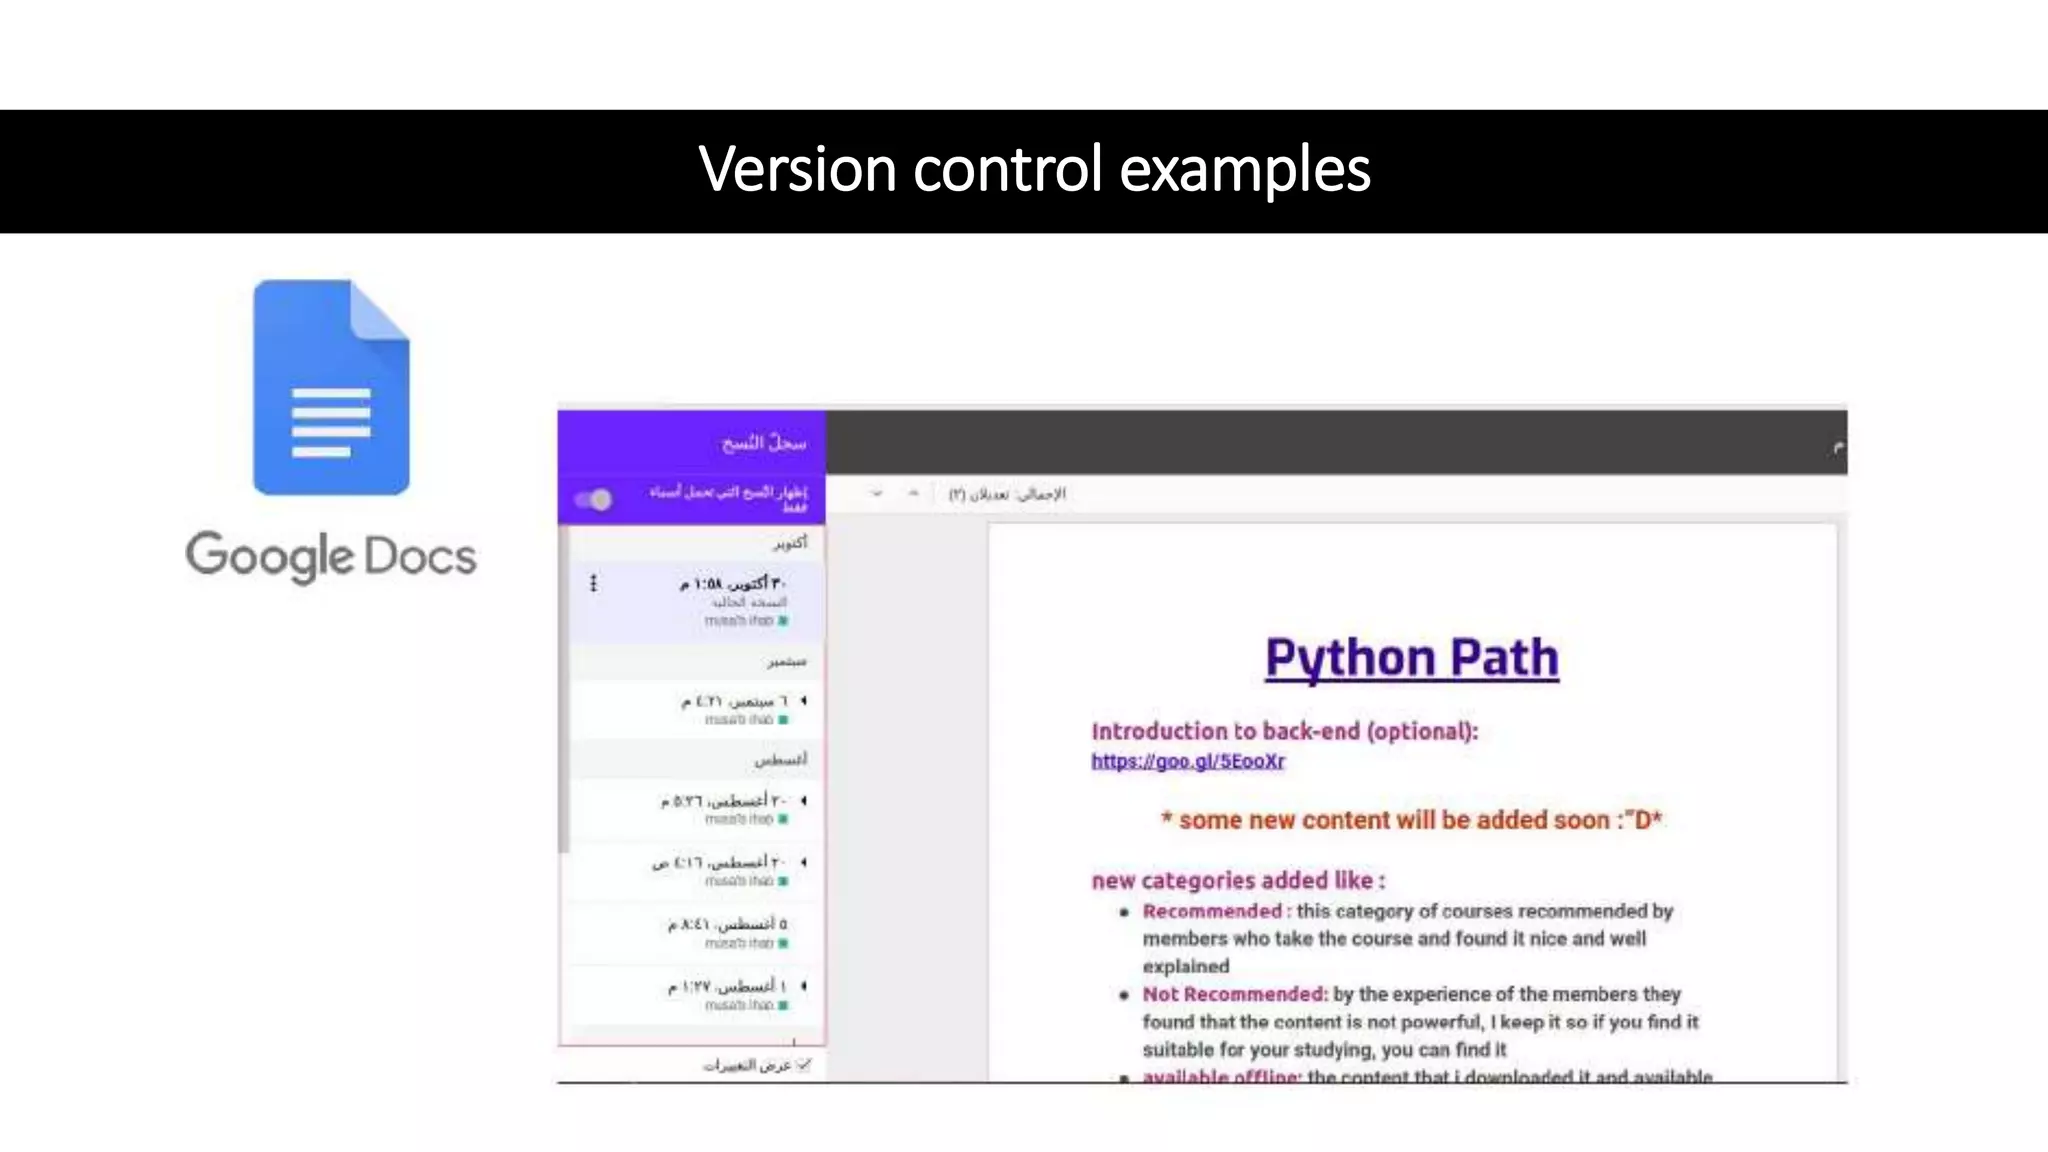
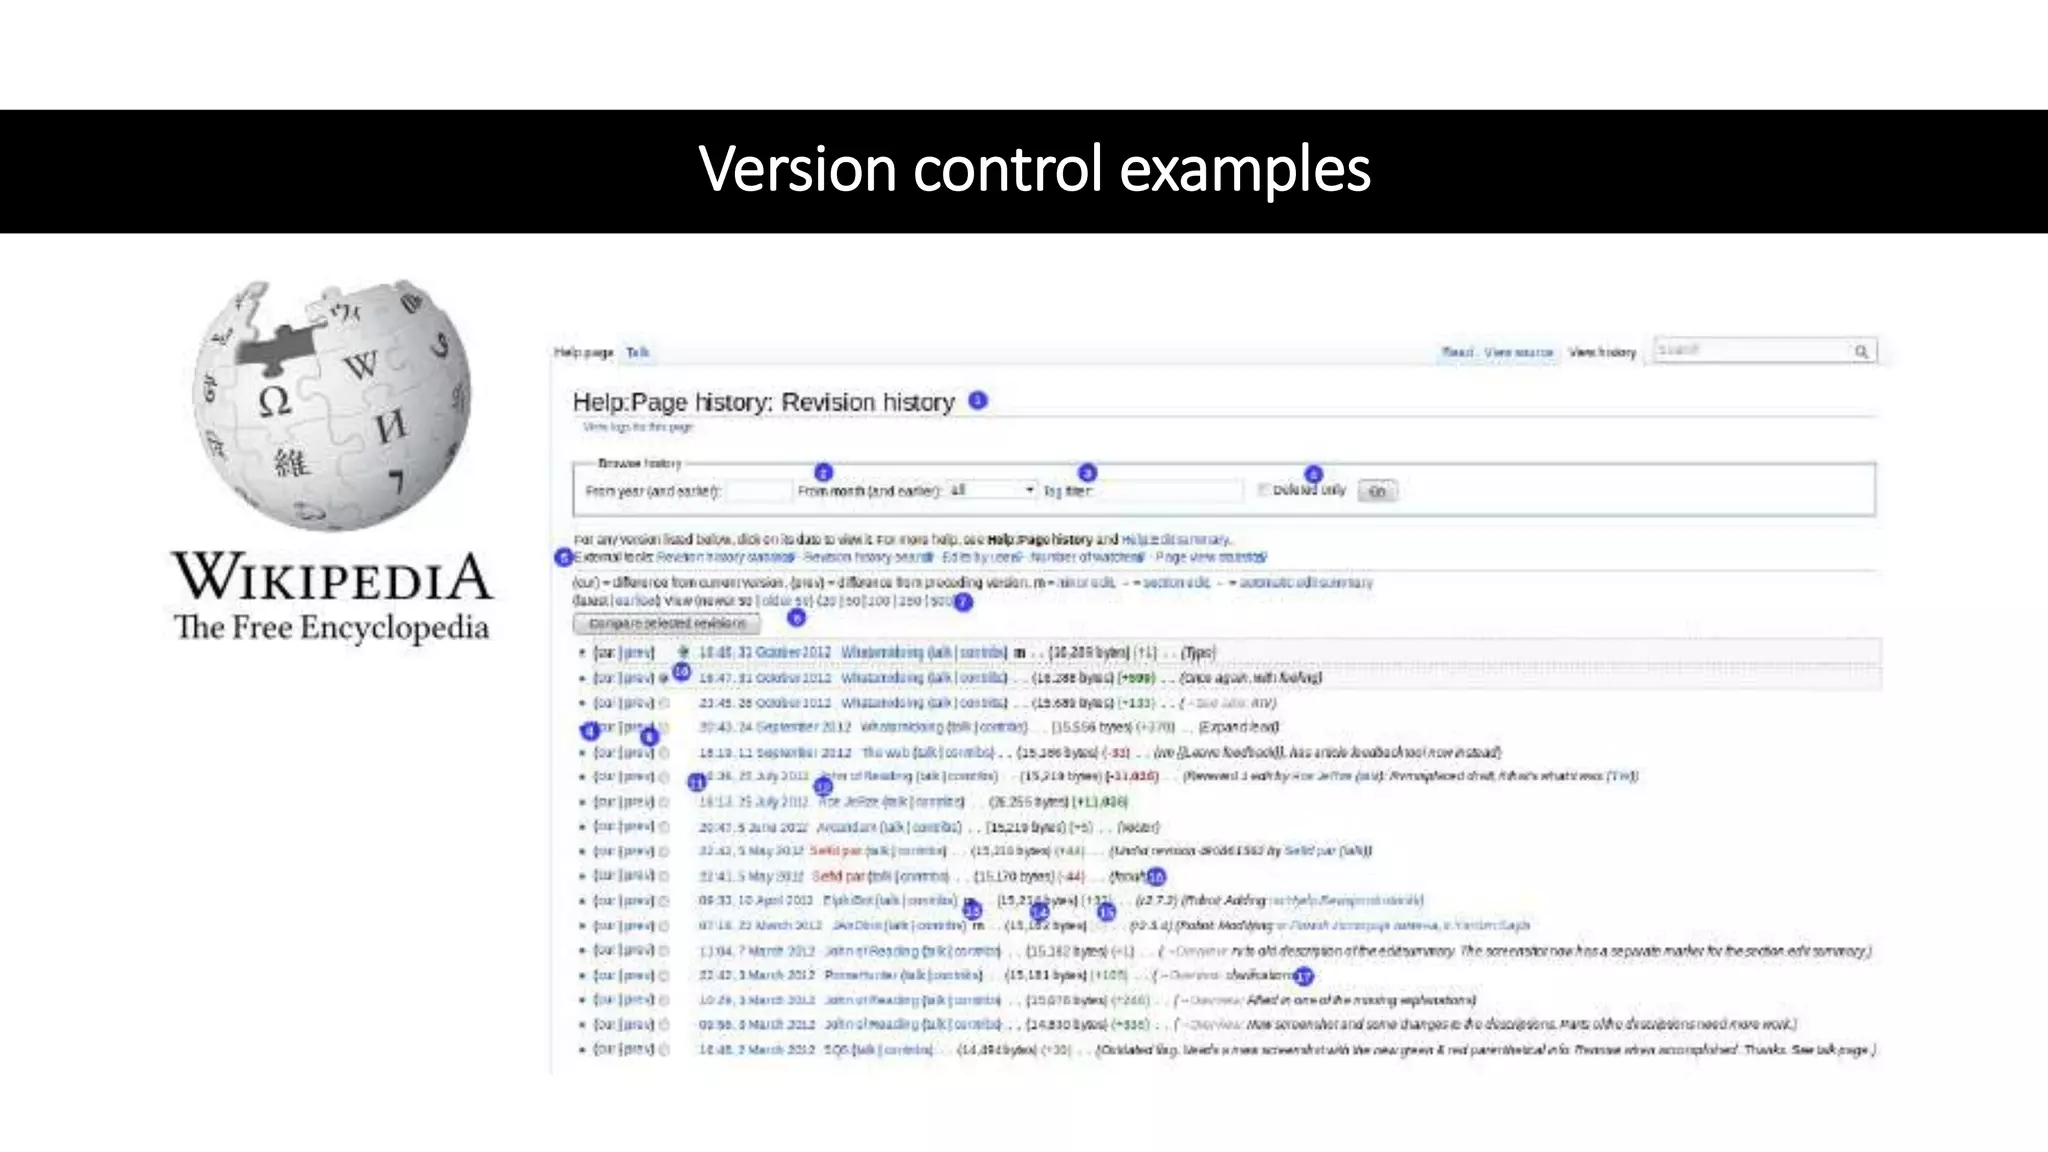
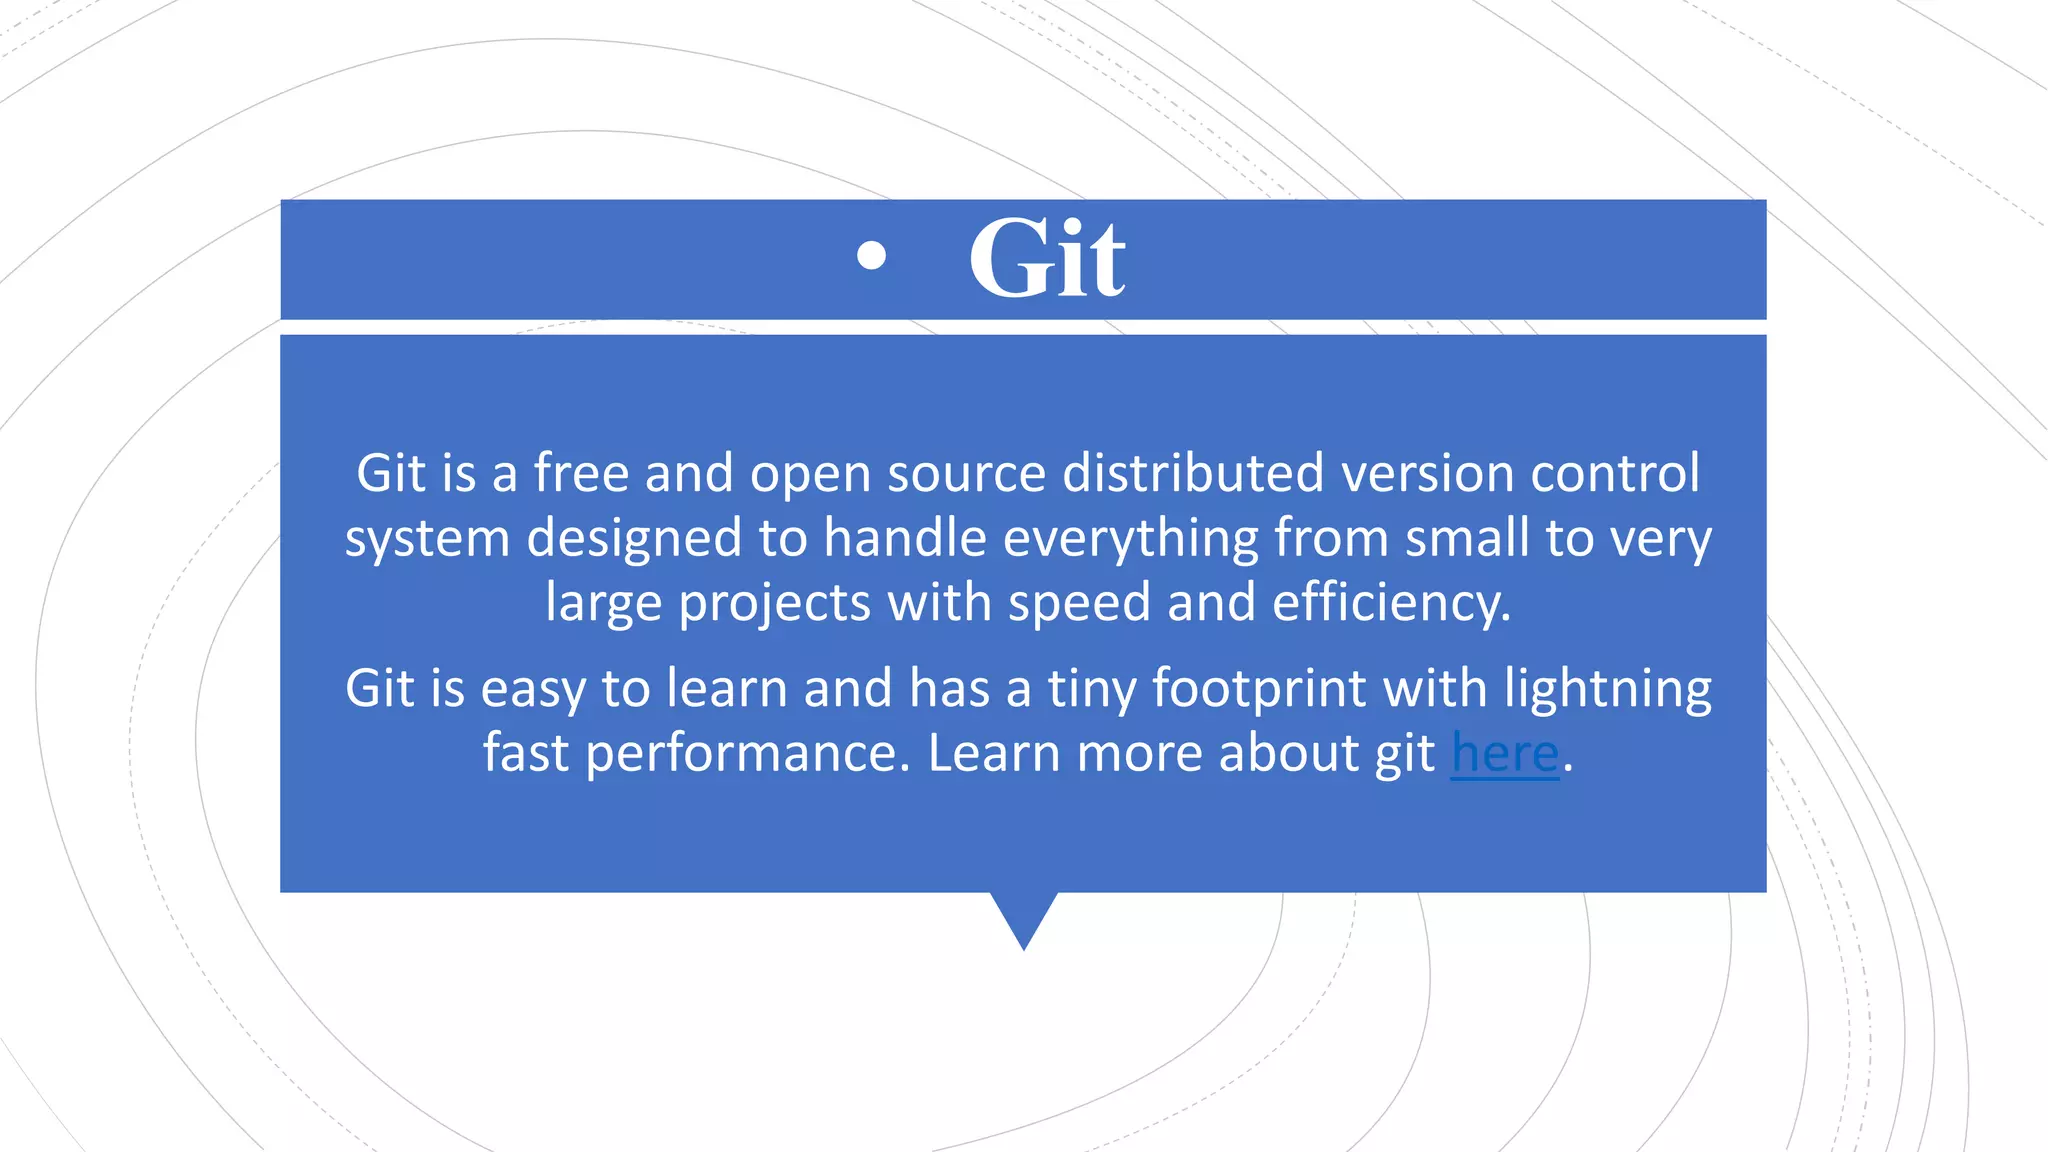
An overview of Git and version control concepts. Introduction to Git as a VCS, its benefits, and its capabilities.
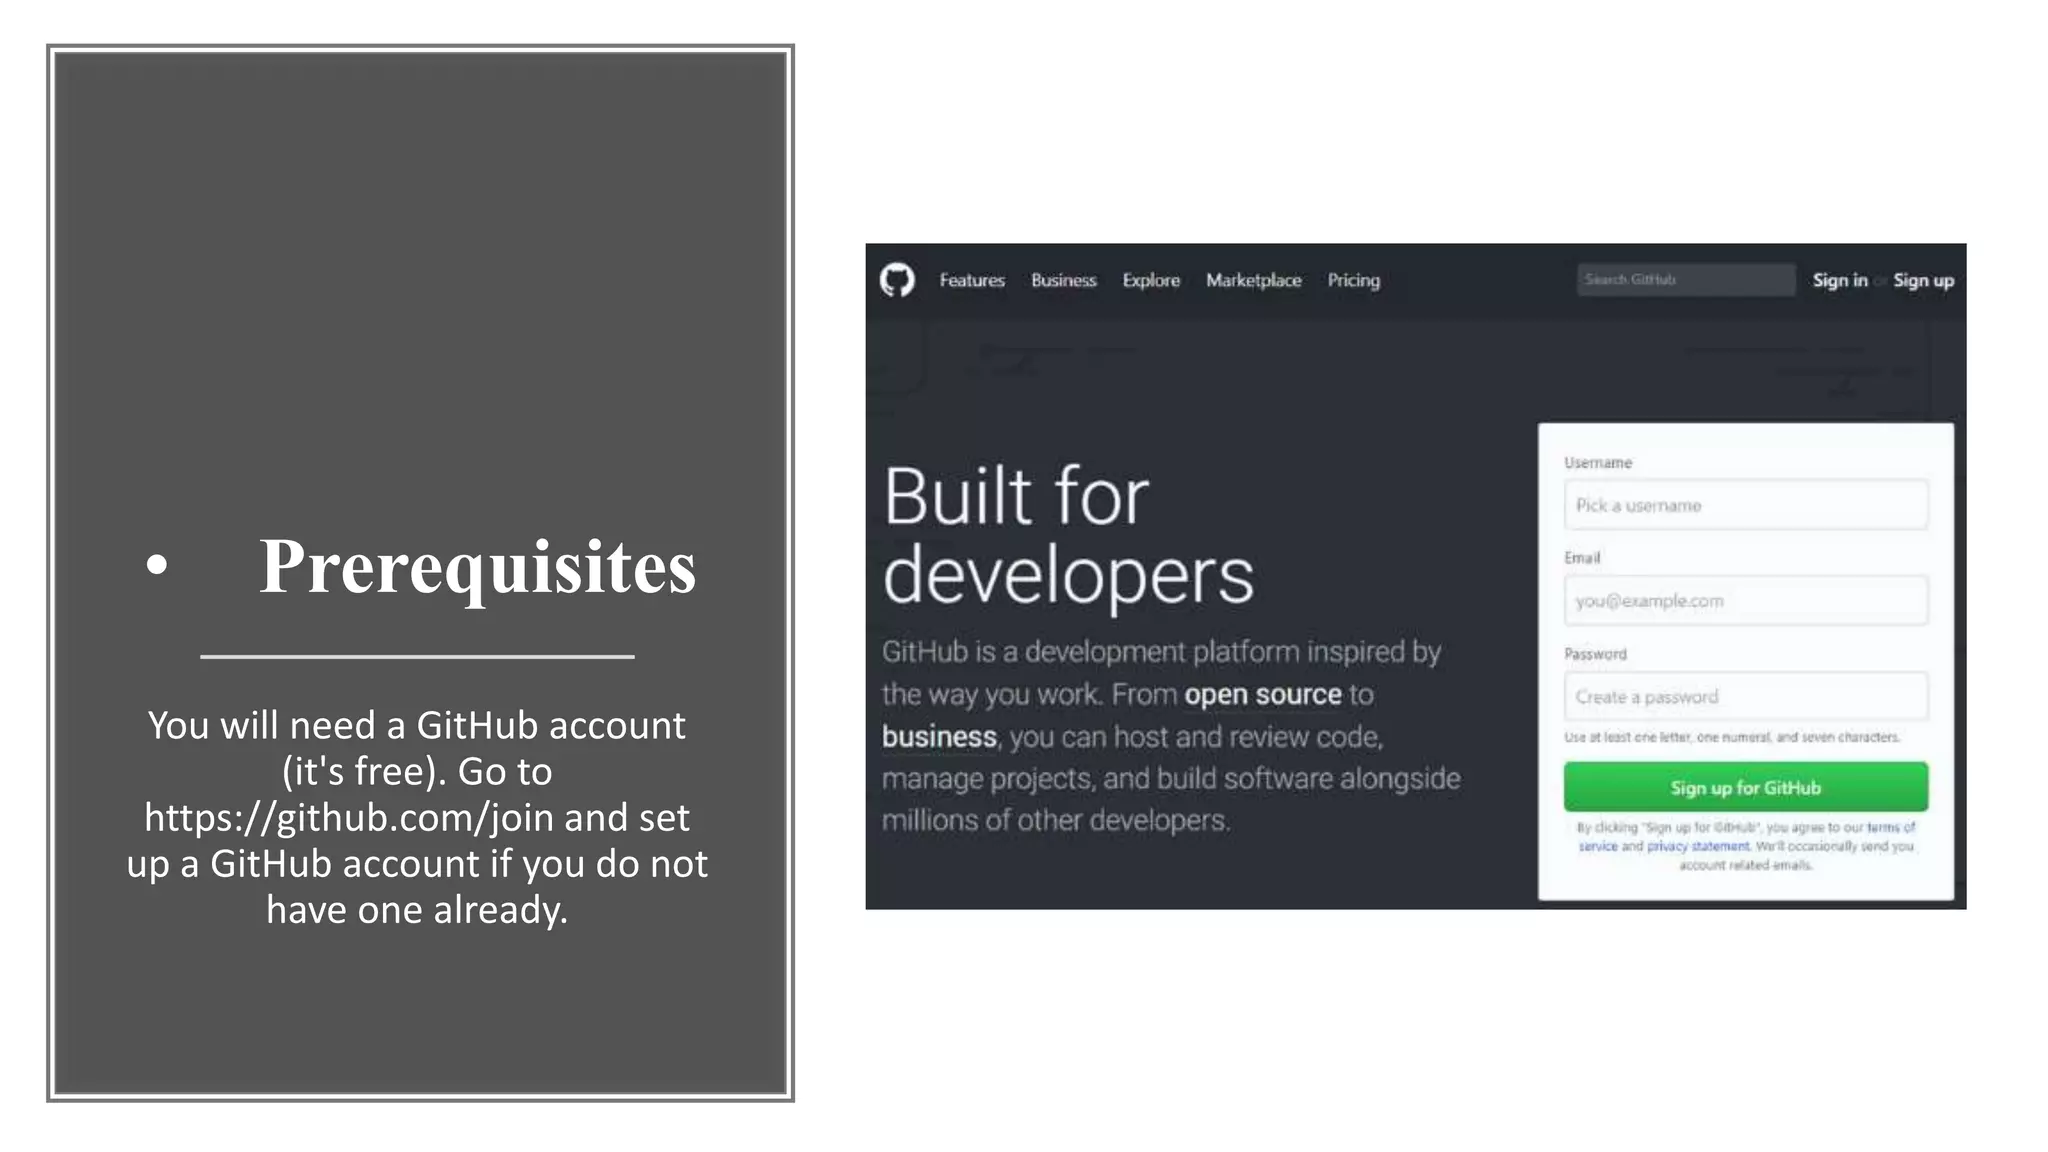
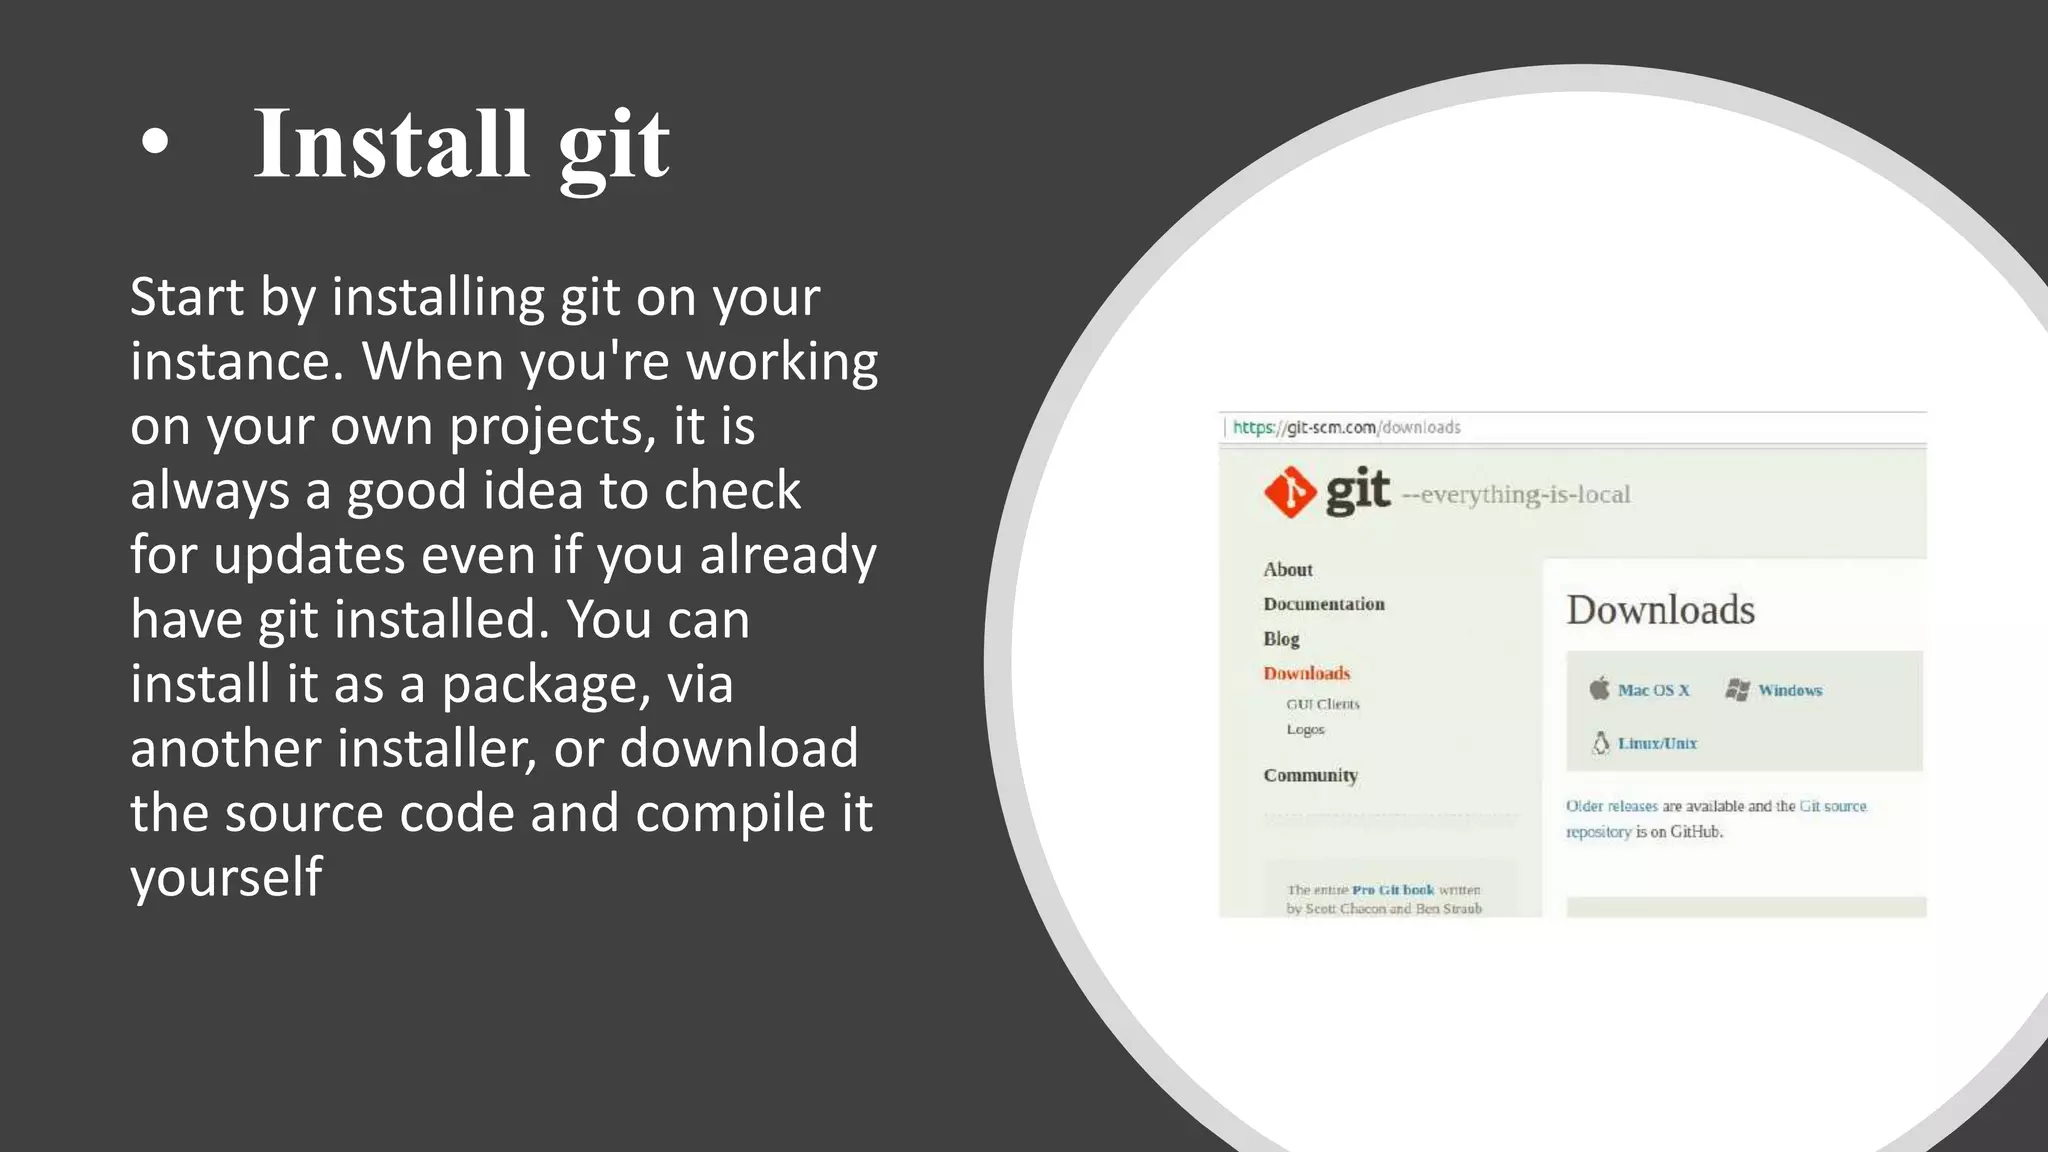
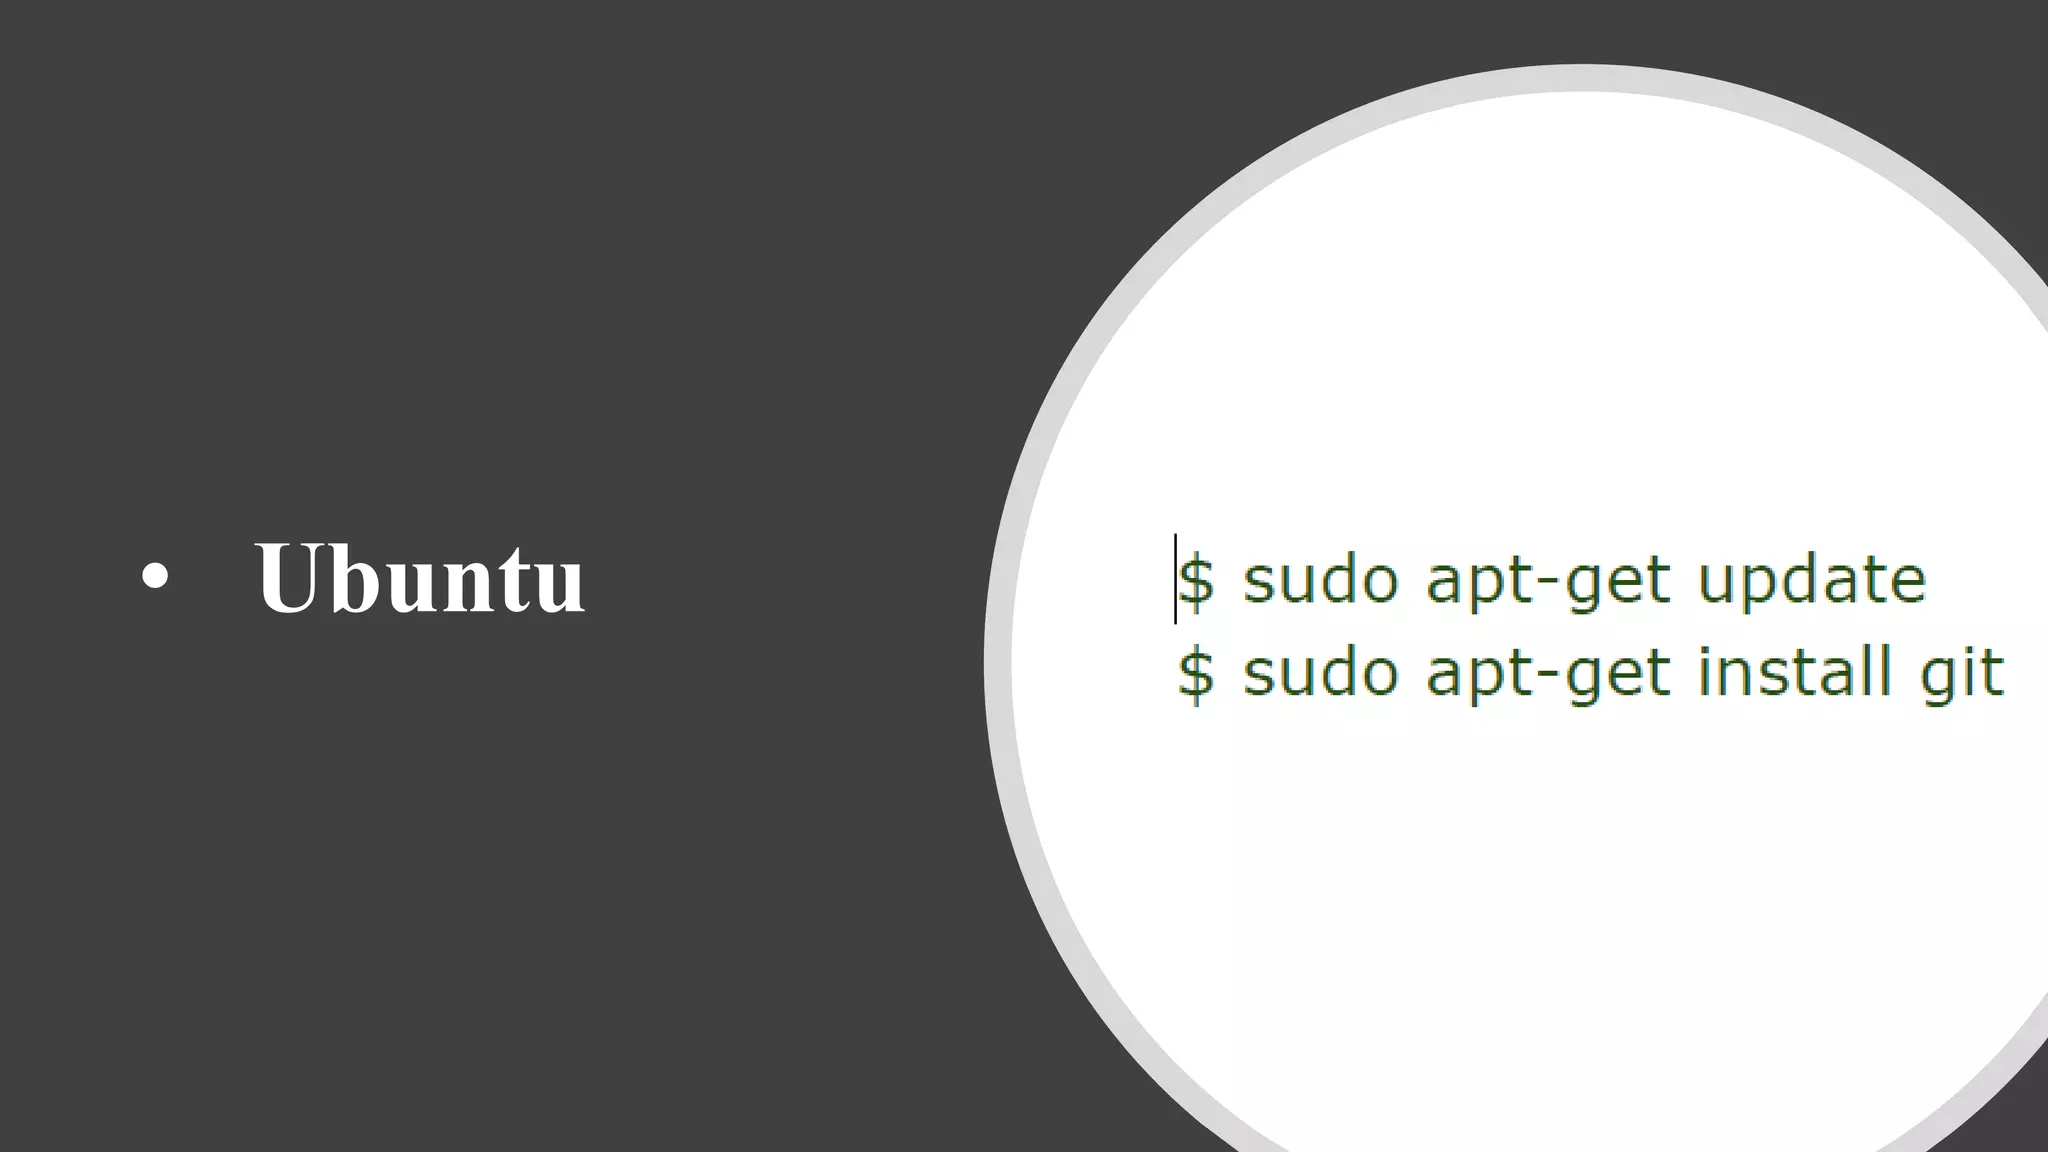
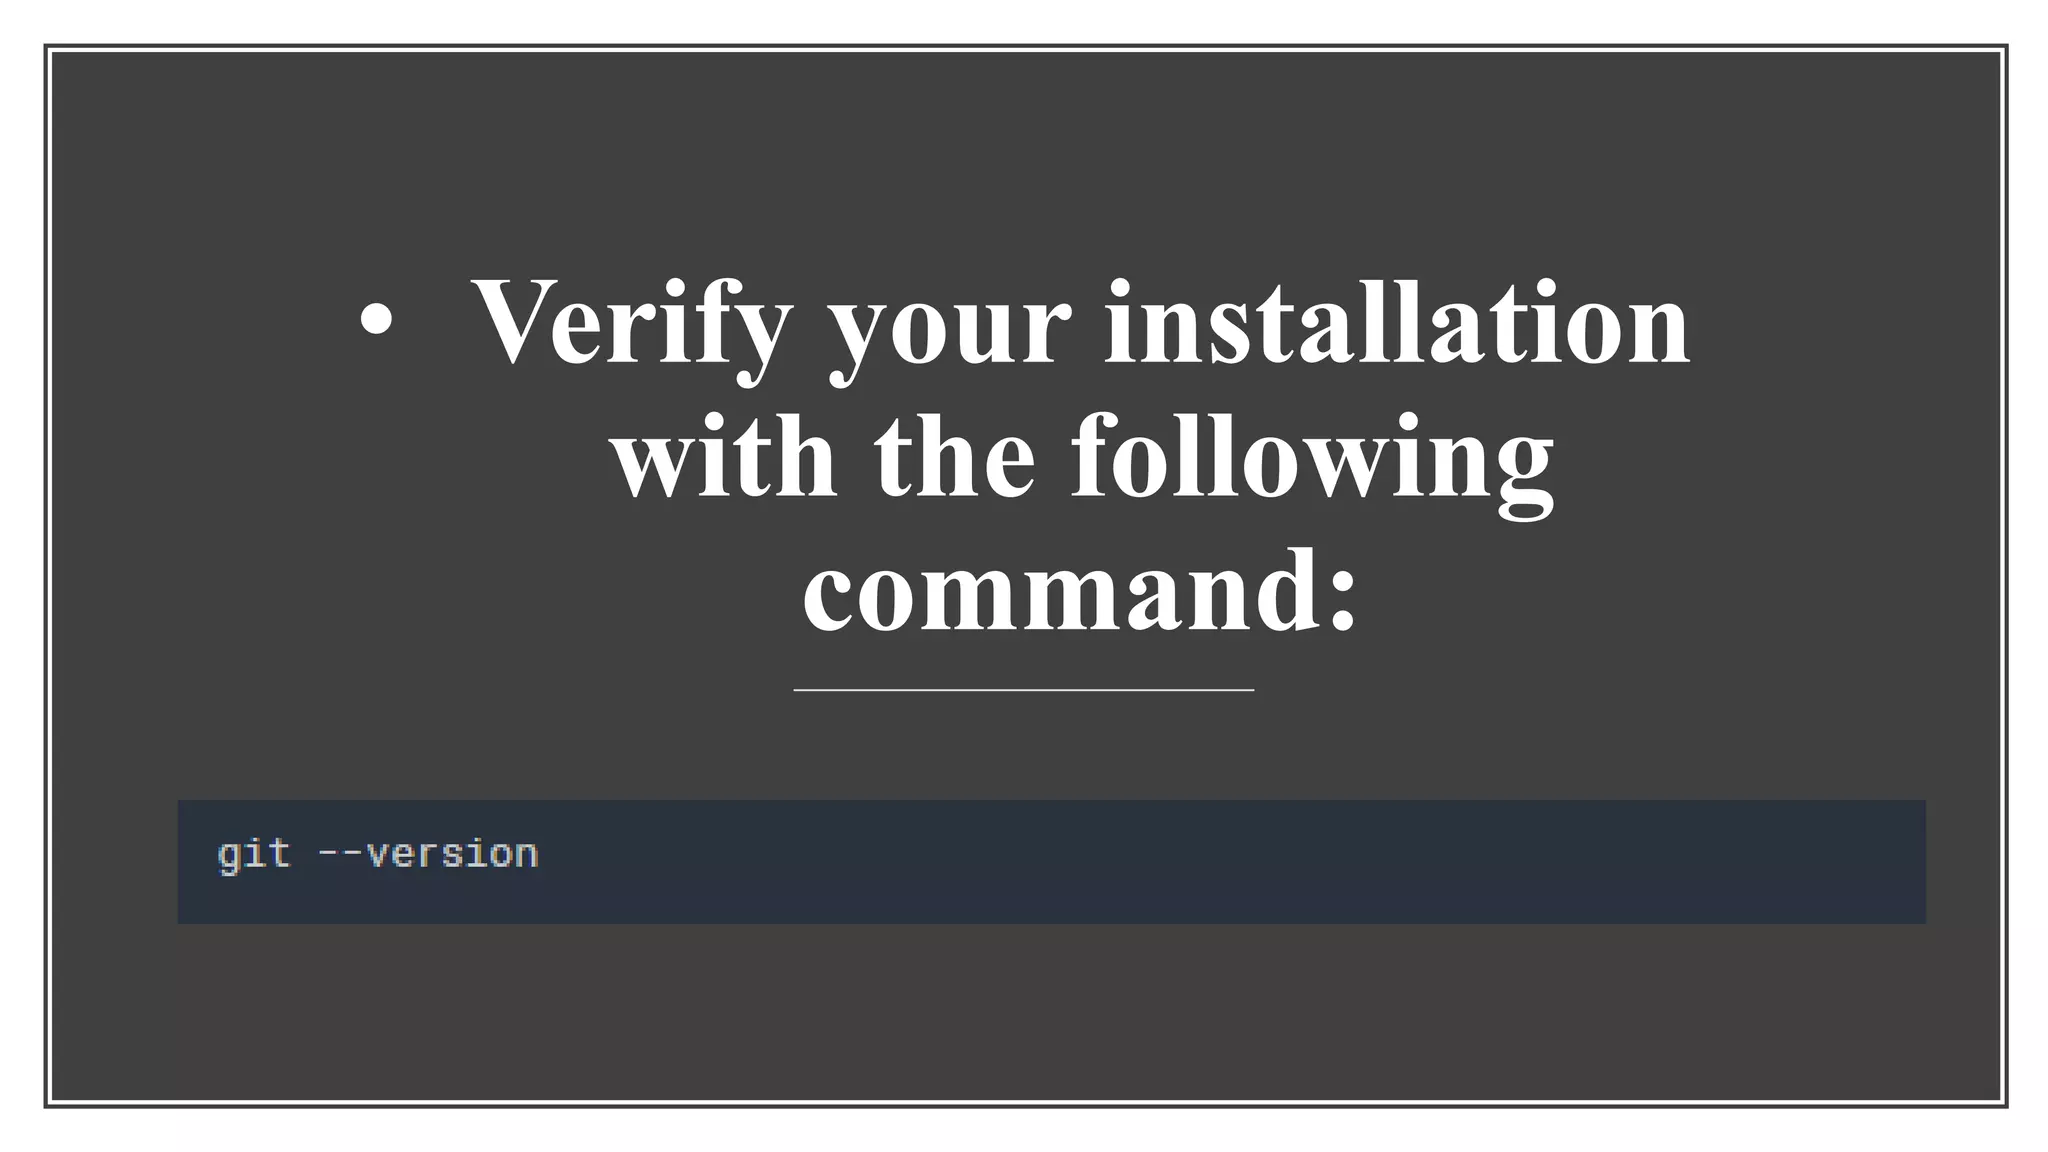
Guidelines on setting up Git, including the need for a GitHub account and installation procedures.
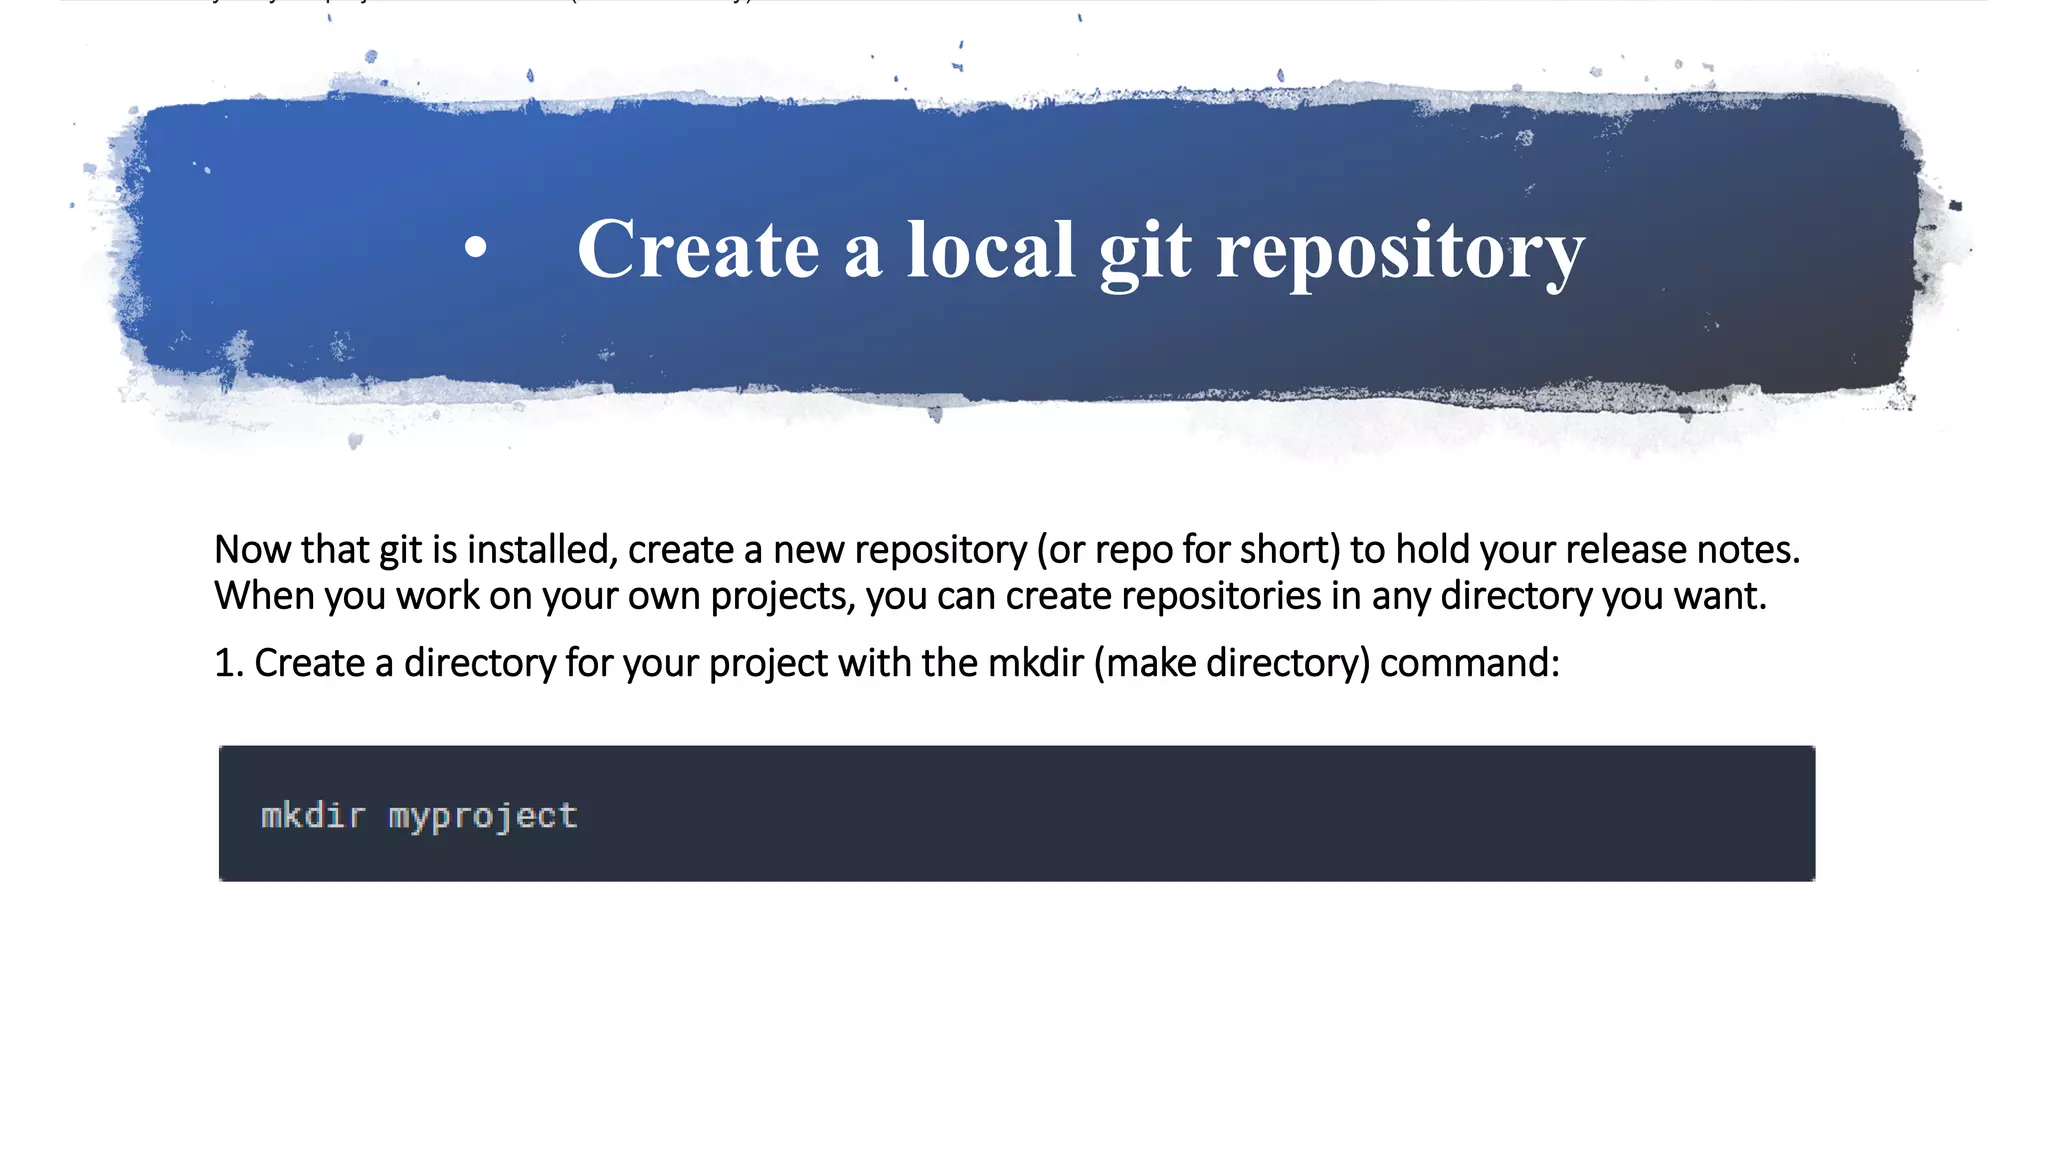
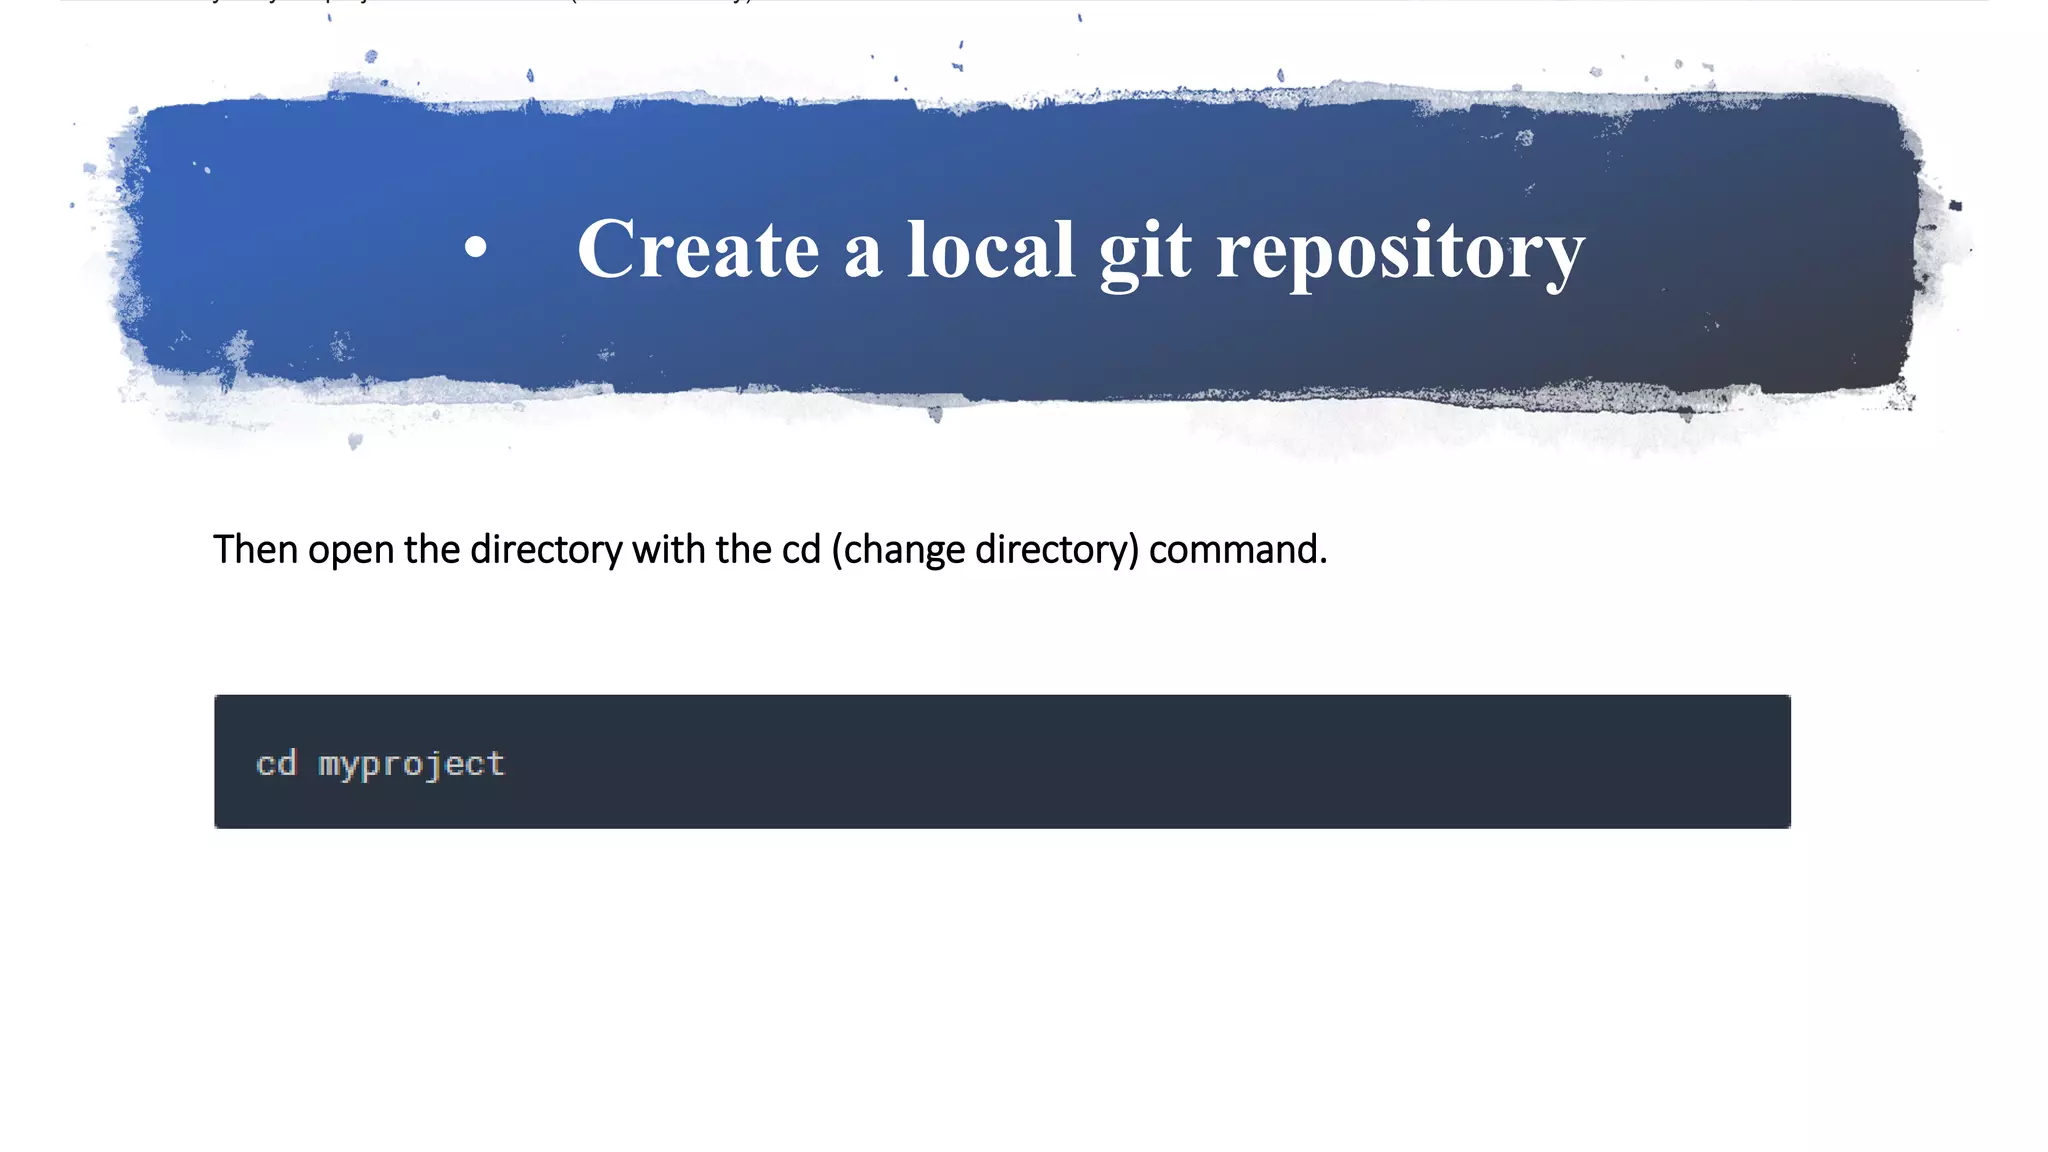
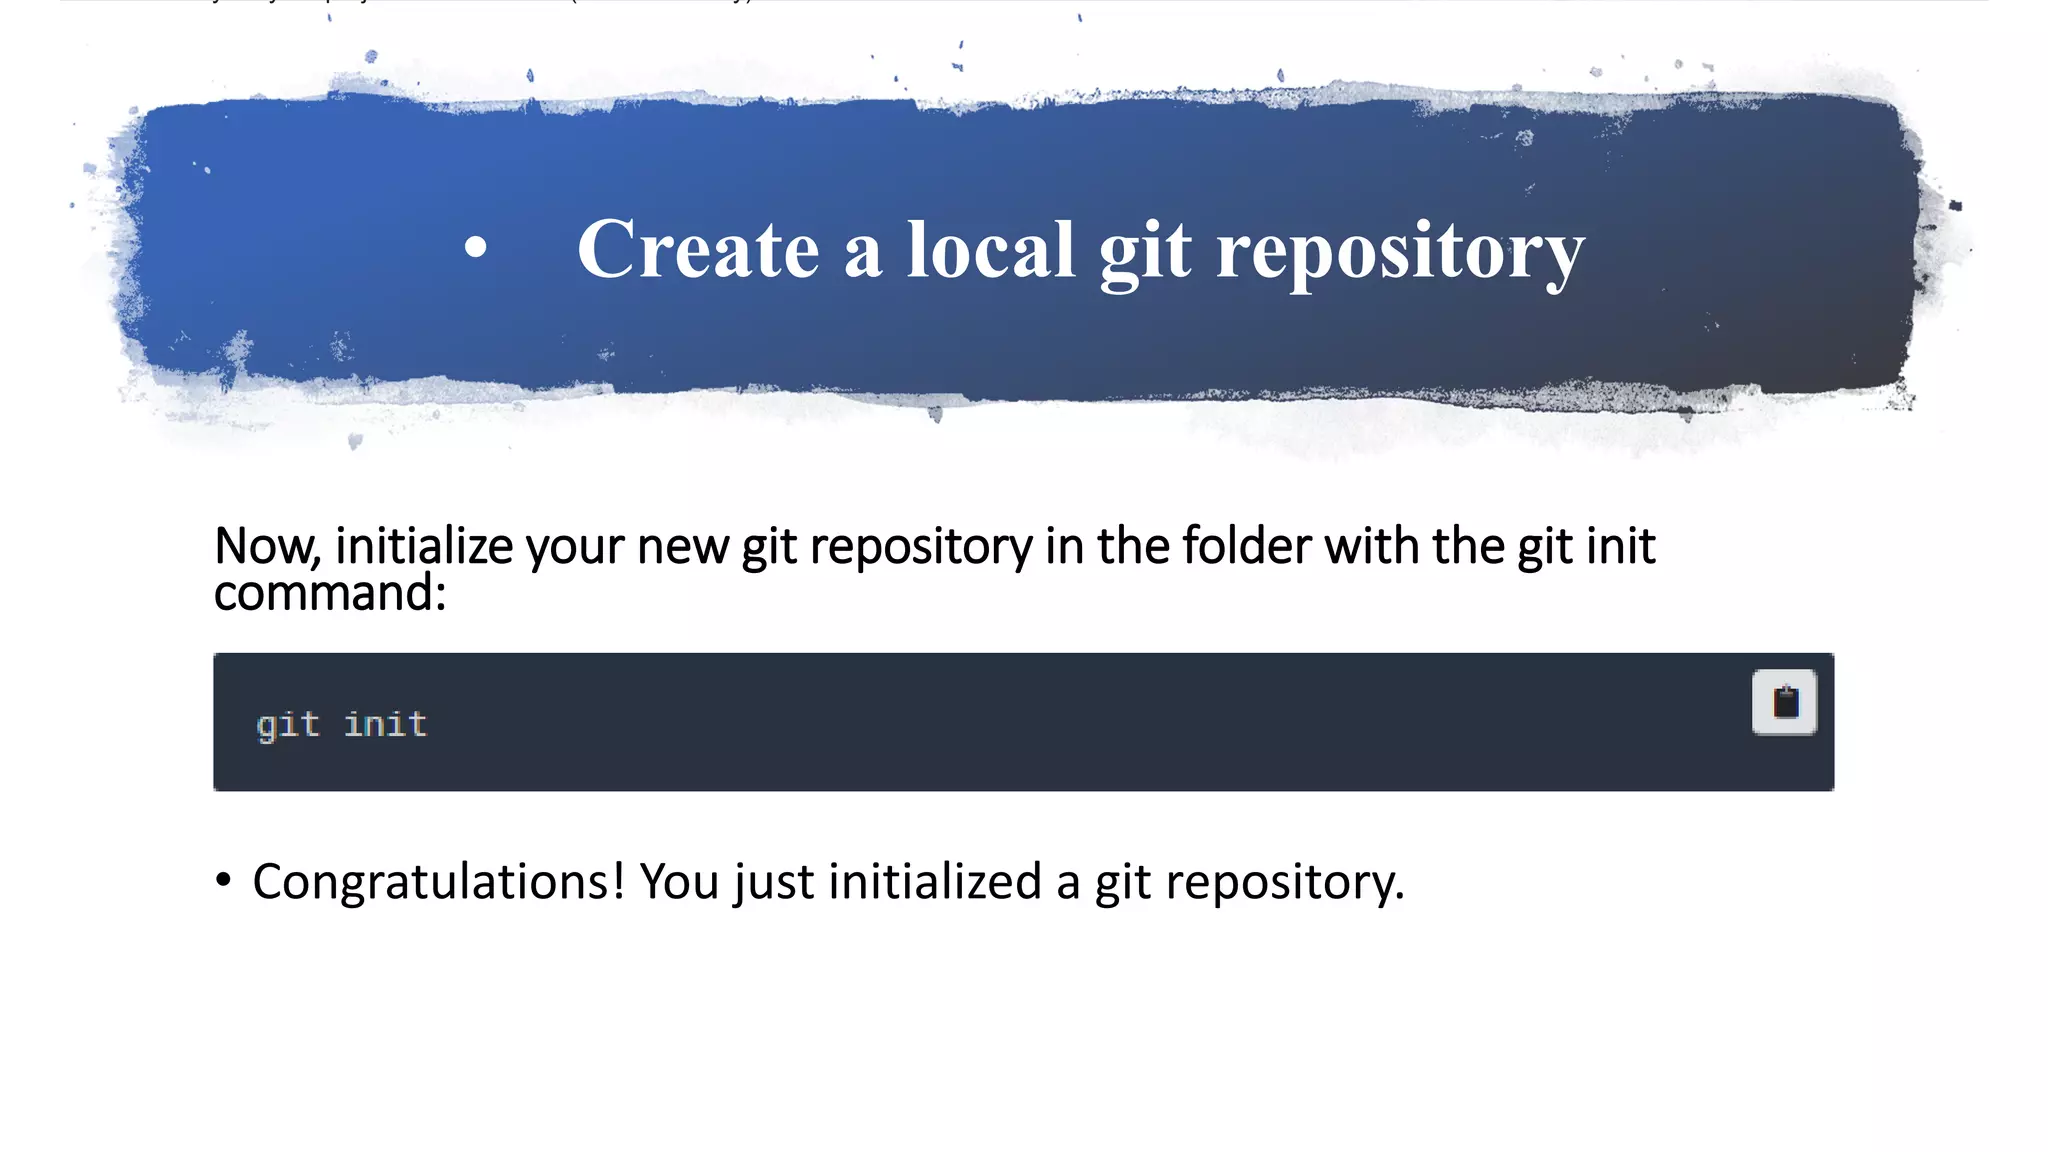
Steps for creating a local Git repository, including directory creation and initialization.
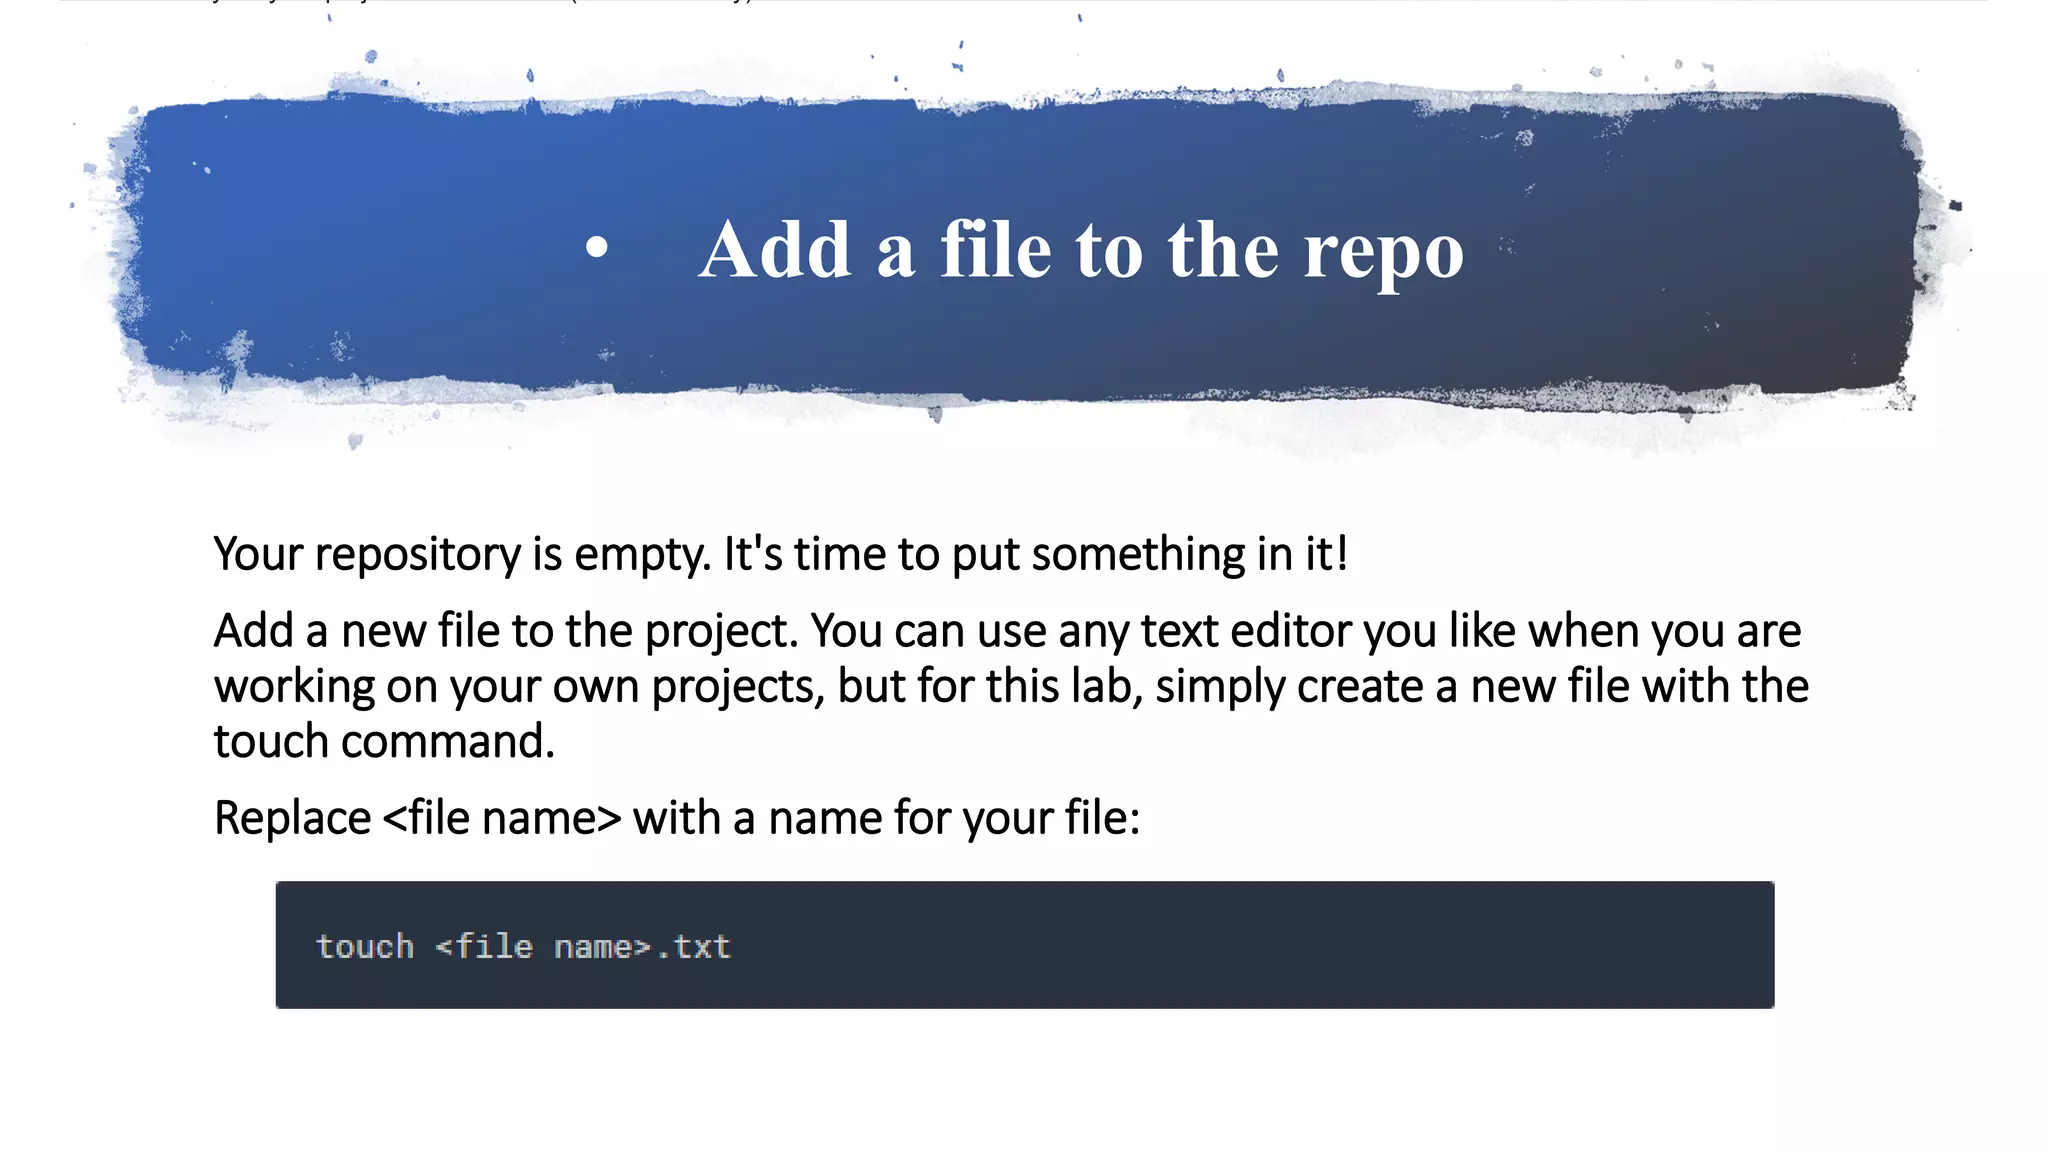
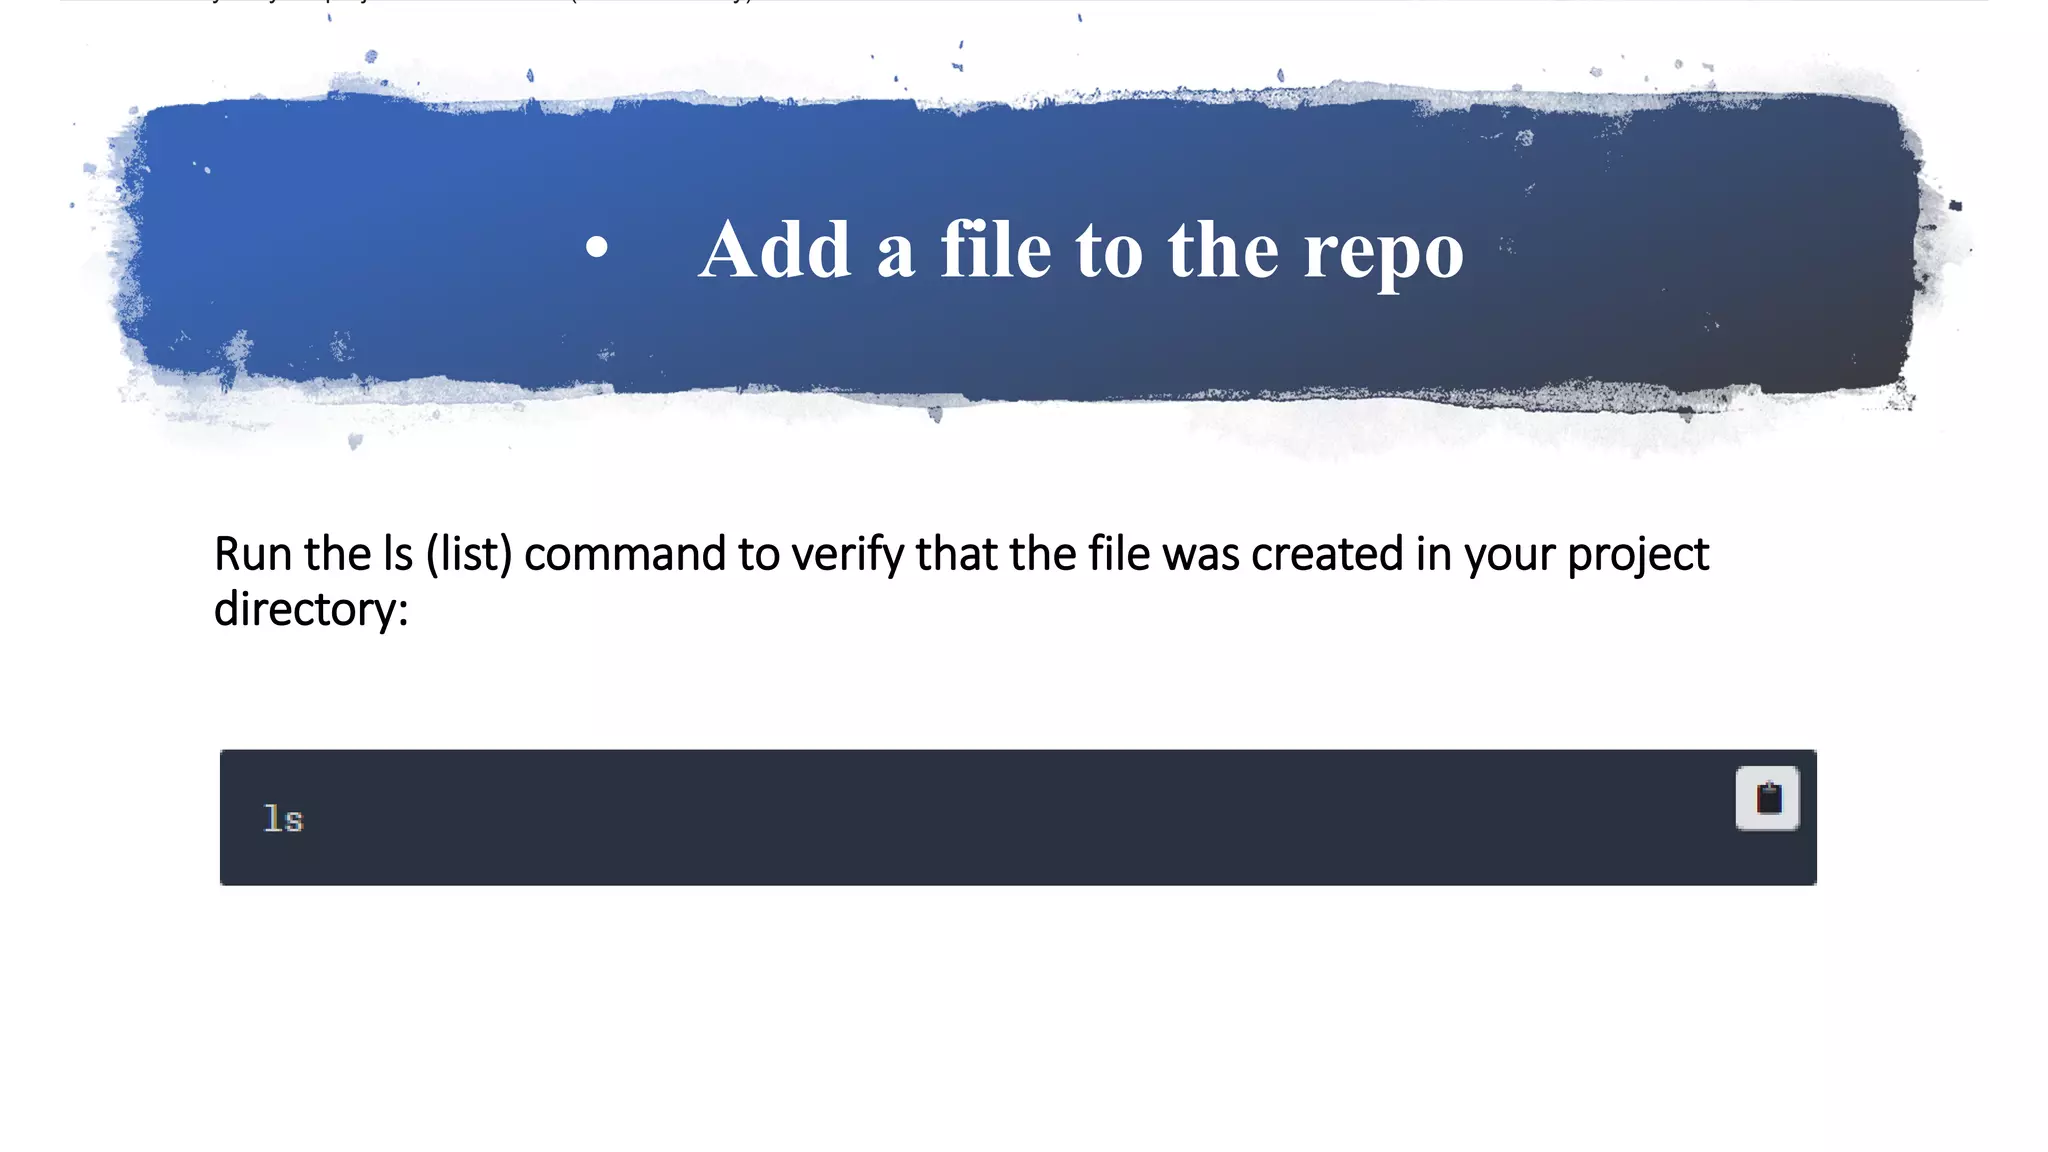
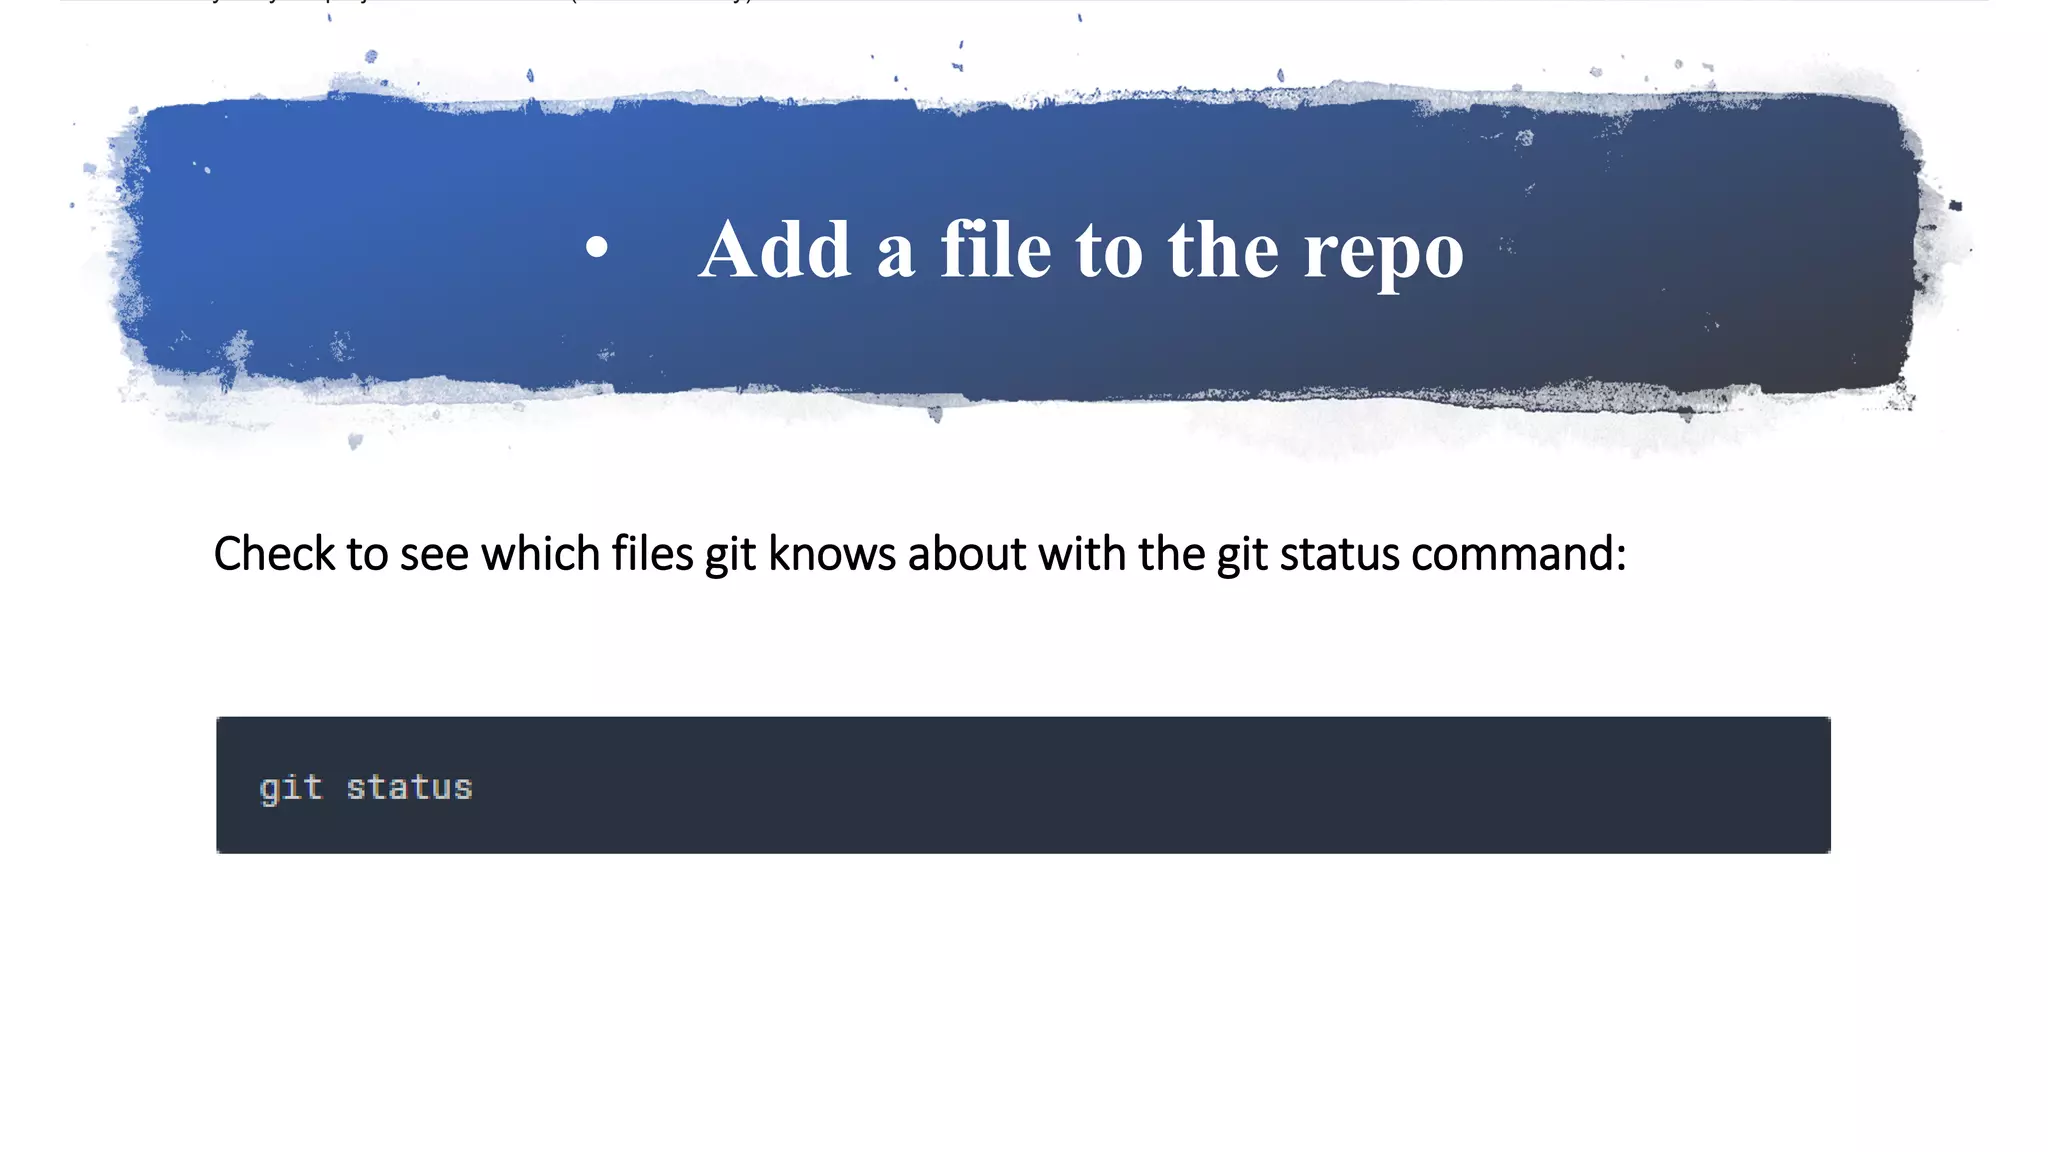
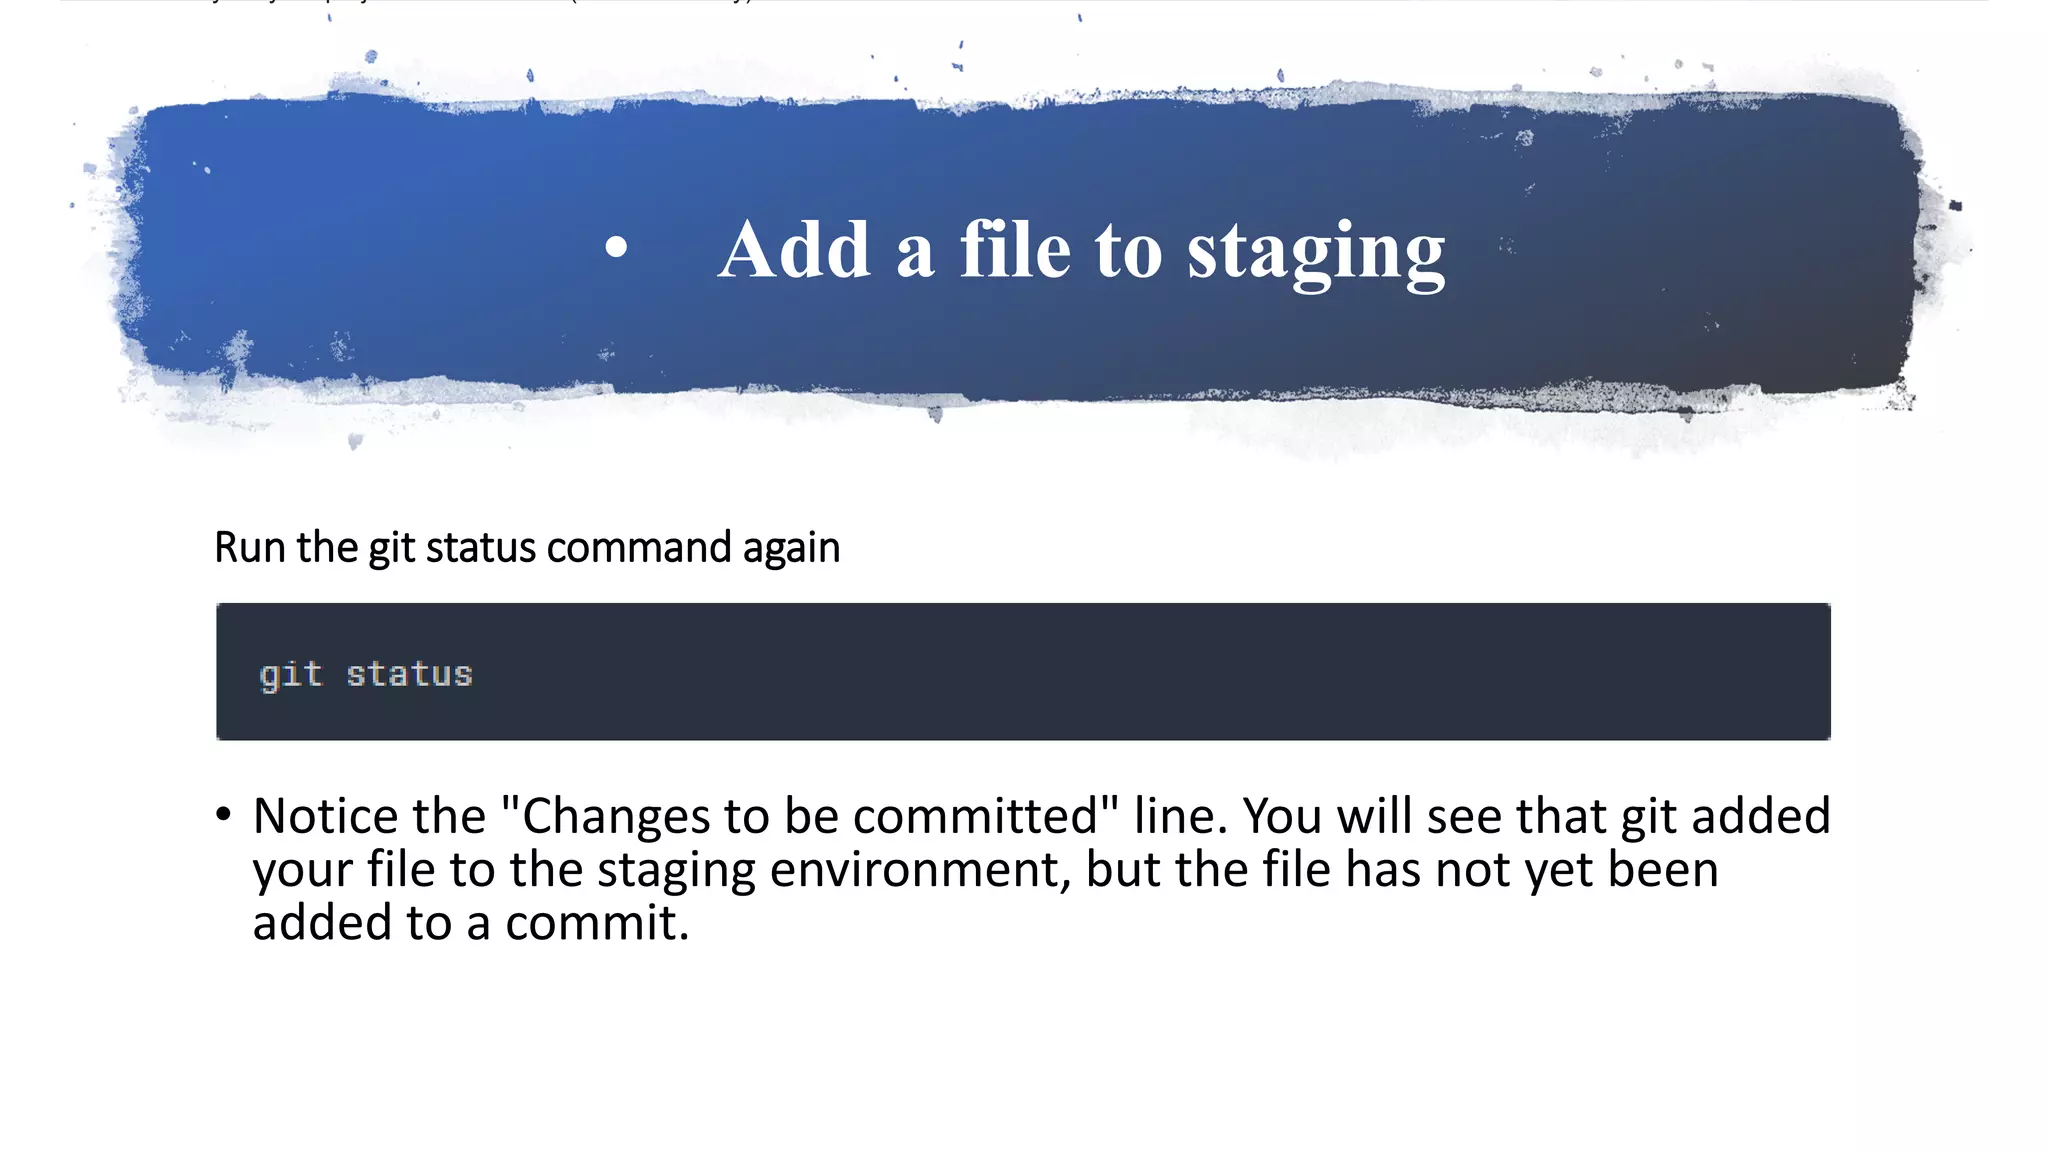
Instructions to add files to the local repository and verify their status using Git commands.
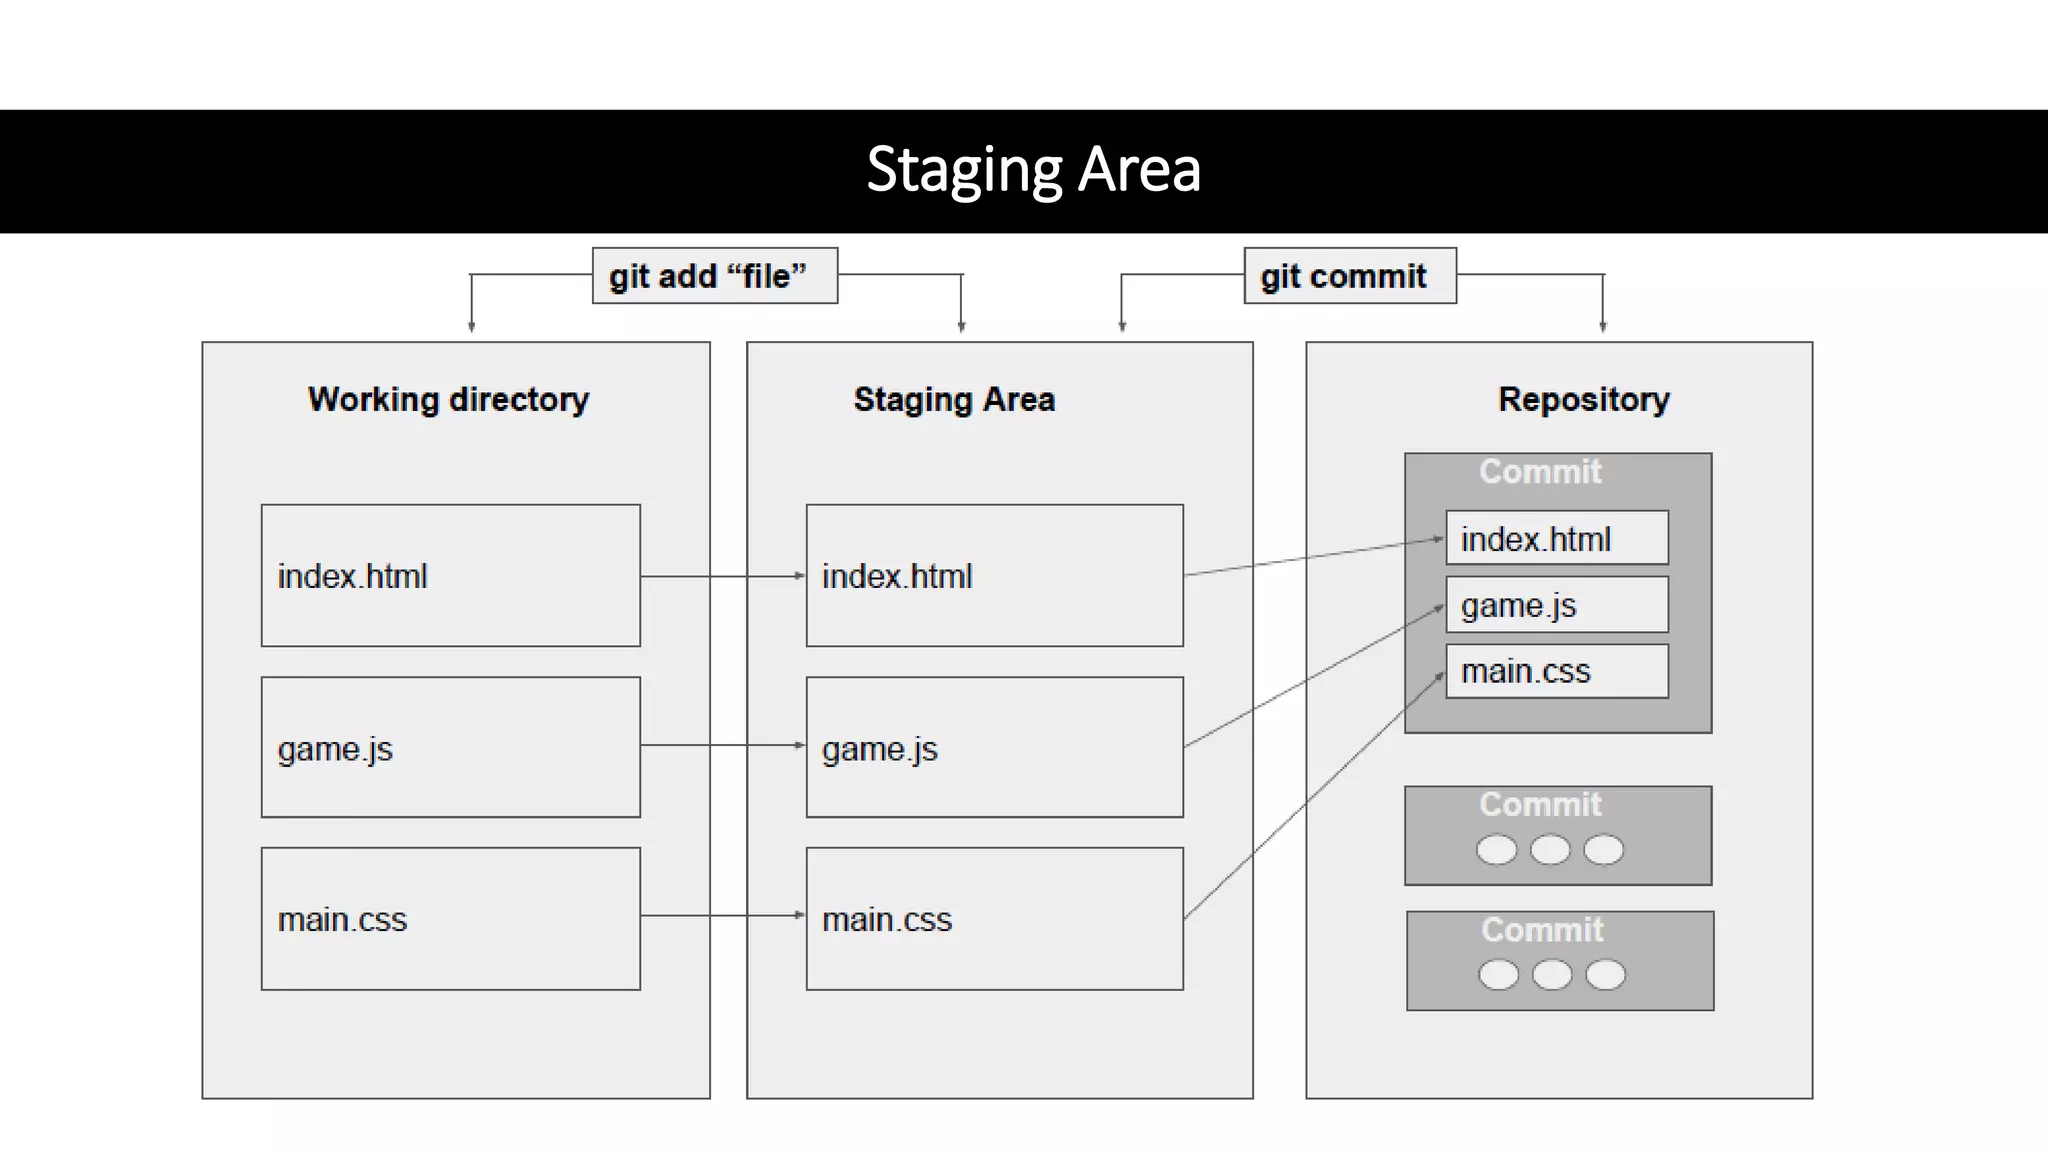
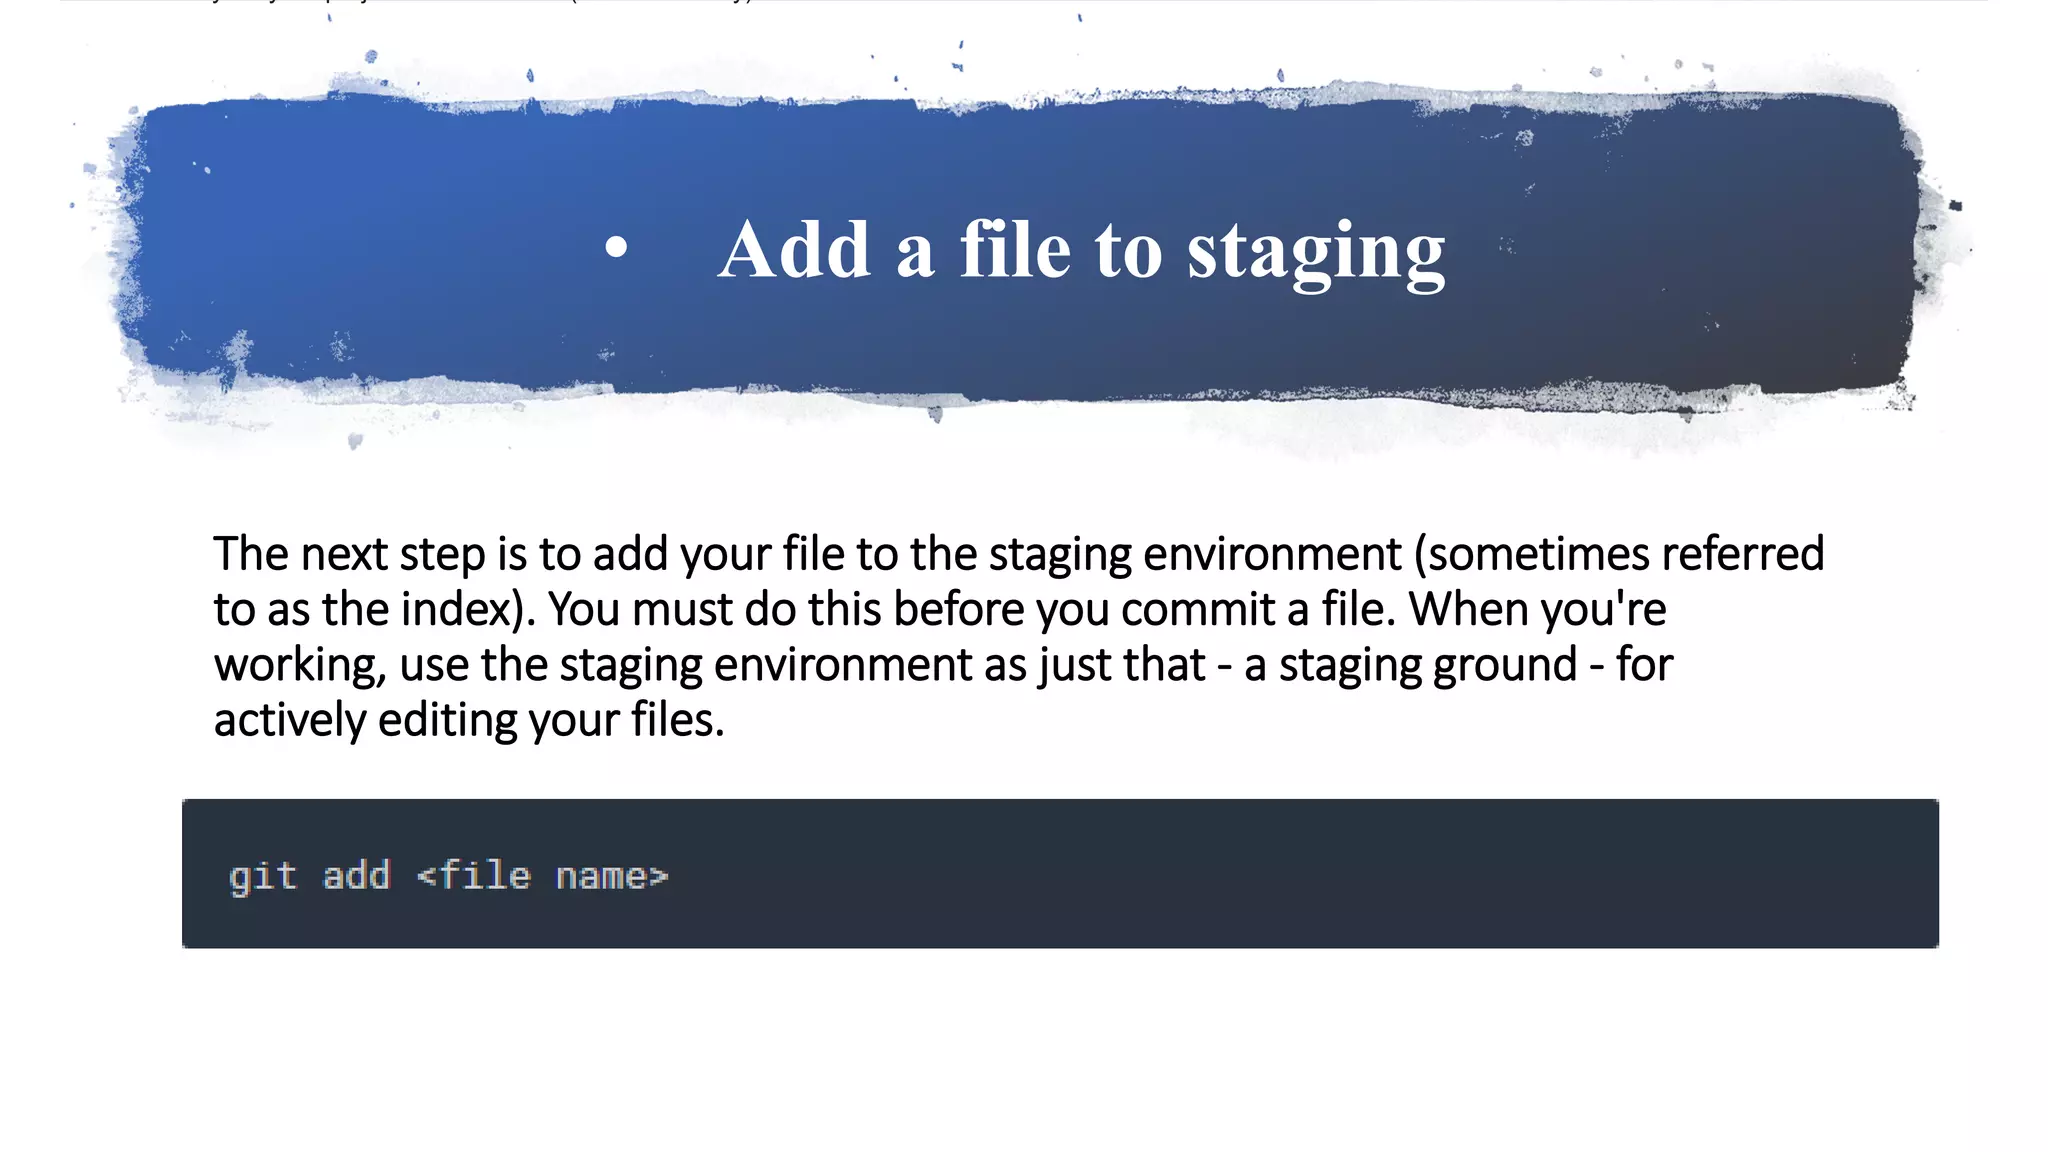
Overview of the staging area in Git, explaining how to add files to staging before committing.
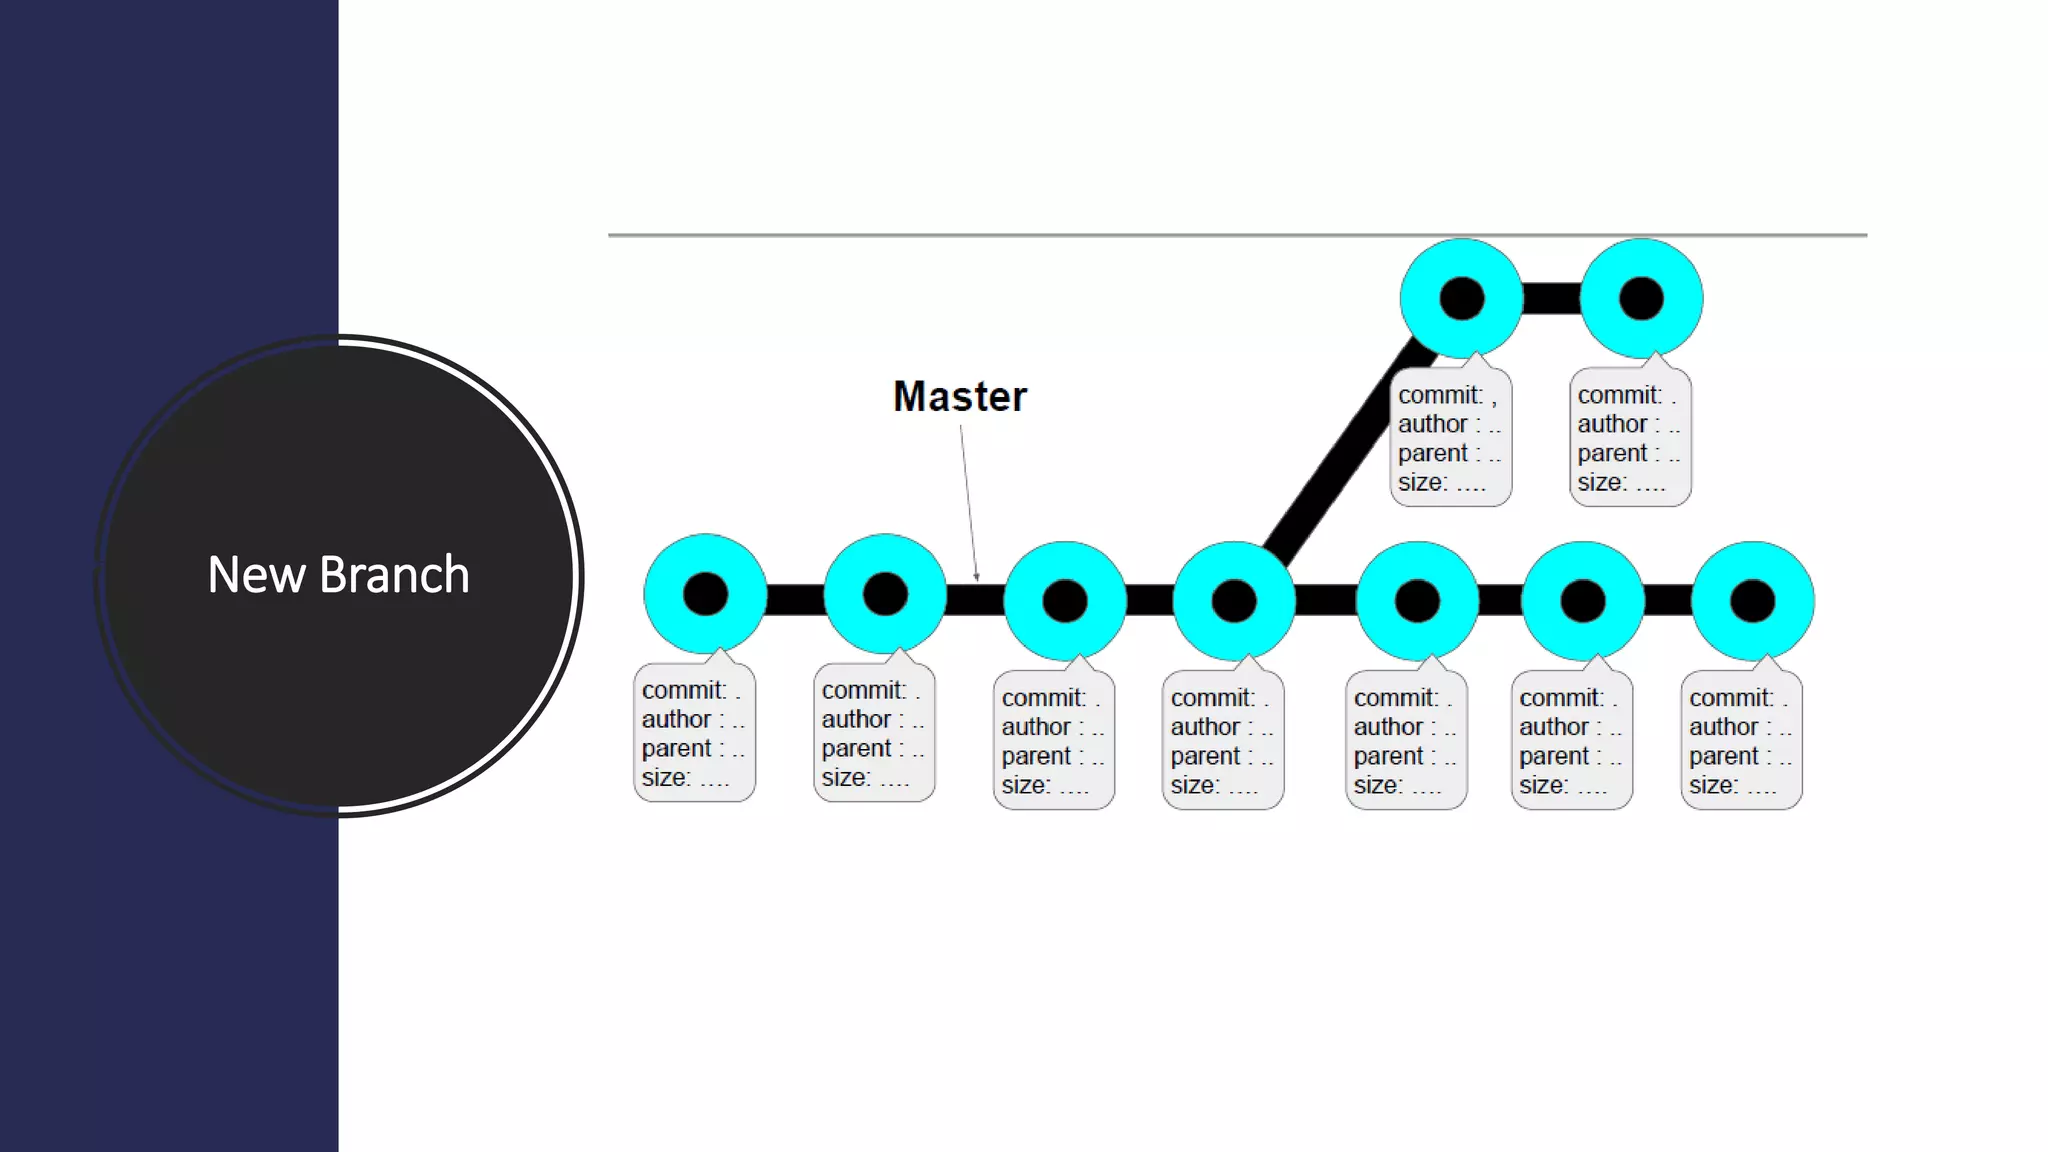
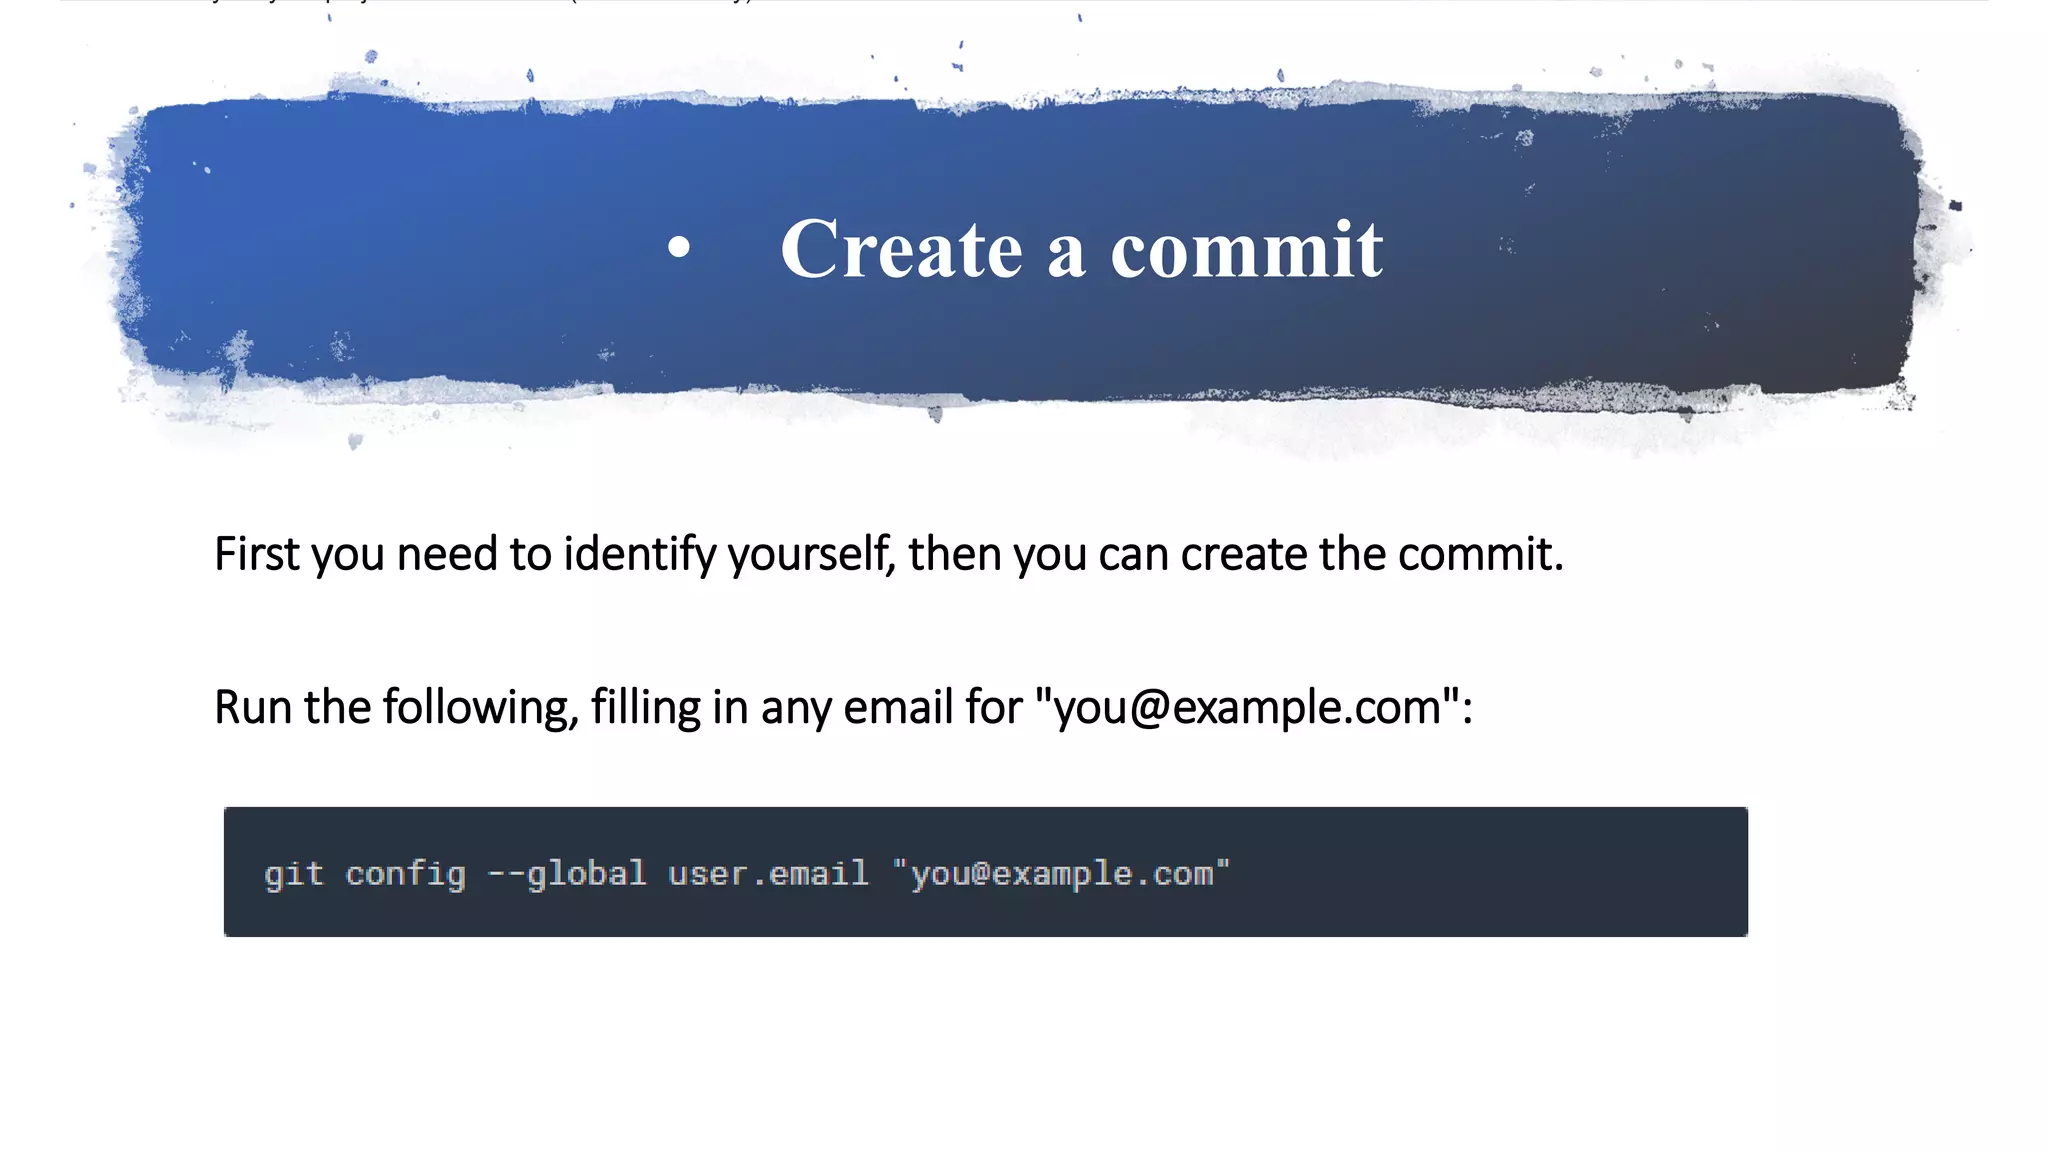
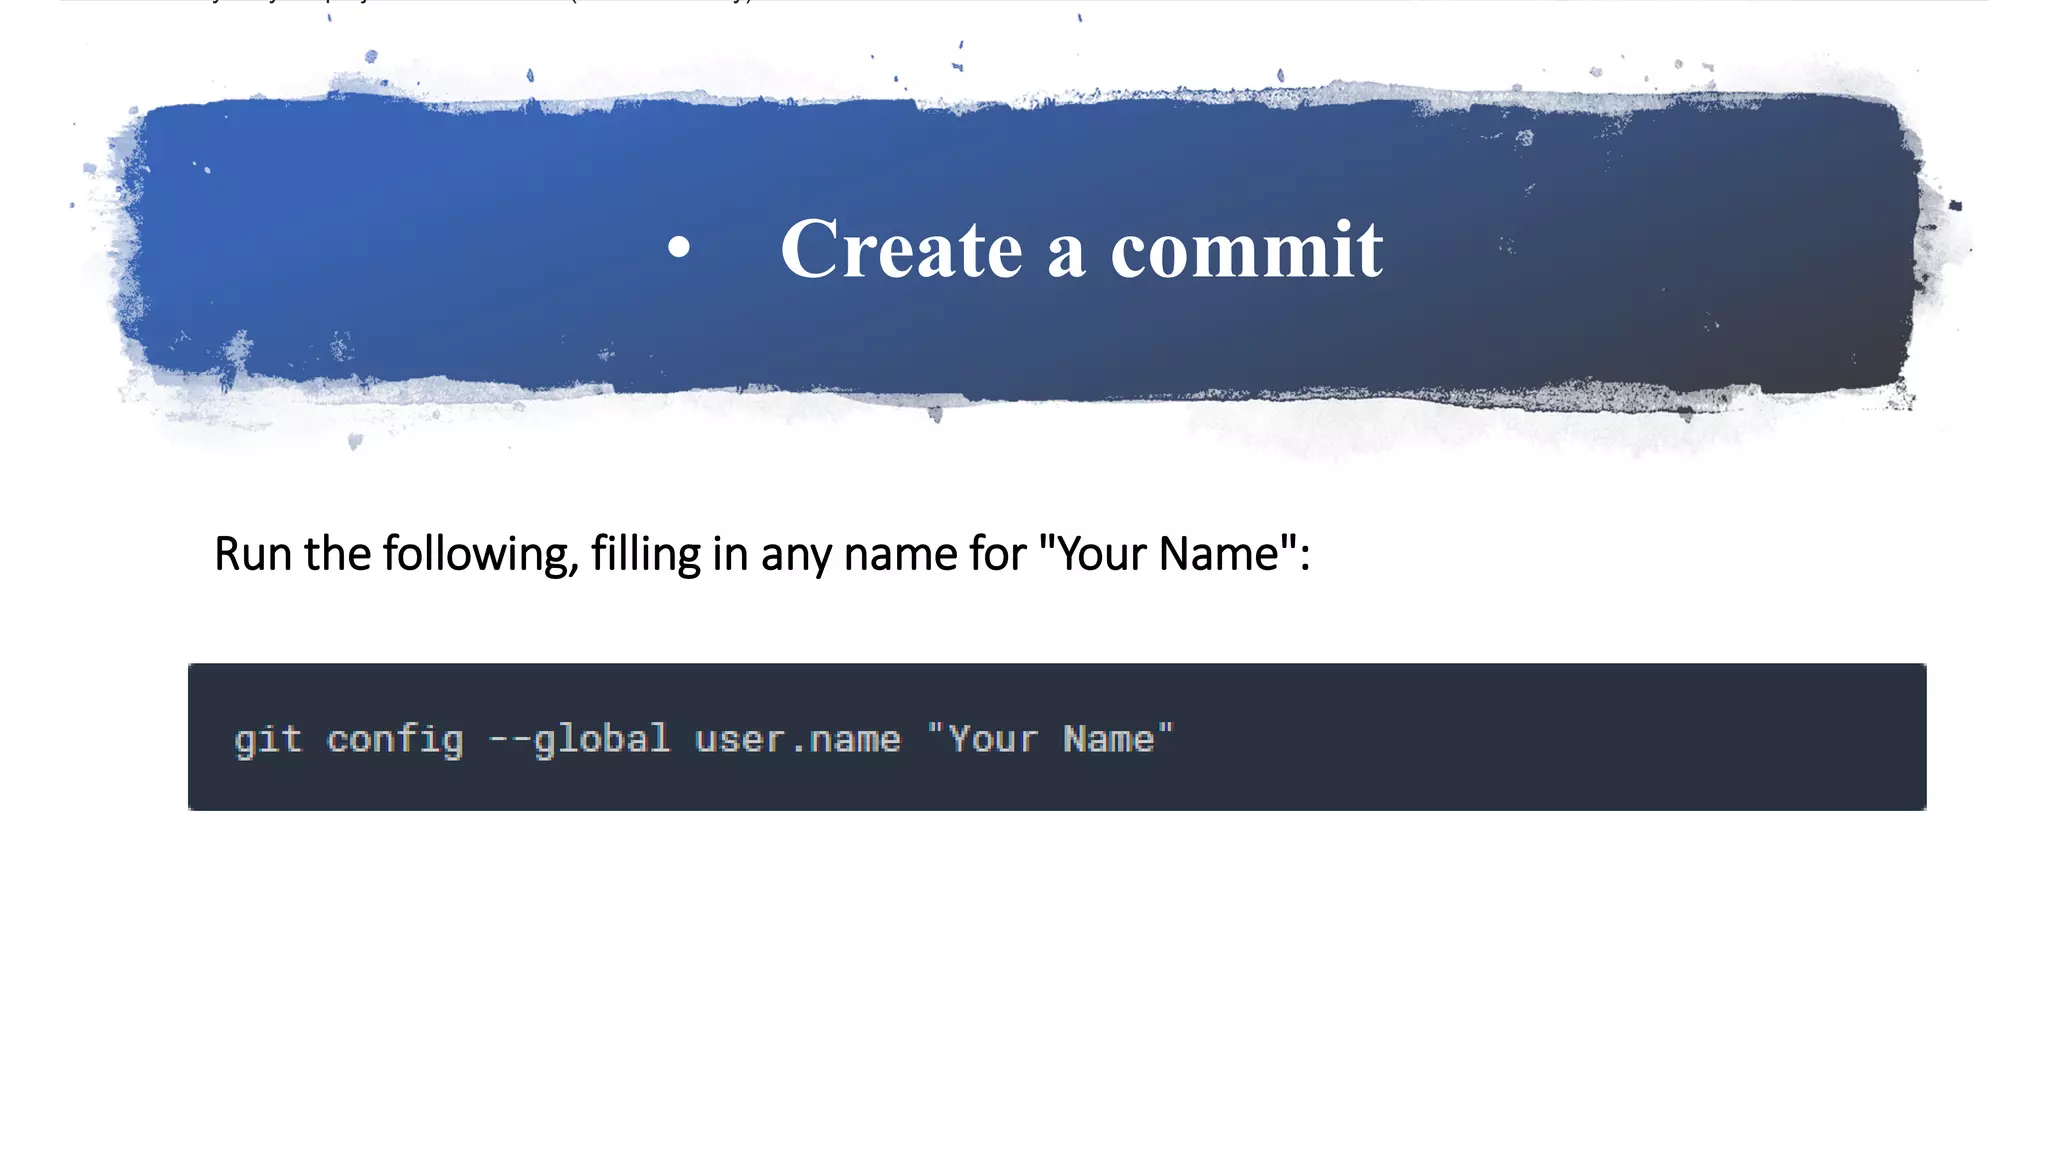
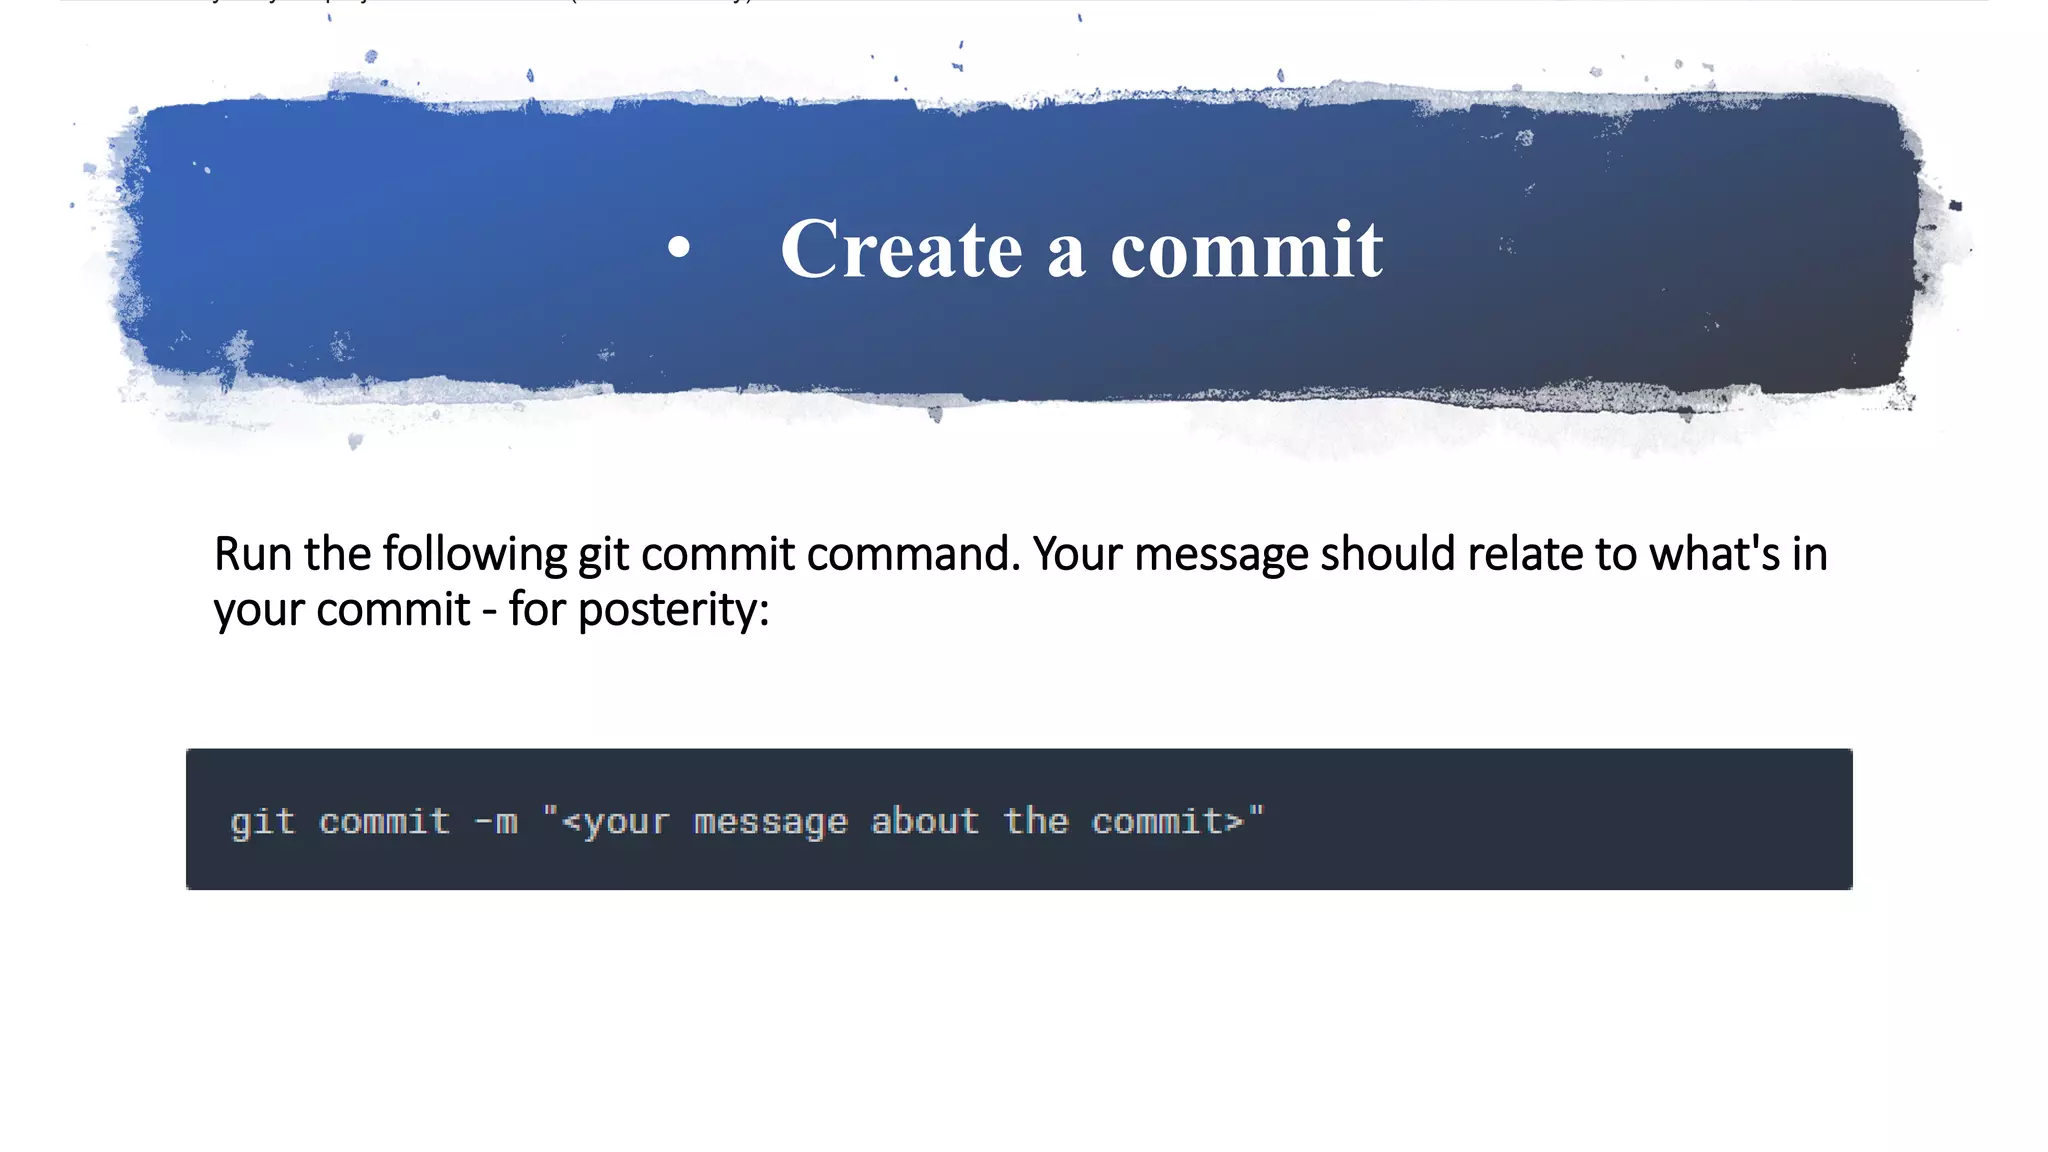
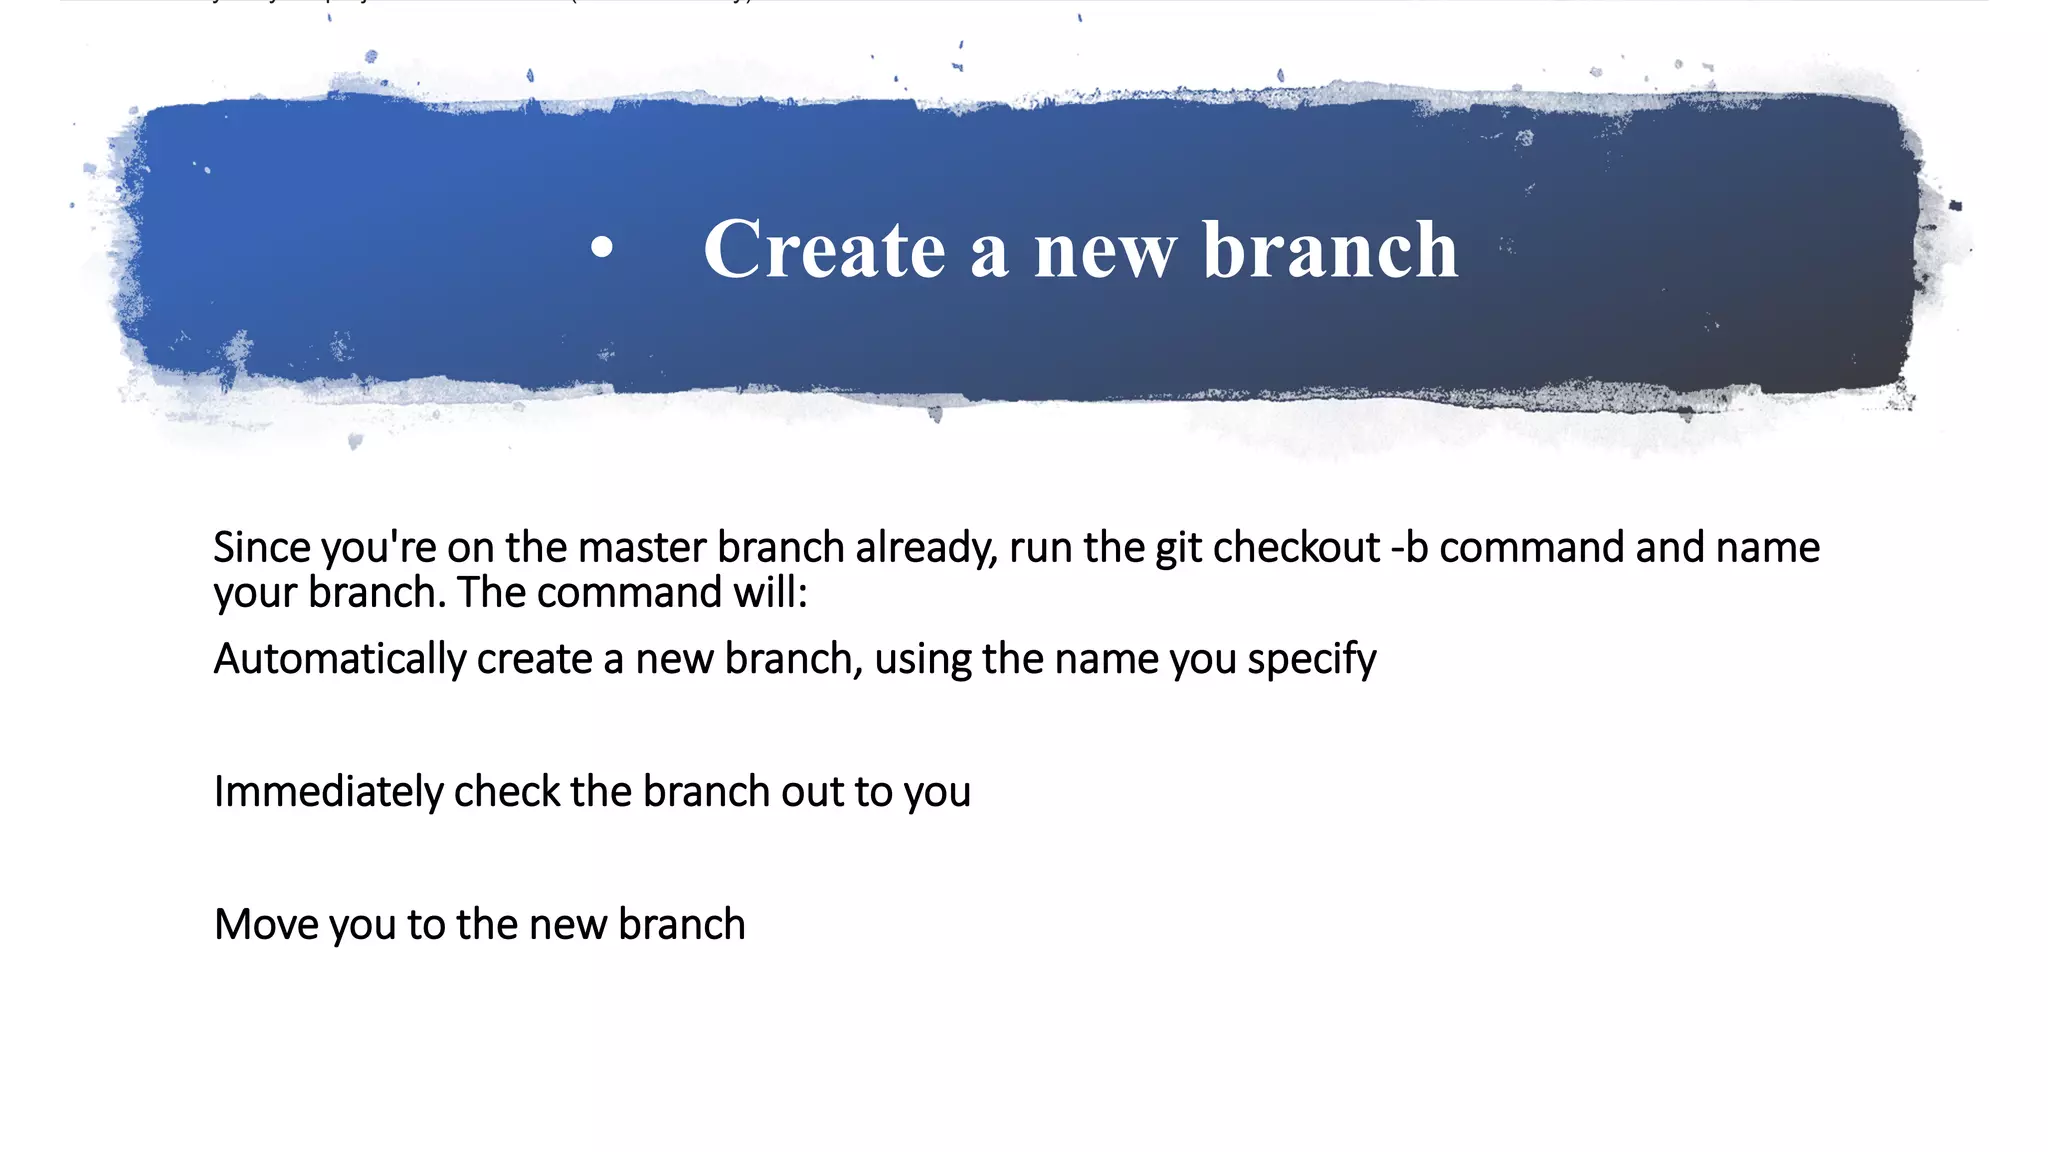
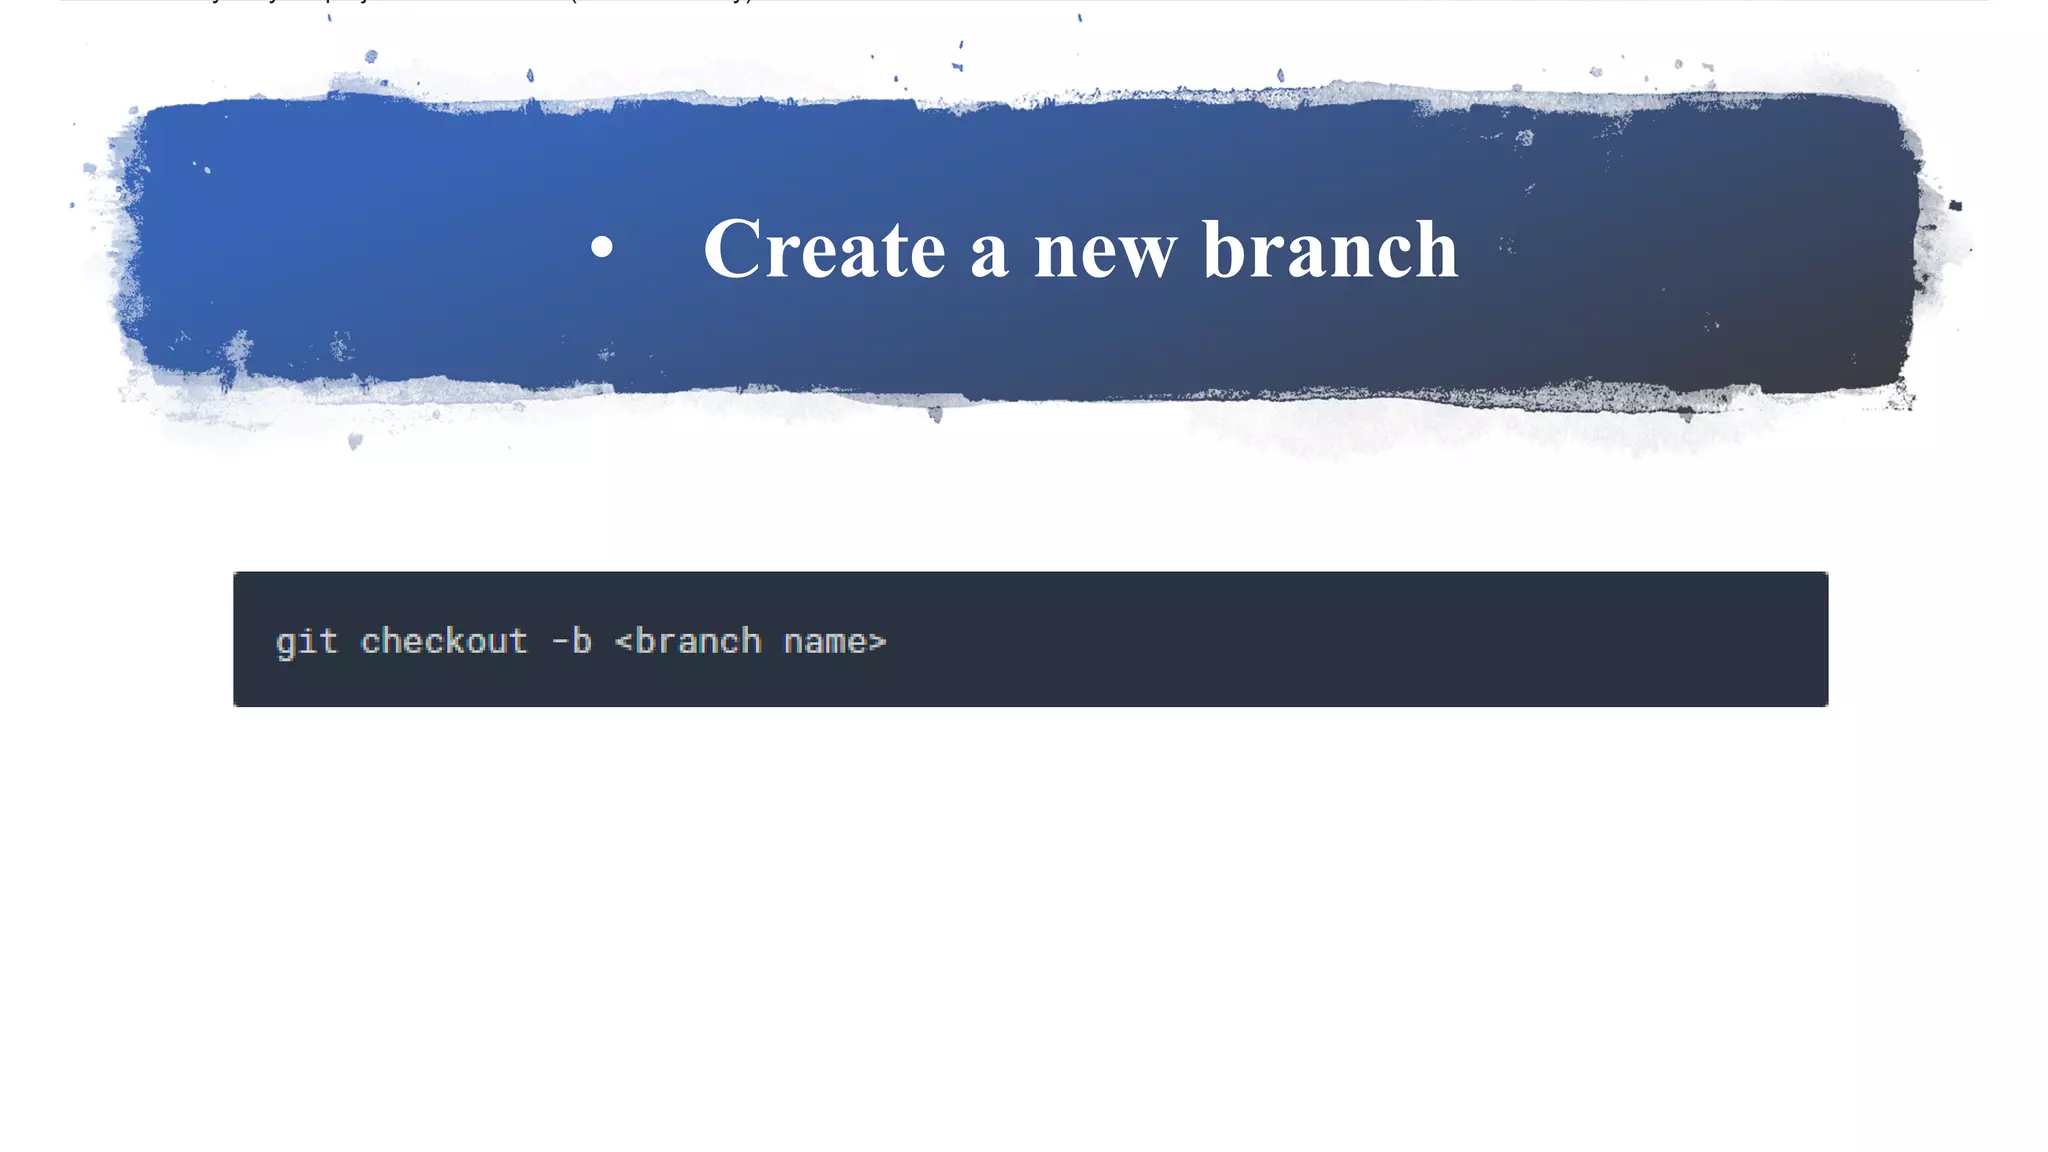
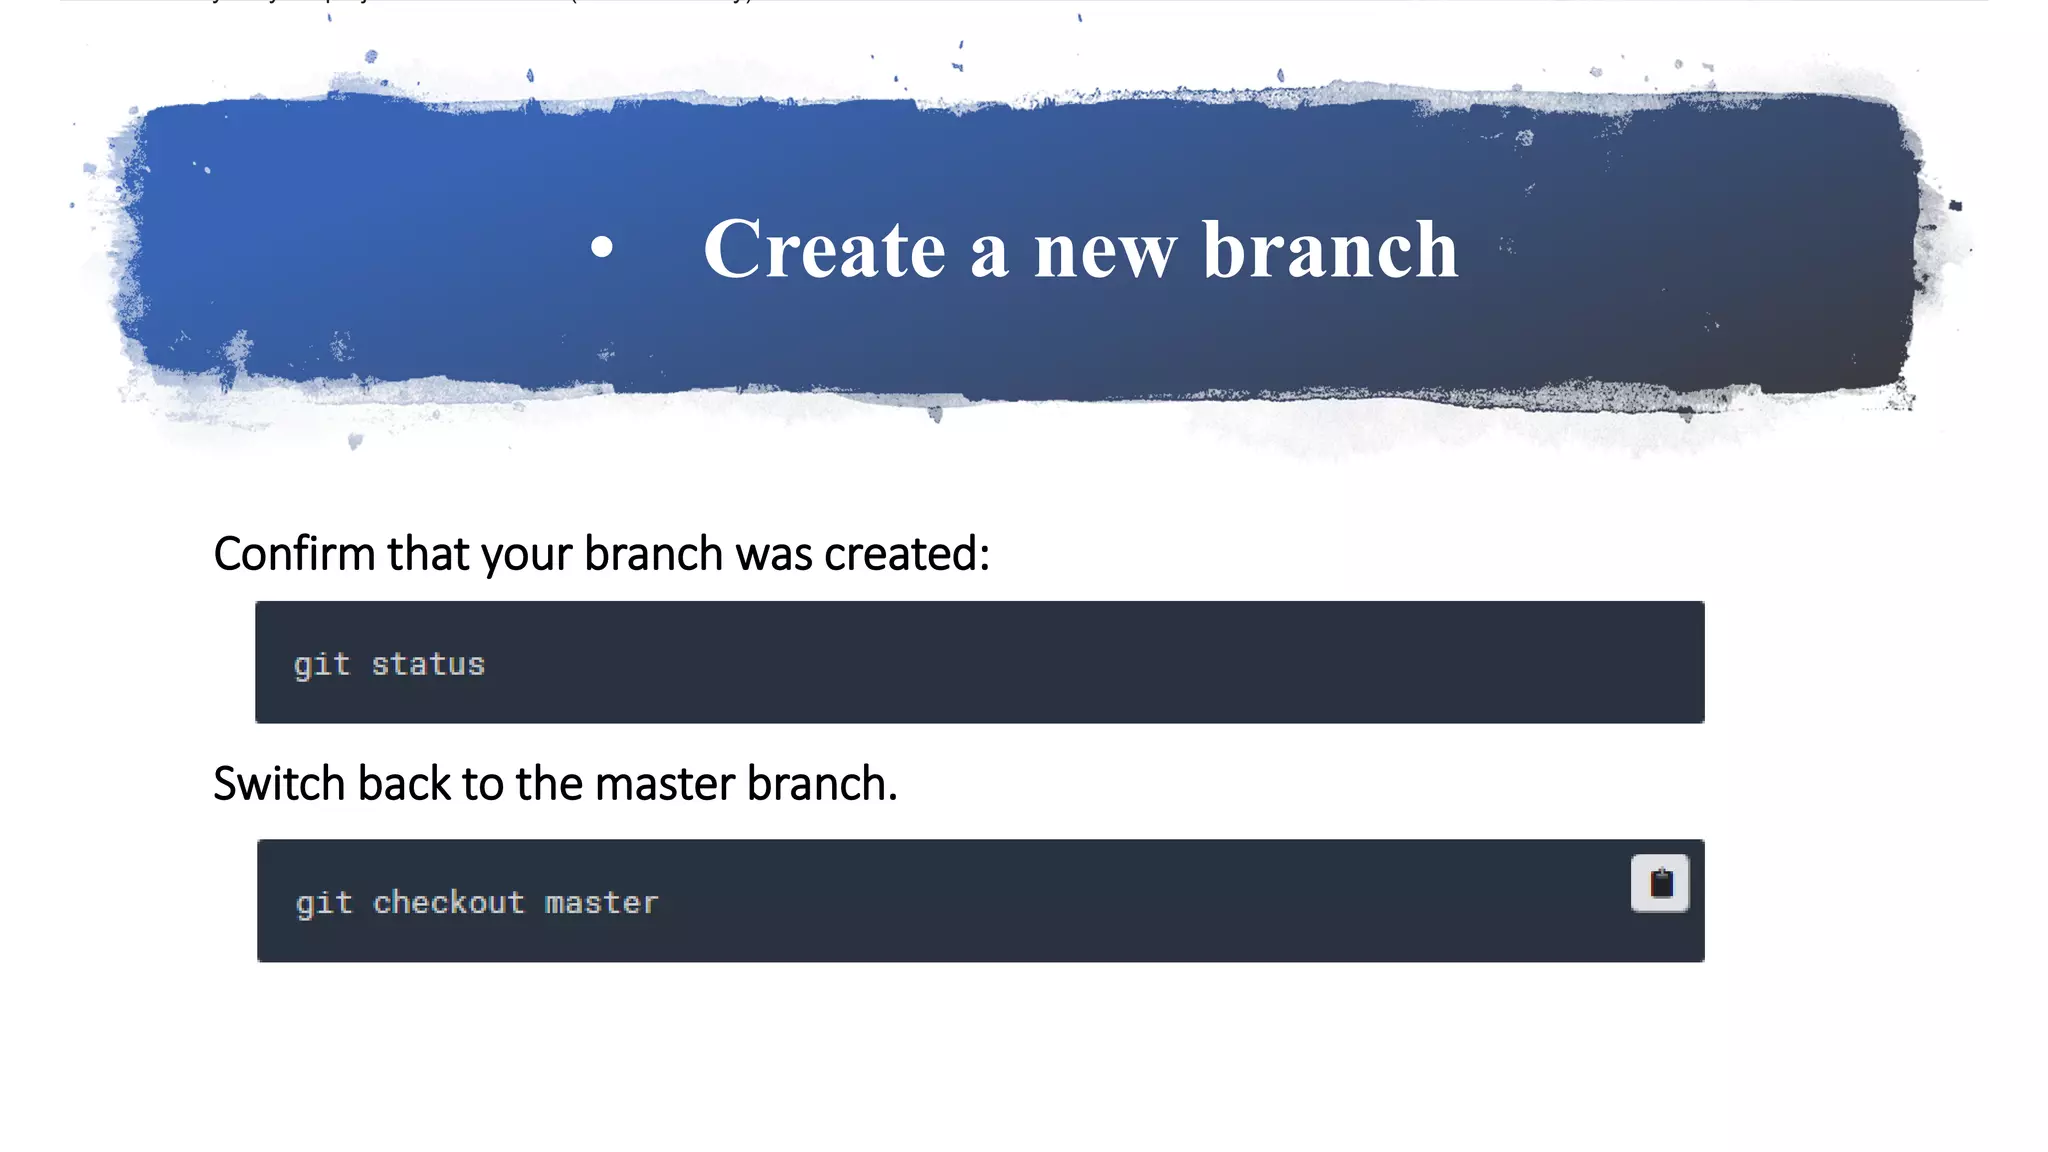
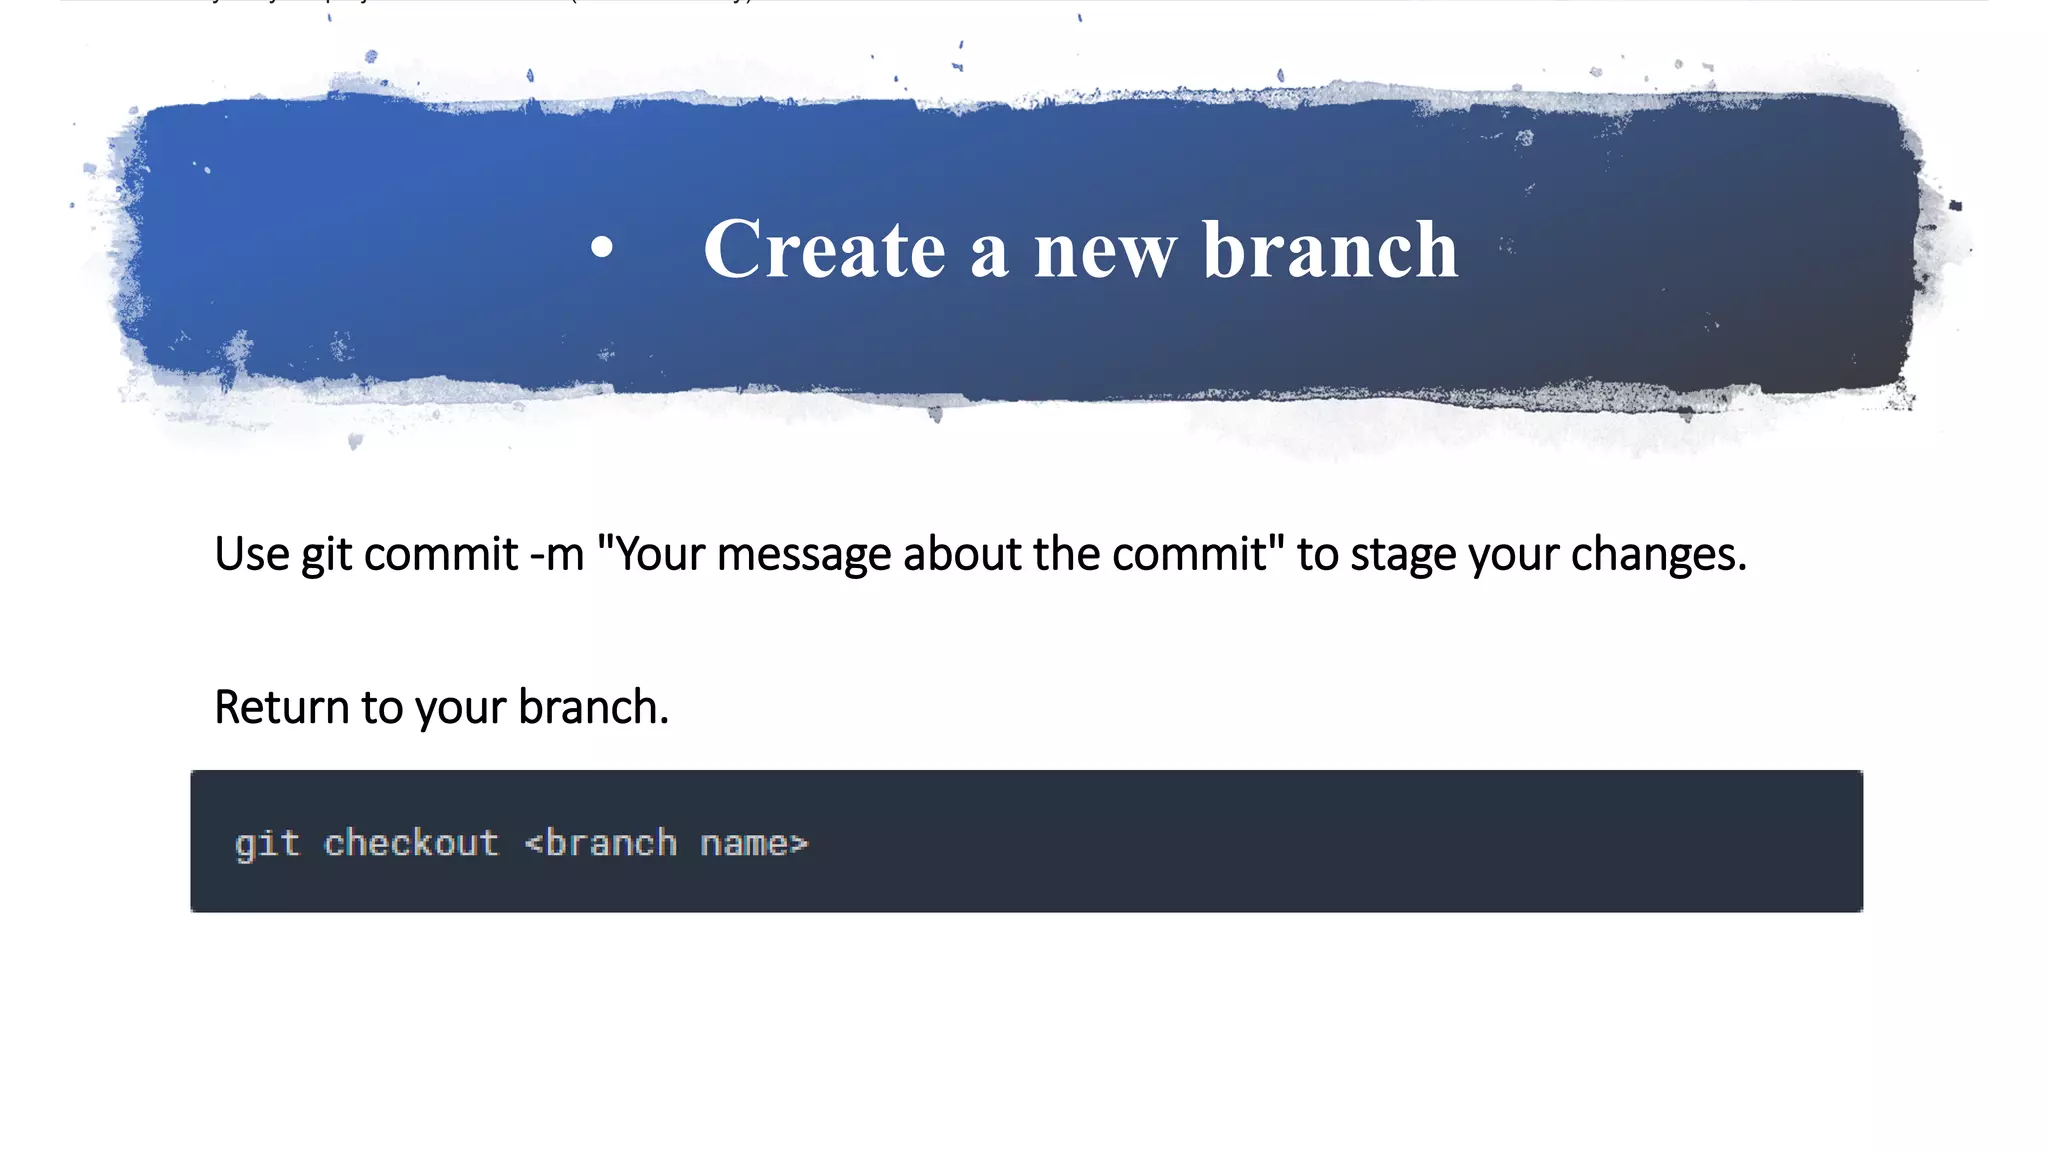
Details on creating commits, identifying oneself, managing branches, and the process of switching between branches.
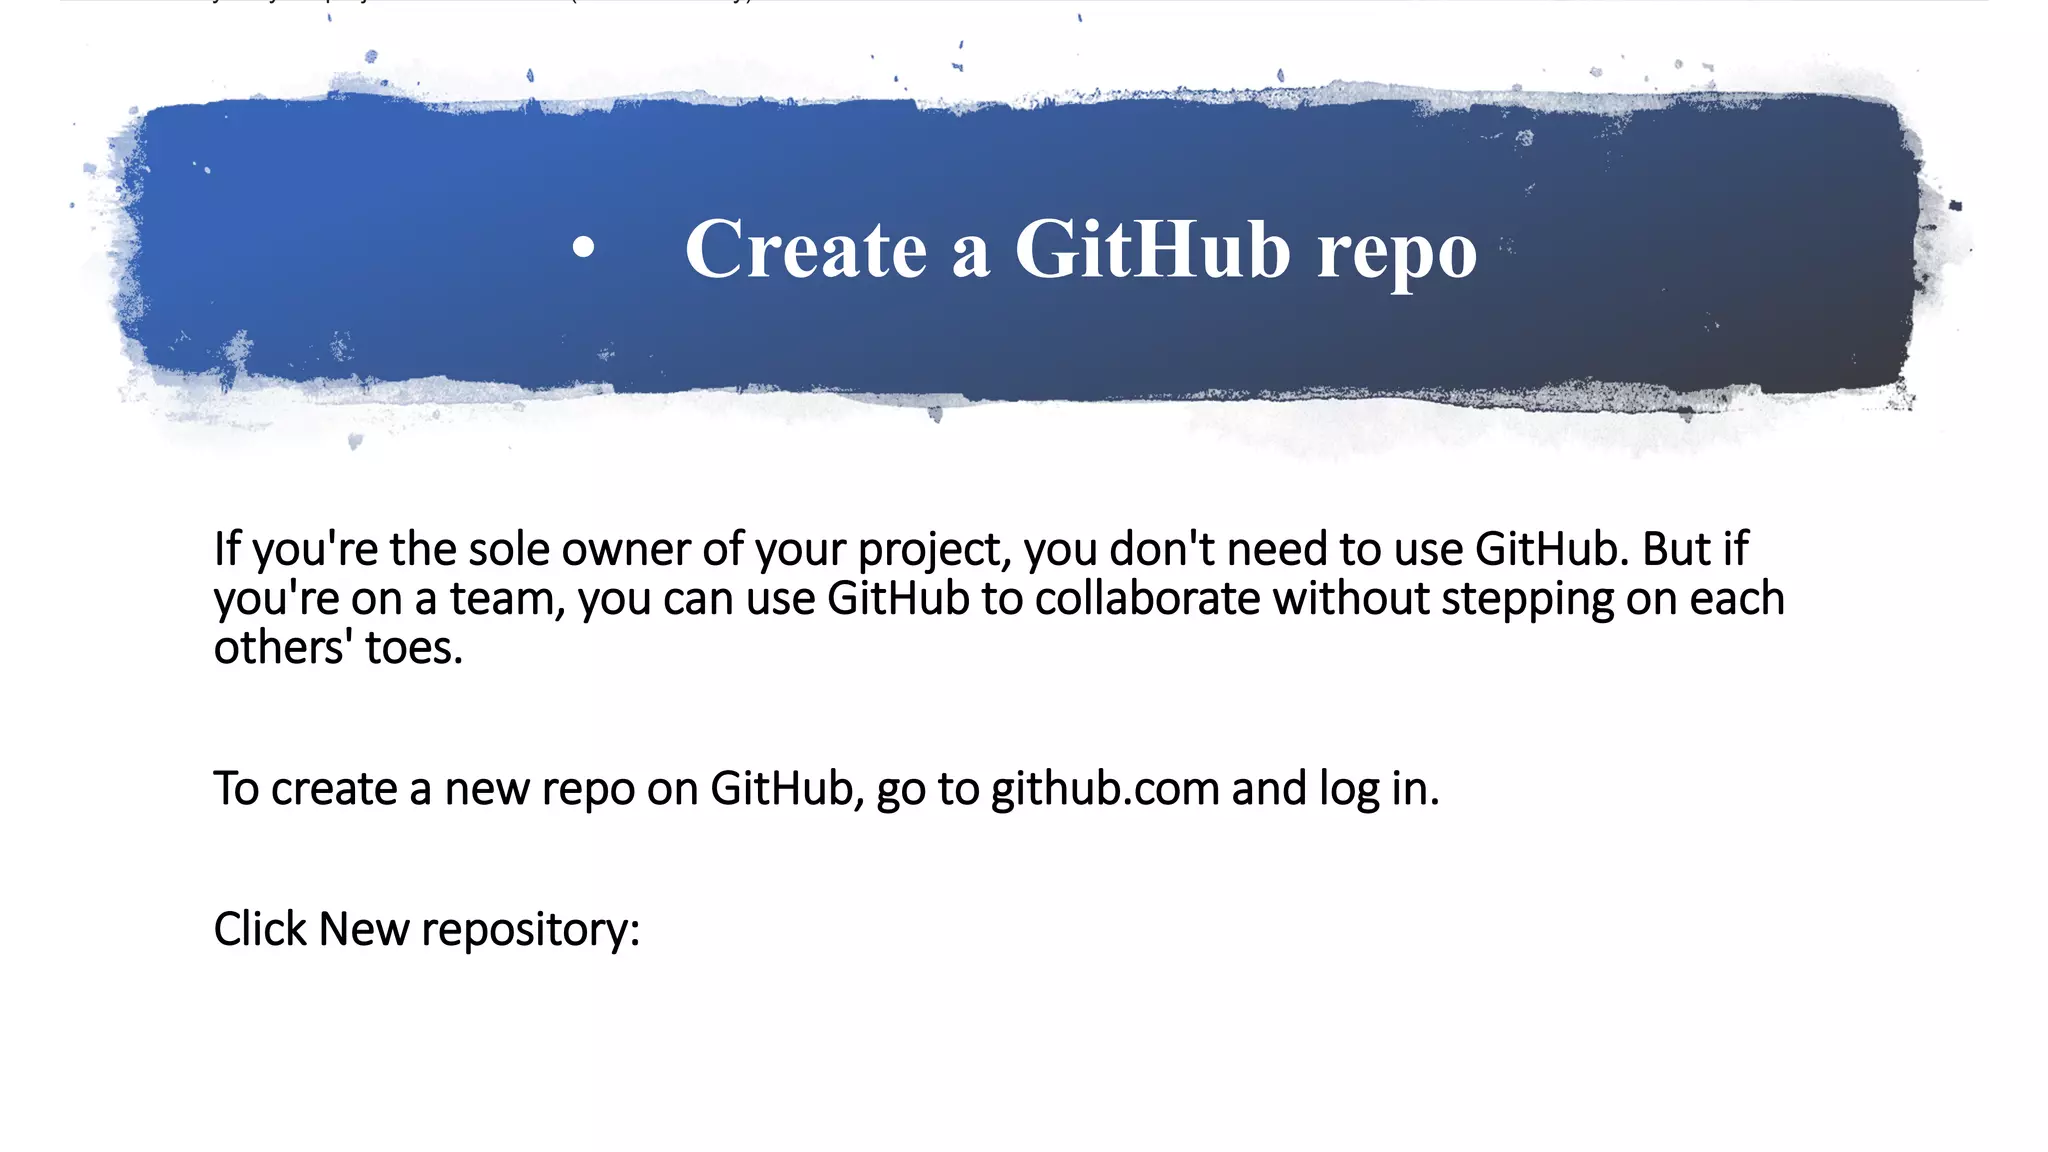
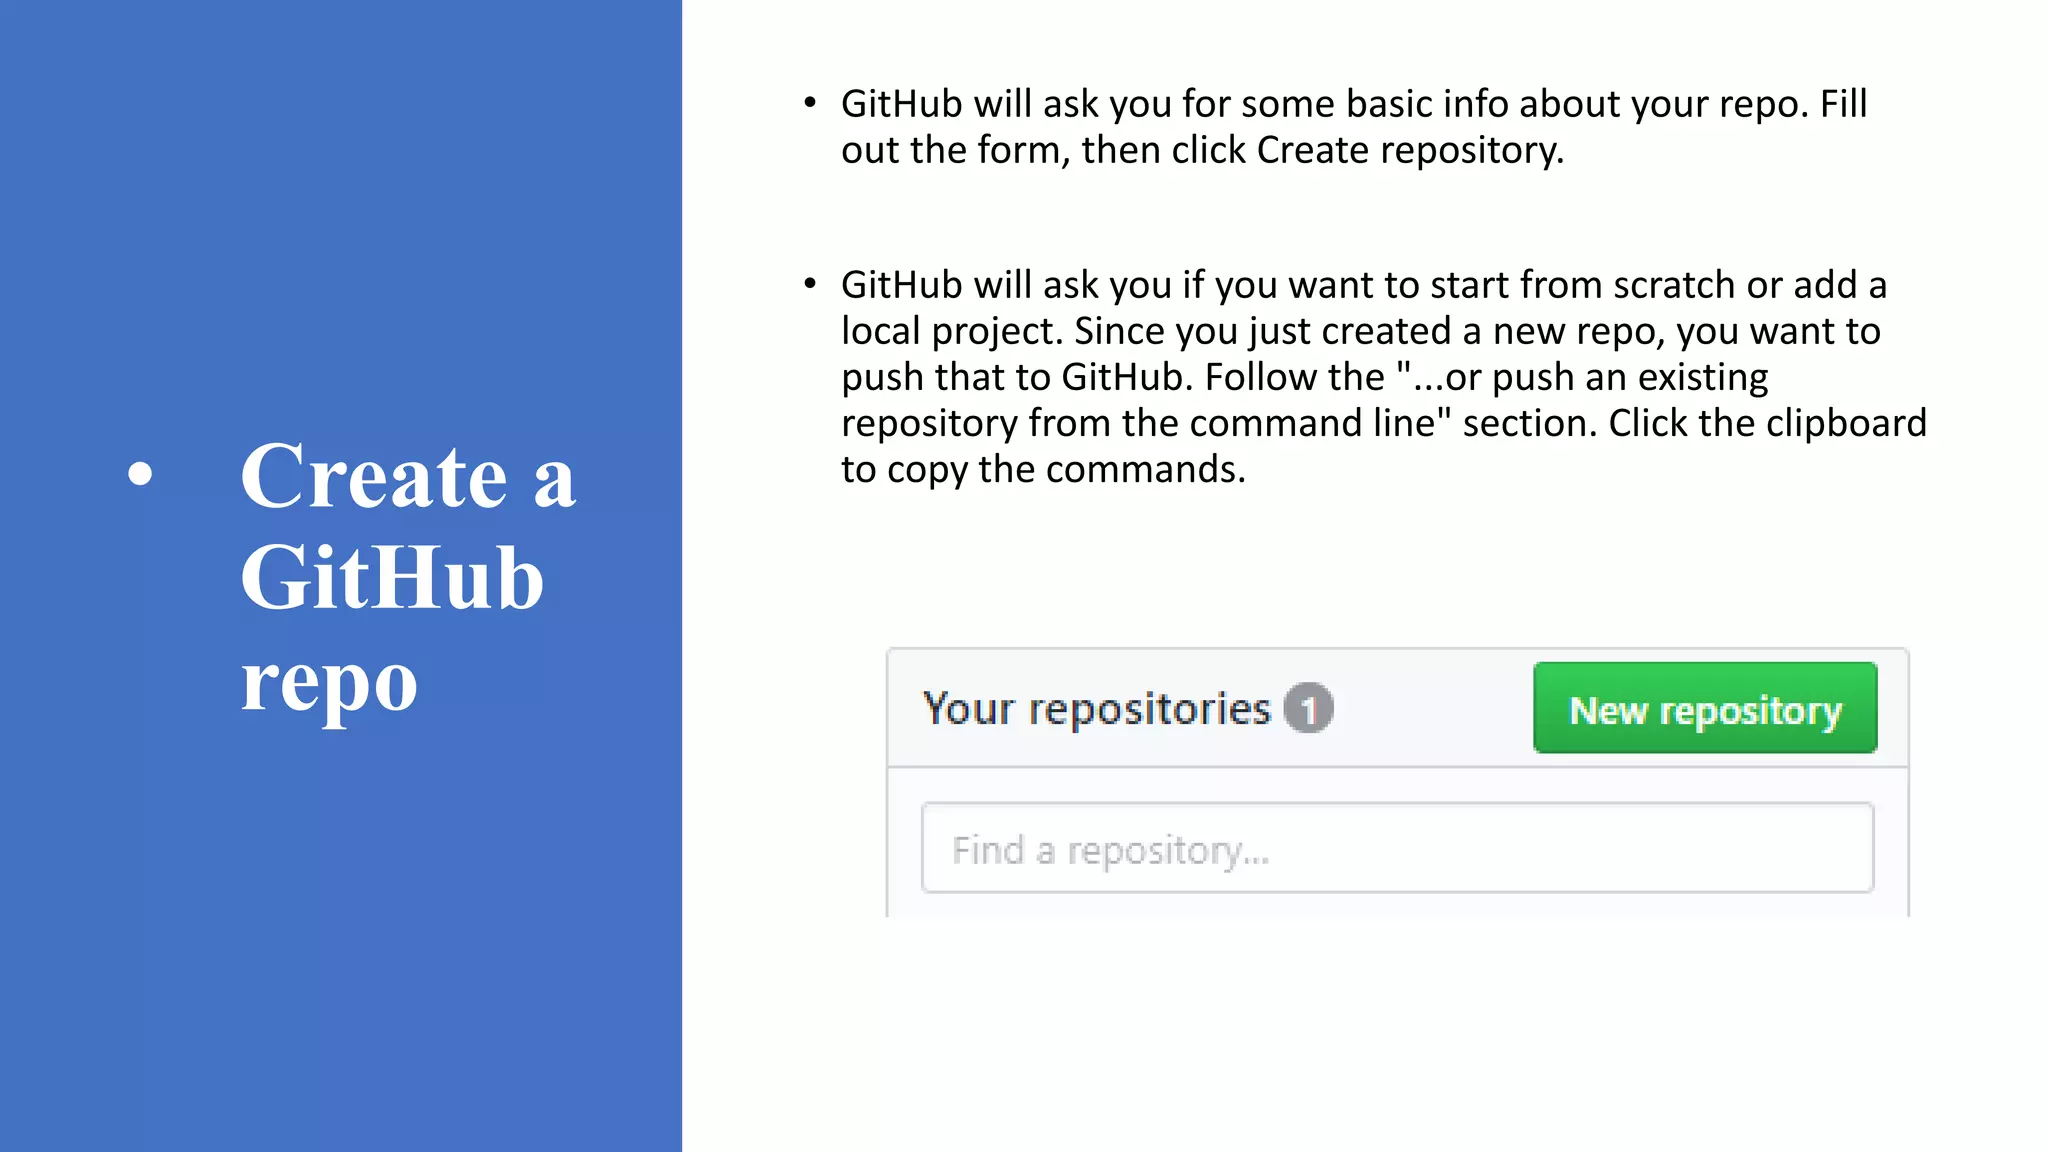
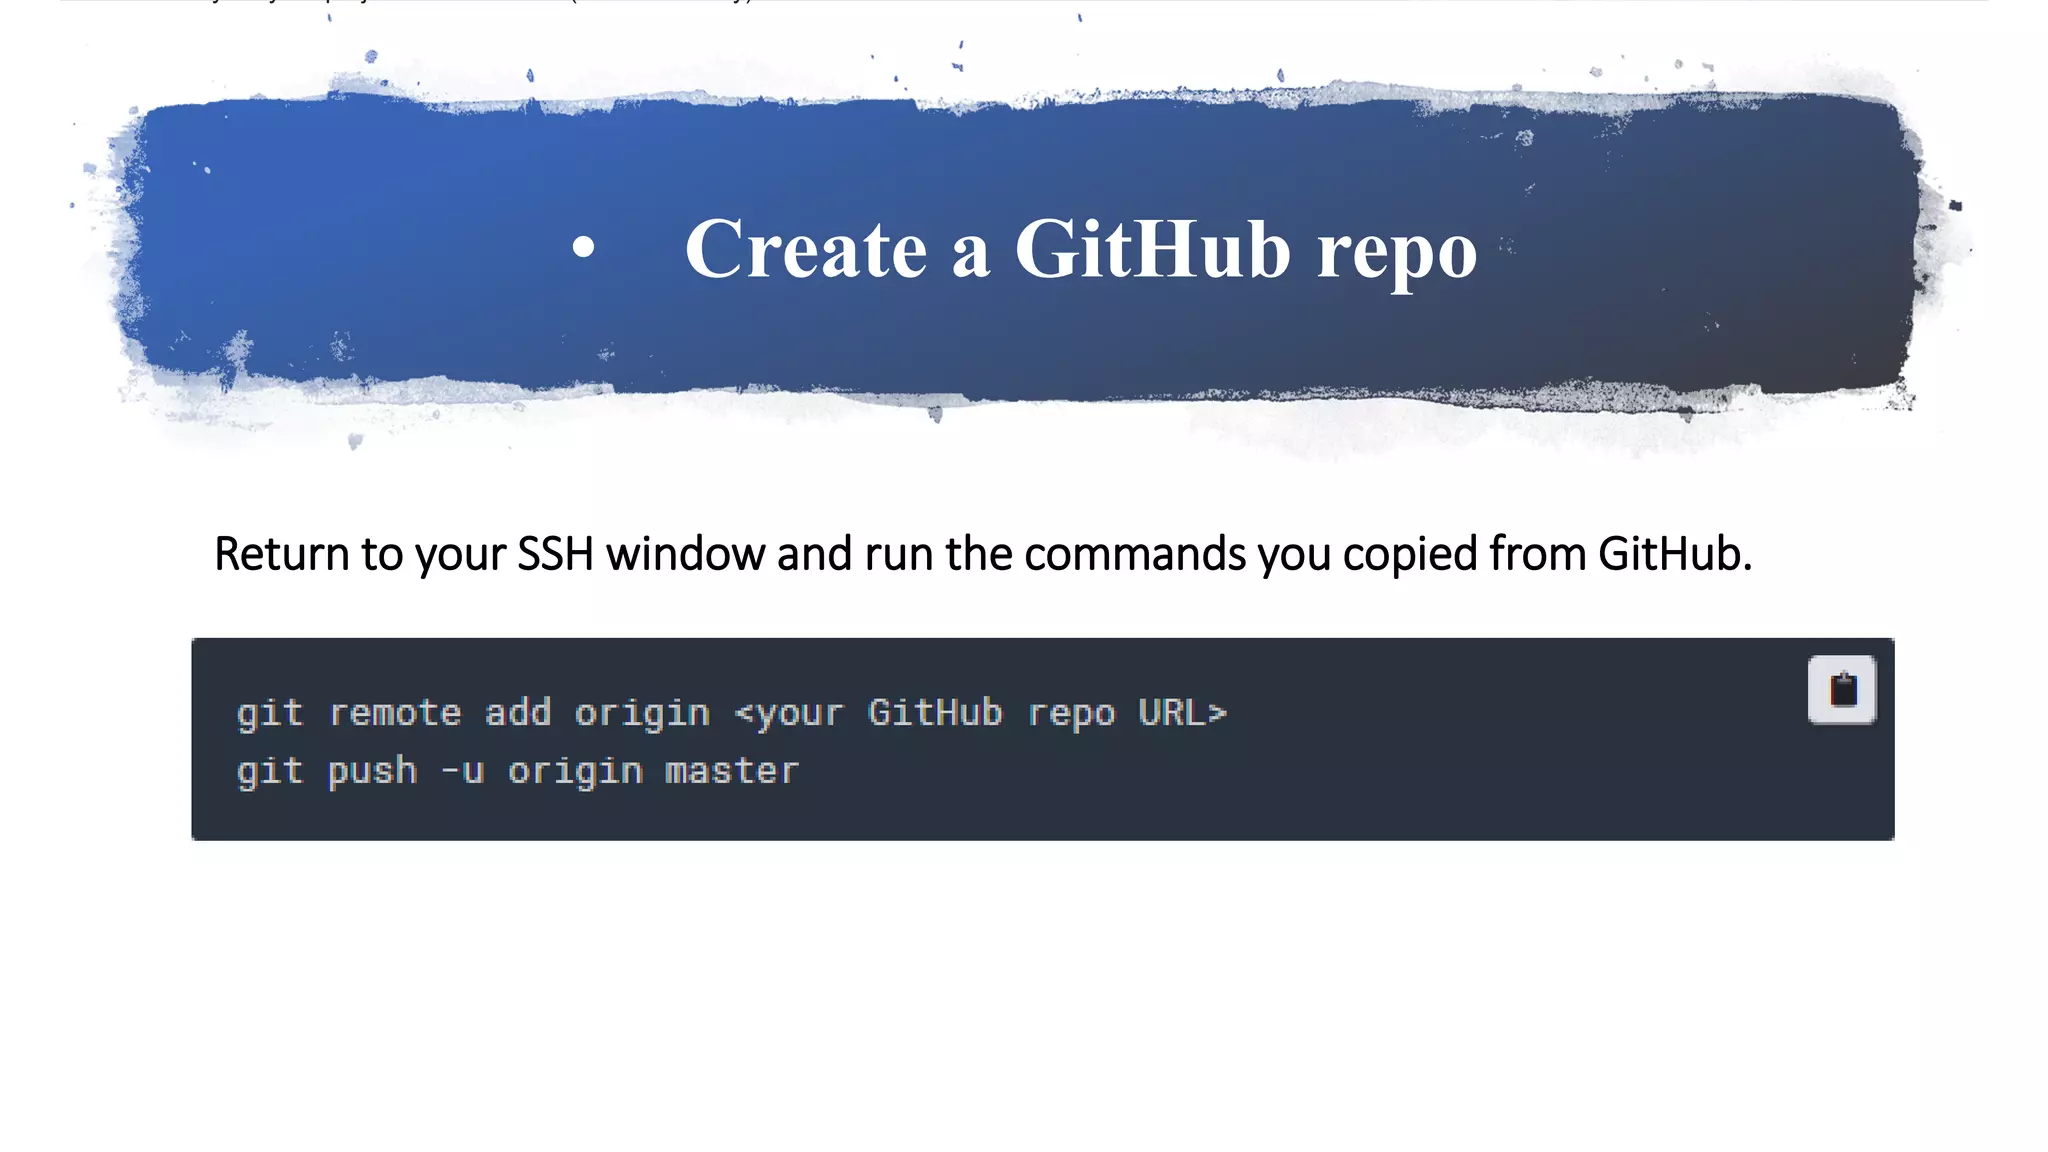
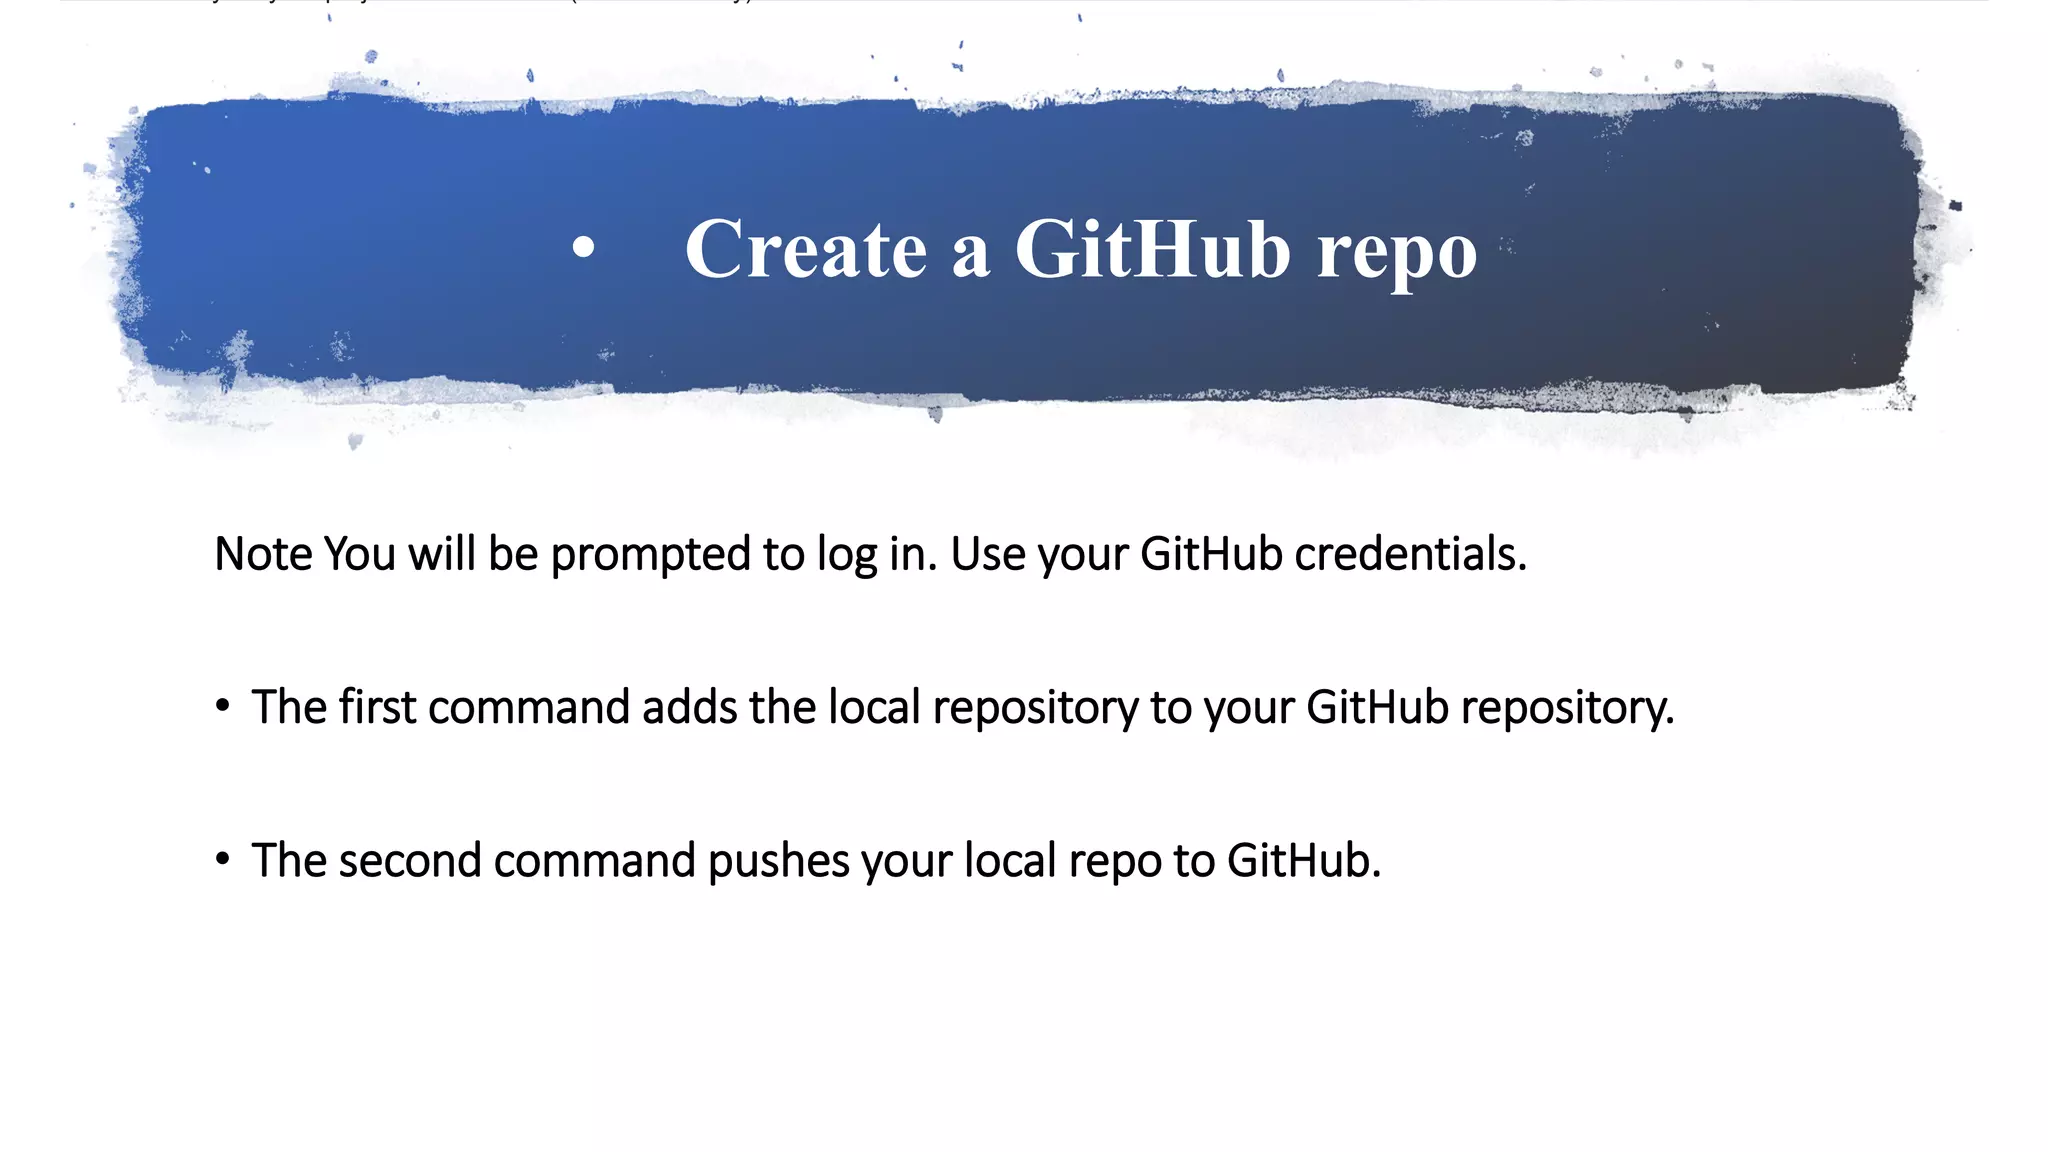
Instructions for creating a GitHub repository and pushing local commits to GitHub.
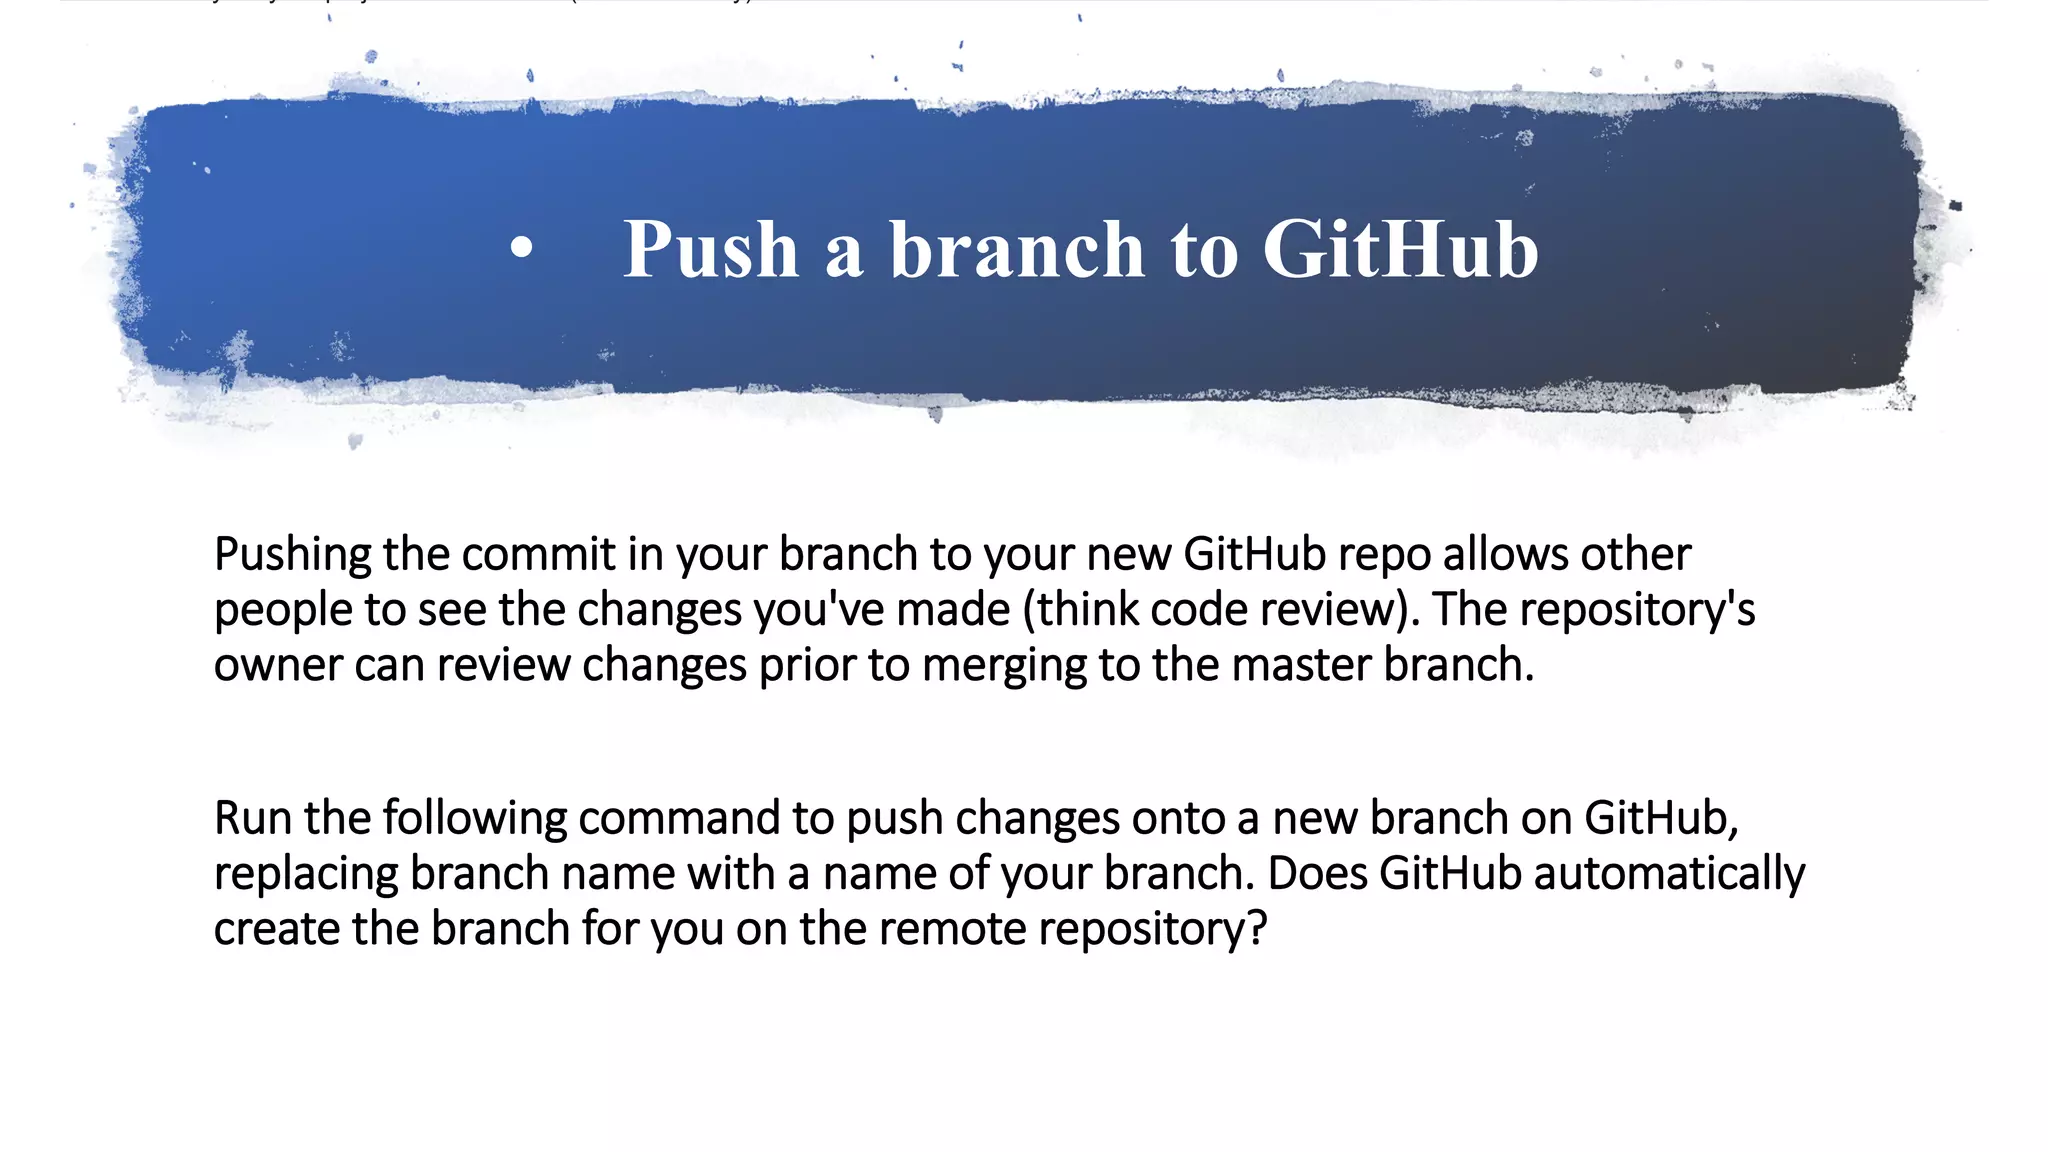
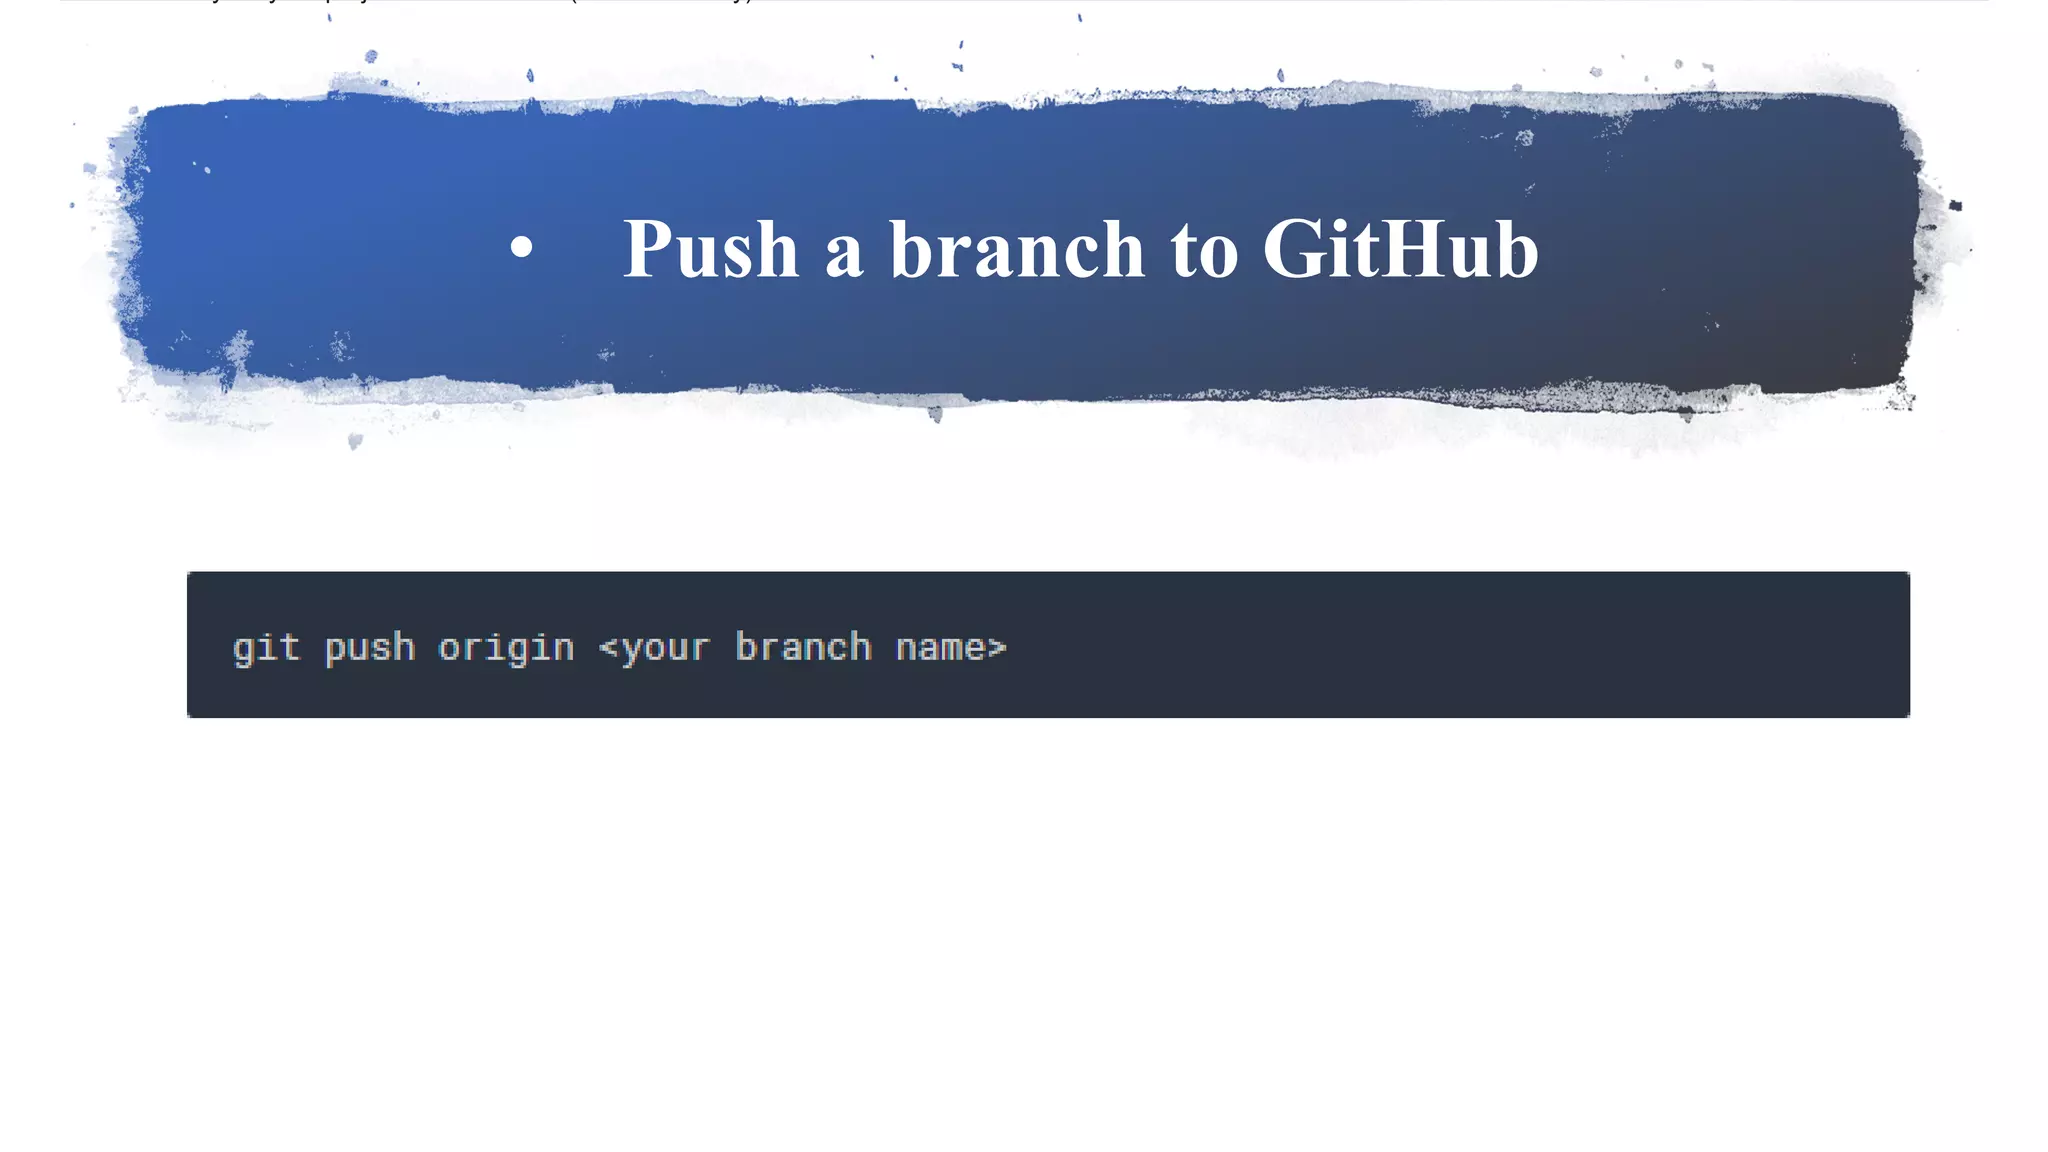
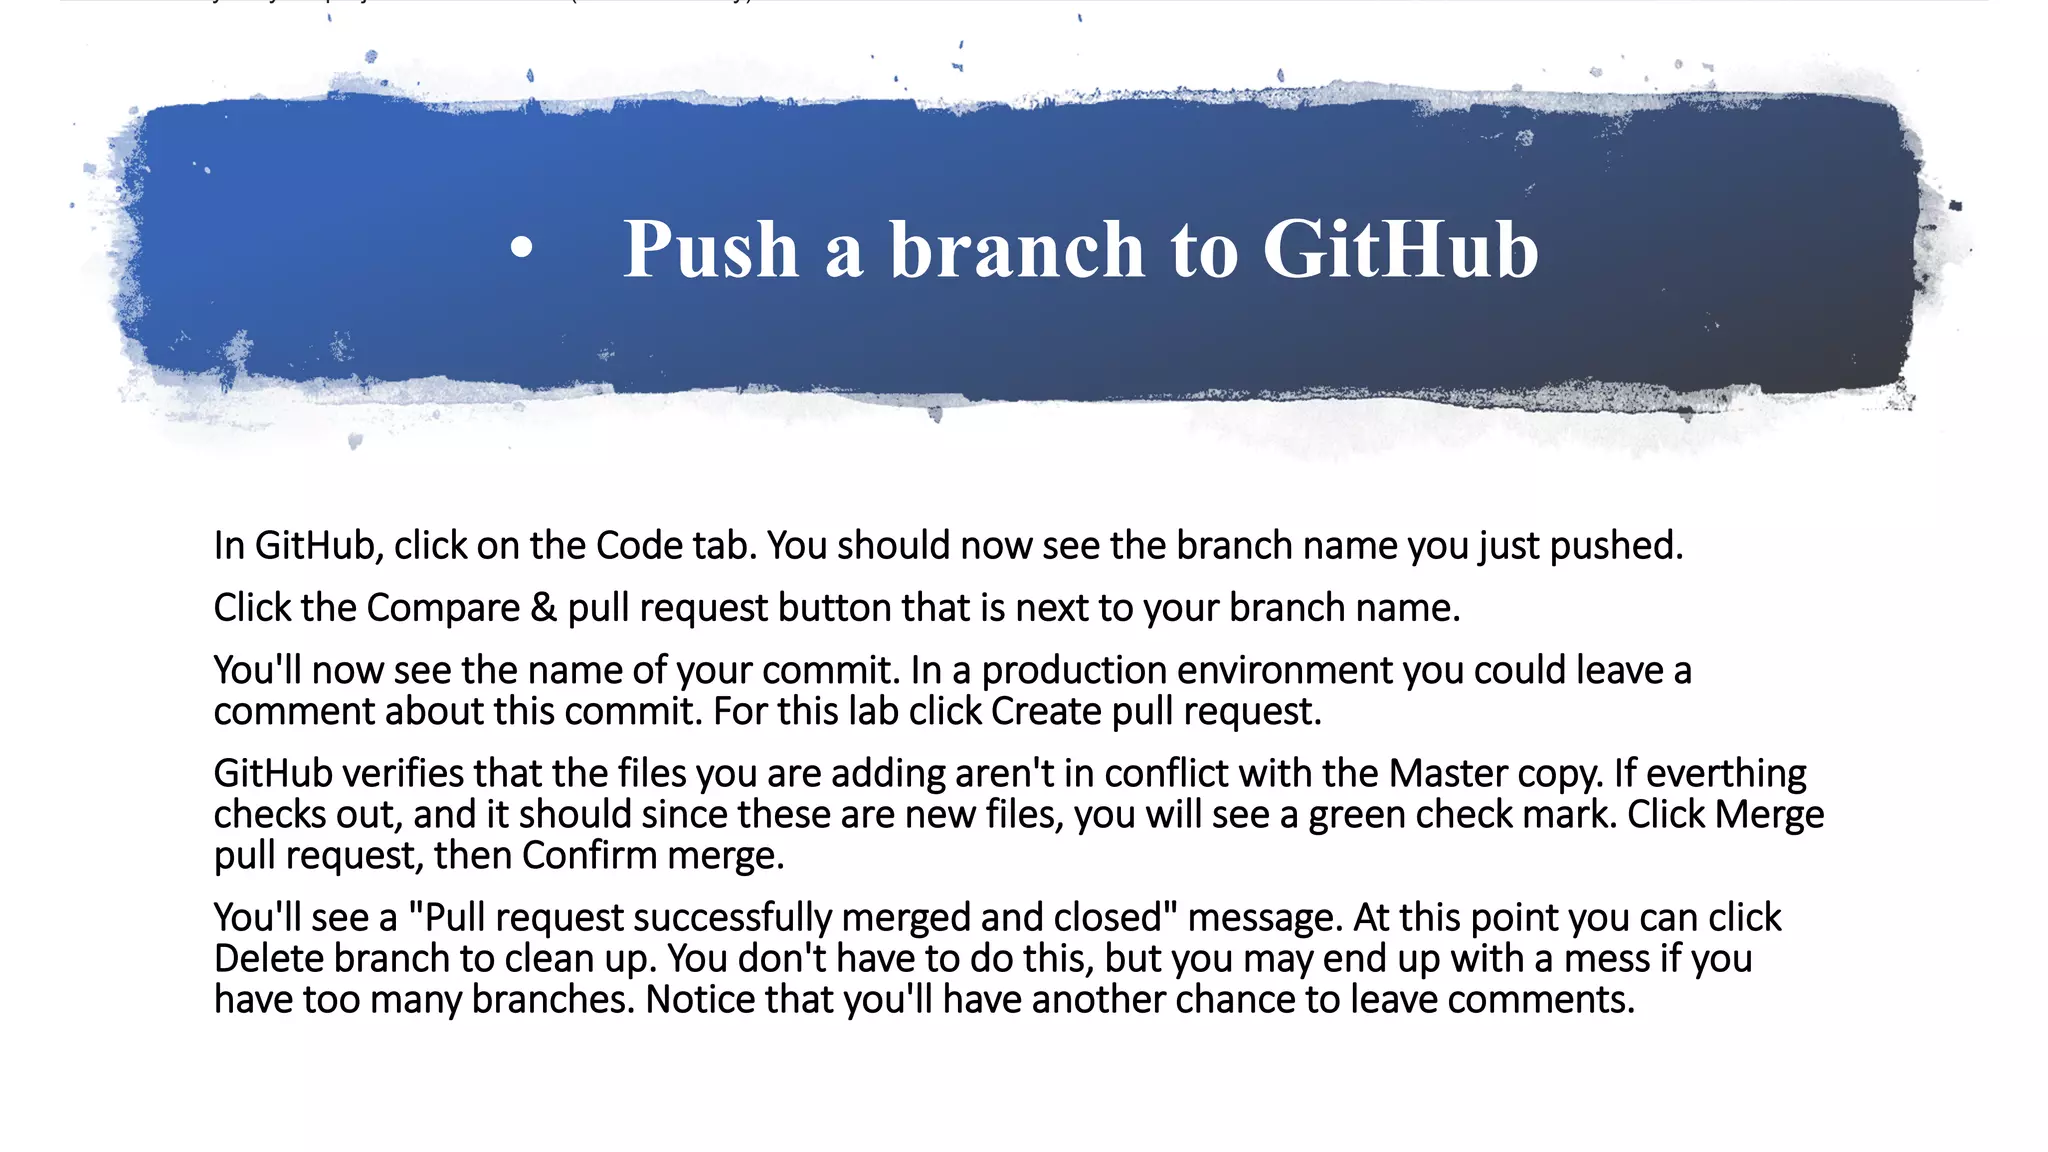
Final steps for pushing changes to GitHub, creating pull requests, and merging branches.
Thank you slide summarizing the session.