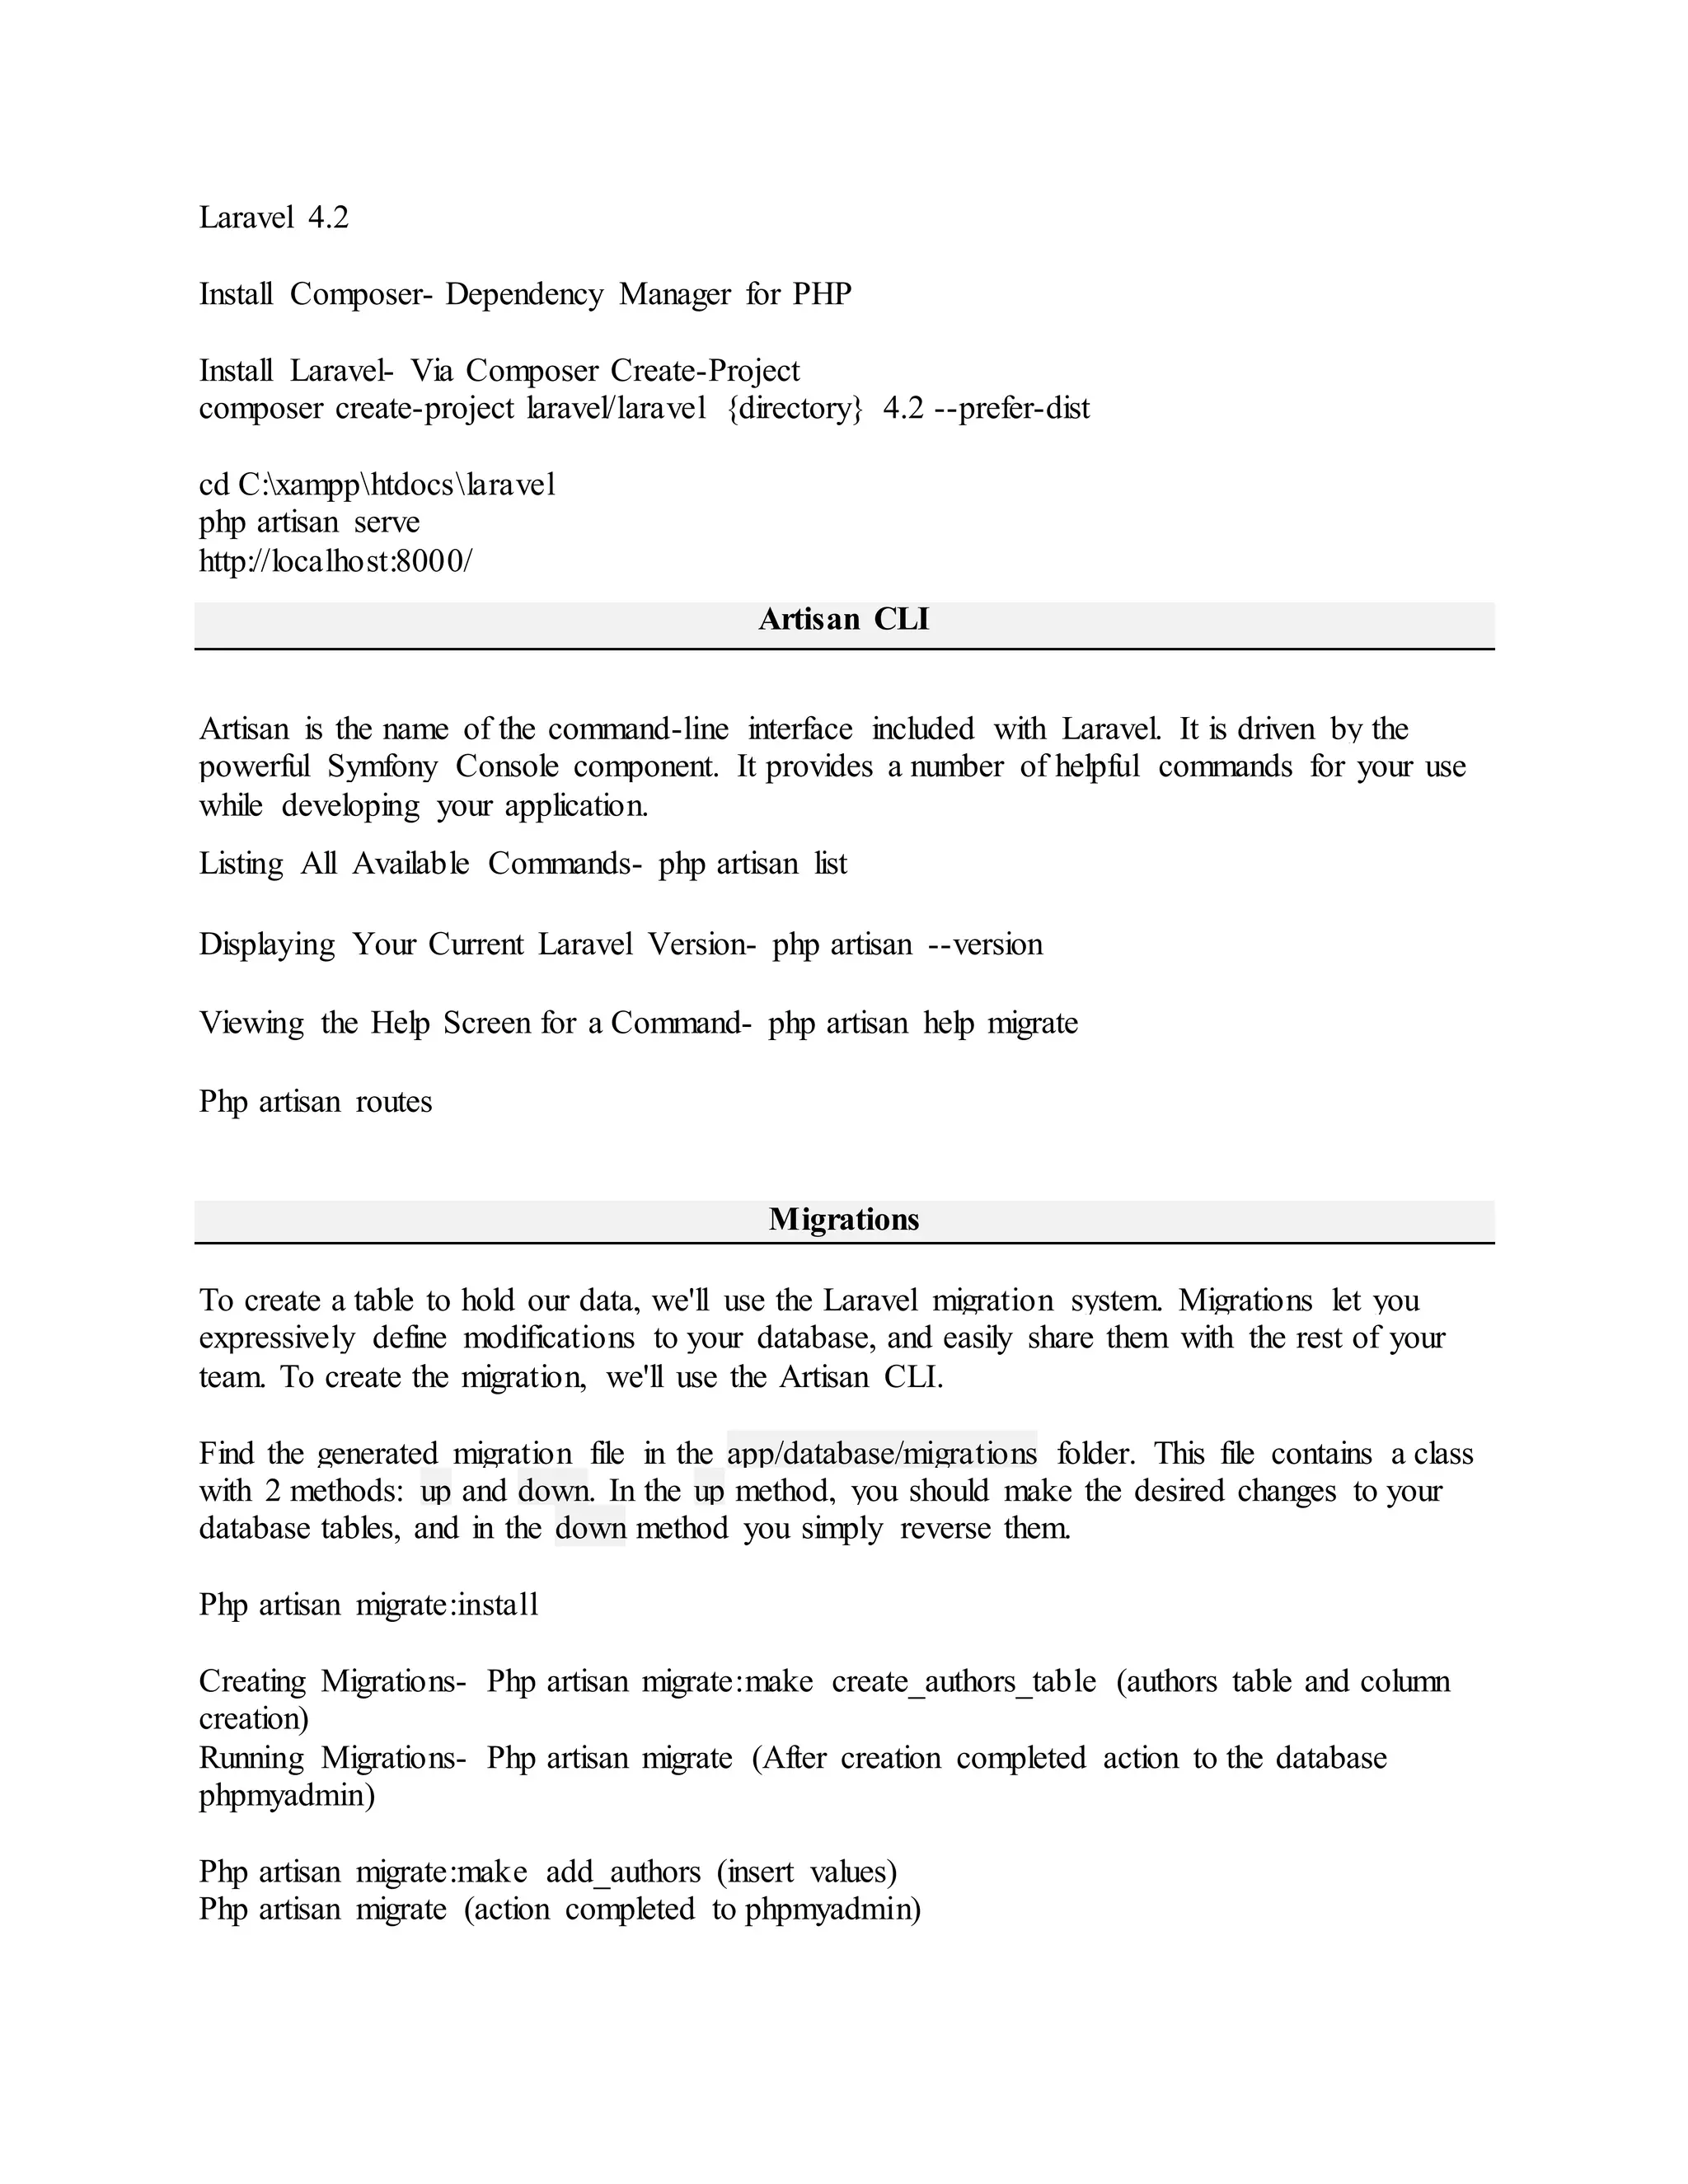
Laravel 4.2 Install Composer- Dependency Manager for PHP Install Laravel- Via Composer Create-Project composer create-project laravel/laravel {directory} 4.2 --prefer-dist cd C:xampphtdocslaravel php artisan serve http://localhost:8000/ Artisan CLI Artisan is the name of the command-line interface included with Laravel. It is driven by the powerful Symfony Console component. It provides a number of helpful commands for your use while developing your application. Listing All Available Commands- php artisan list Displaying Your Current Laravel Version- php artisan --version Viewing the Help Screen for a Command- php artisan help migrate Php artisan routes Migrations To create a table to hold our data, we'll use the Laravel migration system. Migrations let you expressively define modifications to your database, and easily share them with the rest of your team. To create the migration, we'll use the Artisan CLI. Find the generated migration file in the app/database/migrations folder. This file contains a class with 2 methods: up and down. In the up method, you should make the desired changes to your database tables, and in the down method you simply reverse them. Php artisan migrate:install Creating Migrations- Php artisan migrate:make create_authors_table (authors table and column creation) Running Migrations- Php artisan migrate (After creation completed action to the database phpmyadmin) Php artisan migrate:make add_authors (insert values) Php artisan migrate (action completed to phpmyadmin)
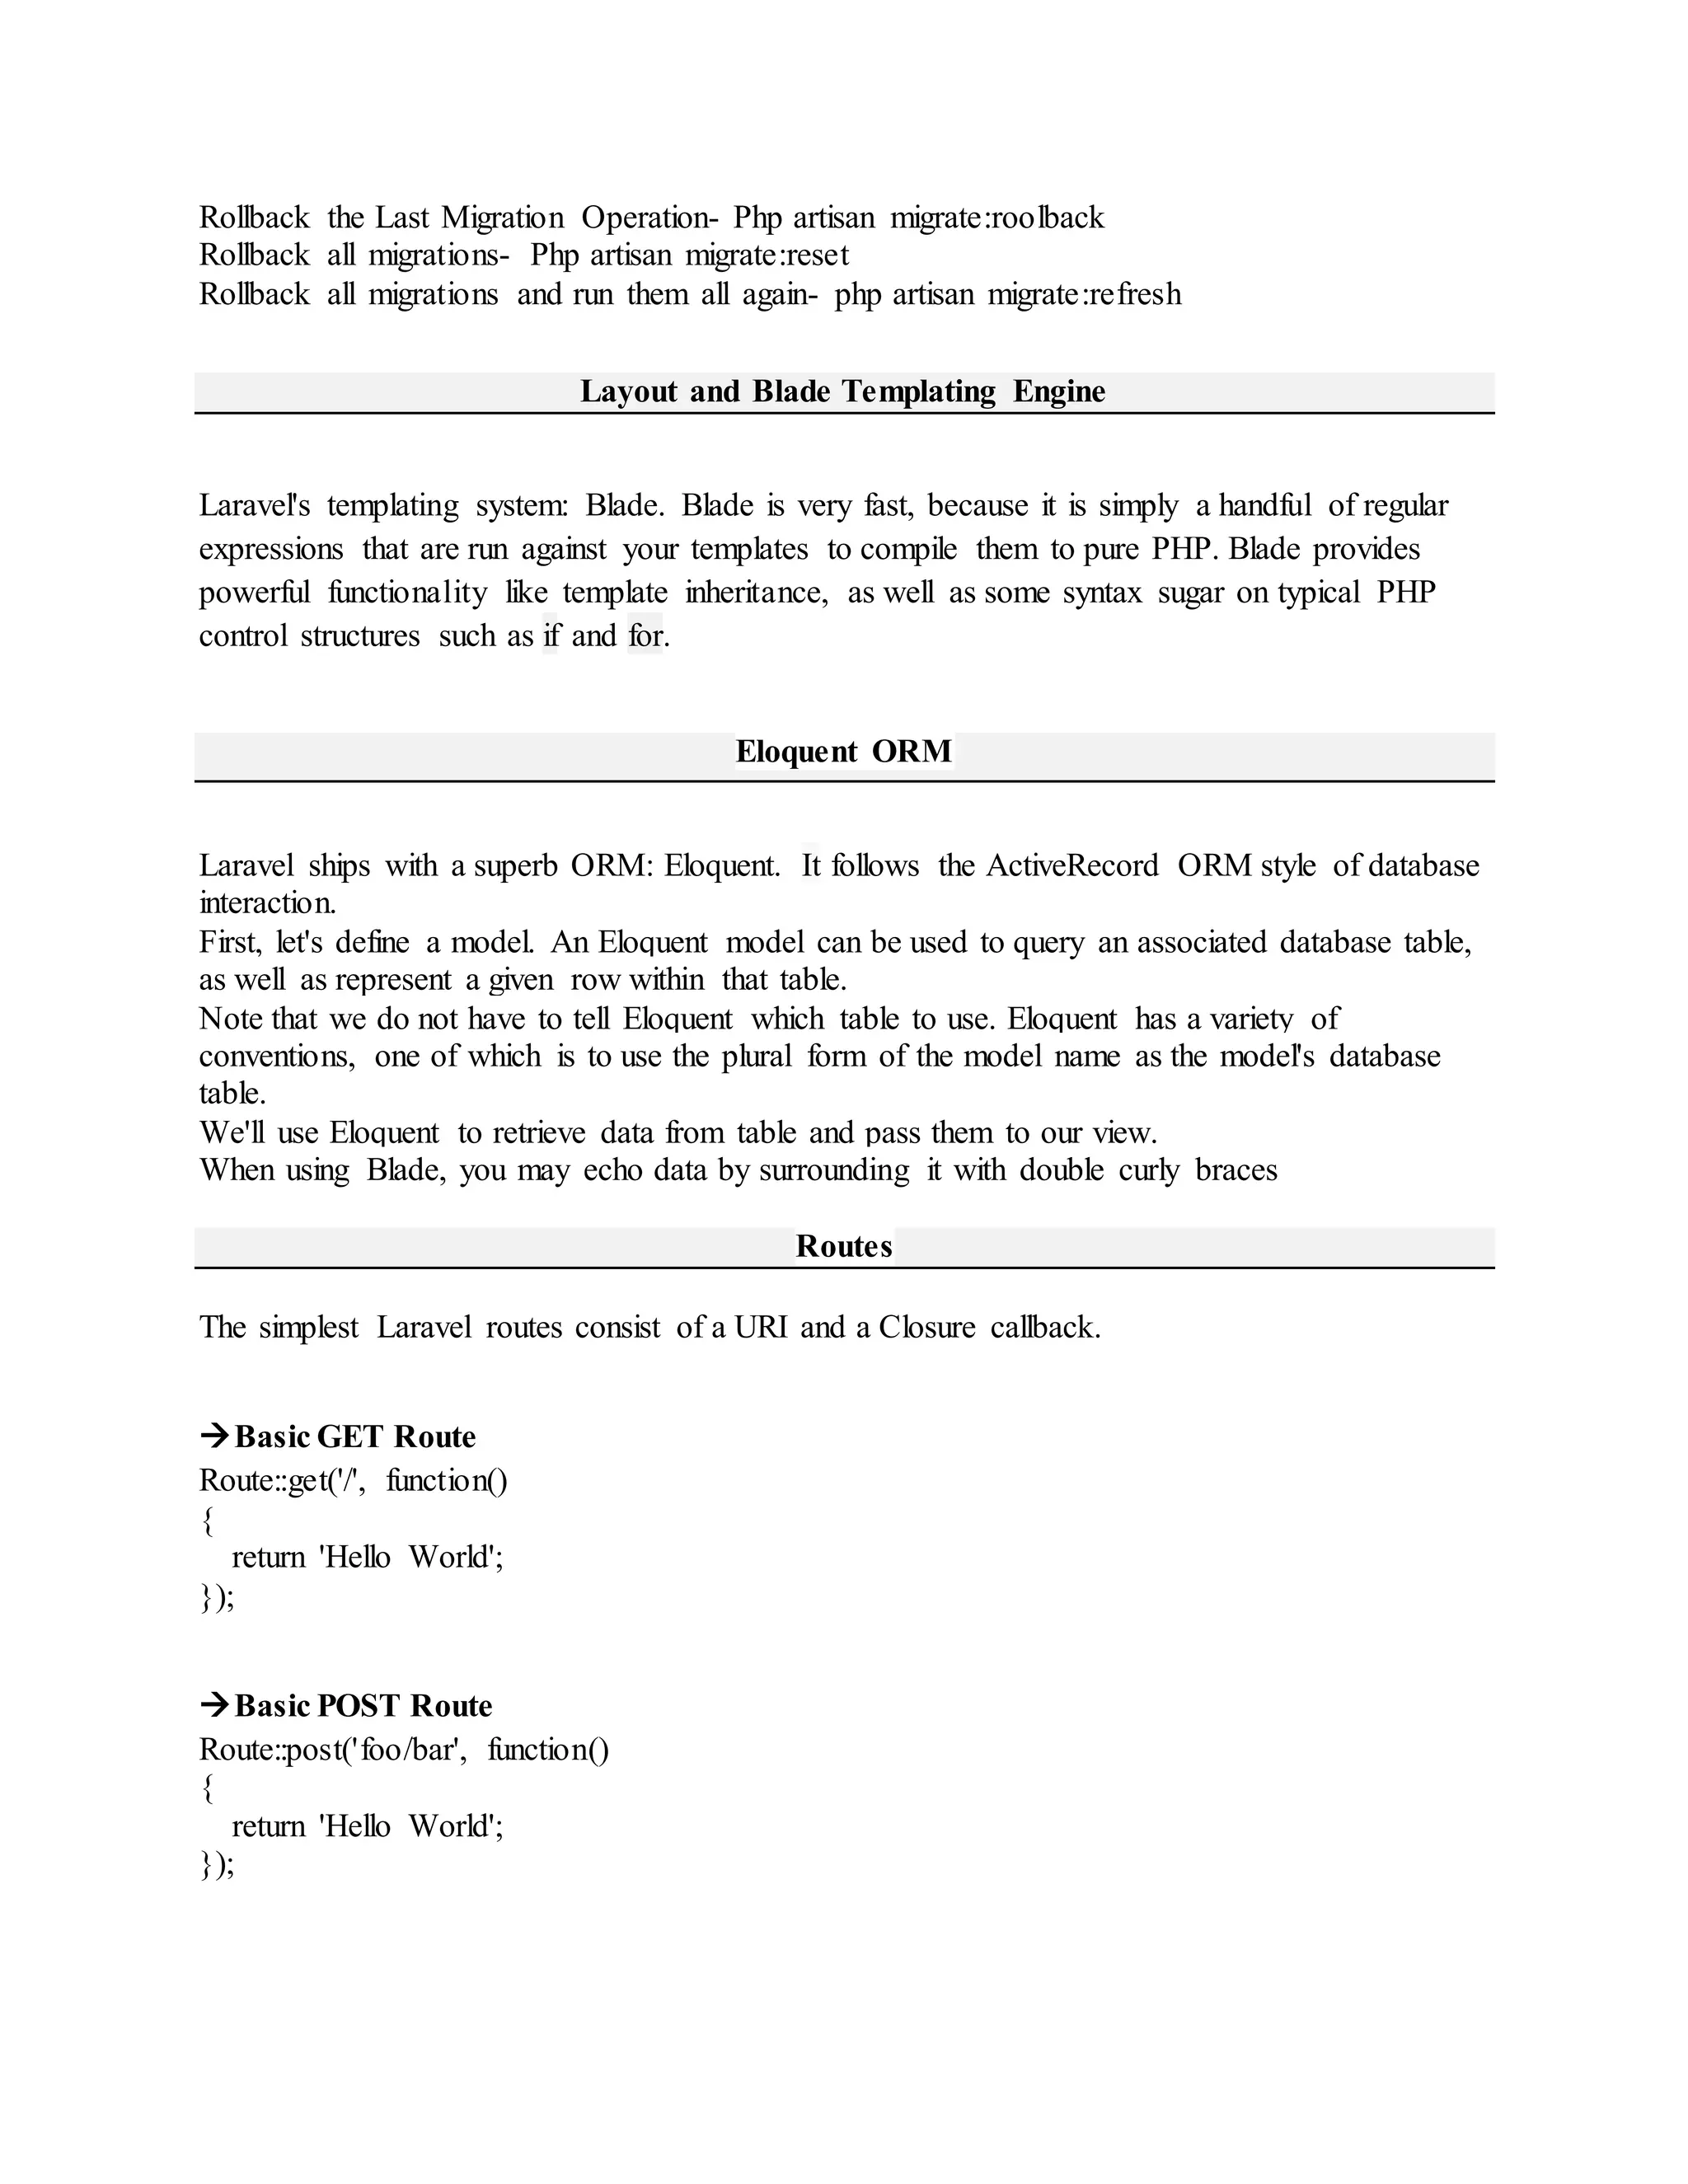
Rollback the Last Migration Operation- Php artisan migrate:roolback Rollback all migrations- Php artisan migrate:reset Rollback all migrations and run them all again- php artisan migrate:refresh Layout and Blade Templating Engine Laravel's templating system: Blade. Blade is very fast, because it is simply a handful of regular expressions that are run against your templates to compile them to pure PHP. Blade provides powerful functionality like template inheritance, as well as some syntax sugar on typical PHP control structures such as if and for. Eloquent ORM Laravel ships with a superb ORM: Eloquent. It follows the ActiveRecord ORM style of database interaction. First, let's define a model. An Eloquent model can be used to query an associated database table, as well as represent a given row within that table. Note that we do not have to tell Eloquent which table to use. Eloquent has a variety of conventions, one of which is to use the plural form of the model name as the model's database table. We'll use Eloquent to retrieve data from table and pass them to our view. When using Blade, you may echo data by surrounding it with double curly braces Routes The simplest Laravel routes consist of a URI and a Closure callback. Basic GET Route Route::get('/', function() { return 'Hello World'; }); Basic POST Route Route::post('foo/bar', function() { return 'Hello World'; });
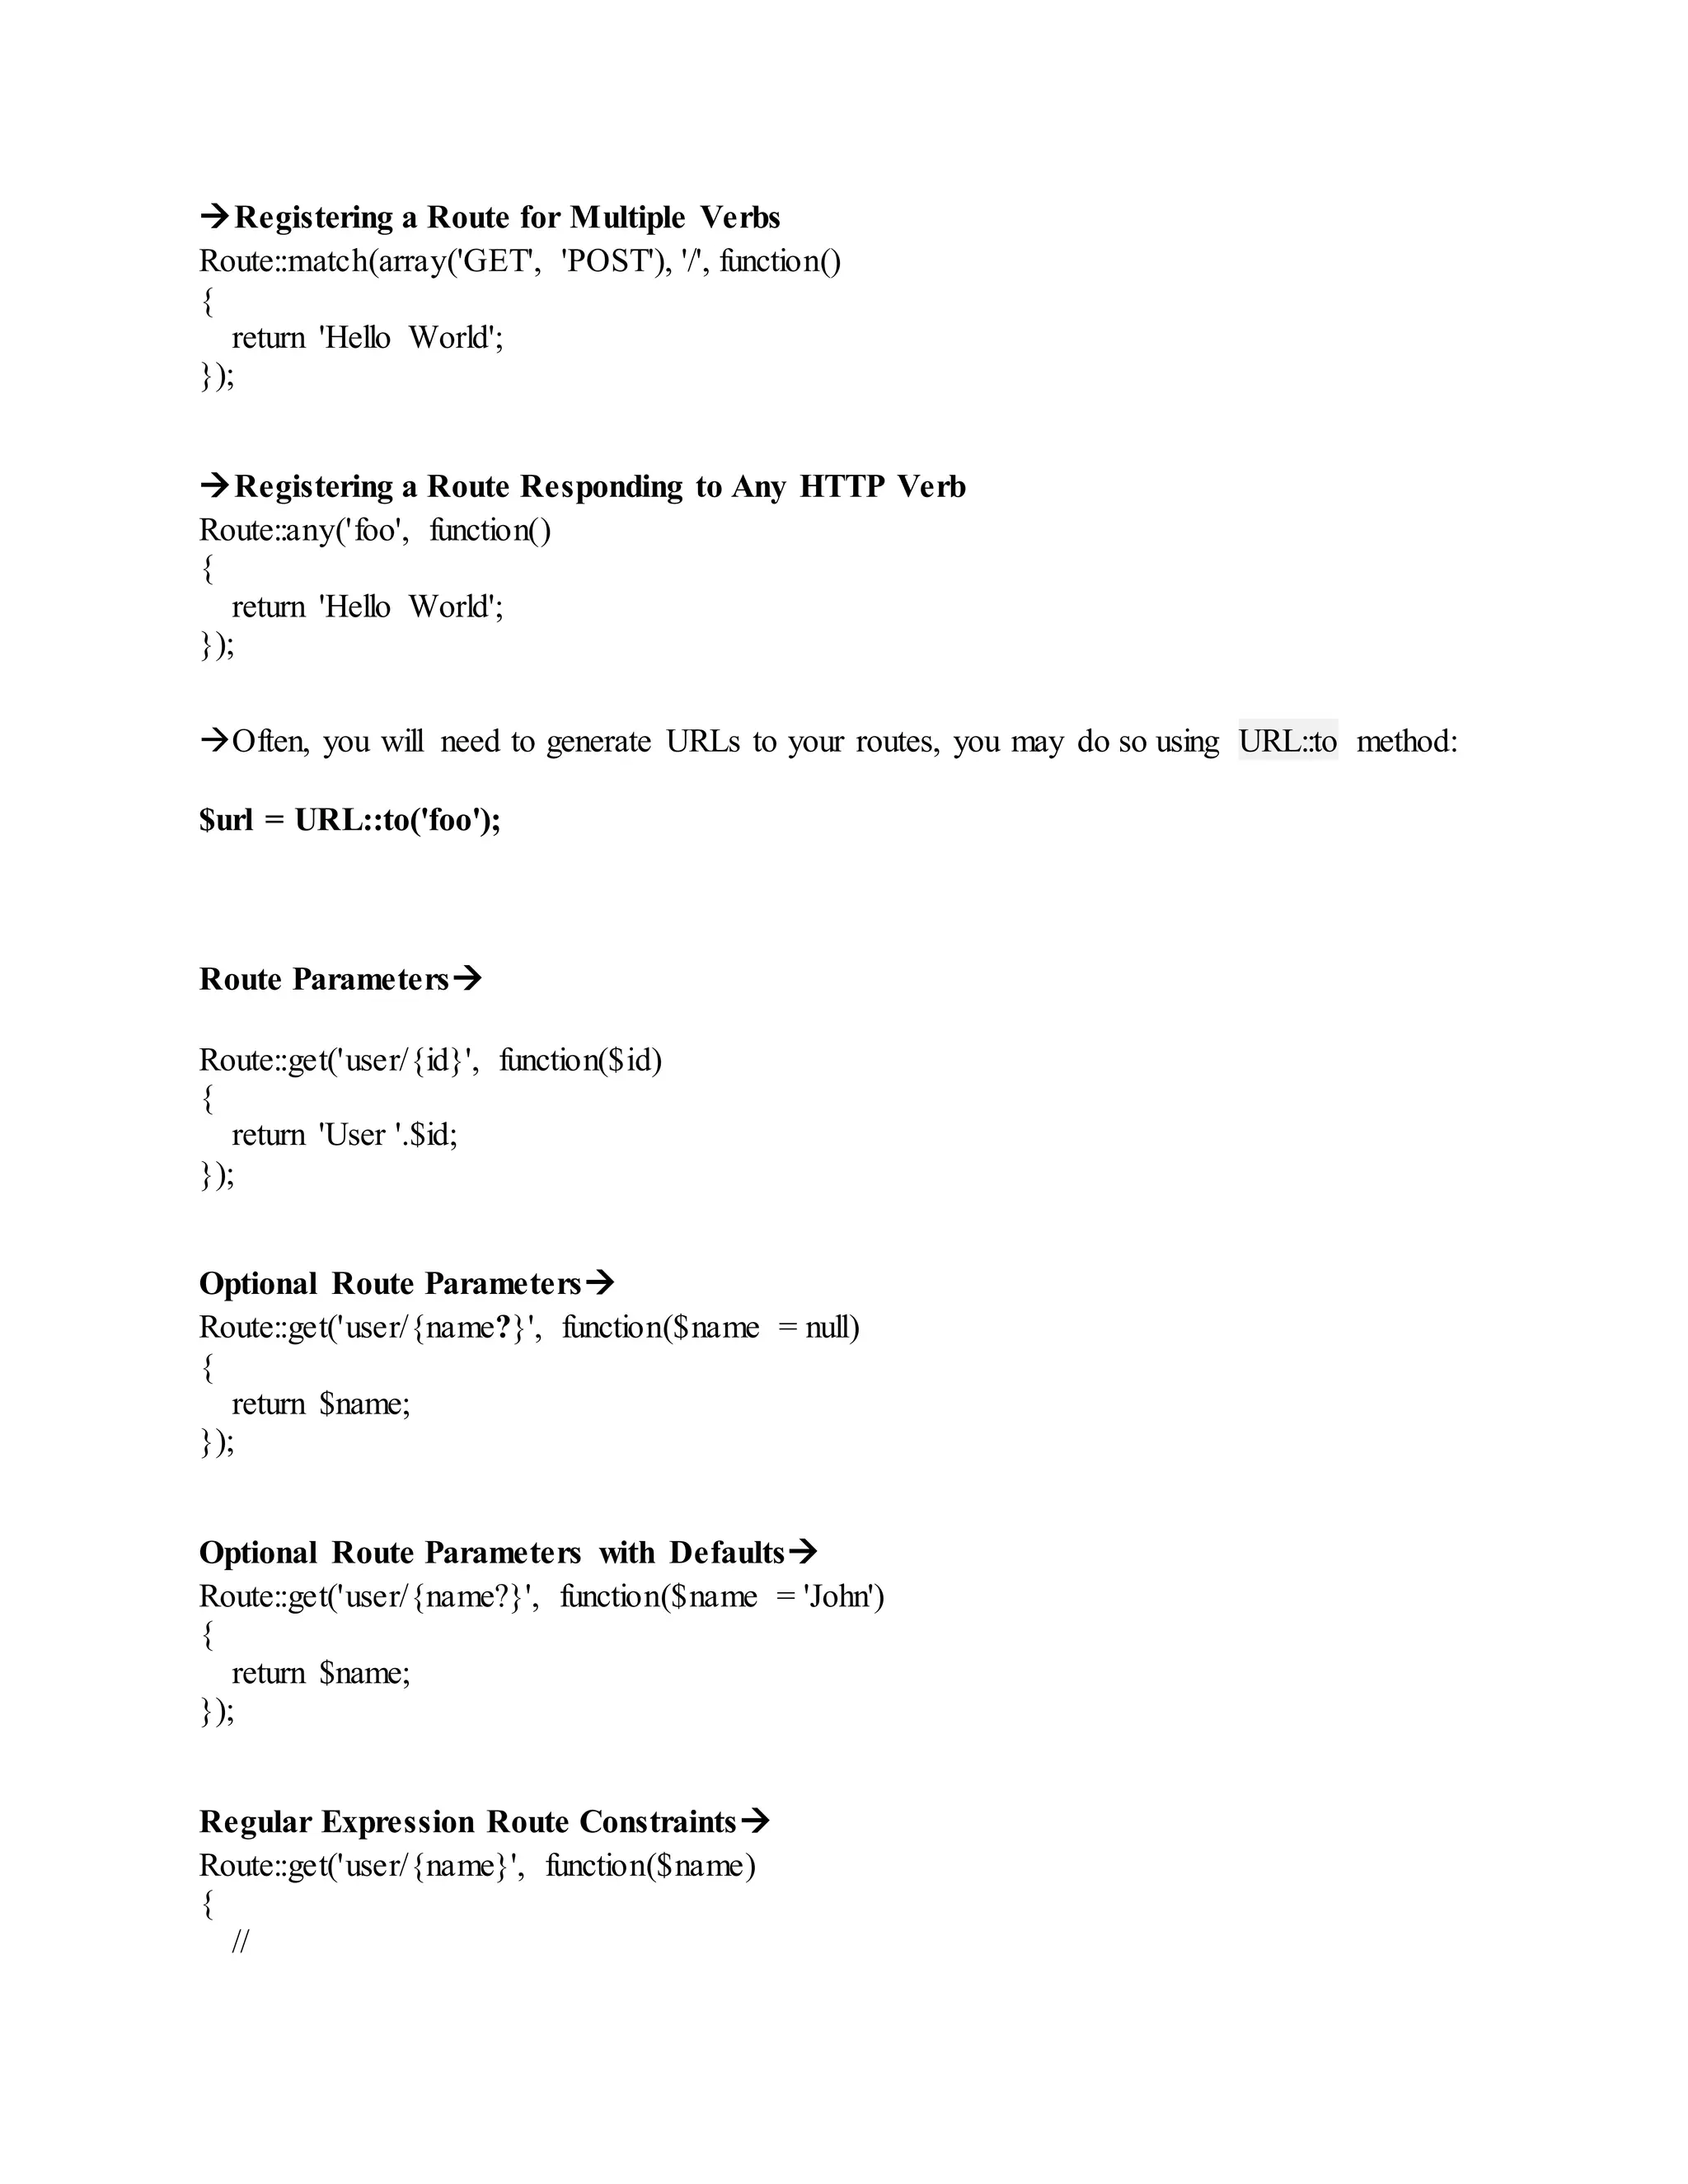
Registering a Route for Multiple Verbs Route::match(array('GET', 'POST'), '/', function() { return 'Hello World'; }); Registering a Route Responding to Any HTTP Verb Route::any('foo', function() { return 'Hello World'; }); Often, you will need to generate URLs to your routes, you may do so using URL::to method: $url = URL::to('foo'); Route Parameters Route::get('user/{id}', function($id) { return 'User '.$id; }); Optional Route Parameters Route::get('user/{name?}', function($name = null) { return $name; }); Optional Route Parameters with Defaults Route::get('user/{name?}', function($name = 'John') { return $name; }); Regular Expression Route Constraints Route::get('user/{name}', function($name) { //
})->where('name', '[A-Za-z]+'); Route::get('user/{id}', function($id) { // })->where('id', '[0-9]+'); Passing an Array Of Wheres Of course, you may pass an array of constraints when necessary: Route::get('user/{id}/{name}', function($id, $name) { // }) ->where(array('id' => '[0-9]+', 'name' => '[a-z]+')) Accessing a Route Parameter Value If you need to access a route parameter value outside of a route, you may use the Route::inputmethod: Route::filter('foo', function() { if (Route::input('id') == 1) { // } }); Route Filters Route filters provide a convenient way of limiting access to a given route, which is useful for creating areas of your site which require authentication. There are several filters included in the Laravel framework, including an auth filter, an auth.basic filter, a guest filter, and a csrf filter. These are located in the app/filters.php file. Defining A Route Filter Route::filter('old', function() { if (Input::get('age') < 200) { return Redirect::to('home');
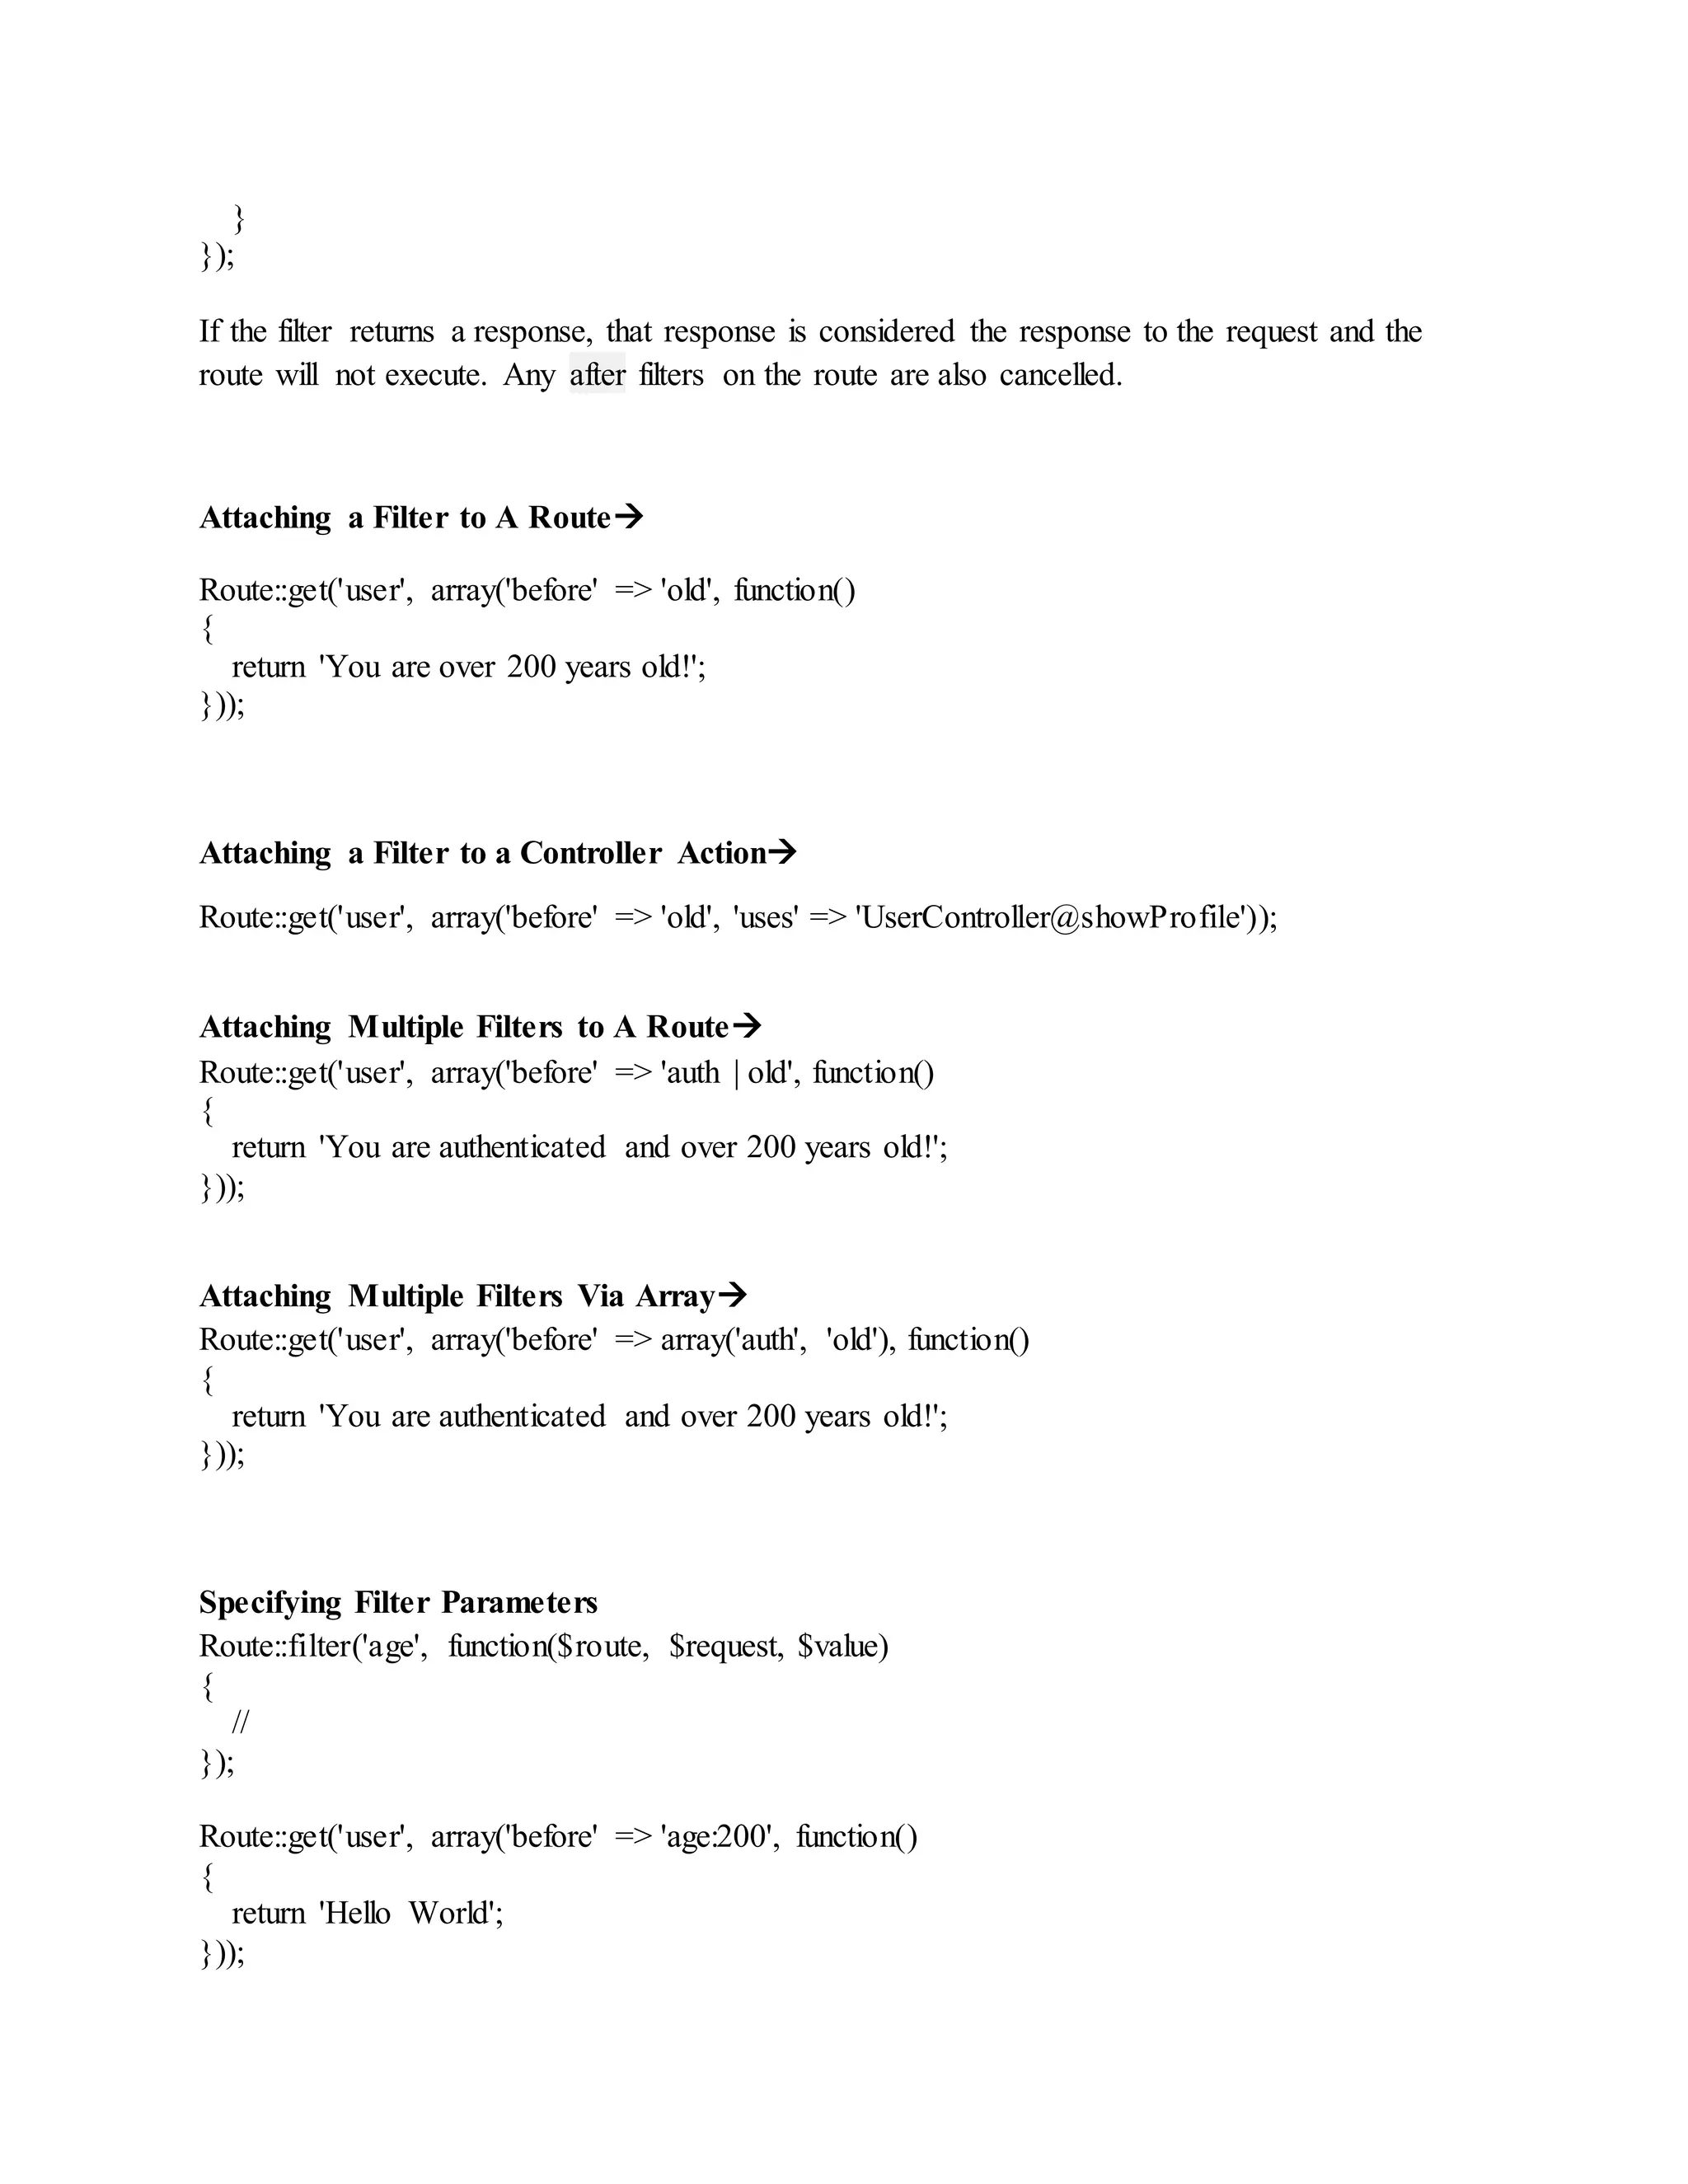
} }); If the filter returns a response, that response is considered the response to the request and the route will not execute. Any after filters on the route are also cancelled. Attaching a Filter to A Route Route::get('user', array('before' => 'old', function() { return 'You are over 200 years old!'; })); Attaching a Filter to a Controller Action Route::get('user', array('before' => 'old', 'uses' => 'UserController@showProfile')); Attaching Multiple Filters to A Route Route::get('user', array('before' => 'auth | old', function() { return 'You are authenticated and over 200 years old!'; })); Attaching Multiple Filters Via Array Route::get('user', array('before' => array('auth', 'old'), function() { return 'You are authenticated and over 200 years old!'; })); Specifying Filter Parameters Route::filter('age', function($route, $request, $value) { // }); Route::get('user', array('before' => 'age:200', function() { return 'Hello World'; }));
After filters receive a $response as the third argument passed to the filter: Route::filter('log', function($route, $request, $response) { // }); Named Routes Named routes make referring to routes when generating redirects or URLs more convenient. You may specify a name for a route like so: Route::get('user/profile', array('as' => 'profile', function() { // })); You may also specify route names for controller actions: Route::get('user/profile', array('as' => 'profile', 'uses' => 'UserController@showProfile')); Now, you may use the route's name when generating URLs or redirects: $url = URL::route('profile'); $redirect = Redirect::route('profile'); You may access the name of a route that is running via the currentRouteName method: $name = Route::currentRouteName();
Route Groups Sometimes you may need to apply filters to a group of routes. Instead of specifying the filter on each route, you may use a route group. Route::group(array('before' => 'auth'), function() { Route::get('/', function() { // Has Auth Filter }); Route::get('user/profile', function() { // Has Auth Filter }); }); Route Prefixing If many of your routes share a common URL structure, you could use a route prefix to avoid a small amount of repetition. Throwing 404 Errors There are 2 ways to manually trigger a 404 error from a route. First, you may use the App::abort method: App::abort(404); Second, you may throw an instance of SymfonyComponentHttpKernelExceptionNotFoundHttpException. Routing To Controllers Laravel allows you to not only route to Closures, but also to controller classes. Route::get('myShowRoute', function() { return 'Hello from routes!'; }); Routes can also be attached to controller classes. For example:
Route::get('myShowRoute', 'UserController@getIndex'); This route informs the framework that requests to the /'myRouteUsers' route should call the getIndex method on the UserController class. URL Generation The current URL return URL::current(); return URL::full(); return URL::previous(); Generating URLs to specific URI’s return URL::to('another/route'); return URL::to('another/route', array('foo', 'bar')); return URL::action('Stark@tony'); <a href="{{ url('my/route', array('foo', 'bar'), true) }}">My Route</a> // to <a href="{{ route('myroute') }}">My Route</a> // route <a href="{{ action('MyController@myAction') }}">My Link</a> // action <img src="{{ asset('img/logo.png') }}" />
Database The Laravel Schema class provides a database agnostic way of manipulating tables. To create a new database table, the Schema::create method is used. Schema::create('users', function($table) { $table->increments('id'); }); The first argument passed to the create method is the name of the table, and the second is a Closure which will receive a Blueprint object which may be used to define the new table. To rename an existing database table, the rename method may be used: Schema::rename($from, $to); To drop a table, you may use the Schema::drop method: Schema::drop('users'); Schema::dropIfExists('users'); To update i.e. adding columns an existing table, we will use Schema::table method Schema::table('users', function($table) { $table->string('email'); }); Using After On MySQL If you are using the MySQL database, you may use the after method to specify the order of columns: $table->string('name')->after('email'); To rename a column, you may use renameColumn method on the Schema builder. Schema::table('users', function($table) { $table->renameColumn('from', 'to'); }); To drop a column, you may use the dropColumn method on the Schema builder. Schema::table('users', function($table) {
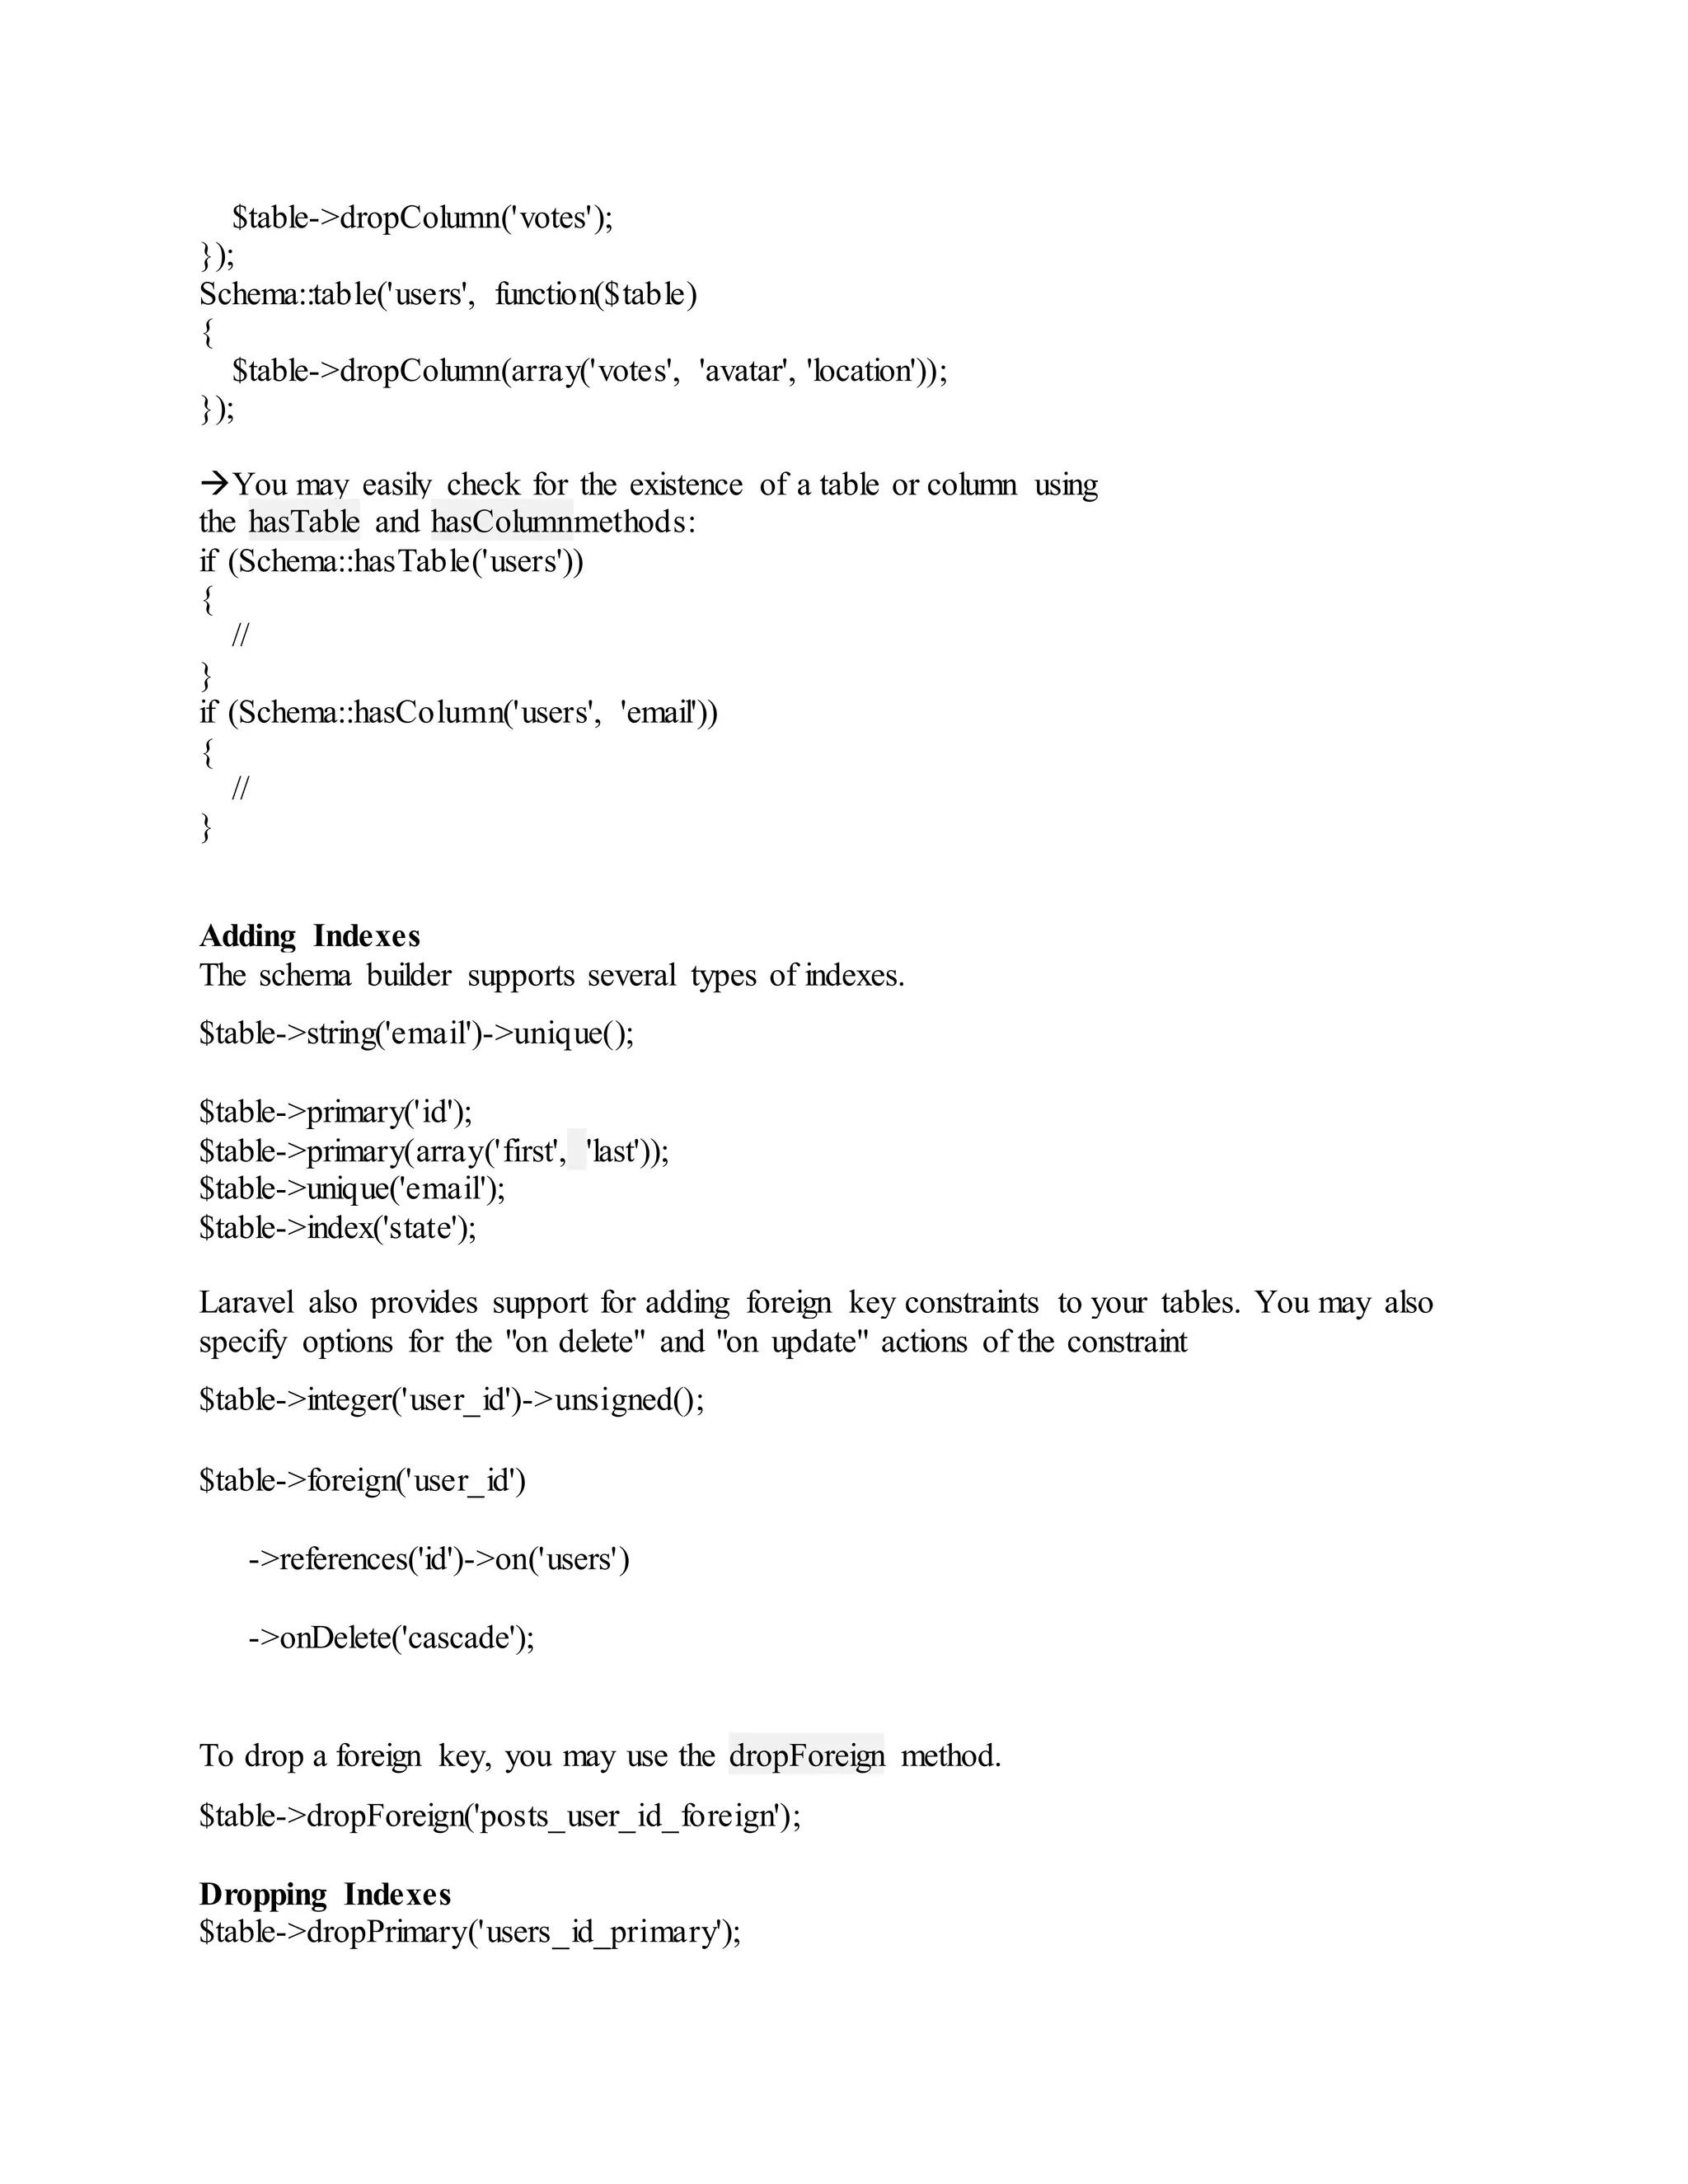
$table->dropColumn('votes'); }); Schema::table('users', function($table) { $table->dropColumn(array('votes', 'avatar', 'location')); }); You may easily check for the existence of a table or column using the hasTable and hasColumnmethods: if (Schema::hasTable('users')) { // } if (Schema::hasColumn('users', 'email')) { // } Adding Indexes The schema builder supports several types of indexes. $table->string('email')->unique(); $table->primary('id'); $table->primary(array('first', 'last')); $table->unique('email'); $table->index('state'); Laravel also provides support for adding foreign key constraints to your tables. You may also specify options for the "on delete" and "on update" actions of the constraint $table->integer('user_id')->unsigned(); $table->foreign('user_id') ->references('id')->on('users') ->onDelete('cascade'); To drop a foreign key, you may use the dropForeign method. $table->dropForeign('posts_user_id_foreign'); Dropping Indexes $table->dropPrimary('users_id_primary');
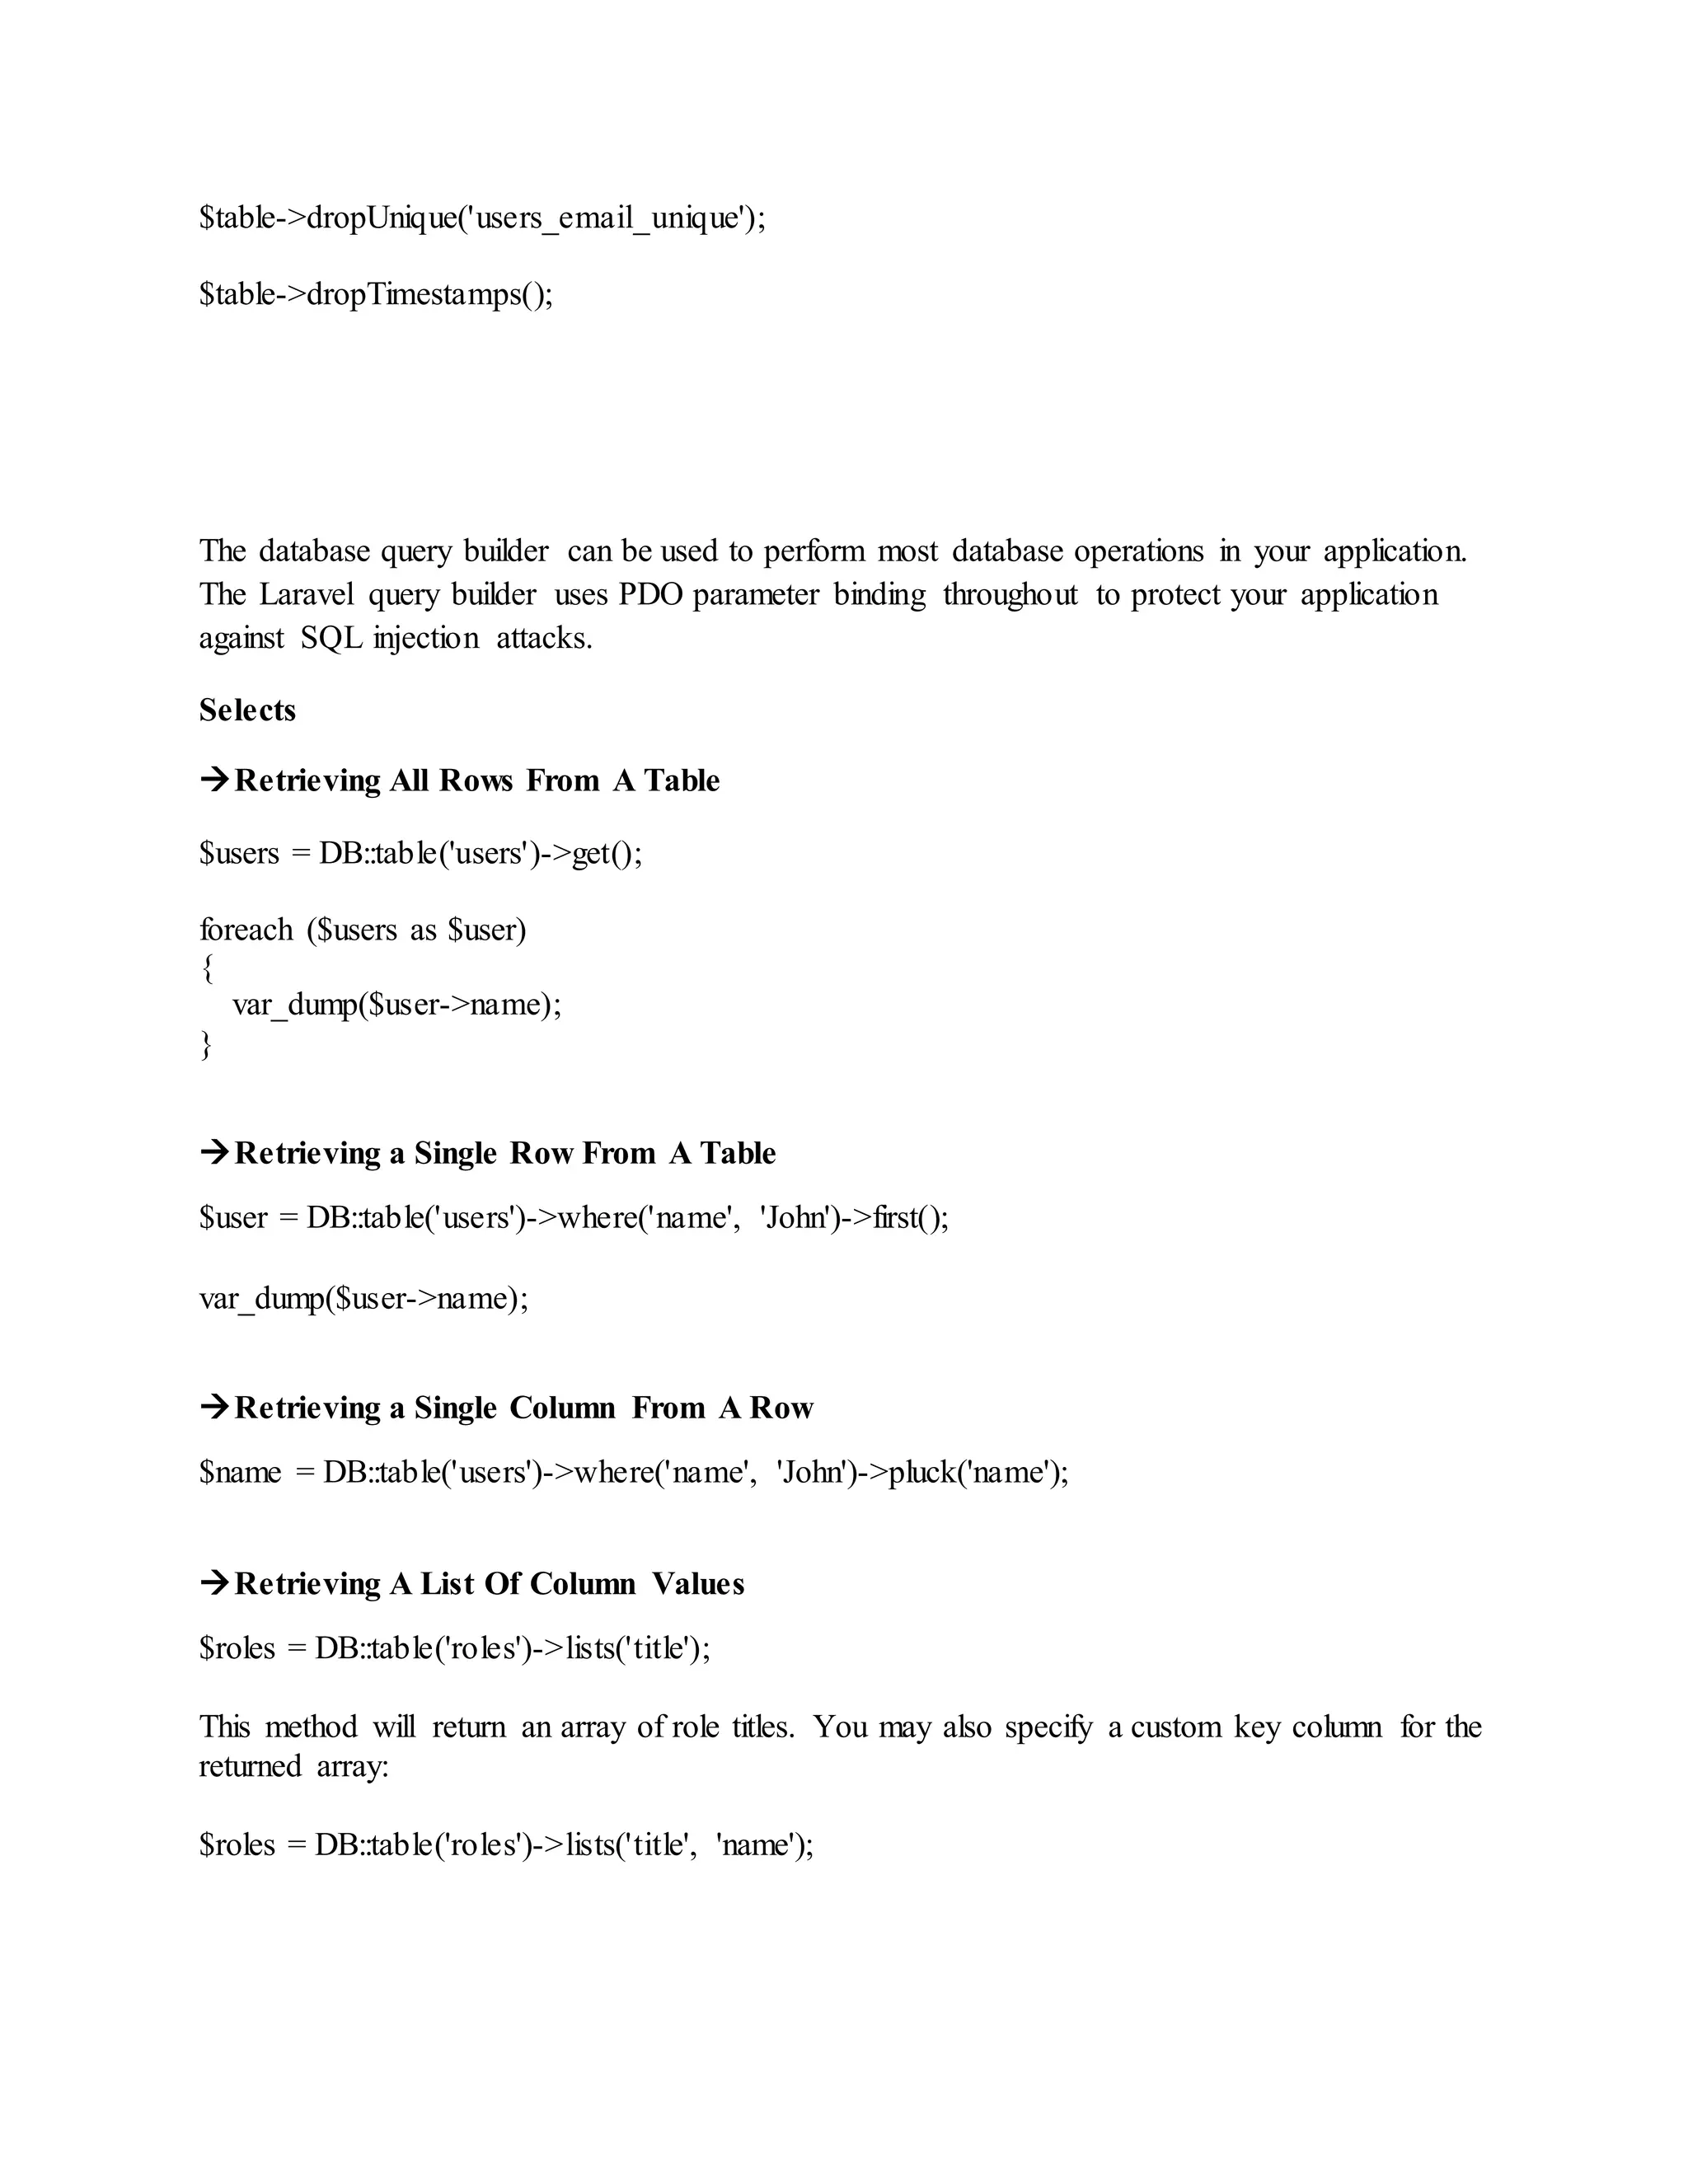
$table->dropUnique('users_email_unique'); $table->dropTimestamps(); The database query builder can be used to perform most database operations in your application. The Laravel query builder uses PDO parameter binding throughout to protect your application against SQL injection attacks. Selects Retrieving All Rows From A Table $users = DB::table('users')->get(); foreach ($users as $user) { var_dump($user->name); } Retrieving a Single Row From A Table $user = DB::table('users')->where('name', 'John')->first(); var_dump($user->name); Retrieving a Single Column From A Row $name = DB::table('users')->where('name', 'John')->pluck('name'); Retrieving A List Of Column Values $roles = DB::table('roles')->lists('title'); This method will return an array of role titles. You may also specify a custom key column for the returned array: $roles = DB::table('roles')->lists('title', 'name');
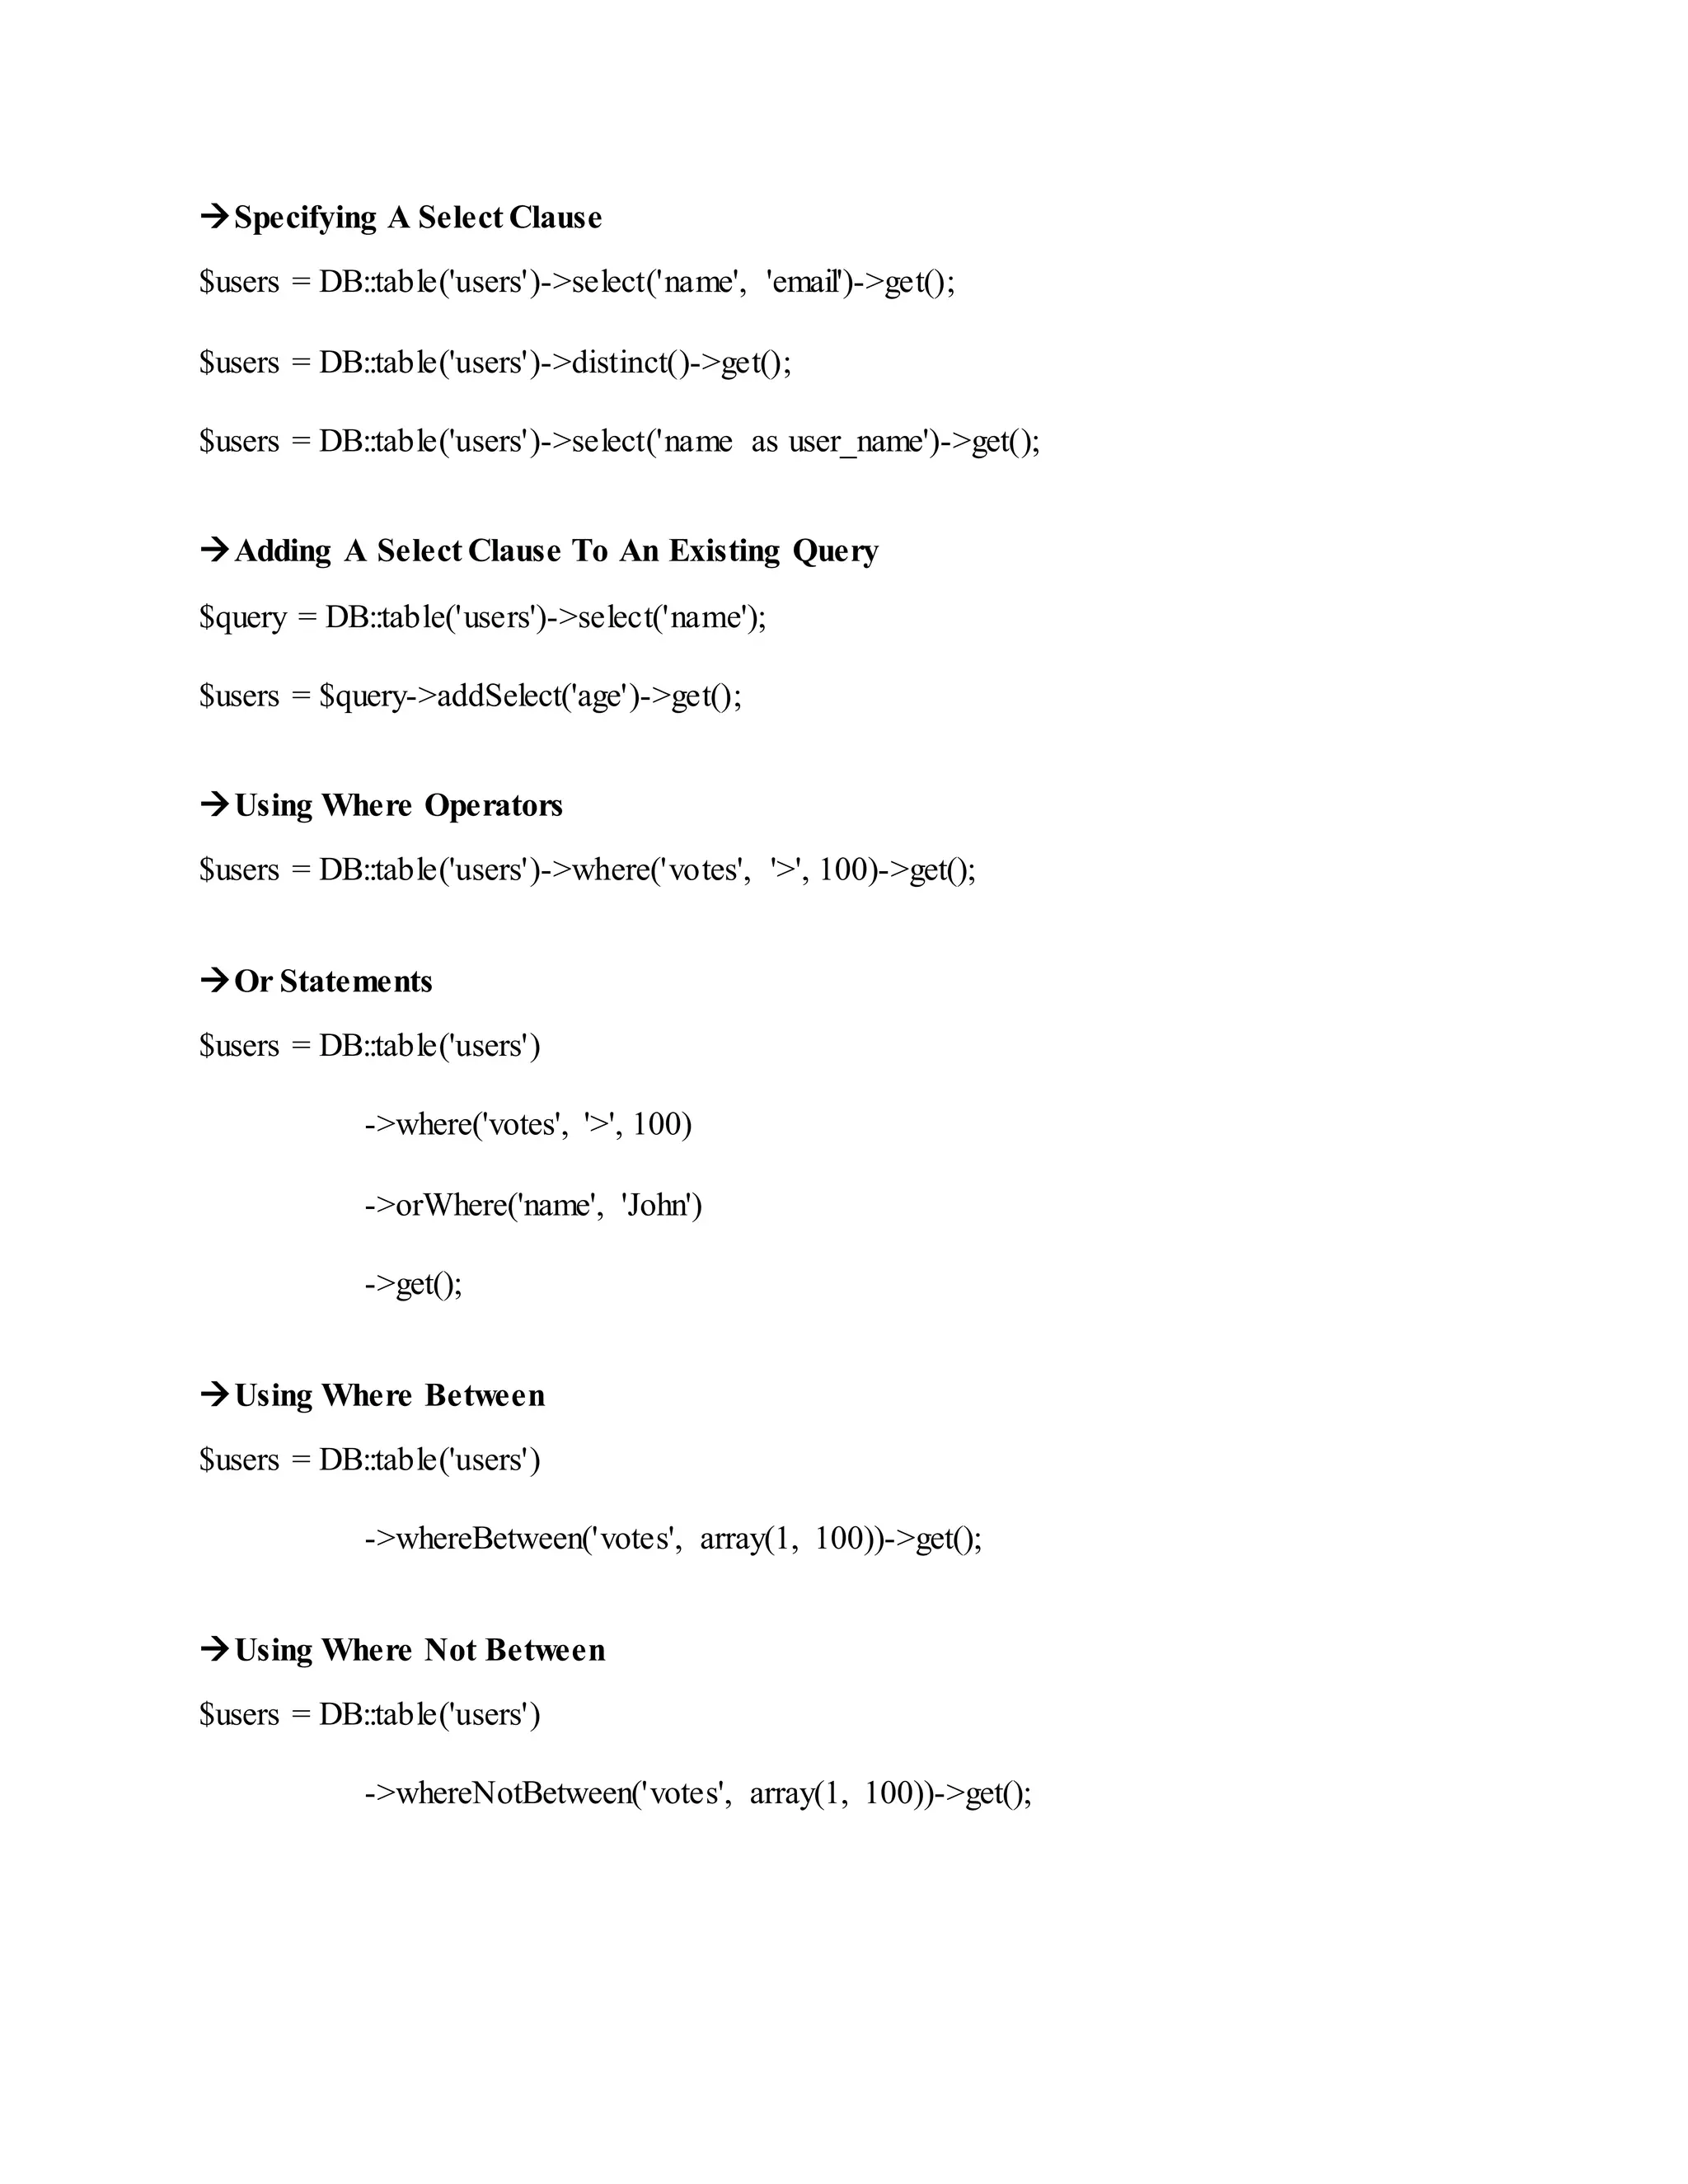
Specifying A Select Clause $users = DB::table('users')->select('name', 'email')->get(); $users = DB::table('users')->distinct()->get(); $users = DB::table('users')->select('name as user_name')->get(); Adding A Select Clause To An Existing Query $query = DB::table('users')->select('name'); $users = $query->addSelect('age')->get(); Using Where Operators $users = DB::table('users')->where('votes', '>', 100)->get(); Or Statements $users = DB::table('users') ->where('votes', '>', 100) ->orWhere('name', 'John') ->get(); Using Where Between $users = DB::table('users') ->whereBetween('votes', array(1, 100))->get(); Using Where Not Between $users = DB::table('users') ->whereNotBetween('votes', array(1, 100))->get();
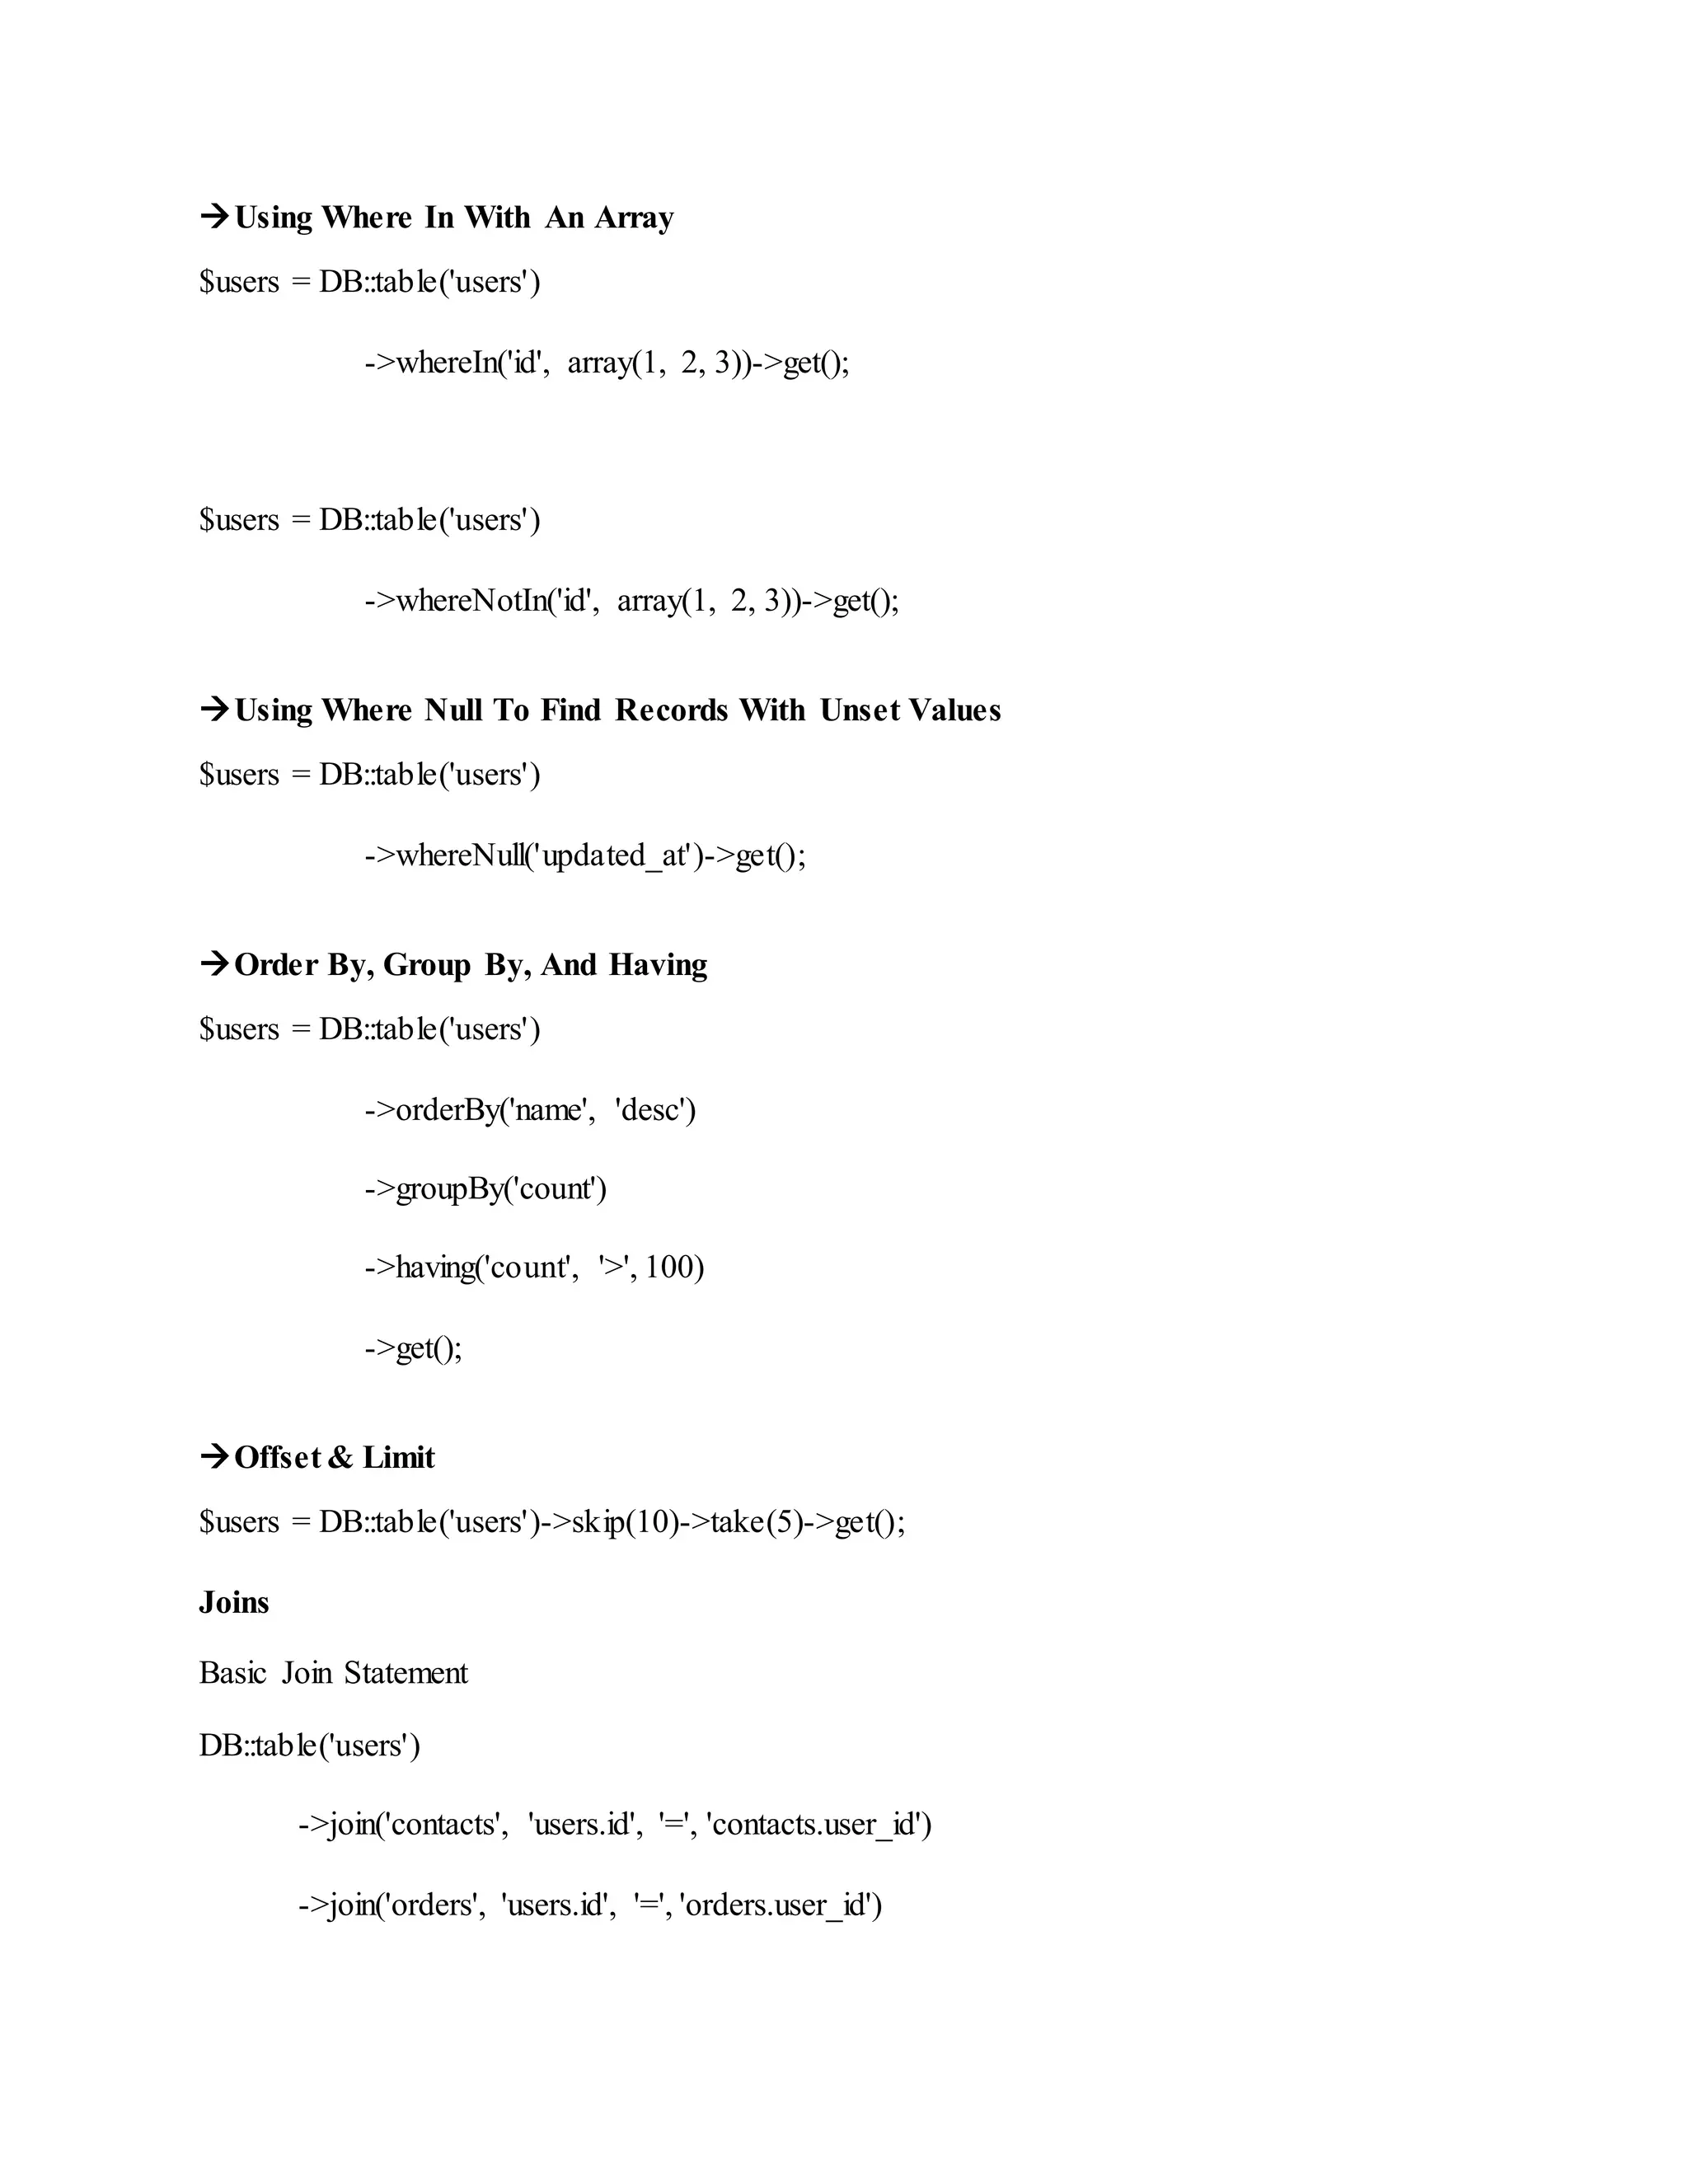
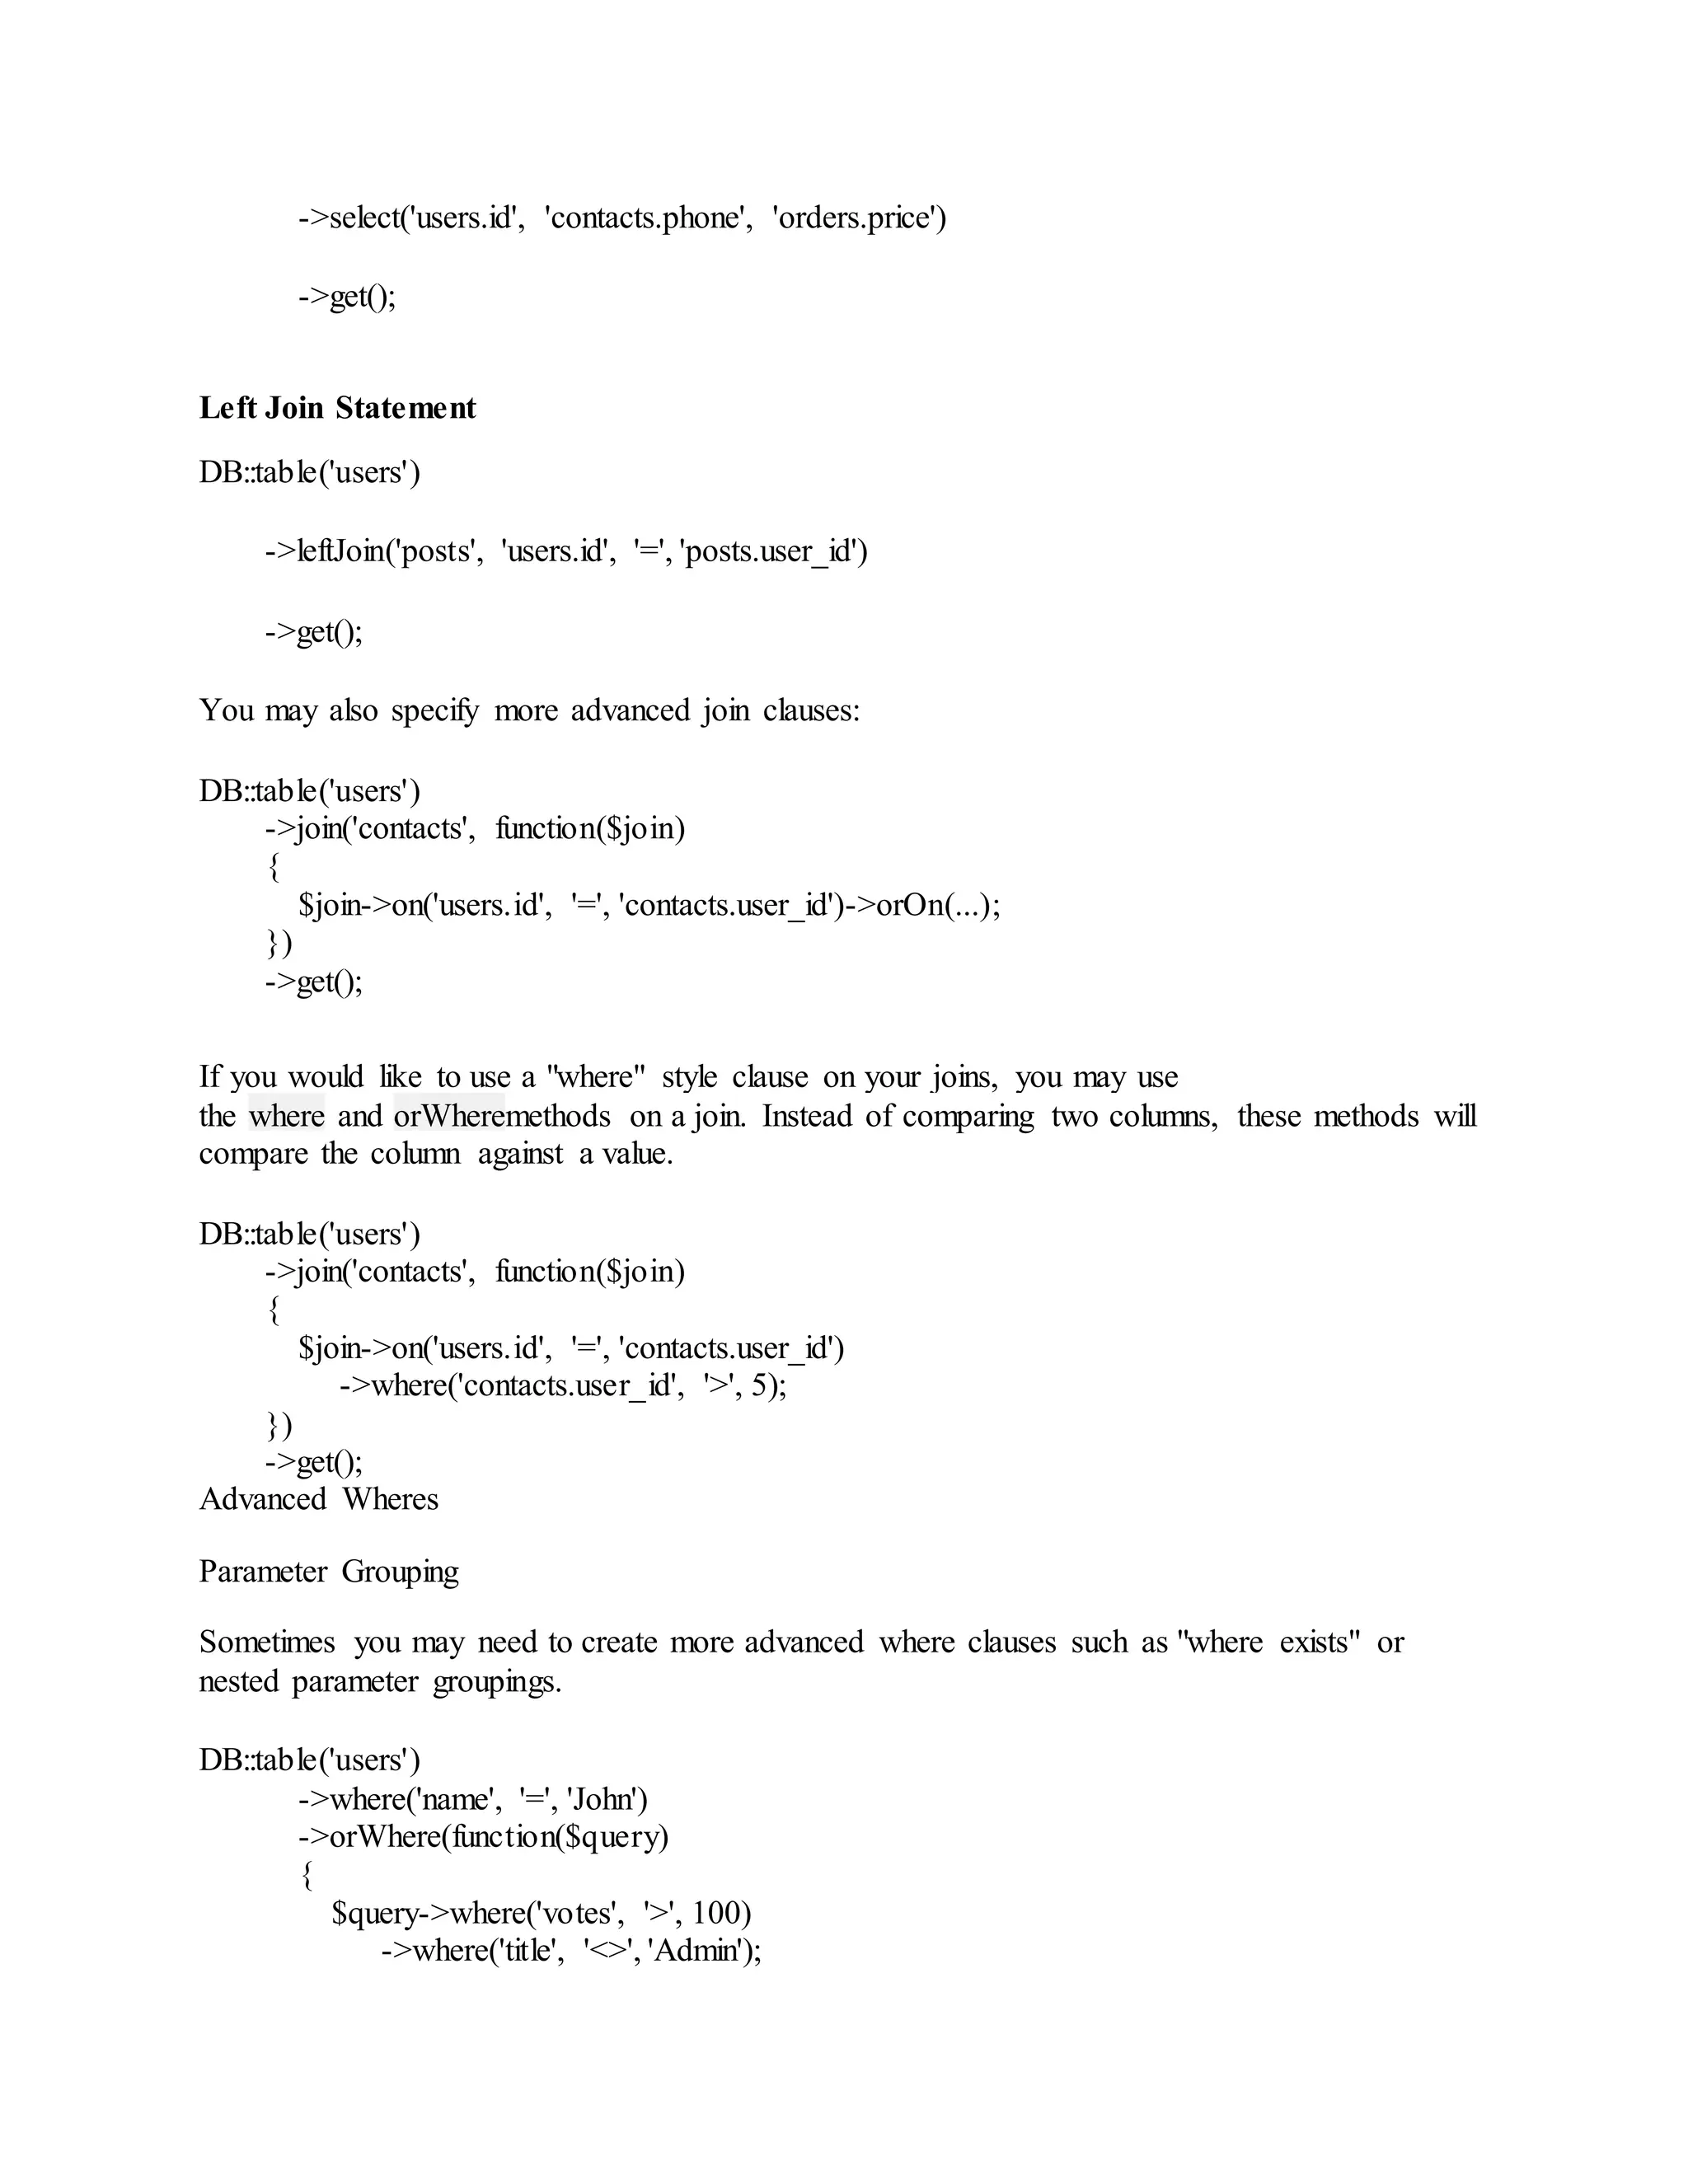
Using Where In With An Array $users = DB::table('users') ->whereIn('id', array(1, 2, 3))->get(); $users = DB::table('users') ->whereNotIn('id', array(1, 2, 3))->get(); Using Where Null To Find Records With Unset Values $users = DB::table('users') ->whereNull('updated_at')->get(); Order By, Group By, And Having $users = DB::table('users') ->orderBy('name', 'desc') ->groupBy('count') ->having('count', '>', 100) ->get(); Offset & Limit $users = DB::table('users')->skip(10)->take(5)->get(); Joins Basic Join Statement DB::table('users') ->join('contacts', 'users.id', '=', 'contacts.user_id') ->join('orders', 'users.id', '=', 'orders.user_id')
->select('users.id', 'contacts.phone', 'orders.price') ->get(); Left Join Statement DB::table('users') ->leftJoin('posts', 'users.id', '=', 'posts.user_id') ->get(); You may also specify more advanced join clauses: DB::table('users') ->join('contacts', function($join) { $join->on('users.id', '=', 'contacts.user_id')->orOn(...); }) ->get(); If you would like to use a "where" style clause on your joins, you may use the where and orWheremethods on a join. Instead of comparing two columns, these methods will compare the column against a value. DB::table('users') ->join('contacts', function($join) { $join->on('users.id', '=', 'contacts.user_id') ->where('contacts.user_id', '>', 5); }) ->get(); Advanced Wheres Parameter Grouping Sometimes you may need to create more advanced where clauses such as "where exists" or nested parameter groupings. DB::table('users') ->where('name', '=', 'John') ->orWhere(function($query) { $query->where('votes', '>', 100) ->where('title', '<>', 'Admin');
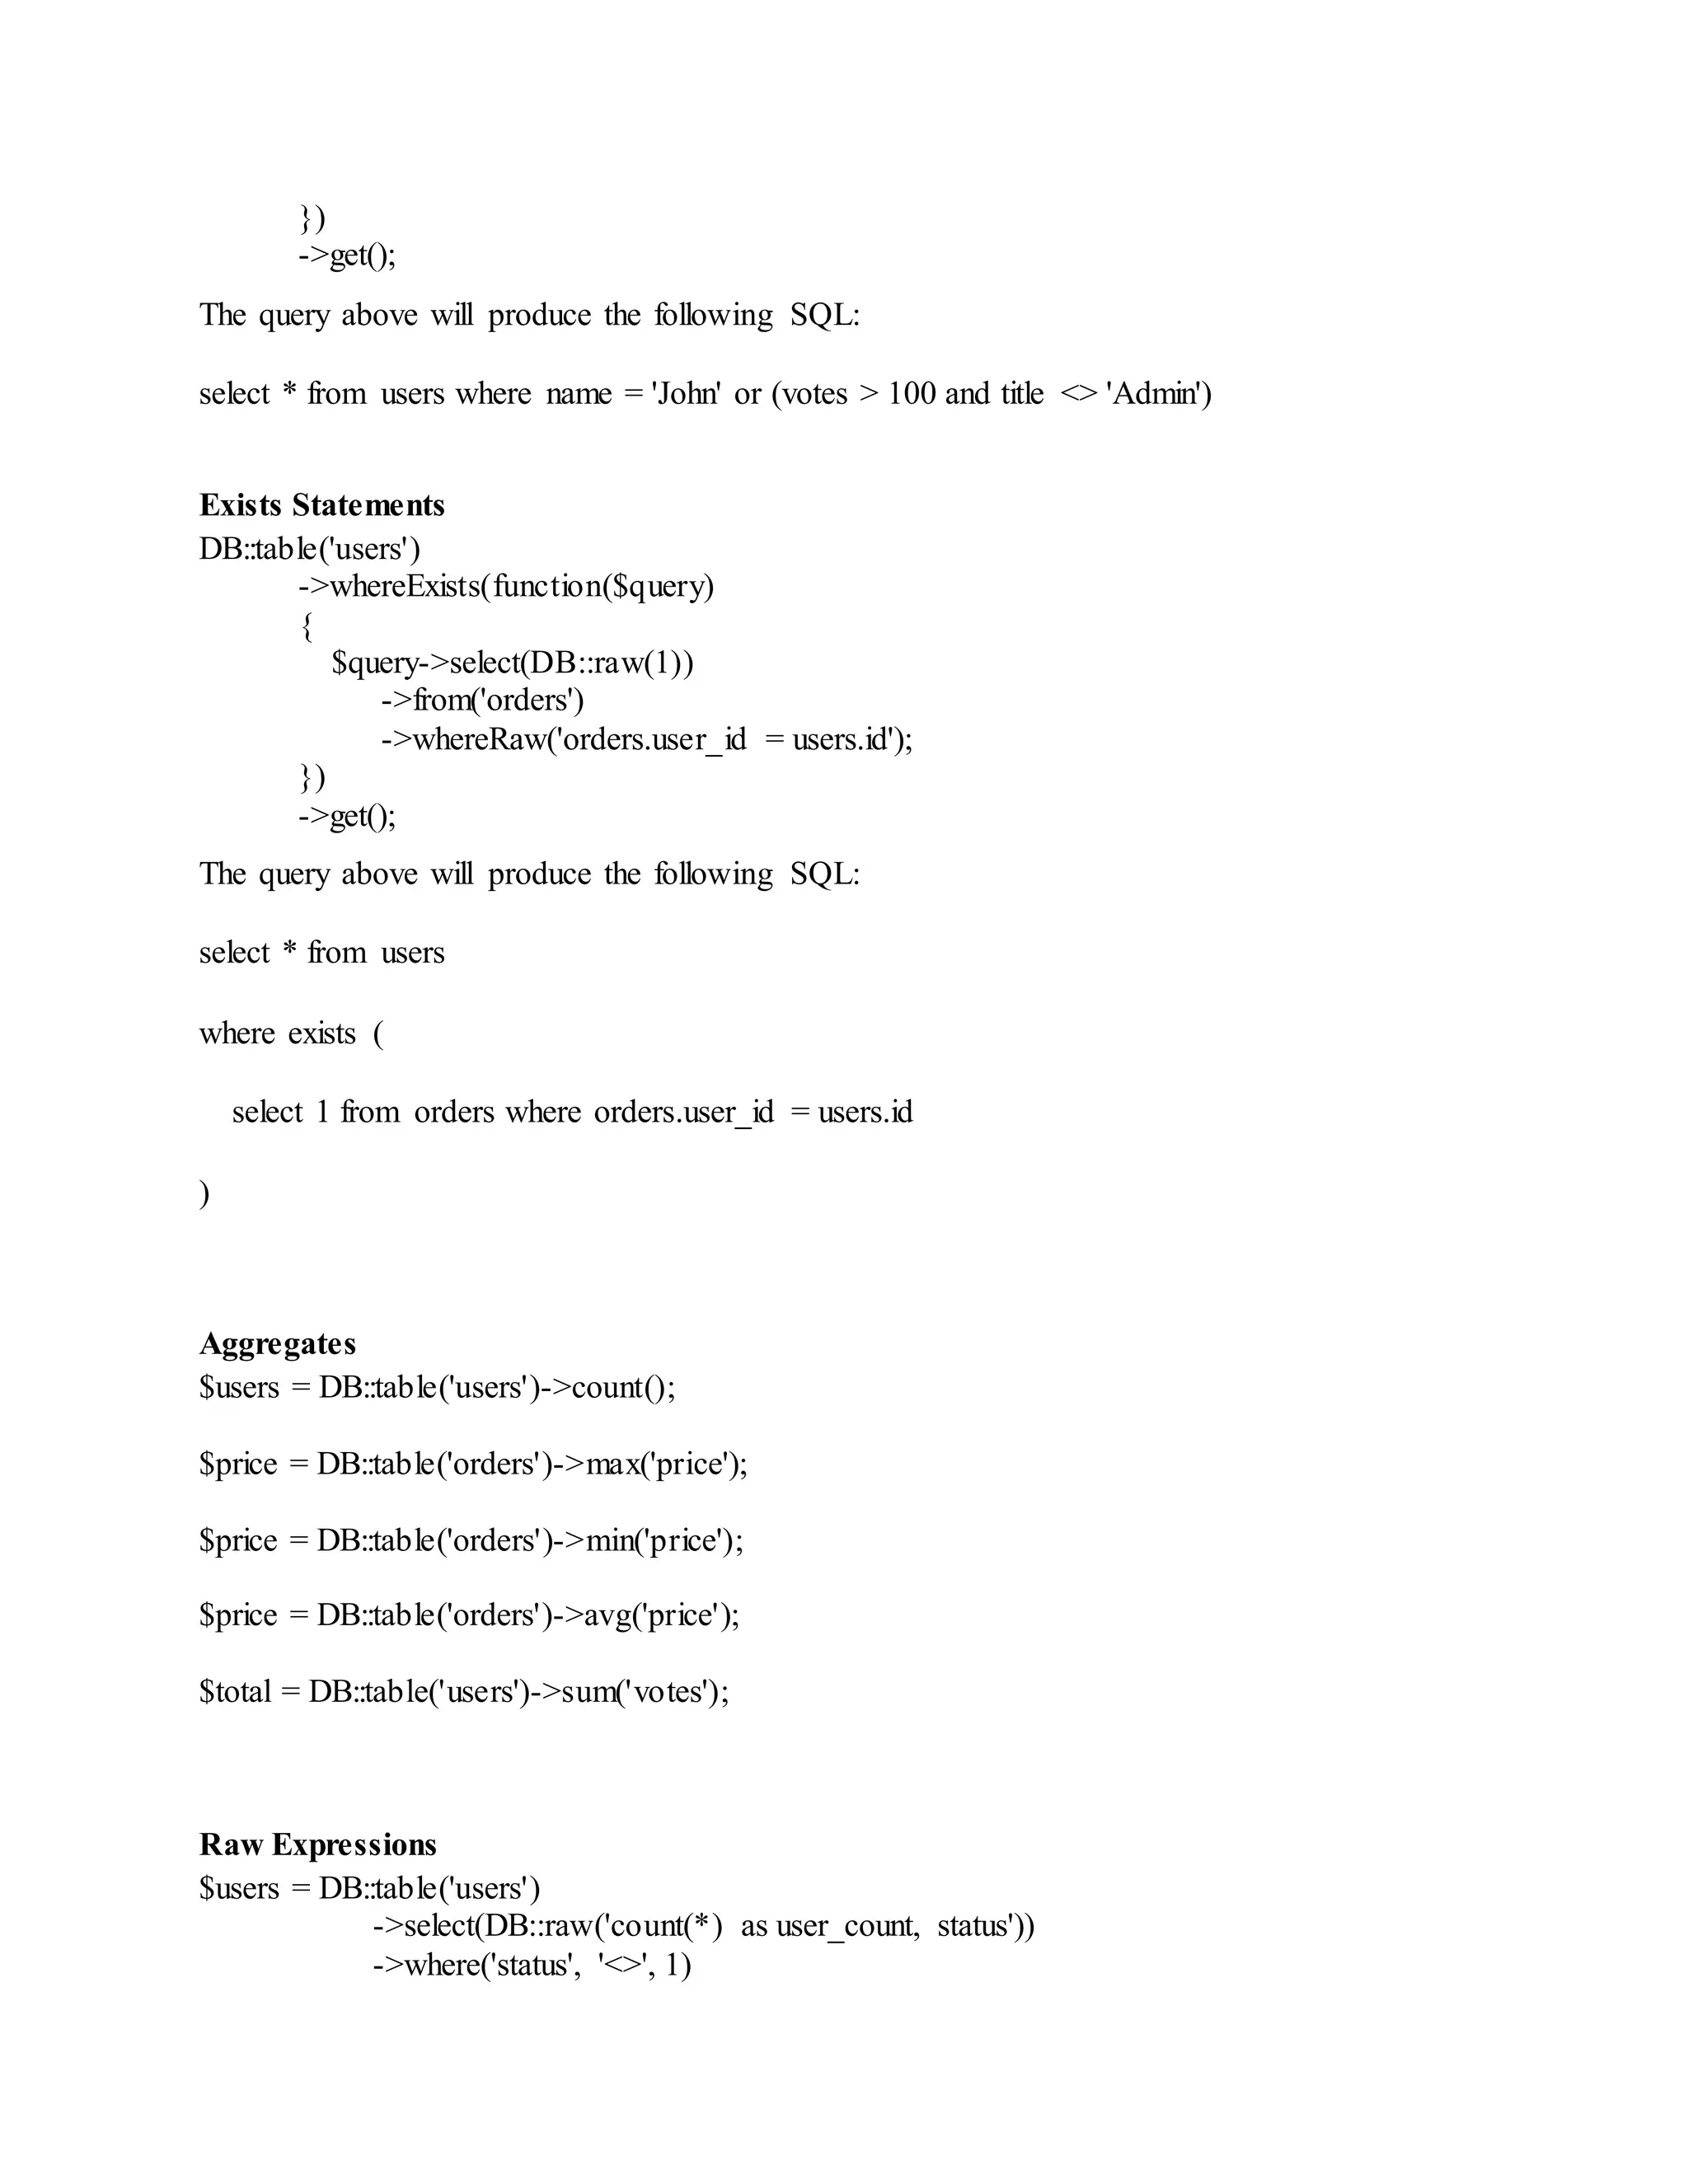
}) ->get(); The query above will produce the following SQL: select * from users where name = 'John' or (votes > 100 and title <> 'Admin') Exists Statements DB::table('users') ->whereExists(function($query) { $query->select(DB::raw(1)) ->from('orders') ->whereRaw('orders.user_id = users.id'); }) ->get(); The query above will produce the following SQL: select * from users where exists ( select 1 from orders where orders.user_id = users.id ) Aggregates $users = DB::table('users')->count(); $price = DB::table('orders')->max('price'); $price = DB::table('orders')->min('price'); $price = DB::table('orders')->avg('price'); $total = DB::table('users')->sum('votes'); Raw Expressions $users = DB::table('users') ->select(DB::raw('count(*) as user_count, status')) ->where('status', '<>', 1)
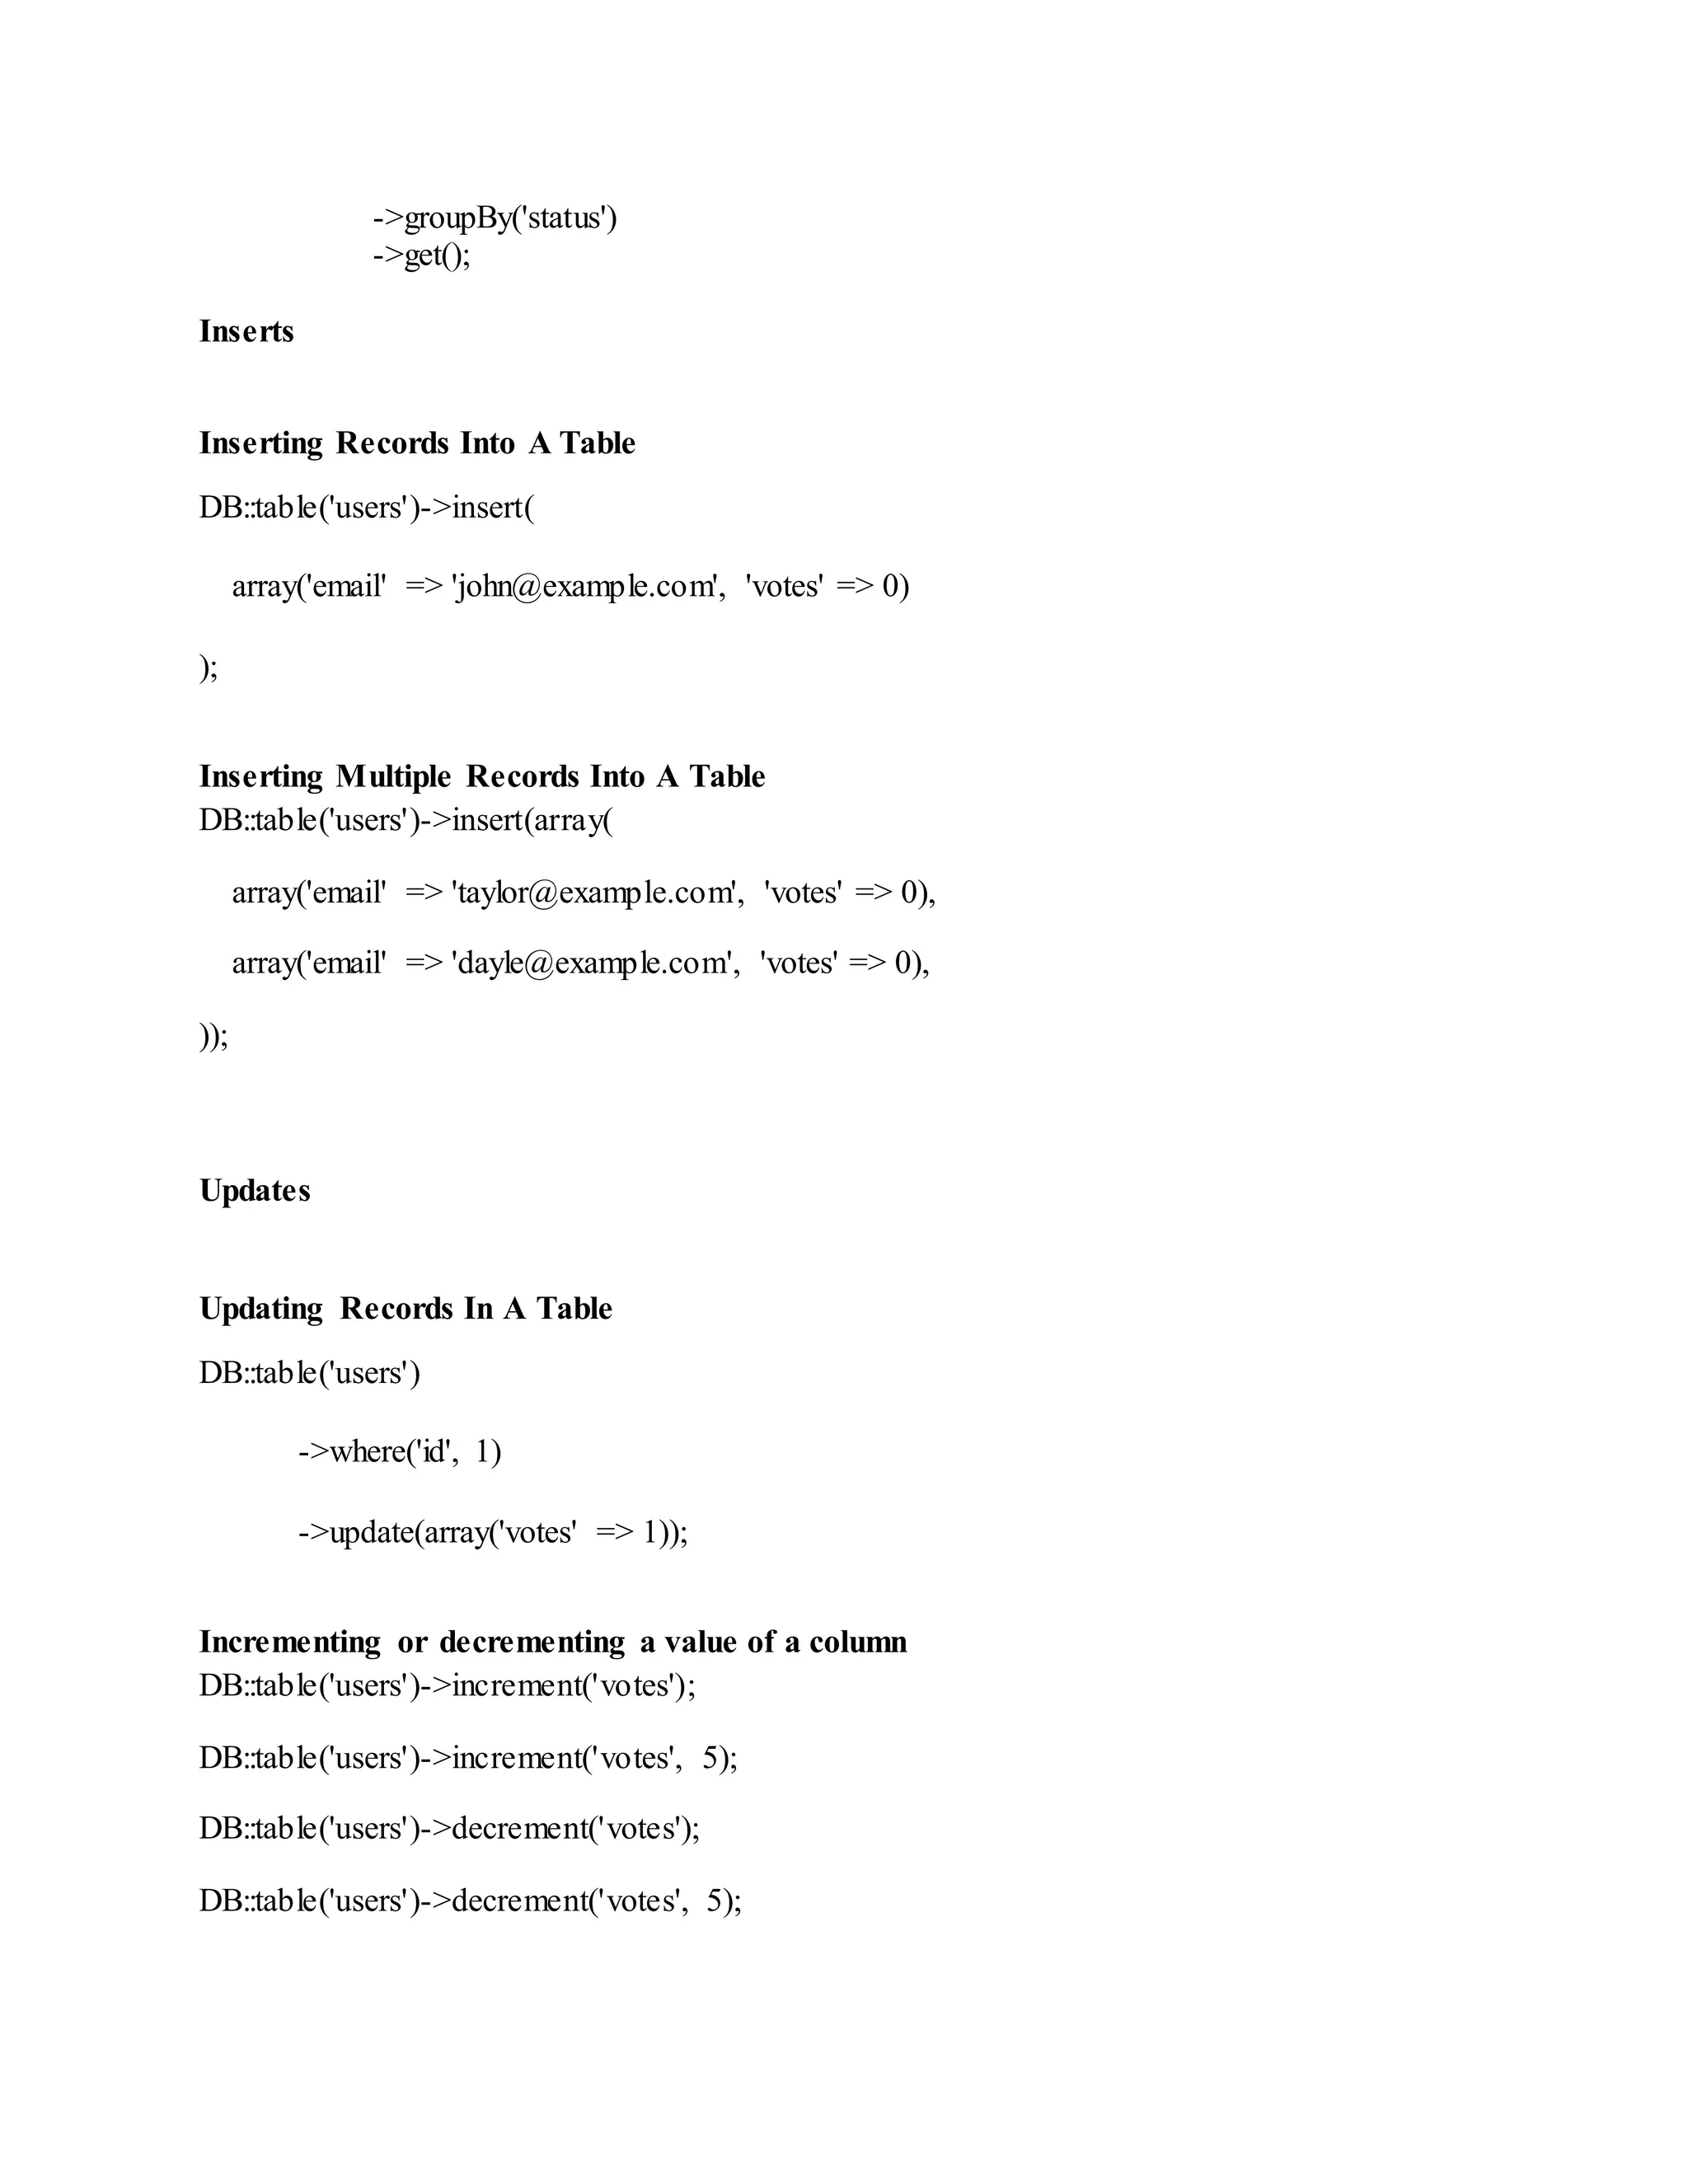
->groupBy('status') ->get(); Inserts Inserting Records Into A Table DB::table('users')->insert( array('email' => 'john@example.com', 'votes' => 0) ); Inserting Multiple Records Into A Table DB::table('users')->insert(array( array('email' => 'taylor@example.com', 'votes' => 0), array('email' => 'dayle@example.com', 'votes' => 0), )); Updates Updating Records In A Table DB::table('users') ->where('id', 1) ->update(array('votes' => 1)); Incrementing or decrementing a value of a column DB::table('users')->increment('votes'); DB::table('users')->increment('votes', 5); DB::table('users')->decrement('votes'); DB::table('users')->decrement('votes', 5);
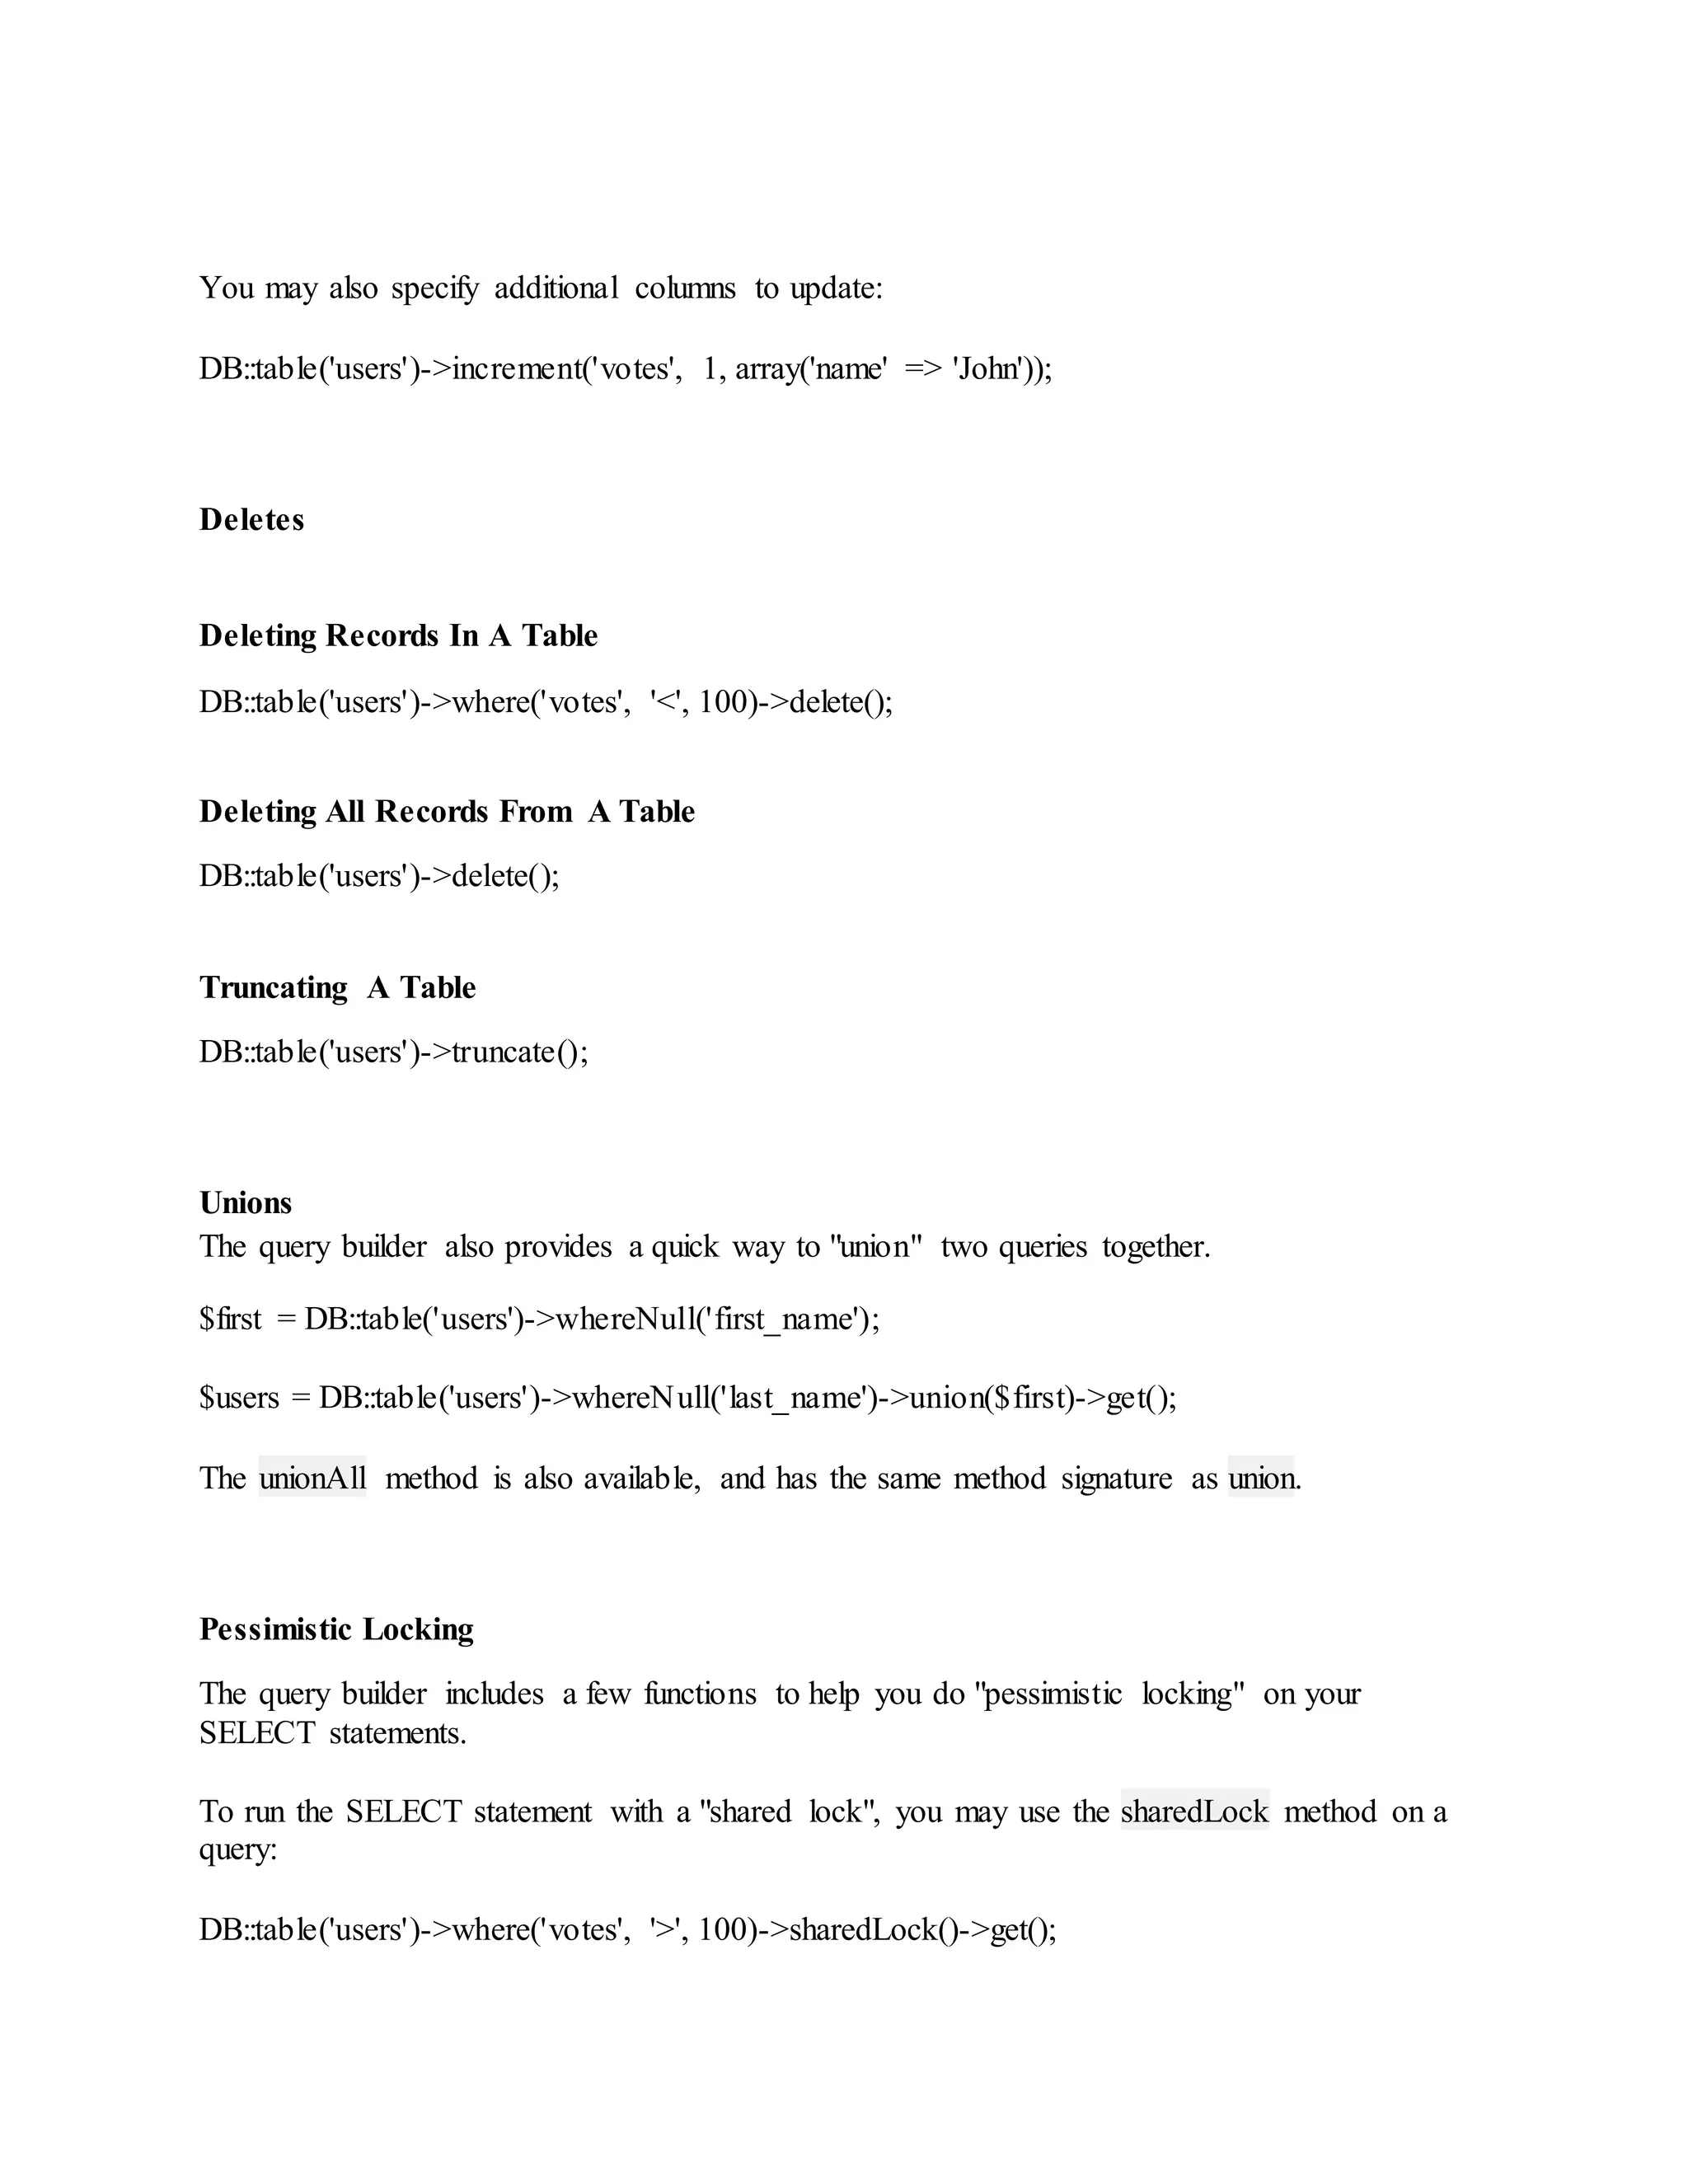
You may also specify additional columns to update: DB::table('users')->increment('votes', 1, array('name' => 'John')); Deletes Deleting Records In A Table DB::table('users')->where('votes', '<', 100)->delete(); Deleting All Records From A Table DB::table('users')->delete(); Truncating A Table DB::table('users')->truncate(); Unions The query builder also provides a quick way to "union" two queries together. $first = DB::table('users')->whereNull('first_name'); $users = DB::table('users')->whereNull('last_name')->union($first)->get(); The unionAll method is also available, and has the same method signature as union. Pessimistic Locking The query builder includes a few functions to help you do "pessimistic locking" on your SELECT statements. To run the SELECT statement with a "shared lock", you may use the sharedLock method on a query: DB::table('users')->where('votes', '>', 100)->sharedLock()->get();
To "lock for update" on a SELECT statement, you may use the lockForUpdate method on a query: DB::table('users')->where('votes', '>', 100)->lockForUpdate()->get(); Caching Queries You may easily cache the results of a query using the remember or rememberForever method. $users = DB::table('users')->remember(10)->get(); In this example, the results of the query will be cached for 10 minutes. While the results are cached, the query will not be run against the database, and the results will be loaded from the default cache driver specified for your application.
Basic Input Retrieving An Input Value $name = Input::get('name'); Retrieving A Default Value If The Input Value Is Absent $name = Input::get('name', 'Sally'); Determining If An Input Value Is Present if (Input::has('name')) { // } Getting All Input For The Request $input = Input::all(); Getting Only Some Of The Request Input $input = Input::only('username', 'password'); $input = Input::except('credit_card'); When working on forms with "array" inputs, you may use dot notation to access the arrays: $input = Input::get('products.0.name');
Cookies All cookies created by the Laravel framework are encrypted and signed with an authentication code, meaning they will be considered invalid if they have been changed by the client. Retrieving a Cookie Value $value = Cookie::get('name'); Attaching a New Cookie to a Response $response = Response::make('Hello World'); $response->withCookie(Cookie::make('name', 'value', $minutes)); Queueing a Cookie for the Next Response If you would like to set a cookie before a response has been created, use the Cookie::queue()method. The cookie will automatically be attached to the final response from your application. Cookie::queue($name, $value, $minutes); Creating a Cookie that Lasts Forever $cookie = Cookie::forever('name', 'value'); Old Input You may need to keep input from one request until the next request. For example, you may need to re-populate a form after checking it for validation errors. Flashing Input To The Session Input::flash();
Flashing Only Some Input To The Session Input::flashOnly('username', 'email'); Input::flashExcept('password'); Since you often will want to flash input in association with a redirect to the previous page, you may easily chain input flashing onto a redirect. return Redirect::to('form')->withInput(); return Redirect::to('form')->withInput(Input::except('password')); Files Retrieving An Uploaded File $file = Input::file('photo'); Determining If A File Was Uploaded if (Input::hasFile('photo')) { // } Determining If An Uploaded File Is Valid if (Input::file('photo')->isValid()) { // } Moving An Uploaded File Input::file('photo')->move($destinationPath); Input::file('photo')->move($destinationPath, $fileName);
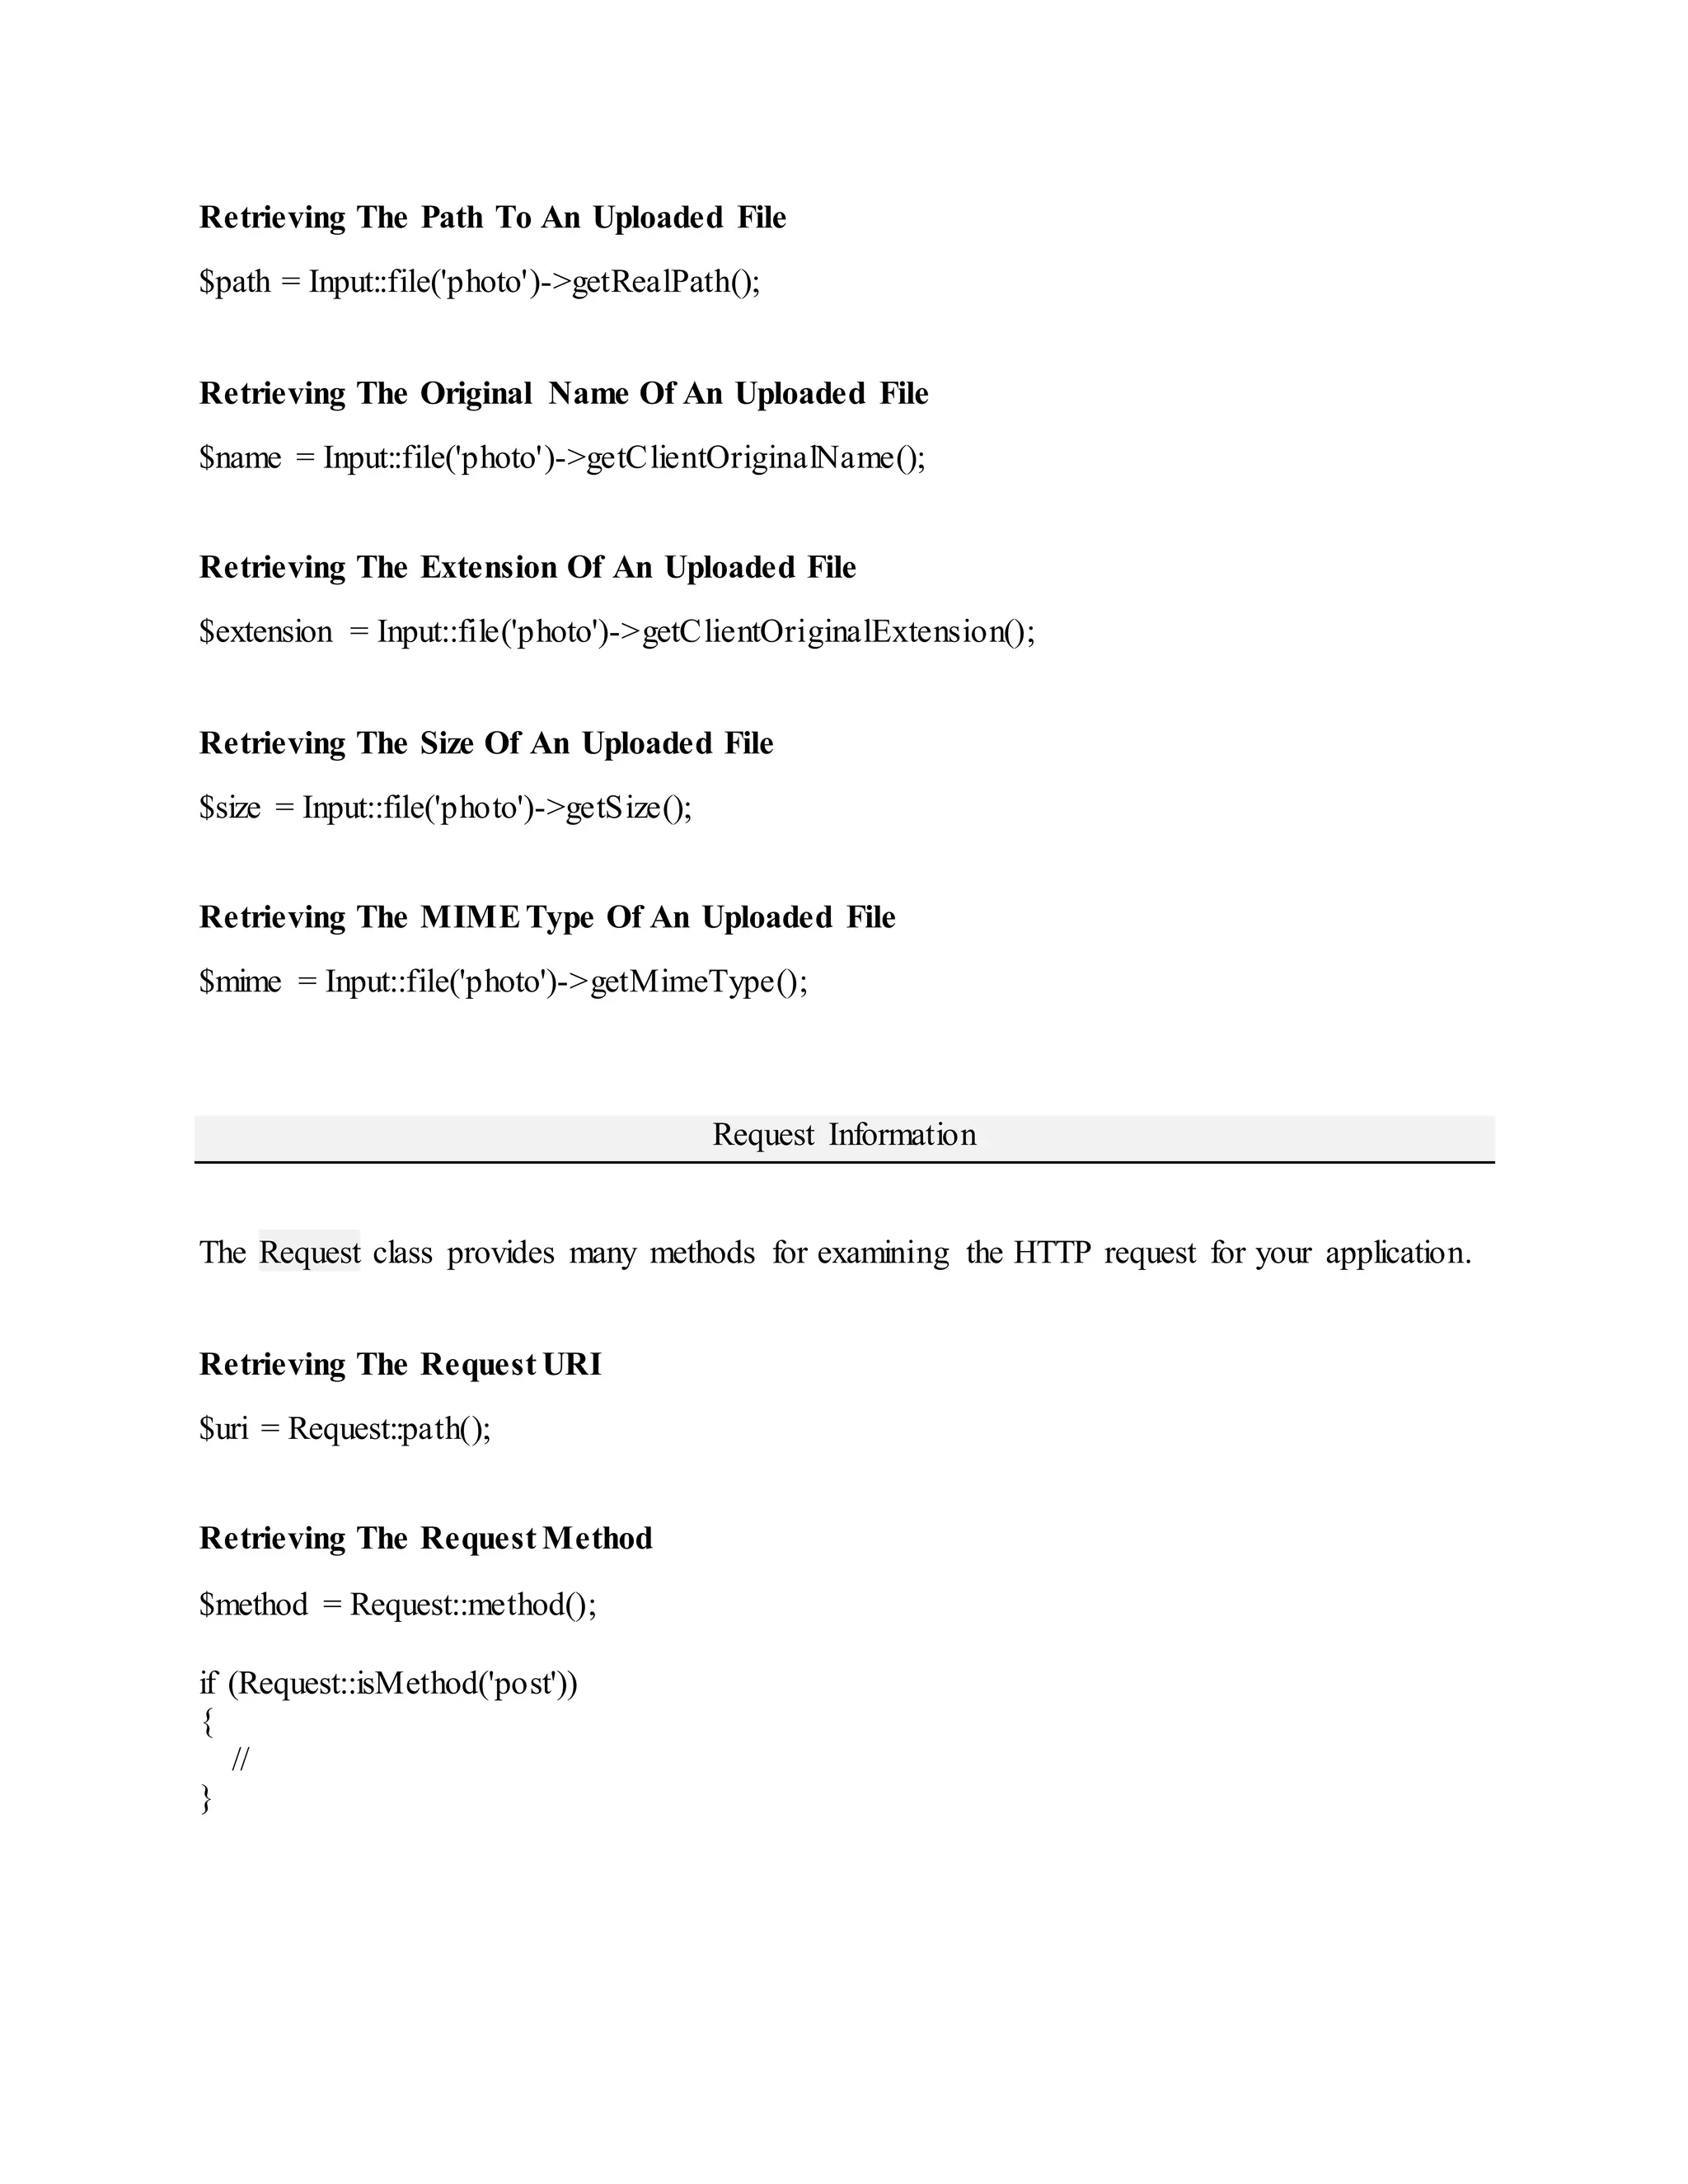
Retrieving The Path To An Uploaded File $path = Input::file('photo')->getRealPath(); Retrieving The Original Name Of An Uploaded File $name = Input::file('photo')->getClientOriginalName(); Retrieving The Extension Of An Uploaded File $extension = Input::file('photo')->getClientOriginalExtension(); Retrieving The Size Of An Uploaded File $size = Input::file('photo')->getSize(); Retrieving The MIMEType Of An Uploaded File $mime = Input::file('photo')->getMimeType(); Request Information The Request class provides many methods for examining the HTTP request for your application. Retrieving The Request URI $uri = Request::path(); Retrieving The Request Method $method = Request::method(); if (Request::isMethod('post')) { // }
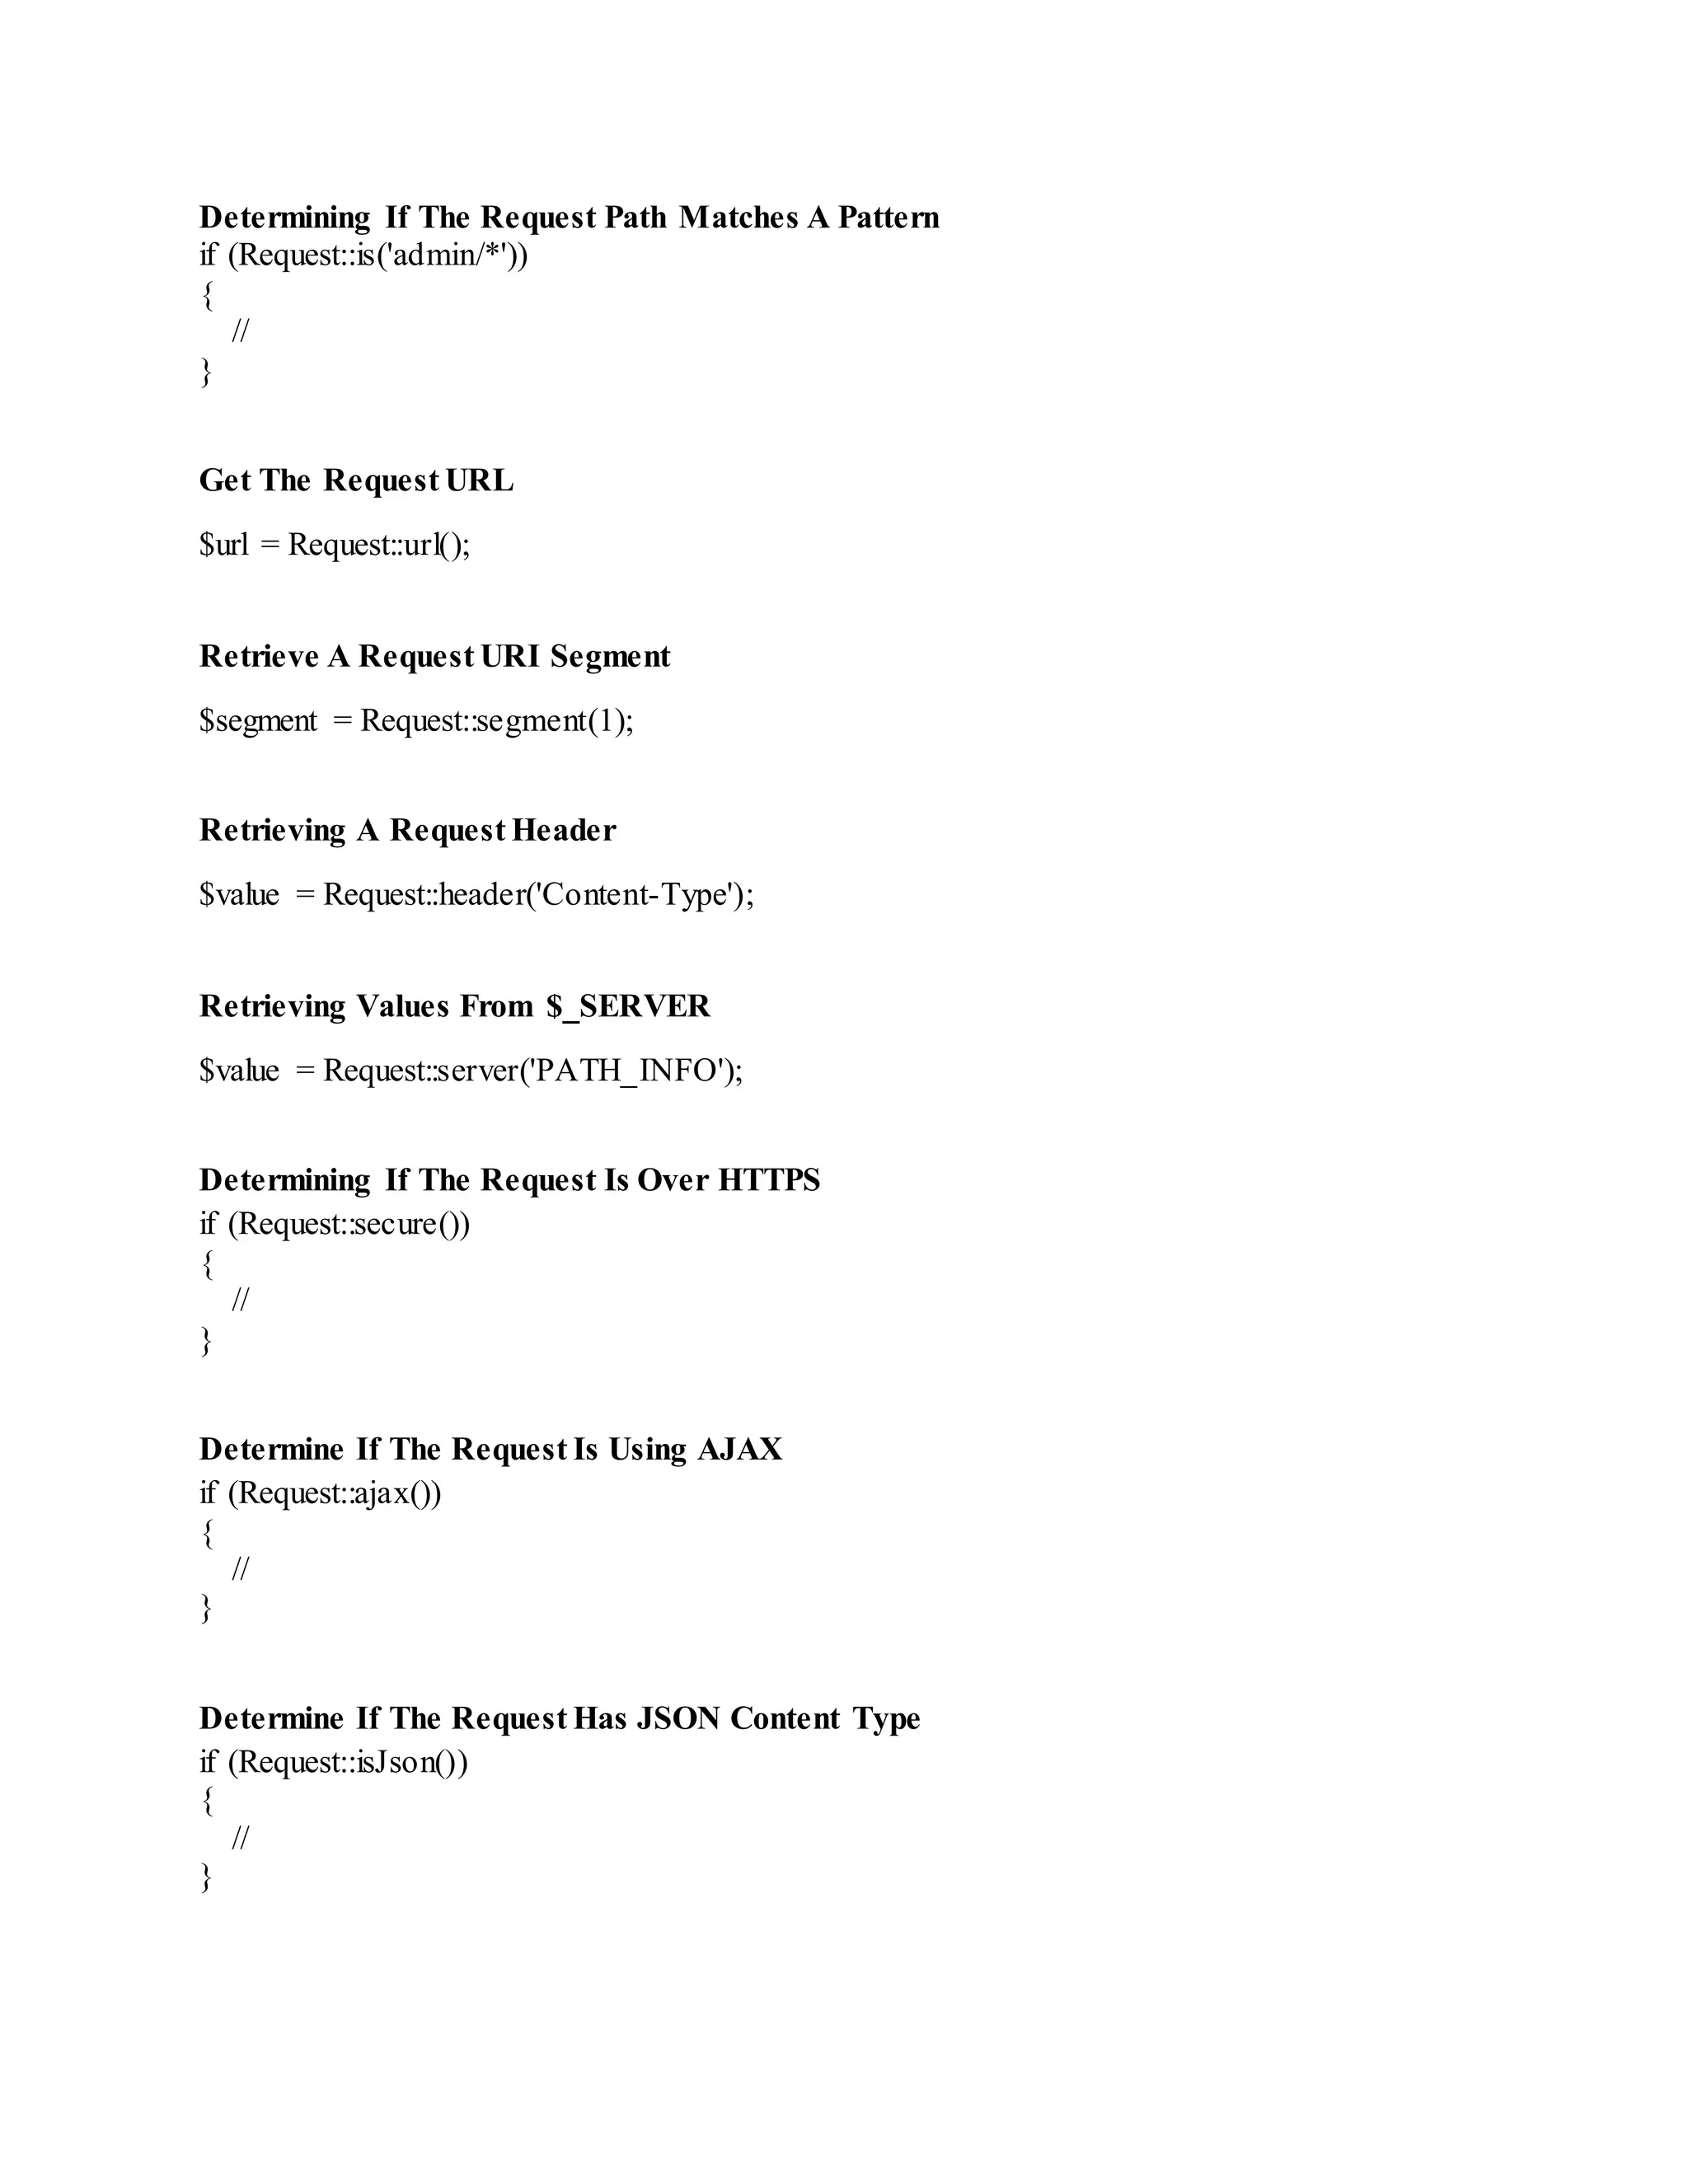
Determining If The Request Path Matches A Pattern if (Request::is('admin/*')) { // } Get The Request URL $url = Request::url(); Retrieve A Request URI Segment $segment = Request::segment(1); Retrieving A Request Header $value = Request::header('Content-Type'); Retrieving Values From $_SERVER $value = Request::server('PATH_INFO'); Determining If The Request Is Over HTTPS if (Request::secure()) { // } Determine If The Request Is Using AJAX if (Request::ajax()) { // } Determine If The Request Has JSON Content Type if (Request::isJson()) { // }
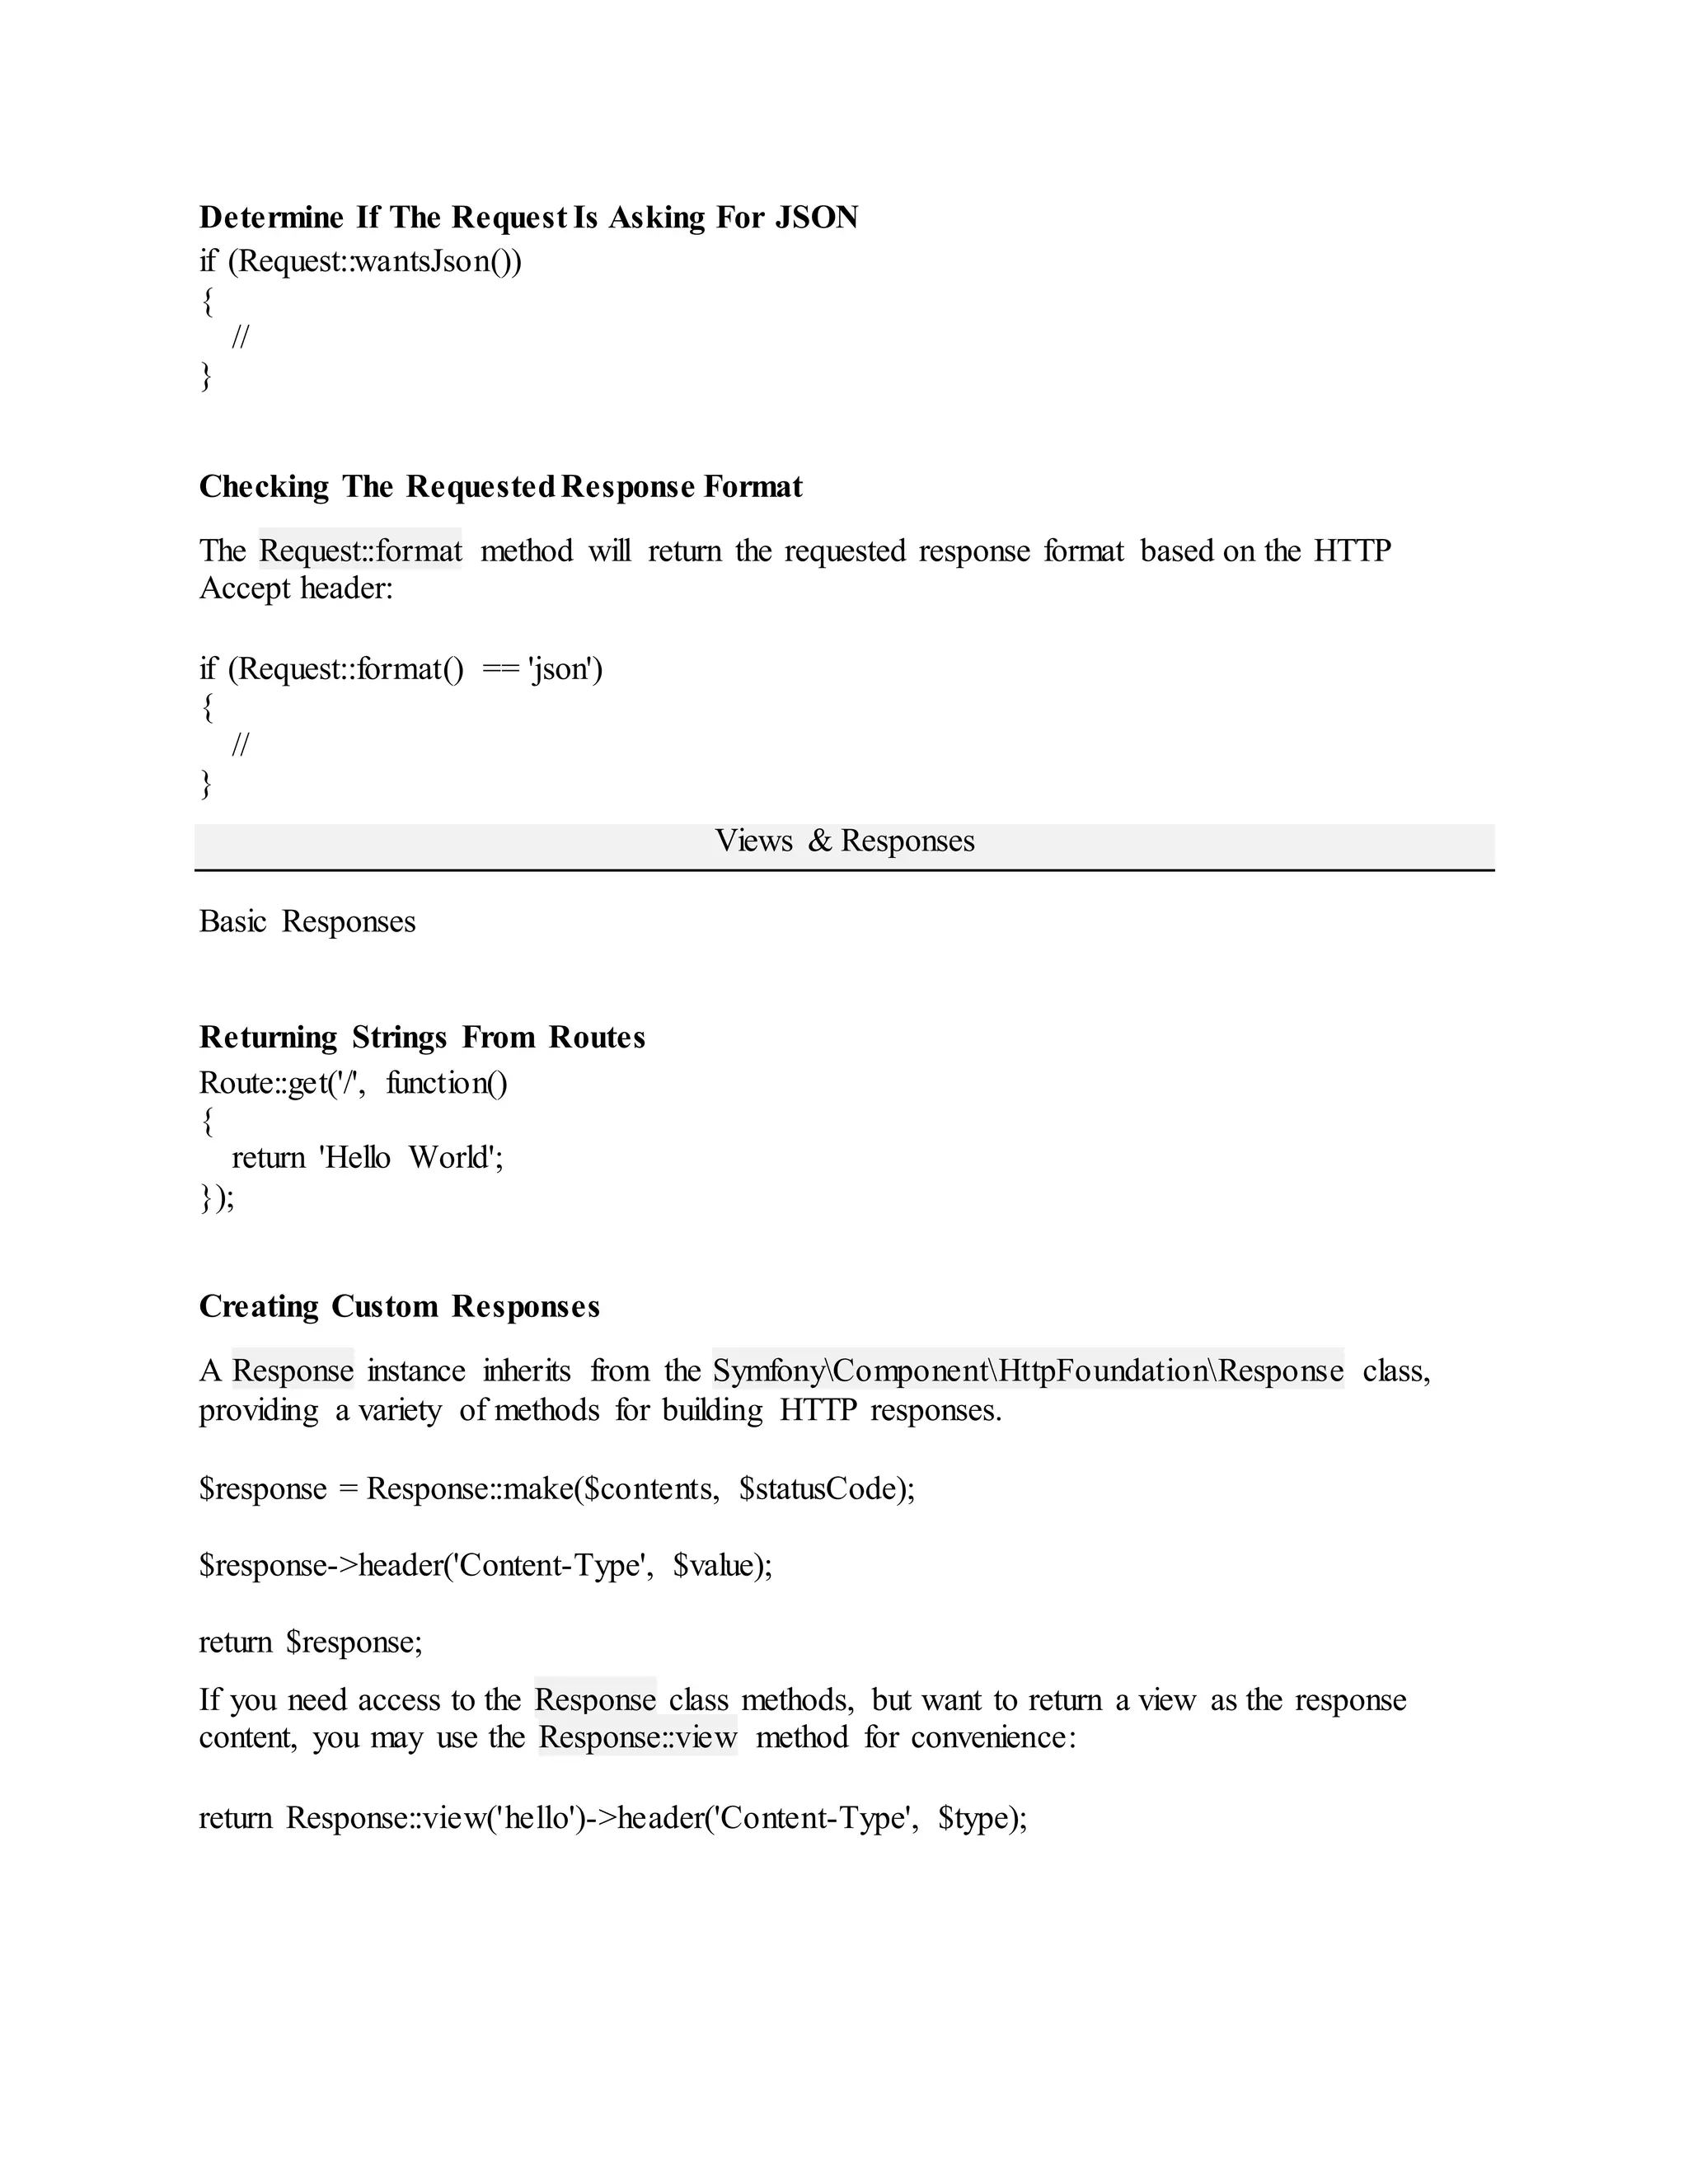
Determine If The Request Is Asking For JSON if (Request::wantsJson()) { // } Checking The RequestedResponse Format The Request::format method will return the requested response format based on the HTTP Accept header: if (Request::format() == 'json') { // } Views & Responses Basic Responses Returning Strings From Routes Route::get('/', function() { return 'Hello World'; }); Creating Custom Responses A Response instance inherits from the SymfonyComponentHttpFoundationResponse class, providing a variety of methods for building HTTP responses. $response = Response::make($contents, $statusCode); $response->header('Content-Type', $value); return $response; If you need access to the Response class methods, but want to return a view as the response content, you may use the Response::view method for convenience: return Response::view('hello')->header('Content-Type', $type);
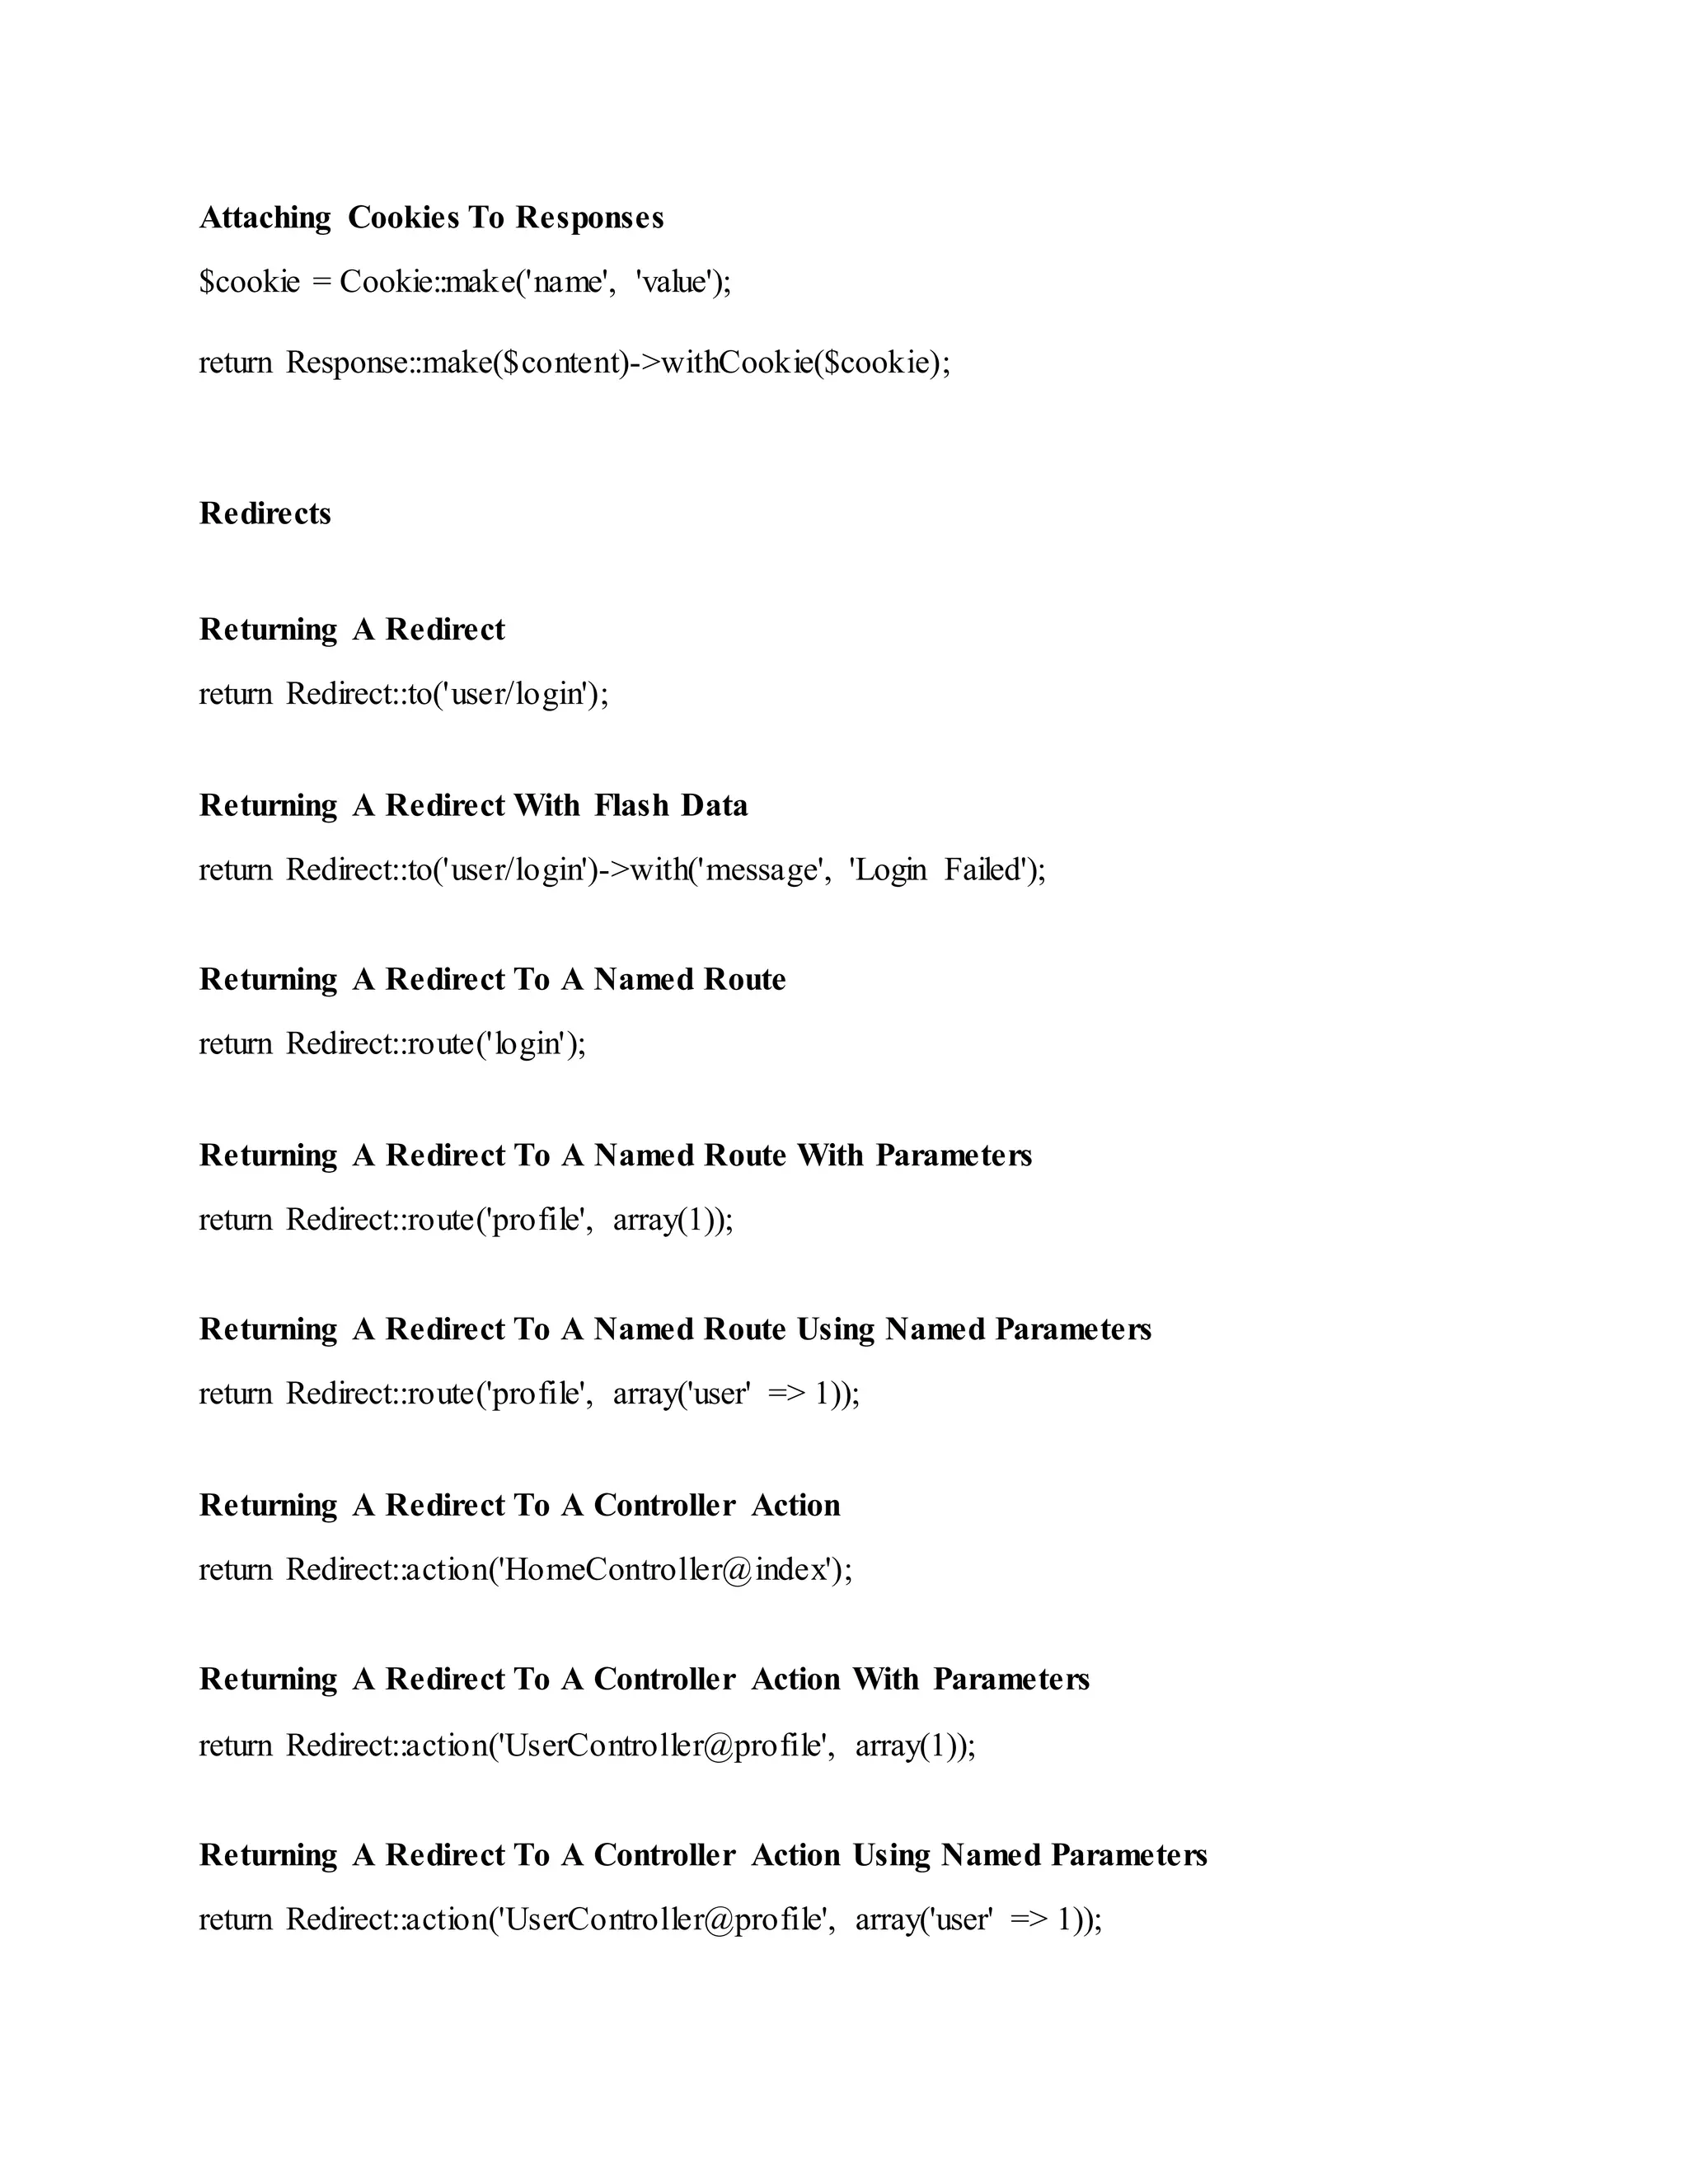
Attaching Cookies To Responses $cookie = Cookie::make('name', 'value'); return Response::make($content)->withCookie($cookie); Redirects Returning A Redirect return Redirect::to('user/login'); Returning A Redirect With Flash Data return Redirect::to('user/login')->with('message', 'Login Failed'); Returning A Redirect To A Named Route return Redirect::route('login'); Returning A Redirect To A Named Route With Parameters return Redirect::route('profile', array(1)); Returning A Redirect To A Named Route Using Named Parameters return Redirect::route('profile', array('user' => 1)); Returning A Redirect To A Controller Action return Redirect::action('HomeController@index'); Returning A Redirect To A Controller Action With Parameters return Redirect::action('UserController@profile', array(1)); Returning A Redirect To A Controller Action Using Named Parameters return Redirect::action('UserController@profile', array('user' => 1));
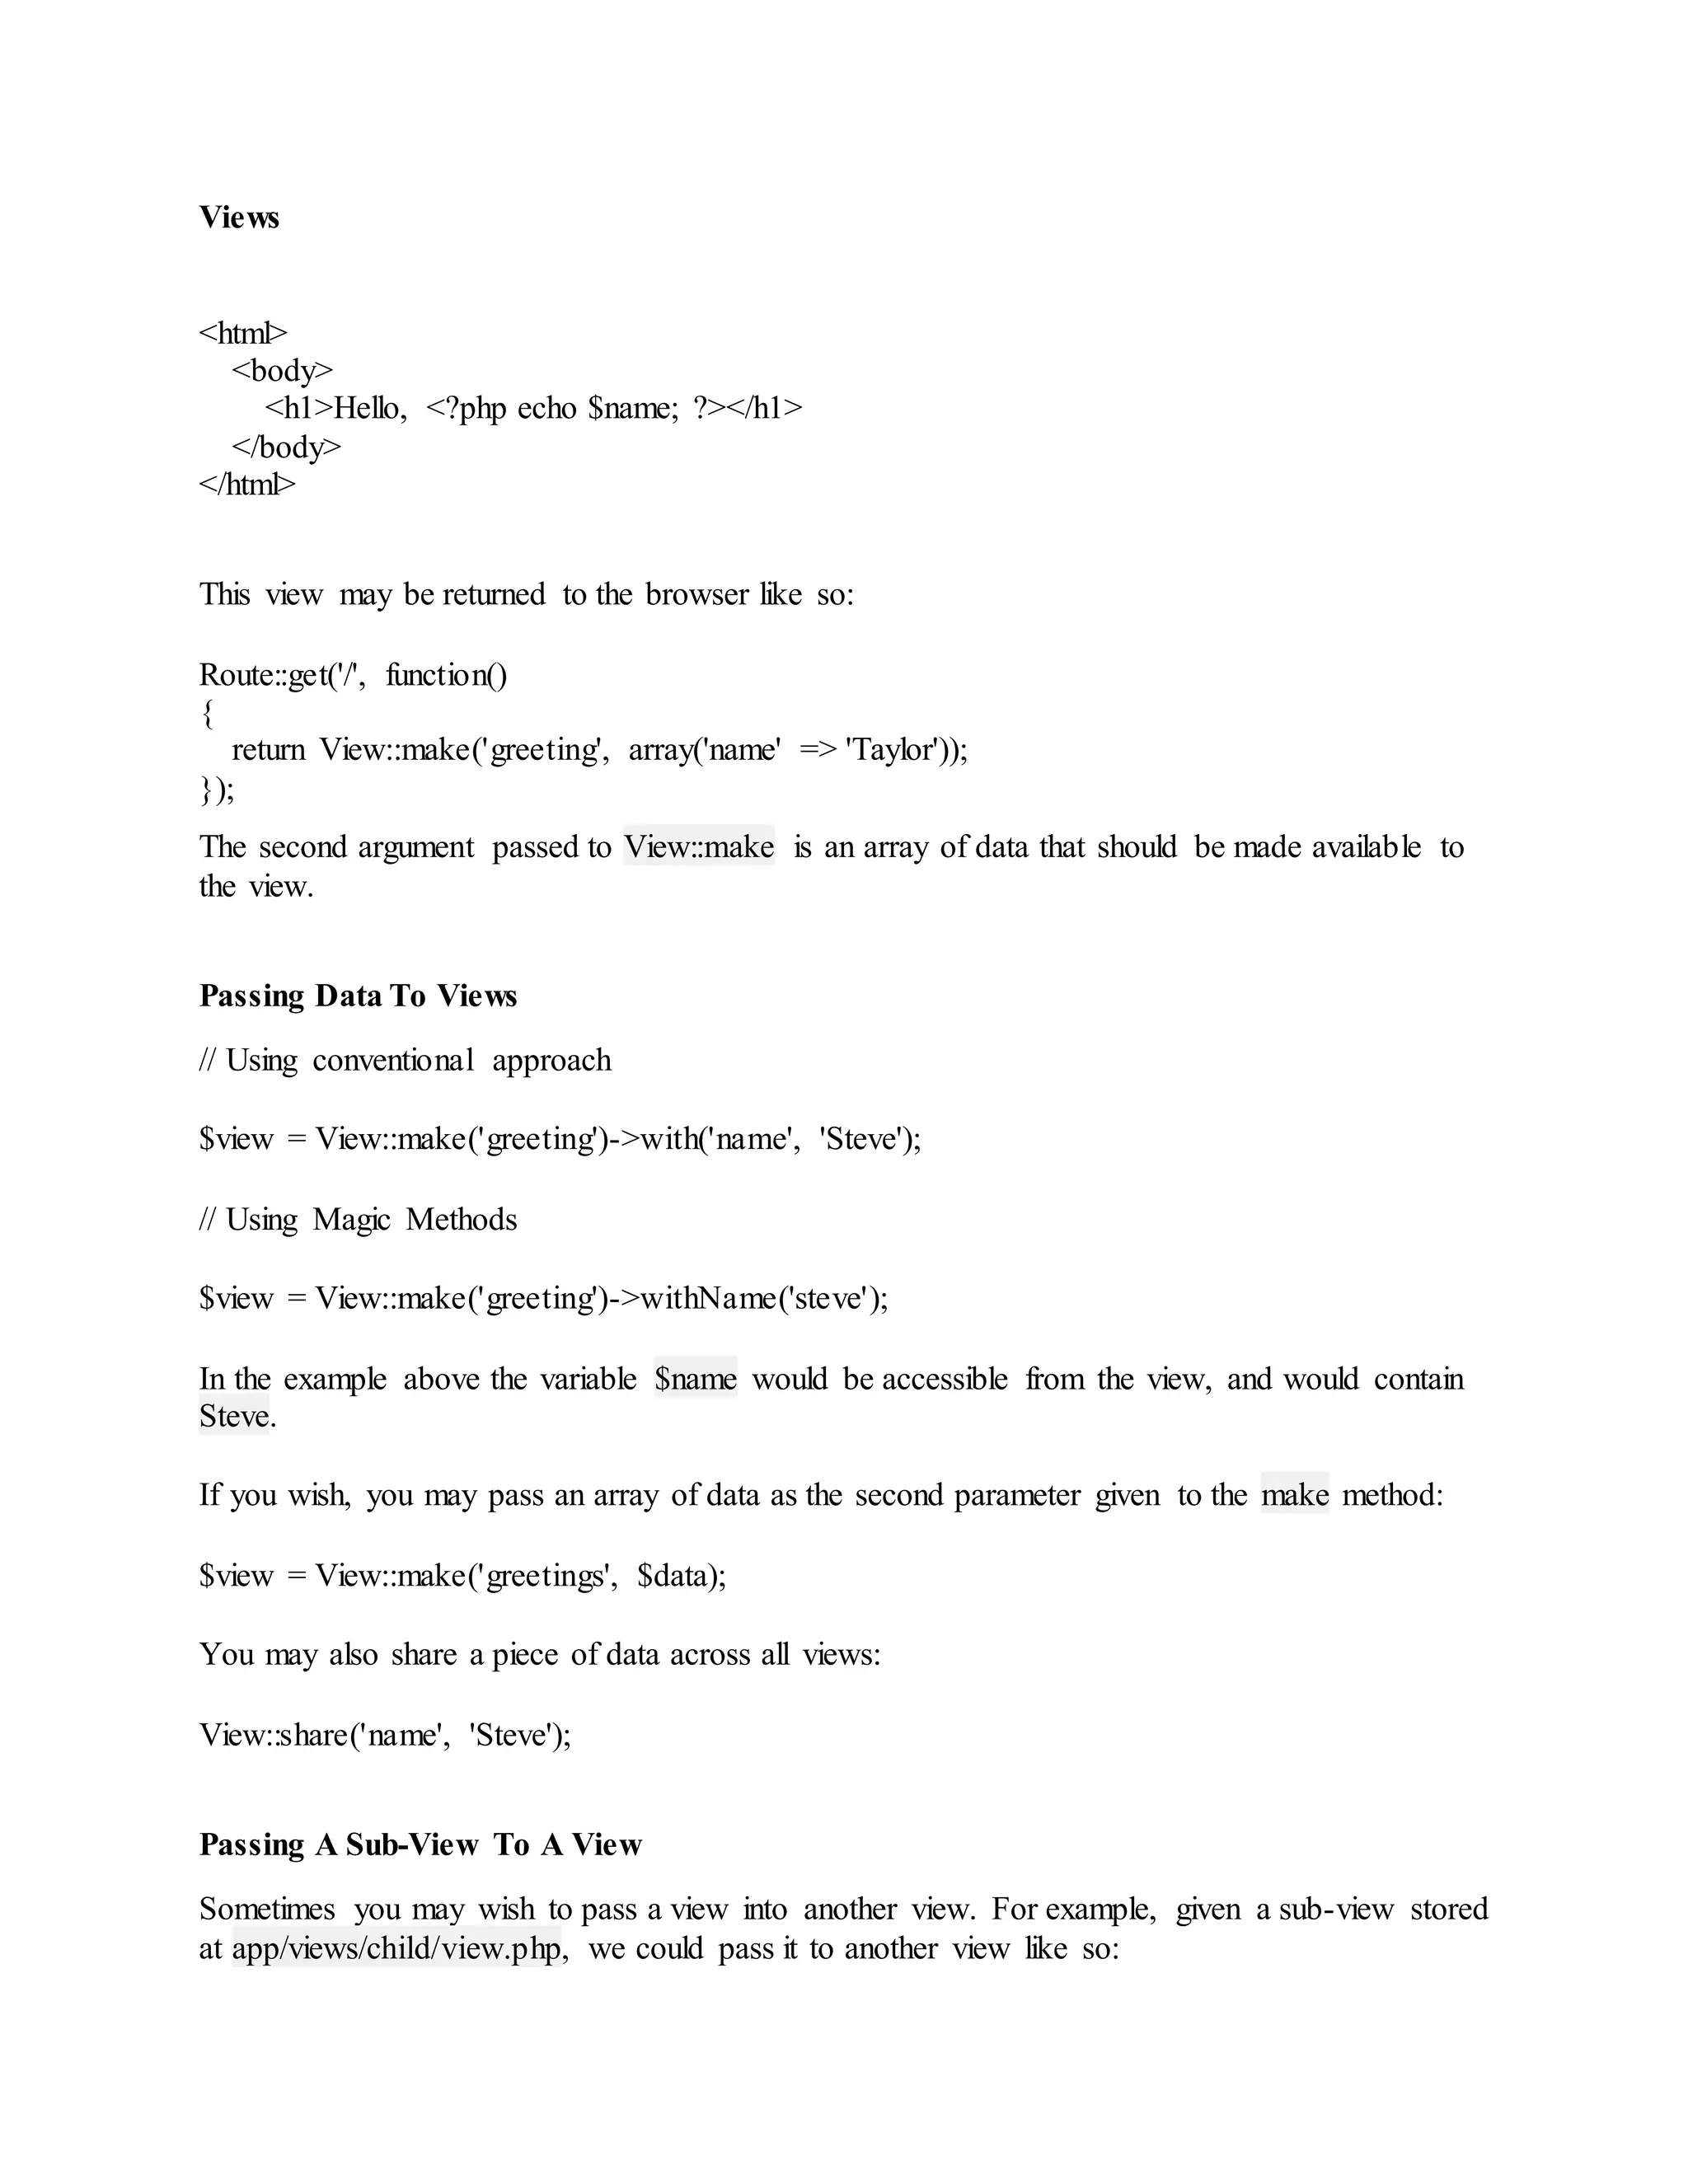
Views <html> <body> <h1>Hello, <?php echo $name; ?></h1> </body> </html> This view may be returned to the browser like so: Route::get('/', function() { return View::make('greeting', array('name' => 'Taylor')); }); The second argument passed to View::make is an array of data that should be made available to the view. Passing Data To Views // Using conventional approach $view = View::make('greeting')->with('name', 'Steve'); // Using Magic Methods $view = View::make('greeting')->withName('steve'); In the example above the variable $name would be accessible from the view, and would contain Steve. If you wish, you may pass an array of data as the second parameter given to the make method: $view = View::make('greetings', $data); You may also share a piece of data across all views: View::share('name', 'Steve'); Passing A Sub-View To A View Sometimes you may wish to pass a view into another view. For example, given a sub-view stored at app/views/child/view.php, we could pass it to another view like so:
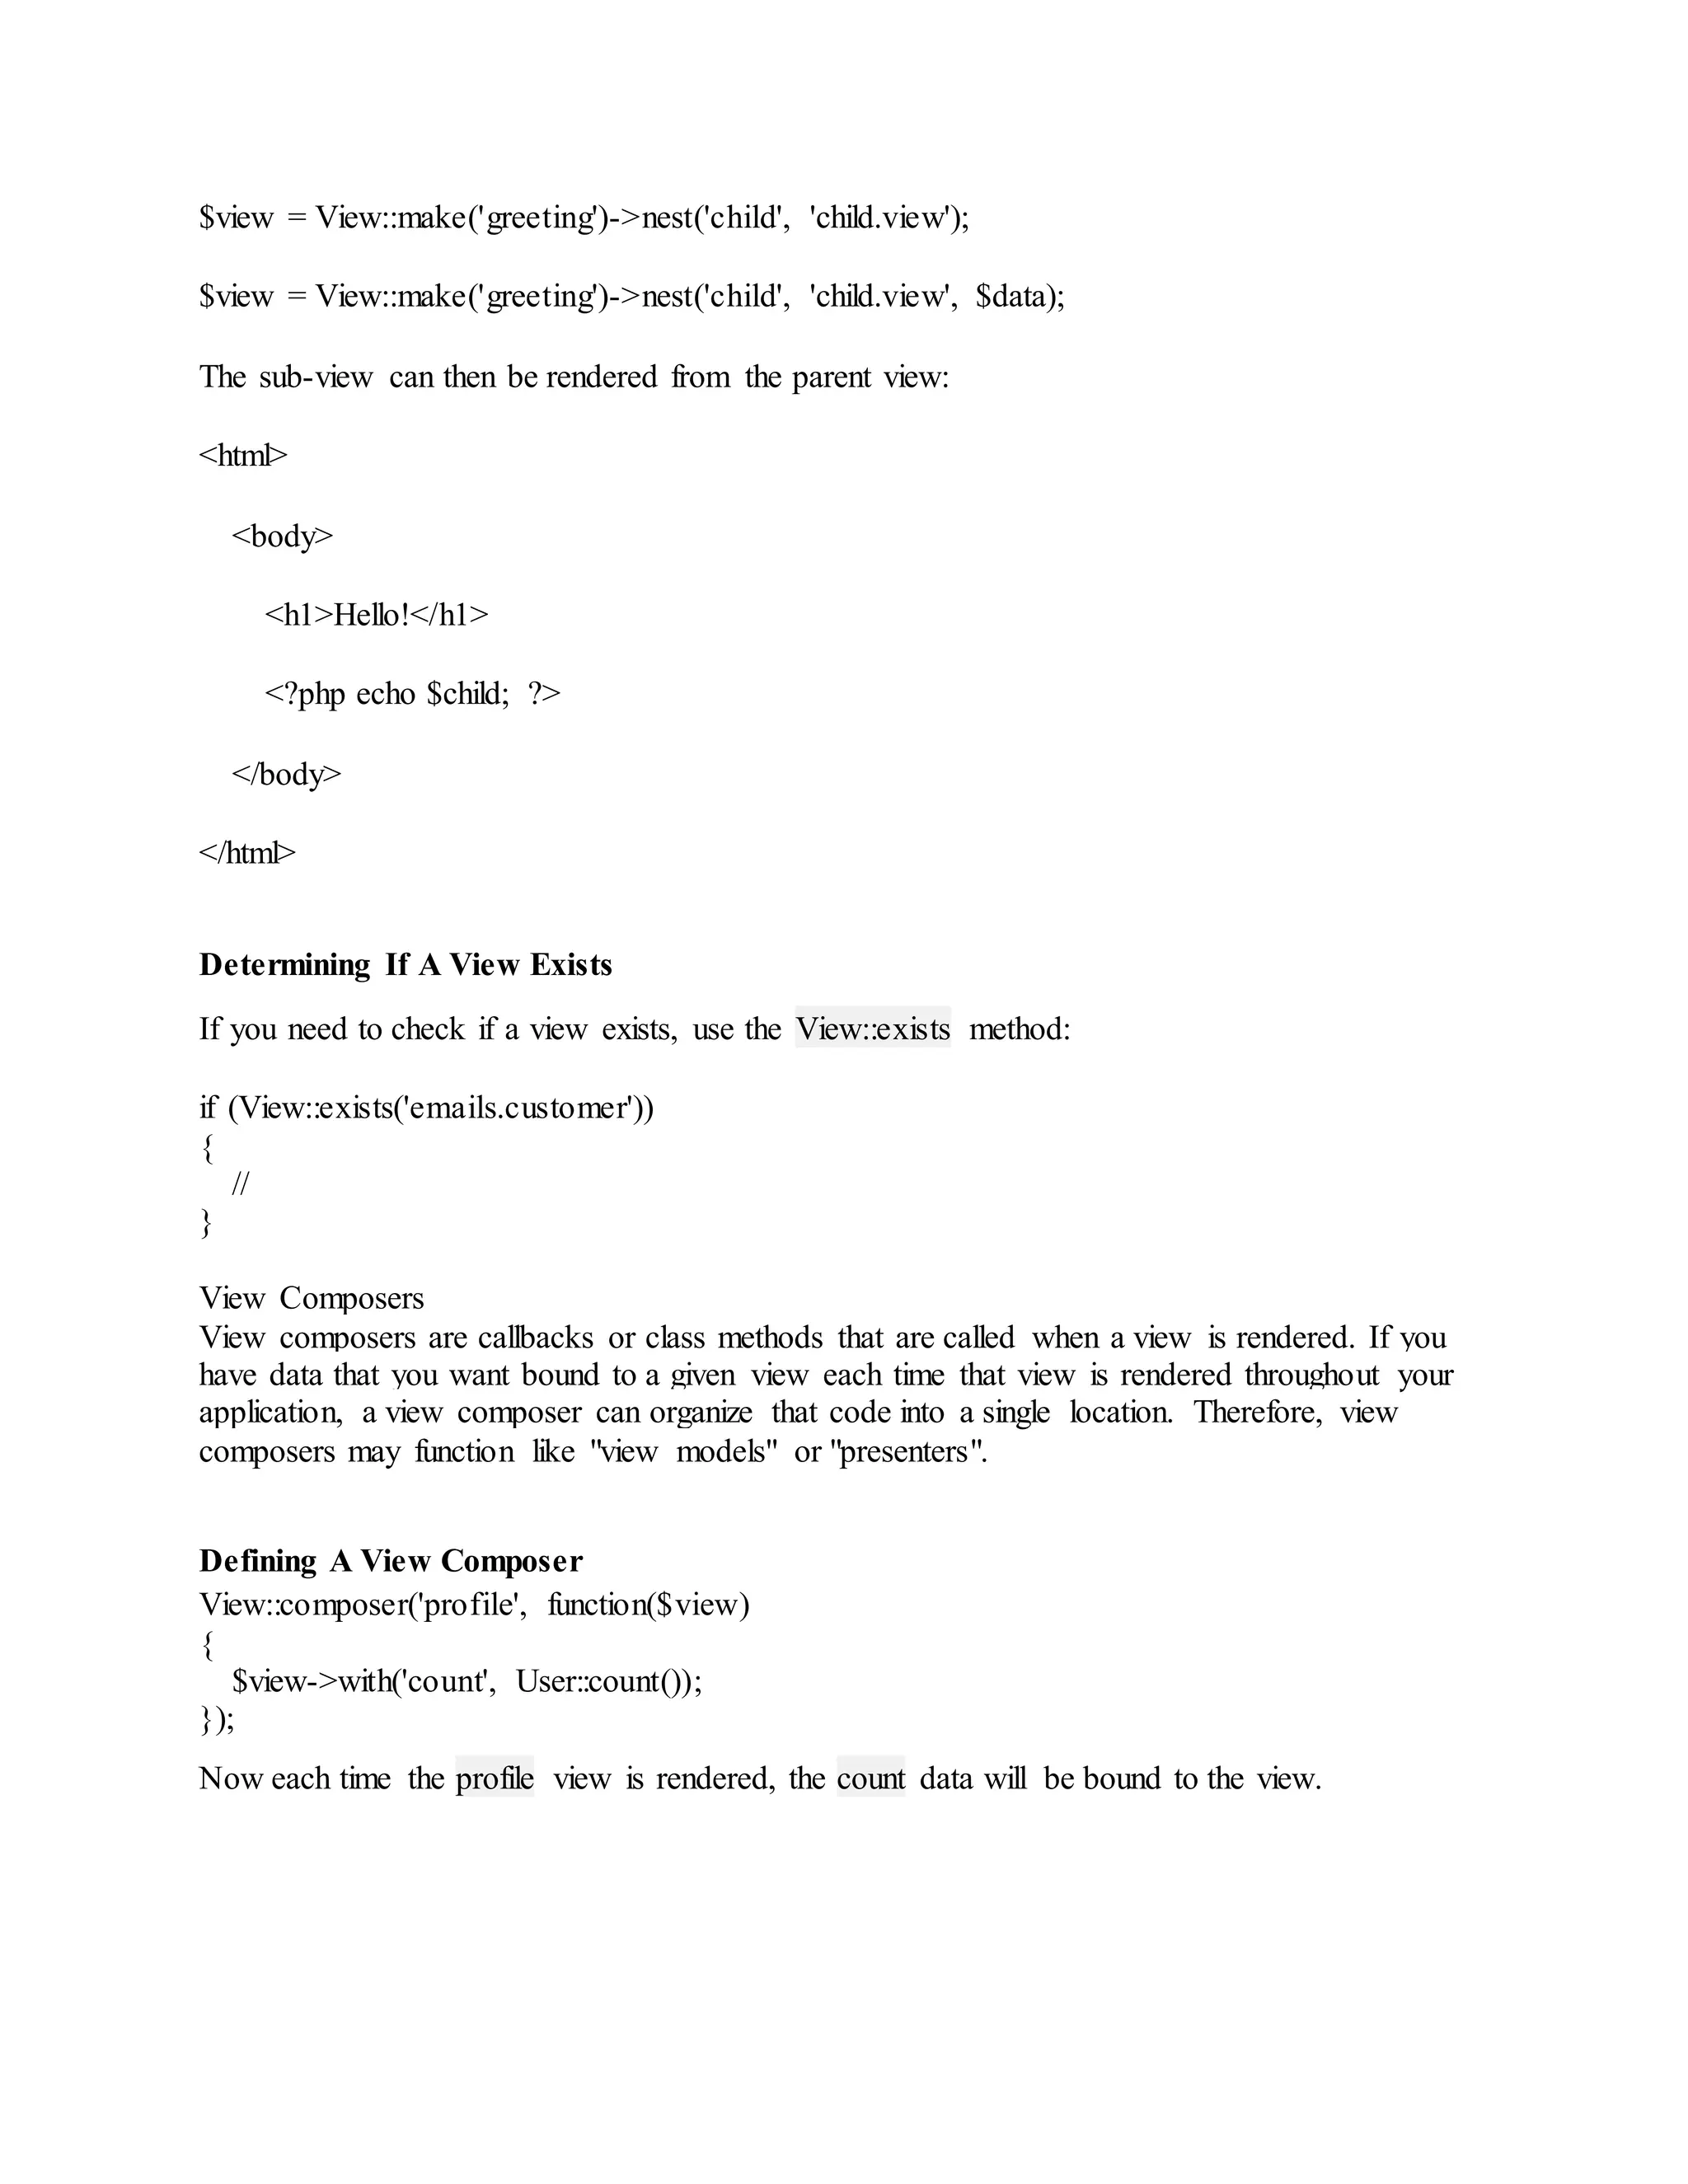
$view = View::make('greeting')->nest('child', 'child.view'); $view = View::make('greeting')->nest('child', 'child.view', $data); The sub-view can then be rendered from the parent view: <html> <body> <h1>Hello!</h1> <?php echo $child; ?> </body> </html> Determining If A View Exists If you need to check if a view exists, use the View::exists method: if (View::exists('emails.customer')) { // } View Composers View composers are callbacks or class methods that are called when a view is rendered. If you have data that you want bound to a given view each time that view is rendered throughout your application, a view composer can organize that code into a single location. Therefore, view composers may function like "view models" or "presenters". Defining A View Composer View::composer('profile', function($view) { $view->with('count', User::count()); }); Now each time the profile view is rendered, the count data will be bound to the view.
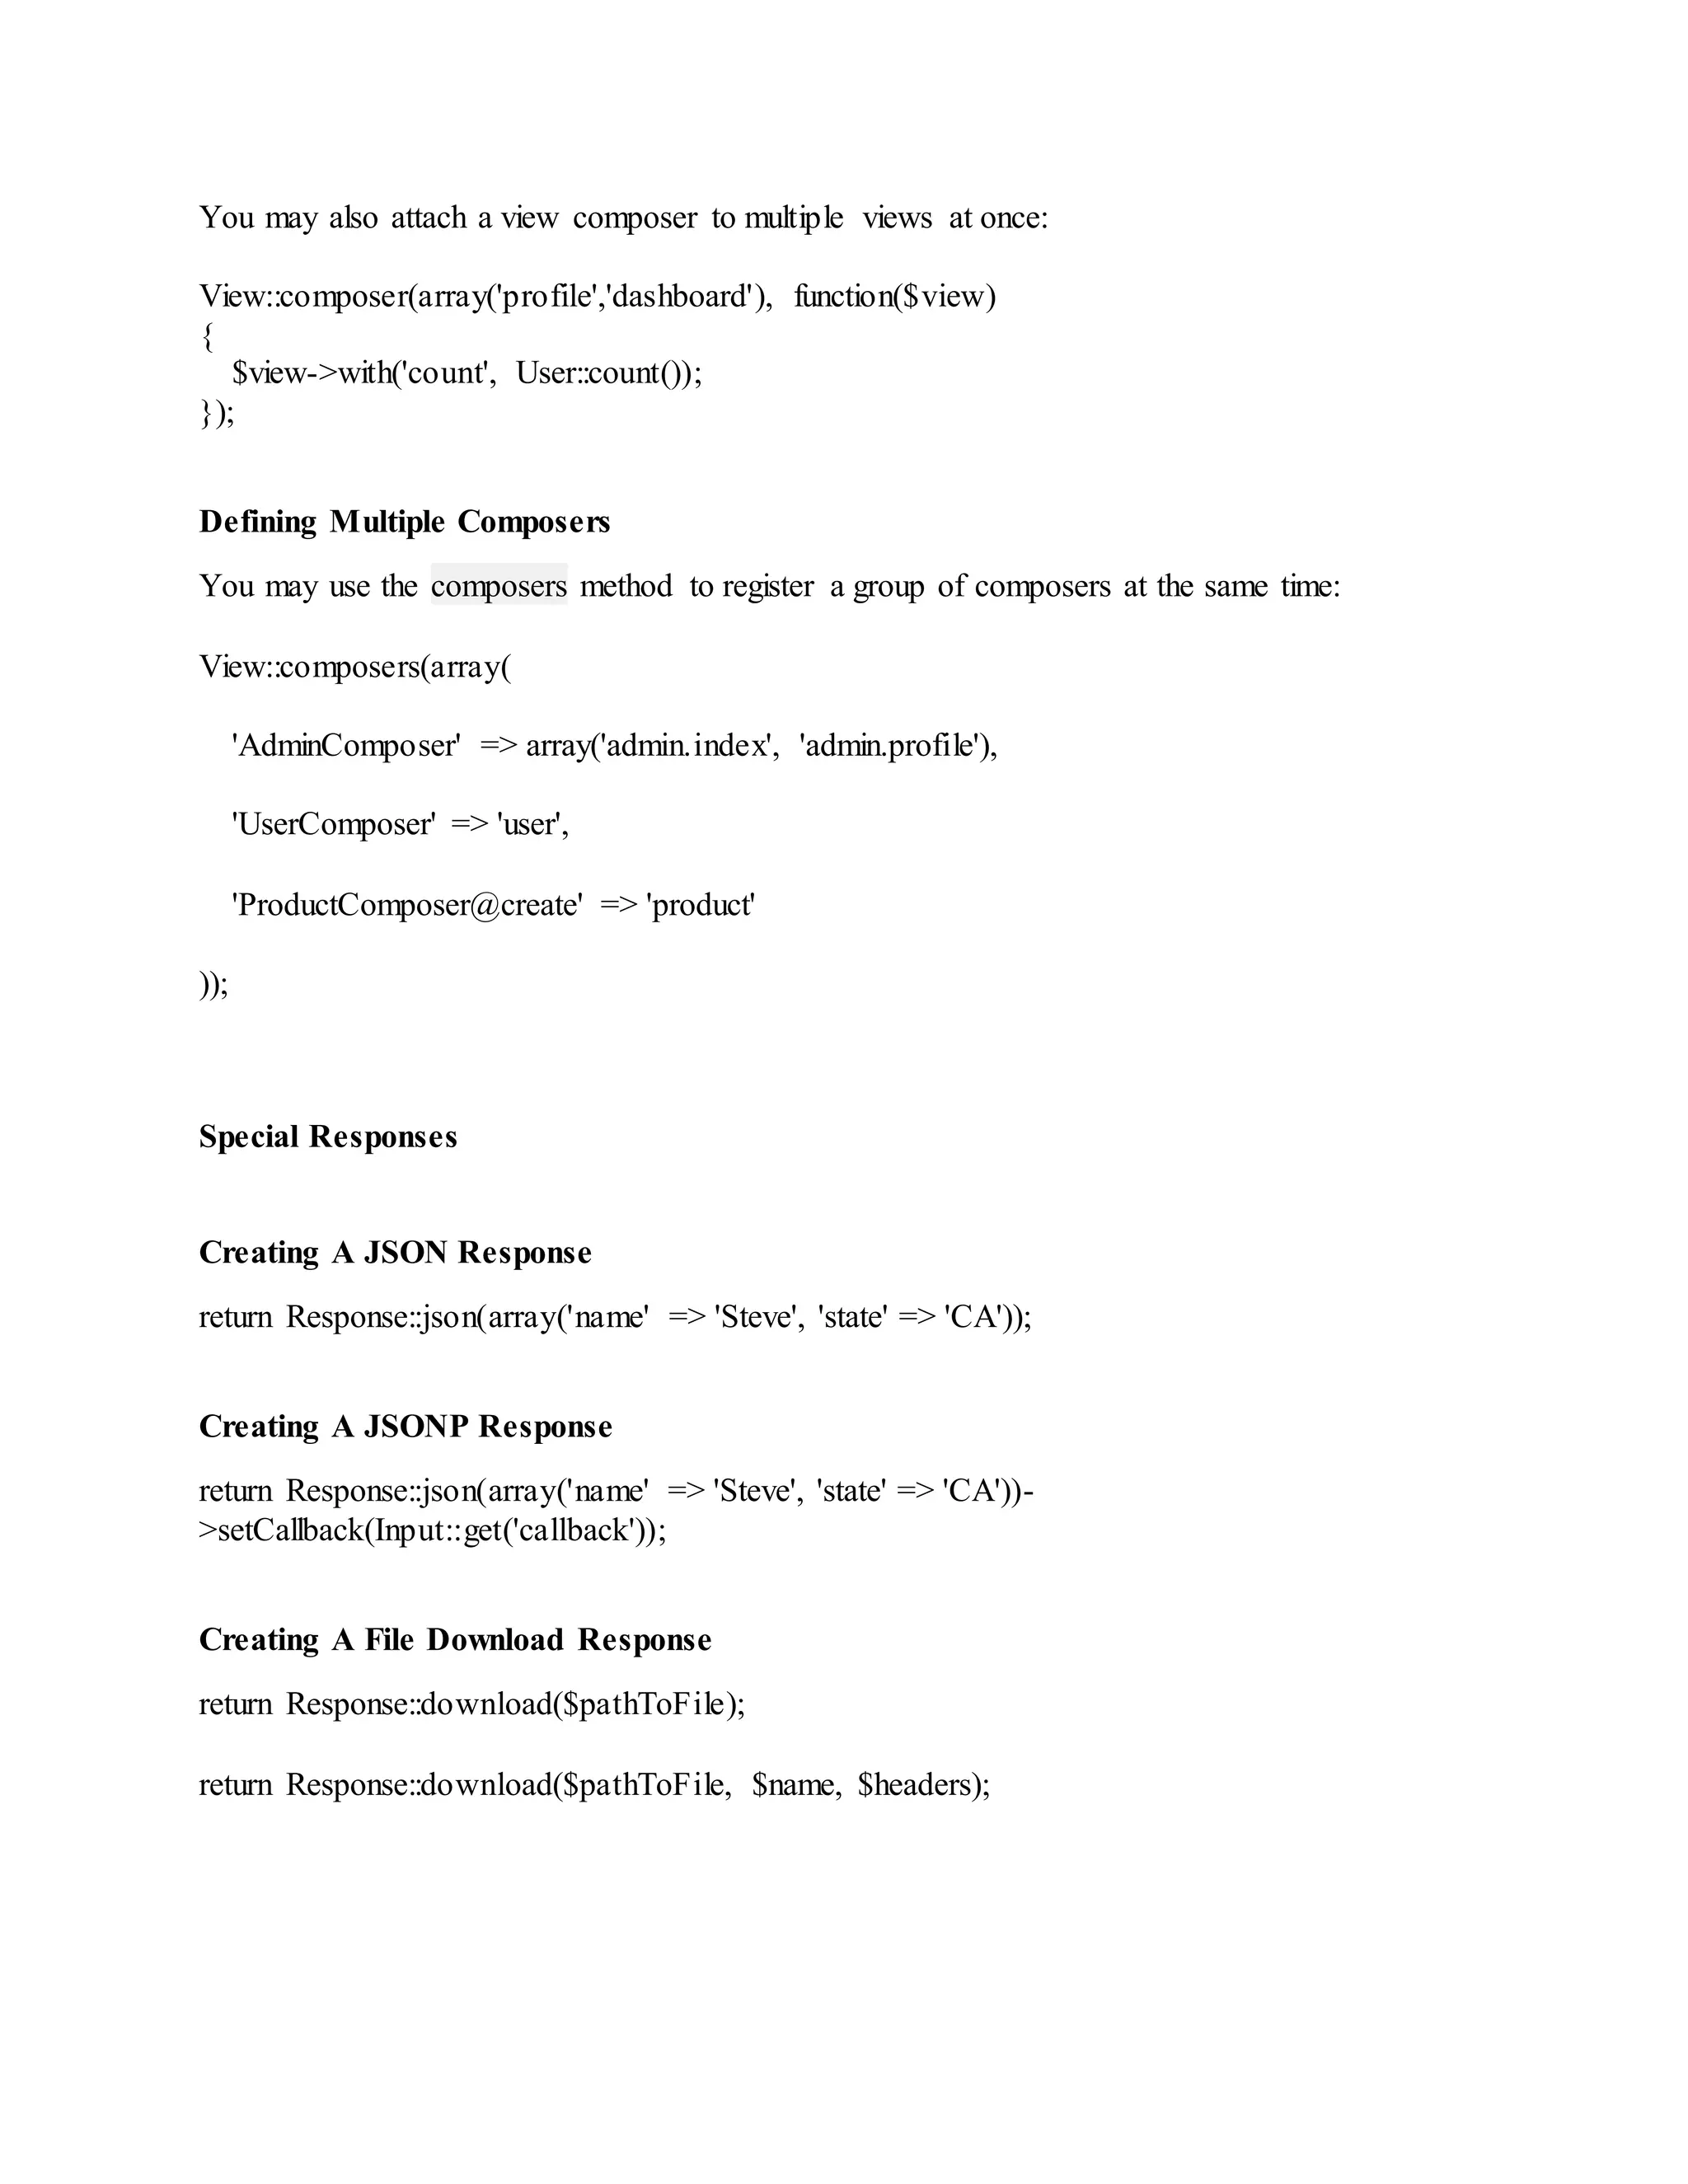
You may also attach a view composer to multiple views at once: View::composer(array('profile','dashboard'), function($view) { $view->with('count', User::count()); }); Defining Multiple Composers You may use the composers method to register a group of composers at the same time: View::composers(array( 'AdminComposer' => array('admin.index', 'admin.profile'), 'UserComposer' => 'user', 'ProductComposer@create' => 'product' )); Special Responses Creating A JSON Response return Response::json(array('name' => 'Steve', 'state' => 'CA')); Creating A JSONP Response return Response::json(array('name' => 'Steve', 'state' => 'CA'))- >setCallback(Input::get('callback')); Creating A File Download Response return Response::download($pathToFile); return Response::download($pathToFile, $name, $headers);
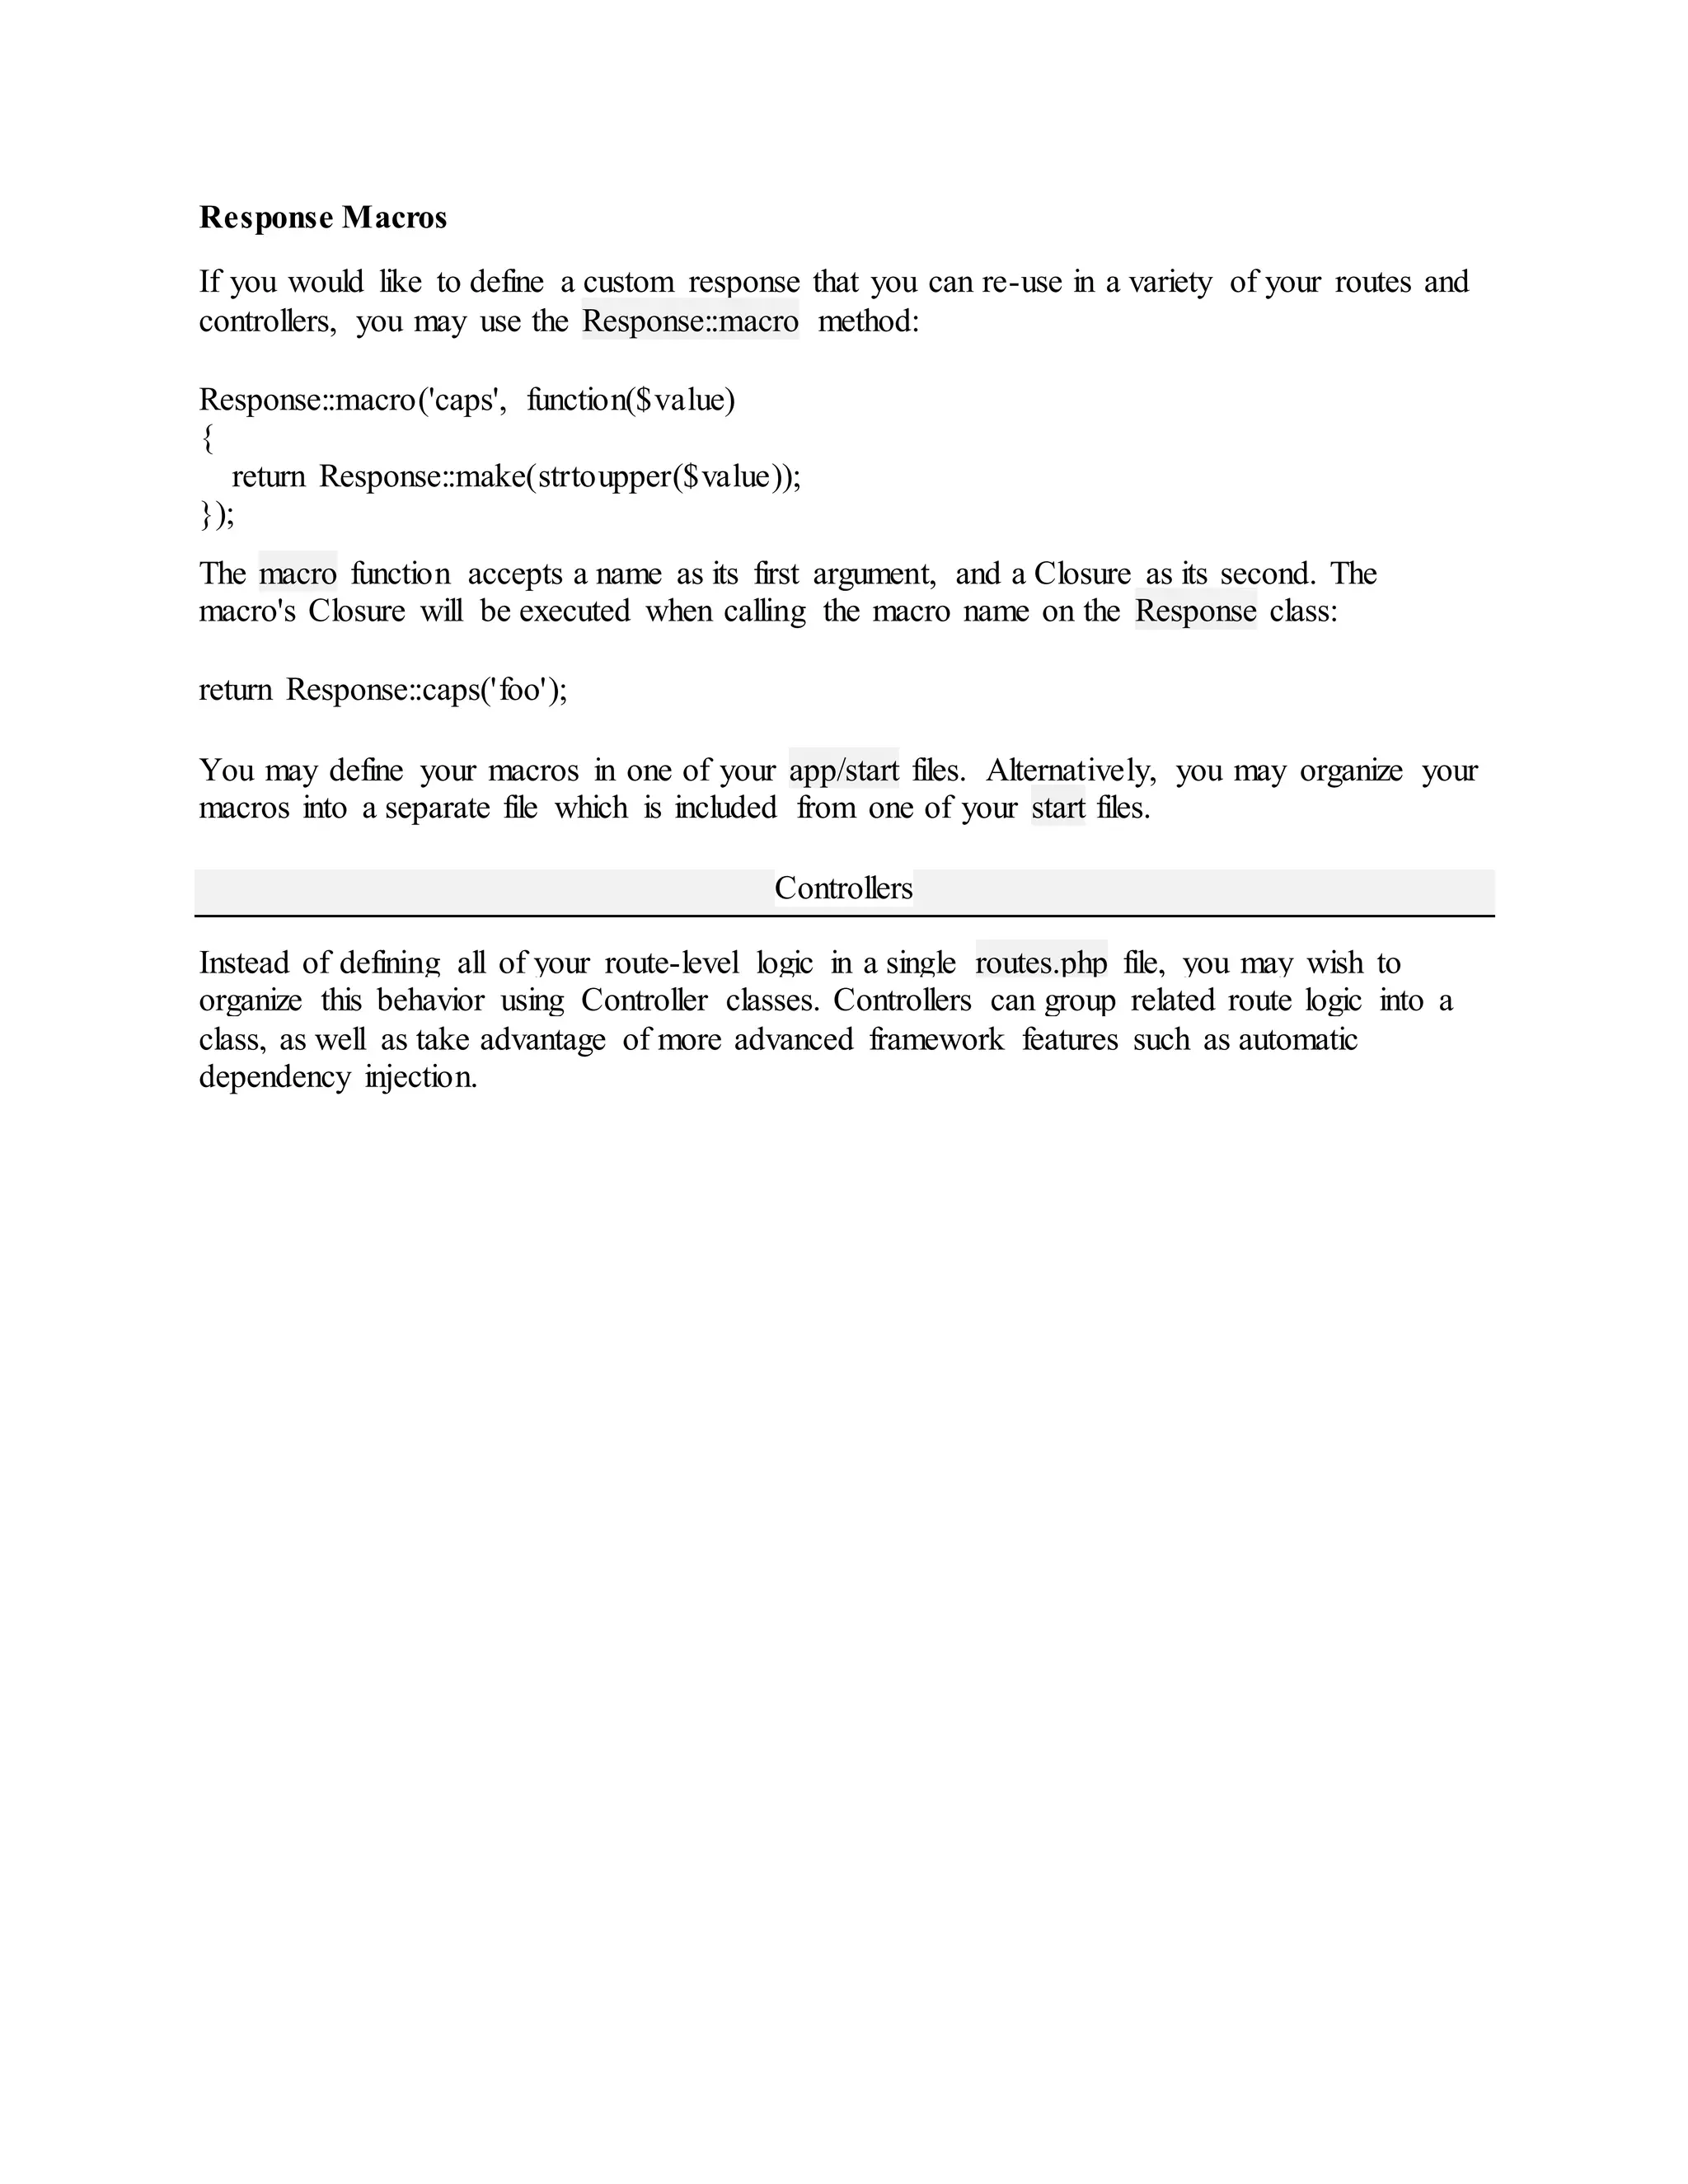
Response Macros If you would like to define a custom response that you can re-use in a variety of your routes and controllers, you may use the Response::macro method: Response::macro('caps', function($value) { return Response::make(strtoupper($value)); }); The macro function accepts a name as its first argument, and a Closure as its second. The macro's Closure will be executed when calling the macro name on the Response class: return Response::caps('foo'); You may define your macros in one of your app/start files. Alternatively, you may organize your macros into a separate file which is included from one of your start files. Controllers Instead of defining all of your route-level logic in a single routes.php file, you may wish to organize this behavior using Controller classes. Controllers can group related route logic into a class, as well as take advantage of more advanced framework features such as automatic dependency injection.

Laravel

  • 1.
    Laravel 4.2 Install Composer-Dependency Manager for PHP Install Laravel- Via Composer Create-Project composer create-project laravel/laravel {directory} 4.2 --prefer-dist cd C:xampphtdocslaravel php artisan serve http://localhost:8000/ Artisan CLI Artisan is the name of the command-line interface included with Laravel. It is driven by the powerful Symfony Console component. It provides a number of helpful commands for your use while developing your application. Listing All Available Commands- php artisan list Displaying Your Current Laravel Version- php artisan --version Viewing the Help Screen for a Command- php artisan help migrate Php artisan routes Migrations To create a table to hold our data, we'll use the Laravel migration system. Migrations let you expressively define modifications to your database, and easily share them with the rest of your team. To create the migration, we'll use the Artisan CLI. Find the generated migration file in the app/database/migrations folder. This file contains a class with 2 methods: up and down. In the up method, you should make the desired changes to your database tables, and in the down method you simply reverse them. Php artisan migrate:install Creating Migrations- Php artisan migrate:make create_authors_table (authors table and column creation) Running Migrations- Php artisan migrate (After creation completed action to the database phpmyadmin) Php artisan migrate:make add_authors (insert values) Php artisan migrate (action completed to phpmyadmin)
  • 2.
    Rollback the LastMigration Operation- Php artisan migrate:roolback Rollback all migrations- Php artisan migrate:reset Rollback all migrations and run them all again- php artisan migrate:refresh Layout and Blade Templating Engine Laravel's templating system: Blade. Blade is very fast, because it is simply a handful of regular expressions that are run against your templates to compile them to pure PHP. Blade provides powerful functionality like template inheritance, as well as some syntax sugar on typical PHP control structures such as if and for. Eloquent ORM Laravel ships with a superb ORM: Eloquent. It follows the ActiveRecord ORM style of database interaction. First, let's define a model. An Eloquent model can be used to query an associated database table, as well as represent a given row within that table. Note that we do not have to tell Eloquent which table to use. Eloquent has a variety of conventions, one of which is to use the plural form of the model name as the model's database table. We'll use Eloquent to retrieve data from table and pass them to our view. When using Blade, you may echo data by surrounding it with double curly braces Routes The simplest Laravel routes consist of a URI and a Closure callback. Basic GET Route Route::get('/', function() { return 'Hello World'; }); Basic POST Route Route::post('foo/bar', function() { return 'Hello World'; });
  • 3.
    Registering a Routefor Multiple Verbs Route::match(array('GET', 'POST'), '/', function() { return 'Hello World'; }); Registering a Route Responding to Any HTTP Verb Route::any('foo', function() { return 'Hello World'; }); Often, you will need to generate URLs to your routes, you may do so using URL::to method: $url = URL::to('foo'); Route Parameters Route::get('user/{id}', function($id) { return 'User '.$id; }); Optional Route Parameters Route::get('user/{name?}', function($name = null) { return $name; }); Optional Route Parameters with Defaults Route::get('user/{name?}', function($name = 'John') { return $name; }); Regular Expression Route Constraints Route::get('user/{name}', function($name) { //
  • 4.
    })->where('name', '[A-Za-z]+'); Route::get('user/{id}', function($id) { // })->where('id','[0-9]+'); Passing an Array Of Wheres Of course, you may pass an array of constraints when necessary: Route::get('user/{id}/{name}', function($id, $name) { // }) ->where(array('id' => '[0-9]+', 'name' => '[a-z]+')) Accessing a Route Parameter Value If you need to access a route parameter value outside of a route, you may use the Route::inputmethod: Route::filter('foo', function() { if (Route::input('id') == 1) { // } }); Route Filters Route filters provide a convenient way of limiting access to a given route, which is useful for creating areas of your site which require authentication. There are several filters included in the Laravel framework, including an auth filter, an auth.basic filter, a guest filter, and a csrf filter. These are located in the app/filters.php file. Defining A Route Filter Route::filter('old', function() { if (Input::get('age') < 200) { return Redirect::to('home');
  • 5.
    } }); If the filterreturns a response, that response is considered the response to the request and the route will not execute. Any after filters on the route are also cancelled. Attaching a Filter to A Route Route::get('user', array('before' => 'old', function() { return 'You are over 200 years old!'; })); Attaching a Filter to a Controller Action Route::get('user', array('before' => 'old', 'uses' => 'UserController@showProfile')); Attaching Multiple Filters to A Route Route::get('user', array('before' => 'auth | old', function() { return 'You are authenticated and over 200 years old!'; })); Attaching Multiple Filters Via Array Route::get('user', array('before' => array('auth', 'old'), function() { return 'You are authenticated and over 200 years old!'; })); Specifying Filter Parameters Route::filter('age', function($route, $request, $value) { // }); Route::get('user', array('before' => 'age:200', function() { return 'Hello World'; }));
  • 6.
    After filters receivea $response as the third argument passed to the filter: Route::filter('log', function($route, $request, $response) { // }); Named Routes Named routes make referring to routes when generating redirects or URLs more convenient. You may specify a name for a route like so: Route::get('user/profile', array('as' => 'profile', function() { // })); You may also specify route names for controller actions: Route::get('user/profile', array('as' => 'profile', 'uses' => 'UserController@showProfile')); Now, you may use the route's name when generating URLs or redirects: $url = URL::route('profile'); $redirect = Redirect::route('profile'); You may access the name of a route that is running via the currentRouteName method: $name = Route::currentRouteName();
  • 7.
    Route Groups Sometimes youmay need to apply filters to a group of routes. Instead of specifying the filter on each route, you may use a route group. Route::group(array('before' => 'auth'), function() { Route::get('/', function() { // Has Auth Filter }); Route::get('user/profile', function() { // Has Auth Filter }); }); Route Prefixing If many of your routes share a common URL structure, you could use a route prefix to avoid a small amount of repetition. Throwing 404 Errors There are 2 ways to manually trigger a 404 error from a route. First, you may use the App::abort method: App::abort(404); Second, you may throw an instance of SymfonyComponentHttpKernelExceptionNotFoundHttpException. Routing To Controllers Laravel allows you to not only route to Closures, but also to controller classes. Route::get('myShowRoute', function() { return 'Hello from routes!'; }); Routes can also be attached to controller classes. For example:
  • 8.
    Route::get('myShowRoute', 'UserController@getIndex'); This routeinforms the framework that requests to the /'myRouteUsers' route should call the getIndex method on the UserController class. URL Generation The current URL return URL::current(); return URL::full(); return URL::previous(); Generating URLs to specific URI’s return URL::to('another/route'); return URL::to('another/route', array('foo', 'bar')); return URL::action('Stark@tony'); <a href="{{ url('my/route', array('foo', 'bar'), true) }}">My Route</a> // to <a href="{{ route('myroute') }}">My Route</a> // route <a href="{{ action('MyController@myAction') }}">My Link</a> // action <img src="{{ asset('img/logo.png') }}" />
  • 9.
    Database The Laravel Schemaclass provides a database agnostic way of manipulating tables. To create a new database table, the Schema::create method is used. Schema::create('users', function($table) { $table->increments('id'); }); The first argument passed to the create method is the name of the table, and the second is a Closure which will receive a Blueprint object which may be used to define the new table. To rename an existing database table, the rename method may be used: Schema::rename($from, $to); To drop a table, you may use the Schema::drop method: Schema::drop('users'); Schema::dropIfExists('users'); To update i.e. adding columns an existing table, we will use Schema::table method Schema::table('users', function($table) { $table->string('email'); }); Using After On MySQL If you are using the MySQL database, you may use the after method to specify the order of columns: $table->string('name')->after('email'); To rename a column, you may use renameColumn method on the Schema builder. Schema::table('users', function($table) { $table->renameColumn('from', 'to'); }); To drop a column, you may use the dropColumn method on the Schema builder. Schema::table('users', function($table) {
  • 10.
    $table->dropColumn('votes'); }); Schema::table('users', function($table) { $table->dropColumn(array('votes', 'avatar','location')); }); You may easily check for the existence of a table or column using the hasTable and hasColumnmethods: if (Schema::hasTable('users')) { // } if (Schema::hasColumn('users', 'email')) { // } Adding Indexes The schema builder supports several types of indexes. $table->string('email')->unique(); $table->primary('id'); $table->primary(array('first', 'last')); $table->unique('email'); $table->index('state'); Laravel also provides support for adding foreign key constraints to your tables. You may also specify options for the "on delete" and "on update" actions of the constraint $table->integer('user_id')->unsigned(); $table->foreign('user_id') ->references('id')->on('users') ->onDelete('cascade'); To drop a foreign key, you may use the dropForeign method. $table->dropForeign('posts_user_id_foreign'); Dropping Indexes $table->dropPrimary('users_id_primary');
  • 11.
    $table->dropUnique('users_email_unique'); $table->dropTimestamps(); The database querybuilder can be used to perform most database operations in your application. The Laravel query builder uses PDO parameter binding throughout to protect your application against SQL injection attacks. Selects Retrieving All Rows From A Table $users = DB::table('users')->get(); foreach ($users as $user) { var_dump($user->name); } Retrieving a Single Row From A Table $user = DB::table('users')->where('name', 'John')->first(); var_dump($user->name); Retrieving a Single Column From A Row $name = DB::table('users')->where('name', 'John')->pluck('name'); Retrieving A List Of Column Values $roles = DB::table('roles')->lists('title'); This method will return an array of role titles. You may also specify a custom key column for the returned array: $roles = DB::table('roles')->lists('title', 'name');
  • 12.
    Specifying A SelectClause $users = DB::table('users')->select('name', 'email')->get(); $users = DB::table('users')->distinct()->get(); $users = DB::table('users')->select('name as user_name')->get(); Adding A Select Clause To An Existing Query $query = DB::table('users')->select('name'); $users = $query->addSelect('age')->get(); Using Where Operators $users = DB::table('users')->where('votes', '>', 100)->get(); Or Statements $users = DB::table('users') ->where('votes', '>', 100) ->orWhere('name', 'John') ->get(); Using Where Between $users = DB::table('users') ->whereBetween('votes', array(1, 100))->get(); Using Where Not Between $users = DB::table('users') ->whereNotBetween('votes', array(1, 100))->get();
  • 13.
    Using Where InWith An Array $users = DB::table('users') ->whereIn('id', array(1, 2, 3))->get(); $users = DB::table('users') ->whereNotIn('id', array(1, 2, 3))->get(); Using Where Null To Find Records With Unset Values $users = DB::table('users') ->whereNull('updated_at')->get(); Order By, Group By, And Having $users = DB::table('users') ->orderBy('name', 'desc') ->groupBy('count') ->having('count', '>', 100) ->get(); Offset & Limit $users = DB::table('users')->skip(10)->take(5)->get(); Joins Basic Join Statement DB::table('users') ->join('contacts', 'users.id', '=', 'contacts.user_id') ->join('orders', 'users.id', '=', 'orders.user_id')
  • 14.
    ->select('users.id', 'contacts.phone', 'orders.price') ->get(); LeftJoin Statement DB::table('users') ->leftJoin('posts', 'users.id', '=', 'posts.user_id') ->get(); You may also specify more advanced join clauses: DB::table('users') ->join('contacts', function($join) { $join->on('users.id', '=', 'contacts.user_id')->orOn(...); }) ->get(); If you would like to use a "where" style clause on your joins, you may use the where and orWheremethods on a join. Instead of comparing two columns, these methods will compare the column against a value. DB::table('users') ->join('contacts', function($join) { $join->on('users.id', '=', 'contacts.user_id') ->where('contacts.user_id', '>', 5); }) ->get(); Advanced Wheres Parameter Grouping Sometimes you may need to create more advanced where clauses such as "where exists" or nested parameter groupings. DB::table('users') ->where('name', '=', 'John') ->orWhere(function($query) { $query->where('votes', '>', 100) ->where('title', '<>', 'Admin');
  • 15.
    }) ->get(); The query abovewill produce the following SQL: select * from users where name = 'John' or (votes > 100 and title <> 'Admin') Exists Statements DB::table('users') ->whereExists(function($query) { $query->select(DB::raw(1)) ->from('orders') ->whereRaw('orders.user_id = users.id'); }) ->get(); The query above will produce the following SQL: select * from users where exists ( select 1 from orders where orders.user_id = users.id ) Aggregates $users = DB::table('users')->count(); $price = DB::table('orders')->max('price'); $price = DB::table('orders')->min('price'); $price = DB::table('orders')->avg('price'); $total = DB::table('users')->sum('votes'); Raw Expressions $users = DB::table('users') ->select(DB::raw('count(*) as user_count, status')) ->where('status', '<>', 1)
  • 16.
    ->groupBy('status') ->get(); Inserts Inserting Records IntoA Table DB::table('users')->insert( array('email' => 'john@example.com', 'votes' => 0) ); Inserting Multiple Records Into A Table DB::table('users')->insert(array( array('email' => 'taylor@example.com', 'votes' => 0), array('email' => 'dayle@example.com', 'votes' => 0), )); Updates Updating Records In A Table DB::table('users') ->where('id', 1) ->update(array('votes' => 1)); Incrementing or decrementing a value of a column DB::table('users')->increment('votes'); DB::table('users')->increment('votes', 5); DB::table('users')->decrement('votes'); DB::table('users')->decrement('votes', 5);
  • 17.
    You may alsospecify additional columns to update: DB::table('users')->increment('votes', 1, array('name' => 'John')); Deletes Deleting Records In A Table DB::table('users')->where('votes', '<', 100)->delete(); Deleting All Records From A Table DB::table('users')->delete(); Truncating A Table DB::table('users')->truncate(); Unions The query builder also provides a quick way to "union" two queries together. $first = DB::table('users')->whereNull('first_name'); $users = DB::table('users')->whereNull('last_name')->union($first)->get(); The unionAll method is also available, and has the same method signature as union. Pessimistic Locking The query builder includes a few functions to help you do "pessimistic locking" on your SELECT statements. To run the SELECT statement with a "shared lock", you may use the sharedLock method on a query: DB::table('users')->where('votes', '>', 100)->sharedLock()->get();
  • 18.
    To "lock forupdate" on a SELECT statement, you may use the lockForUpdate method on a query: DB::table('users')->where('votes', '>', 100)->lockForUpdate()->get(); Caching Queries You may easily cache the results of a query using the remember or rememberForever method. $users = DB::table('users')->remember(10)->get(); In this example, the results of the query will be cached for 10 minutes. While the results are cached, the query will not be run against the database, and the results will be loaded from the default cache driver specified for your application.
  • 19.
    Basic Input Retrieving AnInput Value $name = Input::get('name'); Retrieving A Default Value If The Input Value Is Absent $name = Input::get('name', 'Sally'); Determining If An Input Value Is Present if (Input::has('name')) { // } Getting All Input For The Request $input = Input::all(); Getting Only Some Of The Request Input $input = Input::only('username', 'password'); $input = Input::except('credit_card'); When working on forms with "array" inputs, you may use dot notation to access the arrays: $input = Input::get('products.0.name');
  • 20.
    Cookies All cookies createdby the Laravel framework are encrypted and signed with an authentication code, meaning they will be considered invalid if they have been changed by the client. Retrieving a Cookie Value $value = Cookie::get('name'); Attaching a New Cookie to a Response $response = Response::make('Hello World'); $response->withCookie(Cookie::make('name', 'value', $minutes)); Queueing a Cookie for the Next Response If you would like to set a cookie before a response has been created, use the Cookie::queue()method. The cookie will automatically be attached to the final response from your application. Cookie::queue($name, $value, $minutes); Creating a Cookie that Lasts Forever $cookie = Cookie::forever('name', 'value'); Old Input You may need to keep input from one request until the next request. For example, you may need to re-populate a form after checking it for validation errors. Flashing Input To The Session Input::flash();
  • 21.
    Flashing Only SomeInput To The Session Input::flashOnly('username', 'email'); Input::flashExcept('password'); Since you often will want to flash input in association with a redirect to the previous page, you may easily chain input flashing onto a redirect. return Redirect::to('form')->withInput(); return Redirect::to('form')->withInput(Input::except('password')); Files Retrieving An Uploaded File $file = Input::file('photo'); Determining If A File Was Uploaded if (Input::hasFile('photo')) { // } Determining If An Uploaded File Is Valid if (Input::file('photo')->isValid()) { // } Moving An Uploaded File Input::file('photo')->move($destinationPath); Input::file('photo')->move($destinationPath, $fileName);
  • 22.
    Retrieving The PathTo An Uploaded File $path = Input::file('photo')->getRealPath(); Retrieving The Original Name Of An Uploaded File $name = Input::file('photo')->getClientOriginalName(); Retrieving The Extension Of An Uploaded File $extension = Input::file('photo')->getClientOriginalExtension(); Retrieving The Size Of An Uploaded File $size = Input::file('photo')->getSize(); Retrieving The MIMEType Of An Uploaded File $mime = Input::file('photo')->getMimeType(); Request Information The Request class provides many methods for examining the HTTP request for your application. Retrieving The Request URI $uri = Request::path(); Retrieving The Request Method $method = Request::method(); if (Request::isMethod('post')) { // }
  • 23.
    Determining If TheRequest Path Matches A Pattern if (Request::is('admin/*')) { // } Get The Request URL $url = Request::url(); Retrieve A Request URI Segment $segment = Request::segment(1); Retrieving A Request Header $value = Request::header('Content-Type'); Retrieving Values From $_SERVER $value = Request::server('PATH_INFO'); Determining If The Request Is Over HTTPS if (Request::secure()) { // } Determine If The Request Is Using AJAX if (Request::ajax()) { // } Determine If The Request Has JSON Content Type if (Request::isJson()) { // }
  • 24.
    Determine If TheRequest Is Asking For JSON if (Request::wantsJson()) { // } Checking The RequestedResponse Format The Request::format method will return the requested response format based on the HTTP Accept header: if (Request::format() == 'json') { // } Views & Responses Basic Responses Returning Strings From Routes Route::get('/', function() { return 'Hello World'; }); Creating Custom Responses A Response instance inherits from the SymfonyComponentHttpFoundationResponse class, providing a variety of methods for building HTTP responses. $response = Response::make($contents, $statusCode); $response->header('Content-Type', $value); return $response; If you need access to the Response class methods, but want to return a view as the response content, you may use the Response::view method for convenience: return Response::view('hello')->header('Content-Type', $type);
  • 25.
    Attaching Cookies ToResponses $cookie = Cookie::make('name', 'value'); return Response::make($content)->withCookie($cookie); Redirects Returning A Redirect return Redirect::to('user/login'); Returning A Redirect With Flash Data return Redirect::to('user/login')->with('message', 'Login Failed'); Returning A Redirect To A Named Route return Redirect::route('login'); Returning A Redirect To A Named Route With Parameters return Redirect::route('profile', array(1)); Returning A Redirect To A Named Route Using Named Parameters return Redirect::route('profile', array('user' => 1)); Returning A Redirect To A Controller Action return Redirect::action('HomeController@index'); Returning A Redirect To A Controller Action With Parameters return Redirect::action('UserController@profile', array(1)); Returning A Redirect To A Controller Action Using Named Parameters return Redirect::action('UserController@profile', array('user' => 1));
  • 26.
    Views <html> <body> <h1>Hello, <?php echo$name; ?></h1> </body> </html> This view may be returned to the browser like so: Route::get('/', function() { return View::make('greeting', array('name' => 'Taylor')); }); The second argument passed to View::make is an array of data that should be made available to the view. Passing Data To Views // Using conventional approach $view = View::make('greeting')->with('name', 'Steve'); // Using Magic Methods $view = View::make('greeting')->withName('steve'); In the example above the variable $name would be accessible from the view, and would contain Steve. If you wish, you may pass an array of data as the second parameter given to the make method: $view = View::make('greetings', $data); You may also share a piece of data across all views: View::share('name', 'Steve'); Passing A Sub-View To A View Sometimes you may wish to pass a view into another view. For example, given a sub-view stored at app/views/child/view.php, we could pass it to another view like so:
  • 27.
    $view = View::make('greeting')->nest('child','child.view'); $view = View::make('greeting')->nest('child', 'child.view', $data); The sub-view can then be rendered from the parent view: <html> <body> <h1>Hello!</h1> <?php echo $child; ?> </body> </html> Determining If A View Exists If you need to check if a view exists, use the View::exists method: if (View::exists('emails.customer')) { // } View Composers View composers are callbacks or class methods that are called when a view is rendered. If you have data that you want bound to a given view each time that view is rendered throughout your application, a view composer can organize that code into a single location. Therefore, view composers may function like "view models" or "presenters". Defining A View Composer View::composer('profile', function($view) { $view->with('count', User::count()); }); Now each time the profile view is rendered, the count data will be bound to the view.
  • 28.
    You may alsoattach a view composer to multiple views at once: View::composer(array('profile','dashboard'), function($view) { $view->with('count', User::count()); }); Defining Multiple Composers You may use the composers method to register a group of composers at the same time: View::composers(array( 'AdminComposer' => array('admin.index', 'admin.profile'), 'UserComposer' => 'user', 'ProductComposer@create' => 'product' )); Special Responses Creating A JSON Response return Response::json(array('name' => 'Steve', 'state' => 'CA')); Creating A JSONP Response return Response::json(array('name' => 'Steve', 'state' => 'CA'))- >setCallback(Input::get('callback')); Creating A File Download Response return Response::download($pathToFile); return Response::download($pathToFile, $name, $headers);
  • 29.
    Response Macros If youwould like to define a custom response that you can re-use in a variety of your routes and controllers, you may use the Response::macro method: Response::macro('caps', function($value) { return Response::make(strtoupper($value)); }); The macro function accepts a name as its first argument, and a Closure as its second. The macro's Closure will be executed when calling the macro name on the Response class: return Response::caps('foo'); You may define your macros in one of your app/start files. Alternatively, you may organize your macros into a separate file which is included from one of your start files. Controllers Instead of defining all of your route-level logic in a single routes.php file, you may wish to organize this behavior using Controller classes. Controllers can group related route logic into a class, as well as take advantage of more advanced framework features such as automatic dependency injection.