Arduino Jayanthi M.G, Associate Professor, Department of CSE. CiTech
Arduino for beginners • Arduino is a open-source • It consists of a circuit board, which can be programed (referred to as a microcontroller) a • a ready-made software called Arduino IDE
Features of Arduino • Analog and Digital data • Various sensor , actuator, led, cloud • Control board through Arduino IDE • USB • C++, Packages
Board and IDE
Board Types • Microcontrollers • Common is IDE • Difference is no of inputs and outputs • Speed ,operating voltage..etc.
Arduino Board description
Arduino Board description 1. Power USB(1) 2. Power(2) 3. Voltage Regulator(3) 4. Crystal Oscillator(4) 5. Arduino Reset (17) 6. Pins 6,7,8,9 (3.3,5 ,GND, Vin) 7. Analog pins (10) 8. Main Microcontroller (11)
Arduino Board description 9. ICSP pin (12) 10. Power LED indicator(13) 11. Tx and Rx LEDs(14) 12. Digital IO(15) 13. AREF (16)
Arduino installation • Arduino board any type • USB cable (A to B type) • Download Arduino IDE software. • Power up your board • Launch Arduino IDE • Open your first project
Arduino Program basic structure
Data Types in programming void Boolean char Unsigned char byte int Unsigned int word long Unsigned long short float double array String-char array String- object
Variable Scope • Local • Global • Formal parameters
Arduino Control statements •If •If-else •Switch •Conditional Operators
Looping • For Loop • While • Do---While
Function type int sum_func (int x, int y) // function declaration { int z = 0; z = x+y ; return z; // return the value } void setup () { Statements // group of statements } void loop () { int result = 0 ; result = Sum_func (5,6) ; // function call }
Input Function • pinMode(pin,mode) • Mode- INPUT OUTPUT INPUT_PULLUP
digitalWrite • Digital write function is used to write LOW or HIGH • digitalWrite(pin, value) • analogRead(pin ,value)
int button = 5 ; // button connected to pin 5 int LED = 6; // LED connected to pin 6 void setup () { pinMode(button , INPUT_PULLUP); // set the digital pin as input with pull-up resistor pinMode(button , OUTPUT); // set the digital pin as output } void setup () { If (digitalRead(button ) == LOW) // if button pressed { digitalWrite(LED,HIGH); // turn on led delay(500); // delay for 500 ms digitalWrite(LED,LOW); // turn off led delay(500); // delay for 500 ms } }
LED blinking • Components Required • You will need the following components − • 1 × Breadboard • 1 × Arduino Uno R3 • 1 × LED • 1 × 330Ω Resistor • 2 × Jumper
Circuit diagram
Code to Blink LED void setup() { // initialize digital pin 13 as an output pinMode(2, OUTPUT); } // the loop function runs over and over again forever void loop() { digitalWrite(2, HIGH); delay(1000); // wait for a second digitalWrite(2, LOW); // turn the LED off by making the voltage LOW delay(1000); // wait for a second }
PIR sensor • Components Required • You will need the following components − • 1 × Breadboard • 1 × Arduino Uno R3 • 1 × PIR Sensor (MQ3)
PIR sensor interface to arduino
PIR code #define pirPin 2 int calibrationTime = 30; long unsigned int lowIn; long unsigned int pause = 5000; boolean lockLow = true; boolean takeLowTime; int PIRValue = 0; void setup() { Serial.begin(9600); pinMode(pirPin, INPUT); } void loop() { PIRSensor(); } void PIRSensor() { if(digitalRead(pirPin) == HIGH) { if(lockLow) { PIRValue = 1; lockLow = false; Serial.println("Motion detected."); delay(50); } takeLowTime = true; } if(digitalRead(pirPin) == LOW) { if(takeLowTime){ lowIn = millis();takeLowTime = false; } if(!lockLow && millis() - lowIn > pause) { PIRValue = 0; lockLow = true; Serial.println("Motion ended."); delay(50); } } }
Arduino Ultra sonic Componenets • 1 × Breadboard • 1 × Arduino Uno R3 • 1 × ULTRASONIC Sensor (HC-SR04)
Ultra sonic code with Arduino const int pingPin = 7; // Trigger Pin of Ultrasonic Sensor const int echoPin = 6; // Echo Pin of Ultrasonic Sensor void setup() { Serial.begin(9600); // Starting Serial Terminal } void loop() { long duration, inches, cm; pinMode(pingPin, OUTPUT); digitalWrite(pingPin, LOW); delayMicroseconds(2); digitalWrite(pingPin,, HIGH); delayMicroseconds(10); digitalWrite(pingPin, LOW); pinMode(echoPin, INPUT); duration = pulseIn(echoPin, HIGH); Inches = microsecondsToInches(duration);
cm = microsecondsToCentimeters(duration); Serial.print(inches); Serial.print("in, "); Serial.print(cm); Serial.print("cm"); Serial.println(); delay(100); } long microsecondsToInches(long microseconds) { return microseconds / 74 / 2; } long microsecondsToCentimeters(long microseconds) { return microseconds / 29 / 2; }
Button to LED glow const int buttonPin = 8; // the number of the pushbutton pin const int ledPin = 2; // the number of the LED pin // variables will change: int buttonState = 0; // variable for reading the pushbutton status void setup() { // initialize the LED pin as an output: pinMode(ledPin, OUTPUT); // initialize the pushbutton pin as an input: pinMode(buttonPin, INPUT); } void loop() { // read the state of the pushbutton value: buttonState = digitalRead(buttonPin); // if it is, the buttonState is HIGH: if (buttonState == HIGH) { // turn LED on: digitalWrite(ledPin, HIGH); } else { // turn LED off: digitalWrite(ledPin, LOW); } }

Arduino .pptx

  • 1.
  • 2.
    Arduino for beginners •Arduino is a open-source • It consists of a circuit board, which can be programed (referred to as a microcontroller) a • a ready-made software called Arduino IDE
  • 3.
    Features of Arduino •Analog and Digital data • Various sensor , actuator, led, cloud • Control board through Arduino IDE • USB • C++, Packages
  • 4.
  • 5.
    Board Types • Microcontrollers •Common is IDE • Difference is no of inputs and outputs • Speed ,operating voltage..etc.
  • 6.
  • 7.
    Arduino Board description 1.Power USB(1) 2. Power(2) 3. Voltage Regulator(3) 4. Crystal Oscillator(4) 5. Arduino Reset (17) 6. Pins 6,7,8,9 (3.3,5 ,GND, Vin) 7. Analog pins (10) 8. Main Microcontroller (11)
  • 8.
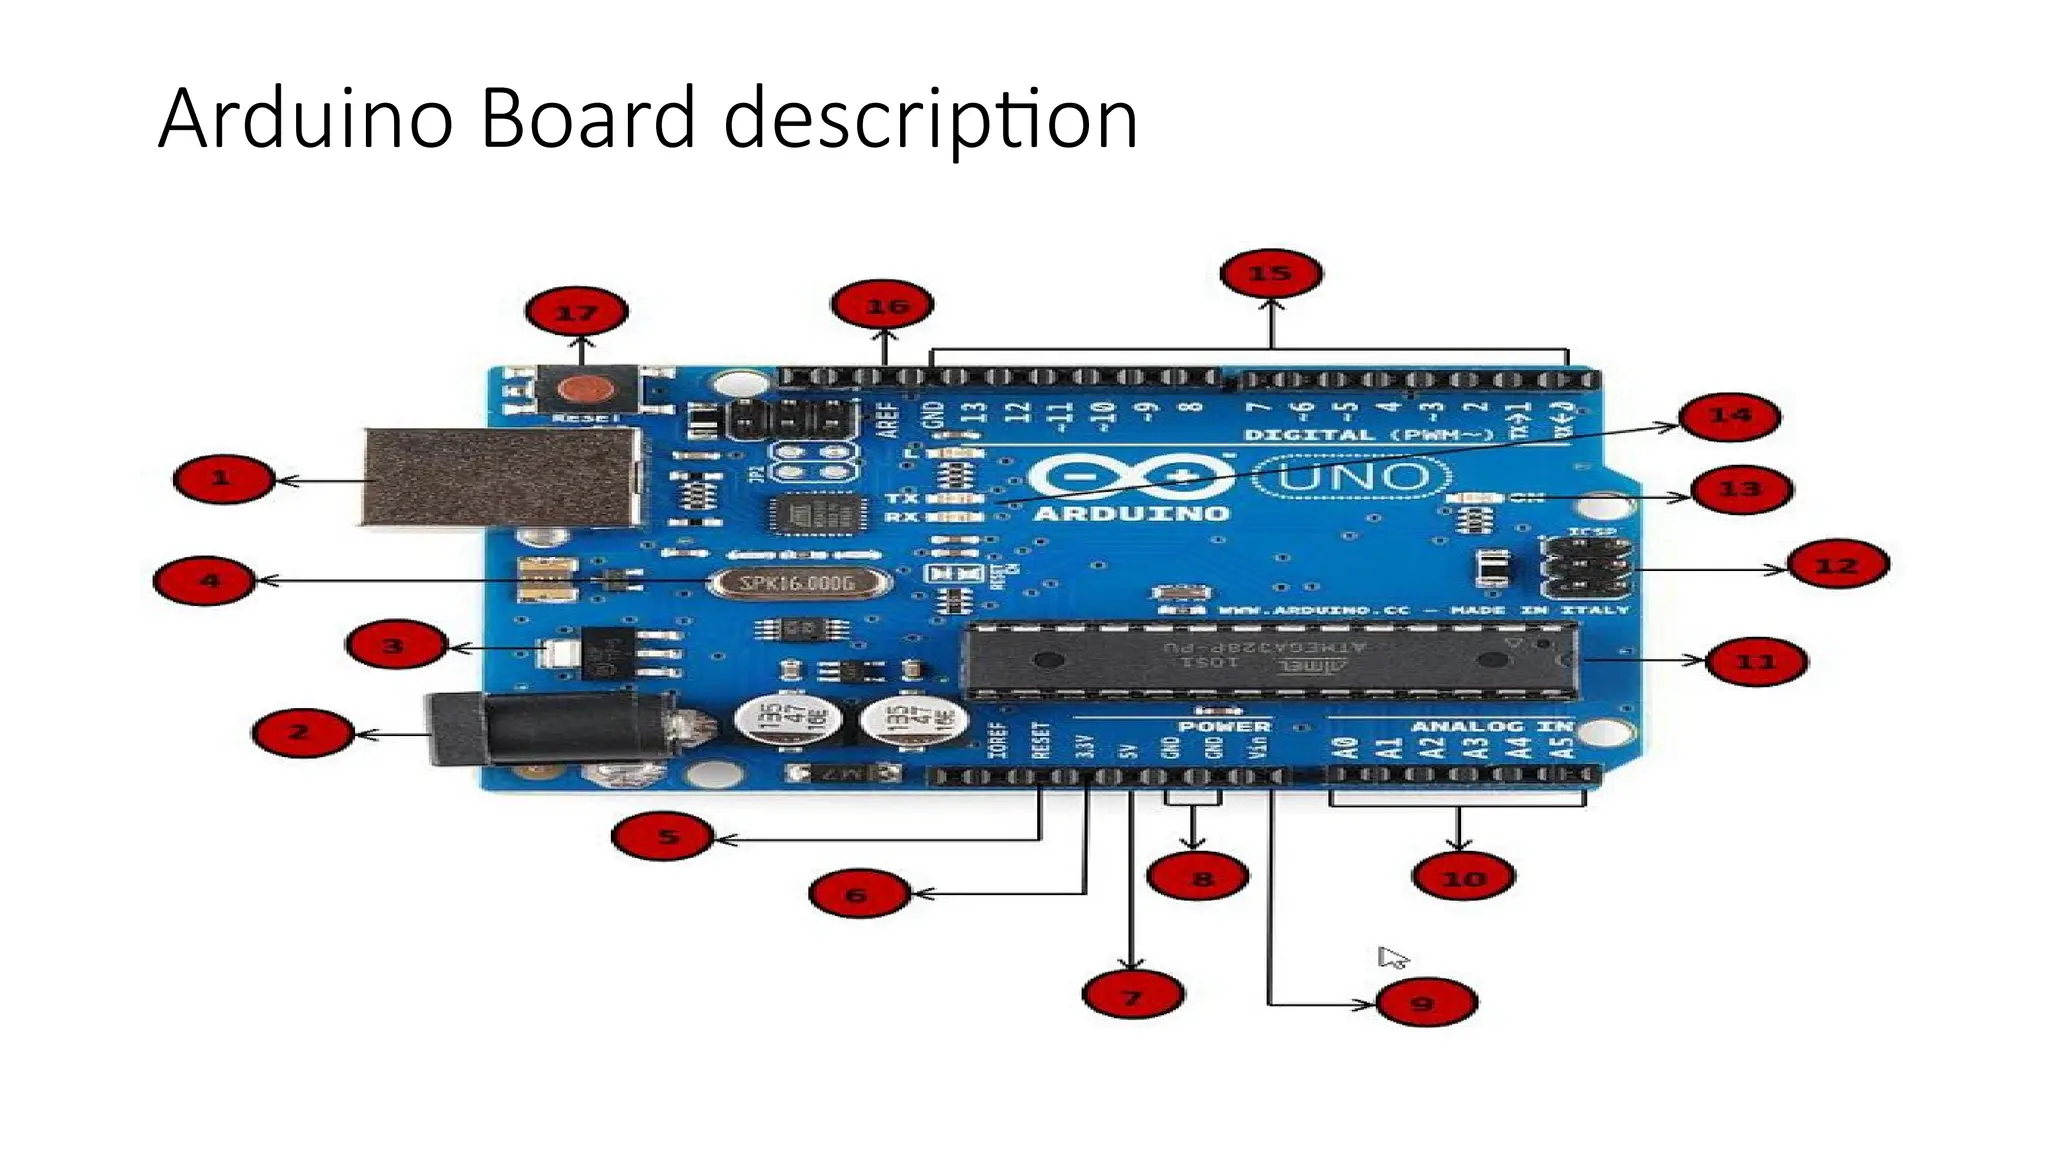
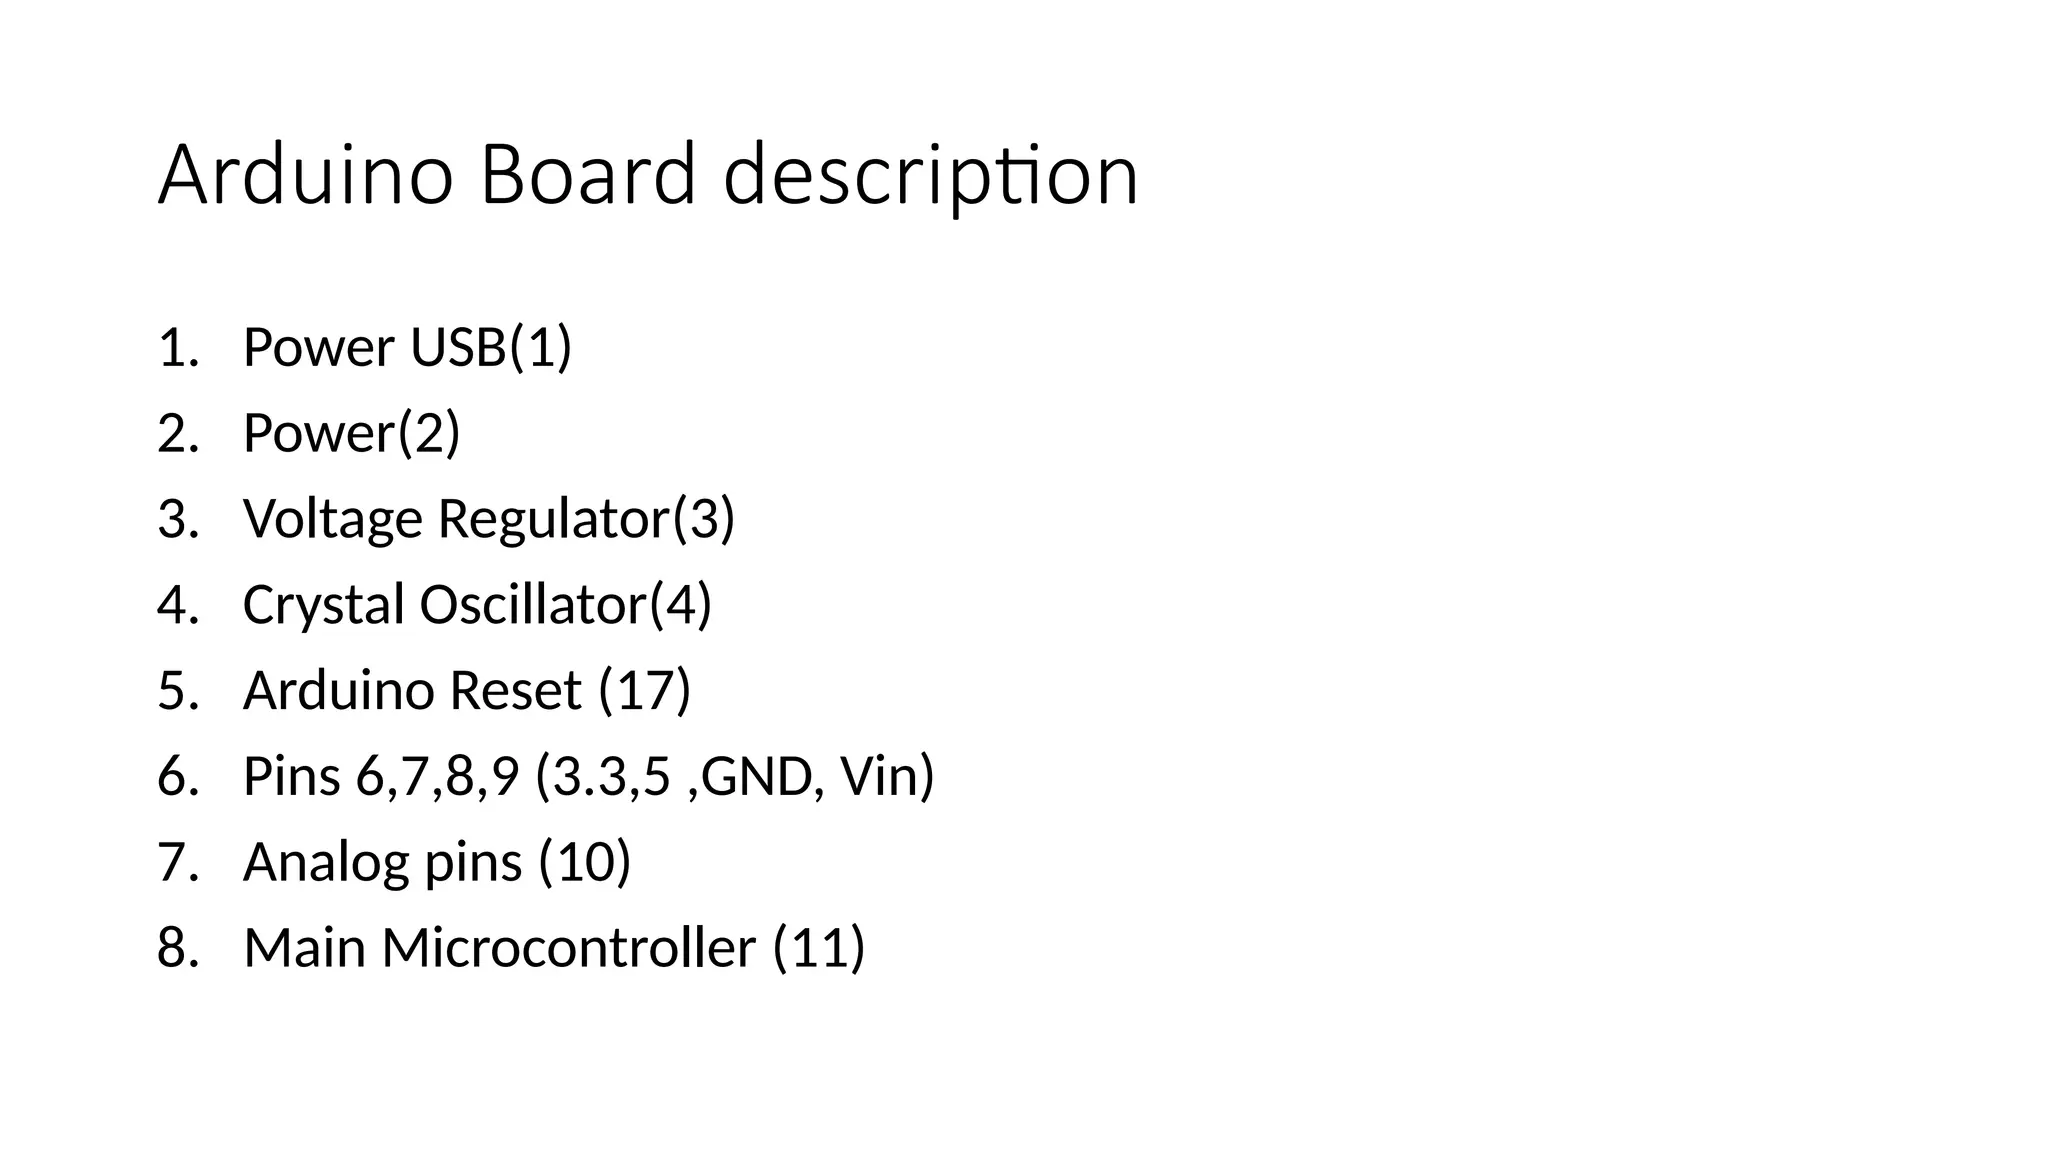
    Arduino Board description 9.ICSP pin (12) 10. Power LED indicator(13) 11. Tx and Rx LEDs(14) 12. Digital IO(15) 13. AREF (16)
  • 9.
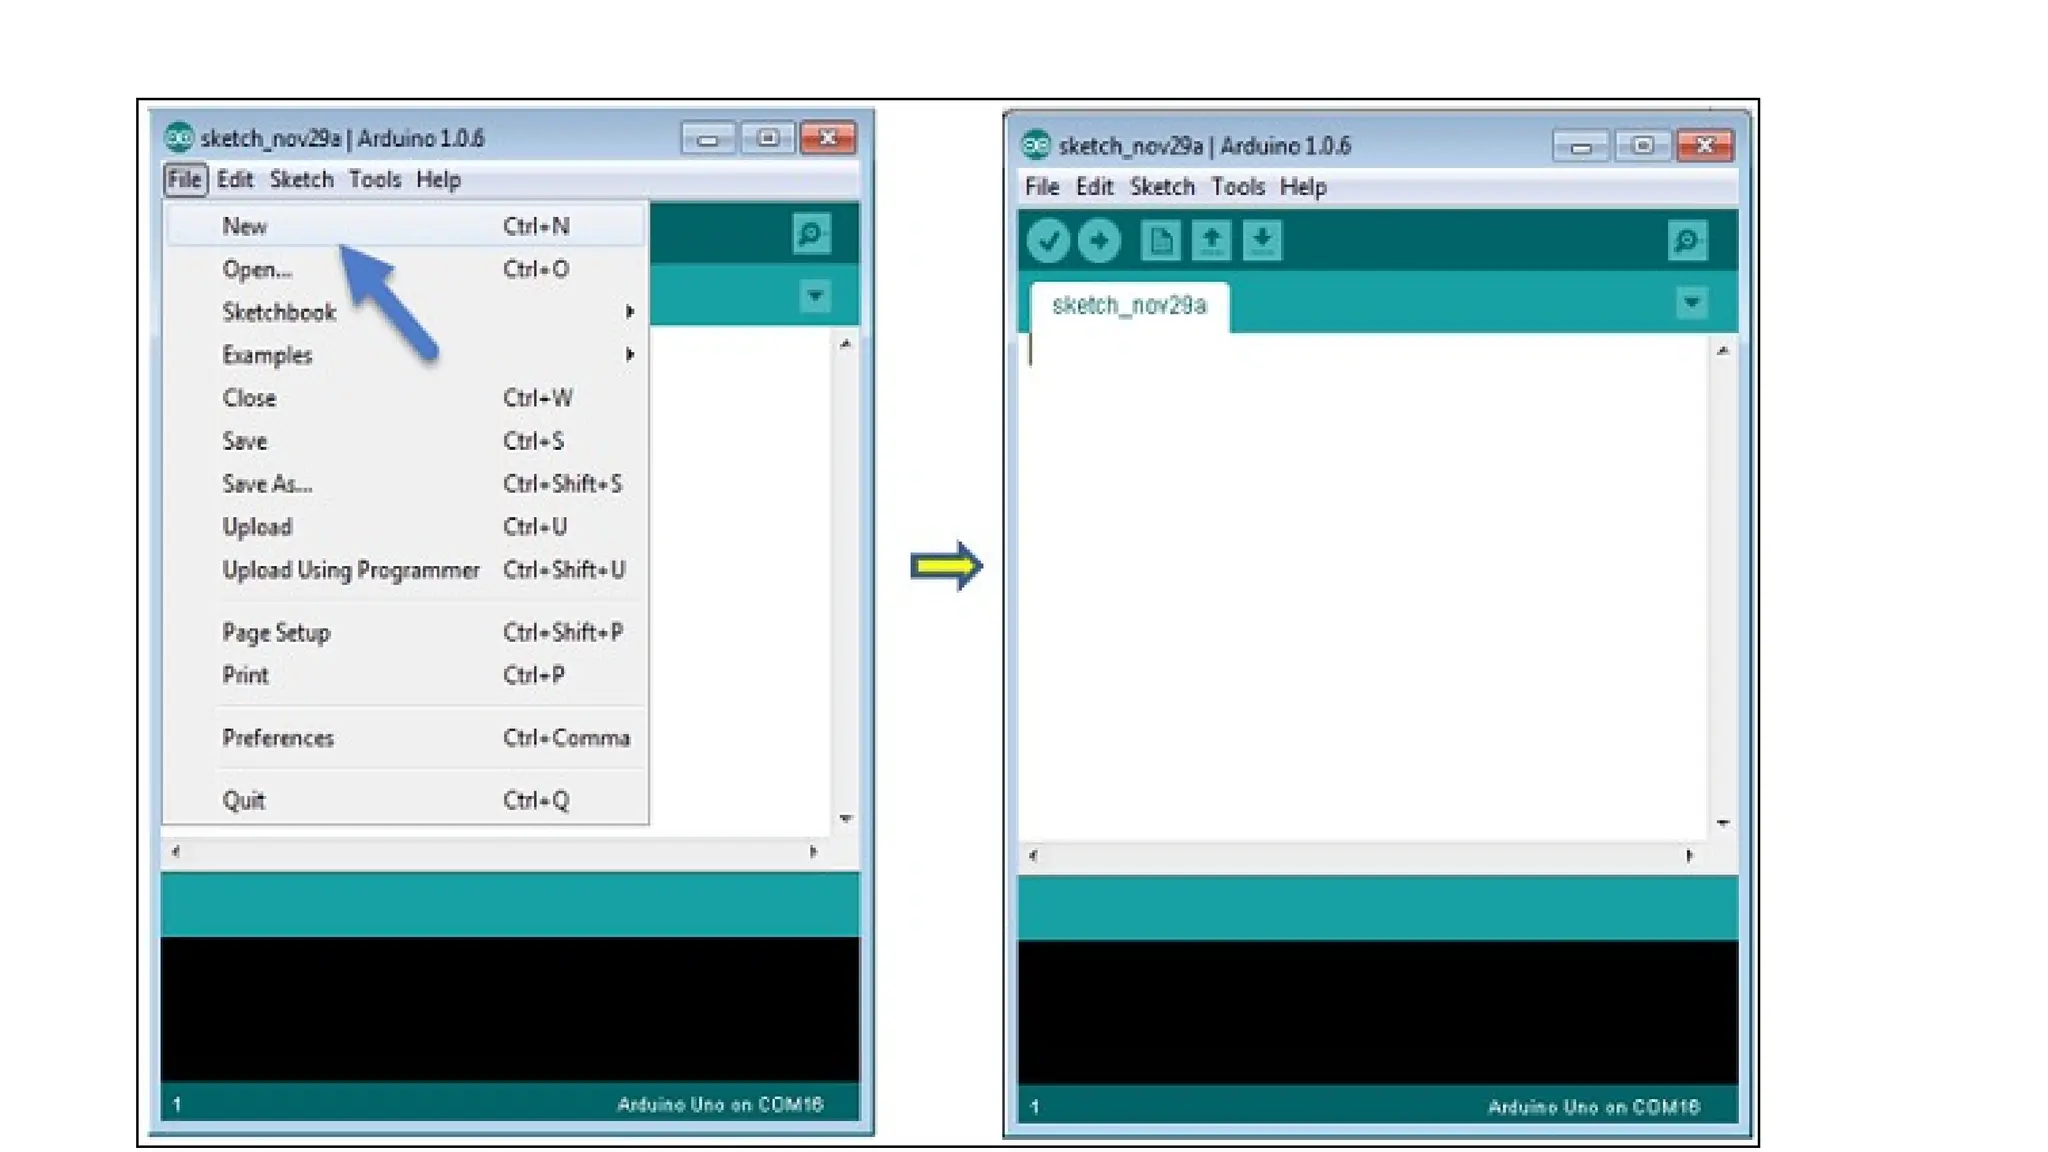
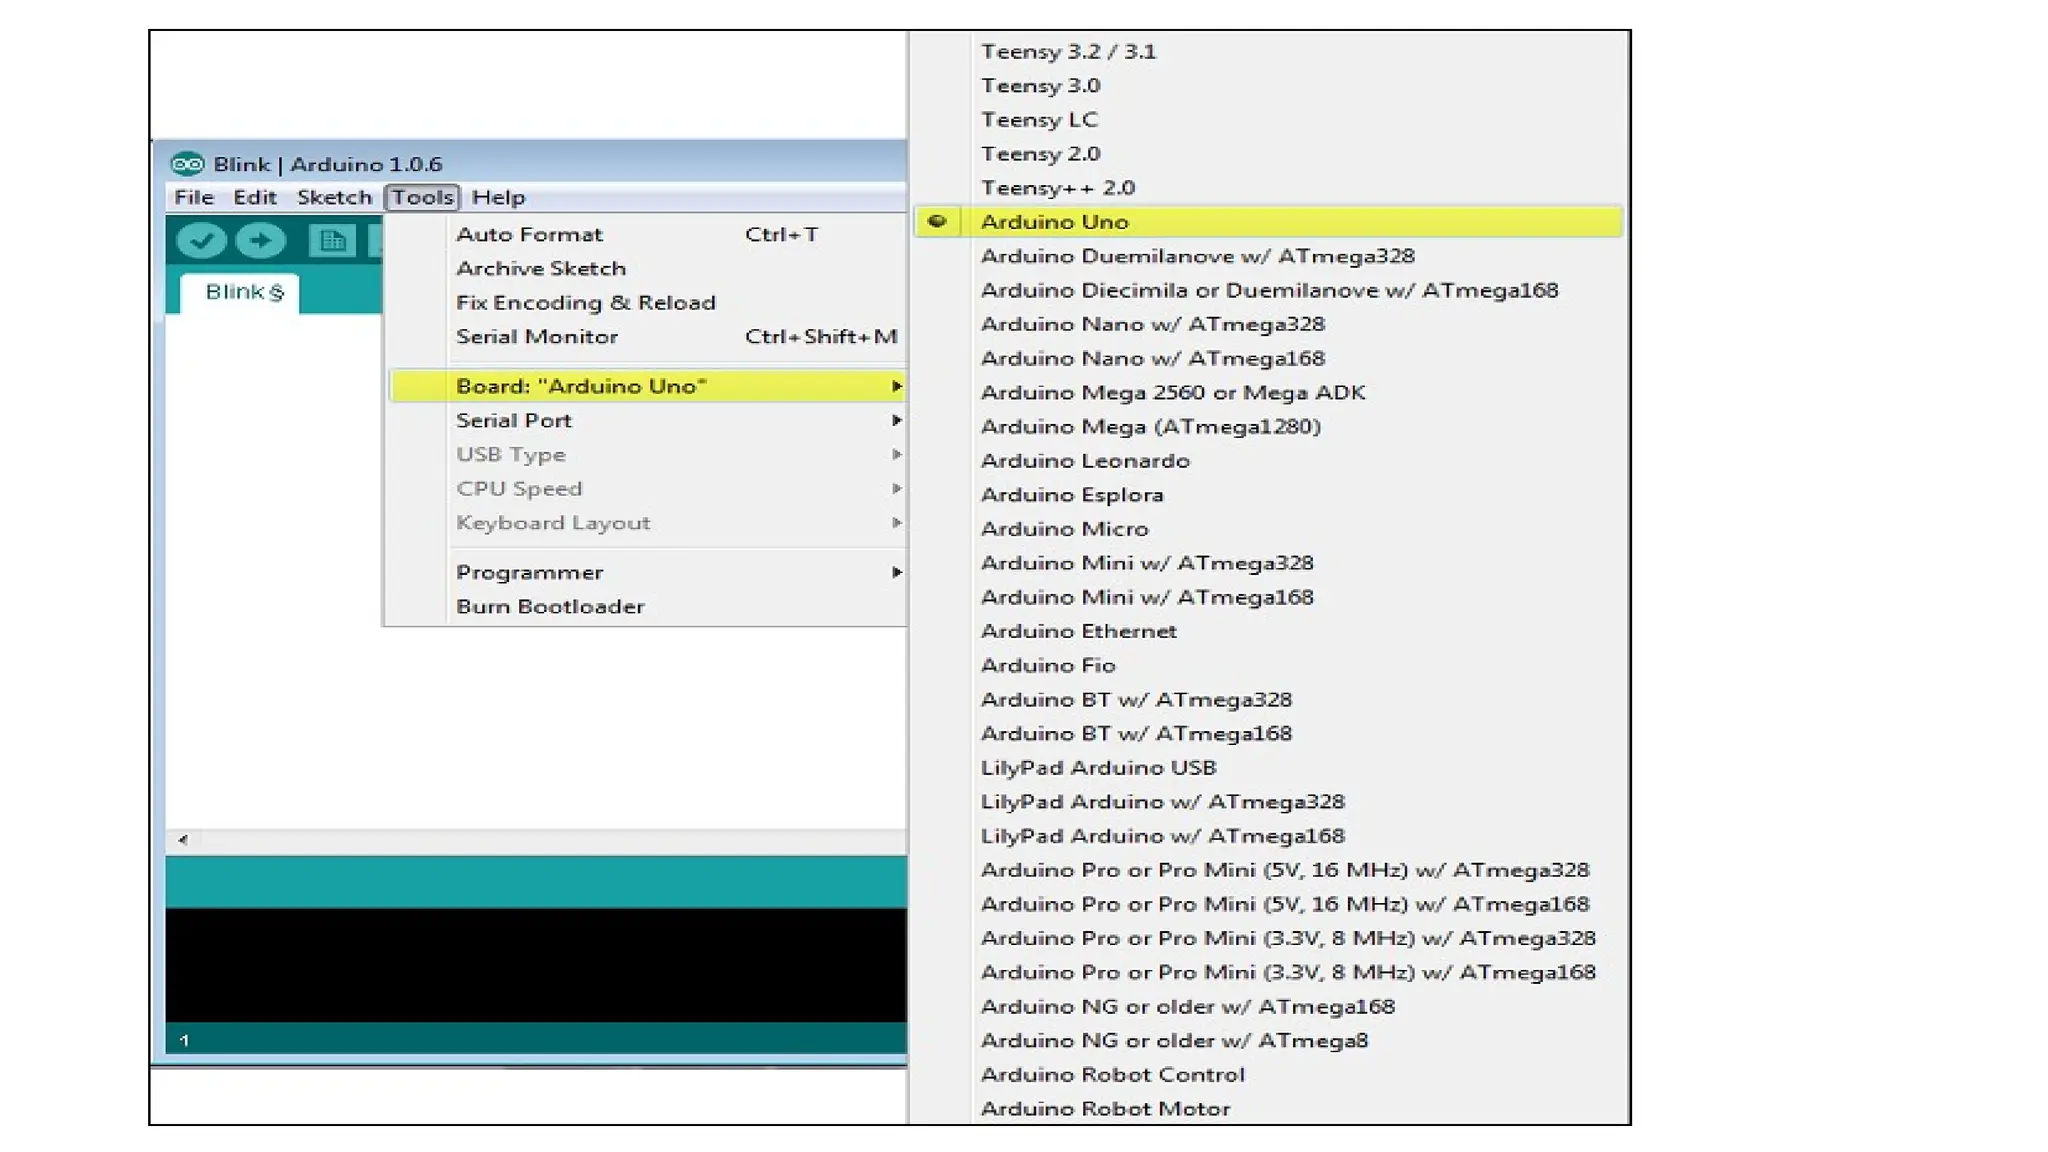
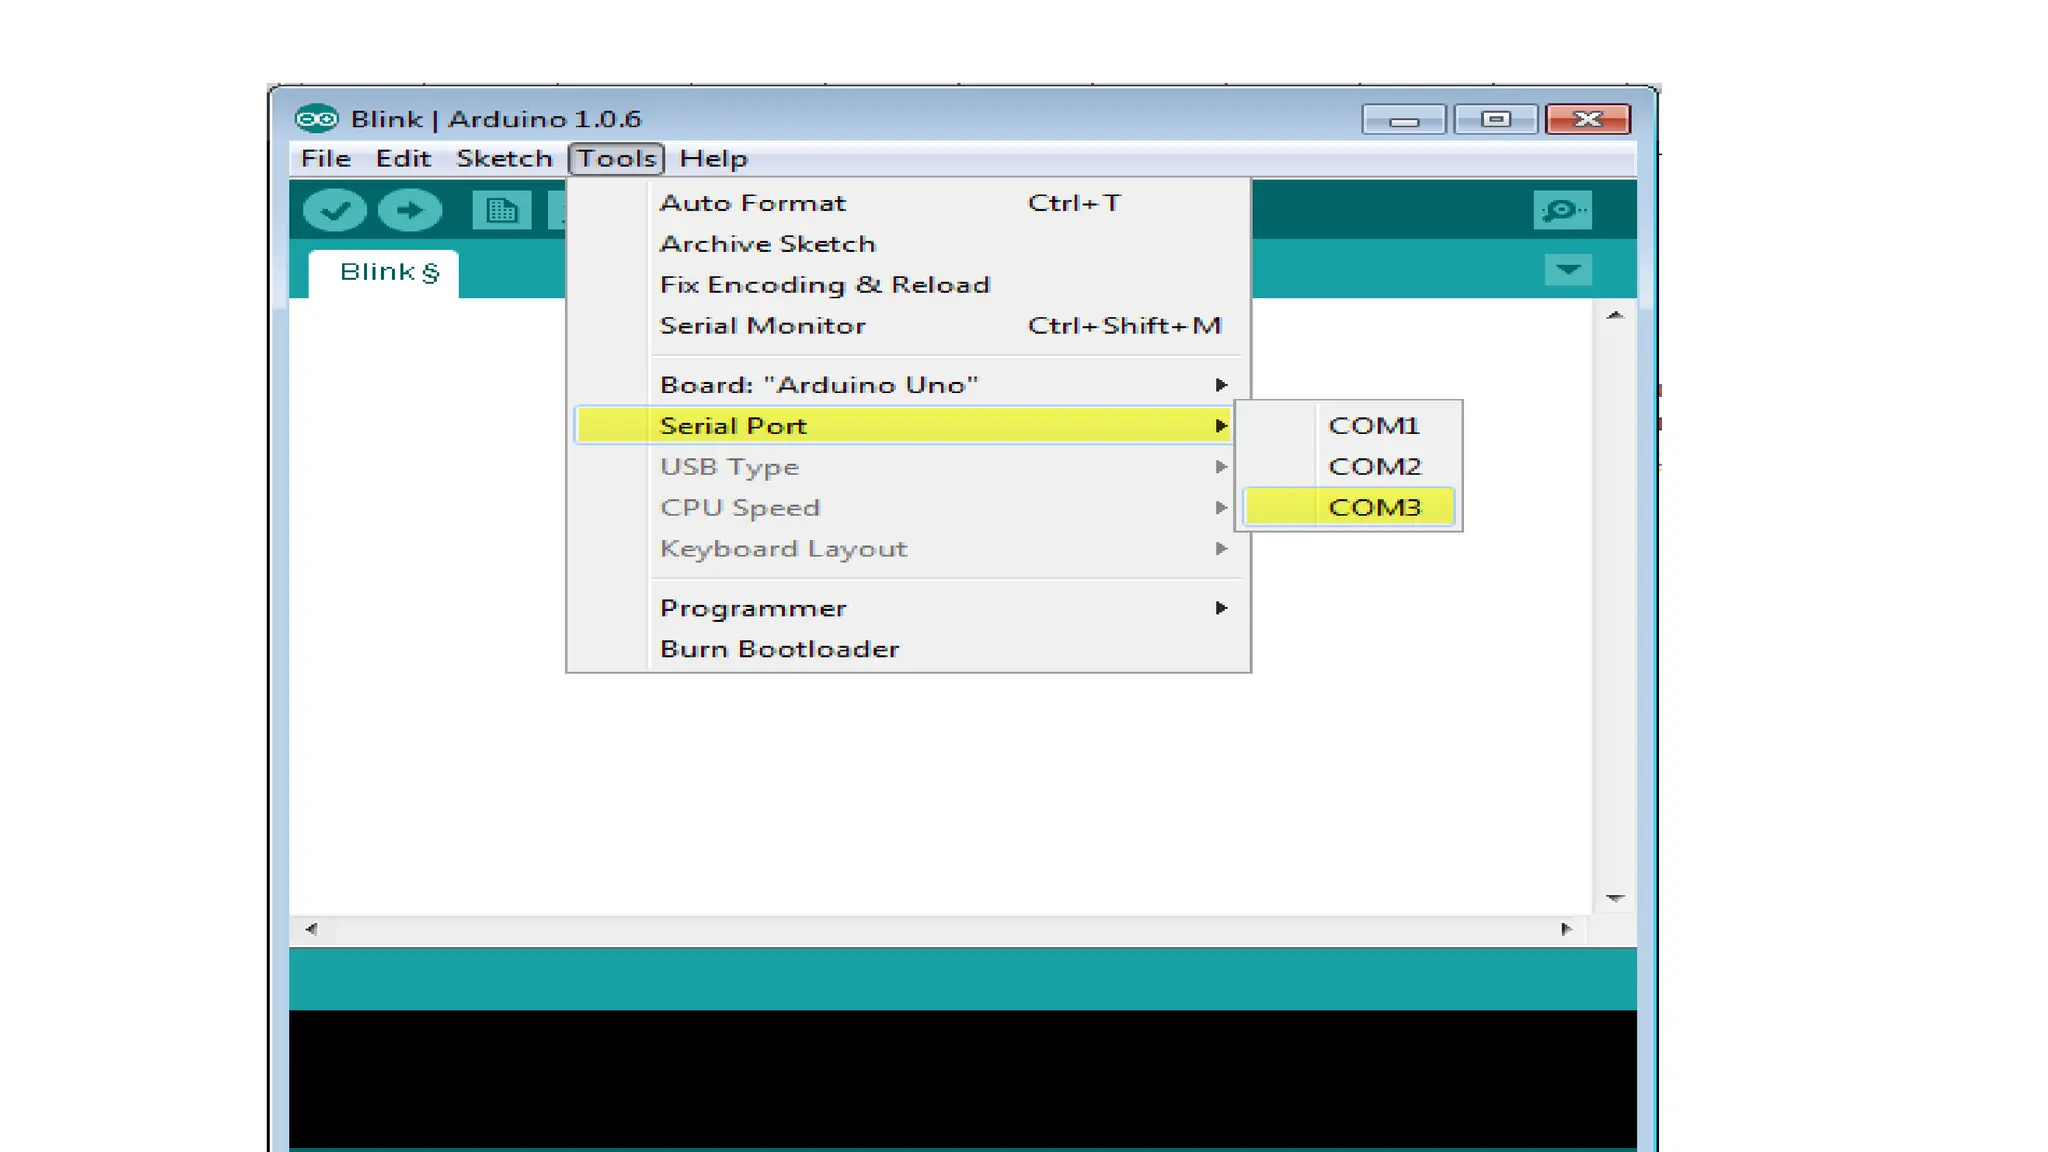
    Arduino installation • Arduinoboard any type • USB cable (A to B type) • Download Arduino IDE software. • Power up your board • Launch Arduino IDE • Open your first project
  • 14.
  • 15.
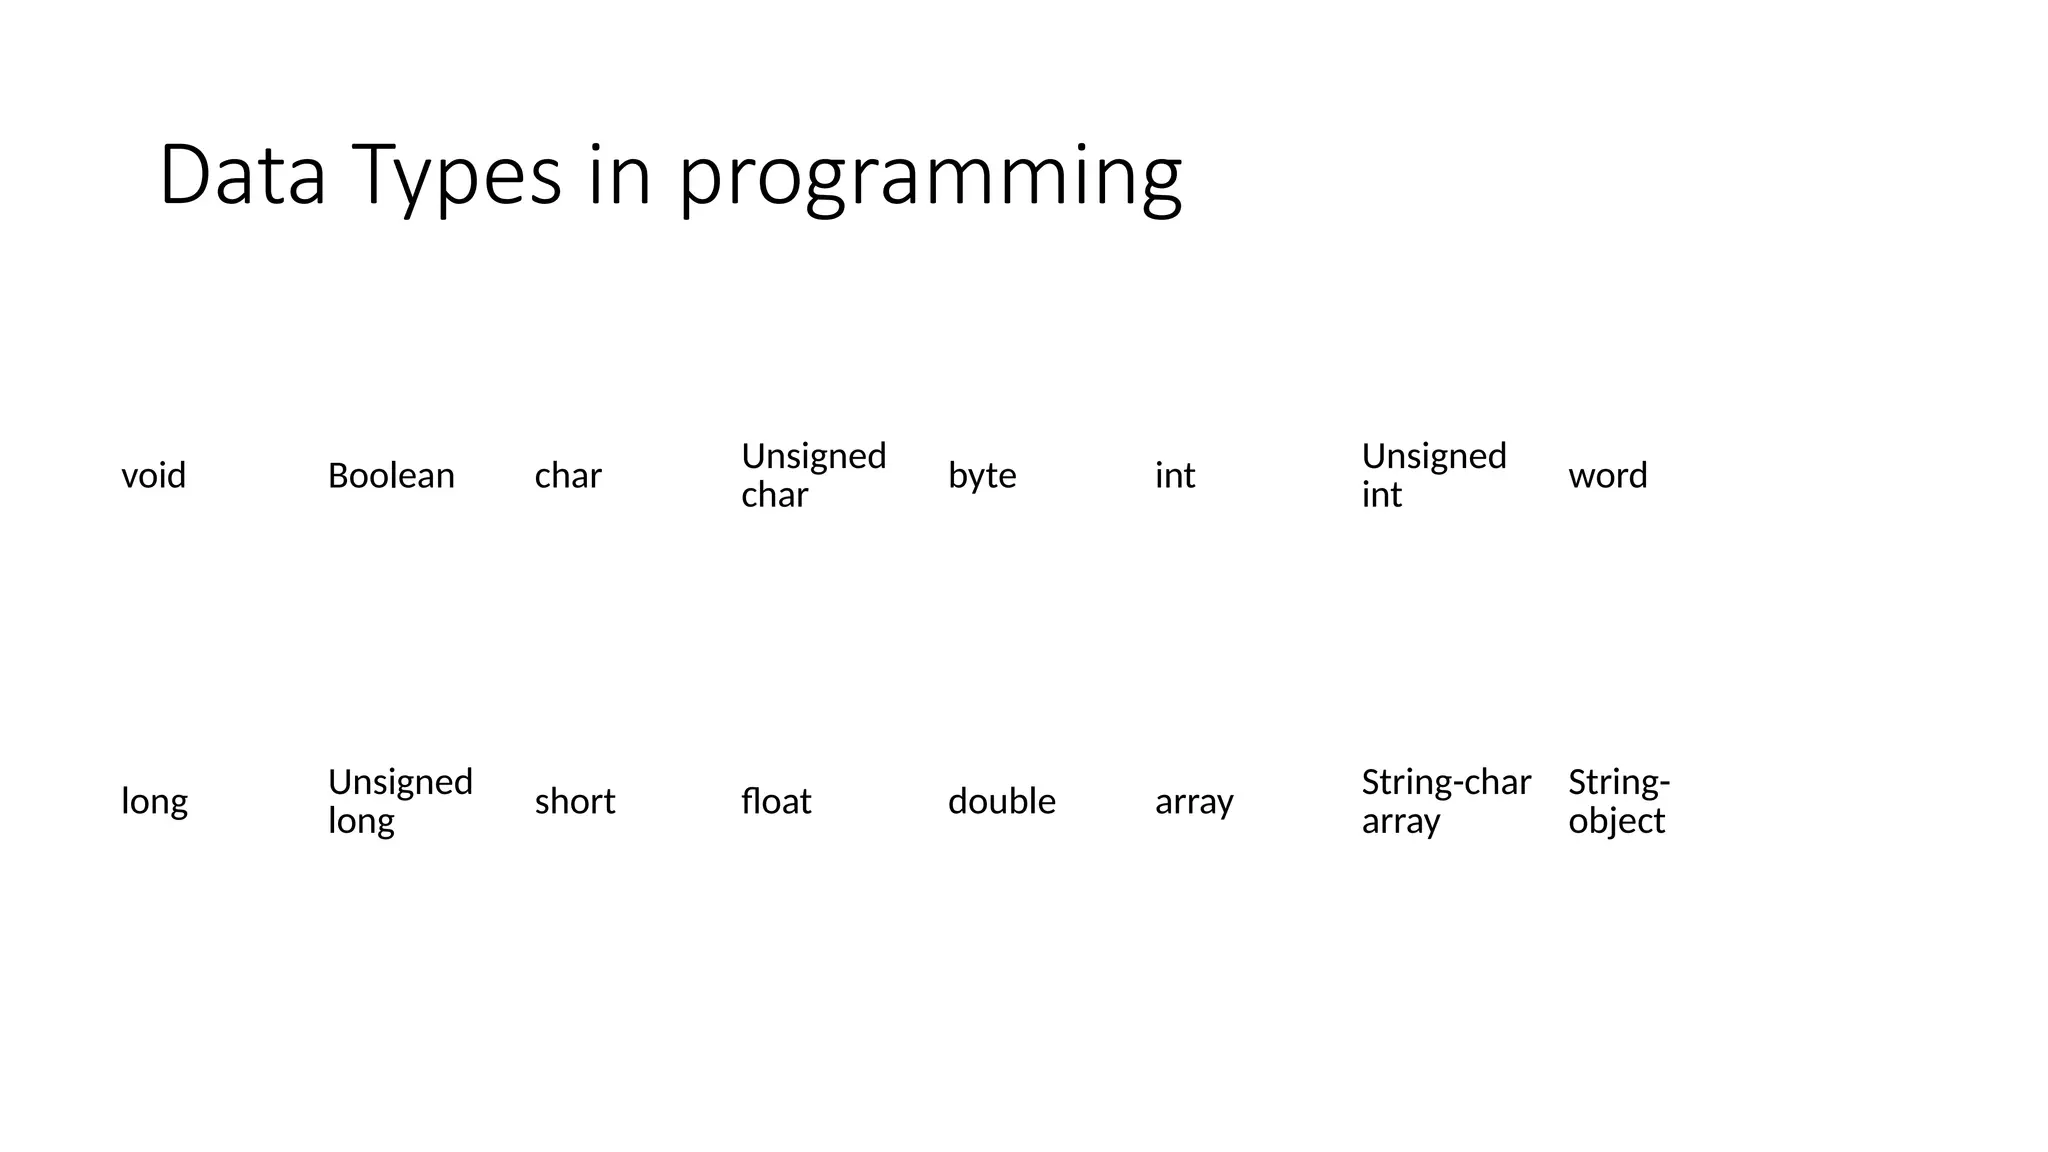
    Data Types inprogramming void Boolean char Unsigned char byte int Unsigned int word long Unsigned long short float double array String-char array String- object
  • 16.
    Variable Scope • Local •Global • Formal parameters
  • 17.
  • 18.
    Looping • For Loop •While • Do---While
  • 19.
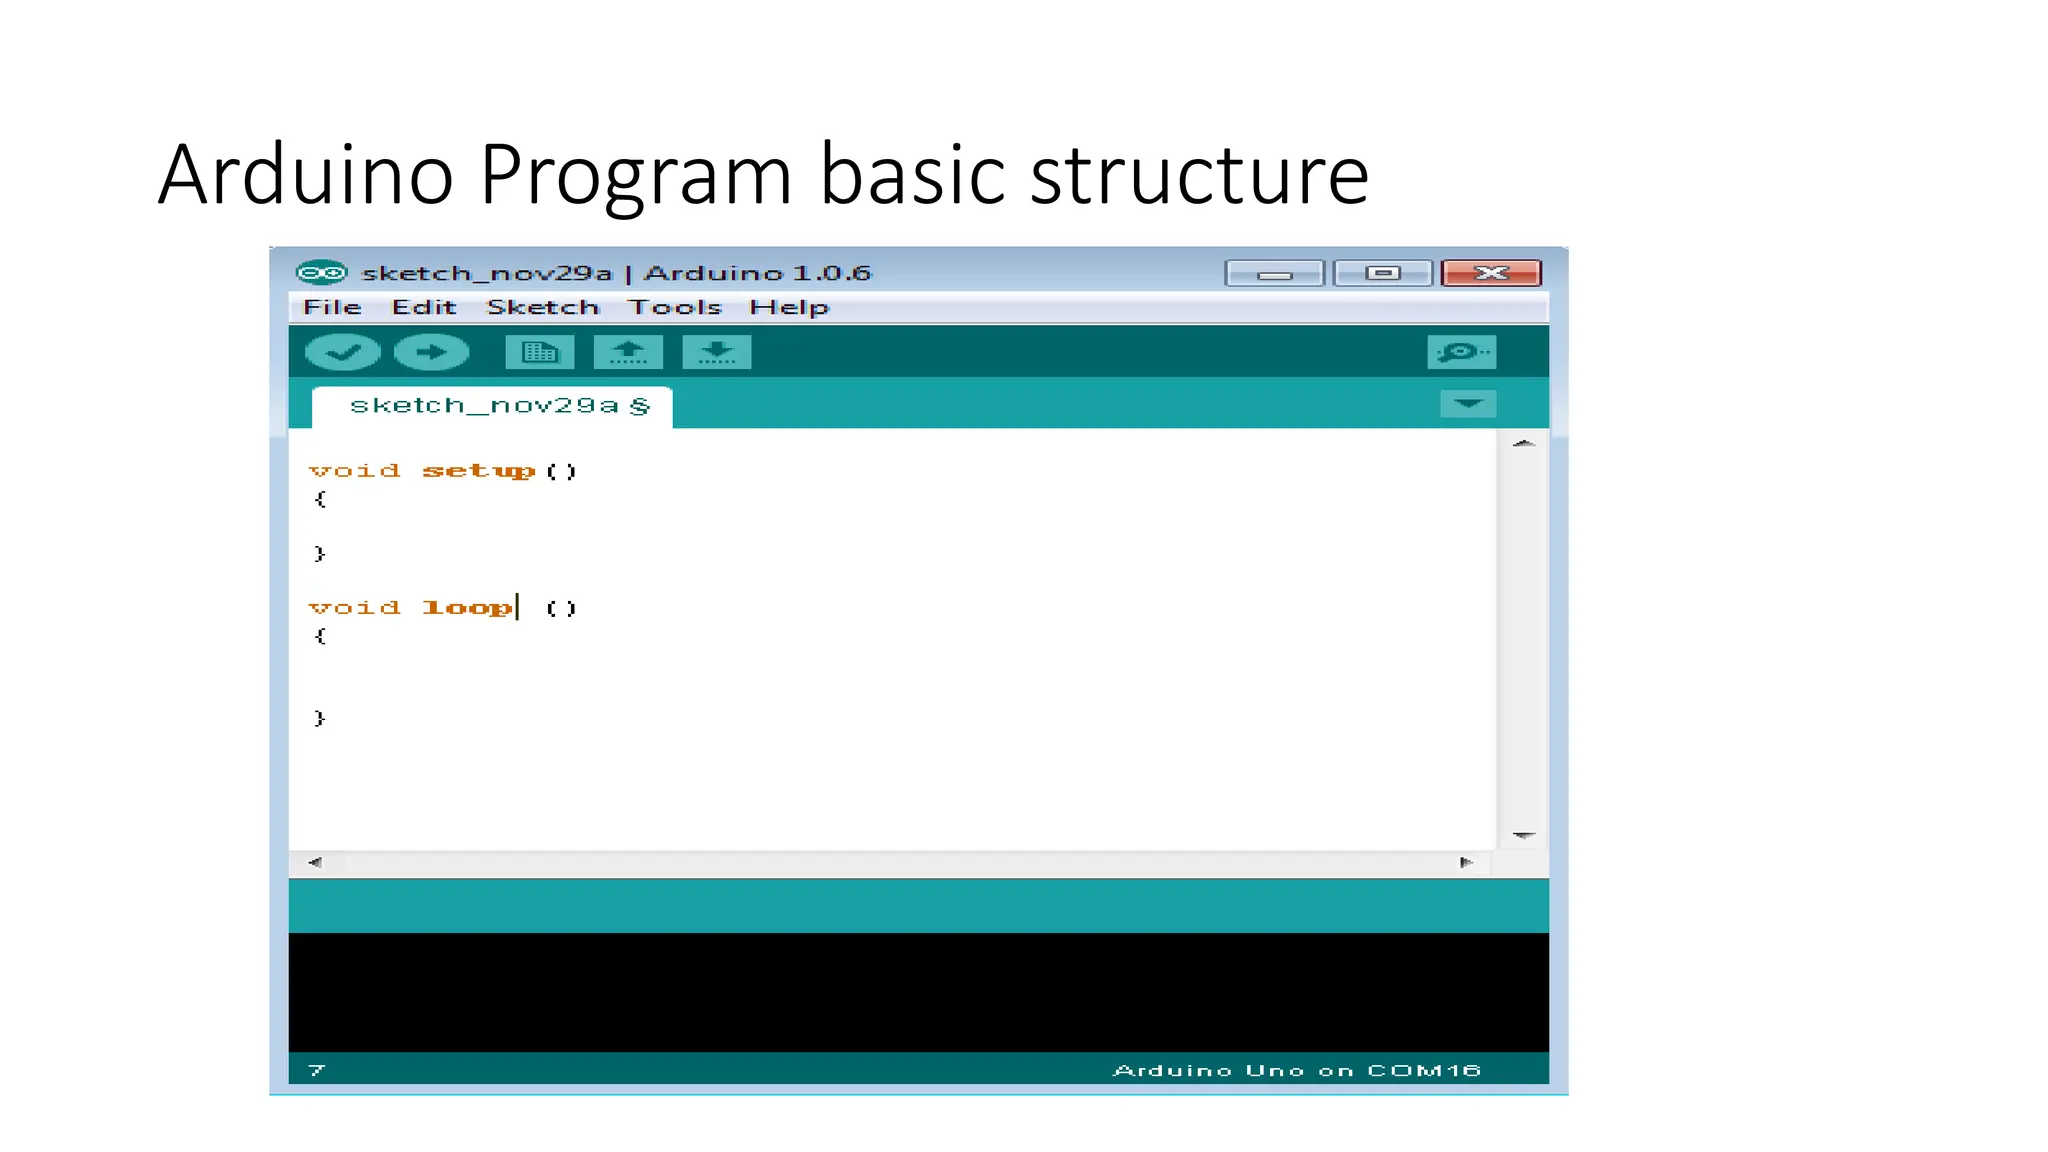
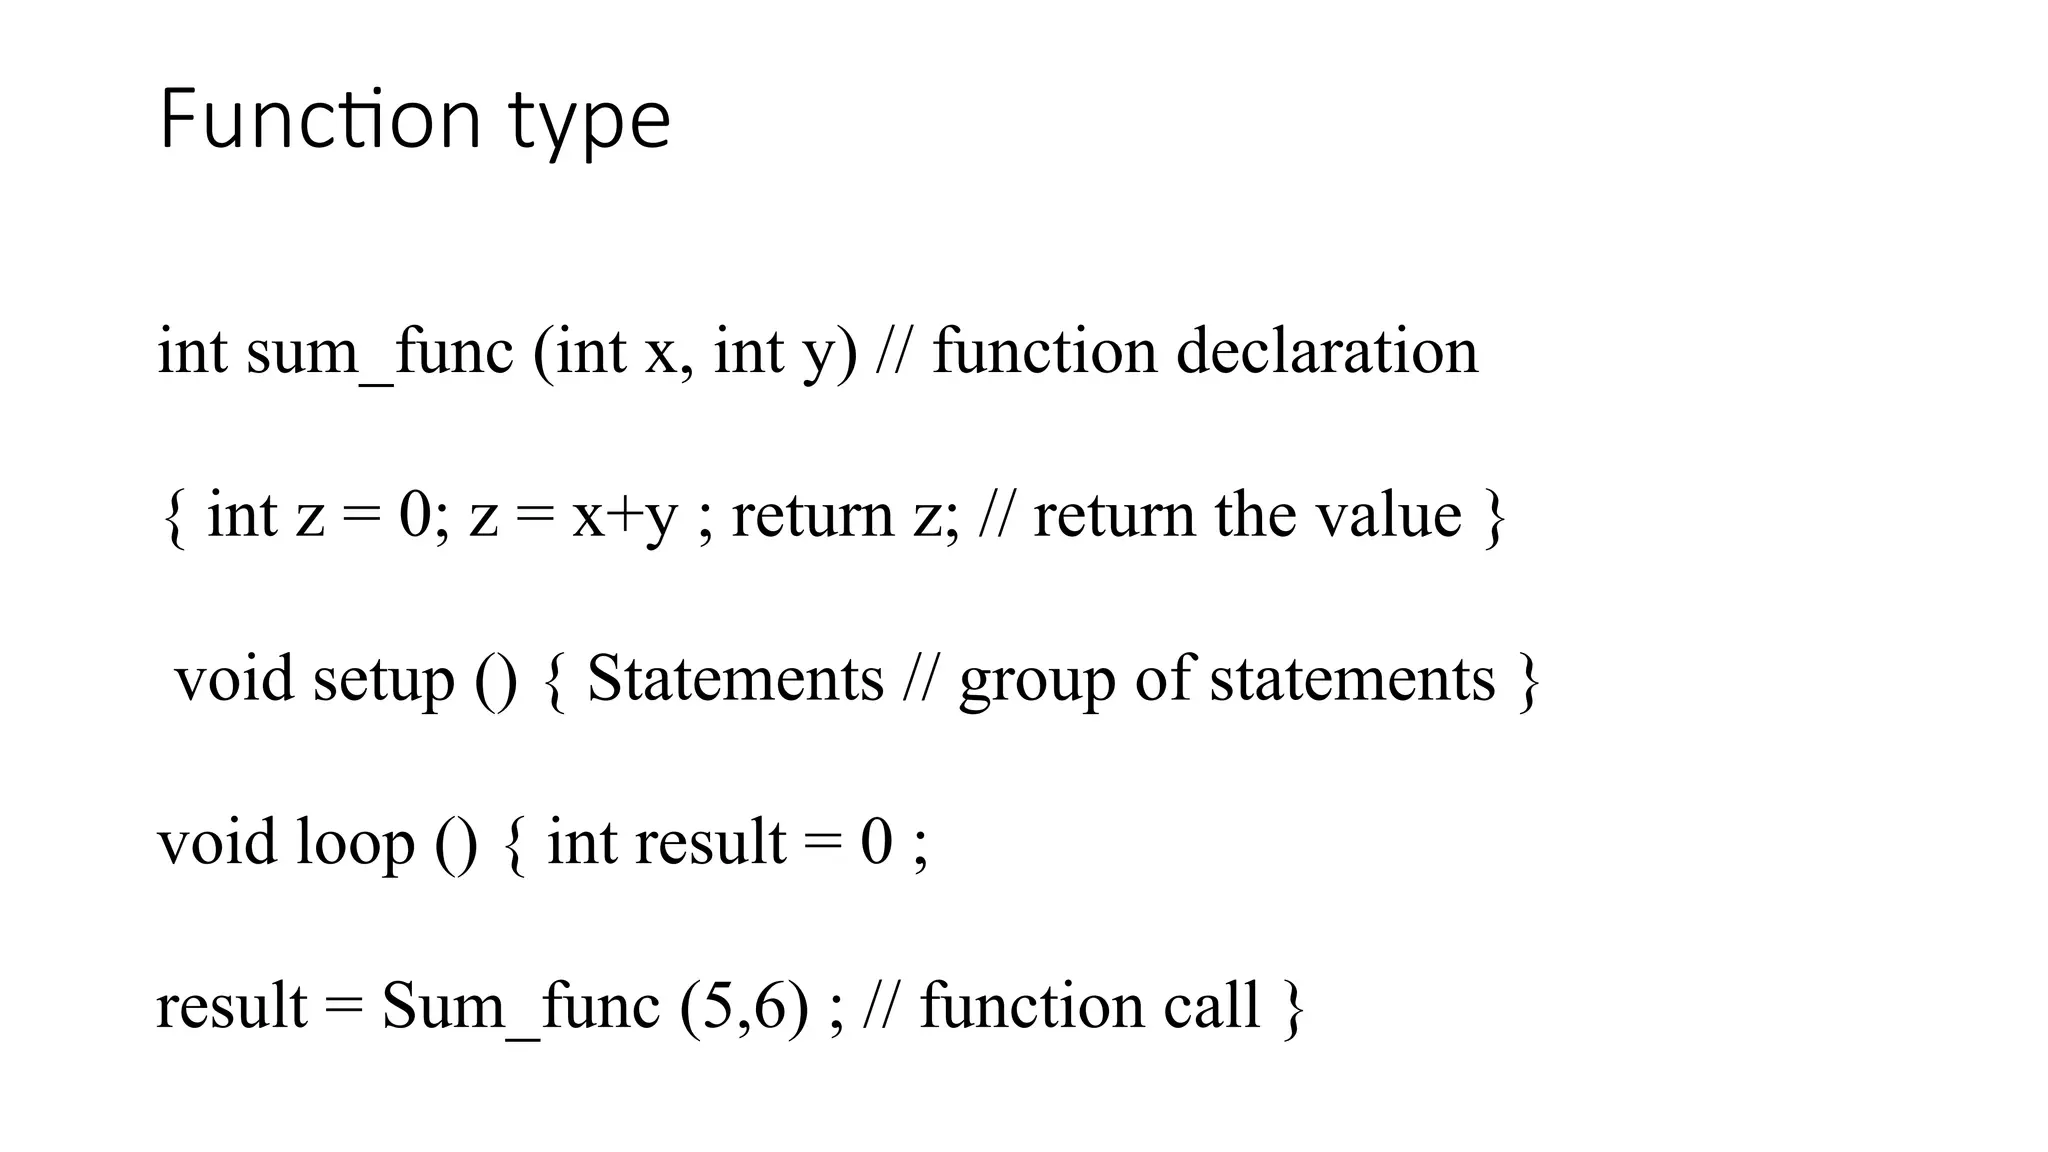
    Function type int sum_func(int x, int y) // function declaration { int z = 0; z = x+y ; return z; // return the value } void setup () { Statements // group of statements } void loop () { int result = 0 ; result = Sum_func (5,6) ; // function call }
  • 20.
    Input Function • pinMode(pin,mode) •Mode- INPUT OUTPUT INPUT_PULLUP
  • 21.
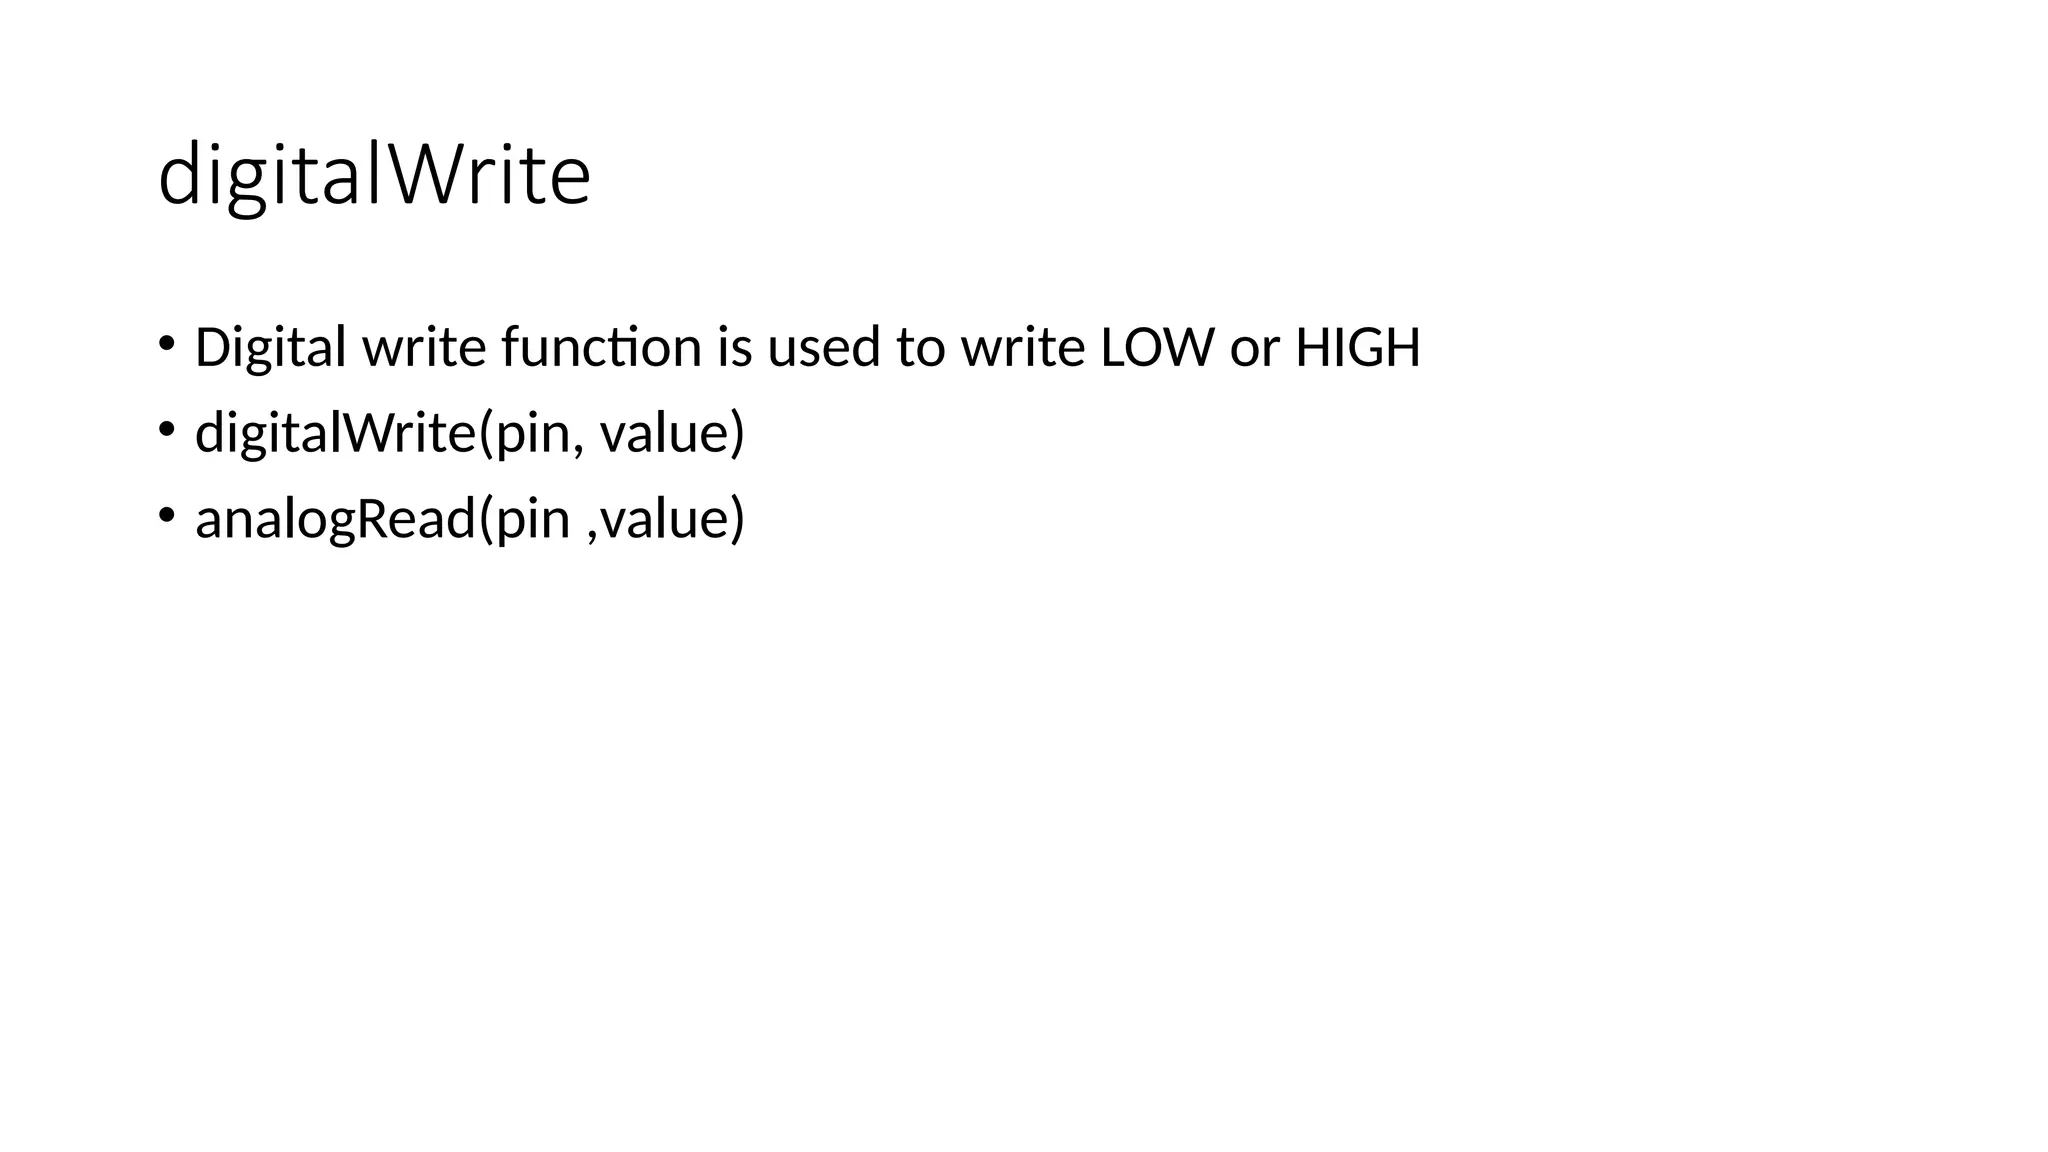
    digitalWrite • Digital writefunction is used to write LOW or HIGH • digitalWrite(pin, value) • analogRead(pin ,value)
  • 22.
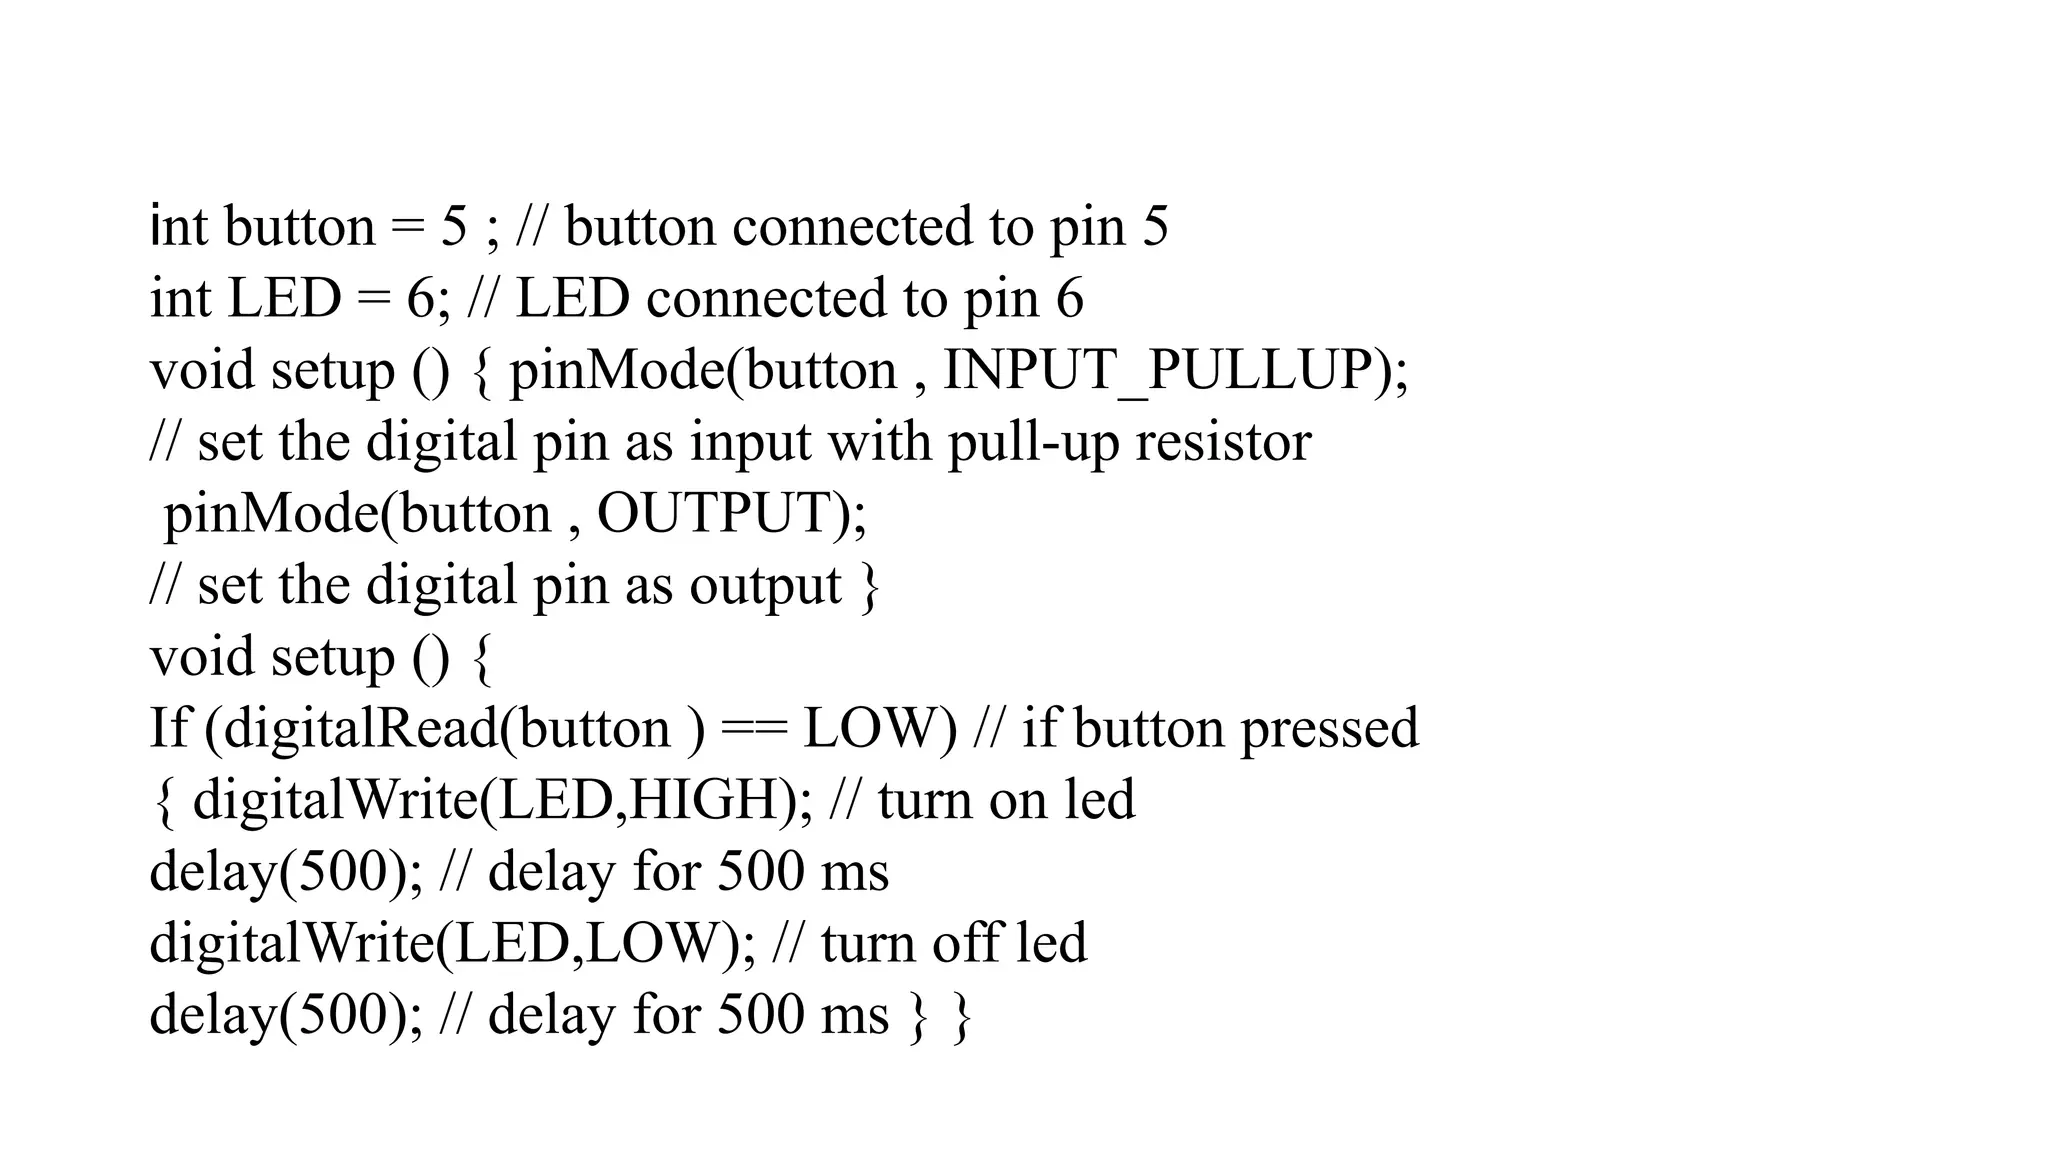
    int button =5 ; // button connected to pin 5 int LED = 6; // LED connected to pin 6 void setup () { pinMode(button , INPUT_PULLUP); // set the digital pin as input with pull-up resistor pinMode(button , OUTPUT); // set the digital pin as output } void setup () { If (digitalRead(button ) == LOW) // if button pressed { digitalWrite(LED,HIGH); // turn on led delay(500); // delay for 500 ms digitalWrite(LED,LOW); // turn off led delay(500); // delay for 500 ms } }
  • 23.
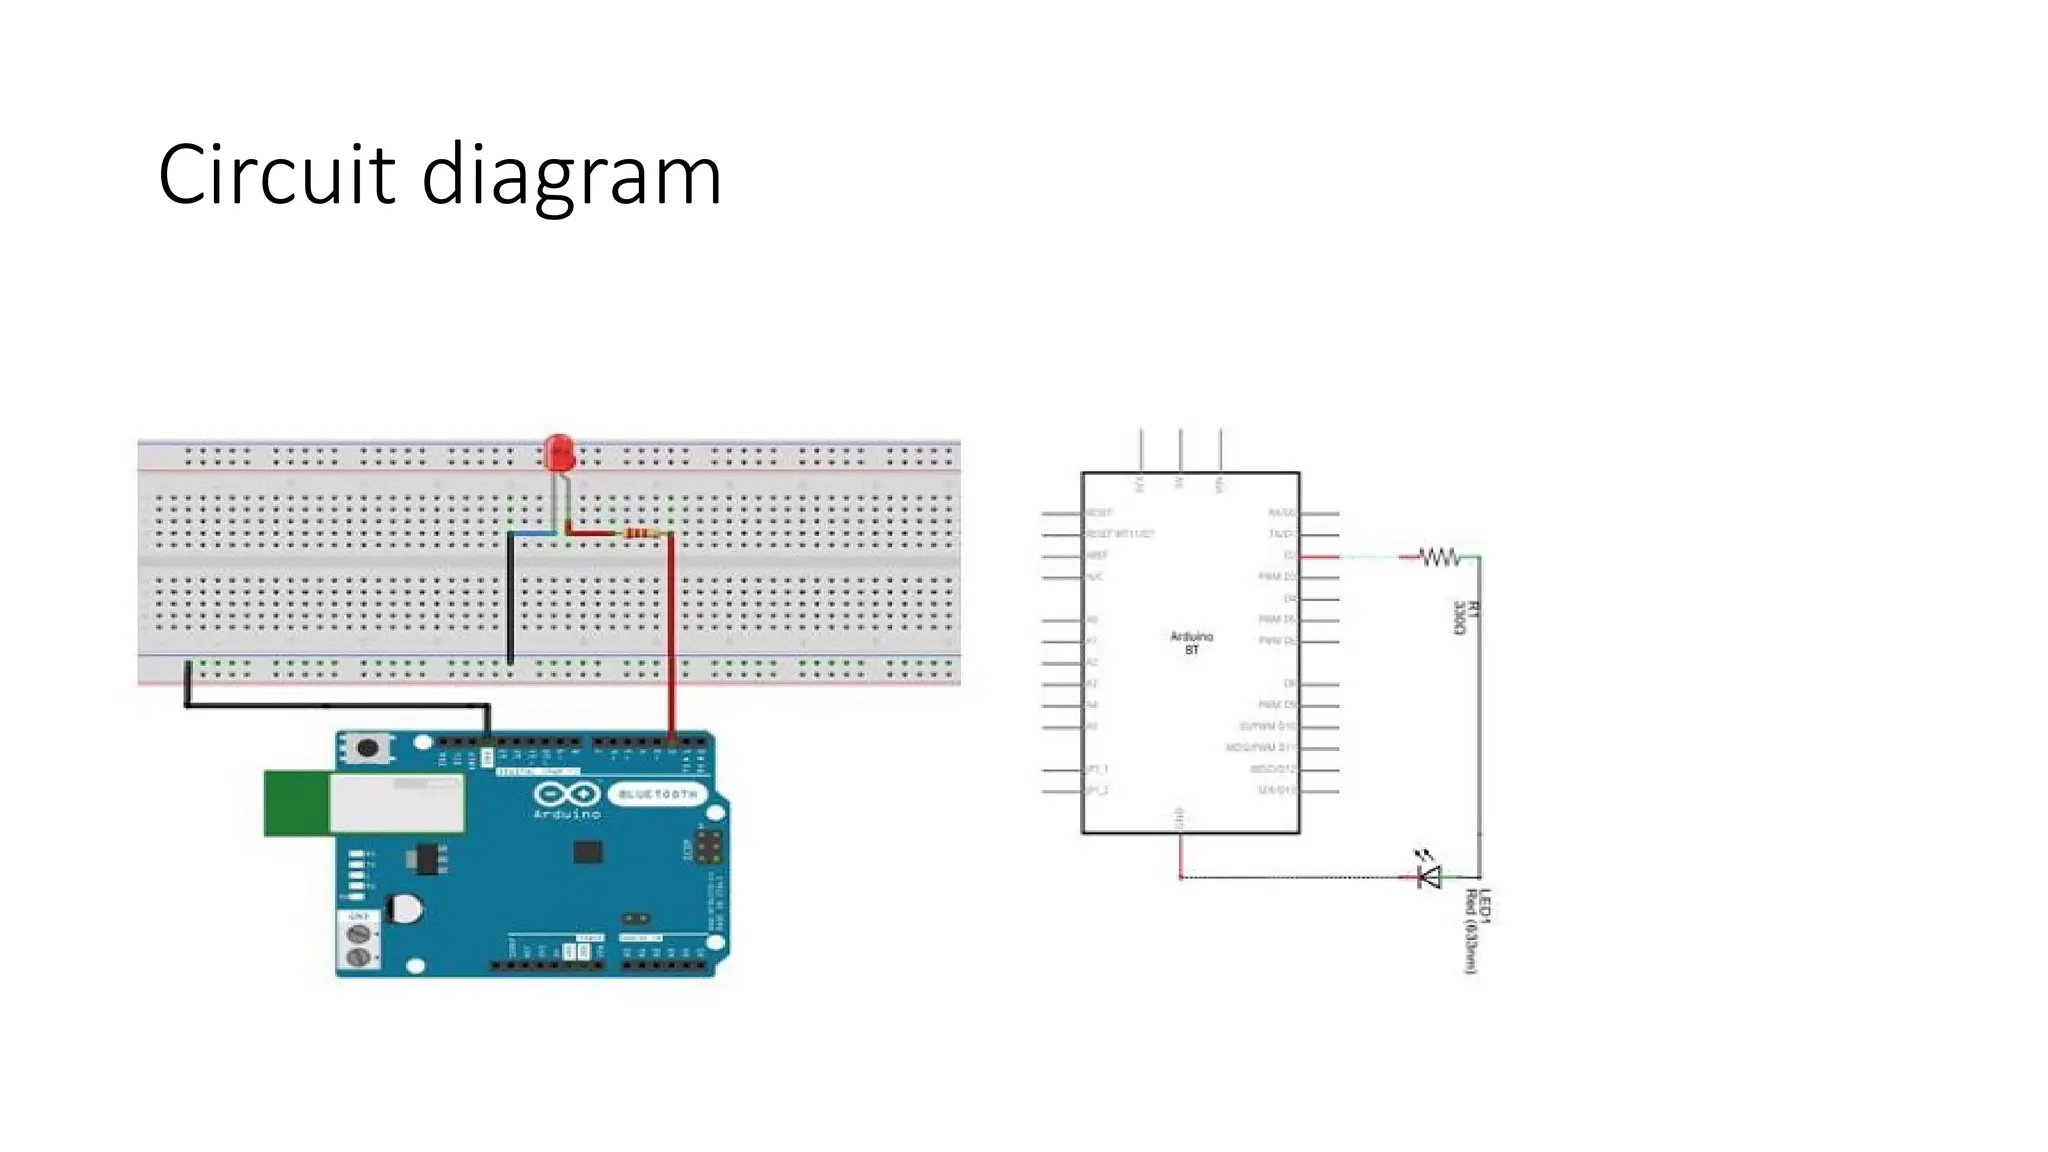
    LED blinking • ComponentsRequired • You will need the following components − • 1 × Breadboard • 1 × Arduino Uno R3 • 1 × LED • 1 × 330Ω Resistor • 2 × Jumper
  • 24.
  • 25.
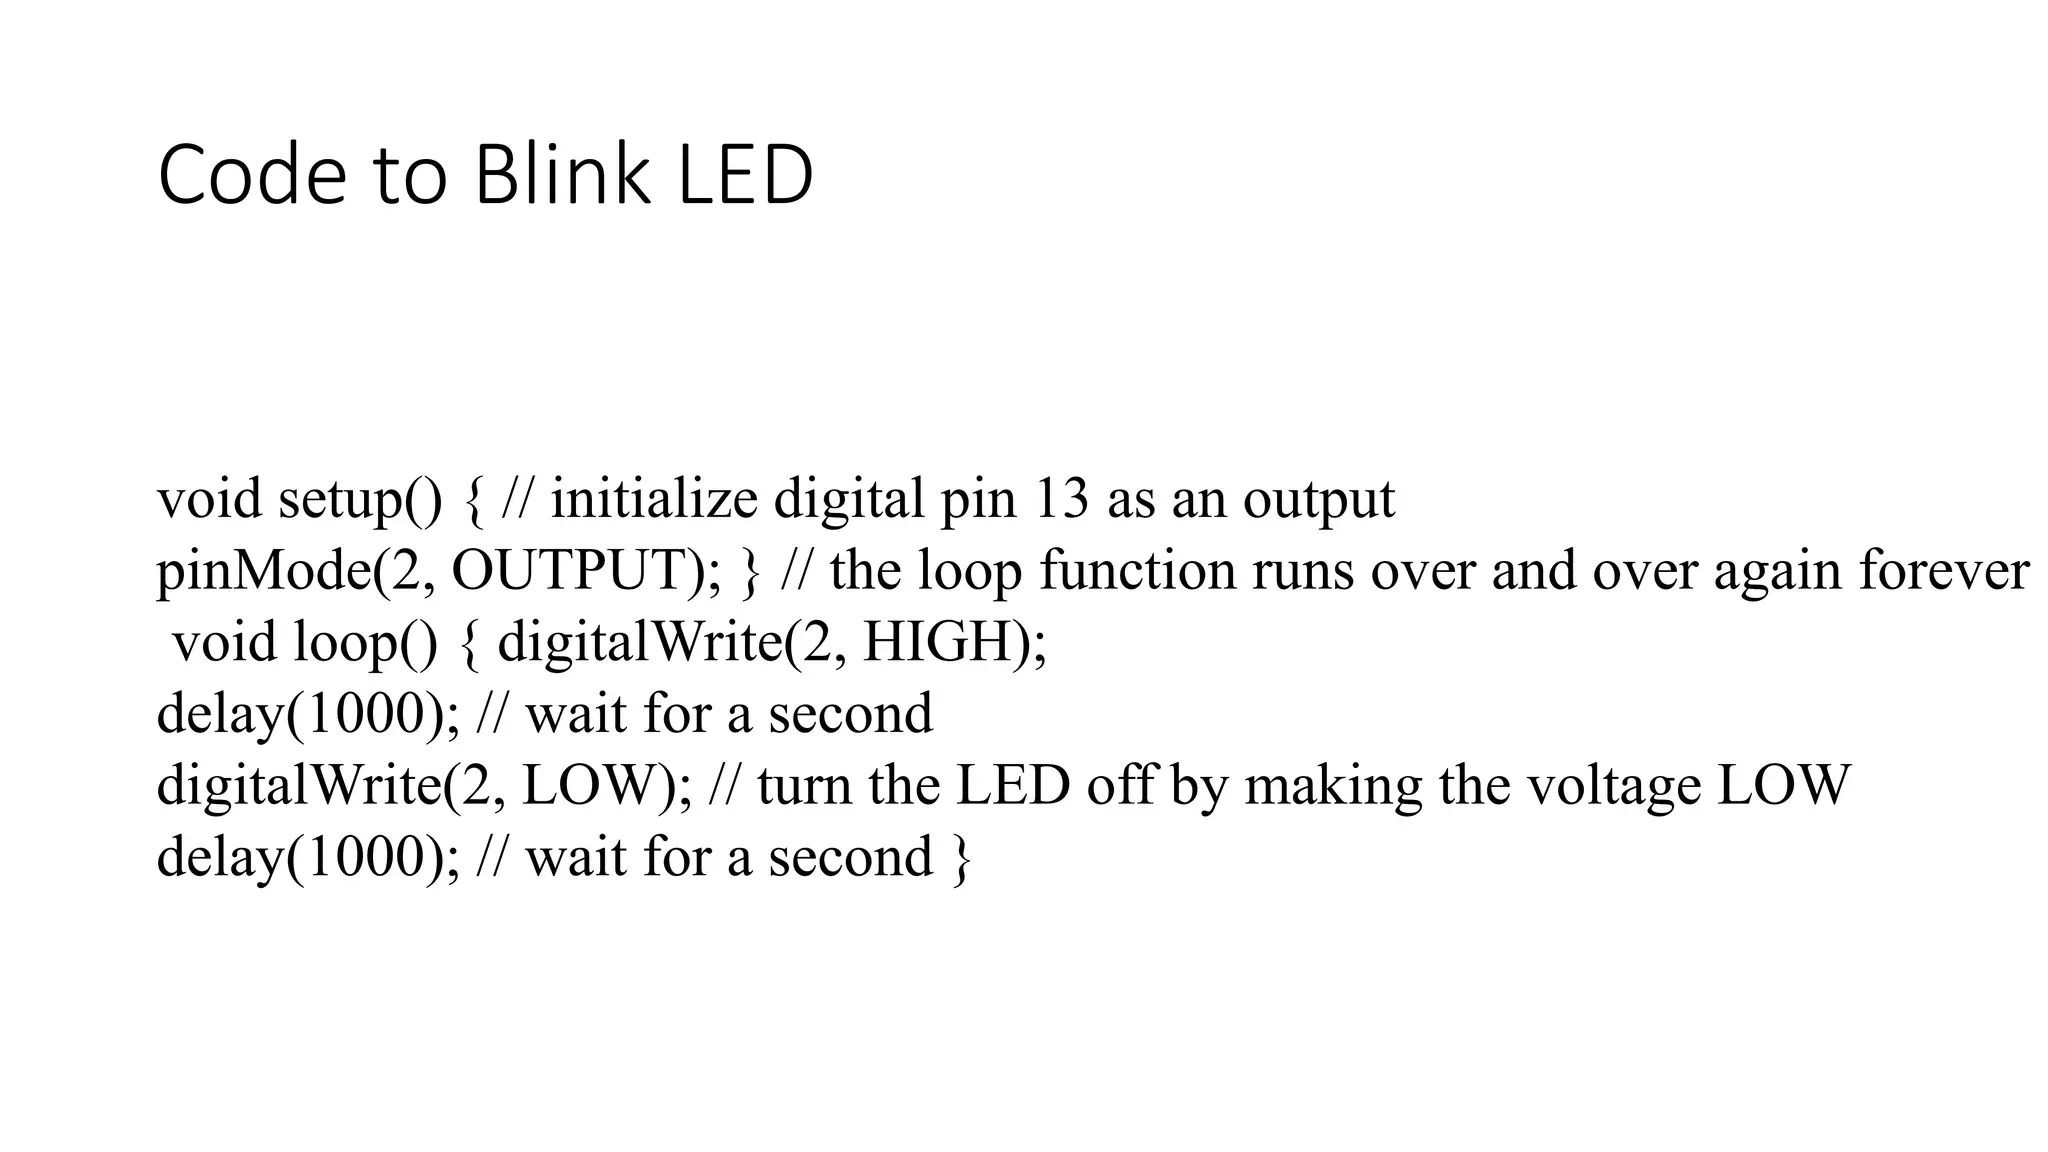
    Code to BlinkLED void setup() { // initialize digital pin 13 as an output pinMode(2, OUTPUT); } // the loop function runs over and over again forever void loop() { digitalWrite(2, HIGH); delay(1000); // wait for a second digitalWrite(2, LOW); // turn the LED off by making the voltage LOW delay(1000); // wait for a second }
  • 26.
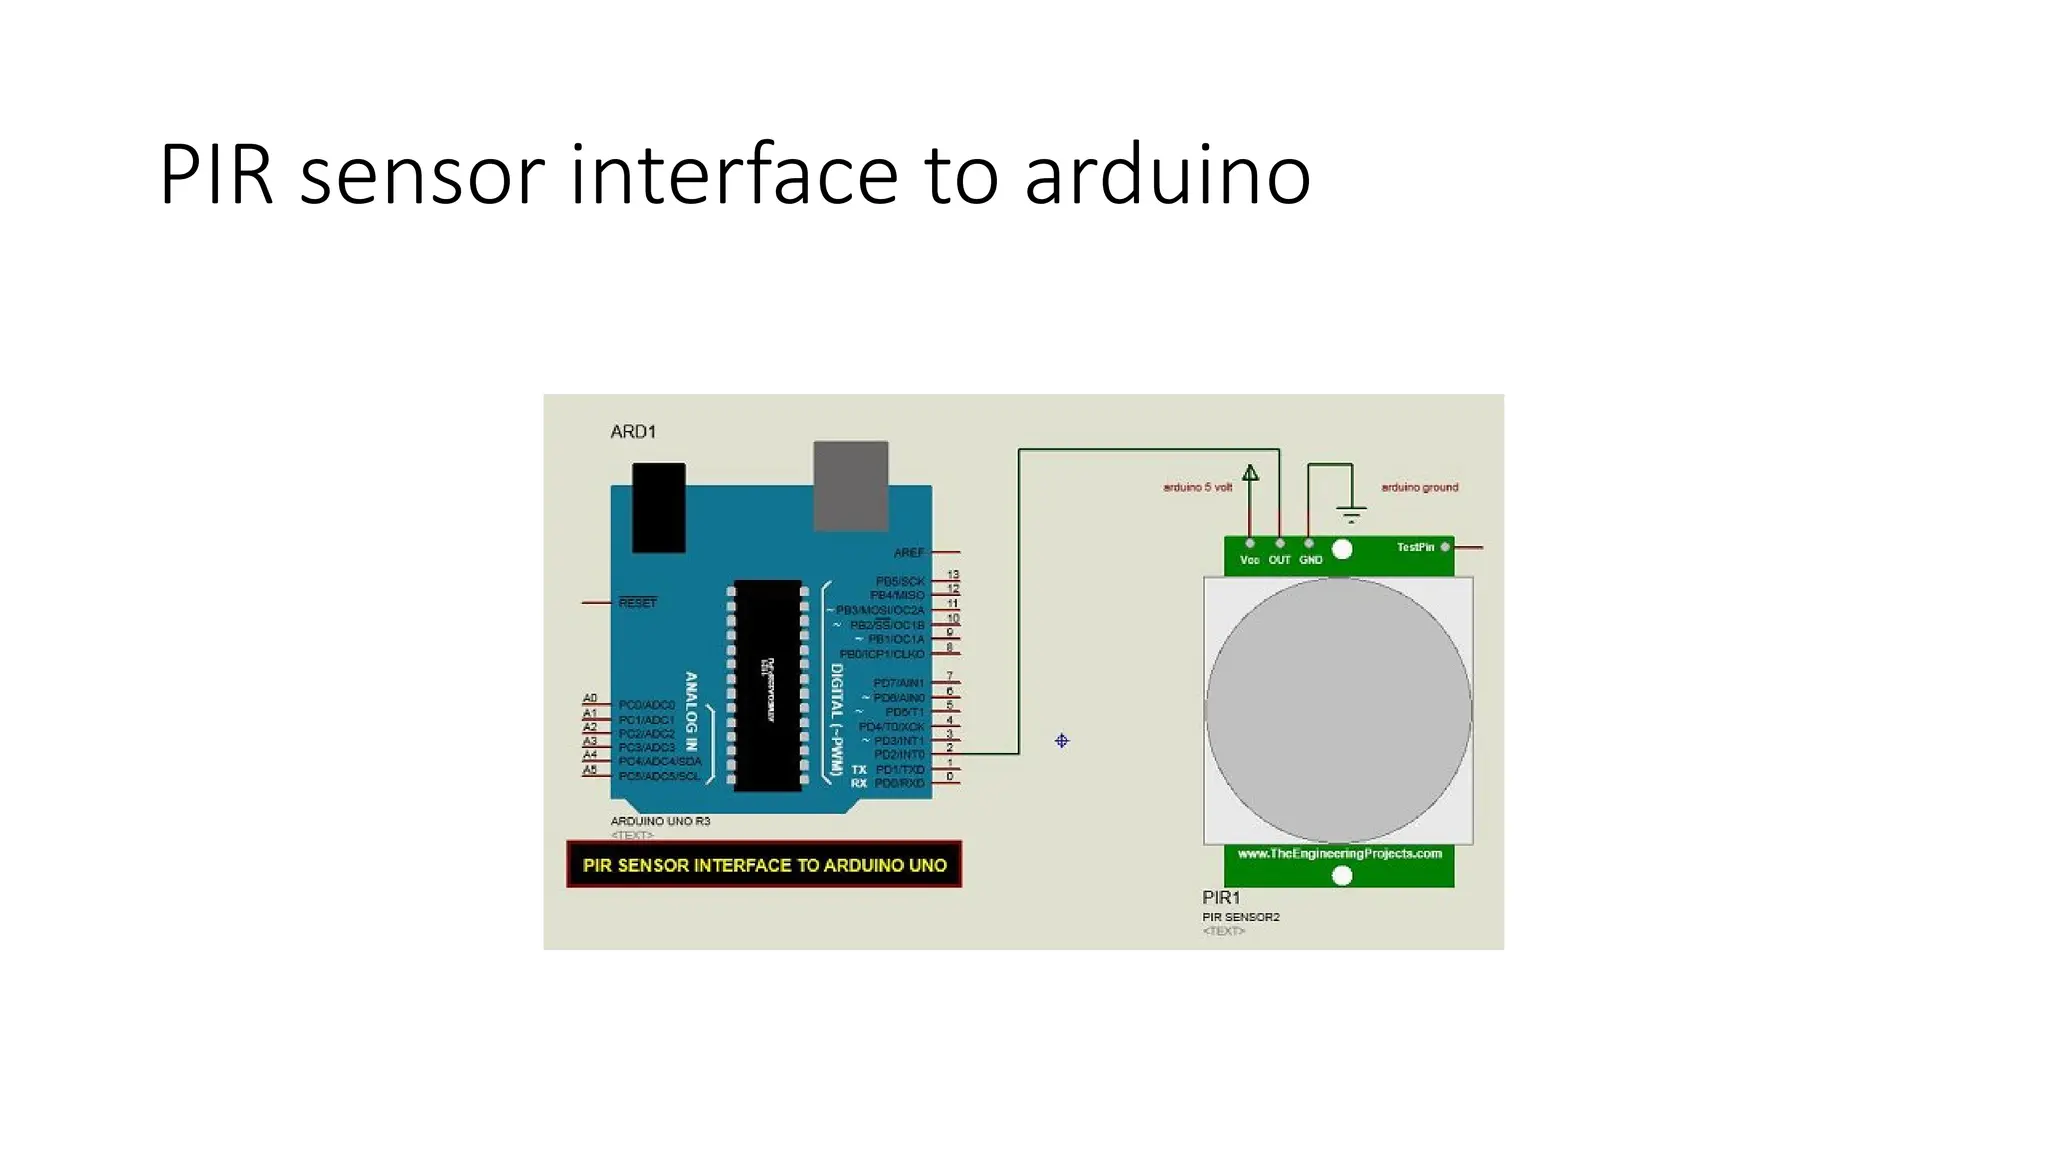
    PIR sensor • ComponentsRequired • You will need the following components − • 1 × Breadboard • 1 × Arduino Uno R3 • 1 × PIR Sensor (MQ3)
  • 27.
  • 28.
    PIR code #define pirPin2 int calibrationTime = 30; long unsigned int lowIn; long unsigned int pause = 5000; boolean lockLow = true; boolean takeLowTime; int PIRValue = 0; void setup() { Serial.begin(9600); pinMode(pirPin, INPUT); } void loop() { PIRSensor(); } void PIRSensor() { if(digitalRead(pirPin) == HIGH) { if(lockLow) { PIRValue = 1; lockLow = false; Serial.println("Motion detected."); delay(50); } takeLowTime = true; } if(digitalRead(pirPin) == LOW) { if(takeLowTime){ lowIn = millis();takeLowTime = false; } if(!lockLow && millis() - lowIn > pause) { PIRValue = 0; lockLow = true; Serial.println("Motion ended."); delay(50); } } }
  • 29.
    Arduino Ultra sonic Componenets •1 × Breadboard • 1 × Arduino Uno R3 • 1 × ULTRASONIC Sensor (HC-SR04)
  • 30.
    Ultra sonic codewith Arduino const int pingPin = 7; // Trigger Pin of Ultrasonic Sensor const int echoPin = 6; // Echo Pin of Ultrasonic Sensor void setup() { Serial.begin(9600); // Starting Serial Terminal } void loop() { long duration, inches, cm; pinMode(pingPin, OUTPUT); digitalWrite(pingPin, LOW); delayMicroseconds(2); digitalWrite(pingPin,, HIGH); delayMicroseconds(10); digitalWrite(pingPin, LOW); pinMode(echoPin, INPUT); duration = pulseIn(echoPin, HIGH); Inches = microsecondsToInches(duration);
  • 31.
    cm = microsecondsToCentimeters(duration); Serial.print(inches); Serial.print("in,"); Serial.print(cm); Serial.print("cm"); Serial.println(); delay(100); } long microsecondsToInches(long microseconds) { return microseconds / 74 / 2; } long microsecondsToCentimeters(long microseconds) { return microseconds / 29 / 2; }
  • 32.
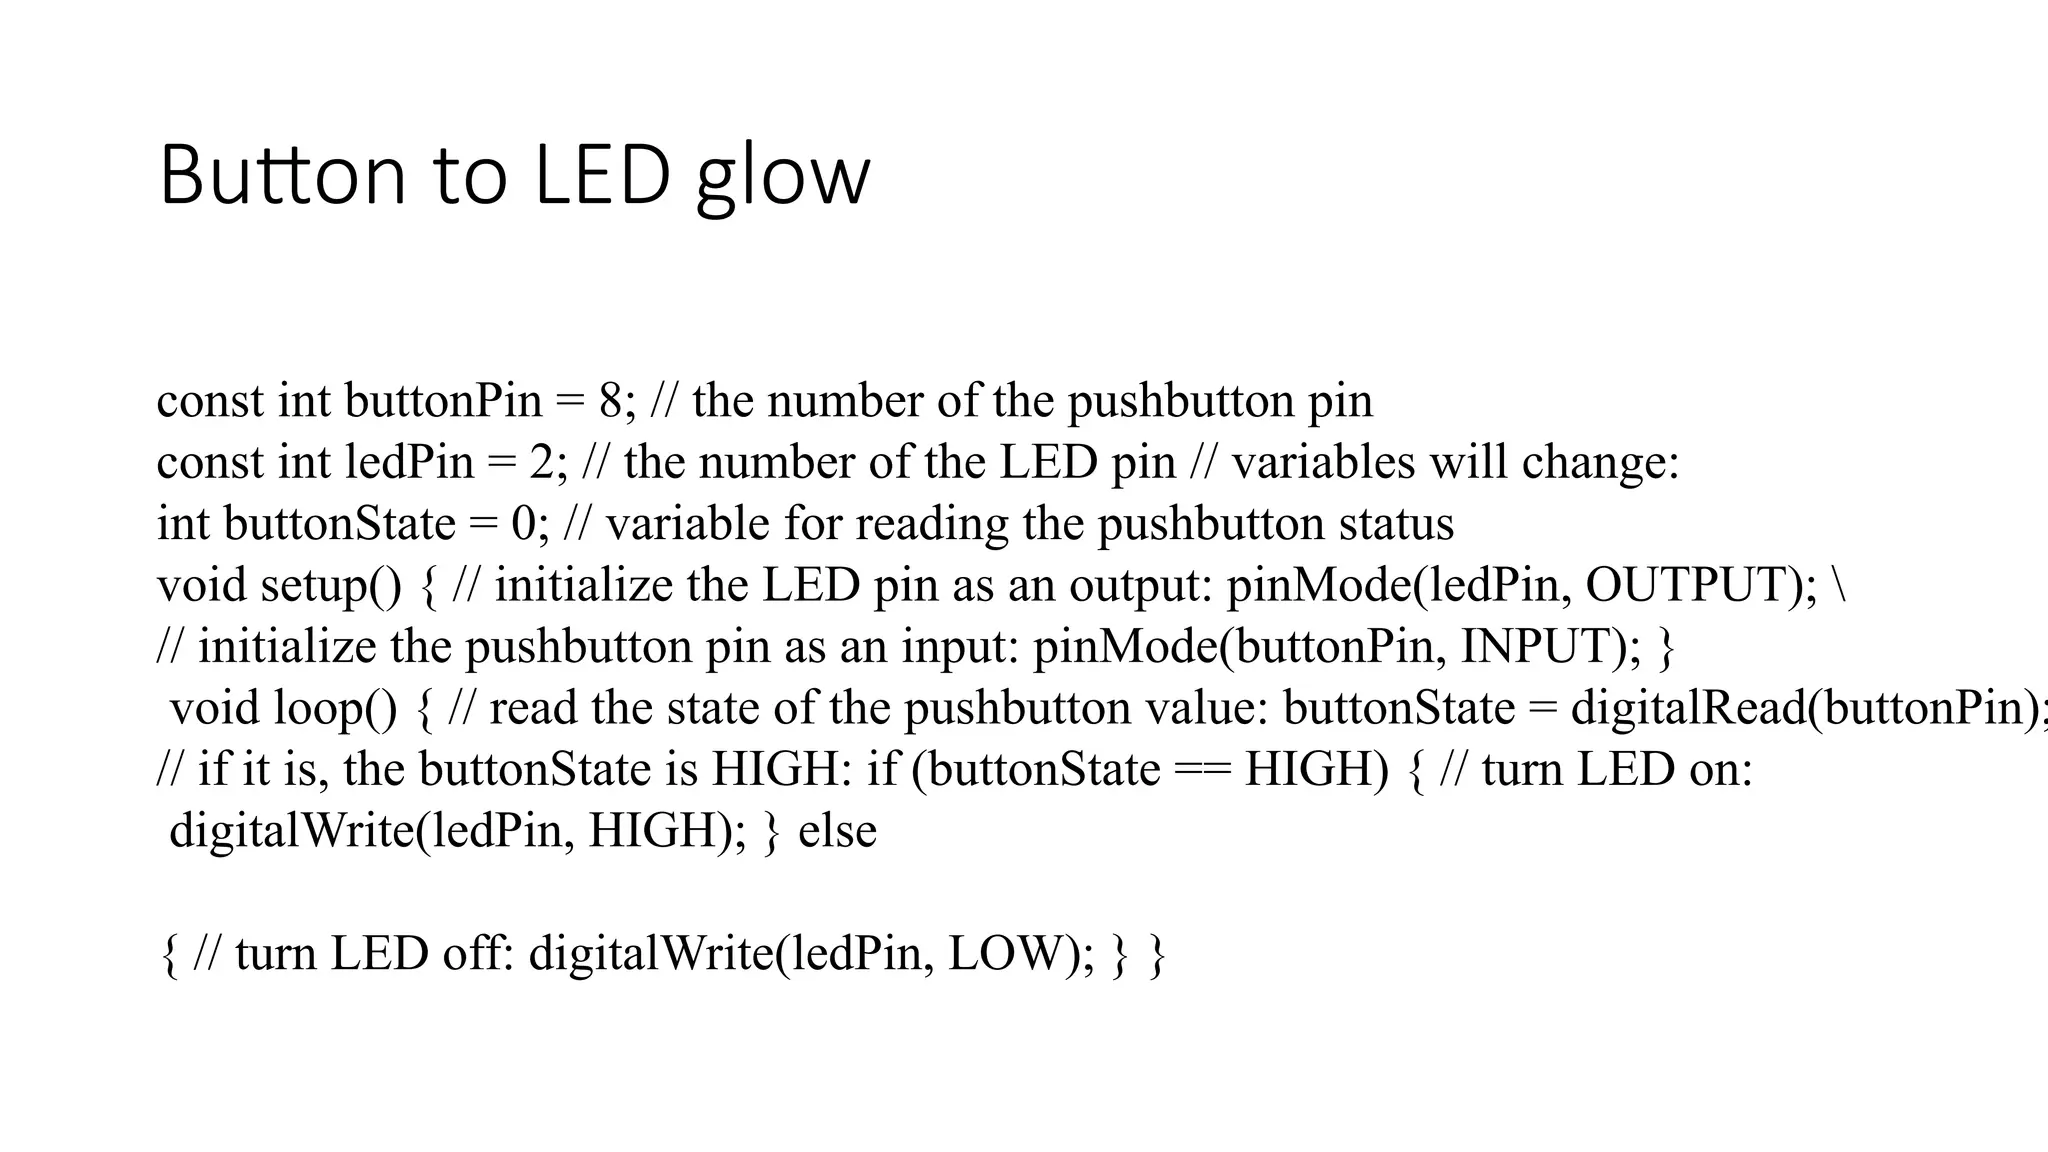
    Button to LEDglow const int buttonPin = 8; // the number of the pushbutton pin const int ledPin = 2; // the number of the LED pin // variables will change: int buttonState = 0; // variable for reading the pushbutton status void setup() { // initialize the LED pin as an output: pinMode(ledPin, OUTPUT); // initialize the pushbutton pin as an input: pinMode(buttonPin, INPUT); } void loop() { // read the state of the pushbutton value: buttonState = digitalRead(buttonPin); // if it is, the buttonState is HIGH: if (buttonState == HIGH) { // turn LED on: digitalWrite(ledPin, HIGH); } else { // turn LED off: digitalWrite(ledPin, LOW); } }