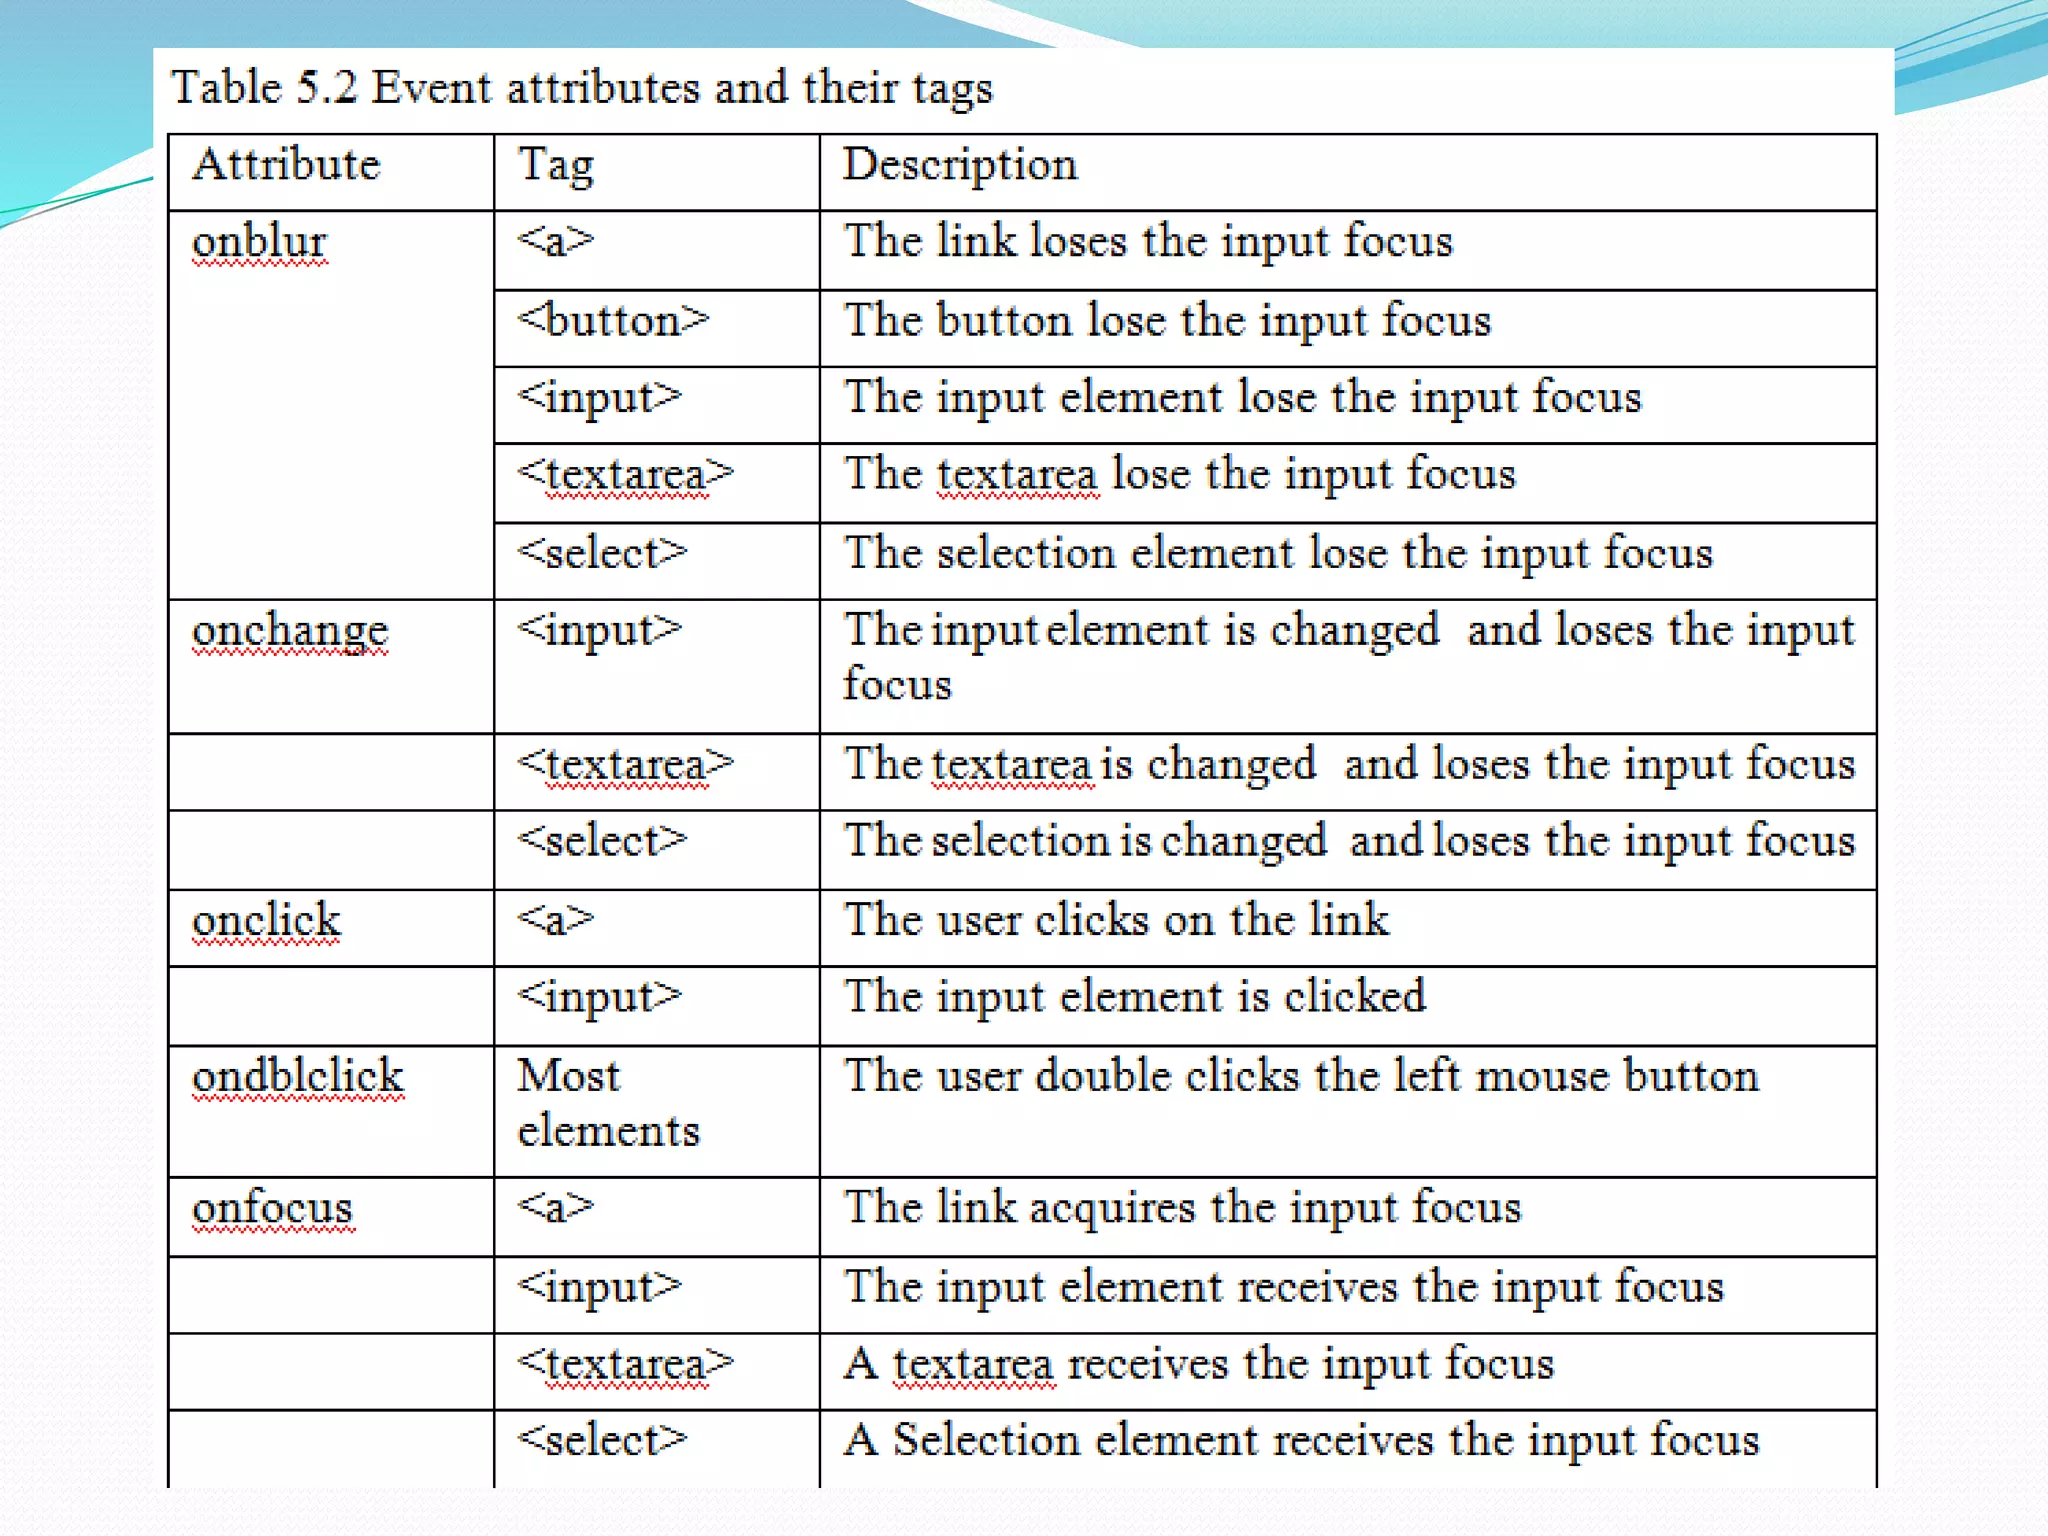
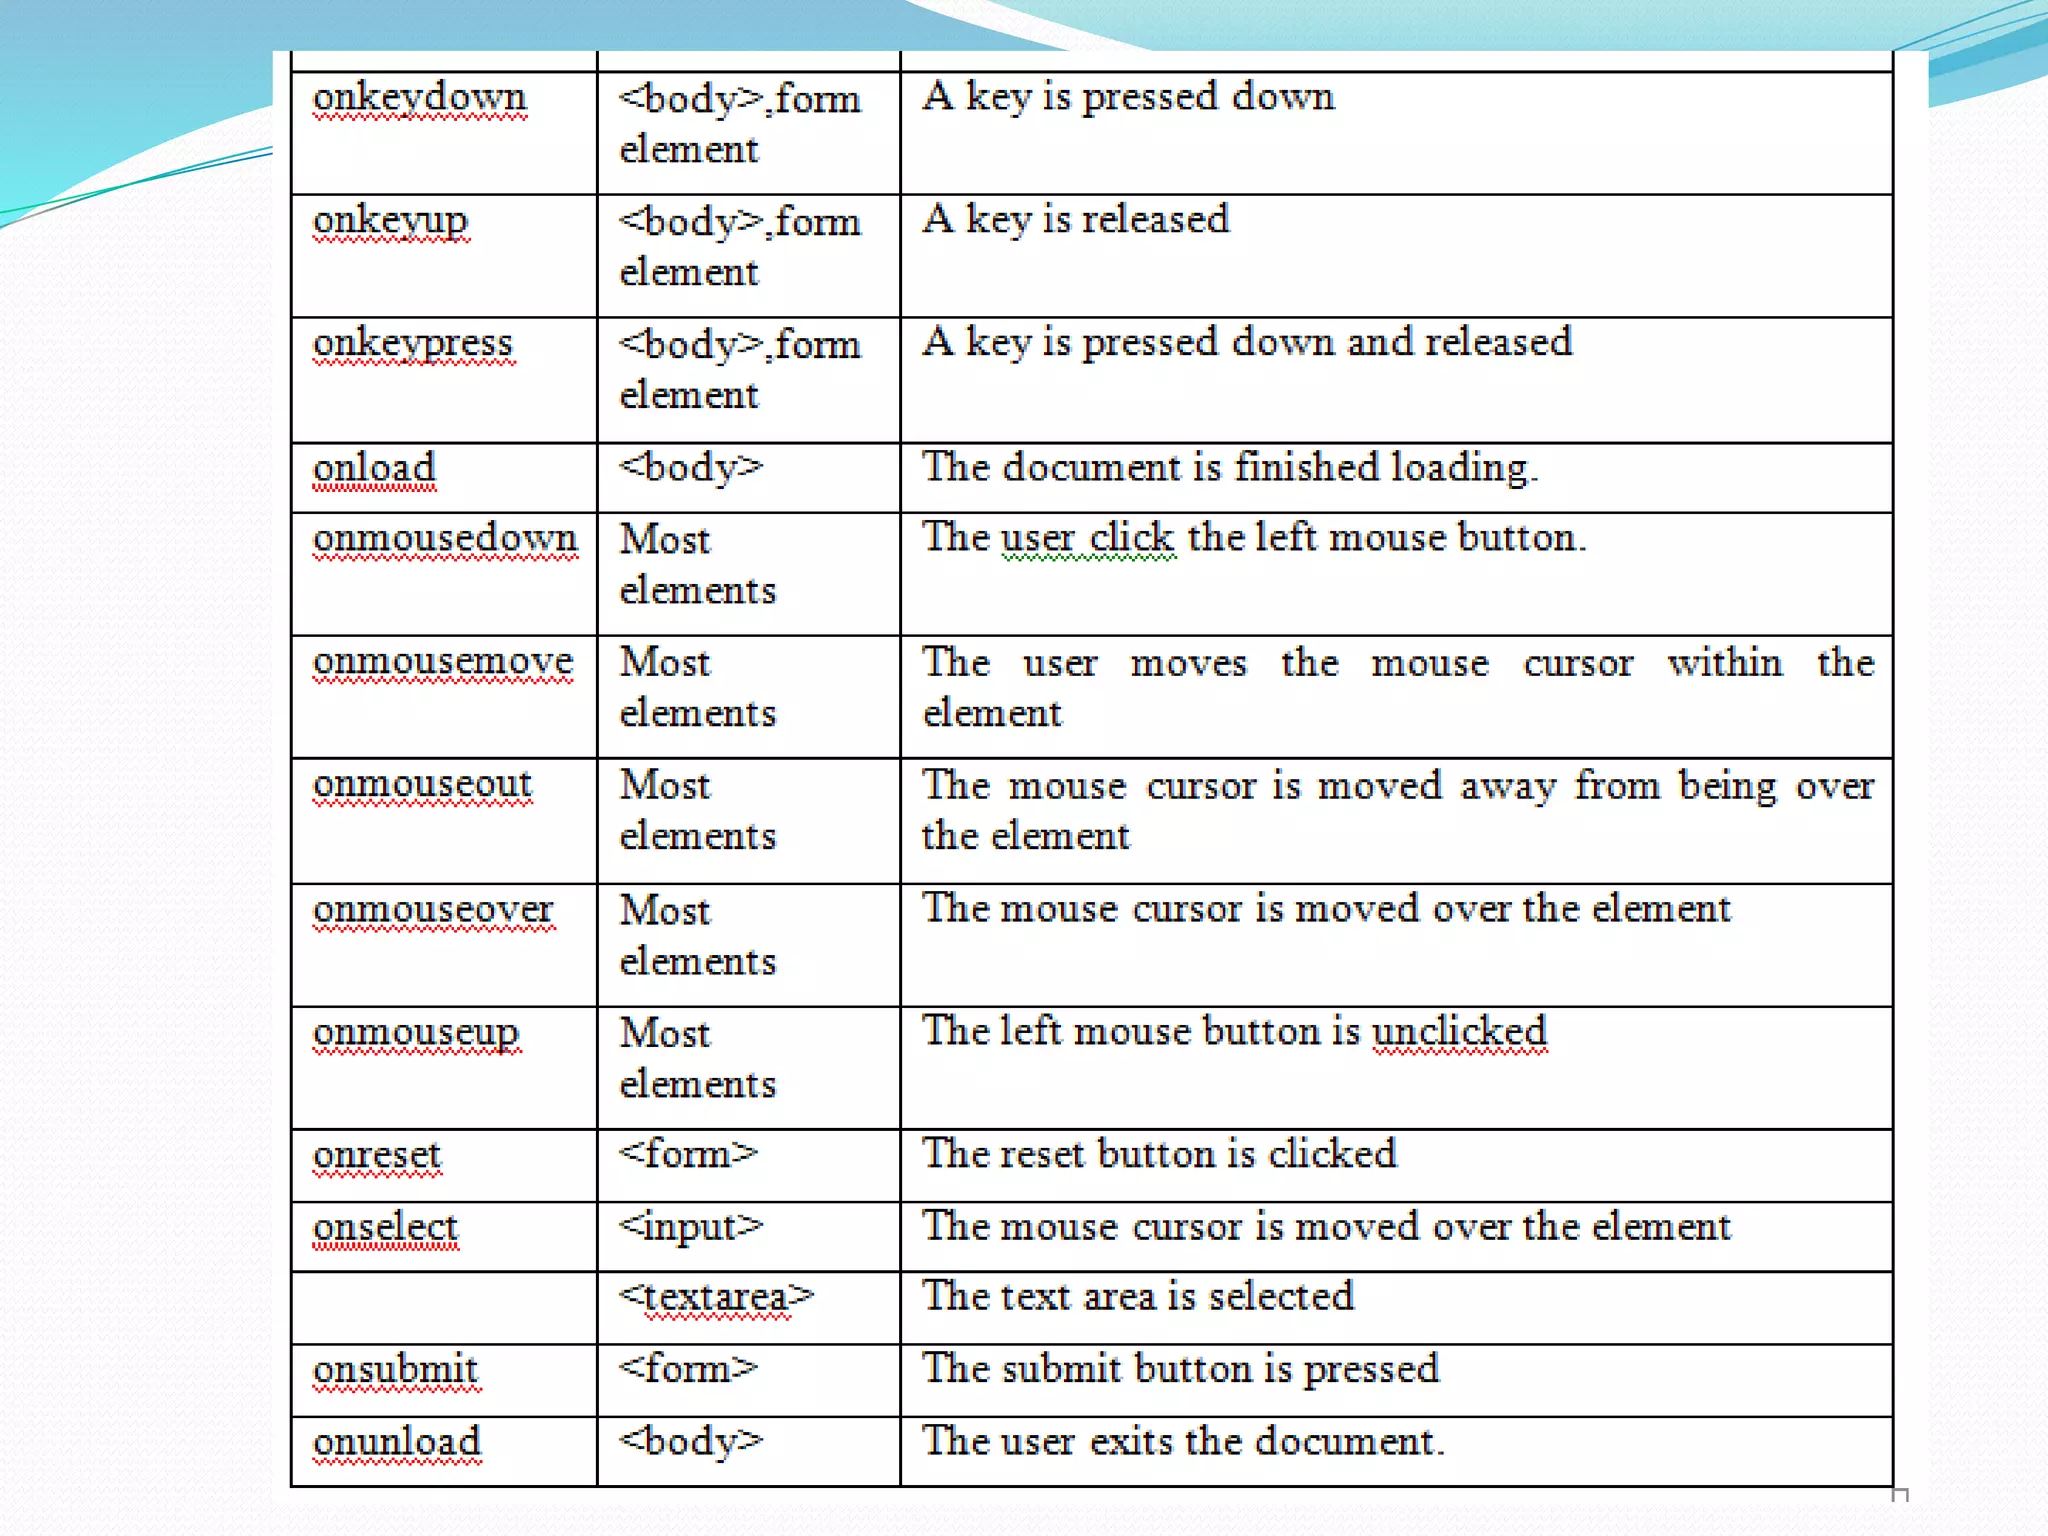
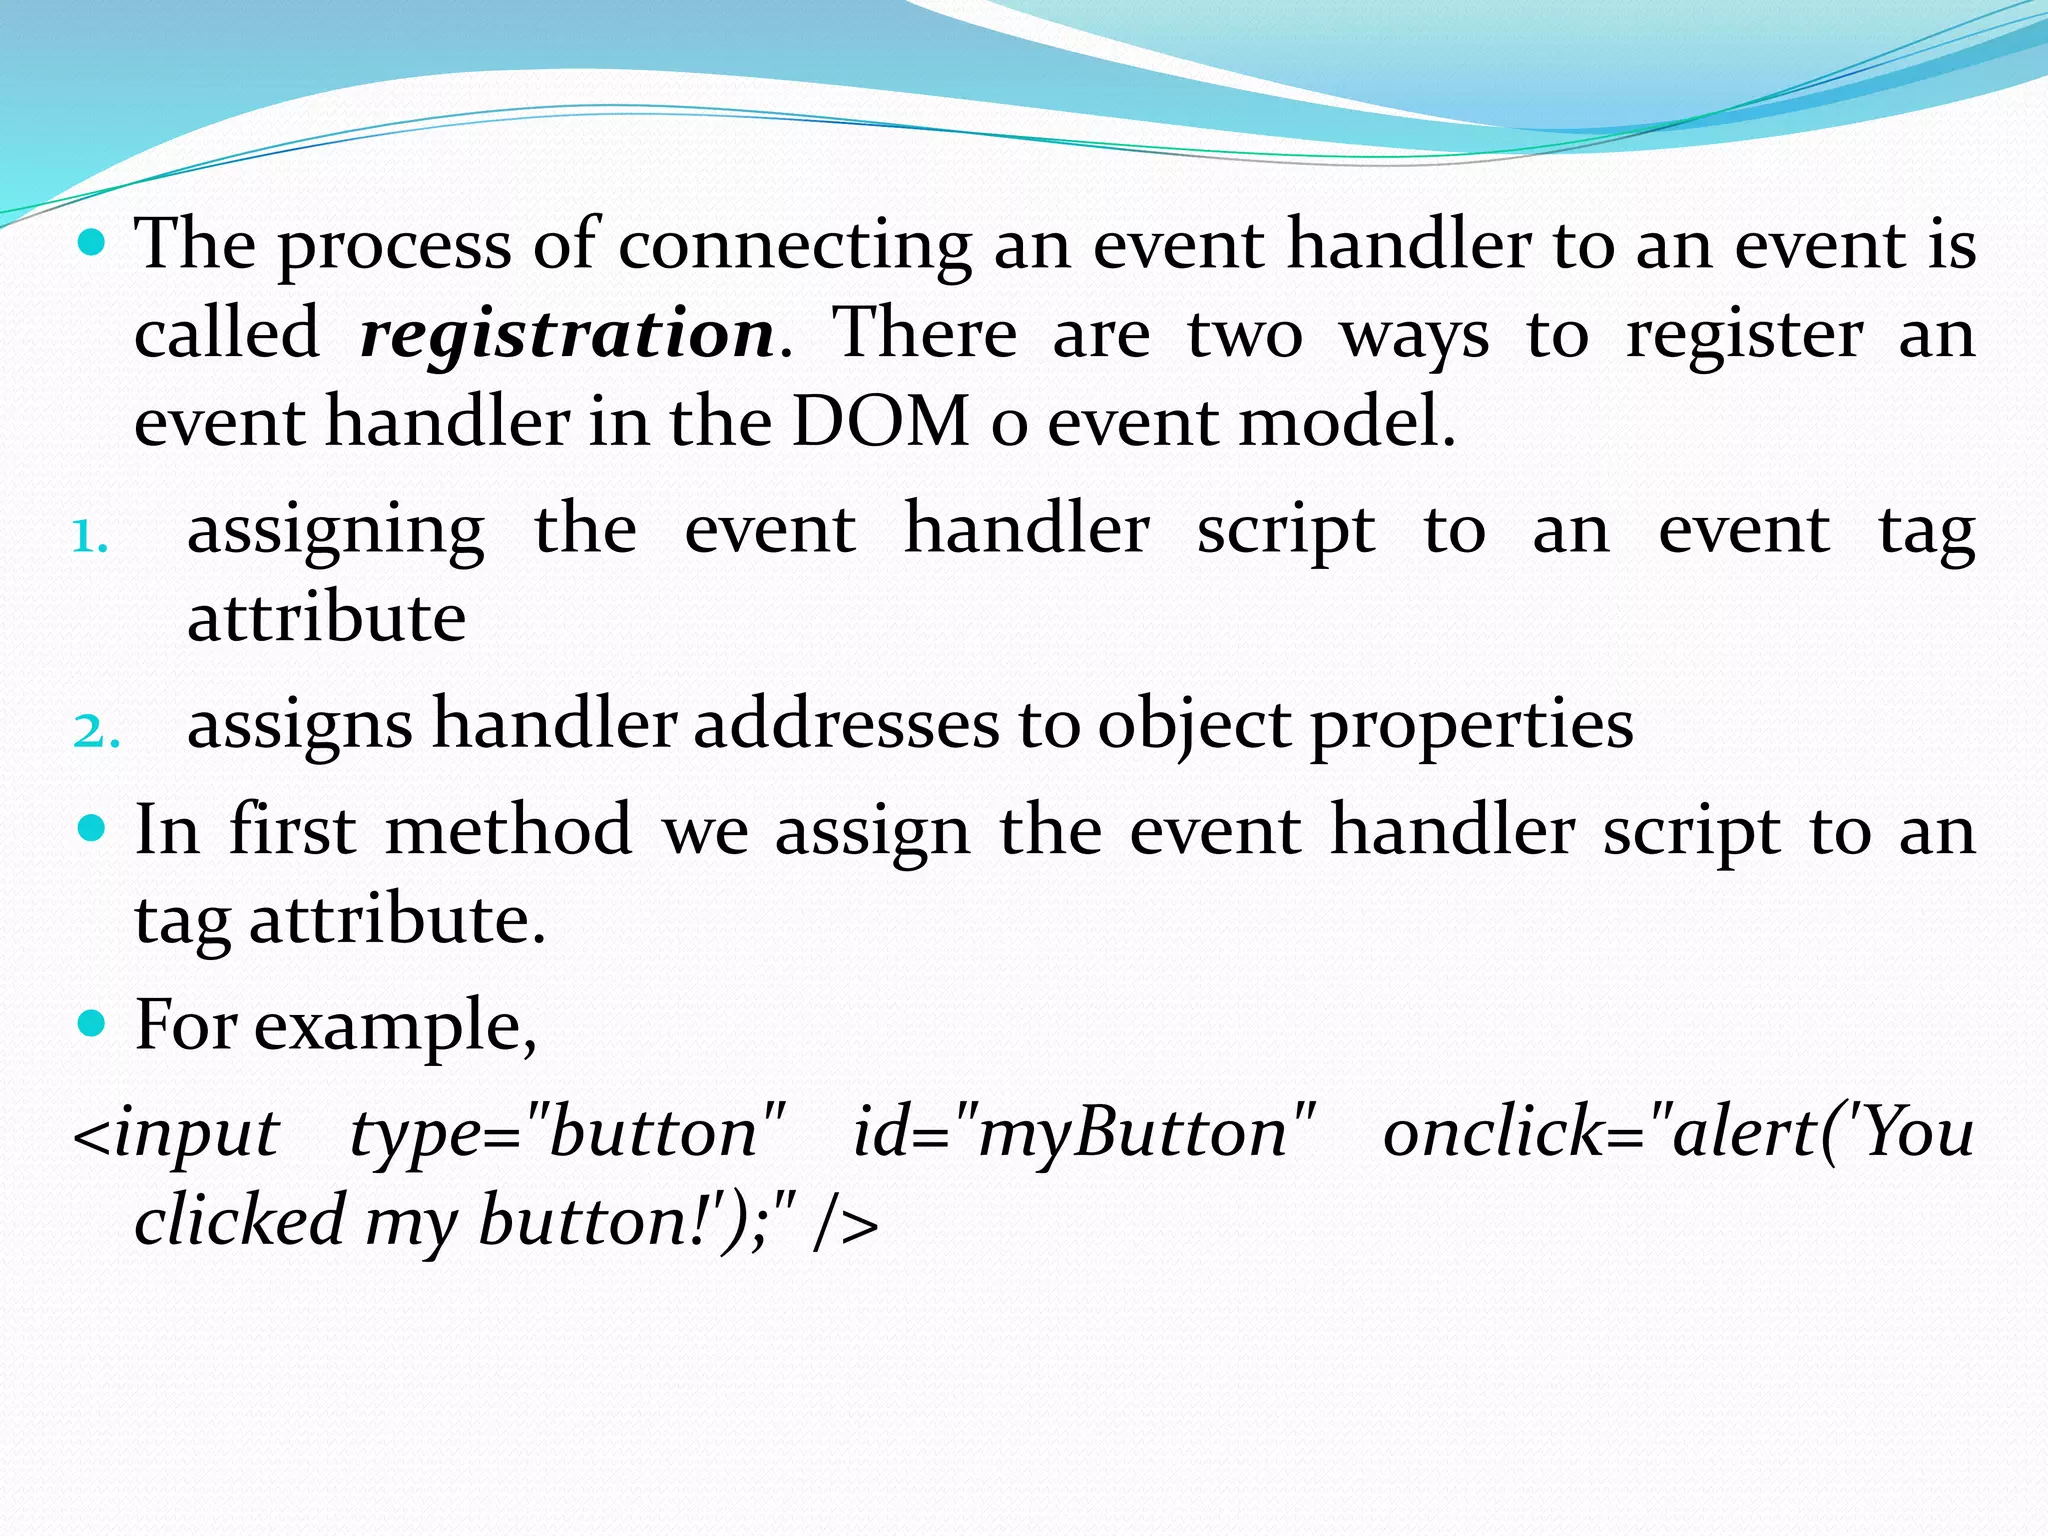
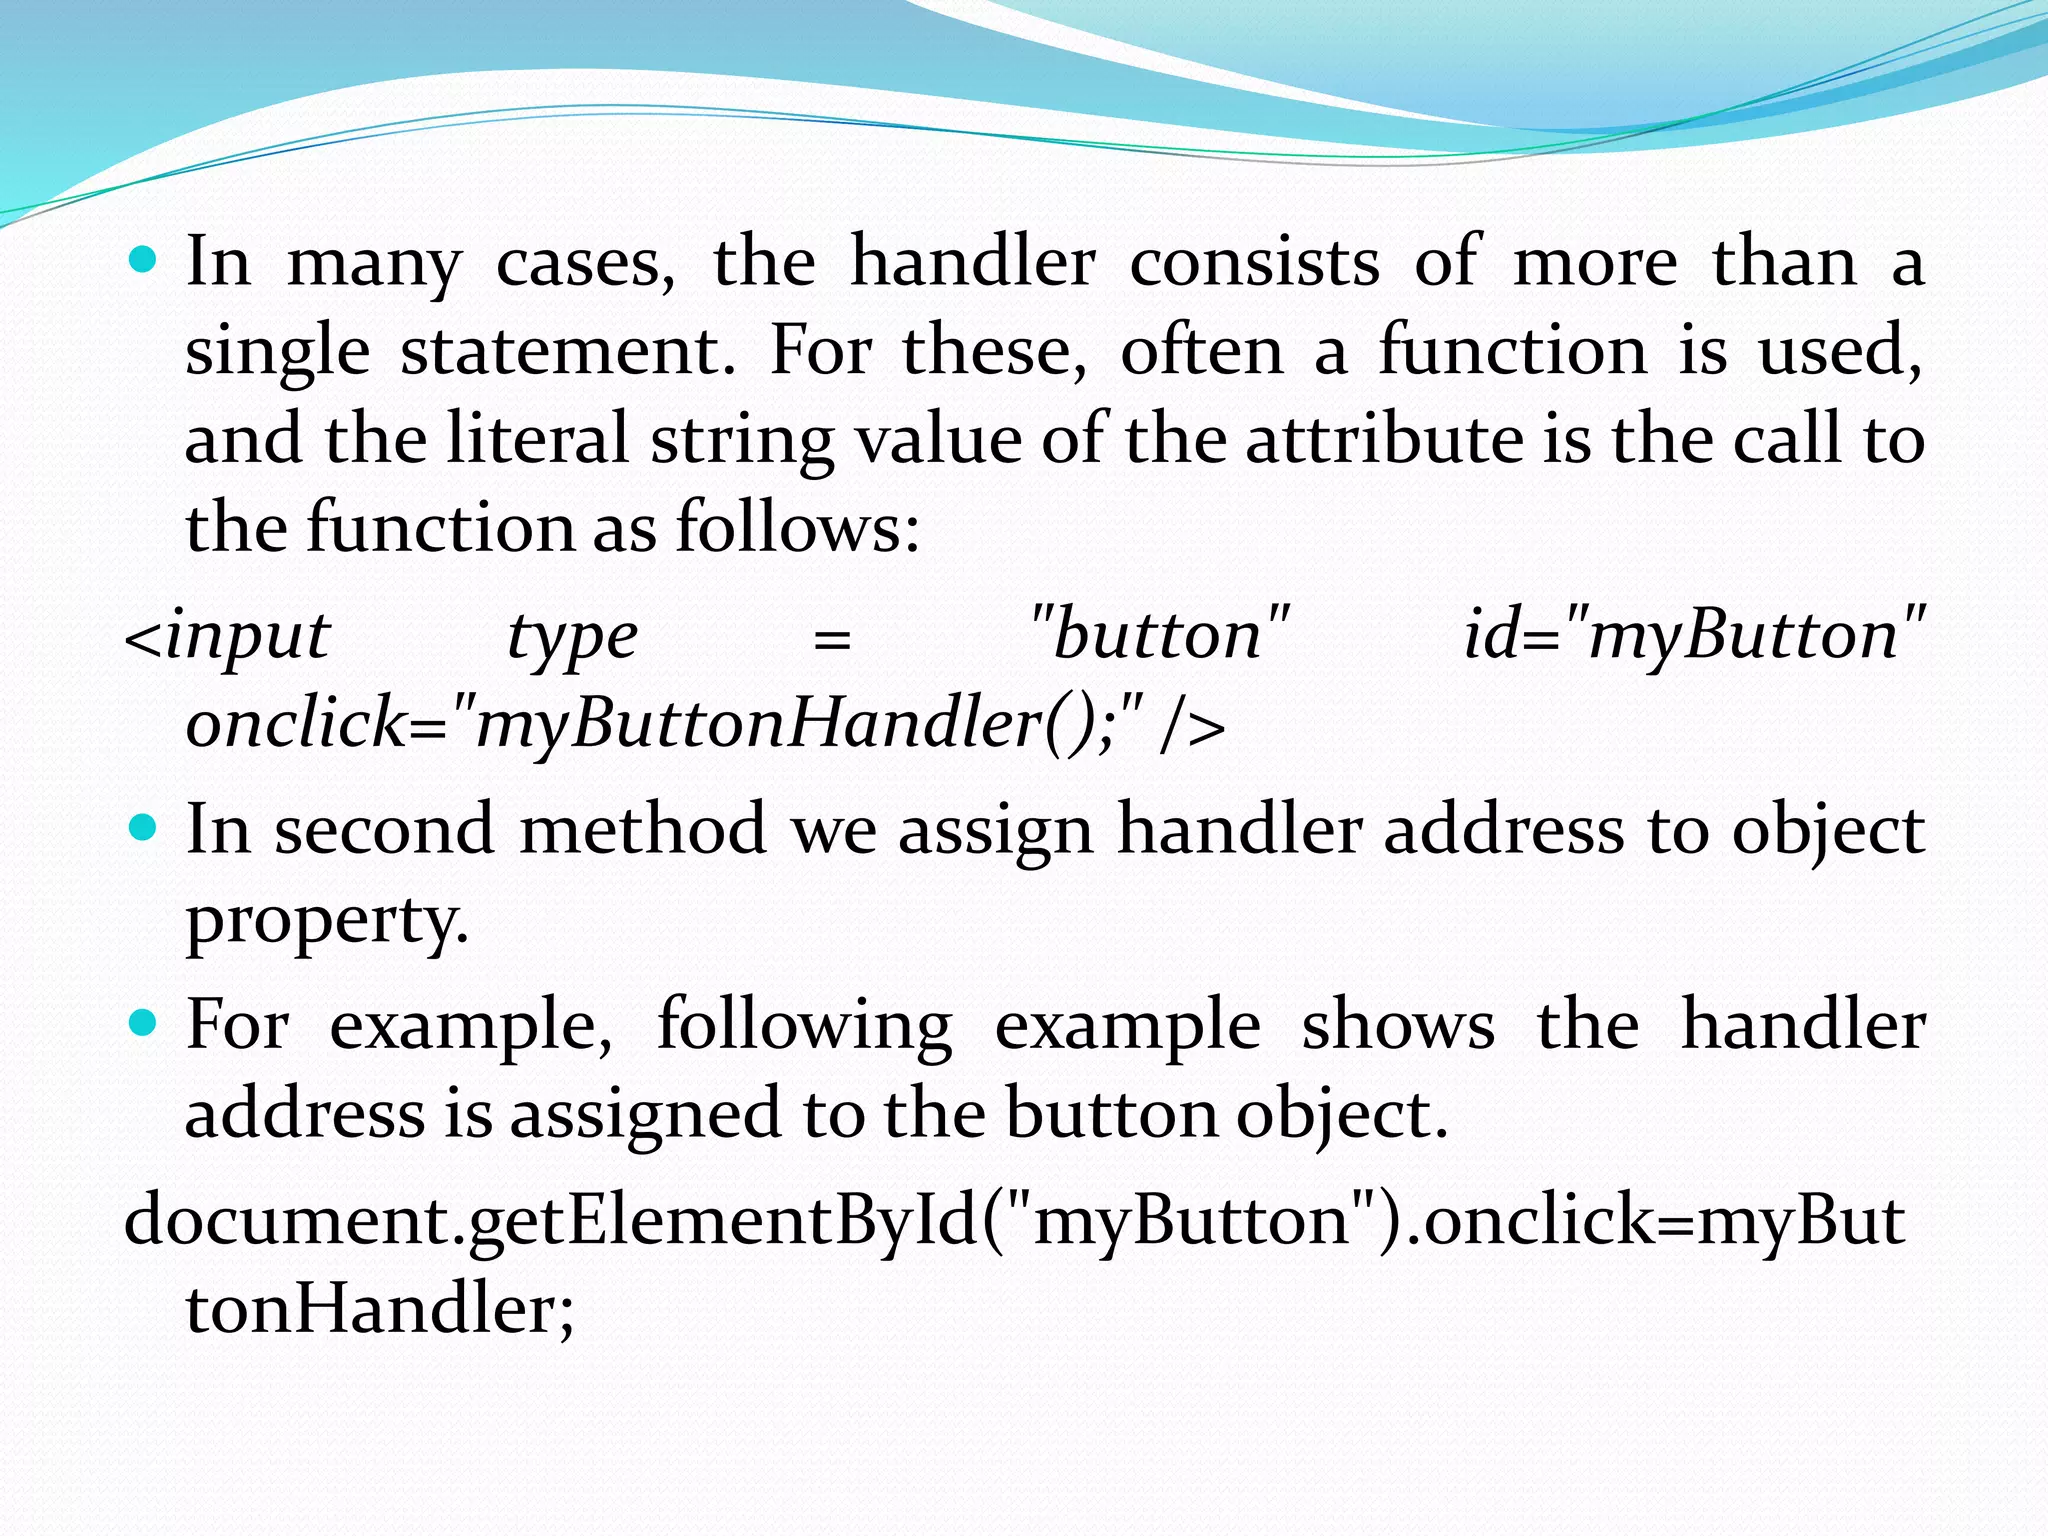
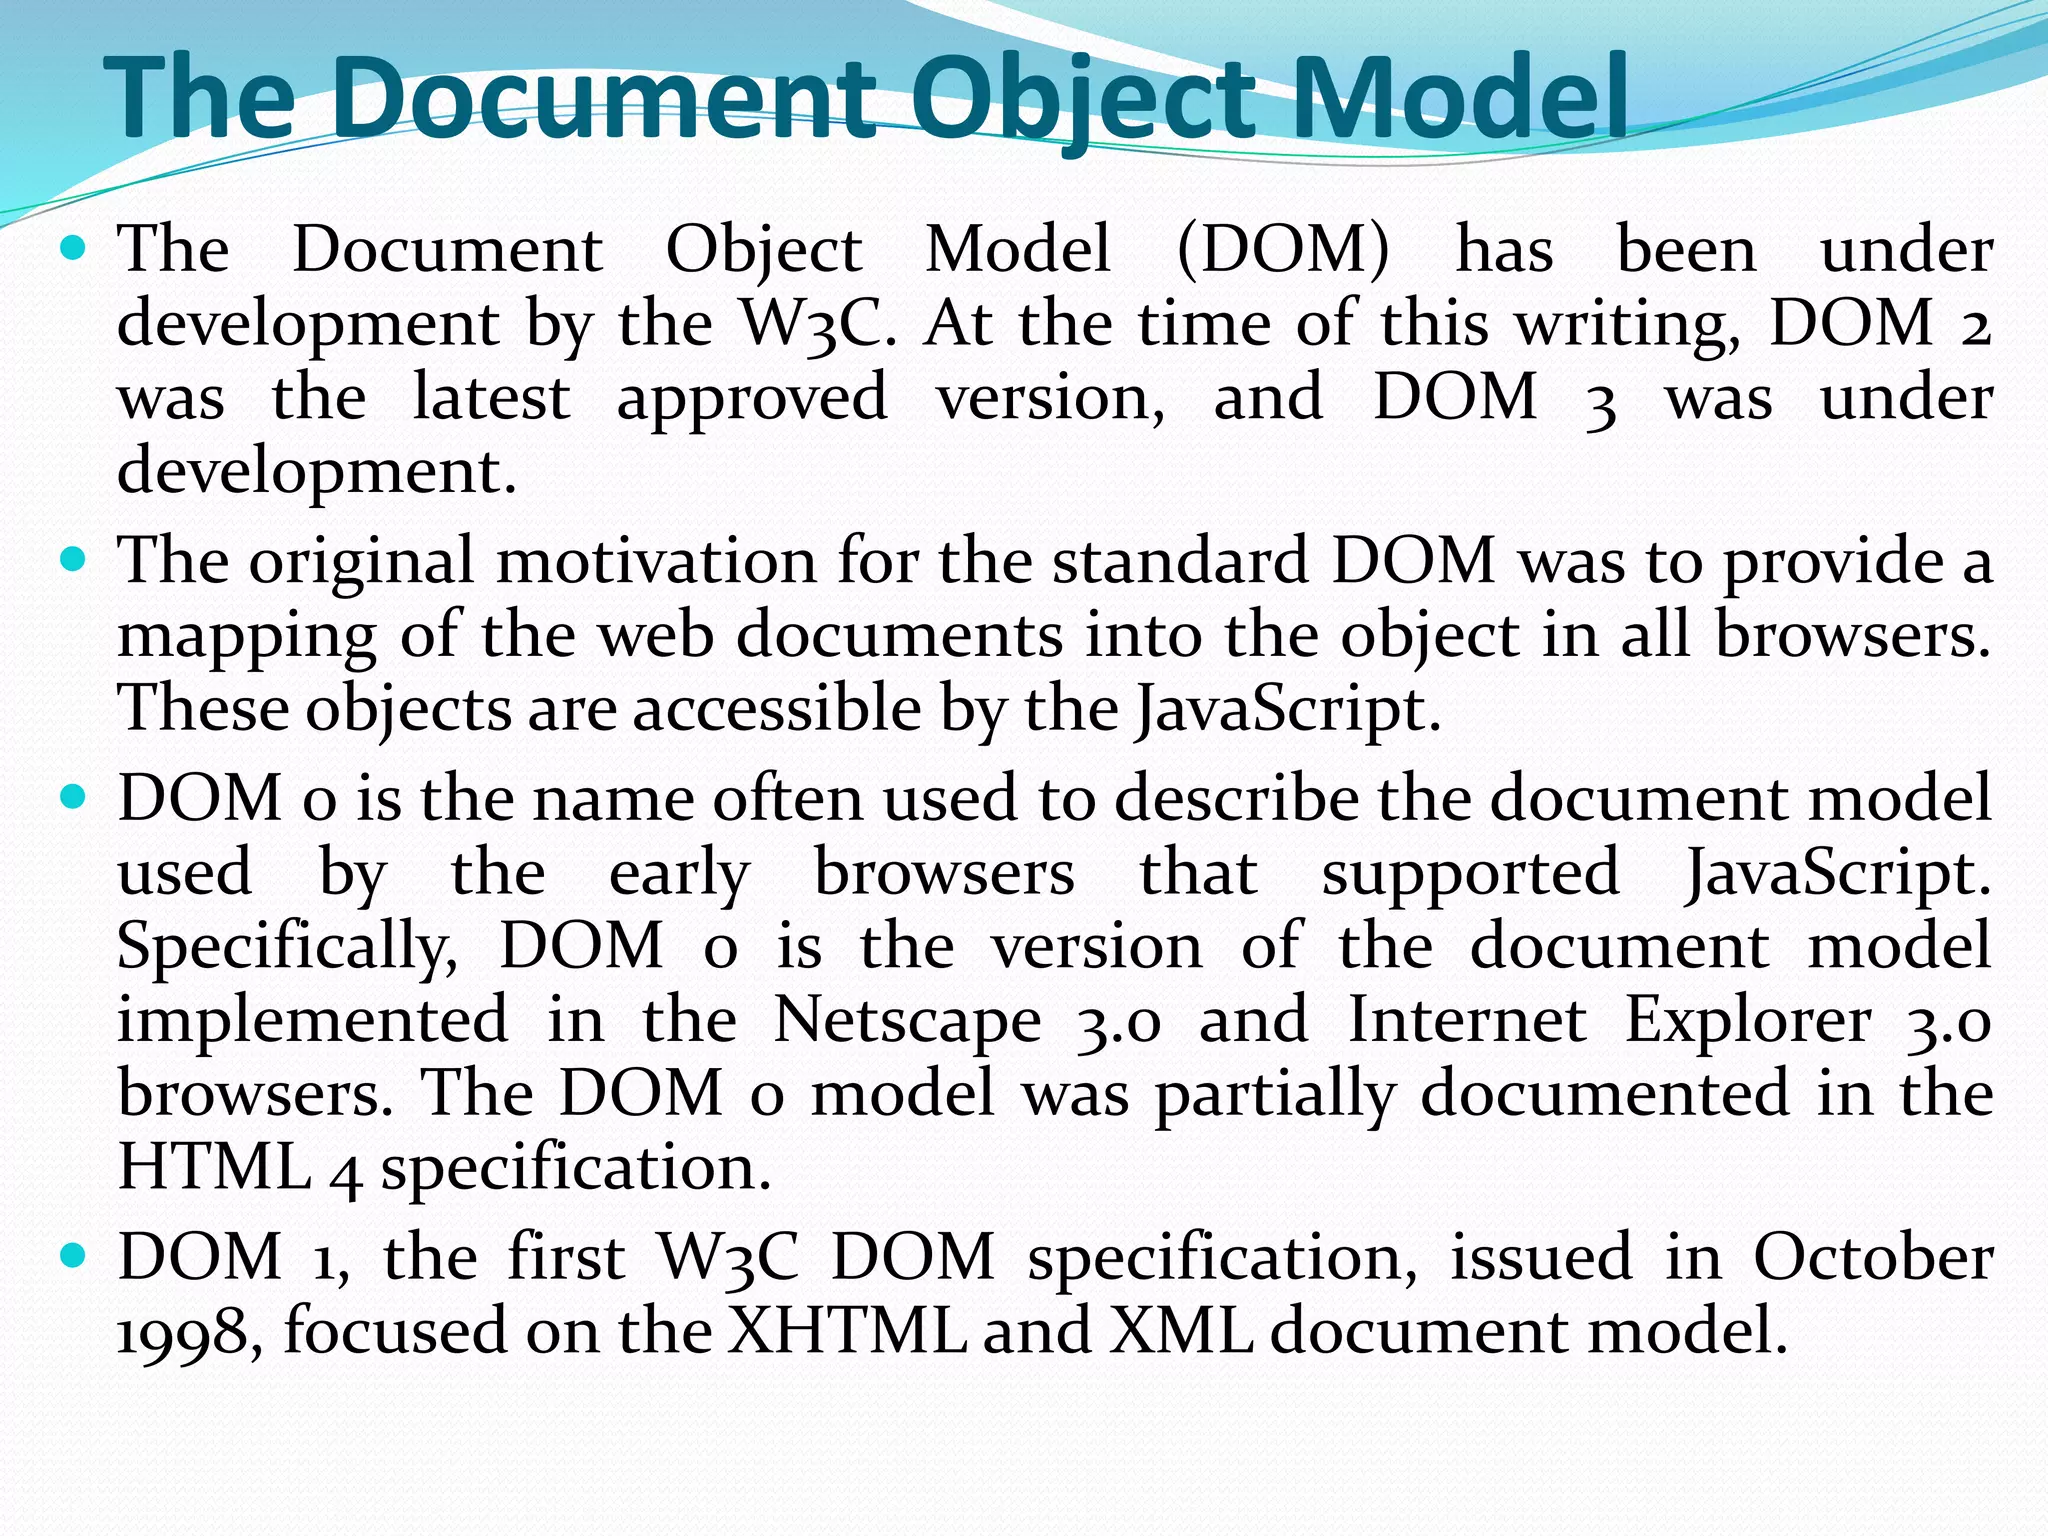
The document discusses the JavaScript execution environment and the Document Object Model (DOM). It describes: 1. How a browser displays an XHTML document and how JavaScript interacts with the window and document objects. 2. The evolution of the DOM standard from DOM 0 to DOM 3 and how it provides a mapping of web documents to JavaScript objects. 3. How events are handled in JavaScript, including the basic concepts of events, event handlers, and the DOM 0 and DOM 2 event models.
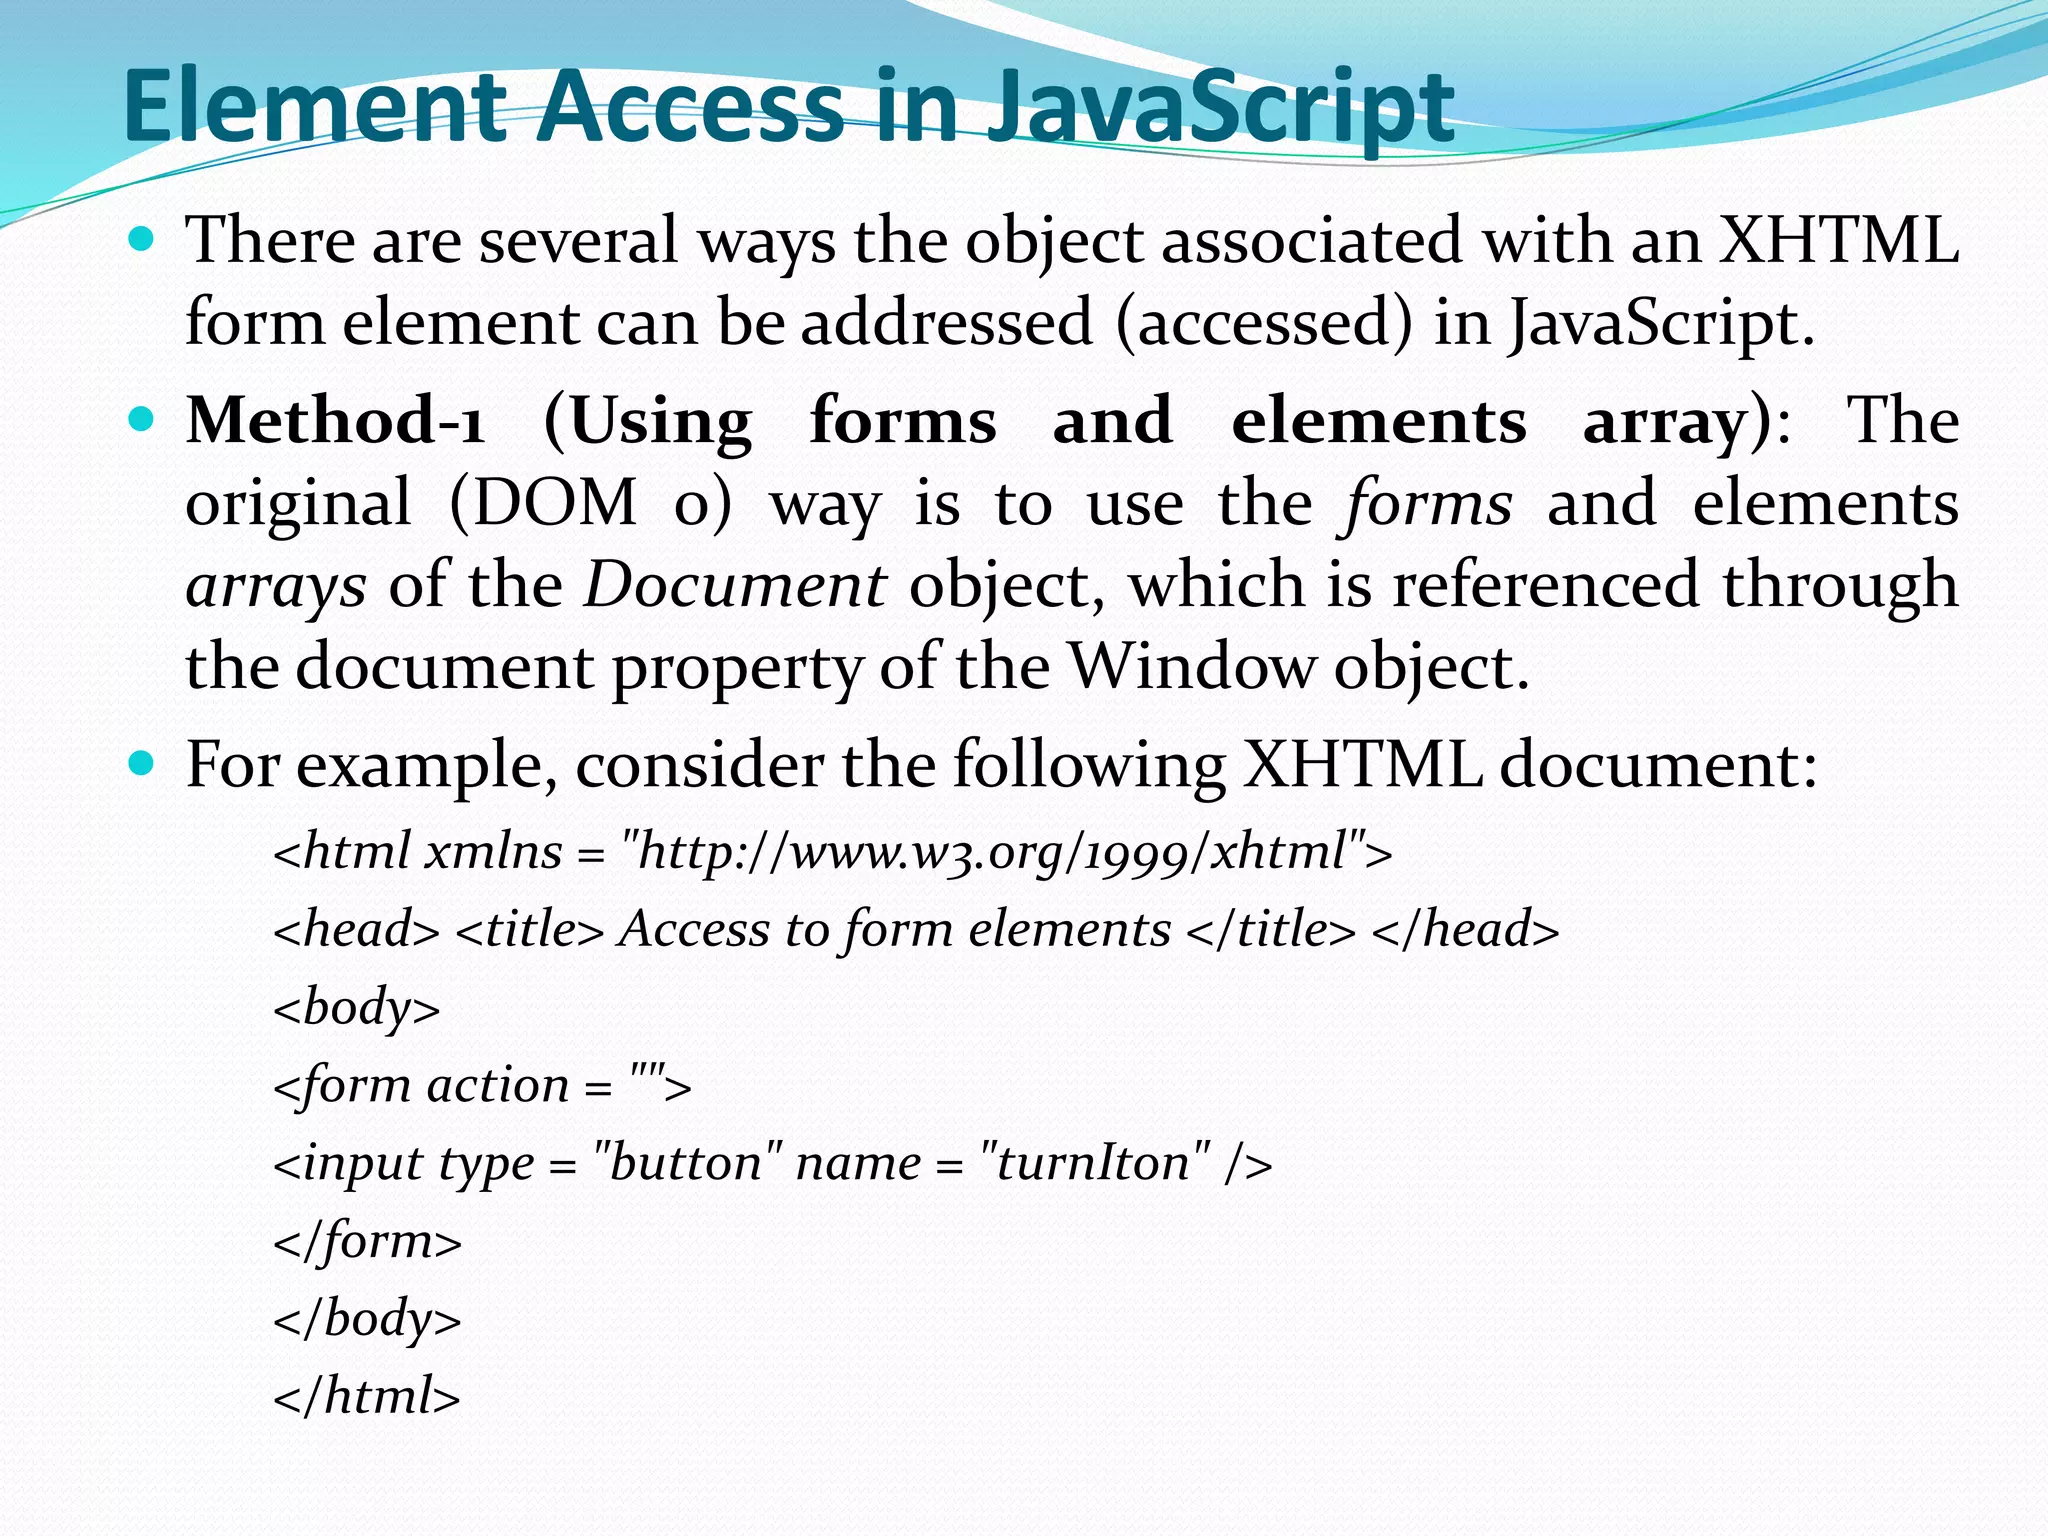
![ The DOM address of the button using the forms and elements arrays, is as follows: var dom = document.forms[0].elements[0]; Problem: The problem with this approach is that, If we add or remove some elements in the form then the DOM address could change. For example, if we add a new button before the turnIton button in the document, the DOM address shown would be wrong.](https://image.slidesharecdn.com/unitiijavascriptandxhtmldocumentsanddynamicdocumentswithjavascript-191003042440/75/Unit-ii-java-script-and-xhtml-documents-and-dynamic-documents-with-javascript-10-2048.jpg)